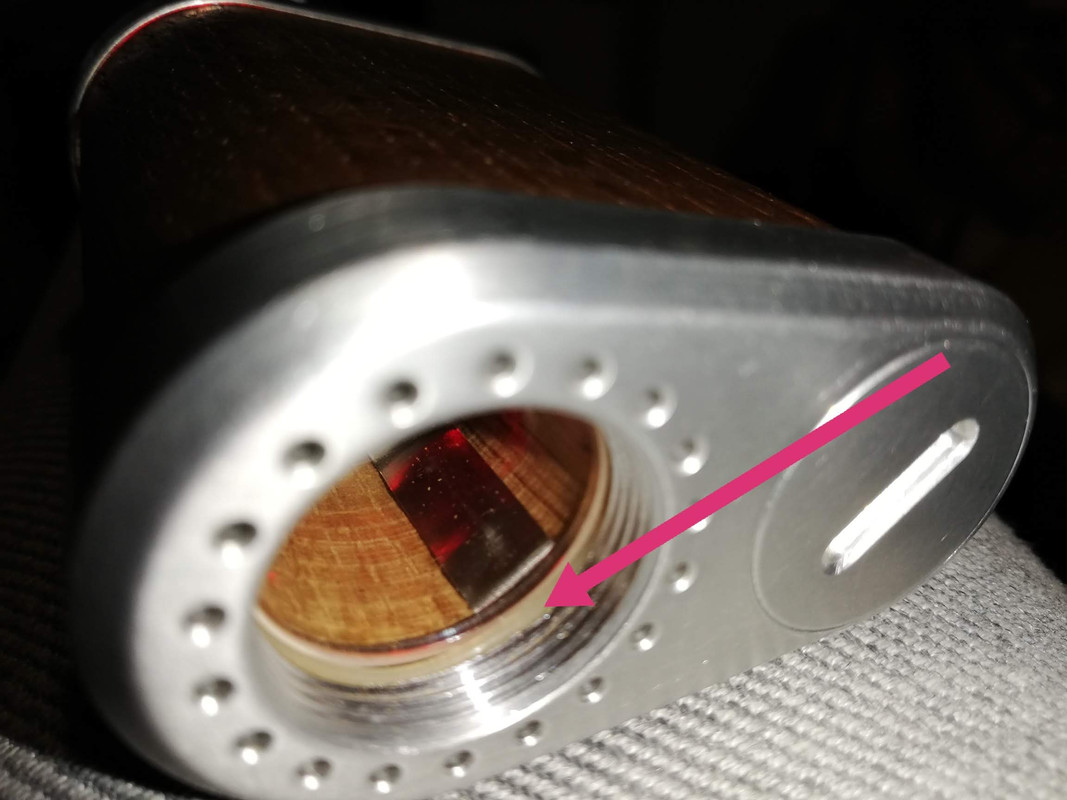
Thanks for the response, Lab pong. I tried, and will try again. But my efforts at repair were terrible. Frankly, I’m not a repair person, and suffer from some gnarly hand issues that make fiddling difficult. At least I ended up w a bonus blue o-ring that I couldn’t get back in.Did you open up the top and clean off the contact points...and add a shim under the battery strip? Your issue seems like the contact problem and can be solved easily if so. You just need a #15 star bit to loosen up the main screw.

Having never HEARD of a #15 star bit (and not having received those instructions from TM headquarters), I tried using an Allen wrench to open the screw on the bottom. No luck. Even stripped it a tad, which is really a bummer.
If adjusting a TM is part of owning a TM, requiring a special not-included tool is tough stuff.
anyhow, how do you get the top off? Do you need to remove the screw first?
And add a shim... of what? Thanks for your thoughts.