Shit Snacks
Milaana. Lana. LANA. LANAAAA! (TM2/TP80/BAK/FW9)
Looks like the drop is being pushed to the 10th 3pm est. 20% off store wide.
Sorry Yes I misread and confused myself before, it was never Saturday lol
7/10 for GVB drop with those WPA!

Looks like the drop is being pushed to the 10th 3pm est. 20% off store wide.


hope it's okay to double post for an exception

Sounds like it could be the haptic motor. I don’t recall if the TM2 has the same or similar design as the OG TM for this. I’ve taken apart my OG TM and fixed this a couple of times. It’s a rubber housing with a little plastic piece inside that got stuck. Some have tried to bang their TM into their palm while assembled to loosen the plastic piece in the housing (that worked for me once while I took it apart the other time). I haven’t taken apart my PH TM2 yet and won’t unless I need to. Hope your issue is resolved soon.Sorry if this has been discussed, not really sure what to even search. Last couple of days my TM2 does not give the at temperature buzz/vibration. Anyone else have this issue? It is heating up and giving vapor, but not buzzing/vibrating when it gets to temperature.


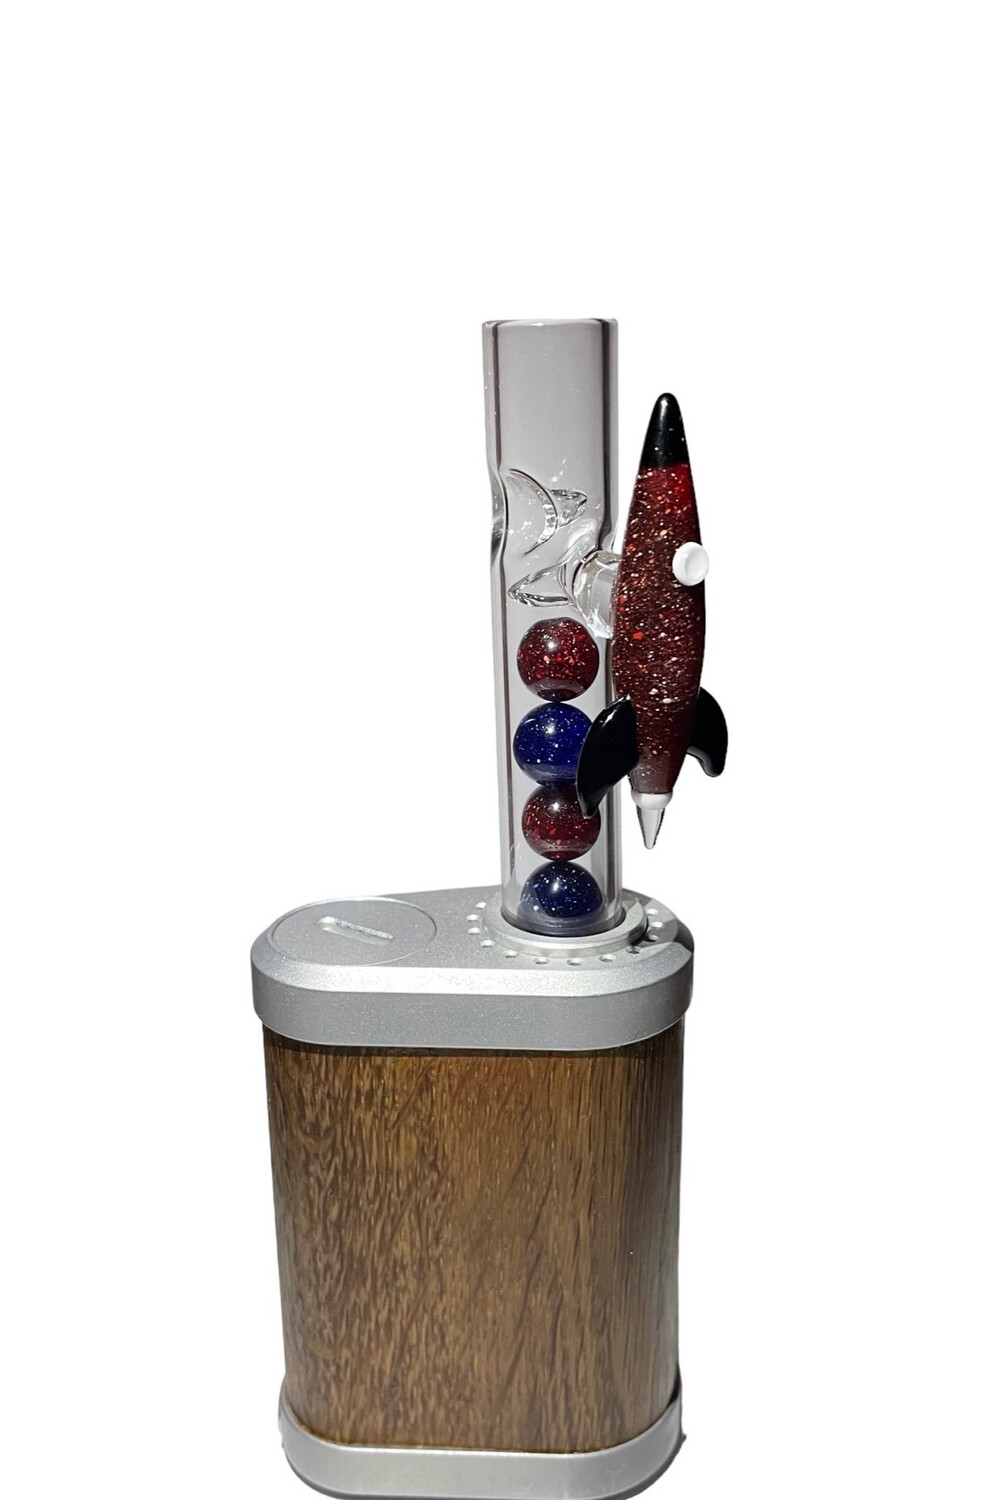
Gorgeous....enjoy.I hope it's okay to double post for an exception. I just received my Azzwood X Hookahhead_Md collab stem and it's a real beauty:
The white spiral is fixed in the stem and looks so cool. I love the wooden mouthpiece, it's super beautiful and feels very comfortable on the lips. I find the airflow to be rather open and the vapor is cooled properly. I'm happy with it!


Thanks. The banging it into my hand fixed the issue.Sounds like it could be the haptic motor. I don’t recall if the TM2 has the same or similar design as the OG TM for this. I’ve taken apart my OG TM and fixed this a couple of times. It’s a rubber housing with a little plastic piece inside that got stuck. Some have tried to bang their TM into their palm while assembled to loosen the plastic piece in the housing (that worked for me once while I took it apart the other time). I haven’t taken apart my PH TM2 yet and won’t unless I need to. Hope your issue is resolved soon.
What stir tool?I’ve had my PH TM2 for two months and, for the record, I have yet to use the stir tool. The TM2 otherwise is exceptional! Love the Tinymight!! Weekend regards to all.
Truth is I did not know one existed.What stir tool?
It's really great that you managed to get your unit repaired without sending it in (given the risk in your case).The old PCB from which micro switch broke-off is over one and a half years old (right, lighter color green).
Compare to the new replacement on the left (darker color green). We are seeing the bottom of the PCB (towards bottom plate).
One can see evidence of the switch being soldered though the PCB; note the four shiny solder points not seen on the other.
The battery contact is also reversed.
The switch. I need a better photo. Note the added blob of ??? (silicone).
")
I’ve had my PH TM2 for two months and, for the record, I have yet to use the stir tool.
The only place that looked dirty was the bottom plate, pictured. All else was clean except some discoloration of the perforated spacer disk above the heater. It cleaned up with alcohol.I...I was wondering, since you had to open up your unit after 1,5 years of usage: did you see any dirt/particles/resin on the inside? Like on top of the PCB or inside the heater compartment/wood encasing?
I sometimes wonder how clean it is in there after a while but not curious enough to open it up and check tbh...
*Edit: ooh, i just realised now that you also have a new heater? (Any pics?) So now i'm also curious if you noticed any debris/dirt/... inside and/or on the bottom of the heater?
And how did installing the new parts go? Was it smooth sailing?*
...


Yes, that’s the one. I thought everyone knew it was a stir tool too in addition to seeing the different light colors for battery levels from the top. Kinda useful and more so than the stir tool for me, LOL. Consider it a PSA thenTruth is I did not know one existed.
I stared at my TM2 and pinched at the protrusion that looks like a button... source of the blinking tiny lights.
") .
. That's the way to go!
I have been assembling a database of TM information; some from reading and some from my measuring.Does anyone know the exact measurements for the o-ring on the poker?
Mine tore apart and I bought replacements from a local store. The o-ring fits on the poker itself but it makes it where the poker doesn’t go into/out of the slot unless I use a lot of force.
