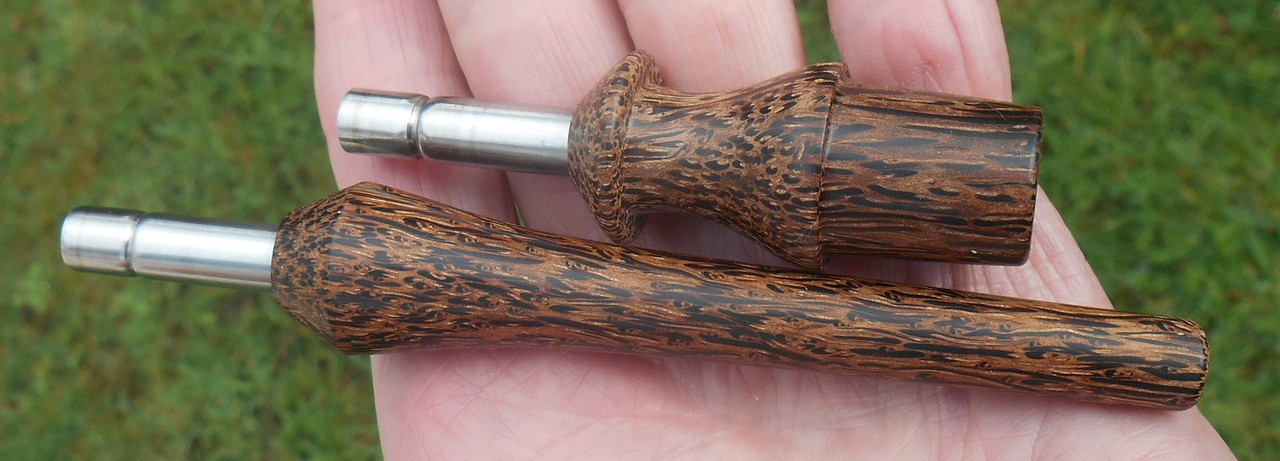
You've done a excellent job on that GTR style Padauk
@blokenoname 
glad I was able to help in a minor way. Must have a bash at one of those.
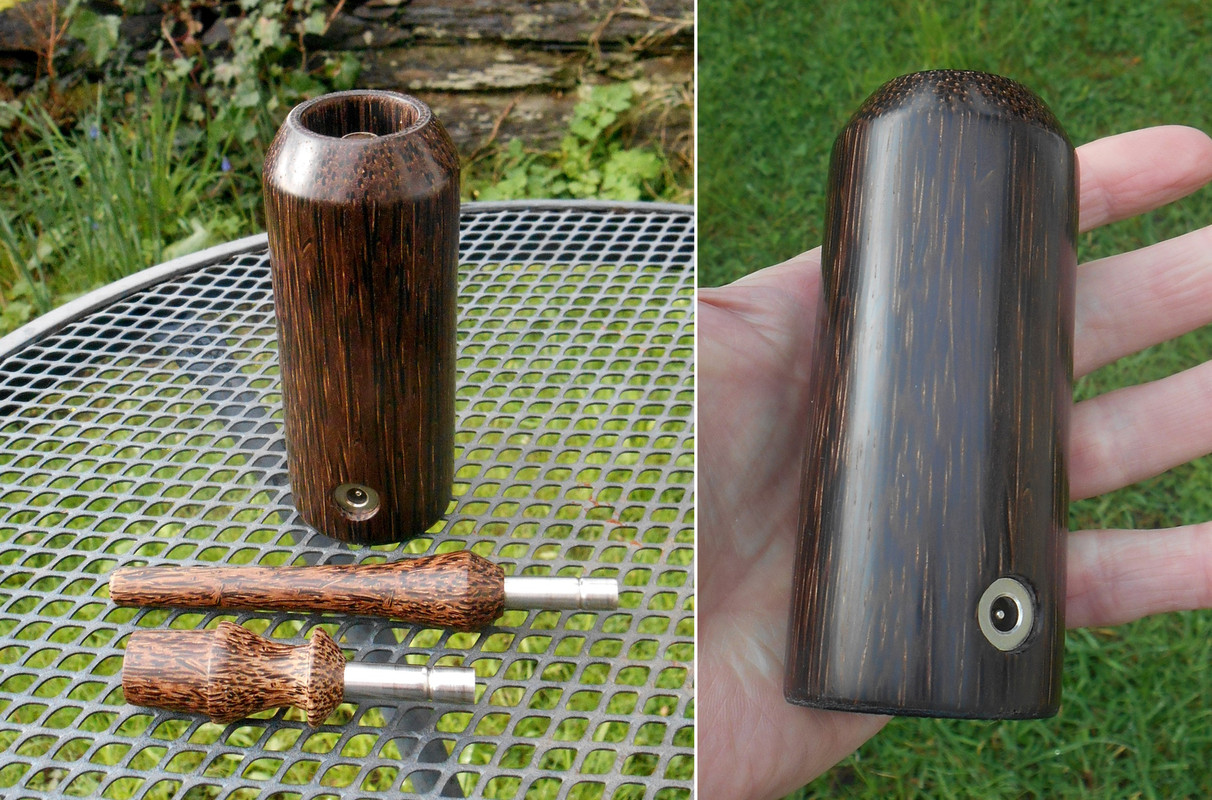
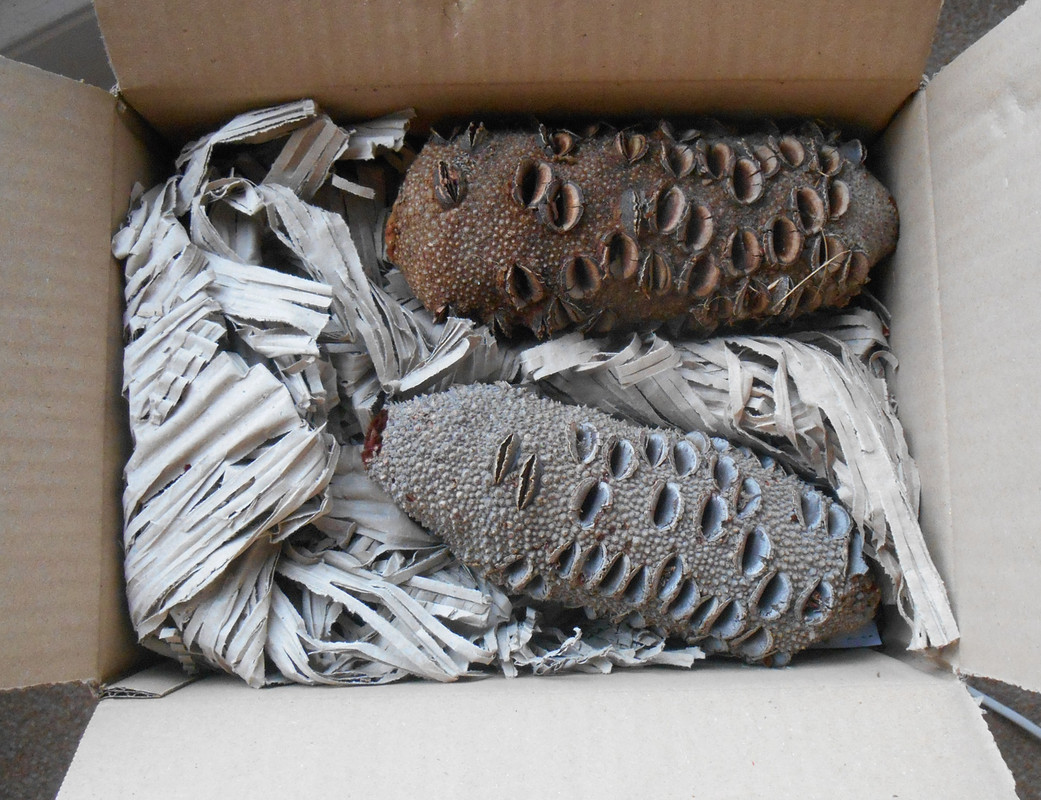
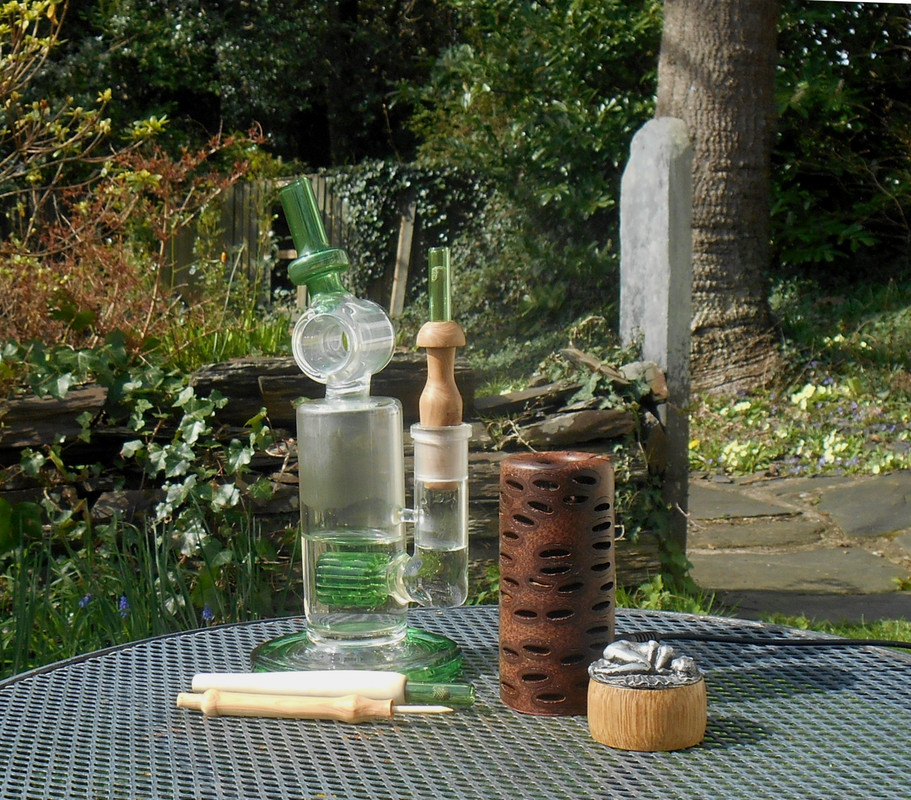
Here's the Banksia Pod log I mentioned:
The great thing about DIY - as Blokenoname demonstrates above - is that you can build whatever you want. It's an elevated form of self-indulgence - not merely owning the log you want but more importantly, gaining the satisfaction of having built it.
There's something especially exotic about a Banksia log and that became evident from the moment the pod was unboxed.
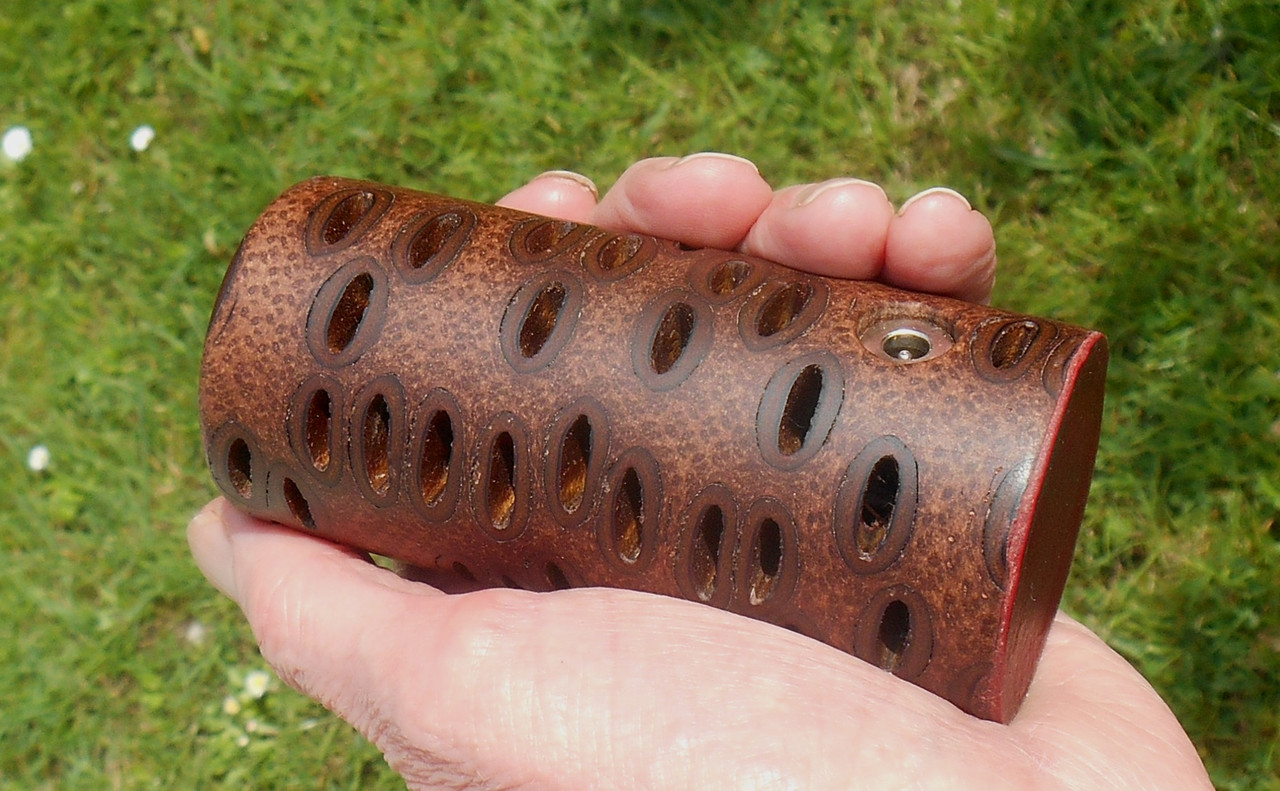
It's wood.. but somehow not wood. Put it on the lathe, switch on and the seed capsules fly out of those eyelets. There's some fluffy fibrous material to remove and some woody material too. Facemask and good ventilation highly recommended.
A few build details. Most of the work follows the standard pattern - take it to the round, drill base and heater wells, then through hole and connector hole, countersink connector hole. Then sand, sand, sand. The eyelets add a couple of minor complications. Where they intersect with the base they need to be filled in, otherwise the leather base covering will have nothing to adhere to. I did this by mixing Banksia dust from the lathe work with PVA into a paste and using that as a filler, then sanding to smooth when set. The other issue was that I usually place the centre of the connector hole 1.5cm above the base of the log. Here it had to be 2cm to avoid cutting through one of the eyelets.
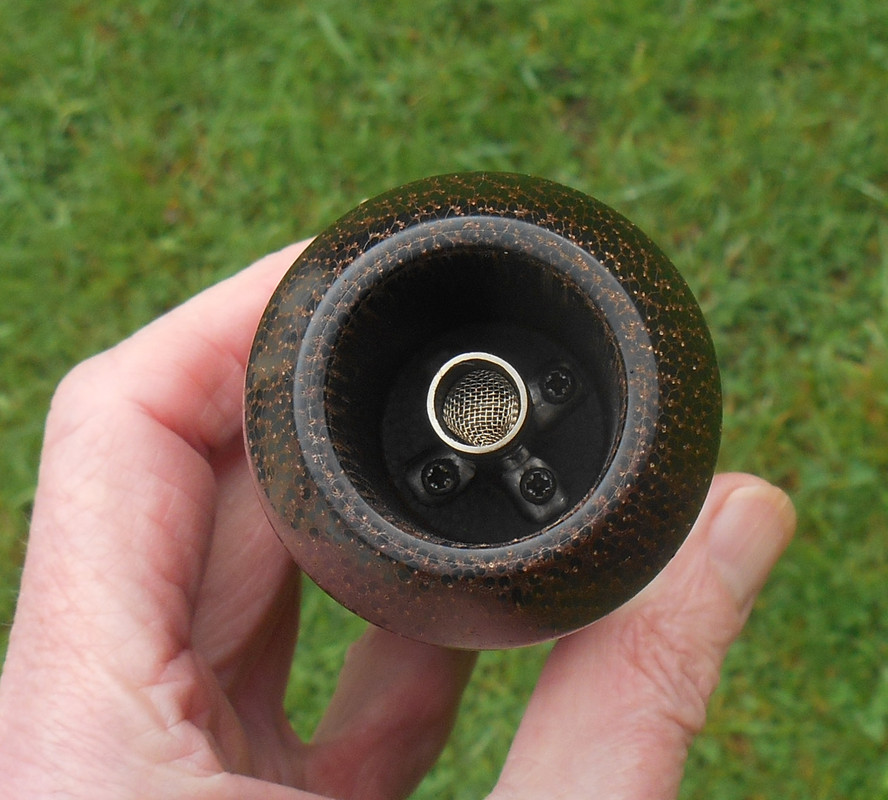
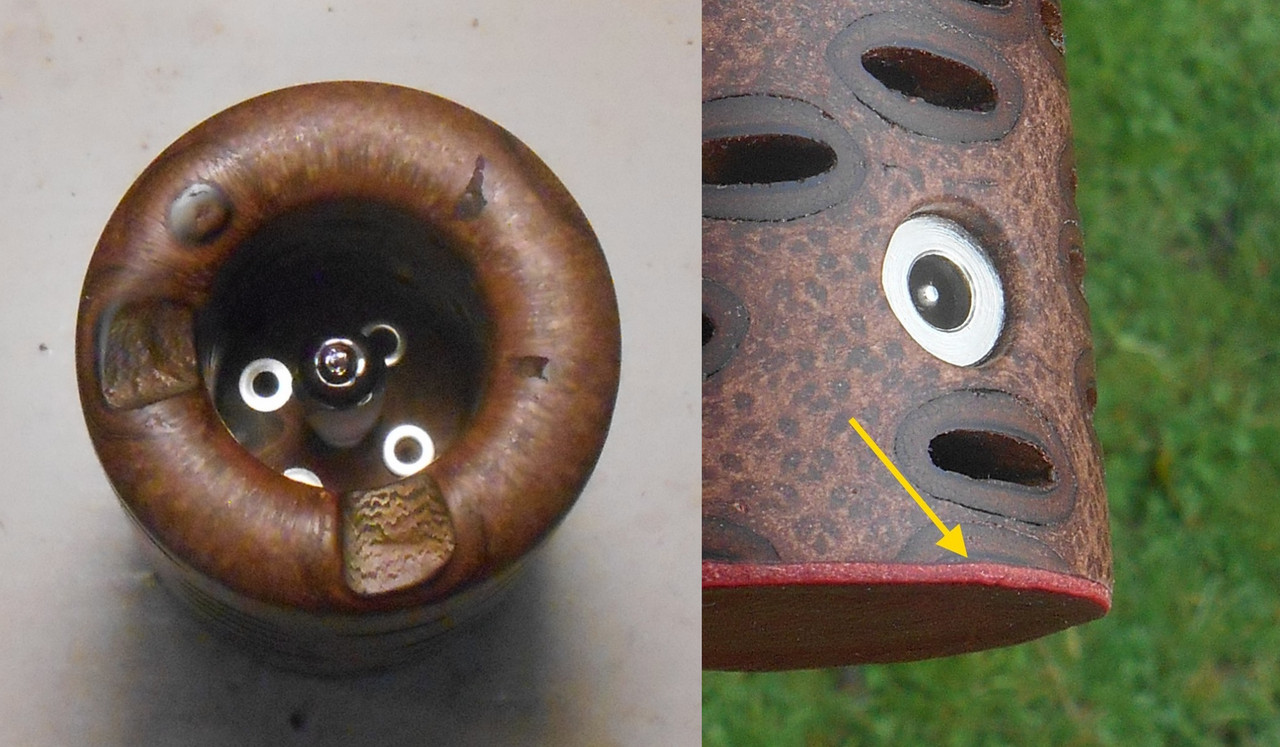
Left shows the heater well with IR halogen bulb in position and four washers over the heater cover screw guide holes. This ensures a little extra air inlet space and reduces heat transmission from the heater cover to the log. On the right the yellow arrow shows an infilled eyelet.
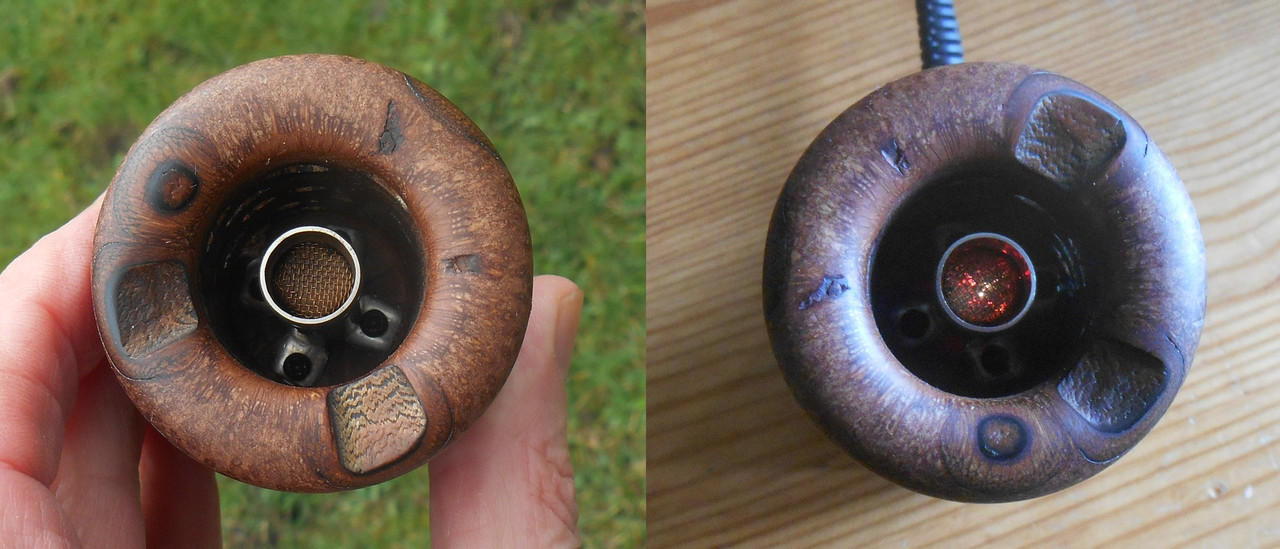
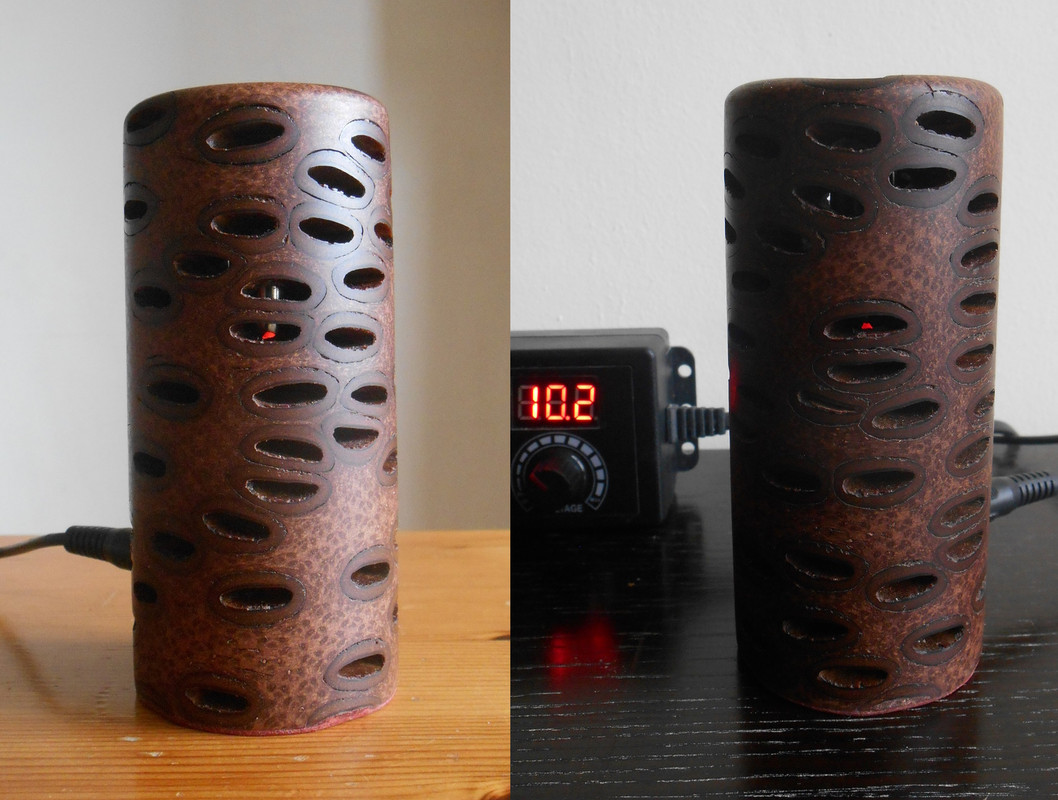
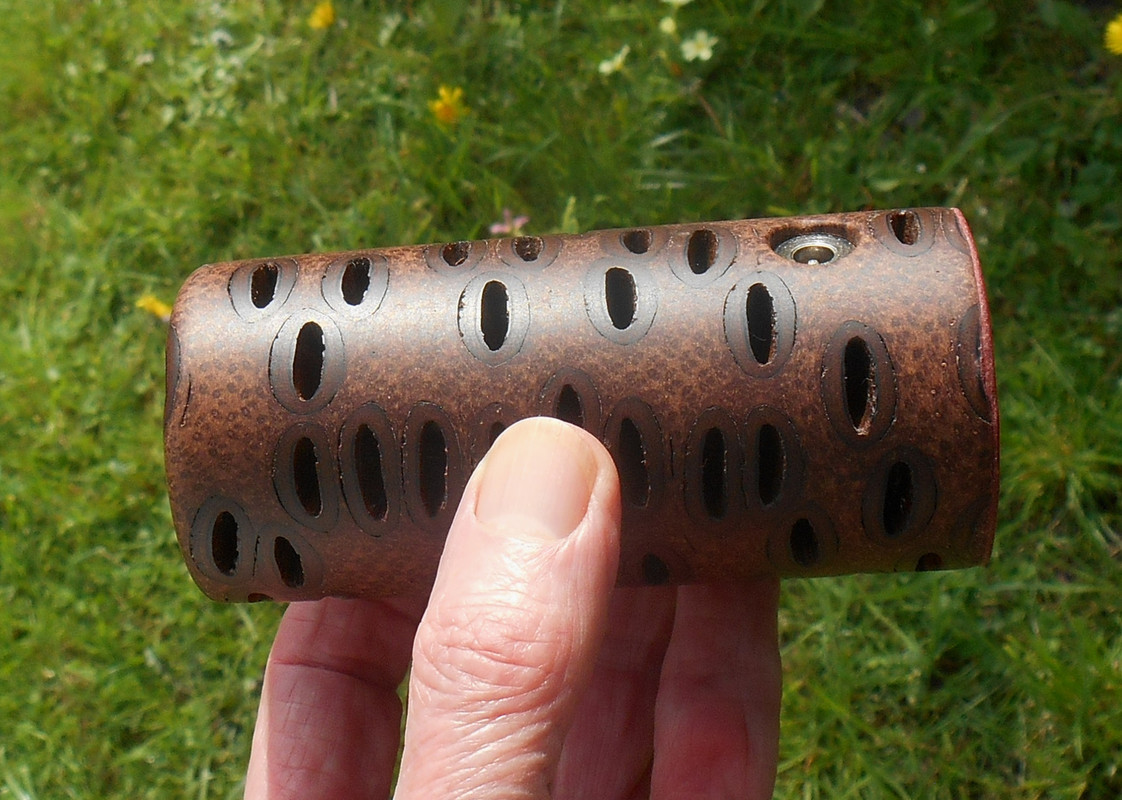
Completed unit. Notice I used anodized stainless steel screws to secure the heater cover. This makes them practically invisible in the eyelets. The warm red glow of the infra red bulb provides an additional bonus in a Banksia unit as it's visible not only from the top down...
It's quite a subtle effect and difficult to capture on film but light escapes through the air inlets at the base of the heater cover and is occasionally visible through the eyelets.
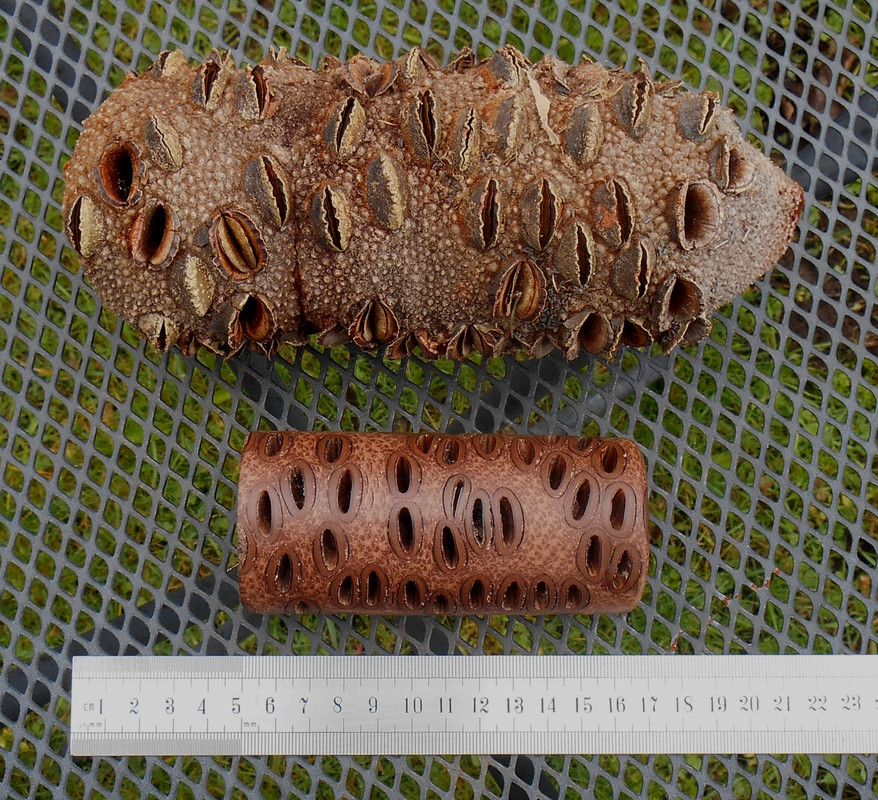
I removed the minimum amount of pod on the lathe so it's a decent size: 11.2cm or 4.4" in height and 5.1cm or 2" in girth.
Works fine. Cooks herb a treat at between 10 and 10.5v which is good considering that due to those eyelets there's very little 'heat sink' effect.
So, utterly unique - both in appearance and tactile quality. My work on your planet is now complete

Good logging.


 tonight


")

 is simply gorgeous!


 brought its gifts early, I immediately set out to do some glass cutting, soldering and leather trimming


 . So the voltage input needs to be reduced to about ~ 9.8V via a buck converter/vvps, to get the 6W heat output, I'm aiming for.


