Well... there's nothing revolutionary to my more modular approach with stems/mouthpieces/roasting-tubes (or whatever you call it)


It's foremost just the idea, to reduce clutter on the table and minimize the amount of stems/WPAs that need cleaning afterwards

I mean, most of the US based Log builders offer at least two different sized cores now (for the bigger & lesser hunger, so to say
):
Dave's UD
@underdog now comes with...
SC3/SC3+ core, that uses the traditional OD 3/8" (9,5mm) tube, that accepts 5/16" or 8mm ss tips into the core and 13mm/10mm OD/ID glass going over the core (which is simply the backend/tube of any 14mm ground glass lab glass joint).
The Alpha/Alpha + core is using 1/2" OD tubing (12.7mm) and accepts 0.455" (11.5mm) ss tips into the core.
Then there is the AXL, which apparently accepts the 10mm OD Dynavap tips.
Alan's
@Alan HeatIsland/HI now comes with...
Either the traditional core, that uses the OD 3/8" (9,5mm) tube, that accepts 5/16" or 8mm ss tips into the core and 13mm/10mm OD/ID glass going over the core.
Or a larger OD 7/16" (11.1mm) core, that'll either accept 3/8" (9.5mm) ss tips into the core, or (if he drilled the ID of the 7/16" tube out to 10mm at the top, will then accept the 10mm Dynavap tips. The OD 7/16" core also allows the glass stems & GonGs from the Arizer Air/Solo to slip over the core. It's a neat fit.
Andy's E-Nano (and it's latest iteration) seem to use the classic OD 3/8" tube for a core, machined down a bit at the top, to provide a better fit (and a stop) for the custom made glass stems/GonGs, which fit the 9.5mm OD of the core a bit more snug and are also made from thicker glass, than the standard 10mm/13mm lab glass tubing.
Regarding the Nano XL, I can only come up with guess work re it's core tubing, from the look of it. As it's custom made glass stems accept the rimmed Arizer Elbow screens at the top, it'll probably be no larger, than a 10mm OD

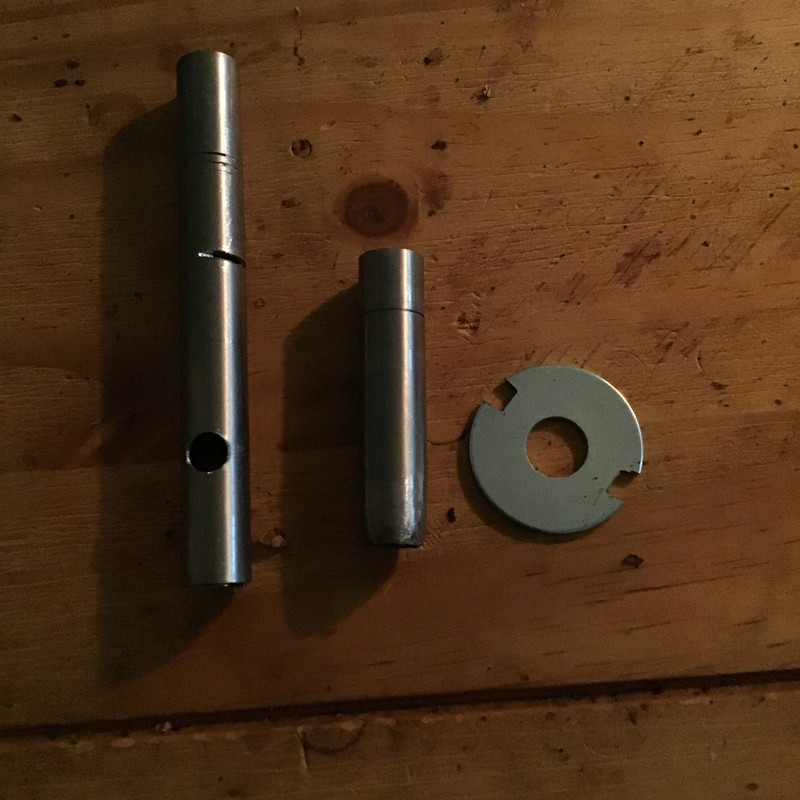
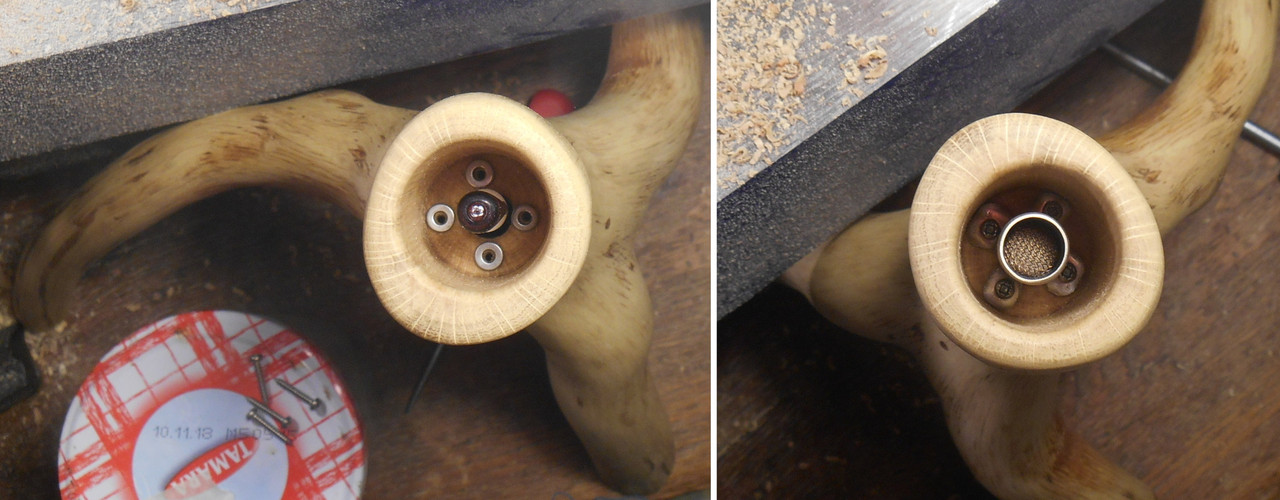
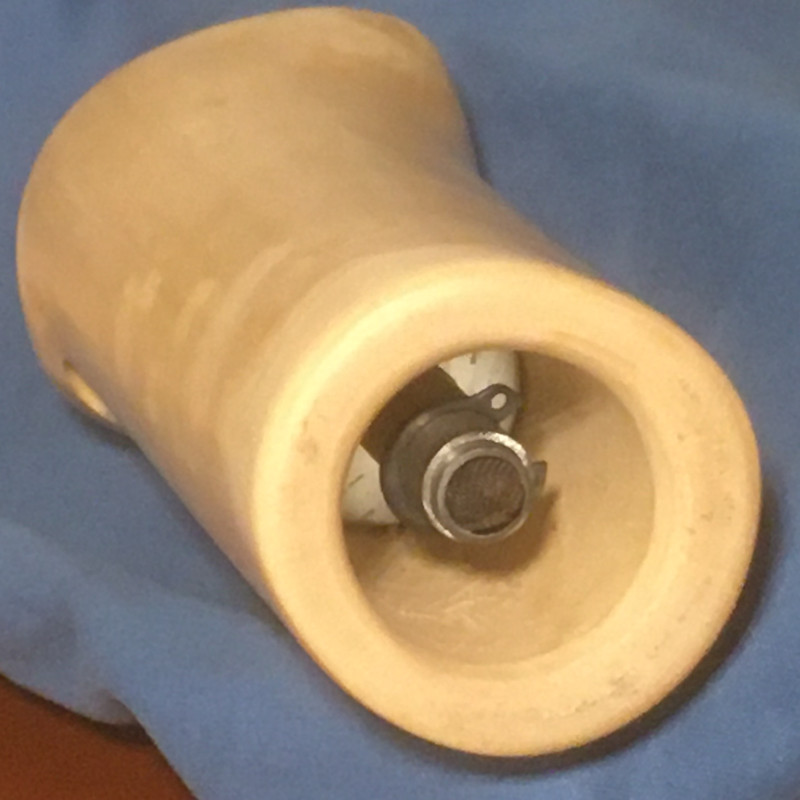
This here are my own two main core sizes, before I added my new stepped 8mm/9mm heater cover, you find on the page before this one.
Left is the wider 11mm/10mm OD/ID core, which can hold either a 10W halo

; a 7.5W or a 10W heater cartridge and will accept 10mm Dynavap or DIY ss & glass tips to slip into the core and the Arizer Air/Solo glass for slipping over.
Right is the 3/8" (9.5mm) standard core, which comes with a 7.5W cartridge or a 95J ceramic resistor for a heater and accepts 5/16" or 8mm ss tips... and the lab glass.

 kostenlose foto app
What I like very much with the self turned stems is the approach, to roll several use cases into one stem/WonG. Doesn't need to be a one size fits all solution, which is a bit over the top me thinks, but having (for instance) a relatively slender and rather shortish dd stem, that doubles as a 14mm or 18mm WPA, like Ed's dd stem for his Woodscents or like
@Alan does some of his custom roasting -tubes, I really find aesthetically & functionally pleasing

.
As this is a bit hard to accomplish w/out a lathe (only have a band sander right now and getting the angle for the tapered joint exactly right, remains a PITA of trial & error there

), I basically tried to imitate that design with my old, battered & lengthened & glass lined Dynavap NonaVong body, which terminates in a 14mm WonG joint and also with my short bamboo stem with the 14mm ground glass joint attached (found a 7,5 cm to 8 cm length for such a combo stem (sans tip) quite pleasing there). Vapor is cooled enough for direct draw -due to the glass liner, I guess-, while still providing enough stability, for its use with a bong.
Ed's TNT:

Some of Alan's custom roasting tubes with 18mm WonG end:

My own modified NonaVong body with 8mm ss tip:

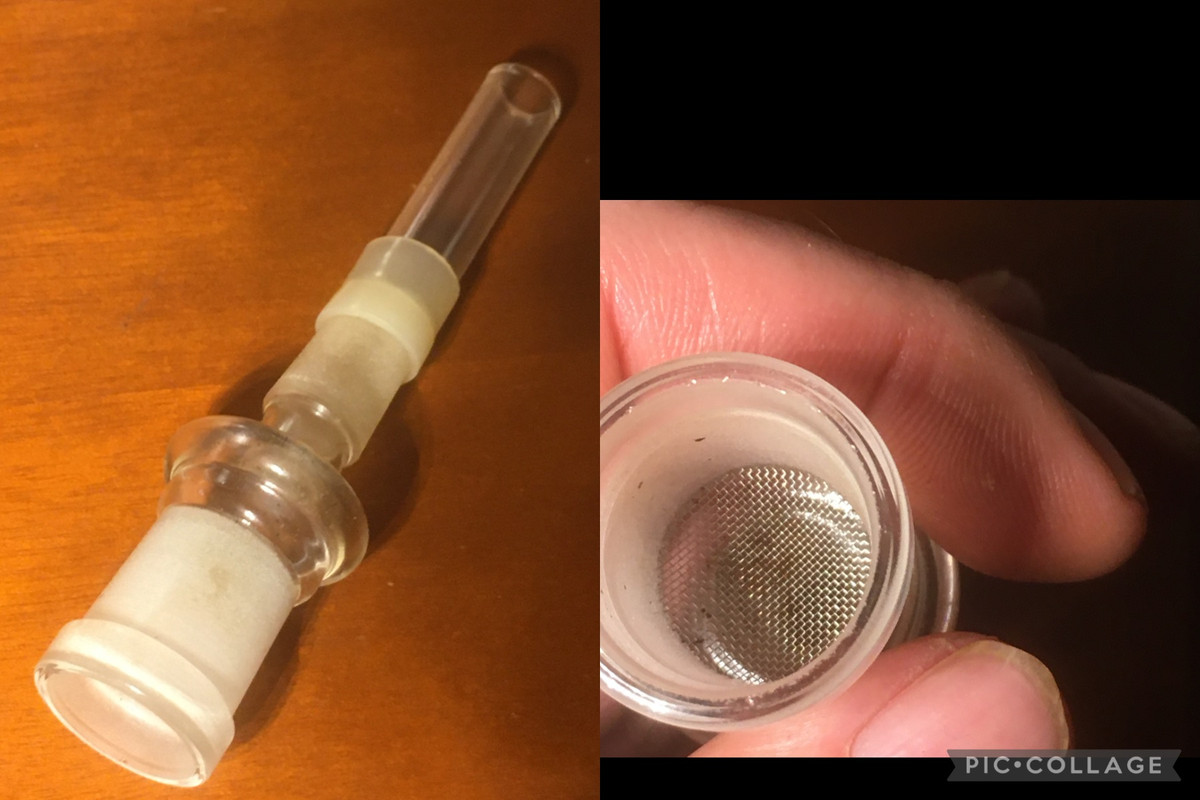
Also got a nice combo stem from a Dreamwood Roasty butane vape (originally comes with an 8mm dimpled glass bowl), that wasn't too expensive, doubles as a 14mm WonG and comes with an 8mm countersink. It now takes one of my new 10mm OD ss DIY tips, that go over my new 8mm/9mm heater cover

(I quite like the telescopic design, I came up with there. The 9mm chamber itself is cut from tubing with a 0.5mm wall to add stability, while the 8mm backend and the 10mm outer sleeve both use the tubing with a 0.3mm wall, which keeps it lightweight and will slip over the HC without friction, so that it won't become stuck.
It sits very stable on the HC, while also having a clear defined herb chamber that shows you, up to which height you can fill up the tip without blocking it from slipping over the cover.)


Anyway... The combo approach reduces the clutter on your table top (or wood stand) considerably, I find


One reason I got for the more modular approach there... is that after 3 years or so, I'm now drowning in all the DIY stems/WPAs I made, mostly copying the other Logs at fist. By now, I have a whole bag full of them and most of them get never used


.
And when I use them, the table fills up with clutter fast! I mean... look at the classic 3/8" core! You usually get a dd stem and and a 14mm and an 18mm WPA for the 8mm steel tips; then comes the 13/10mm lab-glass dd stem and last but not least, a 14mm and an 18mm GonG adapter. Makes 6 pieces all in all, rolling around on your table! Then I decide to get another Misty out, with my larger 11mm heater cover..
and out comes the fitting Airizer Air/Solo glass and the Dynavaps. And then there is the 12/9mm glass now for the new core and the DIY 10mm ss tip

By now... I've about 10 to 15 pieces to clean up


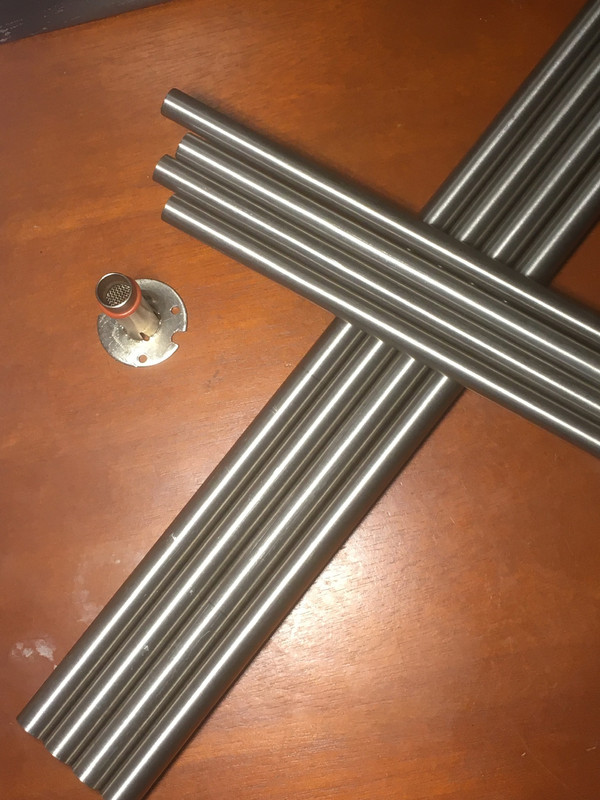
So we have (l to r) 8mm ss tip; 10mm Dynavap tip; 10mm DIY ss tip, which goes into the 11mm core and over the new9mm/8mm core with the heater sitting higher up in the core); a 12/9mm glass tip to go over the 9mm part of the new core; a 13/10mm glass tip that goes over 3/8" (9,5mm) standard core... and of course one of
@brainiac 's very own & very first plum WonG adapters, to provide an 18mm fit to the glass and which I shortened a bit, at the bottom end, to make it a bit more compact, given the length of the Dynavap, glass and DIY 10mm ss tip
So with the wider variety of core sizes, it's a more economic solution, to concentrate on maybe a single handful of nicely looking stems/adapters, that can take just any sized tip you throw at it, as long as it has an 8mm backend

And yes, it's all held together by simply friction fit. As long, as you don't take the glass liners out of the surrounding 12mm/8mm bamboo tubing ten times a day (for cleaning an iso soaked pipe cleaner will do the job perfectly well), a little bit of electrical tape around the middle of the glass liner will keep it nicely in place within the bamboo or wood tube... because glass tolerances
The boro straws are not lab glass, so the actual OD varies from piece to piece. Some will fit nice and snuggly on its own, some are just too fat, to get them in... and some will only fit loosely or even fall right through; for the latter I use the electrical tape then.
Bit more difficult is the fastening of a glass liner inside the 10mm ID of a 14mm gg joint GonG end, as you'll need some very thin 10/8mm silicone tubing for that and it's considerably harder, adjusting for too fat or too thin glass straws there. Either it doesn't fit snugly and the liner becomes loose to easily... or it'll break the glass, if the glass straw is to fat and you try pushing it in too hard.
But the really nice thing is, that the inner glass liner now serves as a means, to fit the different materials of a stem together via a friction fit around it
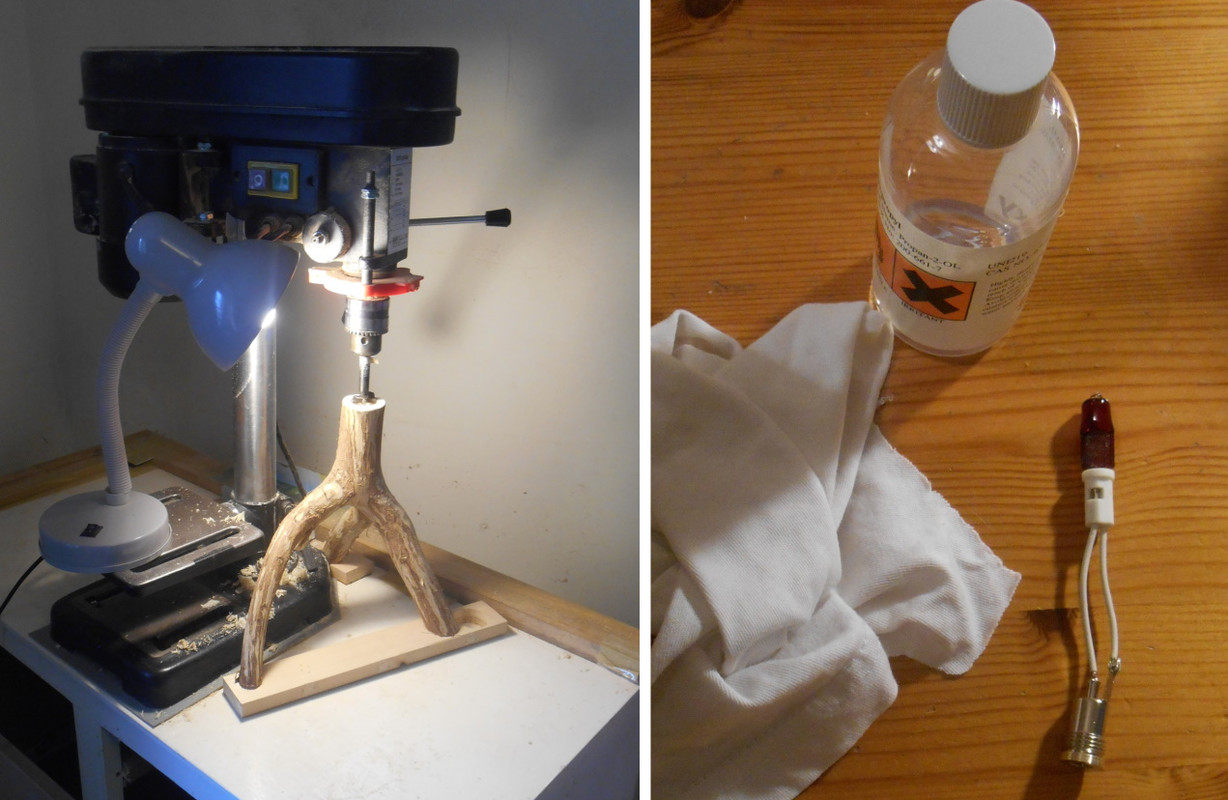
So... that's tonight's setup BTW...


 but I'm guessing you meant to tag @blokenoname
 on the horizon.... and wondered, that I obviously really did a stem for the Splinter, Daniel gave me back then


 enjoy electrical Log Vapes


 (hot rod within a metal/glass/ceramic tube + a heat shield


 , Jim!"... I'd say!


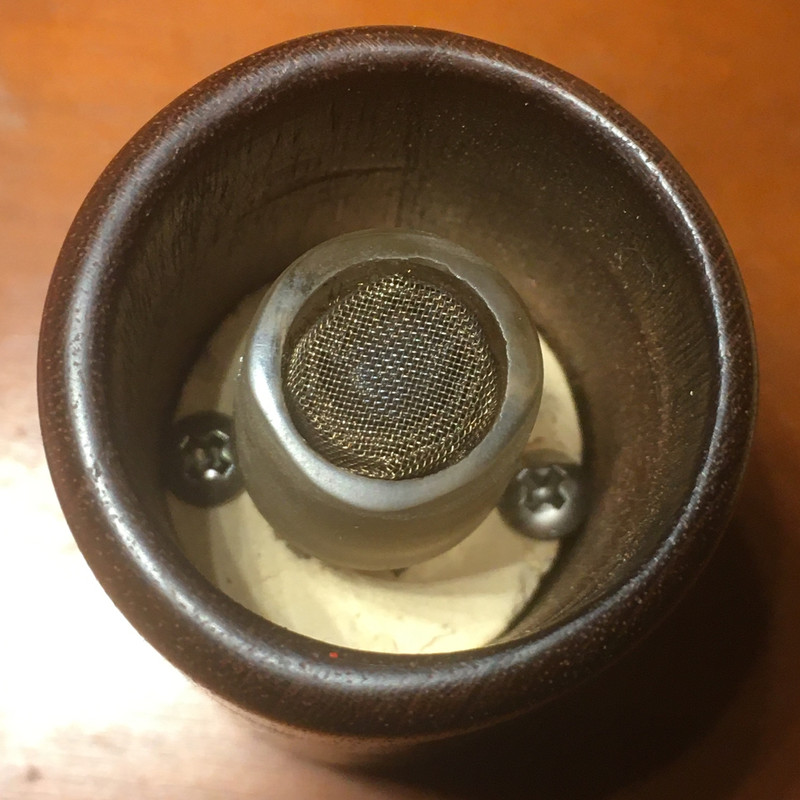
 with the Elbow screen & improvised herb chamber. Dialed it back to 11.6V.... and combusted again


 Building one of those is now on my to-do list.
 .
.


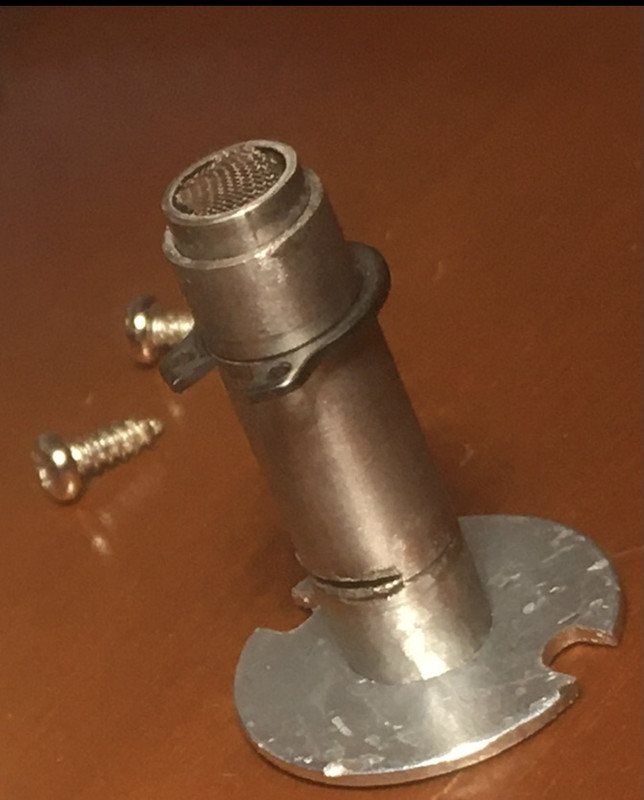
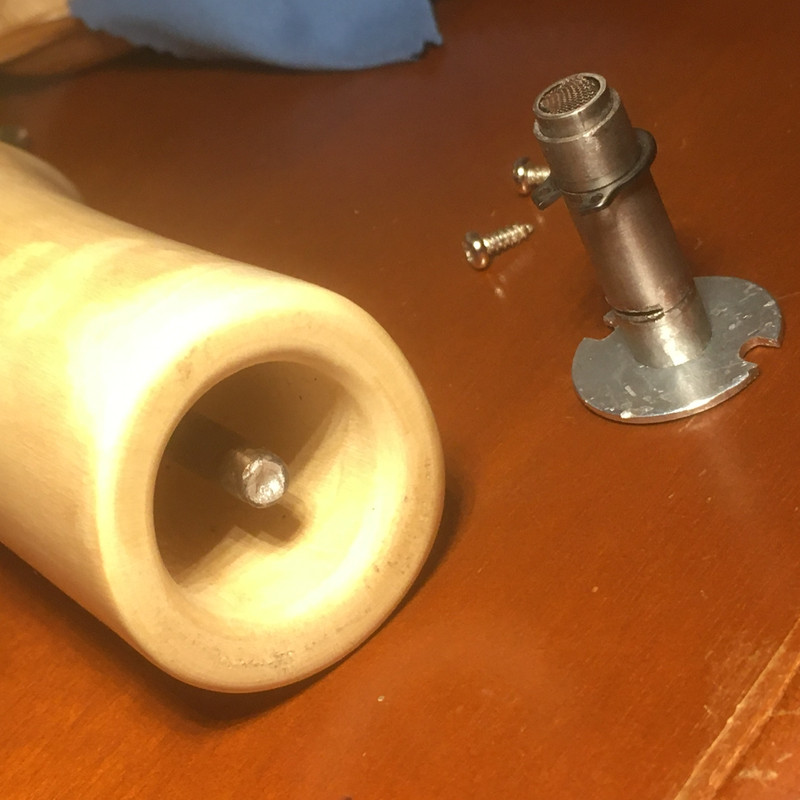
 and get the screws going


 pace way from
  , to see how that stuff is workable in comparison to stainless, and if we can maybe shave another Watt from the equation with Ti tubing.


 🛠
🛠


 ... there's still life in the old & battered Mahogany Sapele body
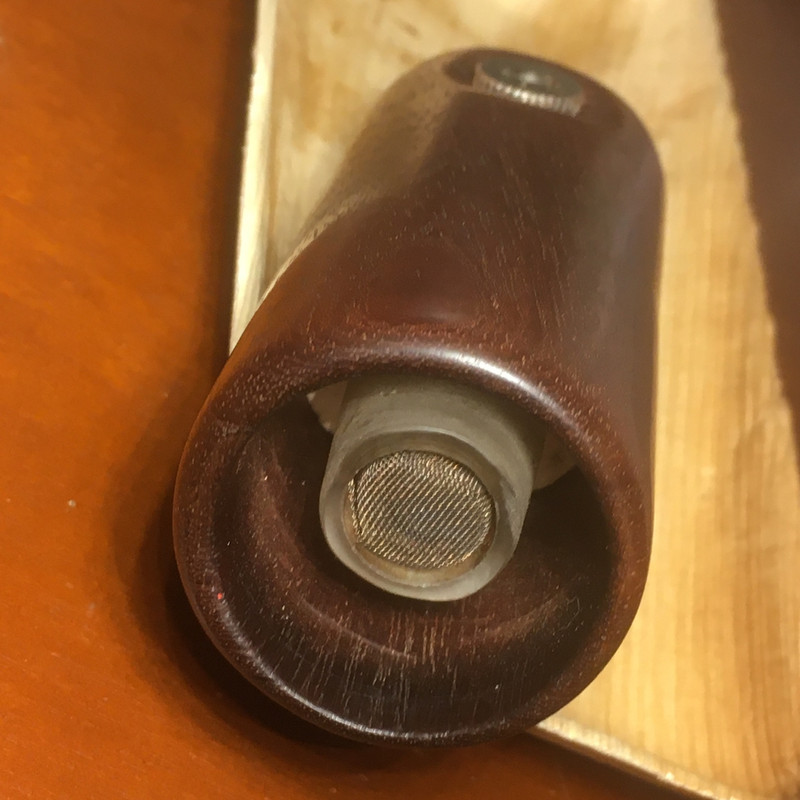
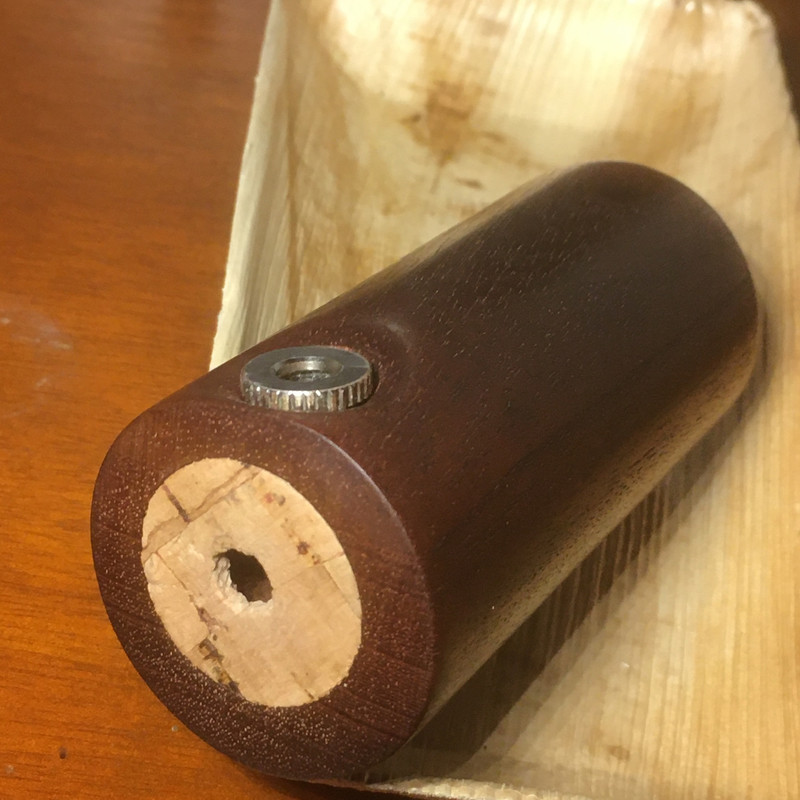
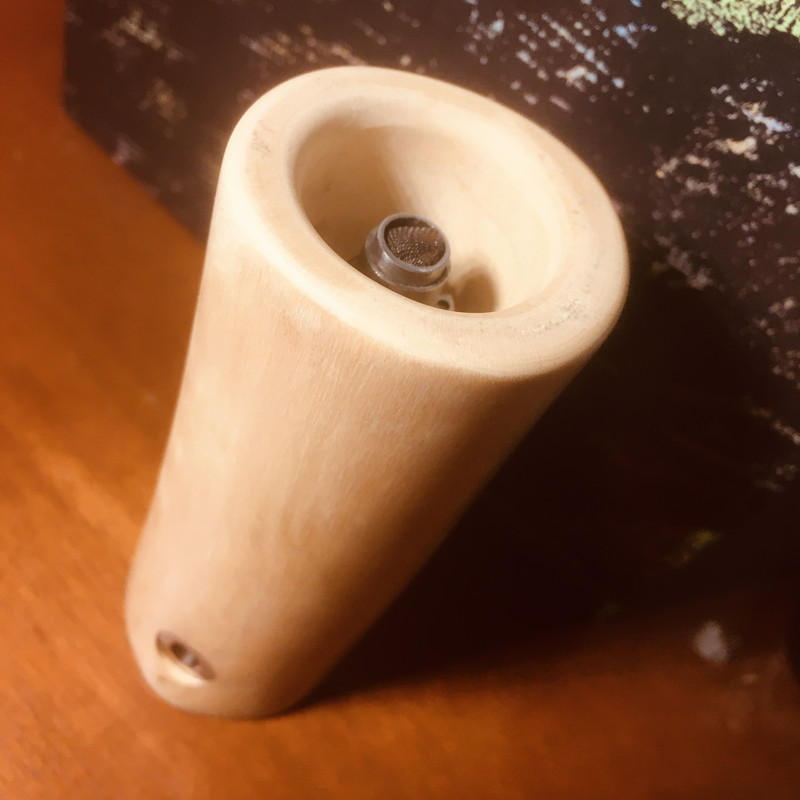
 (just look at the rough edges of the air intake slits in the pics above).