little maggie
Well-Known Member
Does it really matter if there are clouds?

Does it really matter if there are clouds?
I'm wondering why I don't get visible Vapor though, is it because I load not enough material for that to happen or does it depend on material?


I mean it's a tubo man. Just cruise.


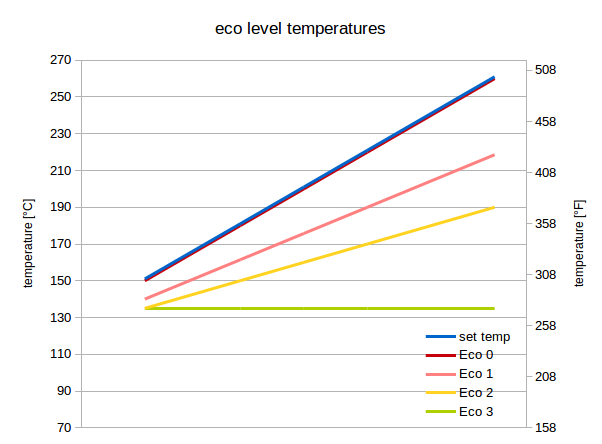
How do you set the desired temp in levels 1 and 2in levels 1 and 2 the temperature is lowered between 10 to 60degC depending on desired temperature
")
How do you set the desired temp in levels 1 and 2
Will this automatically come on in cruise mode
 EDIT
EDIT

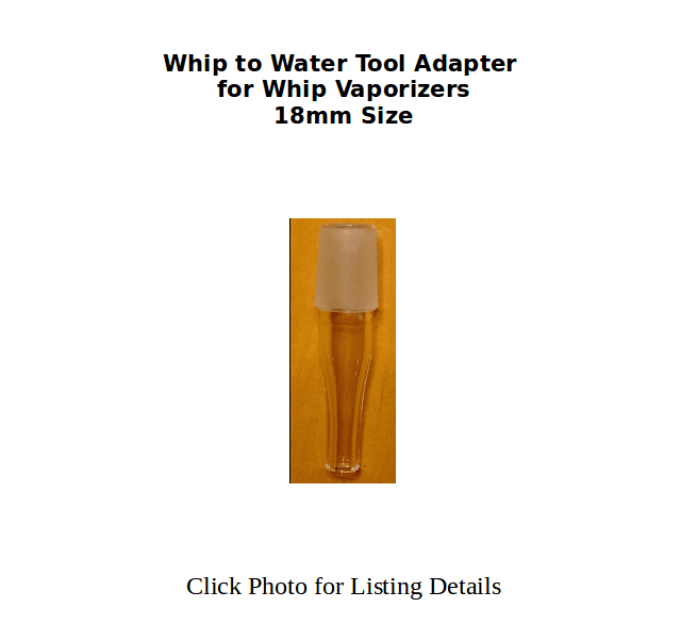
 actually they'd be perfect for the MVT which use 14mm native (iirc):
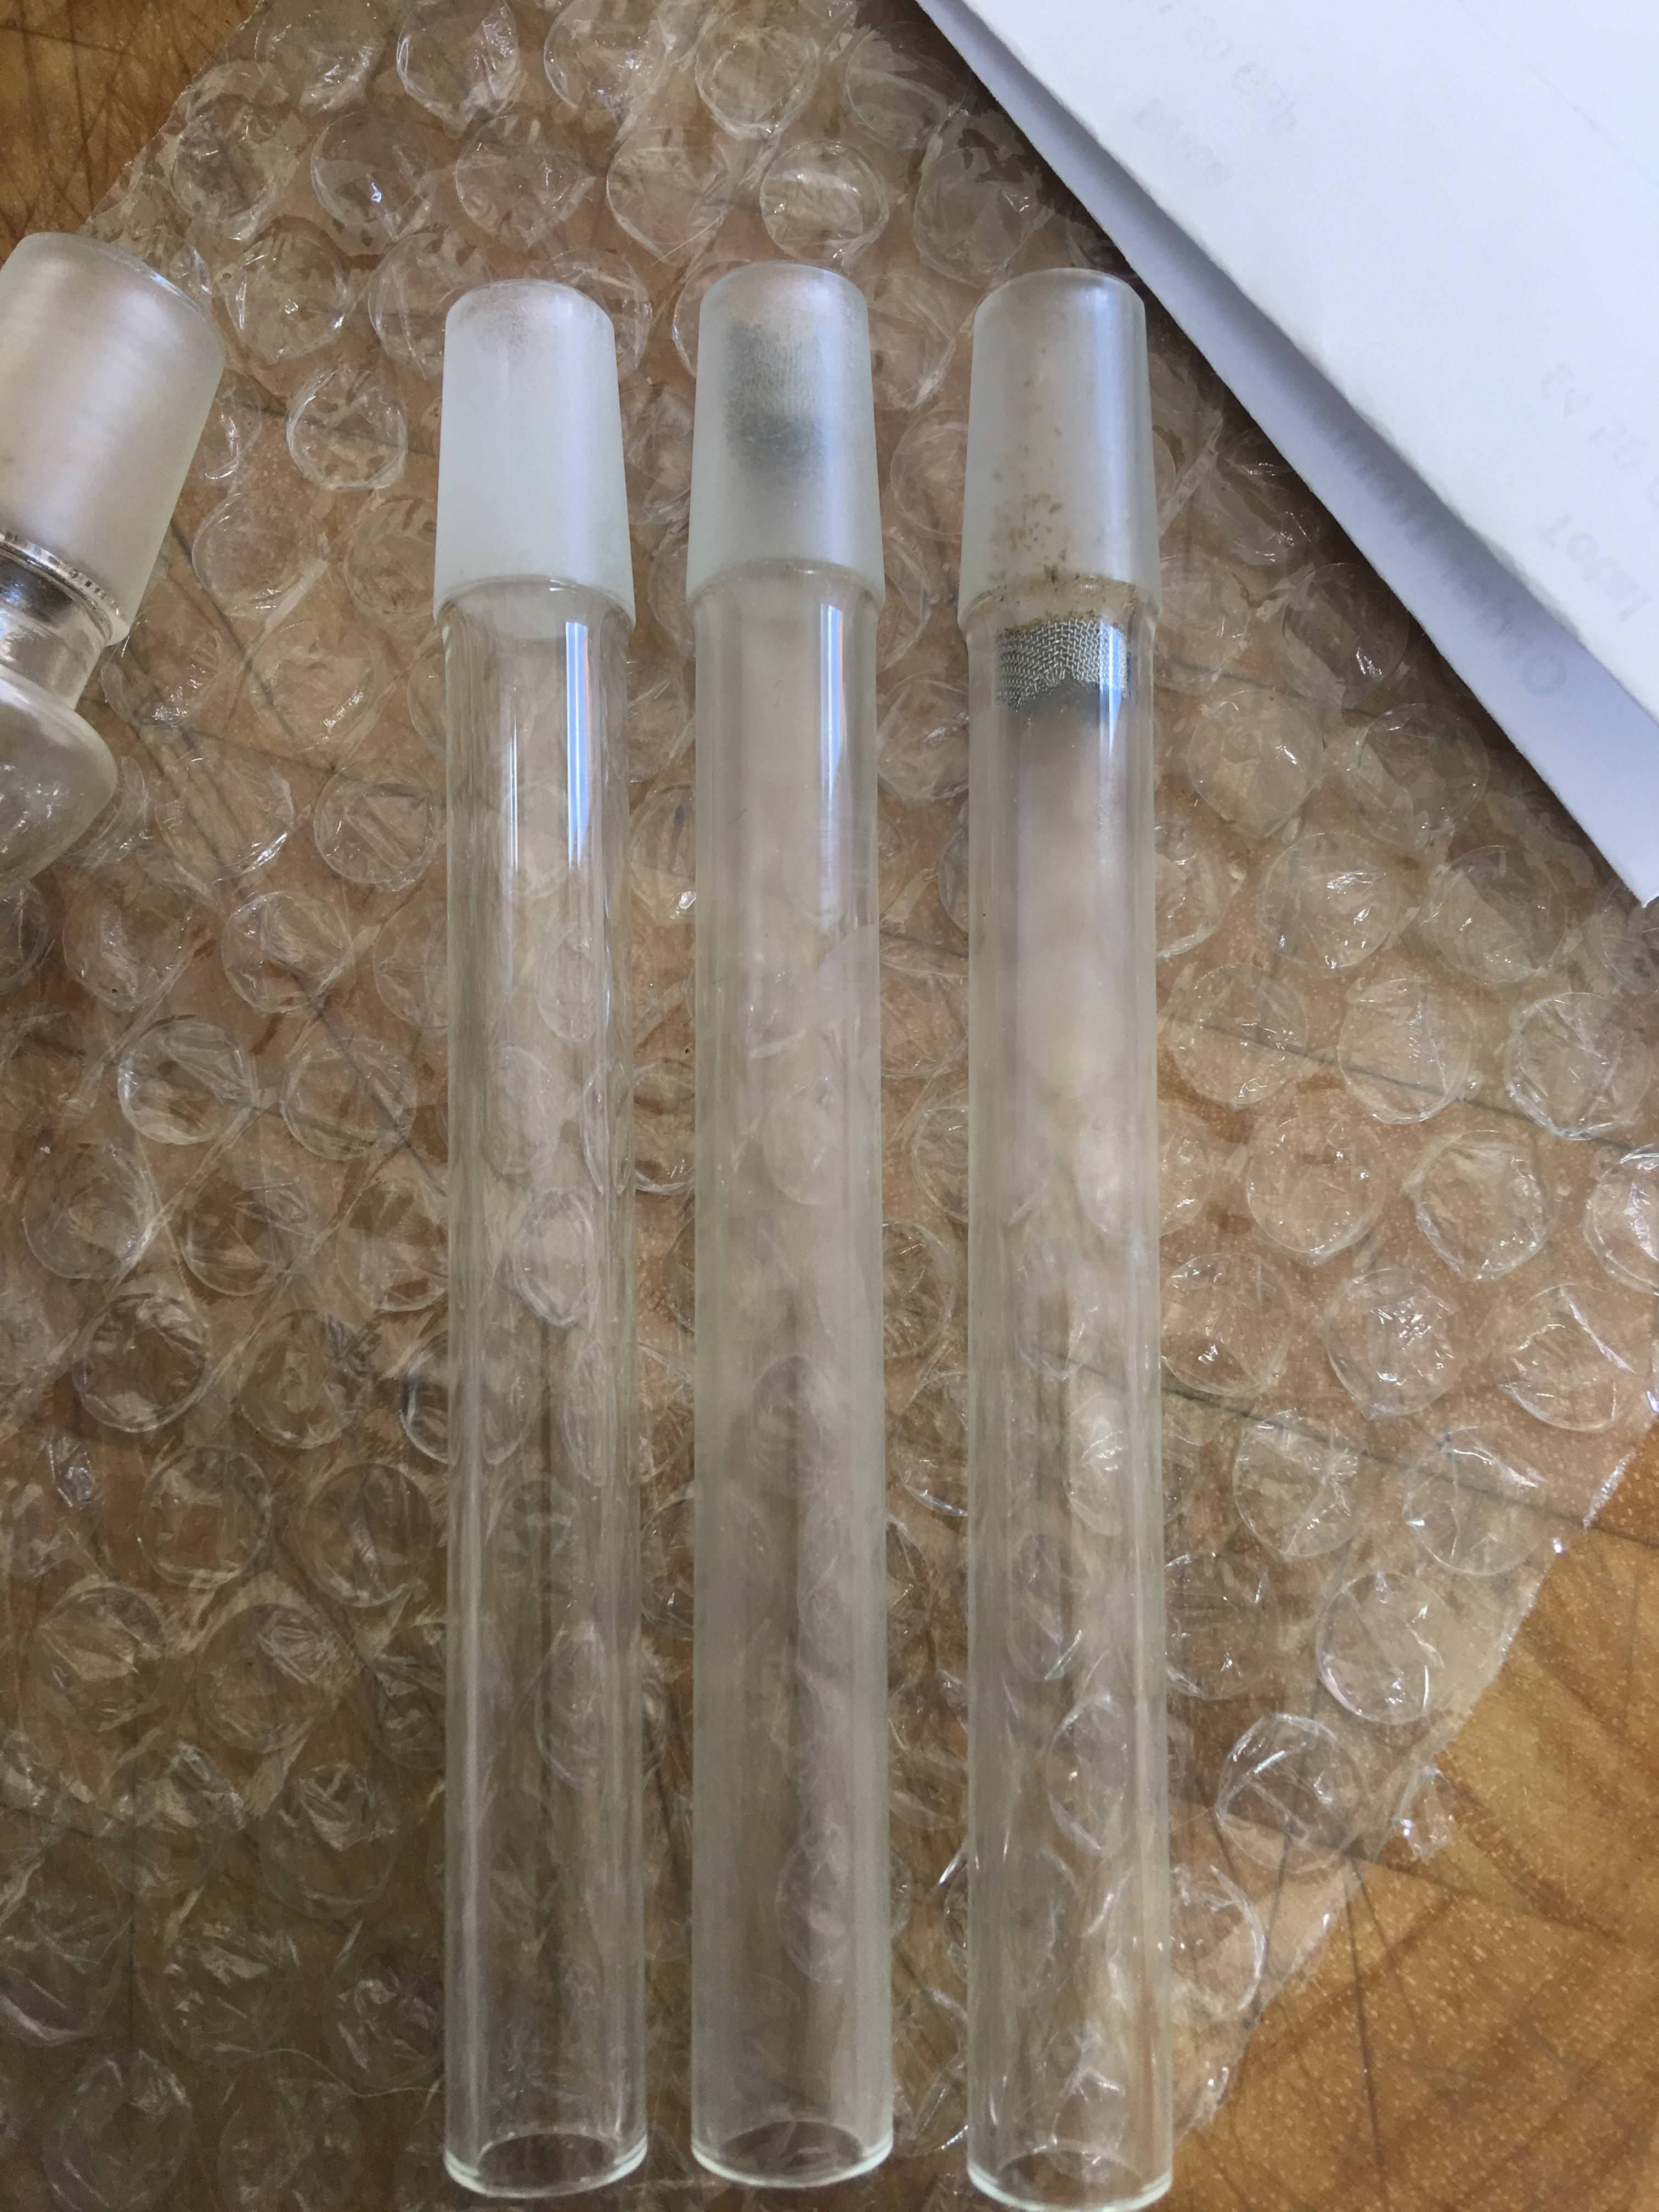
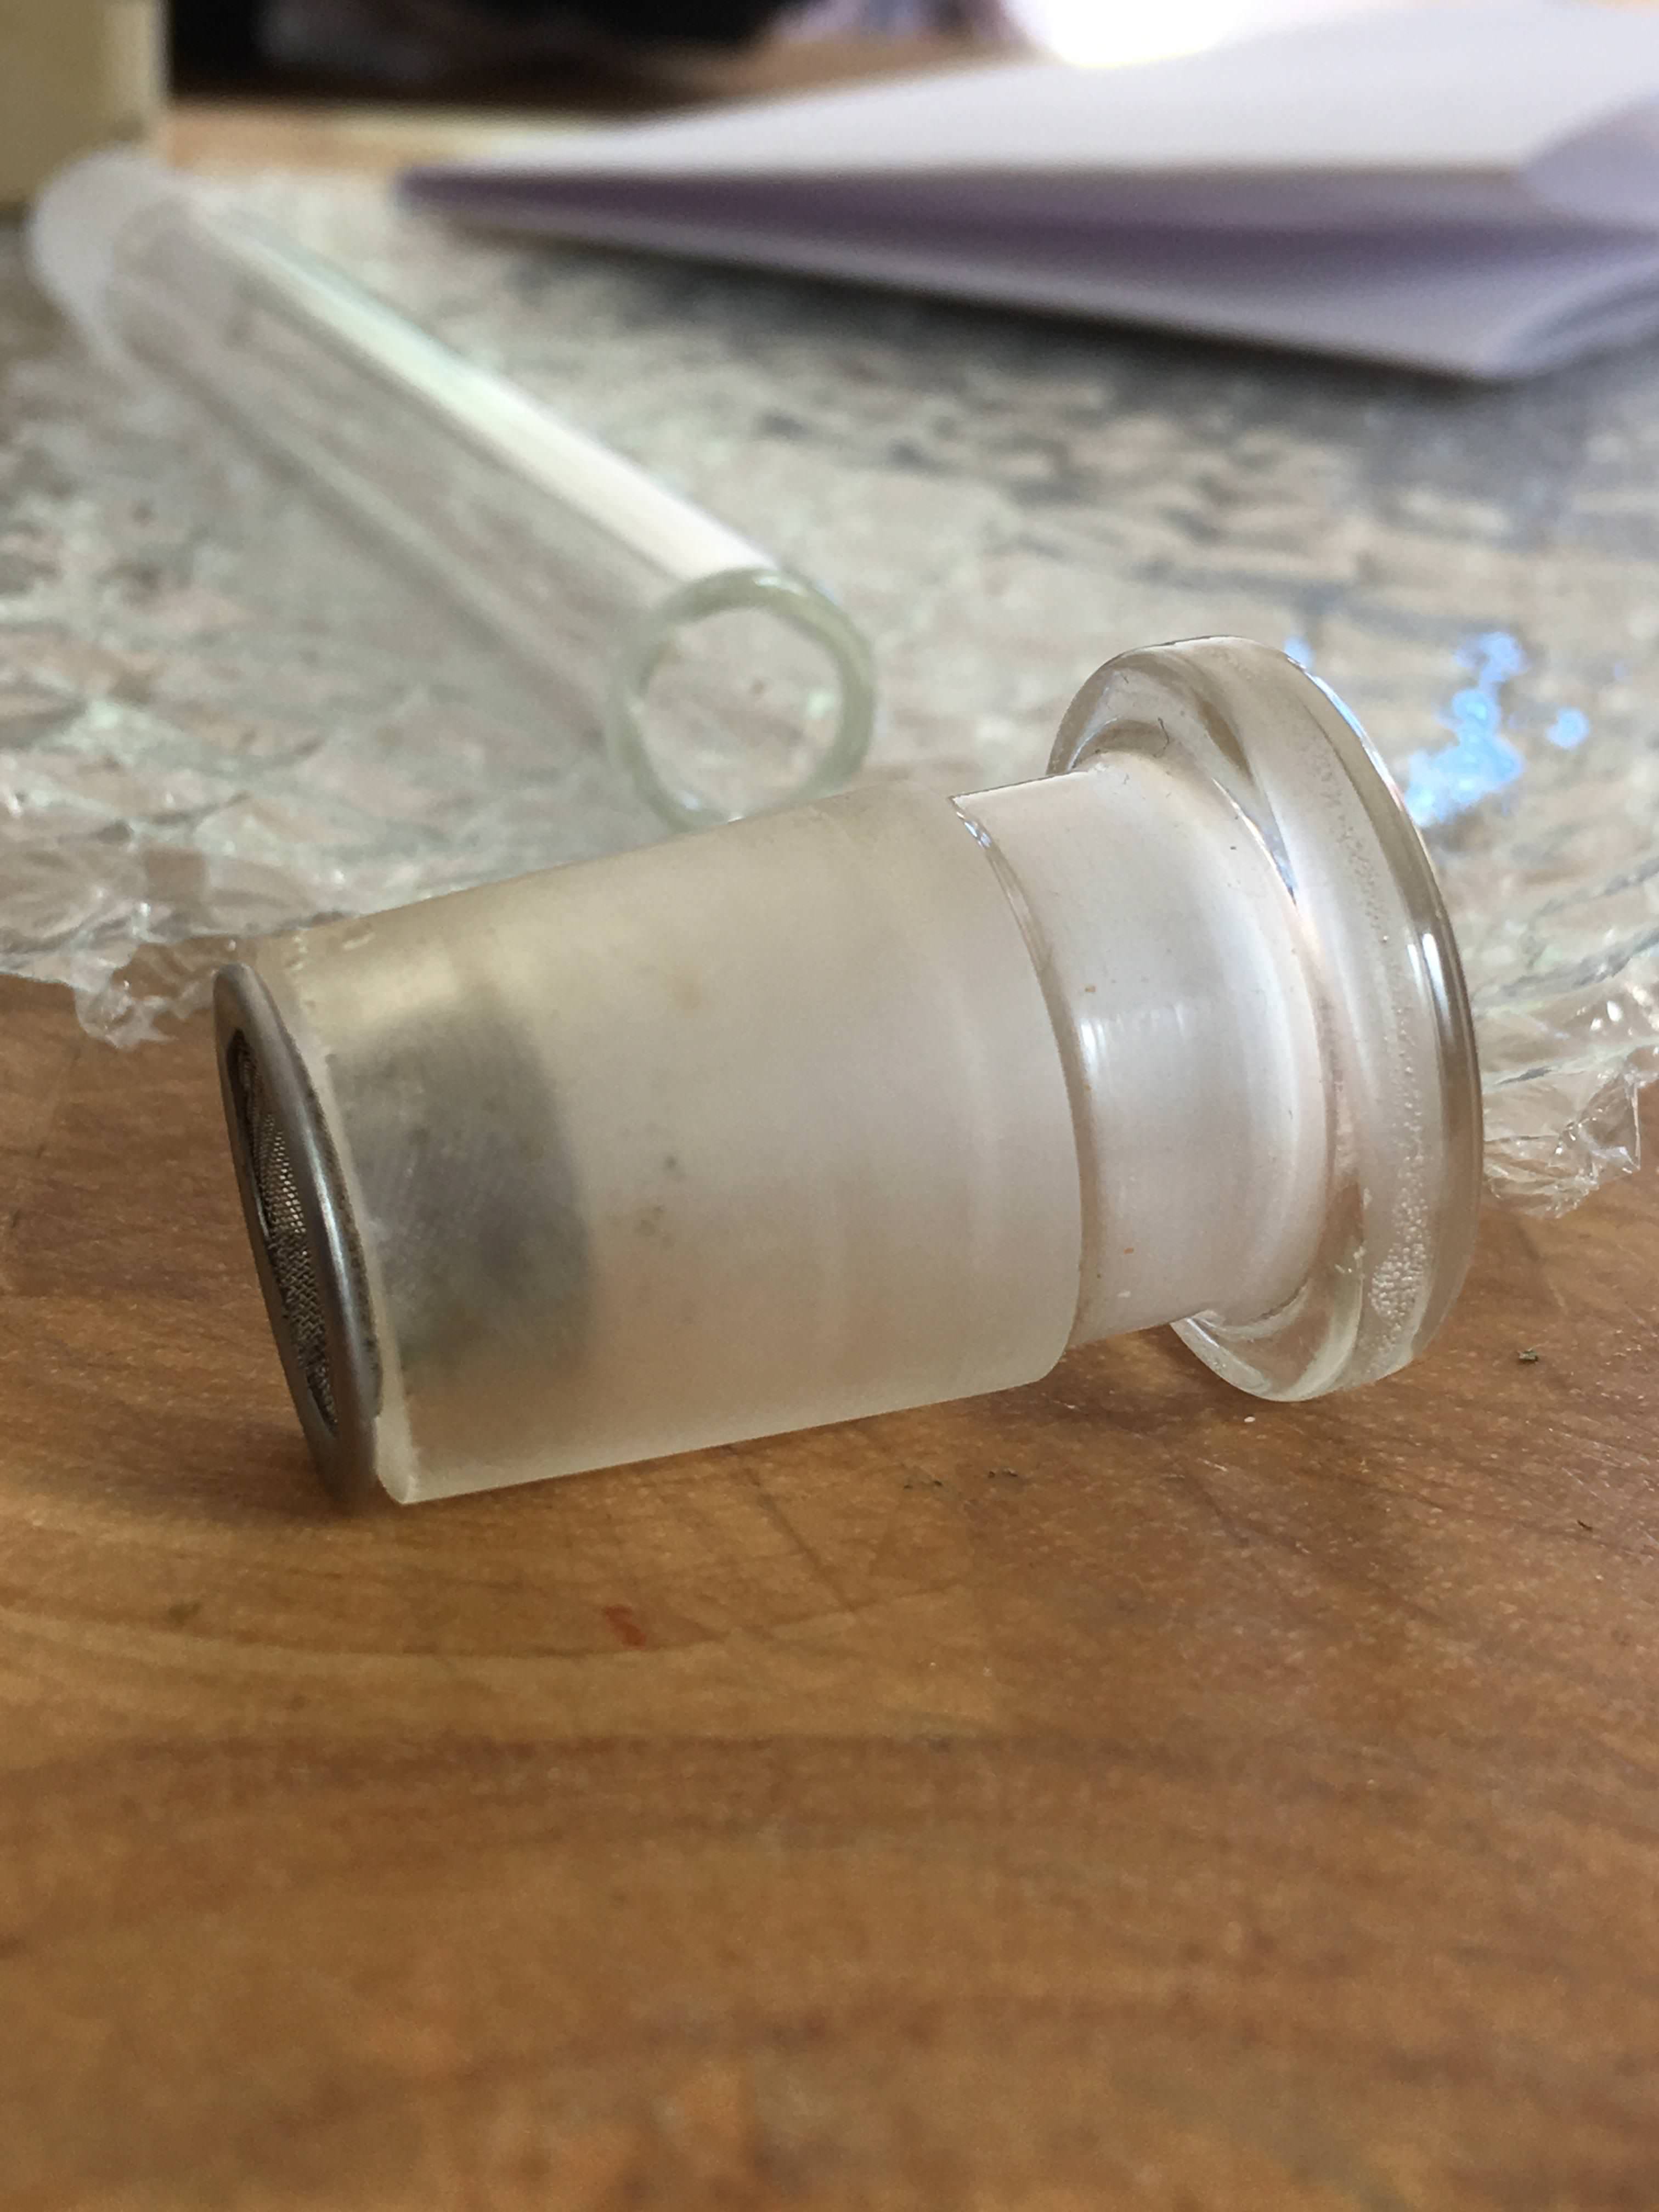
 they're completely smooth bore too and have no lip to rest a standard screen in at all
  no problem, I've ordered some basket screens I think will work and can wait to try these...
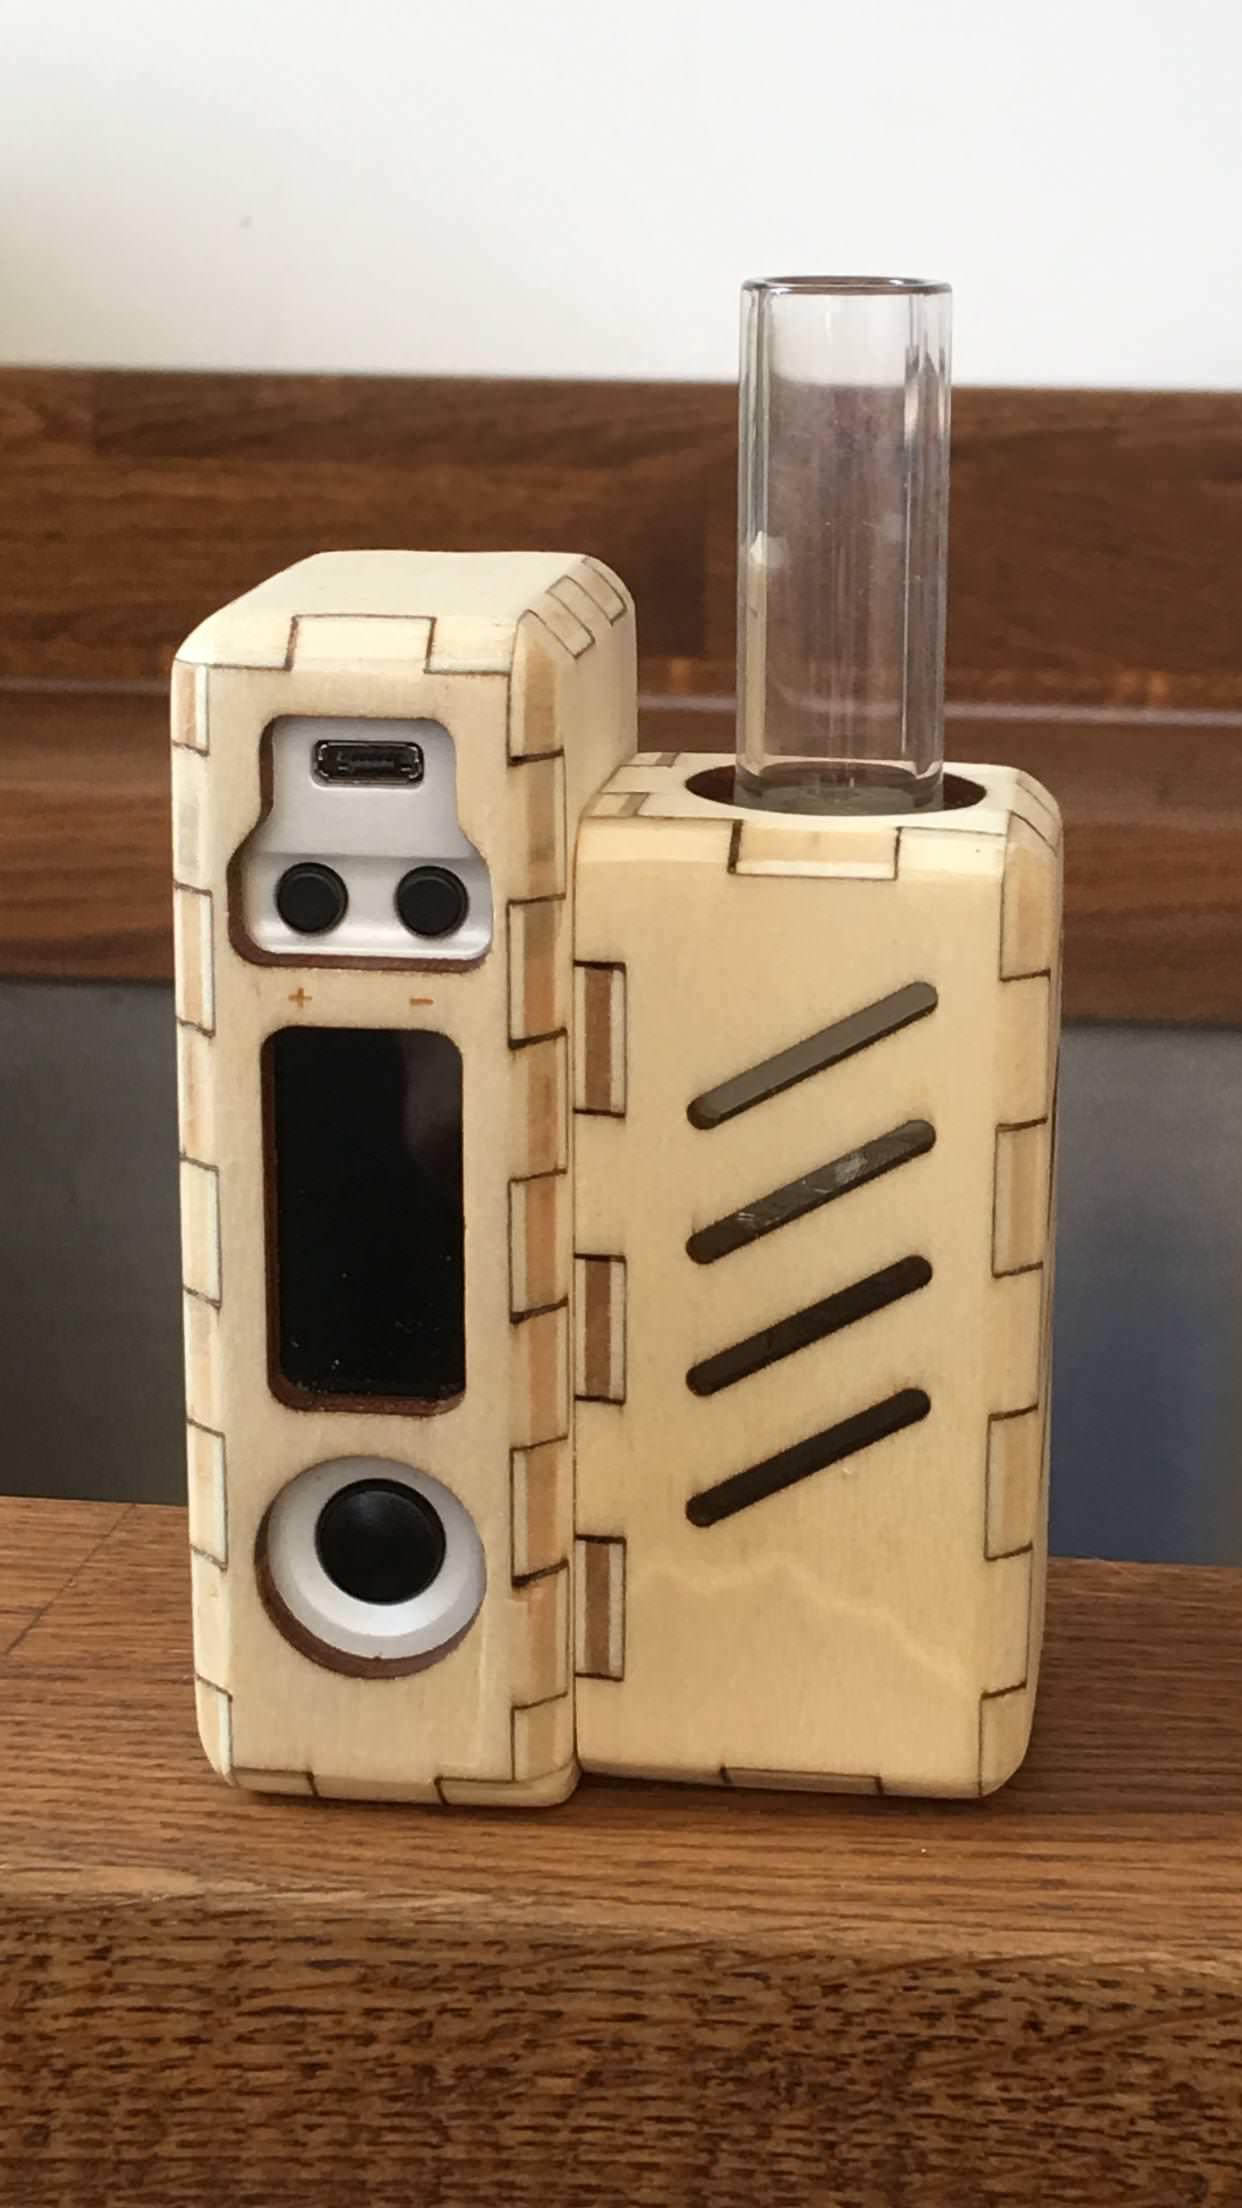
 )
)
 those pictures are big...
Very nice @Gray Area.
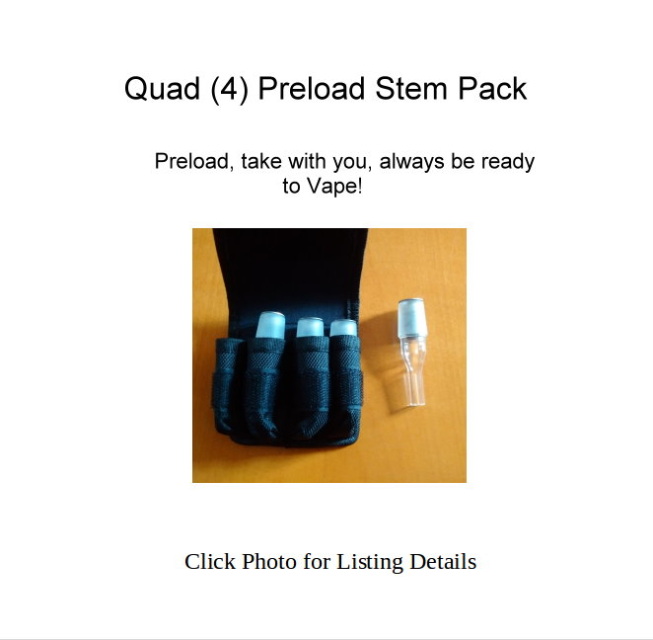
I'm thinking of switching all my stems to 14.
Great! Could you please share that UK glass supplies shop link?
) !) http://www.mountainglass.com/Products/GLASS-GROUND-JOINTS/
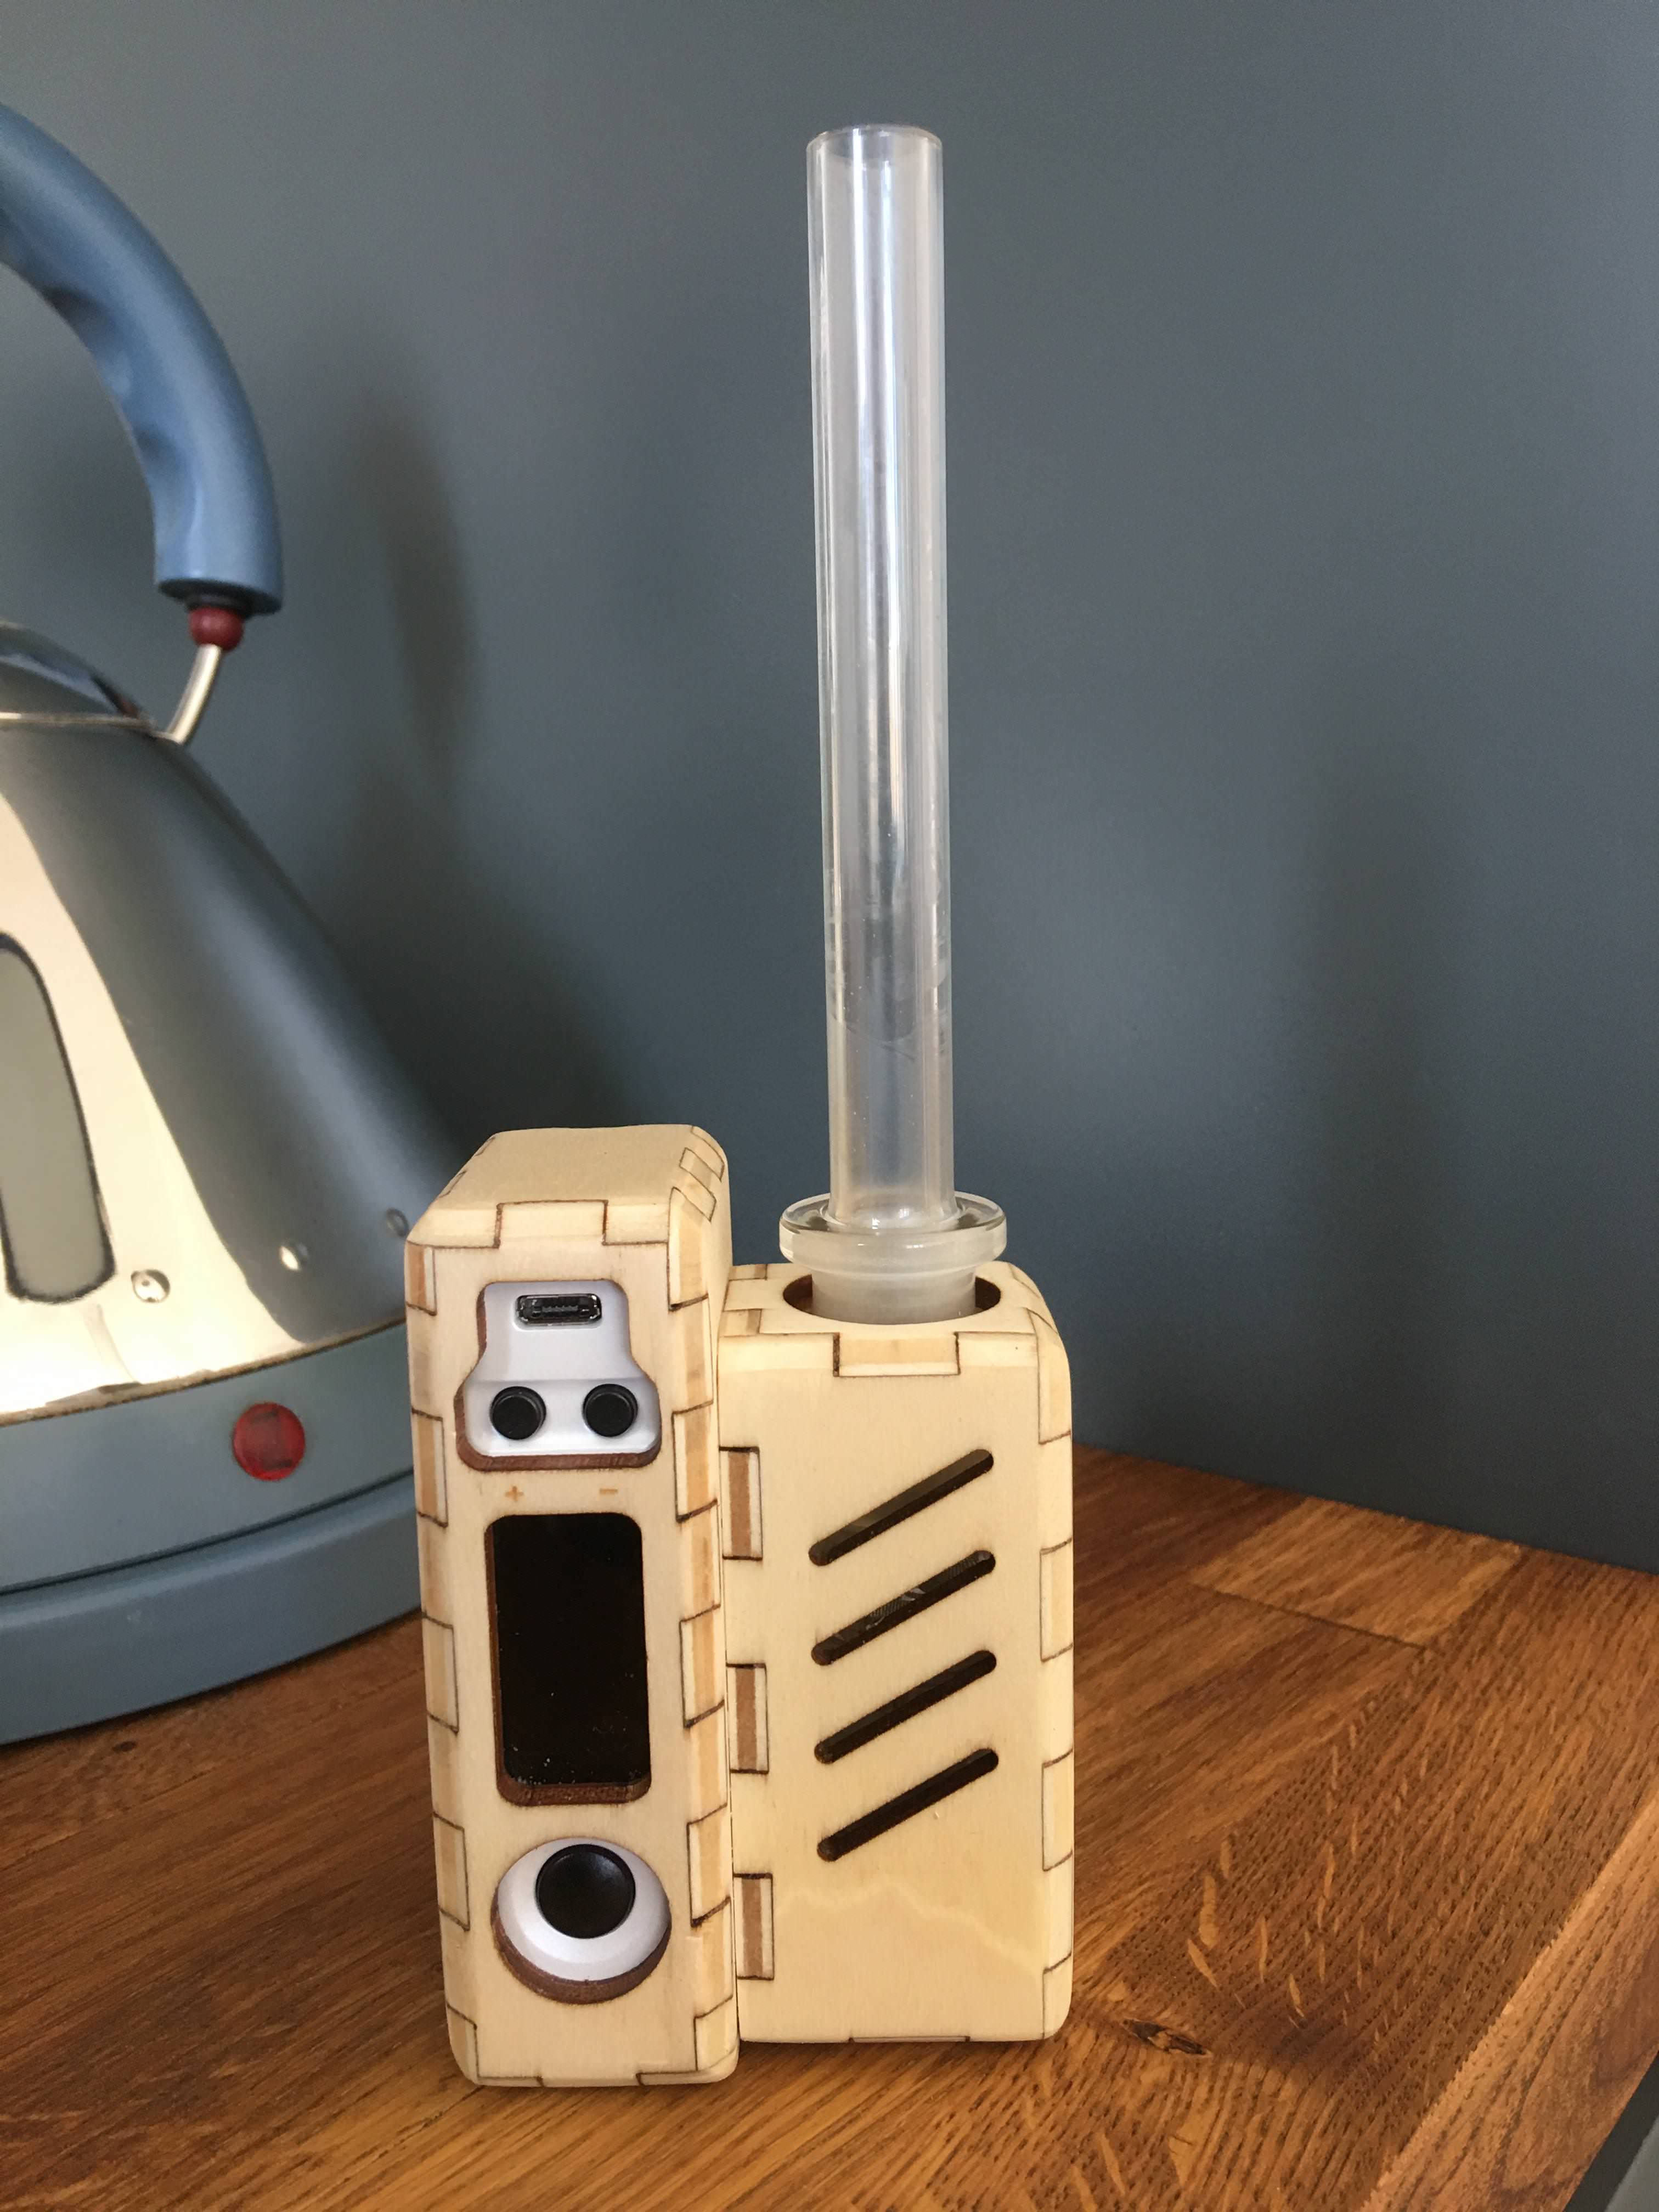
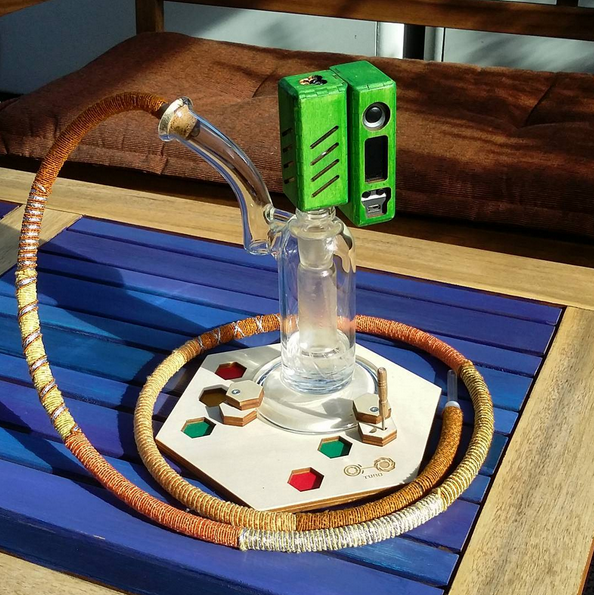
thank you! yes i made these to fit the pattern of the ac adapter, here is a poplar version:Nice base ya got there, funky. Perhaps you showed it off before, first I have seen it. Its got the tubo logo on it so you must have made it.
dont worry, from what i see you are doing perfectly fine on the tech side.Sorry I tend to be pretty linear and don't like to fool around with equipment. I may miss some fun but I just want to know basic instructions.
nice nfe action!For some reason the images are not shown inline so here's the pic from NFE-Tool when I took a draw from ECOCRUISE with eco setting 2.
http://imgur.com/ZezI8K6
")
 so I'm testing eco2 at the moment. Just done a cruise set at 205C for a lightly crammed (excuse the oxymoron
  ) joint of unground flower.
 ), but I don't think I will to be honest. It's easy enough to exit mid-cruise and think I prefer to have a longer than needed setting and do this (when I actually want to) rather than have it cool down mid session/draw if I've set it shorter than needed
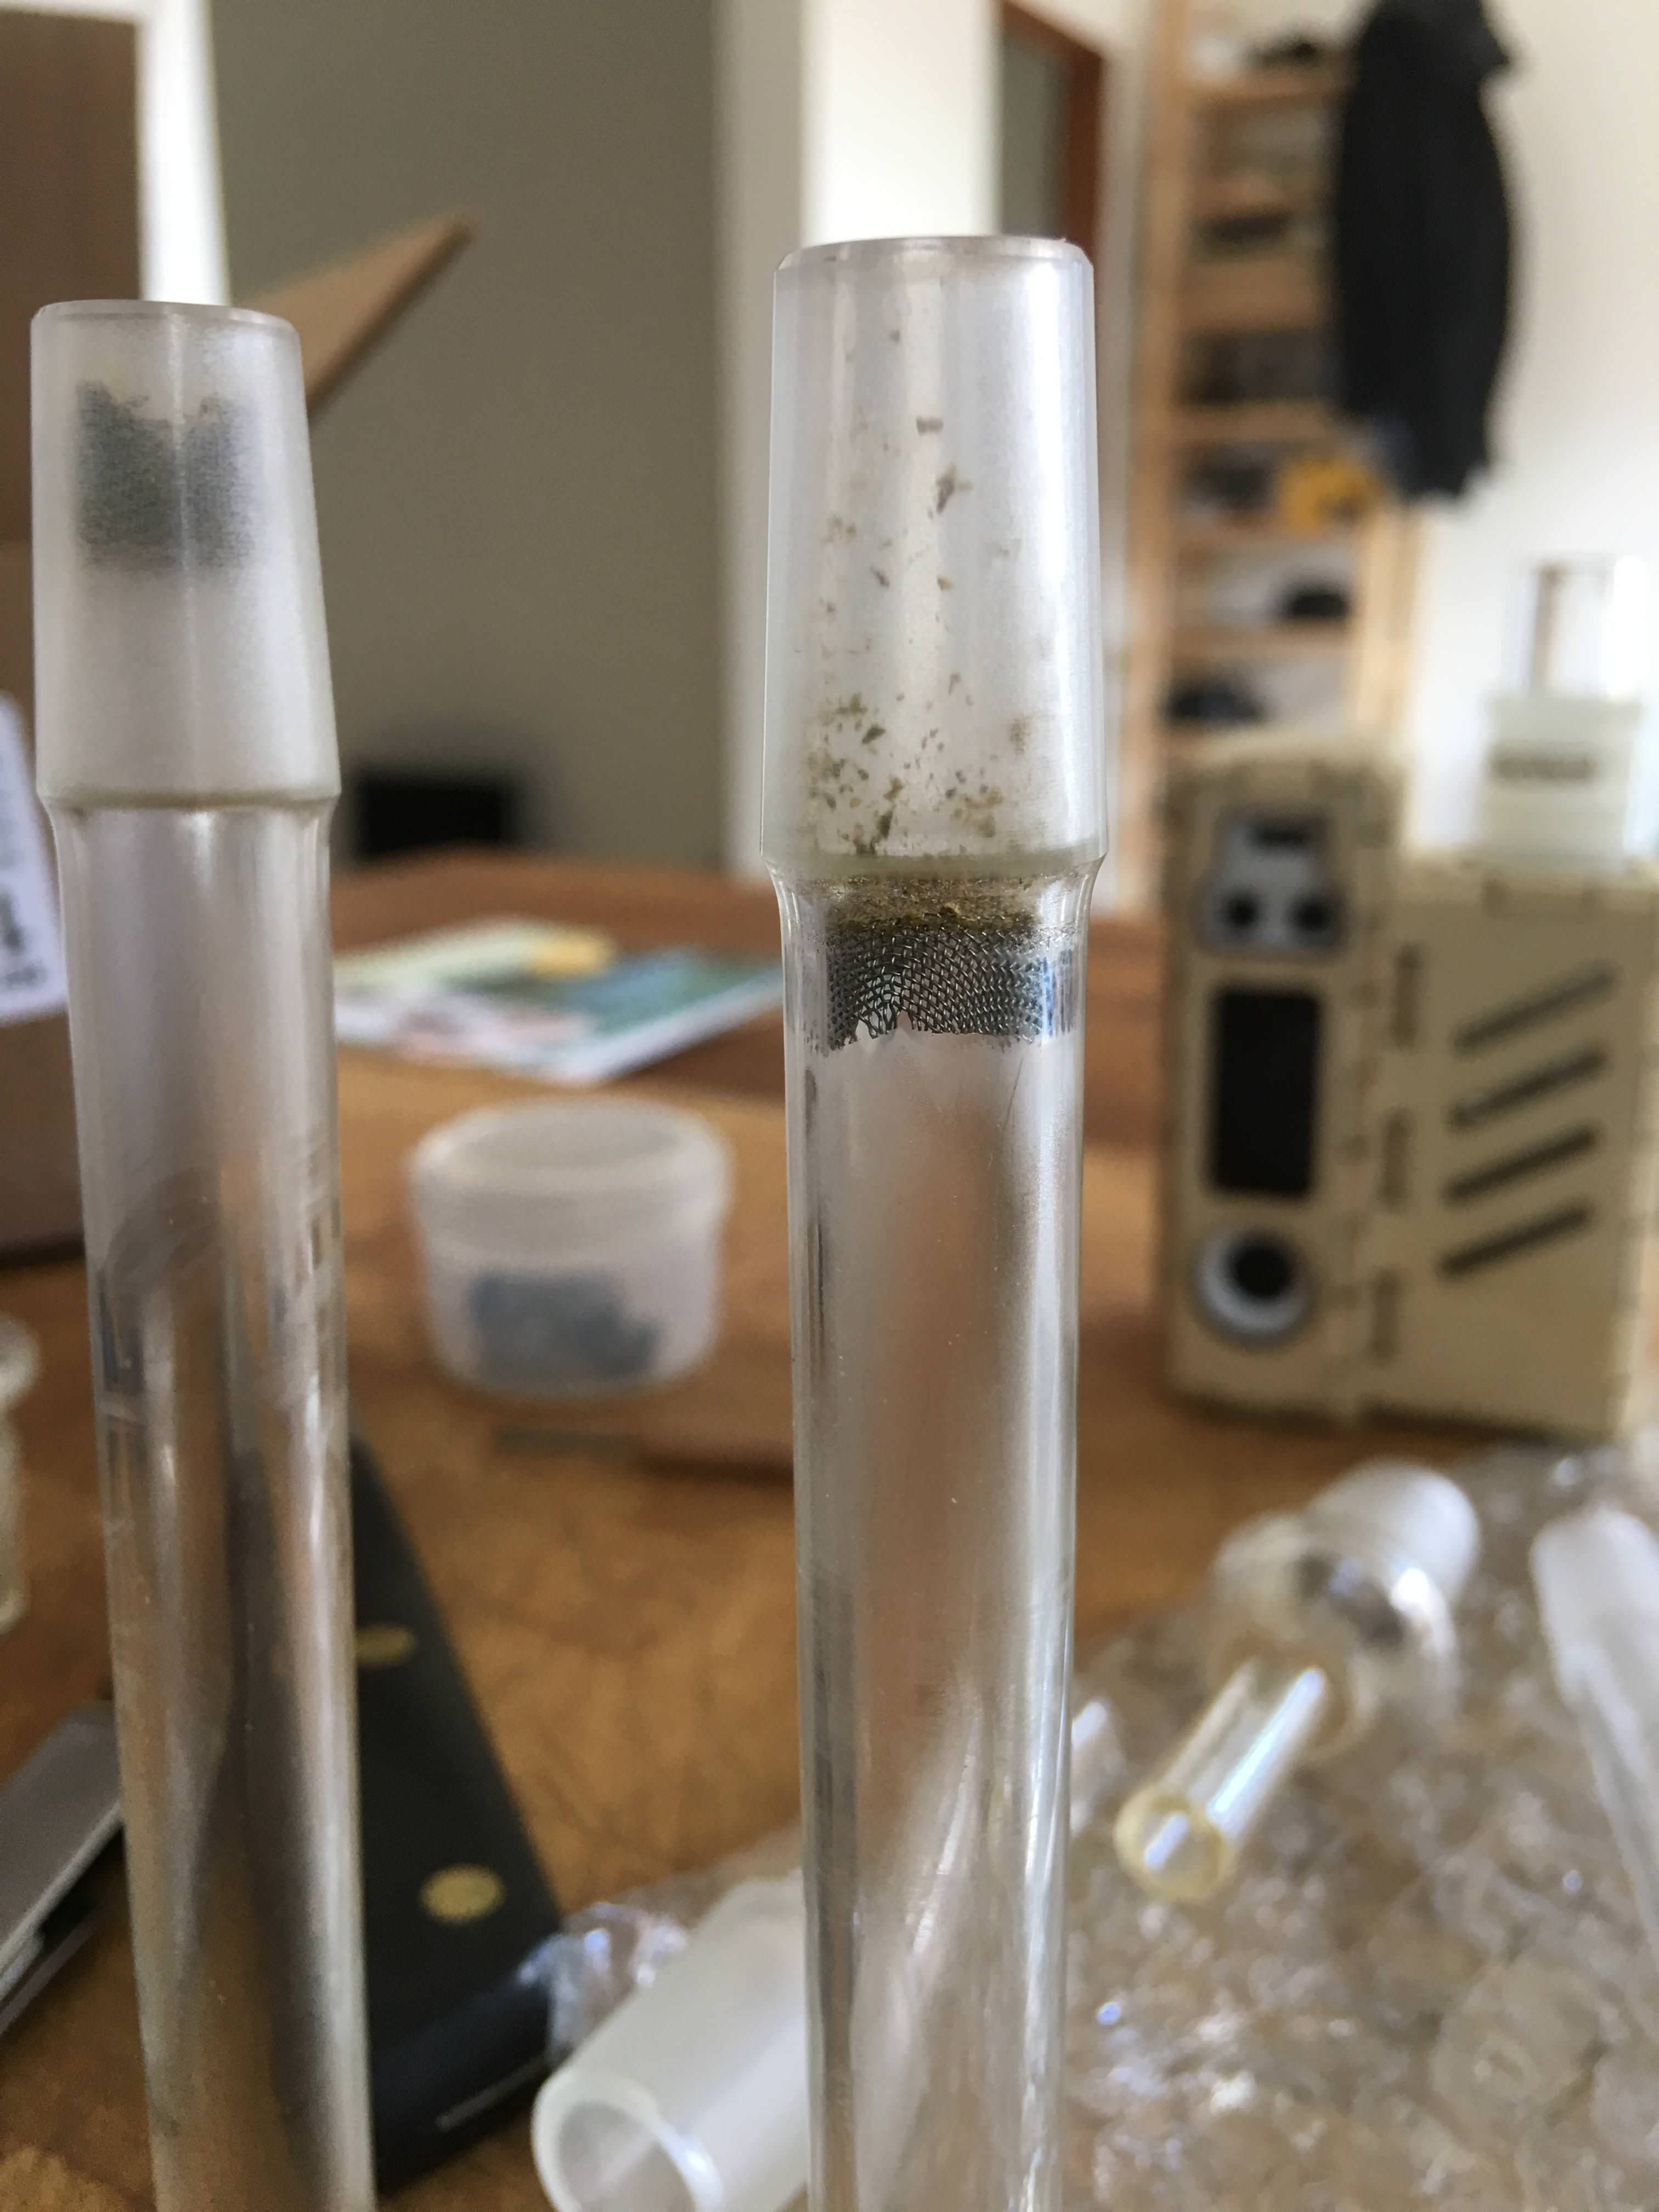
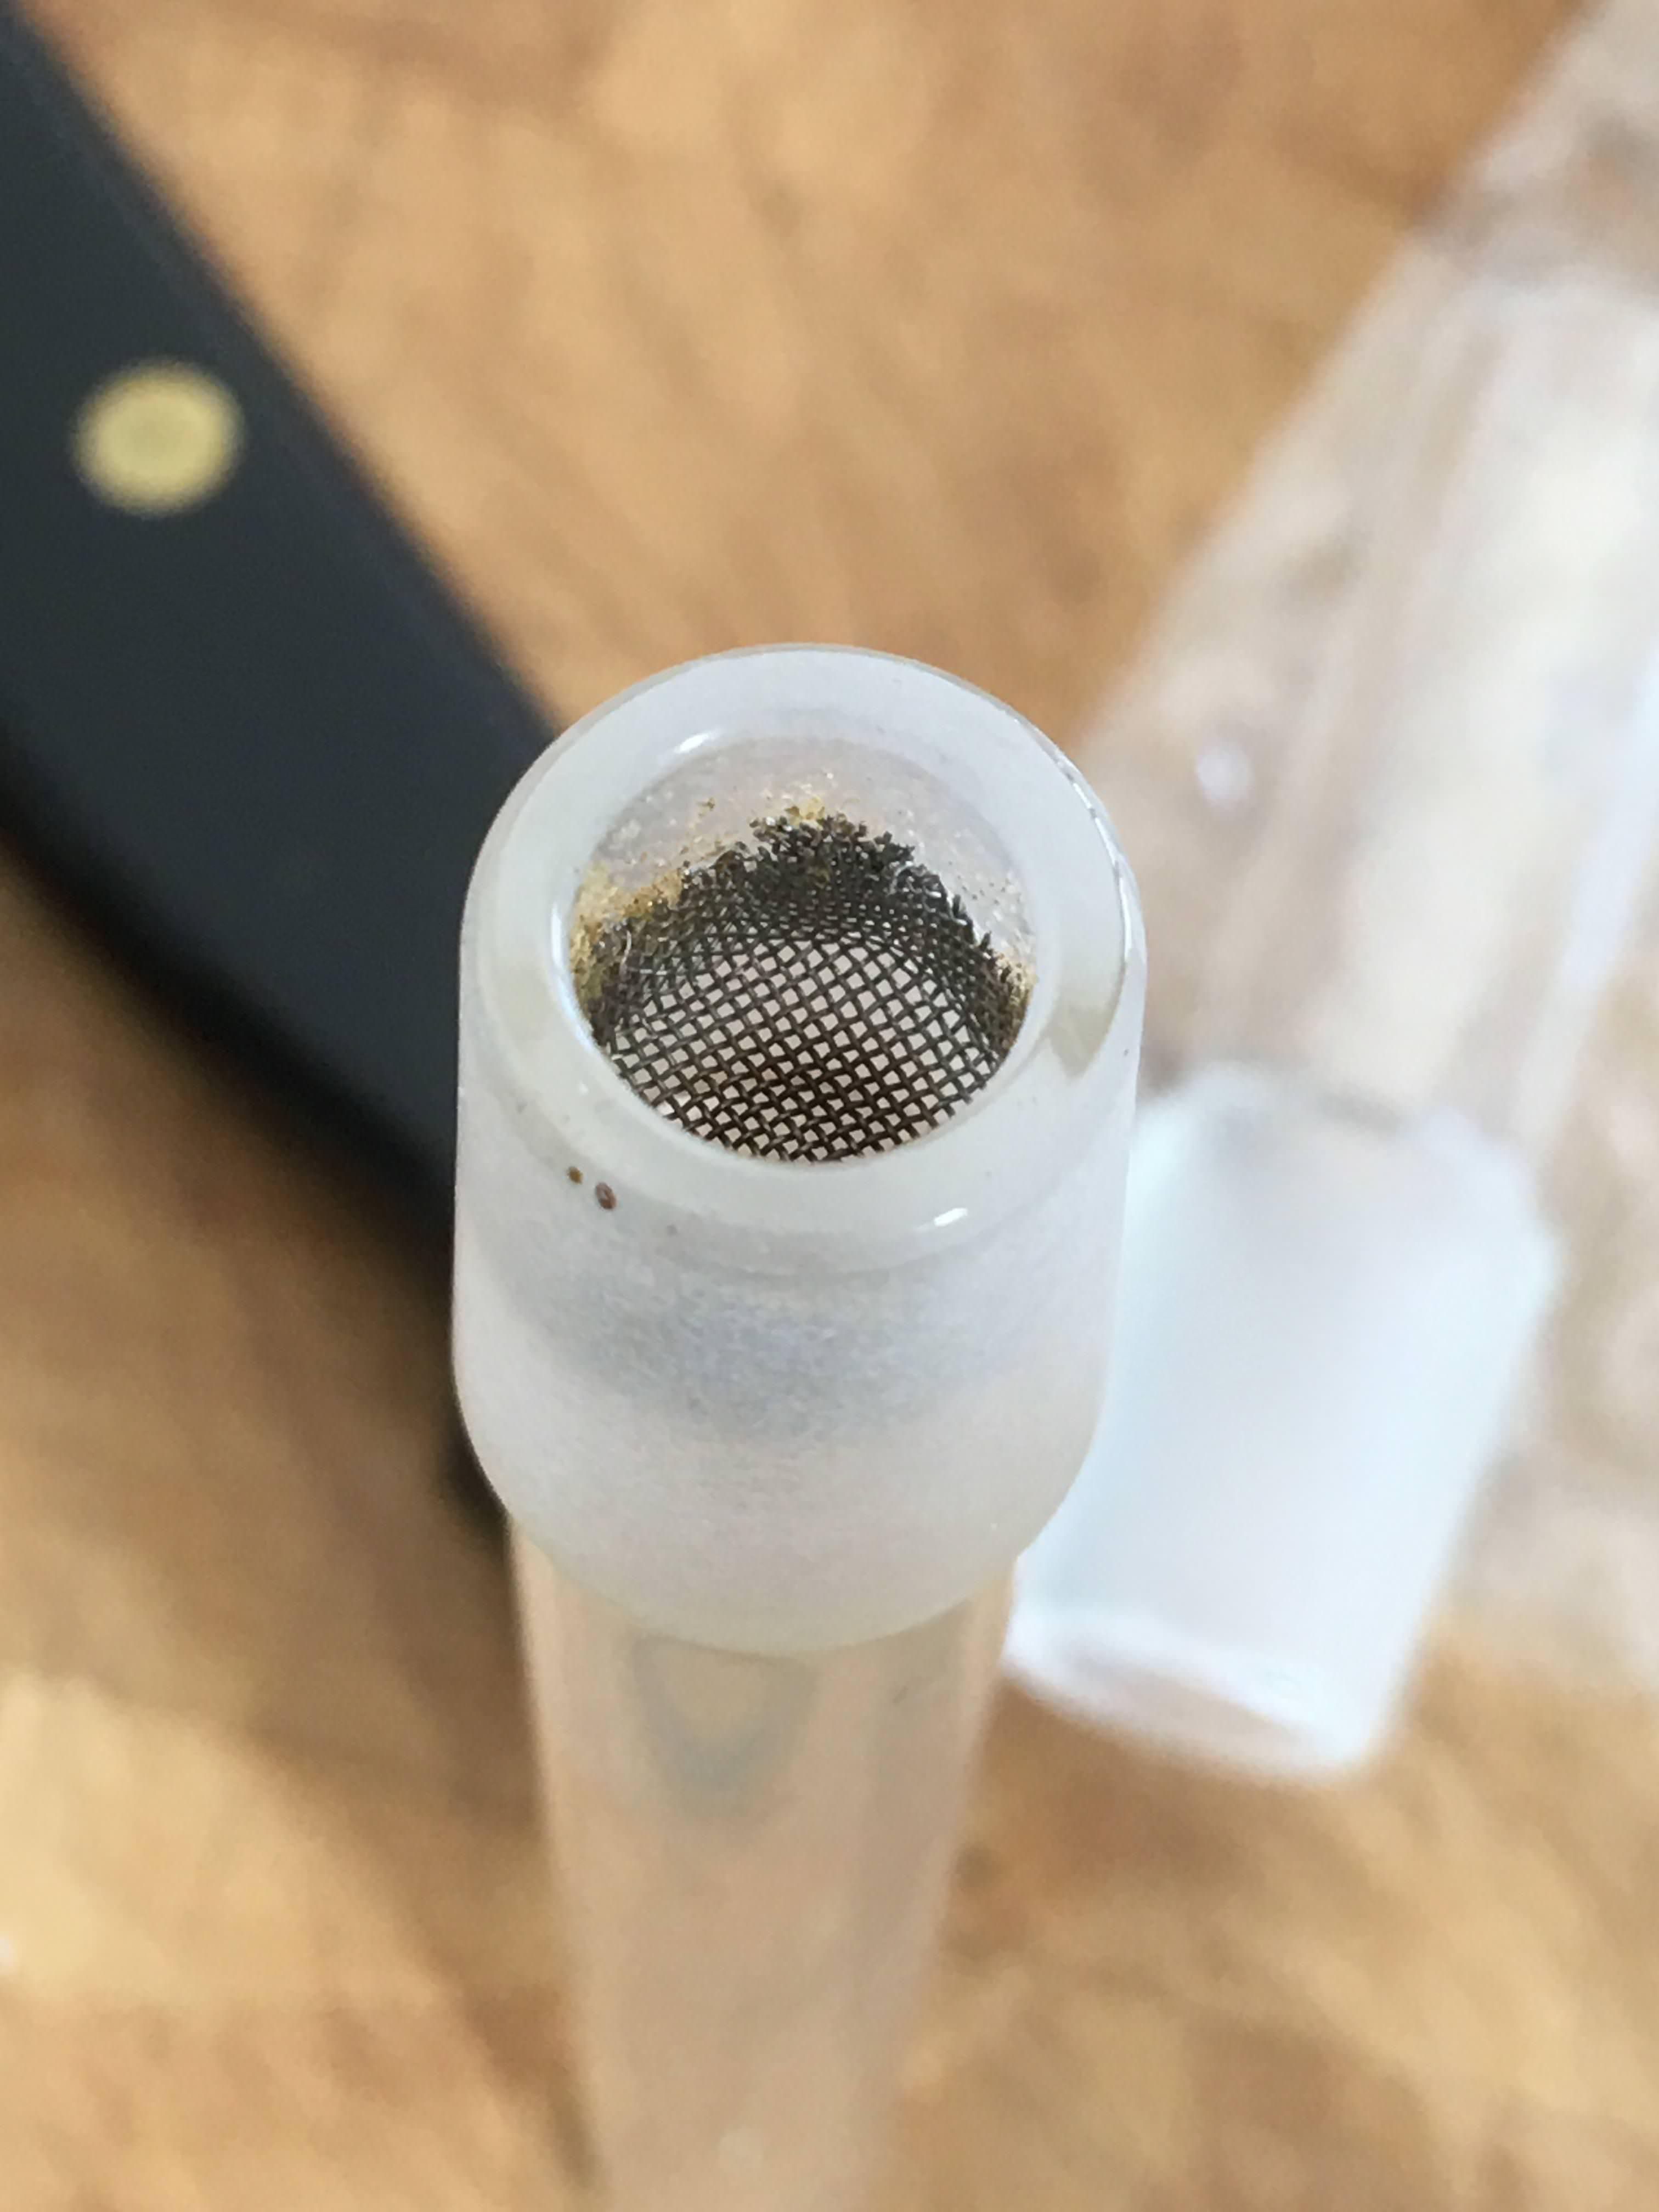
Have you tried just loading the metal rimmed screen at the end? This may be a good method until you get the feel for your Tubos.
Thanks, I like that way more than packing in the stem or in the water adapter so far