Hi
@brainiac ,
...men, you´re kidding me?

Great to her that from someone like you, but I just copied and modified your really great builds in a way it works for me...
OK, I´ll do a try...
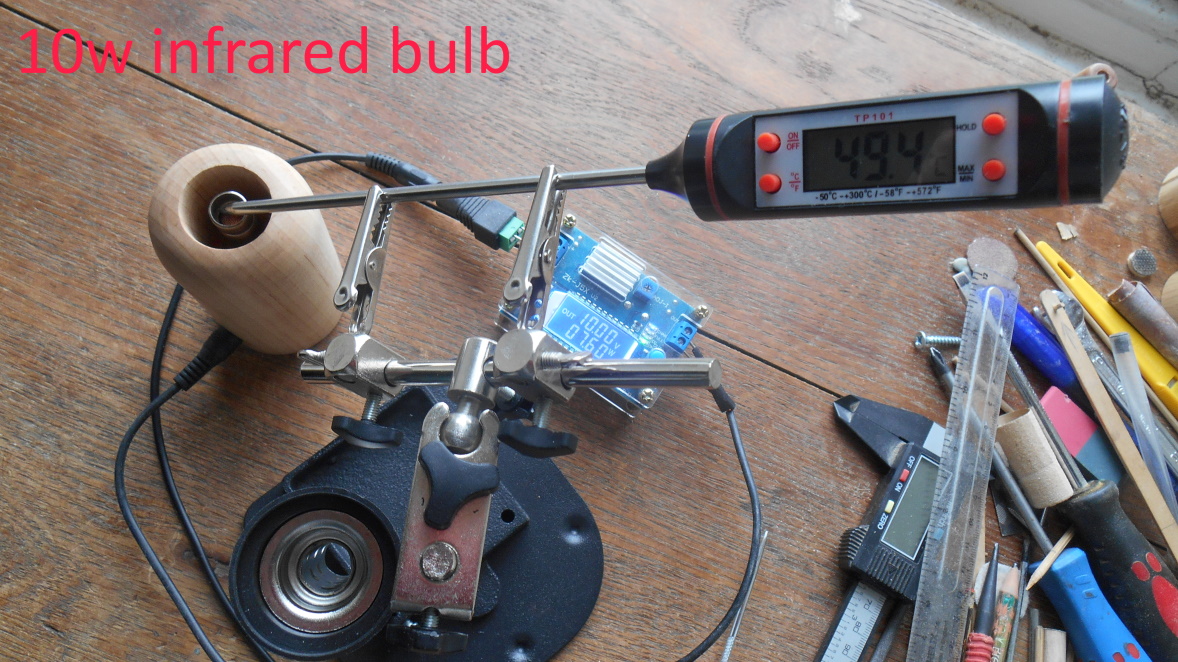
Diameter 50mm
High 110mm
Standard heatercover 45mm high
All I do is, I filled the heatercover with glassballs between bulb and top screen.
I can´t really compare it to other methodes, because I just do it this way, because I´ve got a lot glassballs in stock.
Also the stem is filled with maybe 25 3mm glasballs, filled between two screens for cooling.
This way the screen is really stable in the stem too.
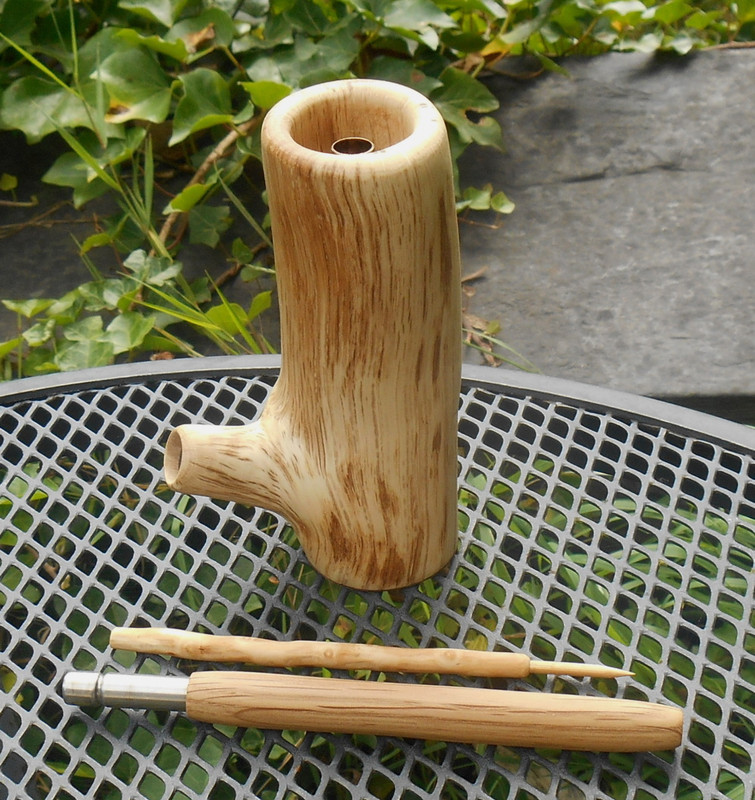
The warterpipe adapter doesn´t come out so nice as you can see at the lower end.
The wood broke away by drilling it to the diameter of the smoothy straws, which were used there.
The wooden cover of the stem was made the same way as the TI taper, as i´ll say later...
...oh yes, I buyed a bunch of different diameter Ti Tubes from China, cut them with the Tube cutter as usual, (It´s not fun for sure and the tubecutter have to cry maybe...)
For the taper i took a massive woodpiece, drilled it to the inner diameter of the TI tube, (...a little bigger for a propper fit), hammered it to the tube and create the Taper "freestyle" by using old piles, sandpaper and a calipper...;-)
please don`t ask where I get the Base, it is a very solid steel Peace which fits perfect to the tube by hammering in.
Just found it in stock.
You know, I allways doing a lot of things whith my hands, so ovwer the years there is a lot of stuff coming together, as long as your wife don´t treat you....

...yes, but to be honest and you can see at the Piucture, I take a peace of PEEK and placed it between wood and base Plate.
Otherwise the wood could really get to hot at this setup.
Also the tube is not completly filled wirth rubys, to remove some Heat from the bseplate.
But this way it works really fine. (I just have to do a terp torch clone, same way like this, that´s why the Rubys are gone right now...)
Hope there are not to many mistakes again!
Have a nice sunday out there, I´ll fire the grill now....


")


 ... and also many thanks to


