
Abysmal Vapor
Supersniffer 2000 - robot fart detection device
Well you asked ,i answered. You can take your chances with "has to be" ,rather then getting something labeled as leadfree. I dont use lead solder, also in my builds ,the heater is not in the airpath the whole concept is way different than those vapes with cartridges cemented at the bottom,lol.So pick up lead free brass. When fluids come into contact with a leaded brass, lead can leach from brass into fluids, hence all plumbing brass has to be lead free. For the lead to vaporize, the brass would have to be heated close to 1700°f hence brass used in HVAC doesn't have to be lead free. You're more likely to inhale lead from lead solder, which all of you seem to use.
As far as Essential Oil (EO) being toxic when heated, then extracting the EO would have caused them to go toxic, because they extracted EO through distillation, which involves heating the plant. People have been using warmers for EO long before diffusers came on the market. Sometimes changing the particle into its gasses state actually makes it more therapeutic. Ex- putting some eucalyptus in a hot bowl of water and breathing in the vapor. But like everything else, modern medicine has a fear of anything that can cause people to be less reliant on their products, hence the fear of EOs that is put out there.
As far as essential oils ,they are very concentrated,toxicity is about the dose, not only byproducts in manufacturing process. Having a few drops vaporize in your room is way lighter experience than inhaling them directly. You can do research on the types of oil you used, most of them are irritatives and some even caustic,just put a drop on your skin .
Essential oils – Health warning
Essential oils are any plant-based, volatile oil that contains a mixture of chemical compounds and have an aroma characteristic of the plant. Commonly used essential oils are eucalyptus oil, clove oil, tea tree oil and aromatherapy oils.
Last edited:


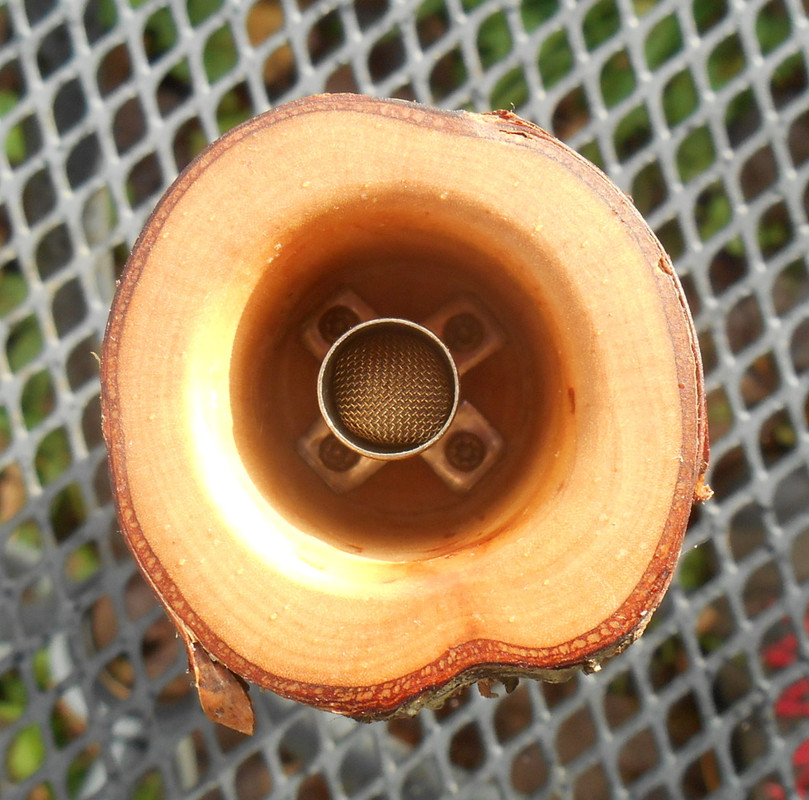
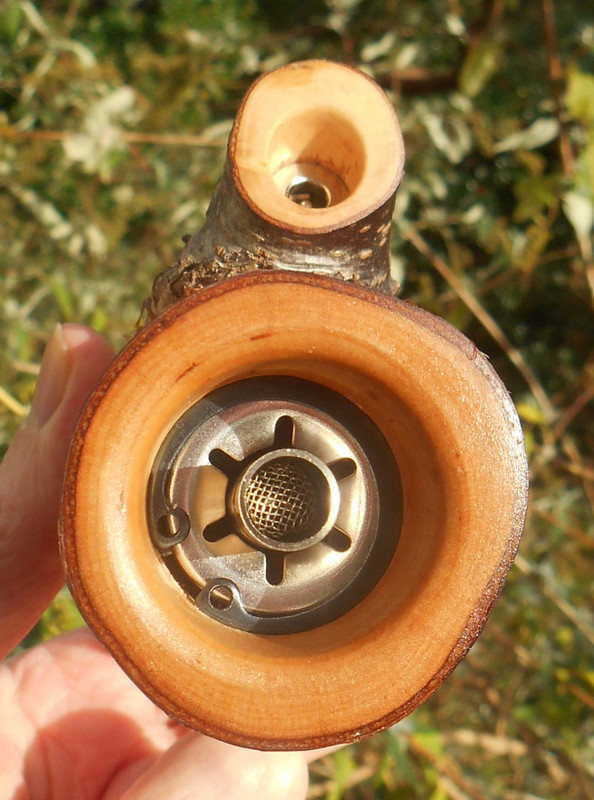
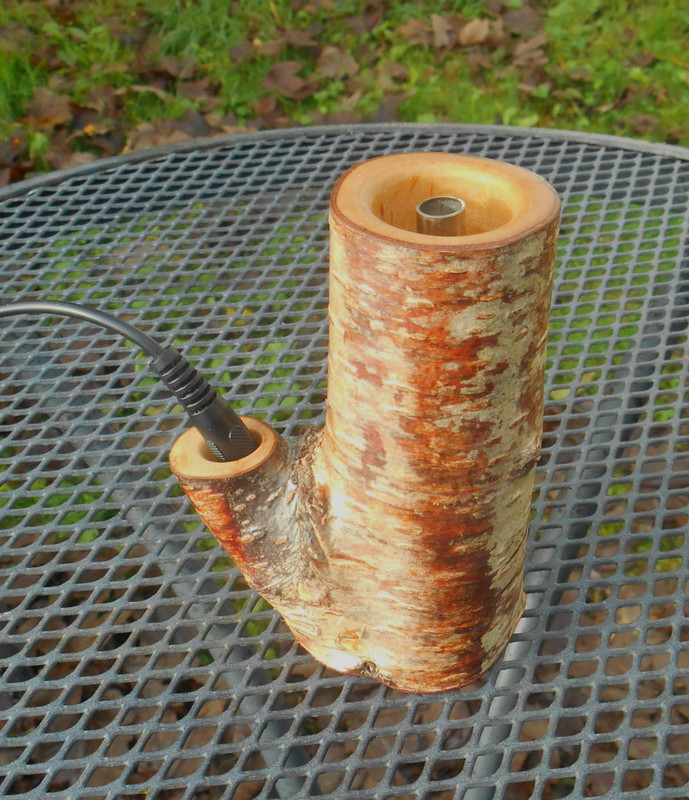
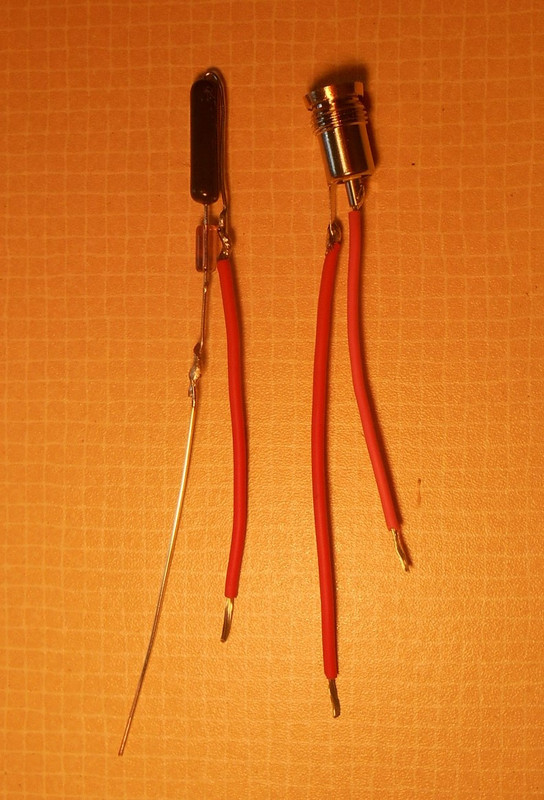
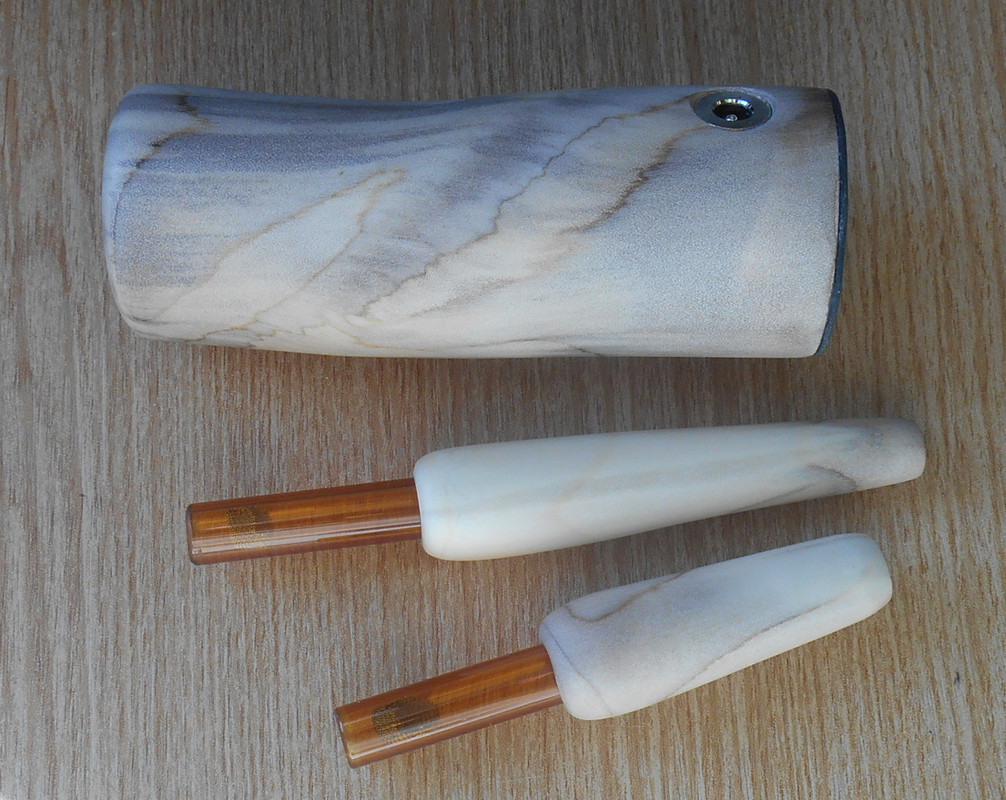
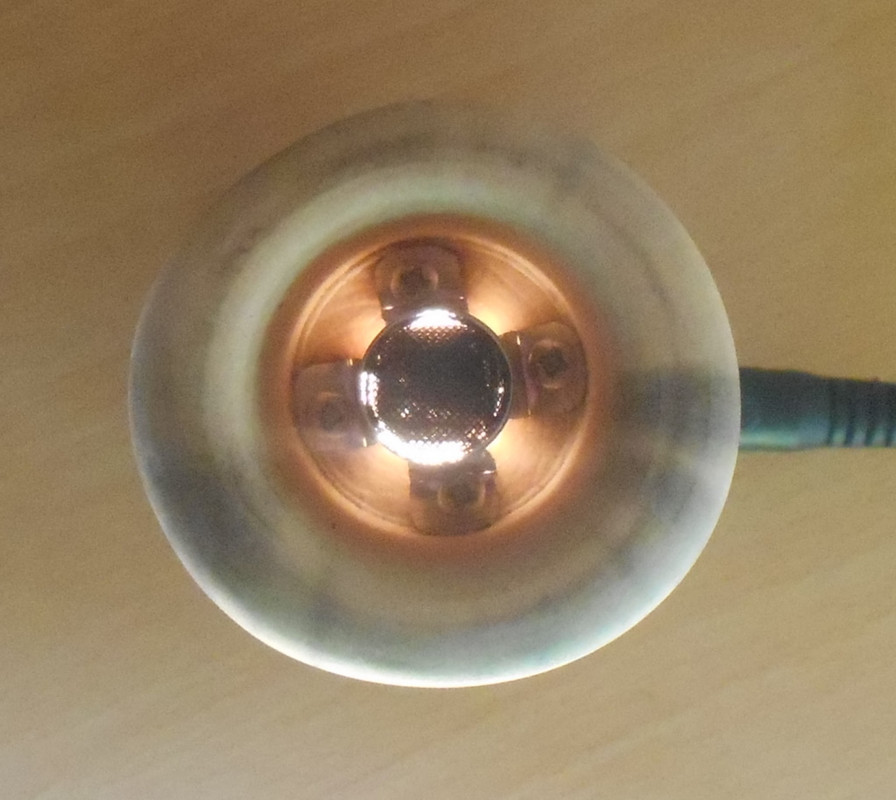
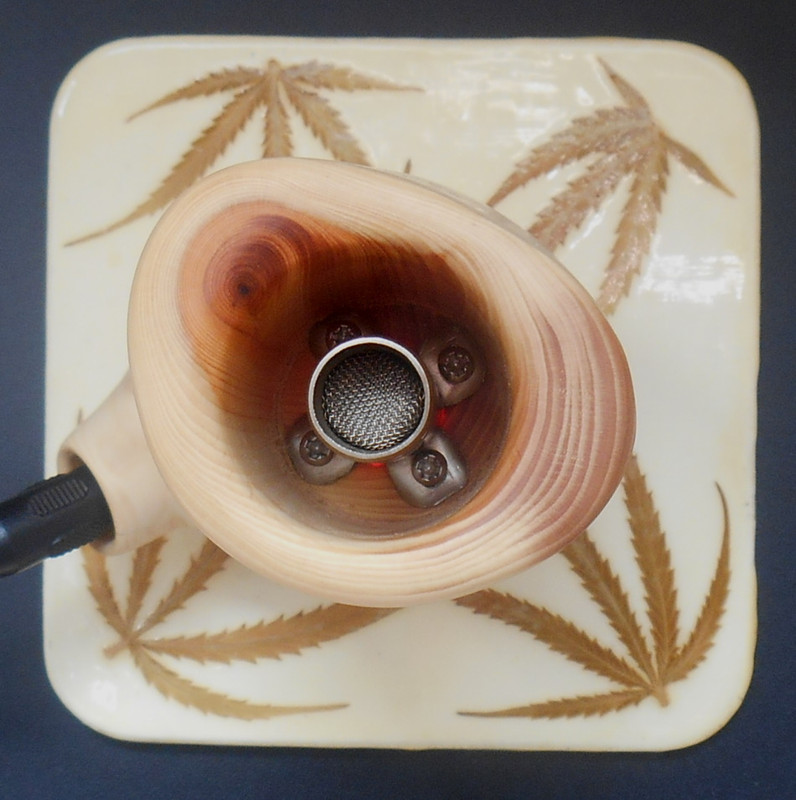
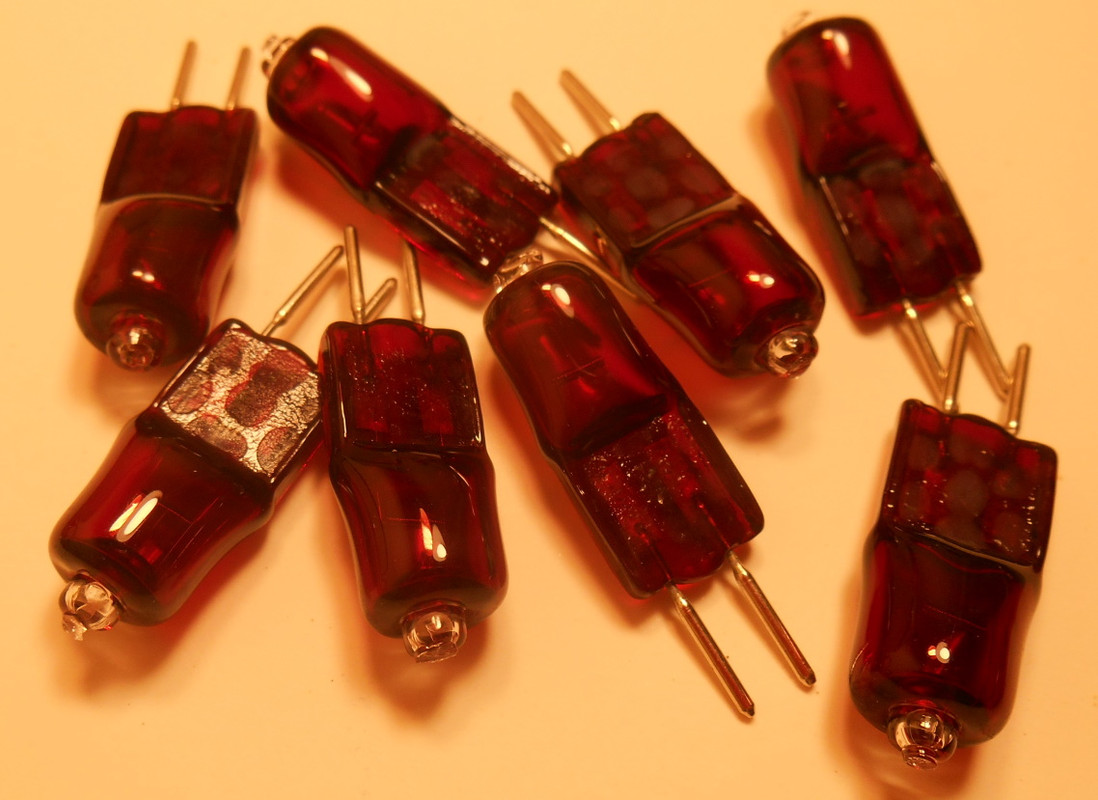
 ). That 0.3 makes it easy to work and the ID takes a 10mm tip. So it's good for commonly available glass straws, ss tubing or a dynavap. 10w G4 halogen bulb does the cooking, fixed into a sinolec ceramic bulb holder. They were discussed back around post #856 and are a good choice for the job. High temp insulation on the wires has German recognised VDE certification. They're at least x3 the price of the cheap ones - but still only about £1 each. The diameter of the bulb holder shank is 7.5mm so I drilled the through hole to that diameter. The friction fit holds it securely.
 ") .
.


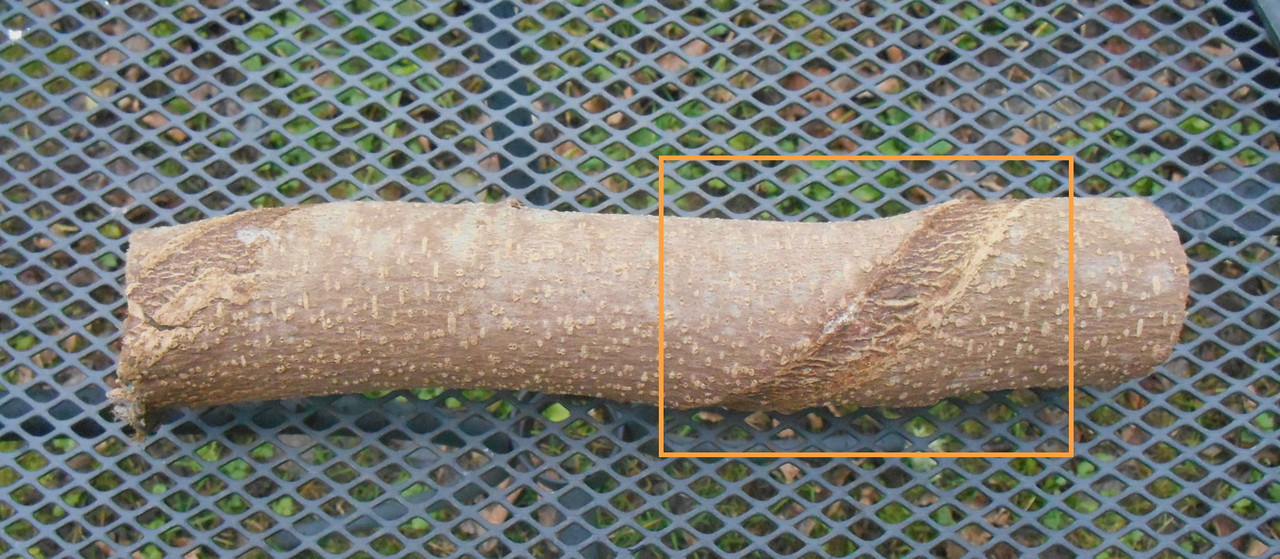
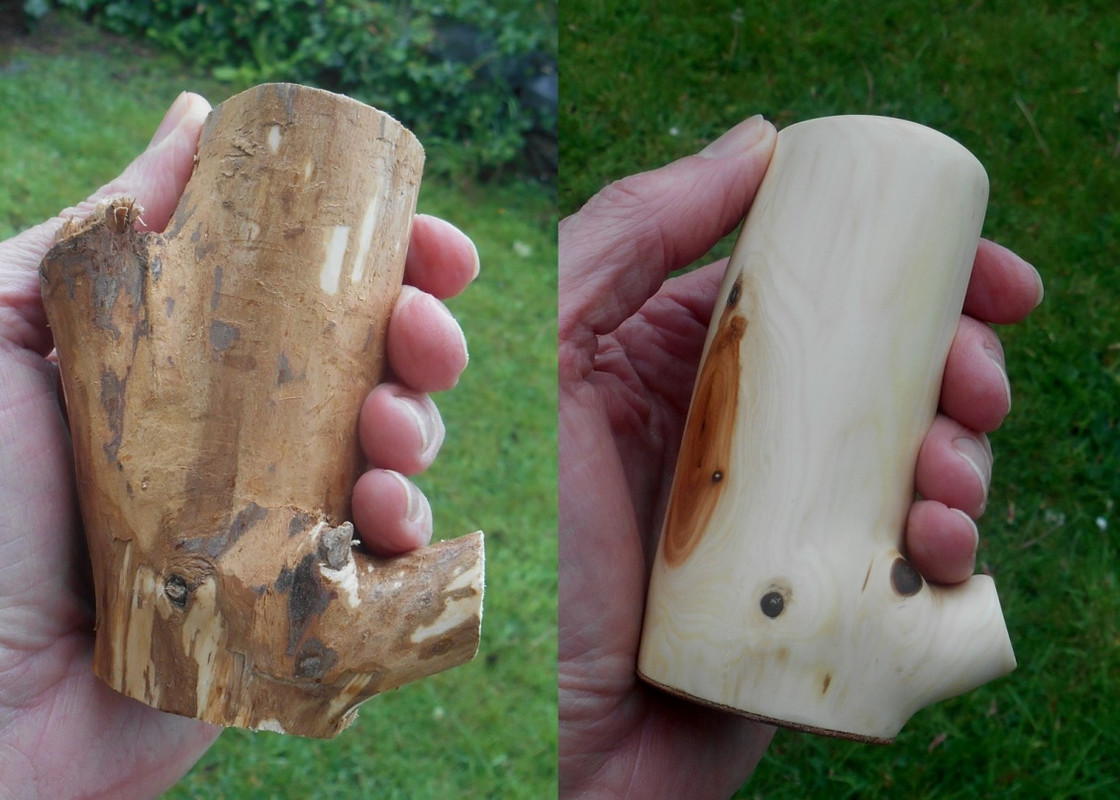


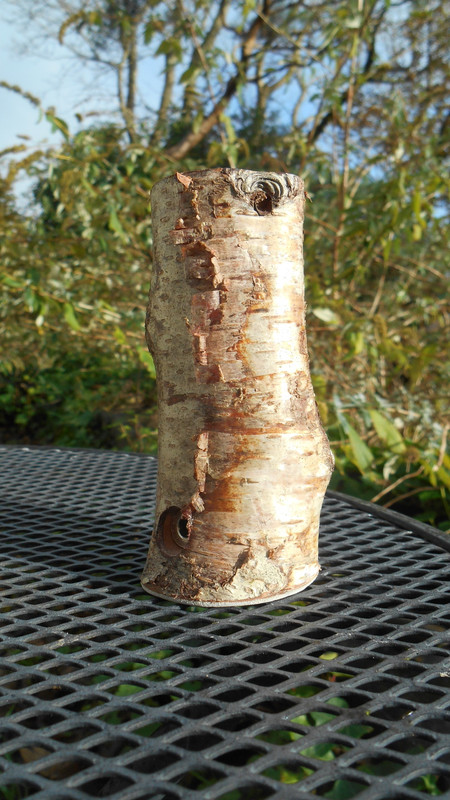
 love the branch plug, superb !
")
