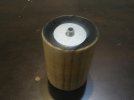
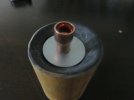
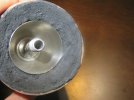
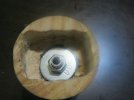
'The Misty Log' - DIY wooden Log Vaporizer

a_roberto89

Well-Known Member
awesome thanks a lot! i think it makes a good seal now. another question has anyne tried one of this 12v 2a psu with voltage regulator from aliexpress?
12v 2a psu
with this one i think i would not need a buck converter right? thanks again
 
a_roberto89,

GI

Well-Known Member
awesome thanks a lot! i think it makes a good seal now. another question has anyne tried one of this 12v 2a psu with voltage regulator from aliexpress?
12v 2a psu
with this one i think i would not need a buck converter right? thanks again
Yes, i use one similar but is 3-12v 5A, works for me, I don't know if it's durable and safe, it's a chinese low cost thing. But it's an all in one solution.
 

GI

Well-Known Member
I was think about, there's a way to have an 3,4 or more simple voltage steps, maybe with an analogic wiring on a log ? Do get rid of a buck, psu.
 
GI,

a_roberto89

Well-Known Member
hey everyone, i have finally got the chance to try a log vape, and while it perfome awesome and is unbelieveble efficient, i think the bowl is a little to small for my needs.
i saw @blokenoname has started this project using the injector of the herborizer (considered an heavy hitter). If i want make a heavy hitter log,(i think i need only a bigger bowl) do you think is possible tomake it with a cartridge? or i will have problem of hotspot?
will it be better to buyonly the injector and the bowl of the herbolizer and use it with a standard 12v psu and a potenziometer?
thanks
 
Last edited:

a_roberto89

Well-Known Member
or if i want just to make the bowl of a log bigger, do you think is better to make it larger or deeper?
 
a_roberto89,

brainiac

log wrangler
A bit deeper is probably OK. Too deep and you'll have to stir to get even ABV.
We all have our preferred method. Mine is: a one-hitter fill, hit, dump the ABV, repeat as required.

@blokenoname has done loads of work on stems/tips of various sizes (it's all in the back pages of this thread somewhere :shrug:) and he's the best person to advise on that.
 
Last edited:

a_roberto89

Well-Known Member
ok in the end i opted for the 11mm OD 10 ID heater cover so also the bowl should be a little larger :) i have found the same cartridge 24v 40w in two diffferent size, 6x20mm and 6x30mm do you think the longer one will heat the air more evenly? and maybe also retain more heat becouse of more mass?
 

GI

Well-Known Member
ok in the end i opted for the 11mm OD 10 ID heater cover so also the bowl should be a little larger :) i have found the same cartridge 24v 40w in two diffferent size, 6x20mm and 6x30mm do you think the longer one will heat the air more evenly? and maybe also retain more heat becouse of more mass?
Try them, you choose the cartrige posted on this thread ? i have one, 24v to try it, i would like but nooootimeeeee :-( when i ty an halogen 20 watt on the standard measures i risk to burn of my little log....too much.
 

a_roberto89

Well-Known Member
i think first i'm gonna try with the 24v 40w in the longer version (30mm), to have more surface area and more mass becouse of the larger bowl. and if doesn't work i can always use the standard cartridge
 
a_roberto89,
  • Like
Reactions: brainiac

brainiac

log wrangler
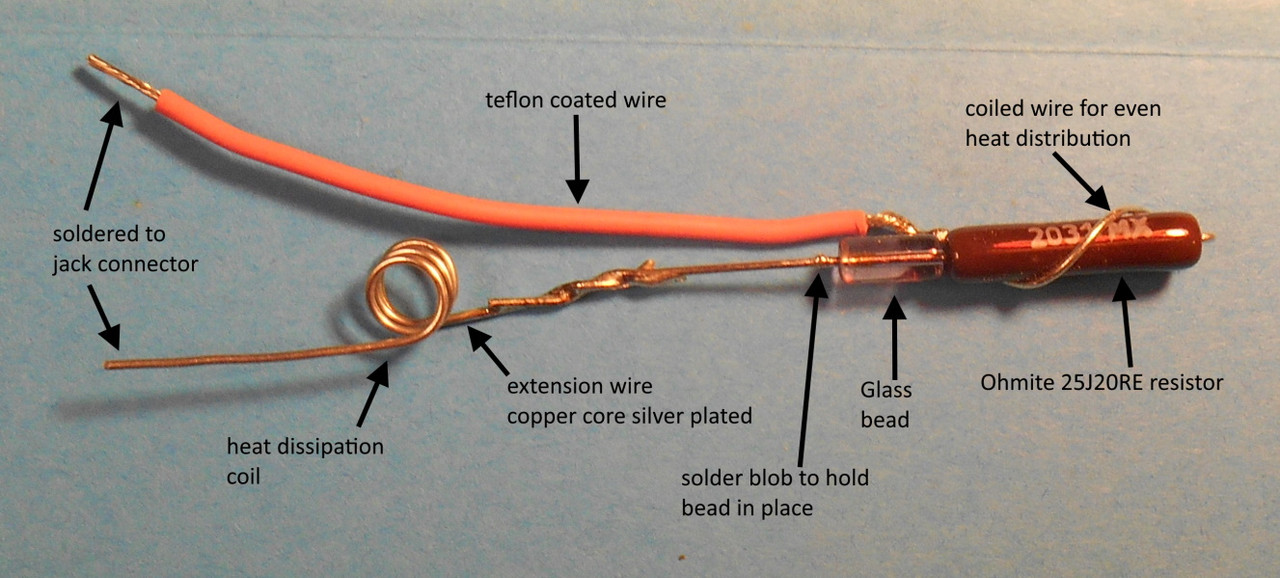
Just thought I'd drop in my usual heater construction.
Handy for reference if your DIY build uses a resistor - and also informative if you're using a cartridge or a bulb.

Heater-assy.jpg


The wire coiled around the resistor spins the heated air as it's drawn up into the dd stem or wpa avoiding hot spots. Tinned copper extension wire also an option. Heat dissipation coil may not be necessary but it'll help if the jack connector gets hot. The glass bead buys you extra insurance against shorting.

Good logging ppl.
:peace:
 

a_roberto89

Well-Known Member
really interesting! never tought to put something to avoid hotspot, Do you think it make a lot of difference? need to think a way to implement it also with cartridge.
 
a_roberto89,

brainiac

log wrangler
Yes, coiling the wire around the resistor provides better heat distribution and also keeps the resistor central within the heater cover. Blokenoname uses this method and so does Alan (HI). It's a bit more problematic with a cartridge. IIRC Ed (WS) talked at one stage of attaching fins to the cartridge to maintain it centrally within the hc but that was mainly to reduce the rattle that can occur when a cartridge unit is shaken. Dave (UD) TIG welds the cartridge inside the heater cover which keeps it where it needs to be and also solves the rattle issue. Placing the resistor a bit lower in the hc - say, 0.5cm below the debris screen - would help but you'd need to increase the voltage to compensate for the greater heater-to-herb distance. That, in turn, would slightly increase heat levels in the body of the log. Worth giving it a try, though.
 

a_roberto89

Well-Known Member
nice thanks. Today the cartridge are finally arrived! only need to wait for the dc plug now. What you think about using borosicate balls between the cartridge and the heater cover? the heater is 6mm and the heater cover is 10mm ID so if they fit they will stay blocked in place.
 

cilu

New Member
Hi everybody
My beloved wichwood took his last breath last night after many years of good and loyal service.

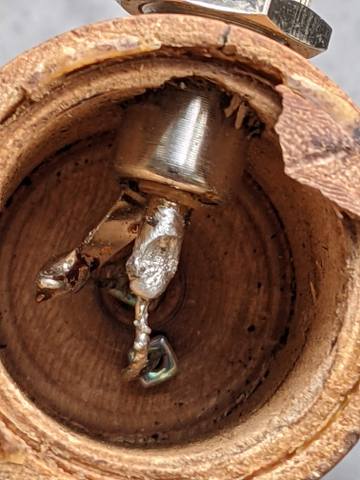
After having browsed this forum, I knew how to open the beast but I did not know how to access the resistance.
Can you help me with the procedure.
Do I still have to break the wooden bottom or do I have to cut the wires and pull the stainless steel tubes up?

Big Thanks in advance !

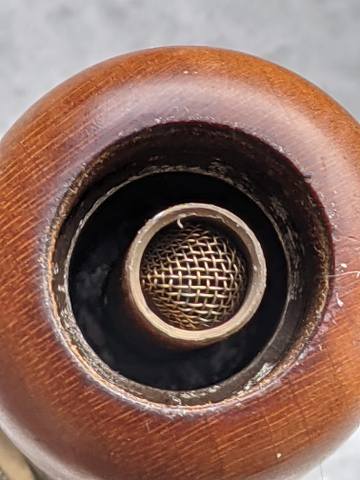
6STI26.jpg


2aT4Sx.jpg
 

brainiac

log wrangler
Hi cilu and welcome to the thread. Fine piece of log history you have there, my man :tup:

Before you go any further it might be worth your time to bypass the jack connector and apply the power directly to the wires leading to the heater. The reason being that it might be the jack connector that's faulty. If so, it's a fairly easy job to replace it.

If it's the heater then further disassembly will be required but check it's not the connector first.

Good luck and let us know how you get on.
 

cilu

New Member
Nice piece of history indeed. I've had it since 2013. One of the last Wychwoods unfortunately.

I will check if indeed the problem is not coming from there when I get my hands on the necessary material.
I'll keep you posted on the developments :-)
 

sayvay

Member
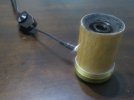
Thanks to this forum I ventured into making my first log vap.IMG_0258.JPGIMG_0279.JPGIMG_0269.JPGIMG_0270.JPG
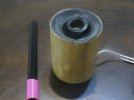
My work is still a work in progress, yet I thought I’ll share some of my experiences in this endeavor. At first I planned on making a relatively simple design. My plan was to use an aluminum tube as my heater cover instead of stainless steel one, as stainless has terrible heat conductivity (try cooking on a pure stainless steel cookware, one will get uneven cooking). I bought the upgraded 40w 24v ceramic heater which is now 50w and has a white sleeve instead of a red one. I planned on threading the aluminum so I can attach it onto a t-nut, and I wanted a thermometer in the unit. I had to make a few changes along the way; but the unit heated very well with a 12v power supply. It reached 200ºF in 3 minutes, 350ºF in ten minutes, yet the air resistance was too much as the heater is 6mm and the inside diameter of my aluminum tube was 6.3mm. so back to redesigning it.
IMG_0295.JPGIMG_0293.JPG
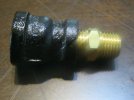
While I was trying to find different fittings, I saw a black iron 3/8-1/4in reducer that looked like a bowl, thinking that the 1/4 end will fit into a 3/8 outside diameter I bought it. It turns out that 1/4-NPT threading has an opening slightly over 1/2in. long story short; I am now switching to 1/4 NPT sizing and have a temporary prototype working. Hopefully, my next one will be cleaner, simpler, very functional, and have a temperature regulator in it/or a current voltage display and a current temp display.

P.S. The stainless steel cup is a one oz stainless shot glass, and the black stuff one can see in the picture is Rutland furnace cement. The cement has a temperature rating of 2000ºF, and made a Popsicle stick nearly fireproof.
 
Last edited:

sayvay

Member
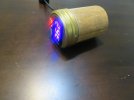
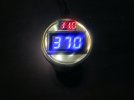
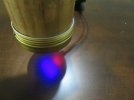
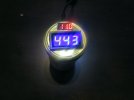
Just a proof of concept. The temperature is in Fahrenheit and the small red numbers are voltages used. I would still have to heat shield my wires and possibly drill out a new log, letting me isolate the heat and air path to the upper chamber. Throughout this test, the base stayed cool to the touch.
IMG_0297.JPGIMG_0307.JPGIMG_0308.JPGIMG_0310.JPGIMG_0311.JPGIMG_0314.JPG
 
sayvay,
Top Bottom