Anvil by Vestratto

Gibbleguts

Well-Known Member
Now I can't wait for the helix bowl to be available,my goodness the terp chamber hits like this I can only imagine.
You thinking mostly just faster extraction? It would be kinda nice to finish the big bowl in one huge bong hit. While it does work in the big bongs it really feels like a waste but faster extraction could make it worthwhile.
 

ConvectCode1

Well-Known Member
Now I can't wait for the helix bowl to be available,my goodness the terp chamber hits like this I can only imagine.
I don’t even see how a bowl can possibly hit better than the two included. Literally. I have to stop back to back posting like an idiot. This thing just has my other devices sitting aside like bitches. And I can milk a Sneaky Pete’s Mega Globe for a good 45 seconds and my 14” by 11” recycler for 35 seconds both right before I barf. I can clear both chambers but the full size one is honestly a challenge when I pack it tight like a Dynavap. The native hits are like what the effery…smooth and massively huge. I can only compare it to back in like 2014 when I first switched from cigarettes to mods and sub tanks before curbing nicotine. Effortless like, Elev8R bong sized hits out of the Anvil natively. WTF. I look forward to blindly buying whatever else they develop and offer. Though the Herbie V2 will be here in a week. That uses balls. This could use balls for cooling natively. Through a bong it’s just ridiculous. I can’t post my face hitting a bong. And I’m too stupid to angle my camera. Let me wait for someone to come over. The milk looks like combustion it’s so GD relentless and thick. Honestly this thing can beat my ass in 1minute flat if heated at the base. I can’t say that about even my most expensive and or hardest hitting devices. Not to infer that this tops all devices or that a person could ever be so stupid as to only have one….half dozen….different vapes at least. Because you should. Personally, I think this is worth $200. If comparing to my Omni’s dollar wise, The Anvil is worth every penny. It’s definitely a must at least try…if not add to your collection at some point. Obviously being one of the first to buy and receive is…well, it’s dumb. The price will go down, additional stuff will be added etc. But for enthusiasts who can swing a couple hundred bucks on another vaporizer I honestly can say that this will add an element to any collection, regardless of what devices or setups you already have. Maybe not better than things like the Flowerpot or Herborizer. Those are literally dabbing flower. But taking an “Estratto” from the Anvil is definitely a whole new experience added to my already embarrassingly vast collection of vaporizer devices or what have you. Thumbs up from me. I hope it gets to distributors fast, including PH because I know that was lame AF. I don’t think anybody who buys an Anvil will be disappointed, regardless of when that is.
 

Zuhdj

Charles Mingus
Mine comes next Thursday. I am curious, for those who have theirs, will the mouthpiece fit a 10mm natively or just 14
 
Zuhdj,
Just recently joined FC. I'm loving what I'm reading about this device. I read the first several pages looking for an answer to my question but couldn't find it so just decided to jump here. Sorry if this has already been asked but does this have a cool down click like the Dynavap?
 

Gibbleguts

Well-Known Member
L
Just recently joined FC. I'm loving what I'm reading about this device. I read the first several pages looking for an answer to my question but couldn't find it so just decided to jump here. Sorry if this has already been asked but does this have a cool down click like the Dynavap?
Yeah it does but in some ways not needed the same way. With the magnet you can remove a bowl and set it aside to cool and drop in and other loaded bowl to go again instantly. Any retained heat in the battery will just make next heat cycle quicker.
 

pakalolo

Toolbag v1.1 (candidate)
Staff member
I just moved a question asking for comparisons to the Supreme to Ask FC: https://fuckcombustion.com/threads/how-does-the-anvil-compare-to-supreme.52075/

It's understandable that people want to know how a new device compares to one they are familiar with, especially if they are similar in some way; however, we do not want comparisons in the device thread because they can lead to a lot of off-topic discusssion. Please ask for comparisons there, with perhaps a link to the question in this thread. Thank you for your cooperation.
 

seki

Well-Known Member
Did you watch the video at
?

Another way to adjust it is just pull the oven right off the airflow control post. Screwing the airflow valve post in our out of the body adjusts the airflow.

for example Case 1 - Pull the oven off the post. Screw the post fully into the body (the part with the heat shield) . Push the oven back on and place your finger over the end of the oven to close it off and then draw in. This is fully open.
Now the opposite.

Pull the oven off. Unscrew the airflow control post until you just see an o-ring peeking out of the body. Push the oven back onto the post and again cover the end with your finger. Drawing in now will be extremely tough because the valve is closed.

The video shows how to press the oven against the body while twisting to open, clockwise, or close, counter clockwise.

Mastering this is important to get the most out of your Anvil. More open/faster/cooler convection air versus more closed/slower/hotter convection air yield very different vapour qualities for the same amount of heat in the total system. Once you get the hang of it you have a lot more control of the flavour through medication spectrum with the same herb and same time to click.
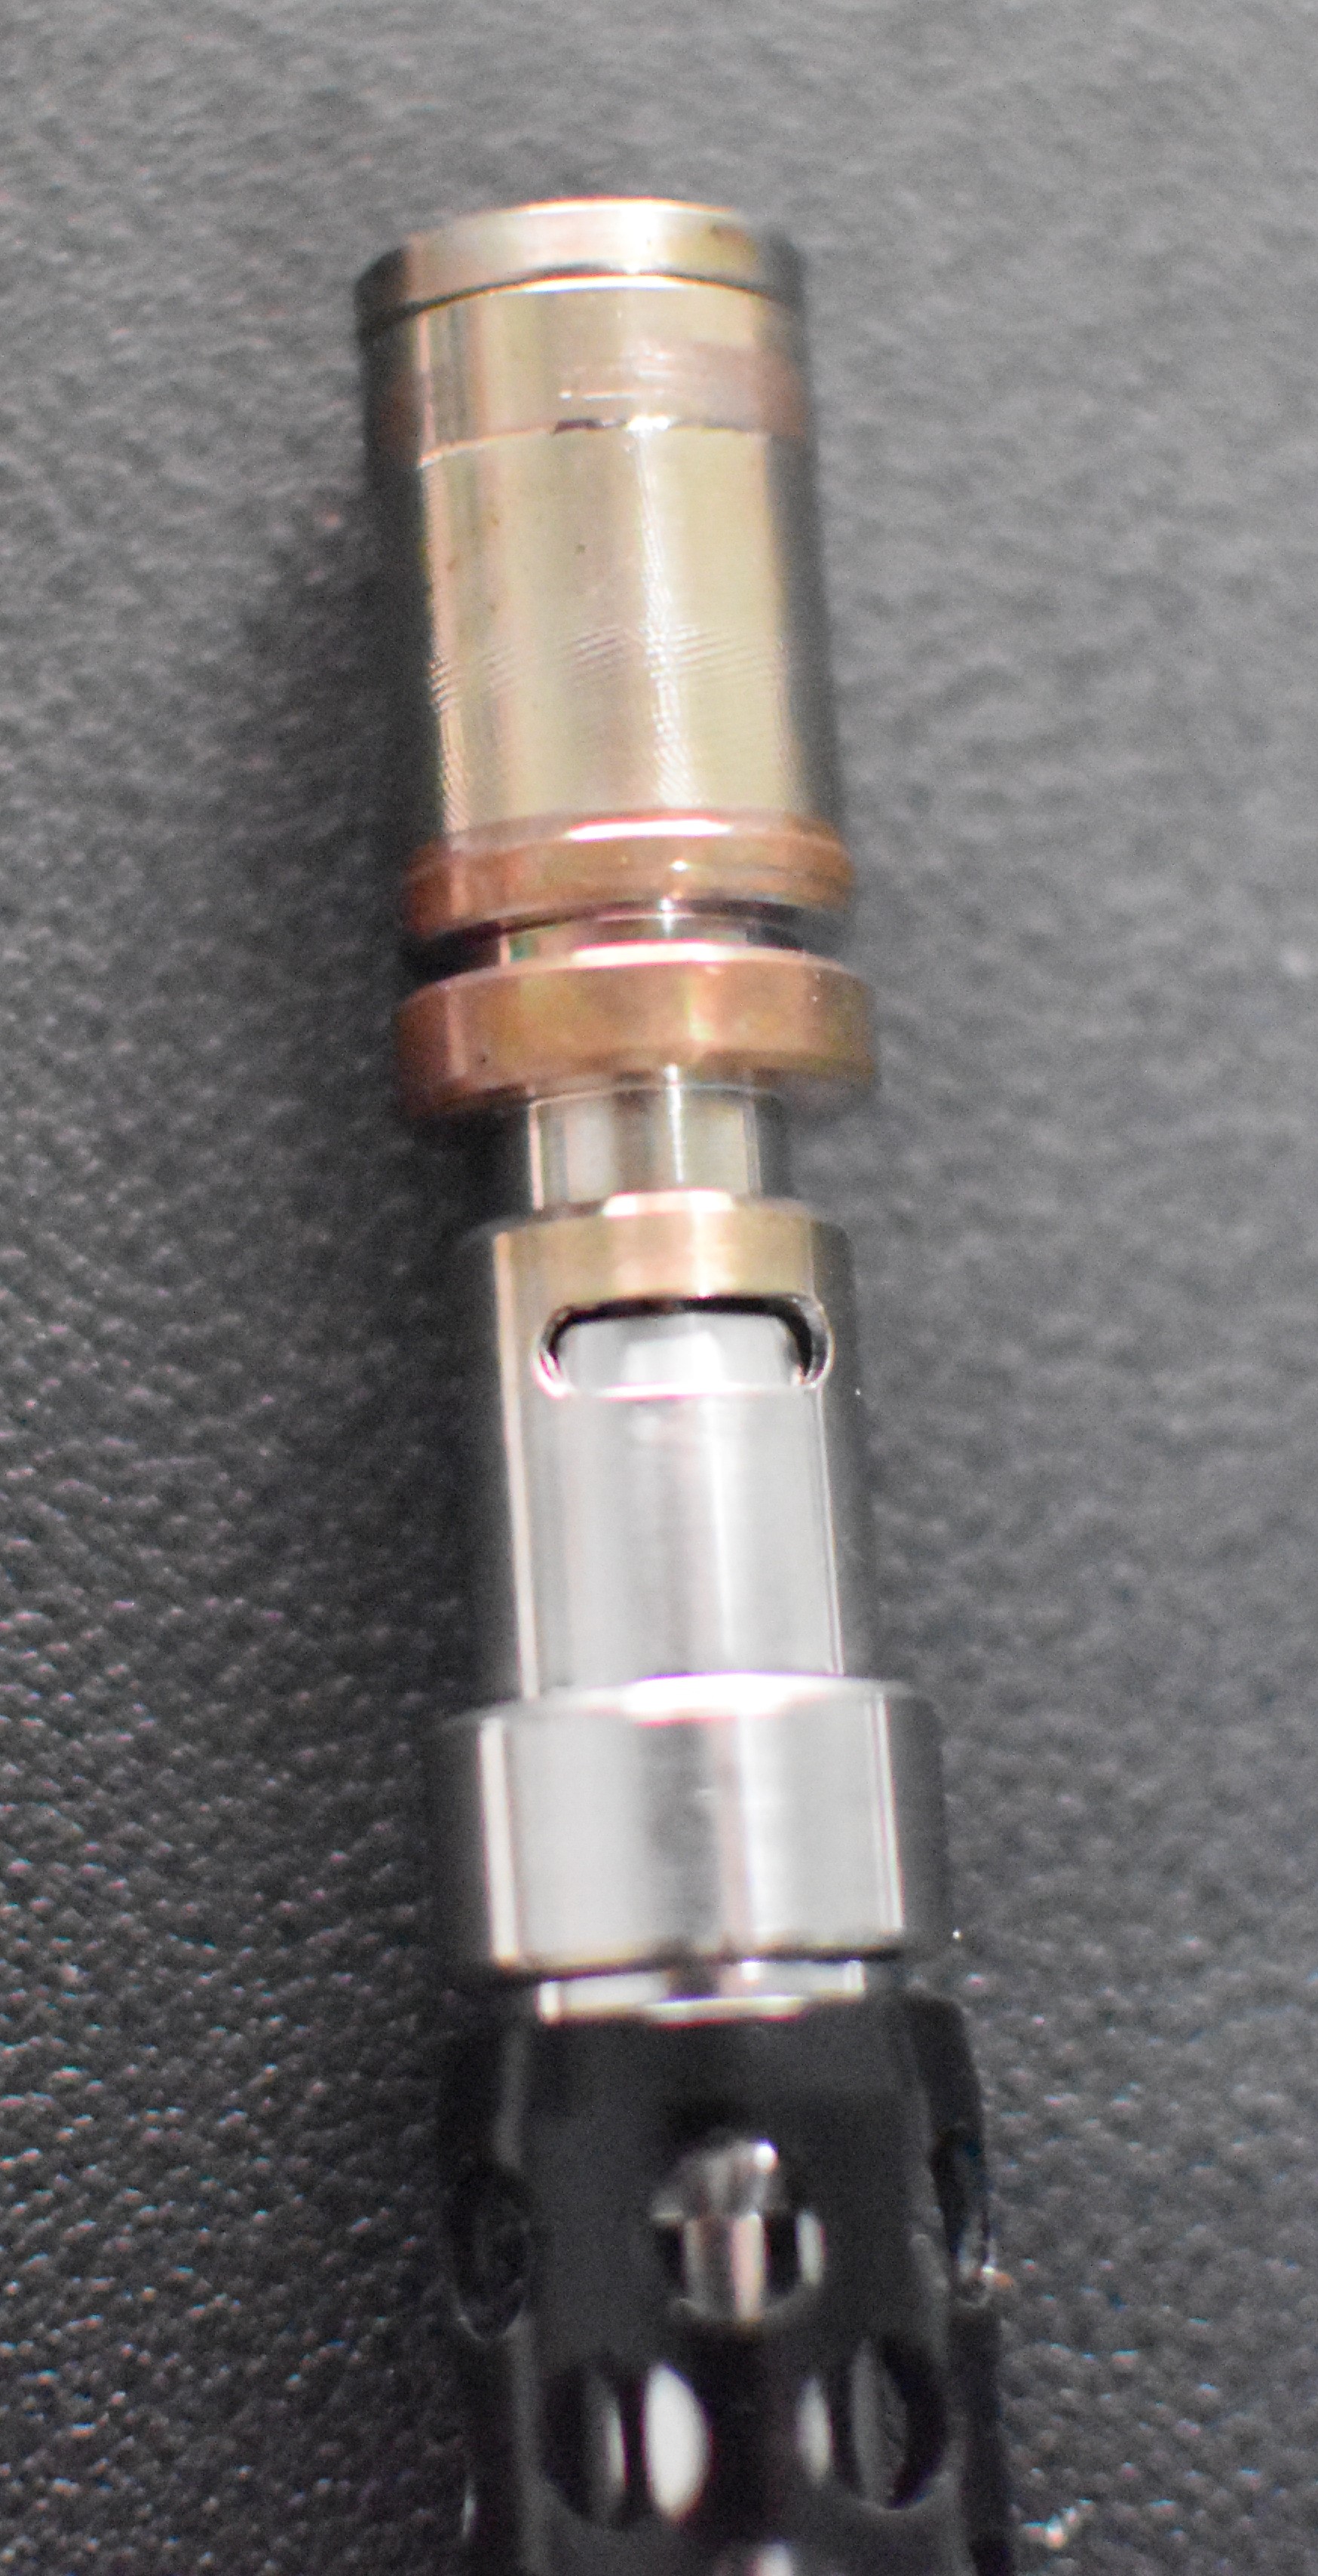
Thank you for the video, it was helpful in understanding how the airflow on the device works. Initially, as there were no instructions with respect to assembly/disassembly, I took it apart after receiving it to give all of the components an ISO soak. When inserting the airflow valve post, I just assumed I should go as far as the threading would allow, so to start, I had it in all the way:
anvil-airflow1.jpg

After watching the video, I noticed that it was recommended to screw the post into body up until the 2nd set of o-rings:
anvil-airflow2.jpg


No knock on the lack of documentation, I understand other issues are more pressing during a product launch, I just wanted to illustrate what my experience and thought process with assembly was.

Just to give some feedback, I assume mine is one of the models with the airflow issue because when configured like in the second pic, even with the valve pushed all the way down and airflow completely opened up, I found it almost unusable as the amount of draw resistance began to give me a headache from having to pull so hard.

Similarly, in the first pic, I'm finding the wide open setting the most comfortable for me to use. I'm not sure if the amount of adjustment is meant to be subtle, but I usability for me quickly tapers off with what I would consider "minor" adjustment.

Similarly, I'm discovering that my Blazer might be faulty and it should probably be pointed out to any potential customers that a minimum flame length or even a recommended torch might be helpful. I used the PB207 I had for the first half dozen or so sessions I had before switching over to a cheaper honest torch that produced a larger flame. I saw a better than 25% reduction in heat up time:

https://www.reddit.com/r/vaporents/comments/rtyfog
Mine comes next Thursday. I am curious, for those who have theirs, will the mouthpiece fit a 10mm natively or just 14
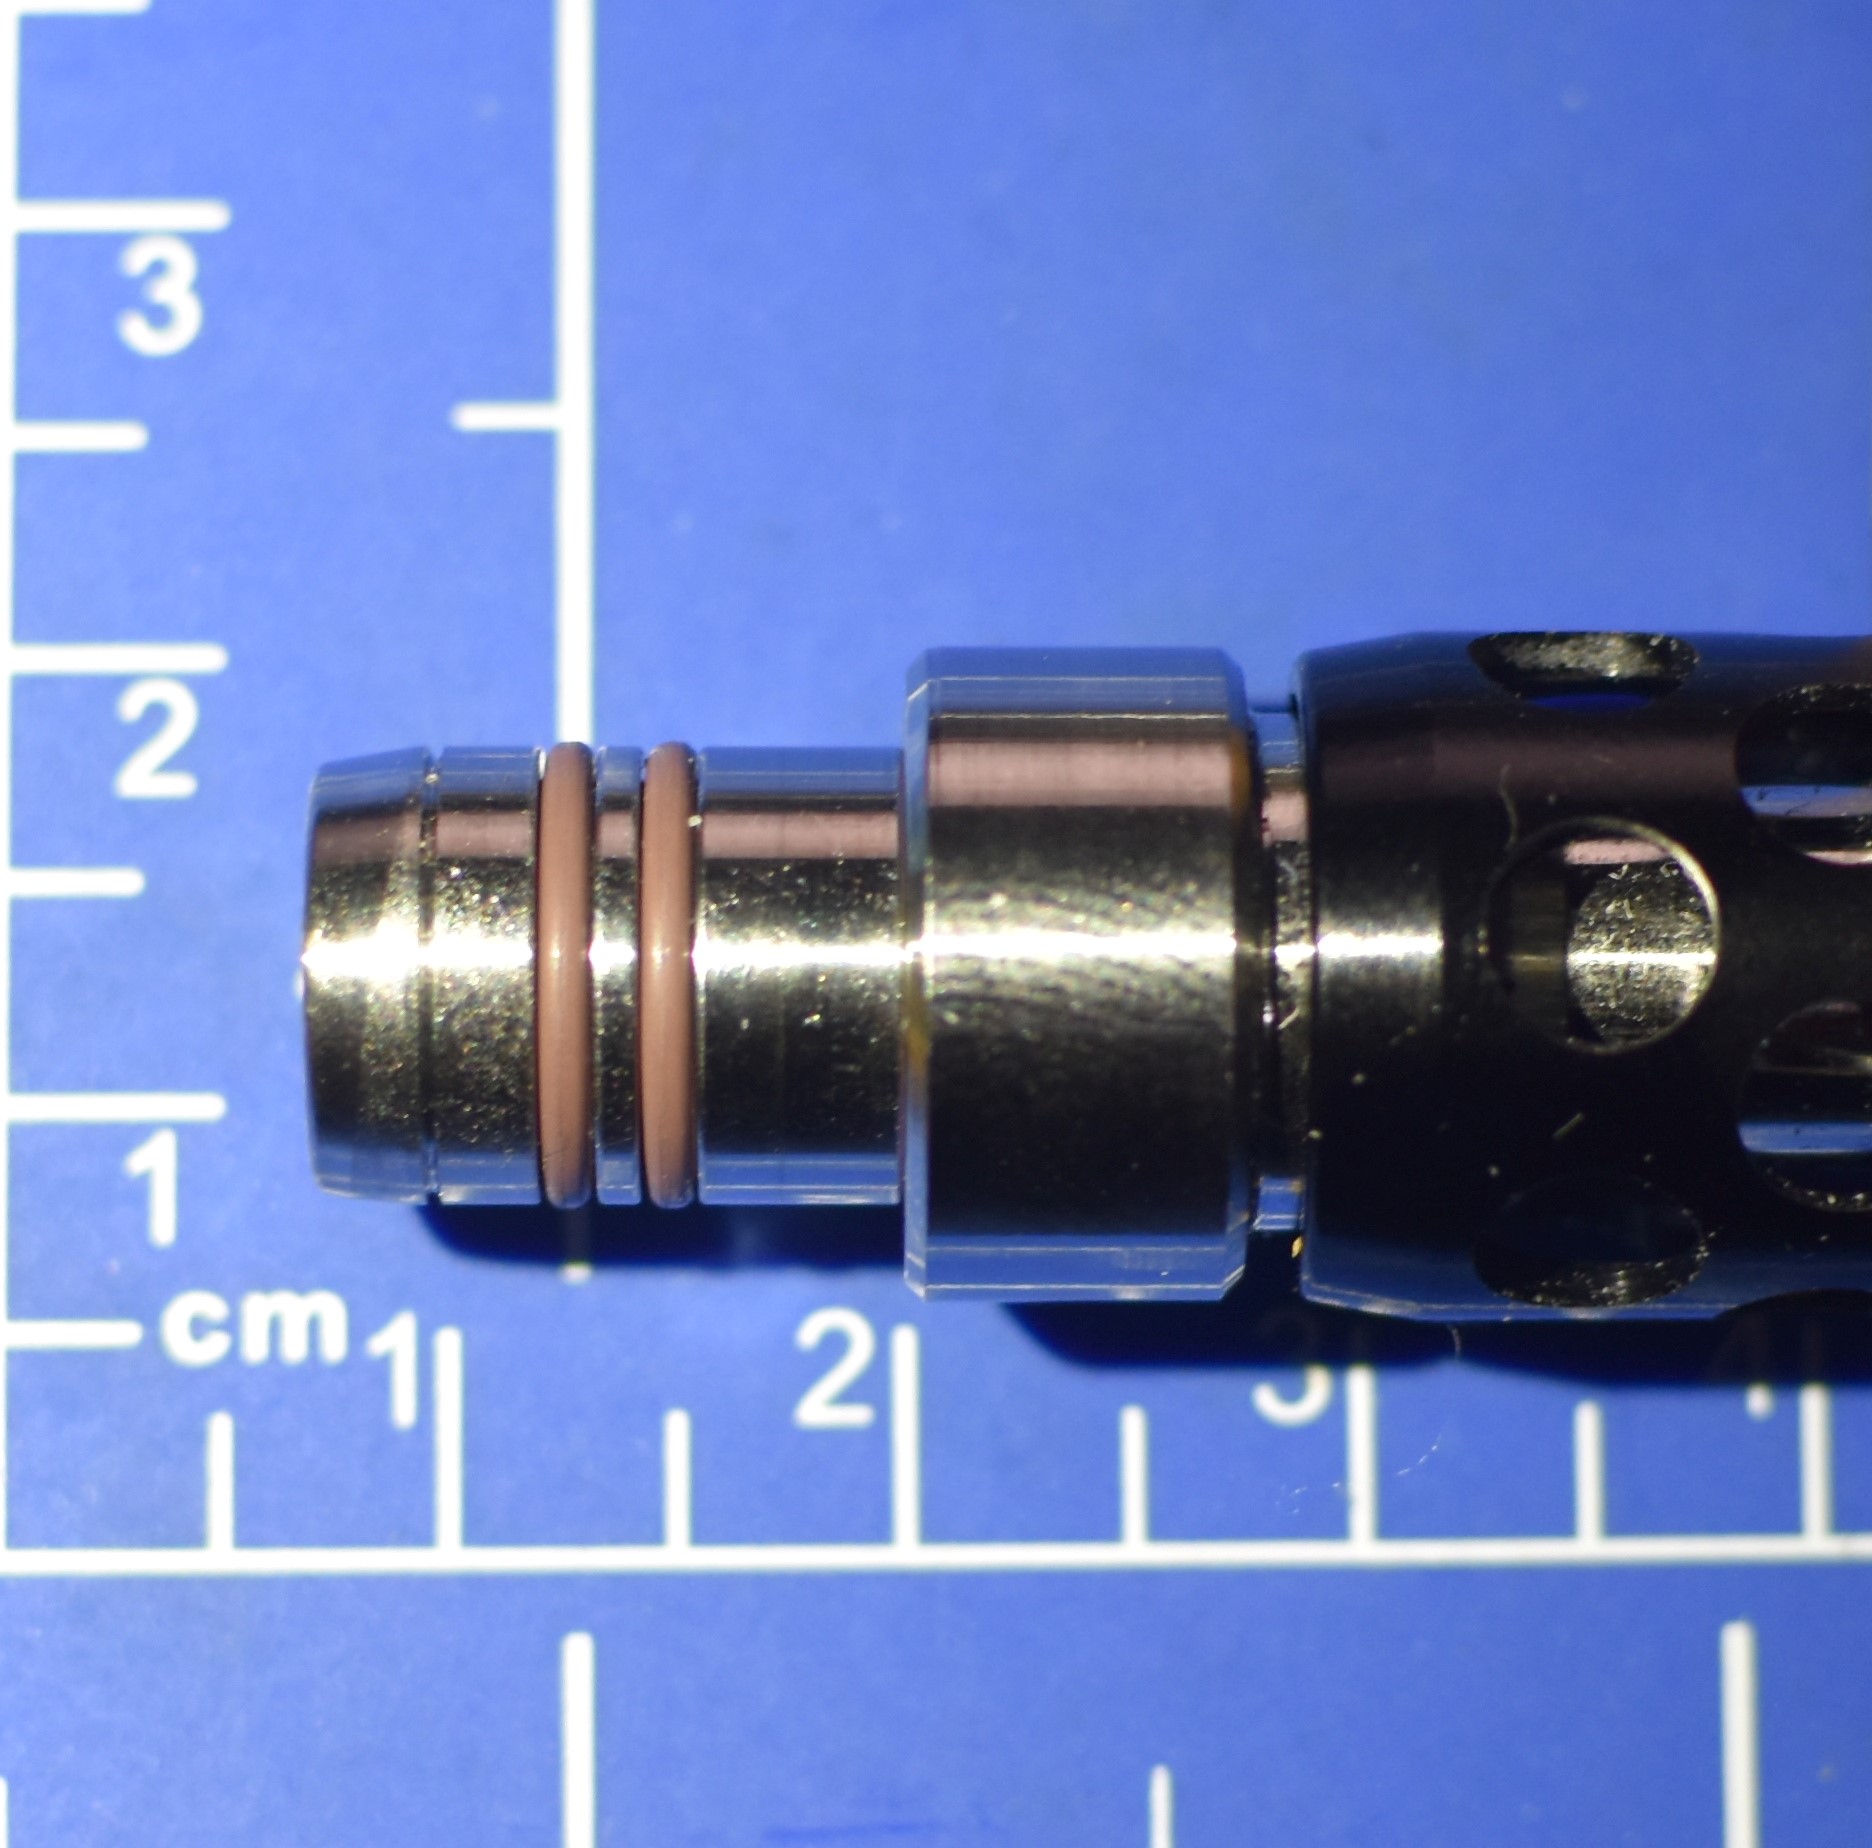
anvil-oring.jpg

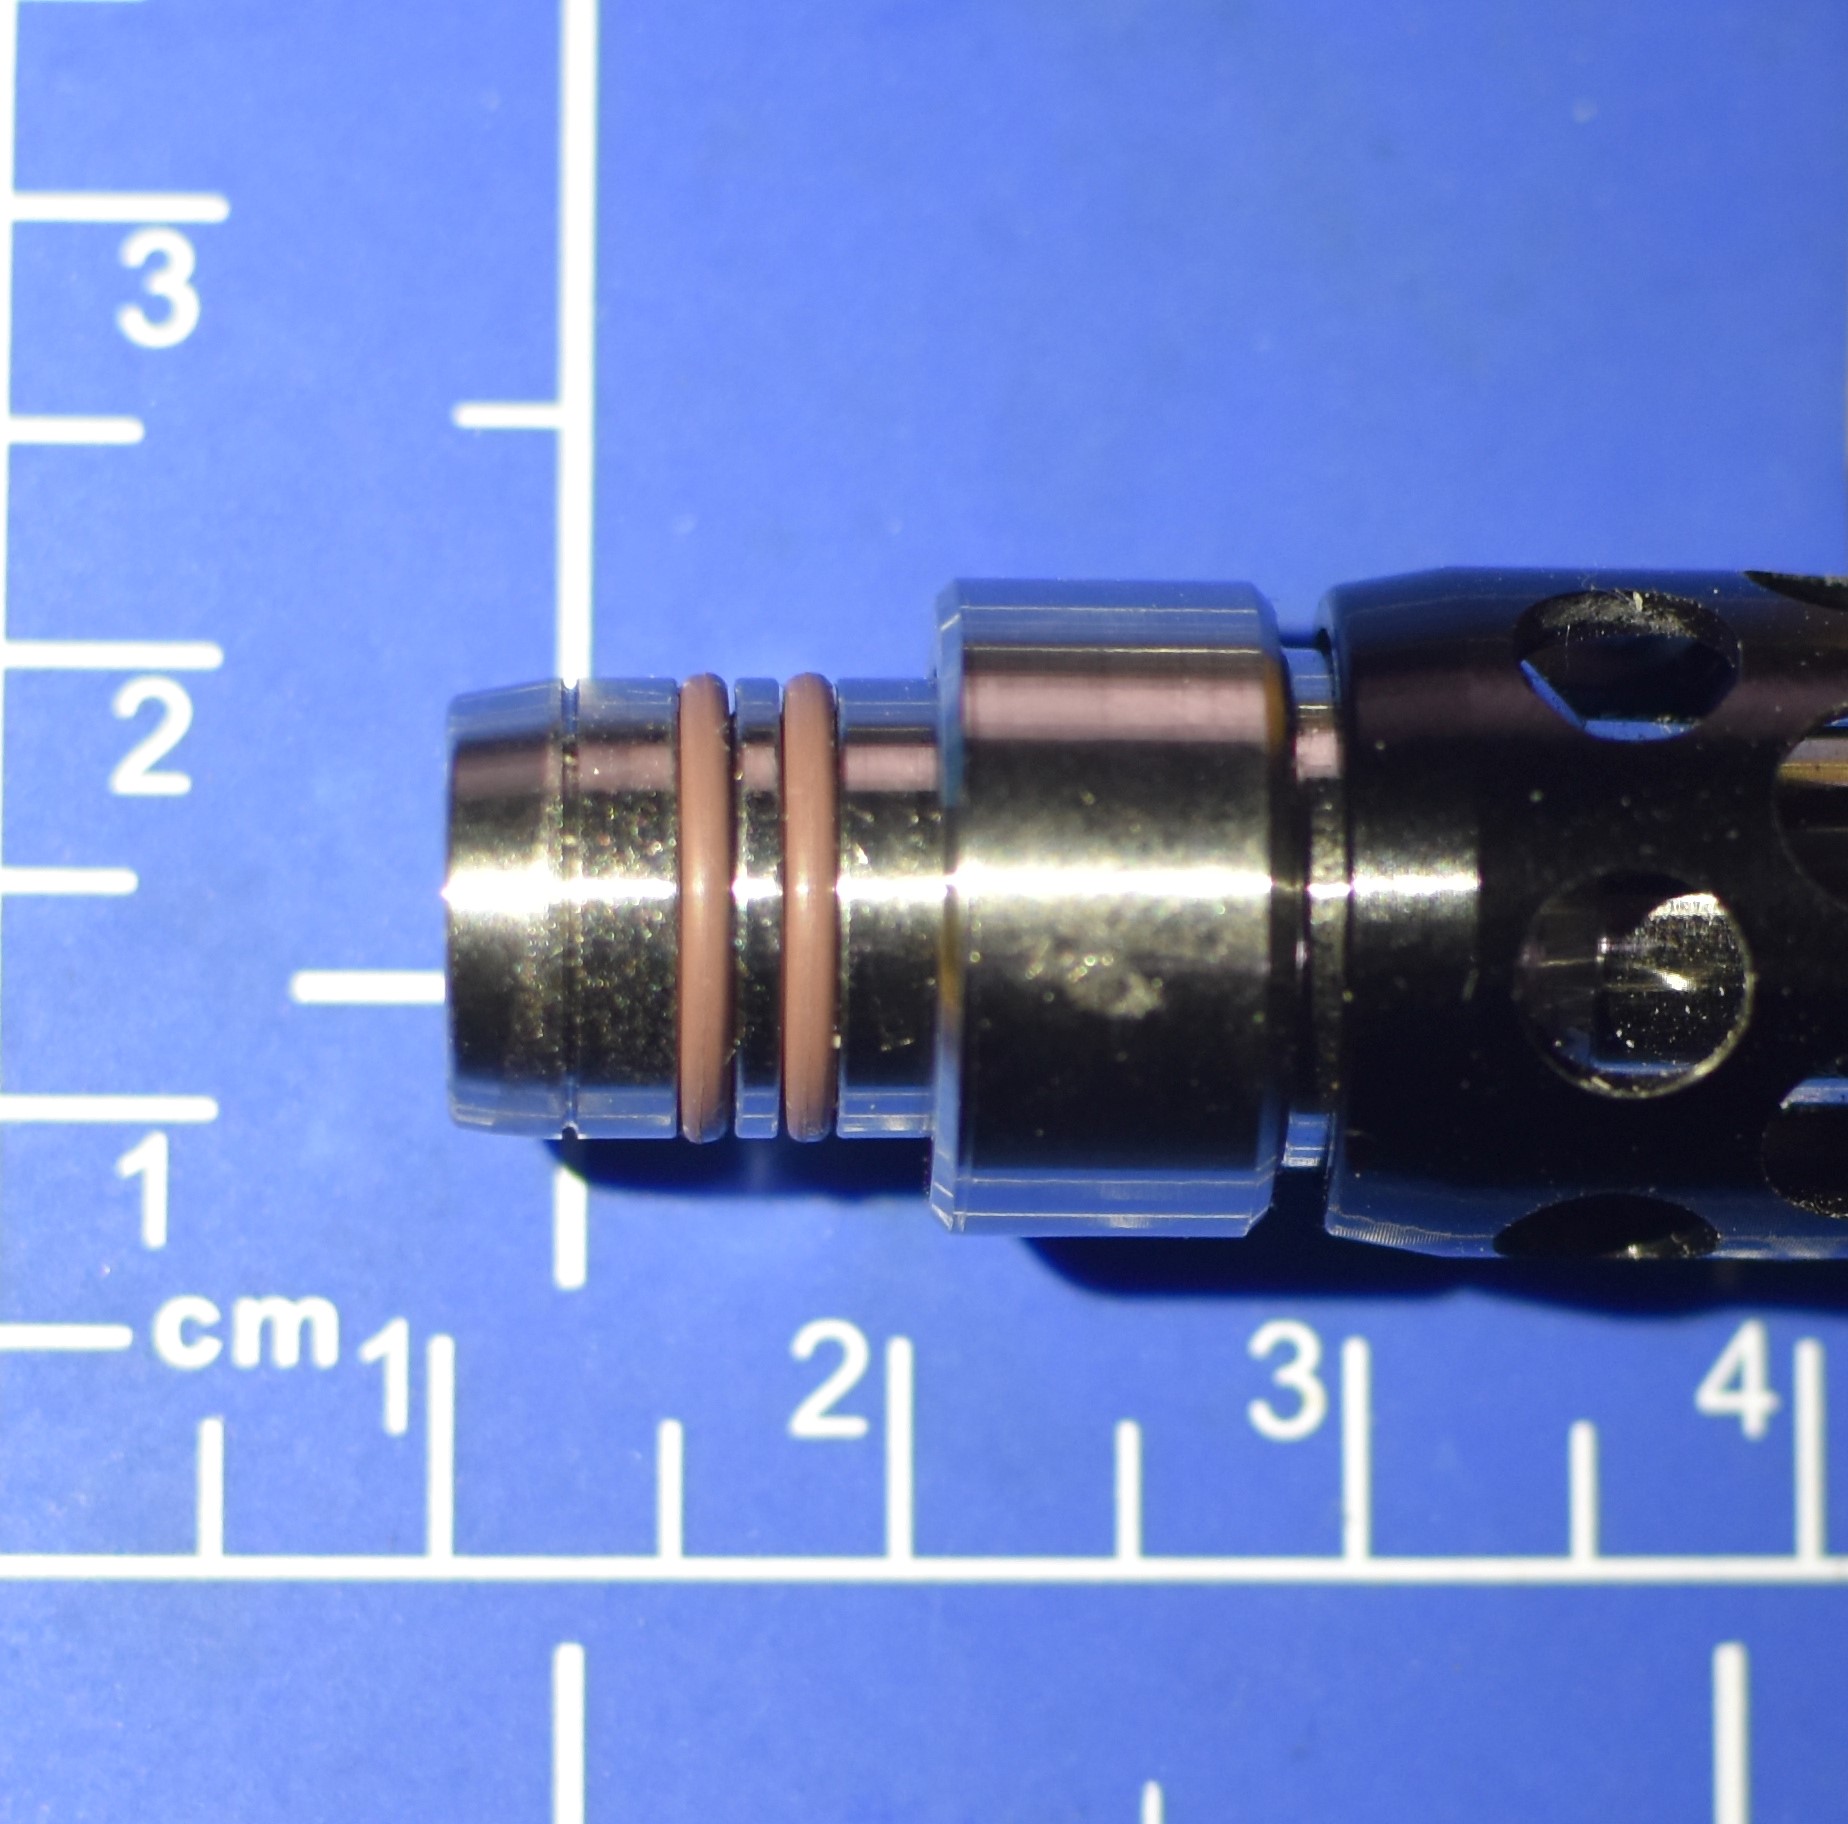
There's an o-ring and the seal is friction fit in a 14mm joint using that. I don't have a 10mm piece to check the mouthpiece section. @Vestratto, do you have any guidance with respect to the safety of soaking these in ISO? Also, will replacements eventually be made available for purchase? As a suggestion, perhaps a native 14mm fit on the heat shield portion without the o-ring, and a native 10mm fit on the mouthpiece (if it isn't already) for future revisions?

Edit: Another thought, assuming that future revisions will still be making the heat shield removable, an 18mm, 14mm and 10mm heat shield that you could change out to use with different glass pieces would also be useful.
 
Last edited:

Vestratto

Well-Known Member
Manufacturer
Thank you for the video, it was helpful in understanding how the airflow on the device works. Initially, as there were no instructions with respect to assembly/disassembly, I took it apart after receiving it to give all of the components an ISO soak. When inserting the airflow valve post, I just assumed I should go as far as the threading would allow, so to start, I had it in all the way:
anvil-airflow1.jpg

After watching the video, I noticed that it was recommended to screw the post into body up until the 2nd set of o-rings:
anvil-airflow2.jpg


No knock on the lack of documentation, I understand other issues are more pressing during a product launch, I just wanted to illustrate what my experience and thought process with assembly was.

Just to give some feedback, I assume mine is one of the models with the airflow issue because when configured like in the second pic, even with the valve pushed all the way down and airflow completely opened up, I found it almost unusable as the amount of draw resistance began to give me a headache from having to pull so hard.

Similarly, in the first pic, I'm finding the wide open setting the most comfortable for me to use. I'm not sure if the amount of adjustment is meant to be subtle, but I usability for me quickly tapers off with what I would consider "minor" adjustment.

Similarly, I'm discovering that my Blazer might be faulty and it should probably be pointed out to any potential customers that a minimum flame length or even a recommended torch might be helpful. I used the PB207 I had for the first half dozen or so sessions I had before switching over to a cheaper honest torch that produced a larger flame. I saw a better than 25% reduction in heat up time:

https://www.reddit.com/r/vaporents/comments/rtyfog

anvil-oring.jpg

There's an o-ring and the seal is friction fit in a 14mm joint using that. I don't have a 10mm piece to check the mouthpiece section. @Vestratto, do you have any guidance with respect to the safety of soaking these in ISO? Also, will replacements eventually be made available for purchase? As a suggestion, perhaps a native 14mm fit on the heat shield portion without the o-ring, and a native 10mm fit on the mouthpiece (if it isn't already) for future revisions?
Hi
Thanks for the great feedback.

Judging by the picture you do have one of the more restrictive valves. The new valve has a taper that is 15 1000th's of an inch shorter and is sloped more aggressively at 10 degrease while the one in your possession is 7.5 degrees. These are subtle physical changes with a pretty big substantial impact. Wide open on the new airflow valve will allow maximum throughput as if you just pull out the herb chamber and condenser from the body and "draw on just the guts". If you do this PLEASE BE CAREFUL because the top wall of the condenser is only 0.010" thick and will feel sharp on your tongue. Its going to be thicker in future revisions. In any event this will give any of you interested a good idea of the maximum system air throughput possible. If you do open wide in the future with the new air valve be aware that the convection air will be cooler as a result of spending less time in the heating region. Some experimentation on each of your parts will get you to that balance point you want to be at and then I suspect you won't change it too often. Most Beta testers found a sweet spot for their pack, grind, draw resistance preferences and then didn't mess around too much. Definitely kief, tight pack, medium grind, 1/2 versus full all make a difference but once the water content boils off from the herb there will be plenty of porosity in even the tightest packed bowl. ( ok - someone is going to prove me wrong by compressing a puck in there but have at it I say) That said some Beta users have experimented with really tiny loads and a slower airflow to implement a micro-dosing strategy. If anyone reading this is experimenting in this direction perhaps they can come forward with their experience as this is not the way I use the Anvil?

If you remove the o-ring the taper on the heat shield does match a standard 14 mm piece. The metal taper is exactly according to the Iso standard and, being an exterior feature is pretty easily measured. The glass piece you have may not be as precise depending on the quality of the components used by the maker, made in C#$%a etc.. The o-ring is simply so the Anvil has the best chance to fit and to not jam. Nothing more frustrating than your Anvil being the culprit in the destruction of your favourite glass rig. Metal and glass tapered interfaces can be tricky and so I ship it with the o-ring to be as certain as I can. The other function of the O-ring is to seat the anvil higher in the joint. This has two advantages - 1) without the o-ring the Anvil mouthpiece can bottom out in some glassware and 2) it gives you more finger room to grab the heat shield to clear your rig. One of the main differences between the Beta (take a look at Sneaky Pete's First Look, Whiff's vids or thevapotorium) is the addition of another ring of holes on the heat shield making the unit 0.3" longer overall. Fingers were in danger removing the Anvil from the rig when riding the line :)

The interior o-rings right now are all Viton. The outer glass interface is simply Buna Nitrile. The Parker specifications suggest both are iso-propyl compatible. I suspect that over a very large number of cleanings they may eventually break down. Beta units in HEAVY use - ie not as "one of a stable" of vapes, but as the daily driver, have been in use since August and show no signs of degradation to this point. Maintenance kits will be stacked beginning this month. The only o-ring bearing part that will require regular intensive soaks is the condenser. You will notice that it runs uninterrupted the full length of the body. In Beta it ran only 1/2 way so vapour was dumped into the interior wall of the unit necessitating cleaning of the entire Anvil. The o-rings on the airflow valve are upstream from the vapor and should receive absolutely negligible exposure to vapour.

O-rings are exposed to some pretty extreme heat conditions in other vaporizer designs. Particularly those that mount o-rings directly on on parts that are heated. Anvil's design incorporates two thermal breaks to 1) retain heat in the CopperCore oven for deployment into the convection air-stream and 2) to protect the o-rings. The first thermal bridge is where the oven necks down above the CopperCore into a smaller diameter stainless (poor conductor tube 1/8 inch long) and the second bridge is the airflow slots themselves which don't conduct heat at all. To prove to myself the o-rings stay cool I actually pulled the oven off the airflow post and inserted just the herb chamber into it - then holding it above the airflow slots in my fingertips I heated until SNAP without letting go. If you can hold it its likely below 125F. Keep in mind that Viton is continuous rated at 400F and 48 hour rated at 600F.

After cleaning in iso and a good water rinse the o-rings have almost no lubricity. They are tough to slide on. To overcome this I just rub a little saliva on them and assemble. After a few minutes the moisture evaporates and the correct coefficients of friction are restored to make the air valve work as per the video.

Sorry for the long winded answer but writing these posts here are I hope informational. I believe if you know why I did something you have a better knowledge platform of how to get the most out of your Anvil and a better chance of having an inspiration that might make it better in the future.

Happy 2022 Everyone
John
 

ConvectCode1

Well-Known Member
Thank you - Thank you - Thankyou

With this information you have really made me feel like I am becoming part of the TEAM here at FC. I appreciate being helped to make the Anvil better more than you can imagine!!!

I will jump on these magnets.
Welcome to FC.
Thank you for sharing The Anvil with the world.

From previous comments from Vestratto, it sounds like you’d need a 14mm-to-10mm adaptor.
Fits 14mm perfectly hands free. That’s not the case with 10mm. It doesn’t fit 10mm properly, just 14.

I've been using this a little more than I really ought to be, but so far I'm already sensing that the torch you use is going to play a not insignificant role in the success you have with this device. I've had two sessions with a Blazer PB207 Micro Torch. The sessions themselves were great. Good flavour, more clouds than my baby lungs could handle and pretty thorough extraction.

After posting my video to Reddit, it got a few complaints about the slow heat up time, which admittedly with the Micro-torch took a little longer than I would have hoped for. Now I fully acknowledge that I'm a novice and need to use the device more to get a better feel and develop better technique, but heat up times for the two sessions was about 60 and 70 seconds.

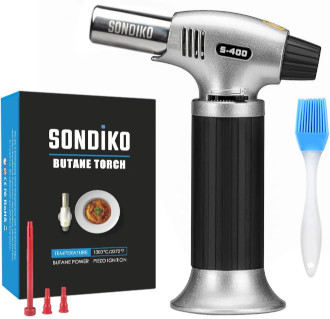
With that in mind, I used a kitchen torch that I normally use with my Supreme 3.5, only with the flame turned almost all the way down. It's this one specifically:
sondiko.jpg

For my 3rd session, I had the airflow 3/4 closed whereas previously with the Micro Torch, it was completely open. With this new torch and airflow setting, heat up time was about 30 seconds but the entire session tasted like burnt popcorn from start to finish. Draw restriction was also too tight I found. I'm not sure if mine is one of those that had the air restriction issues, but I found it tough to draw on at that setting.

I think I went for the 4th session too quickly. The draw was way too tight for me so I opened it up completely again and used the same kitchen torch. Another 30 second heat up to click. The session started off fine, but ended in combustion. I think the 4th session was less than 20 minutes from the 3rd, so that may have played a factor.

I think this was referred to previously in some of the videos, but there does seem to be a optimal rate for ramping up the heat, sort of similar to how varying coil depths on induction heaters have different heating curves with Vapcaps. It seems to me that this guy is just too big as I had the flame turned almost as low as you can go.

Like the fellows have been using in the demo vids, I placed an order for a Blazer Firefox. At 4.5" tall, it falls in between the pocket torch and the 6" Sondiko kitchen torch. I probably should have done this from the get-go. As it stands, I'm going back to the Micro Torch until the Firefox arrives.

Edit: As a PSA, I think part of the reason I may have combusted earlier is because I misunderstood how this device worked. It turns out, it was the opposite of what I had thought.

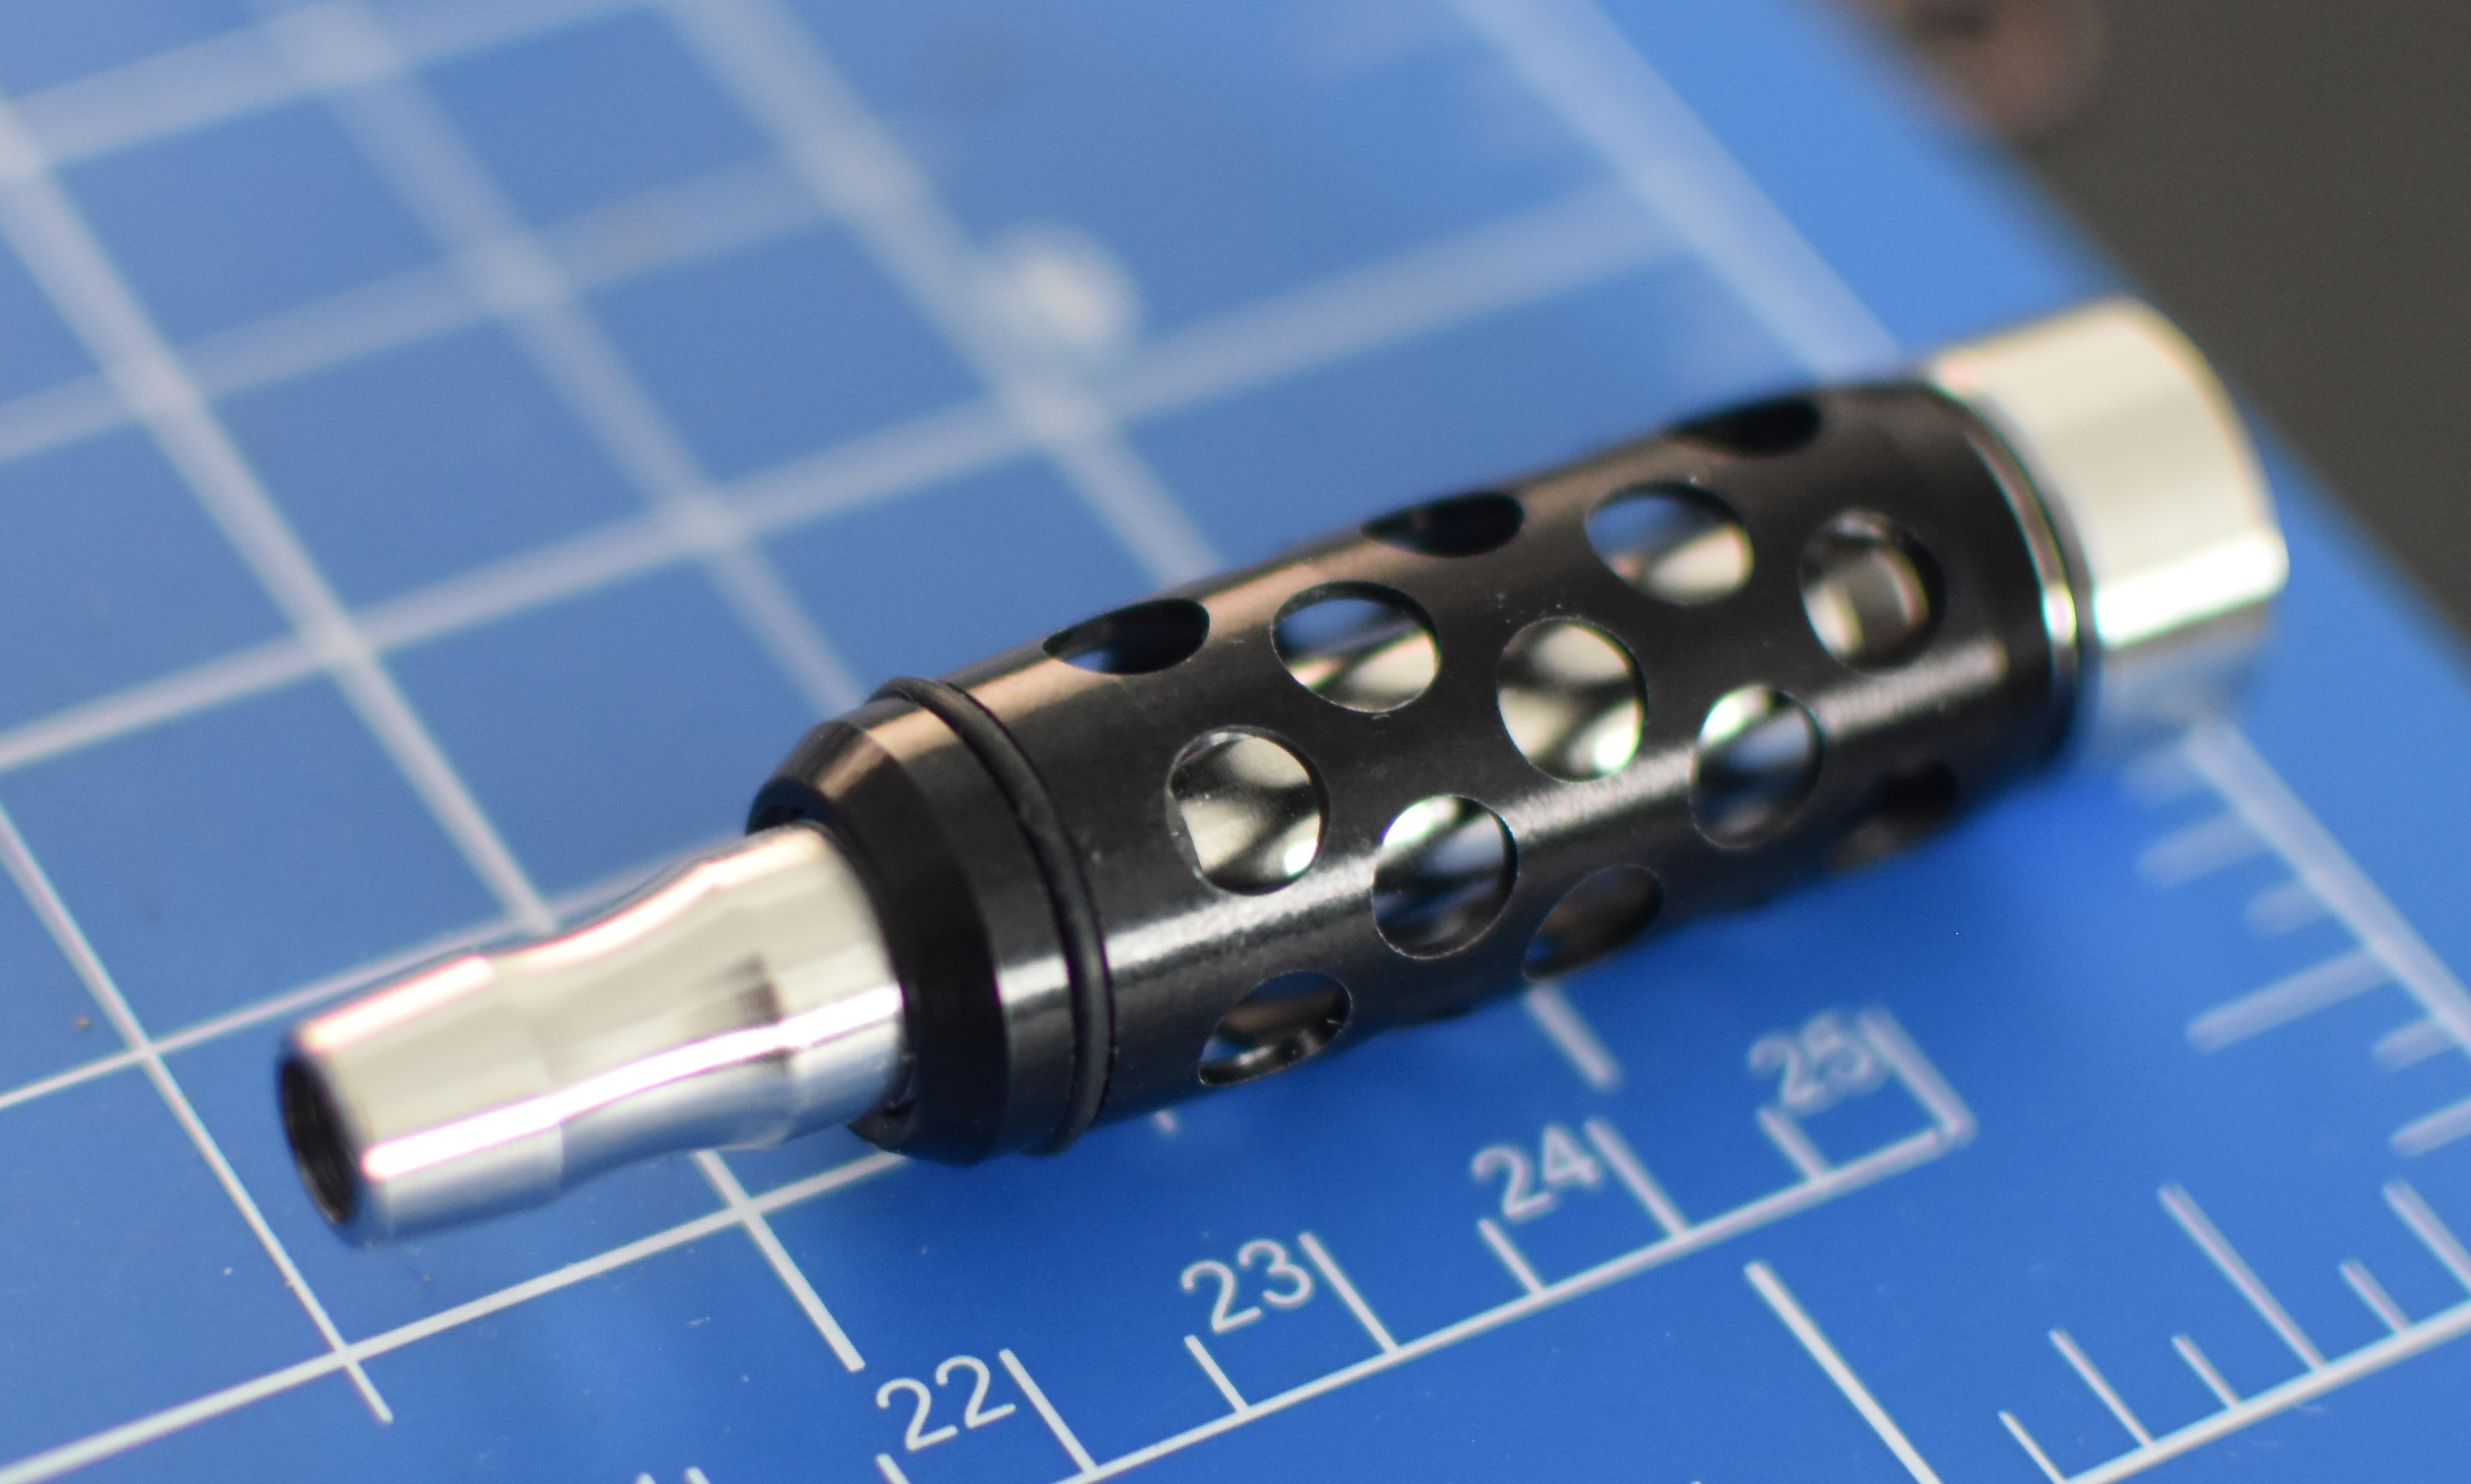
If you want completely open air flow, this is the position you need to set the Anvil in:
anvil-open.jpg


And for the most restricted air flow setting this is what it should look like:
anvil-closed.jpg
I didn’t even realize those were airports. I still can’t figure out how to open them. I’m good with using it through a huge recycler with no airports at all. I thought they LOOKED like “airports”. Cool.
 

Abysmal Vapor

Supersniffer 2000 - robot fart detection device
@ConvectCode1 Nothing against you man,but that back to back posting is kind of annoying also creates work for the mods ,you have joined back in 2017 and have 42 posts already, it is time that you learn that there is multi quote feature( +quote button on the right,between like and reply,the insert quote feature is down on left next to attach file button ) that lets you reply to multiple people within a single post. Also there is a 6 hour edit window on each post you make,the edit button is on the left below your post.
Also i am going to quote the rules:
""""When possible, please avoid making back-to-back posts in a thread. Use the Edit feature located at the bottom of your posts.""
Example


Welcome to FC.
Thank you for sharing The Anvil with the world.

Fits 14mm perfectly hands free. That’s not the case with 10mm. It doesn’t fit 10mm properly, just 14.

I didn’t even realize those were airports. I still can’t figure out how to open them. I’m good with using it through a huge recycler with no airports at all. I thought they LOOKED like “airports”. Cool.
 
Last edited:

Greenleaf88

Well-Known Member
I've only seen people hit these out of bongs. Anyone try it out yet through just mouth?
@Whiff has he even has vidz I tried it once with a half bowl medium heat was fine. I like milking my bong.

Taking my anvil apart today to clean used it at least 100 times in the last 2 days.

Edit: where is everyone posting there hits? Under what tag are you tagging them?
I just wanna c clouds lmao
 

Duba

Well-Known Member
Accessory Maker
I received my Anvil this morning. First, I was impressed by this fast shipping (4 days), it's often the opposite when i'm waiting for a vape ...
I did'nt pay any additional taxes or vat, which frankly surprised me, badass!

Let's get down to business: The Anvil is very well built, it's really new and in perfect condition, all parts fit perfectly, the quality of manufacture is exemplary. The object is ergonomic and seems very solid.
I received the terp chamber, the 1/2 chamber and the helix beta chamber (at my request despite the fact that it's not the final version, this one has more restrictions).
After an usual cleaning with Iso, I had to watch the video of Vestratto to understand the assembly and the functioning of the airflow.
Face to face with a dyna :
I made 2 bowls with the terp chamb, the airflow half open and heating with a flame. It was good and enjoyable, first native and then with a J-hook. I was able to shoot 2-3 big hits for one heating cycle. I can already say that it's very easy to use!!🥳
On the 2nd try, I did a second heat, not very useful.
Then I tried the 1/2 chamber with a double heater (2 lighters at the same time). I wanted to save heating time, failed, I combusted...:doh:
I did a cleaning again...
Then I made a bowl with the helix chamber, airflow full open....and there friends, it was milky and thick, very intense in the mouth and in the body, a big sensation.🤪
The extraction was very homogeneous and of nice brown color.
I finished with the learning curve, the following bowls followed the same way...
There is still some adjustment work to do but I understood how it works and I saw where it could take me, which is very far...
I don't know yet if it's possible to block the airflow once you've found your routine or if you have to readjust it every time (which is easy with the visible mark).
At first glance, it's an unbreakable vape and will always work if you have a lighter on hand. I need a new one by the way...

Thank you John @Vestratto for your work and creation, and for your participation here to help us to understand and use the Anvil, so we can help you make it even better.... all this for the future generations (wow, stop, I'm roasted!).

Edit : a video to complete (+ light brown avb!) :
 
Last edited:

Vestratto

Well-Known Member
Manufacturer
I received my Anvil this morning. First, I was impressed by this fast shipping (4 days), it's often the opposite when i'm waiting for a vape ...
I did'nt pay any additional taxes or vat, which frankly surprised me, badass!

Let's get down to business: The Anvil is very well built, it's really new and in perfect condition, all parts fit perfectly, the quality of manufacture is exemplary. The object is ergonomic and seems very solid.
I received the terp chamber, the 1/2 chamber and the helix beta chamber (at my request despite the fact that it's not the final version, this one has more restrictions).
After an usual cleaning with Iso, I had to watch the video of Vestratto to understand the assembly and the functioning of the airflow.
Face to face with a dyna :
I made 2 bowls with the terp chamb, the airflow half open and heating with a flame. It was good and enjoyable, first native and then with a J-hook. I was able to shoot 2-3 big hits for one heating cycle. I can already say that it's very easy to use!!🥳
On the 2nd try, I did a second heat, not very useful.
Then I tried the 1/2 chamber with a double heater (2 lighters at the same time). I wanted to save heating time, failed, I combusted...:doh:
I did a cleaning again...
Then I made a bowl with the helix chamber, airflow full open....and there friends, it was milky and thick, very intense in the mouth and in the body, a big sensation.🤪
The extraction was very homogeneous and of nice brown color.
I finished with the learning curve, the following bowls followed the same way...
There is still some adjustment work to do but I understood how it works and I saw where it could take me, which is very far...
I don't know yet if it's possible to block the airflow once you've found your routine or if you have to readjust it every time (which is easy with the visible mark).
At first glance, it's an unbreakable vape and will always work if you have a lighter on hand. I need a new one by the way...

Thank you John @Vestratto for your work and creation, and for your participation here to help us to understand and use the Anvil, so we can help you make it even better.... all this for the future generations (wow, stop, I'm roasted!).

Edit : a video to complete (+ light brown avb!) :
Hi there. John here.

Thanks for the nice update. I wanted to point out again that trying to heat Anvil too fast isn't going to end happily. There is a lag between the outside oven temperature and the inside temperature-sensing herb chambers. The herb chamber always SNAPS at the same temperature. Where you direct the torch determines how much excess energy is stored in the outer oven, most significantly in the CopperBlock thermal reservoir. It is the total energy in the outer over which will ultimately define the estratto or roast. I get great results setting the torch power to a level that, when you direct the flame at the gap between the oven body and The CopperBlock it takes 35ish seconds to heat. Practically for me thats my Honest dual with a 5/8" hot inner blue flame. I turn the torch parallel with the gap and set the inner blue tips to the height of the oven. Since we all have different torches the 35ish second rule is my attempt to be universal.

You can certainly heat faster but please advance incrementally so you learn the limits of the system. if you go overboard you run the risk of outracing the inherent lag in the system. Now some of you are asking "why the thermal lag?" in the first place. It is to allow us to get enough power into the CopperBlock reservoir to be able to clear the bowl without boiling off all the terps in the inner chamber in the process. If the two structures came up in parallel we could certainly clear the bowl but it would invariably taste like burnt popcorn. I know because I built that version about three 1/2 years ago. Hit like Tyson but flavour was a forgone conclusion.

When the SNAP happens draw NOW is a good rule of thumb. The SNAP indicates the herb is at the correct threshold temperature that the introduction of the hot convection air causes the vapour to literally jump off the plant material. Some of you might have the experience of letting your other vapes "soak in" for a moment before drawing. The Anvil SNAP means that the "soak in" is done and we are good to go.

Most of you are used to systems that measure the temperature of the outer oven rather than the herb directly and may need just a tiny bit of practice to get the Anvil working the way you want it to but hang in. I'm sure your learning curve is measured in a few bowls rather than grams.
 

Gibbleguts

Well-Known Member
I upgraded torch today and will say I think too slow heating hurts almost as much as too fast. Getting it from 55 seconds down to 30-35 both single jet lighter has greatly improved the hit. I think I was boiling off the terps before hitting.

I do look forward to seeing what the helix can do.
 

Cheebsy

Microbe minion
Hey @Vestratto John, I firstly want to thank you for the informative and educational posts you are submitting about your product. I love it when the inventor gets involved with the community in an honest and detailed manner.

Can you tell us what the temp inside the herb chamber is when the snap happens?

I have to say I'm not into VCs really, but this is quite interesting to me, I think because it looks like you could speak in a bit more connection. I'll wait for some more user reports before committing but I have been very entertained by your postings.
 

Vestratto

Well-Known Member
Manufacturer
Hey @Vestratto John, I firstly want to thank you for the informative and educational posts you are submitting about your product. I love it when the inventor gets involved with the community in an honest and detailed manner.

Can you tell us what the temp inside the herb chamber is when the snap happens?

I have to say I'm not into VCs really, but this is quite interesting to me, I think because it looks like you could speak in a bit more connection. I'll wait for some more user reports before committing but I have been very entertained by your postings.
A lot obviously depends on the starting moisture content of the herb, intensity of torch etc. In Design I aimed for a herb temperature of 350-375 F at snap. The canister of the herb chamber at the threaded junction is hotter than that, and then again the CopperBlock is hotter still. If the herb is bone dry anticipate a temperature closer to 375-400. That is why I say to draw on the SNAP because the herb is at temperature.

In our various herb chamber designs I am using different strategies to adjust the herb temperature at SNAP and having some decent success. The spring loaded chamber detailed in my patent application is pure convection as it literally floats on a wire. The herb is kept relativlely cooler at click and as such will be Anvil's goto for Flavour Chasers. The Helix is much more conduction biased as the peaks of the helix pick up significant heat from the inner wall of the oven and transmit it into the herb chamber as the oven is being heated. Contrary to popular thinking the helical coils are not intended for air path lengthening but rather so that the peaks of the coils have tight proximity to the inner wall of the oven. I felt there was a real interesting and unexplored area in this genre of TEDs to get optimized results in just using the material science and physical design parameters to modify the quality, intensity and flavour spectrum of the vapour. The terp chambers that are currently shipping are I think a good middle of the road solution. They can definitely do the job. As we gain bandwidth internally here at Vestratto we hope to have an interesting variety of chambers for different strategies -flavour/medication, or materials dry flower/concentrates.
 
Last edited:

jasp3r

Well-Known Member
A lot obviously depends on the starting moisture content of the herb, intensity of torch etc. In Design I aimed for a herb temperature of 350-375 F at snap. The canister of the herb chamber at the threaded junction is hotter than that, and then again the CopperBlock is hotter still. If the herb is bone dry anticipate a temperature closer to 375-400. That is why I say to draw on the SNAP because the herb is at temperature.

Can't wait to get my order John! Thanks for your detailed replies, they have abeen a blast to read. Out of curiosity, how can someone else get their hands on a beta helix chamber?
 

Cannabliss*420

Well-Known Member
I received my Anvil this morning. First, I was impressed by this fast shipping (4 days), it's often the opposite when i'm waiting for a vape ...
I did'nt pay any additional taxes or vat, which frankly surprised me, badass!

Let's get down to business: The Anvil is very well built, it's really new and in perfect condition, all parts fit perfectly, the quality of manufacture is exemplary. The object is ergonomic and seems very solid.
I received the terp chamber, the 1/2 chamber and the helix beta chamber (at my request despite the fact that it's not the final version, this one has more restrictions).
After an usual cleaning with Iso, I had to watch the video of Vestratto to understand the assembly and the functioning of the airflow.
Face to face with a dyna :
I made 2 bowls with the terp chamb, the airflow half open and heating with a flame. It was good and enjoyable, first native and then with a J-hook. I was able to shoot 2-3 big hits for one heating cycle. I can already say that it's very easy to use!!🥳
On the 2nd try, I did a second heat, not very useful.
Then I tried the 1/2 chamber with a double heater (2 lighters at the same time). I wanted to save heating time, failed, I combusted...:doh:
I did a cleaning again...
Then I made a bowl with the helix chamber, airflow full open....and there friends, it was milky and thick, very intense in the mouth and in the body, a big sensation.🤪
The extraction was very homogeneous and of nice brown color.
I finished with the learning curve, the following bowls followed the same way...
There is still some adjustment work to do but I understood how it works and I saw where it could take me, which is very far...
I don't know yet if it's possible to block the airflow once you've found your routine or if you have to readjust it every time (which is easy with the visible mark).
At first glance, it's an unbreakable vape and will always work if you have a lighter on hand. I need a new one by the way...

Thank you John @Vestratto for your work and creation, and for your participation here to help us to understand and use the Anvil, so we can help you make it even better.... all this for the future generations (wow, stop, I'm roasted

Can't wait to get my order John! Thanks for your detailed replies, they have abeen a blast to read. Out of curiosity, how can someone else get their hands on a beta helix chamber?
I second that
 
Cannabliss*420,
  • Like
Reactions: BigJr48
Top Bottom