I received my Anvil this morning. First, I was impressed by this fast shipping (4 days), it's often the opposite when i'm waiting for a vape ...
I did'nt pay any additional taxes or vat, which frankly surprised me, badass!
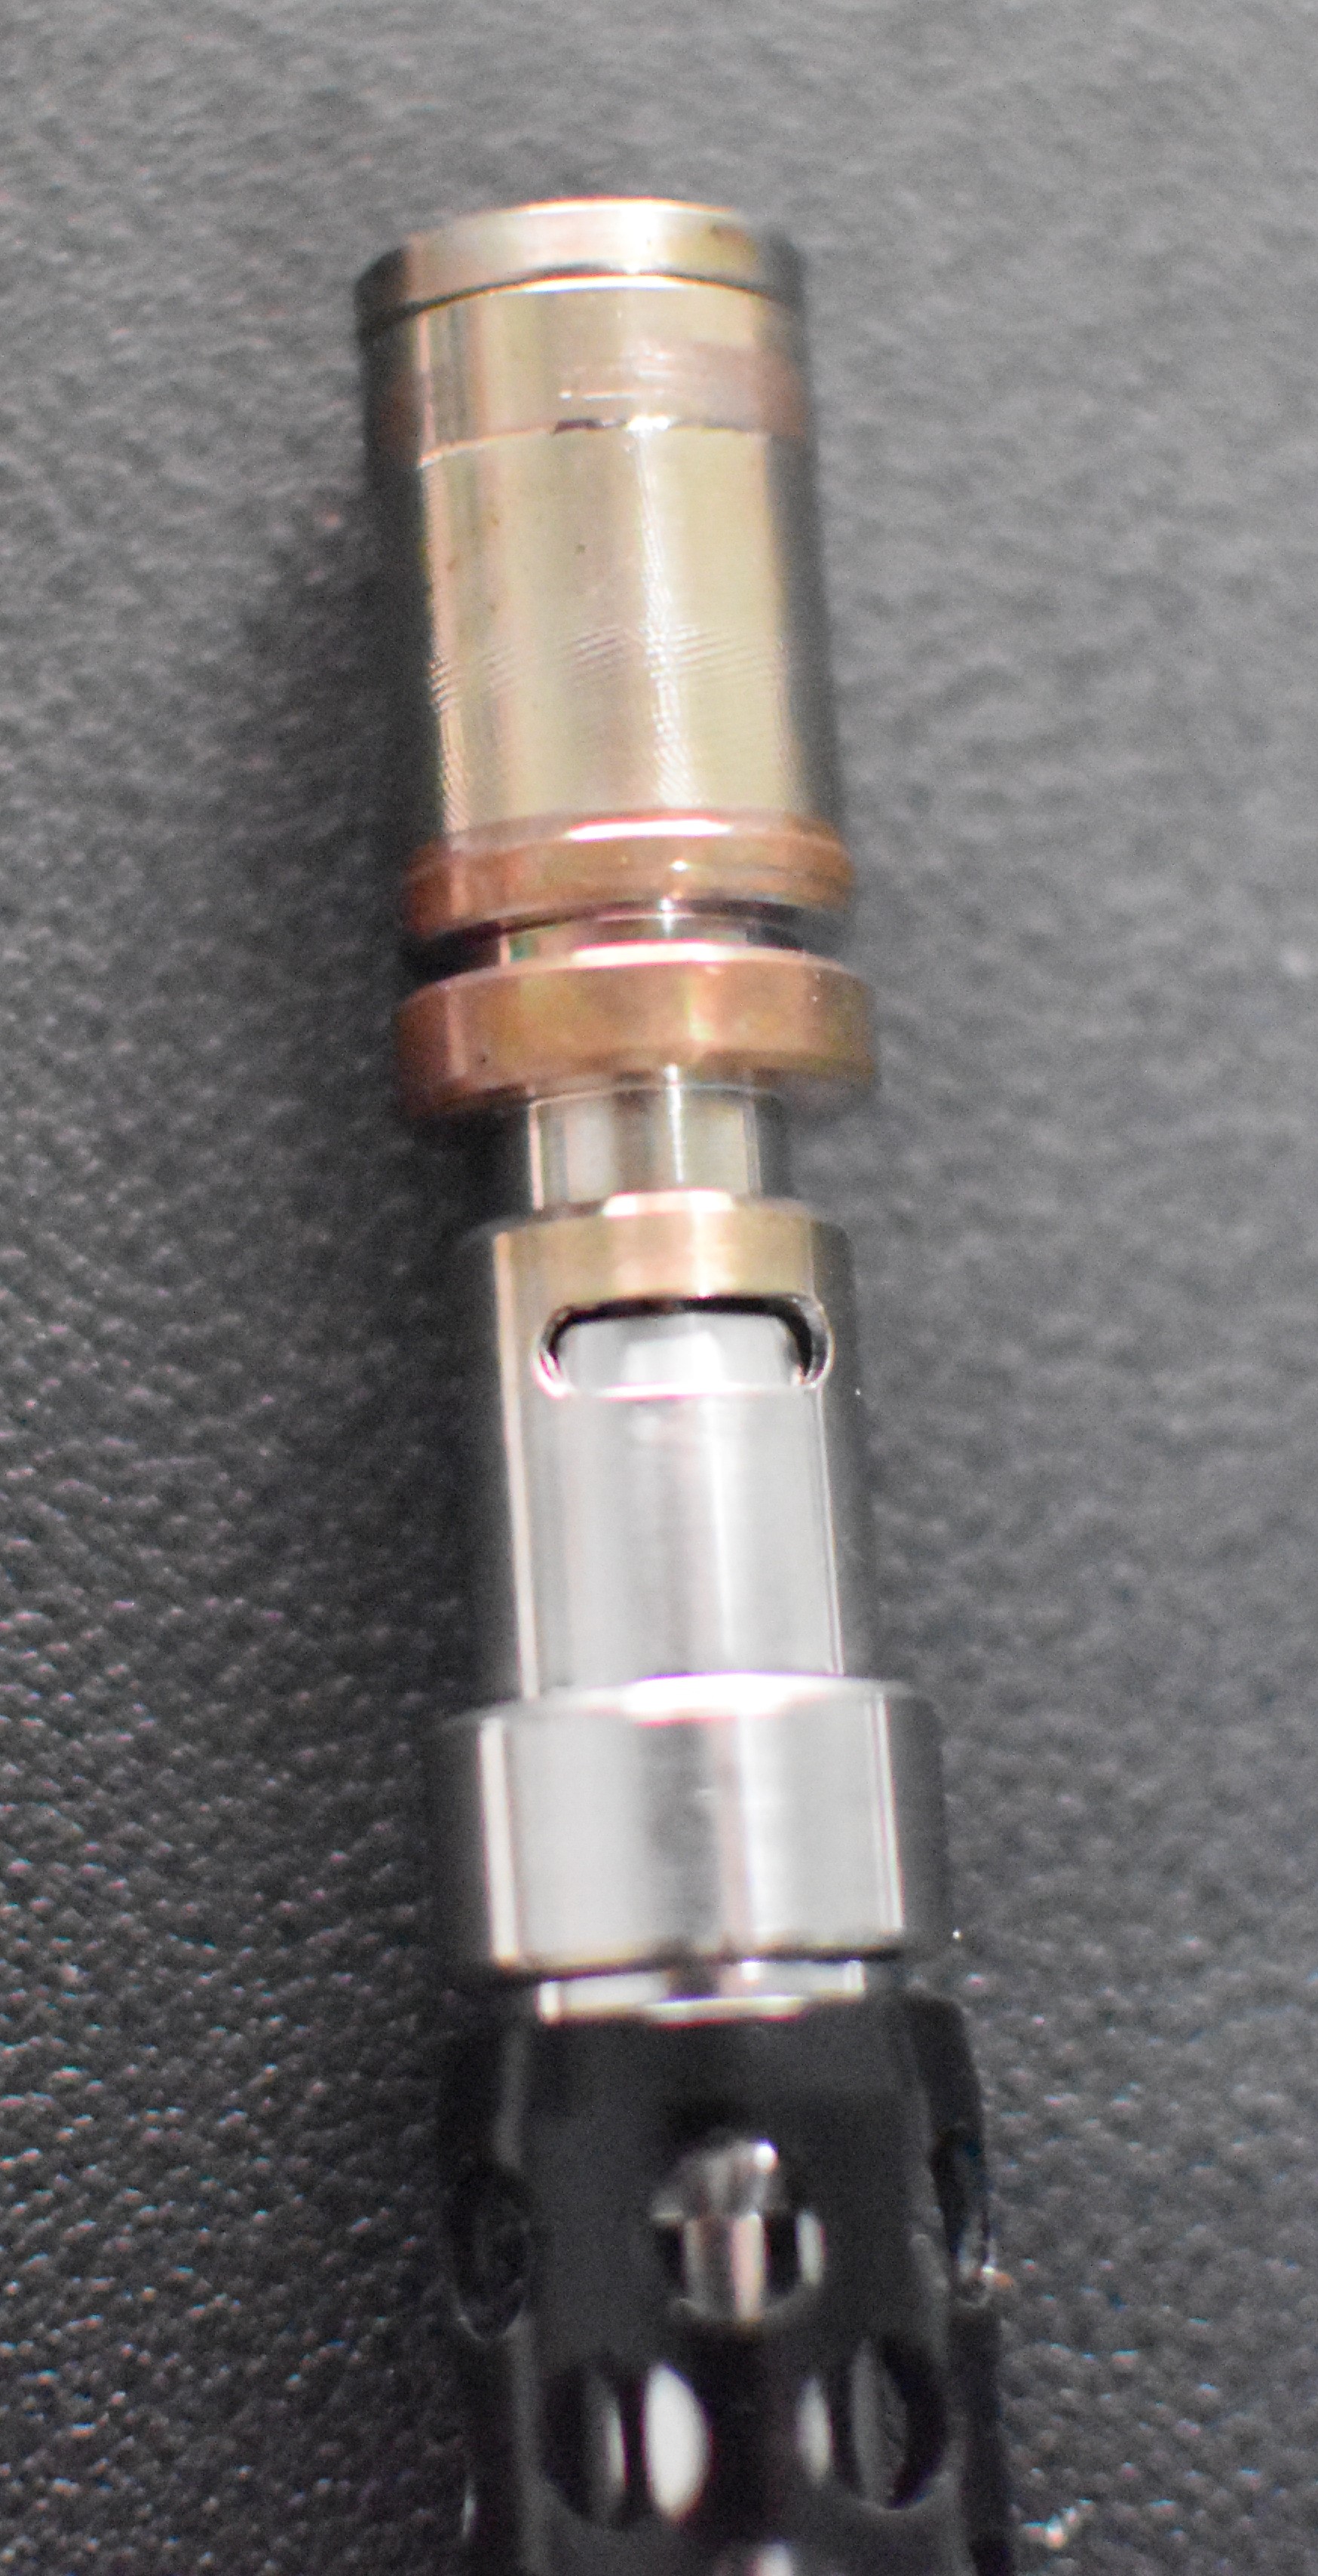
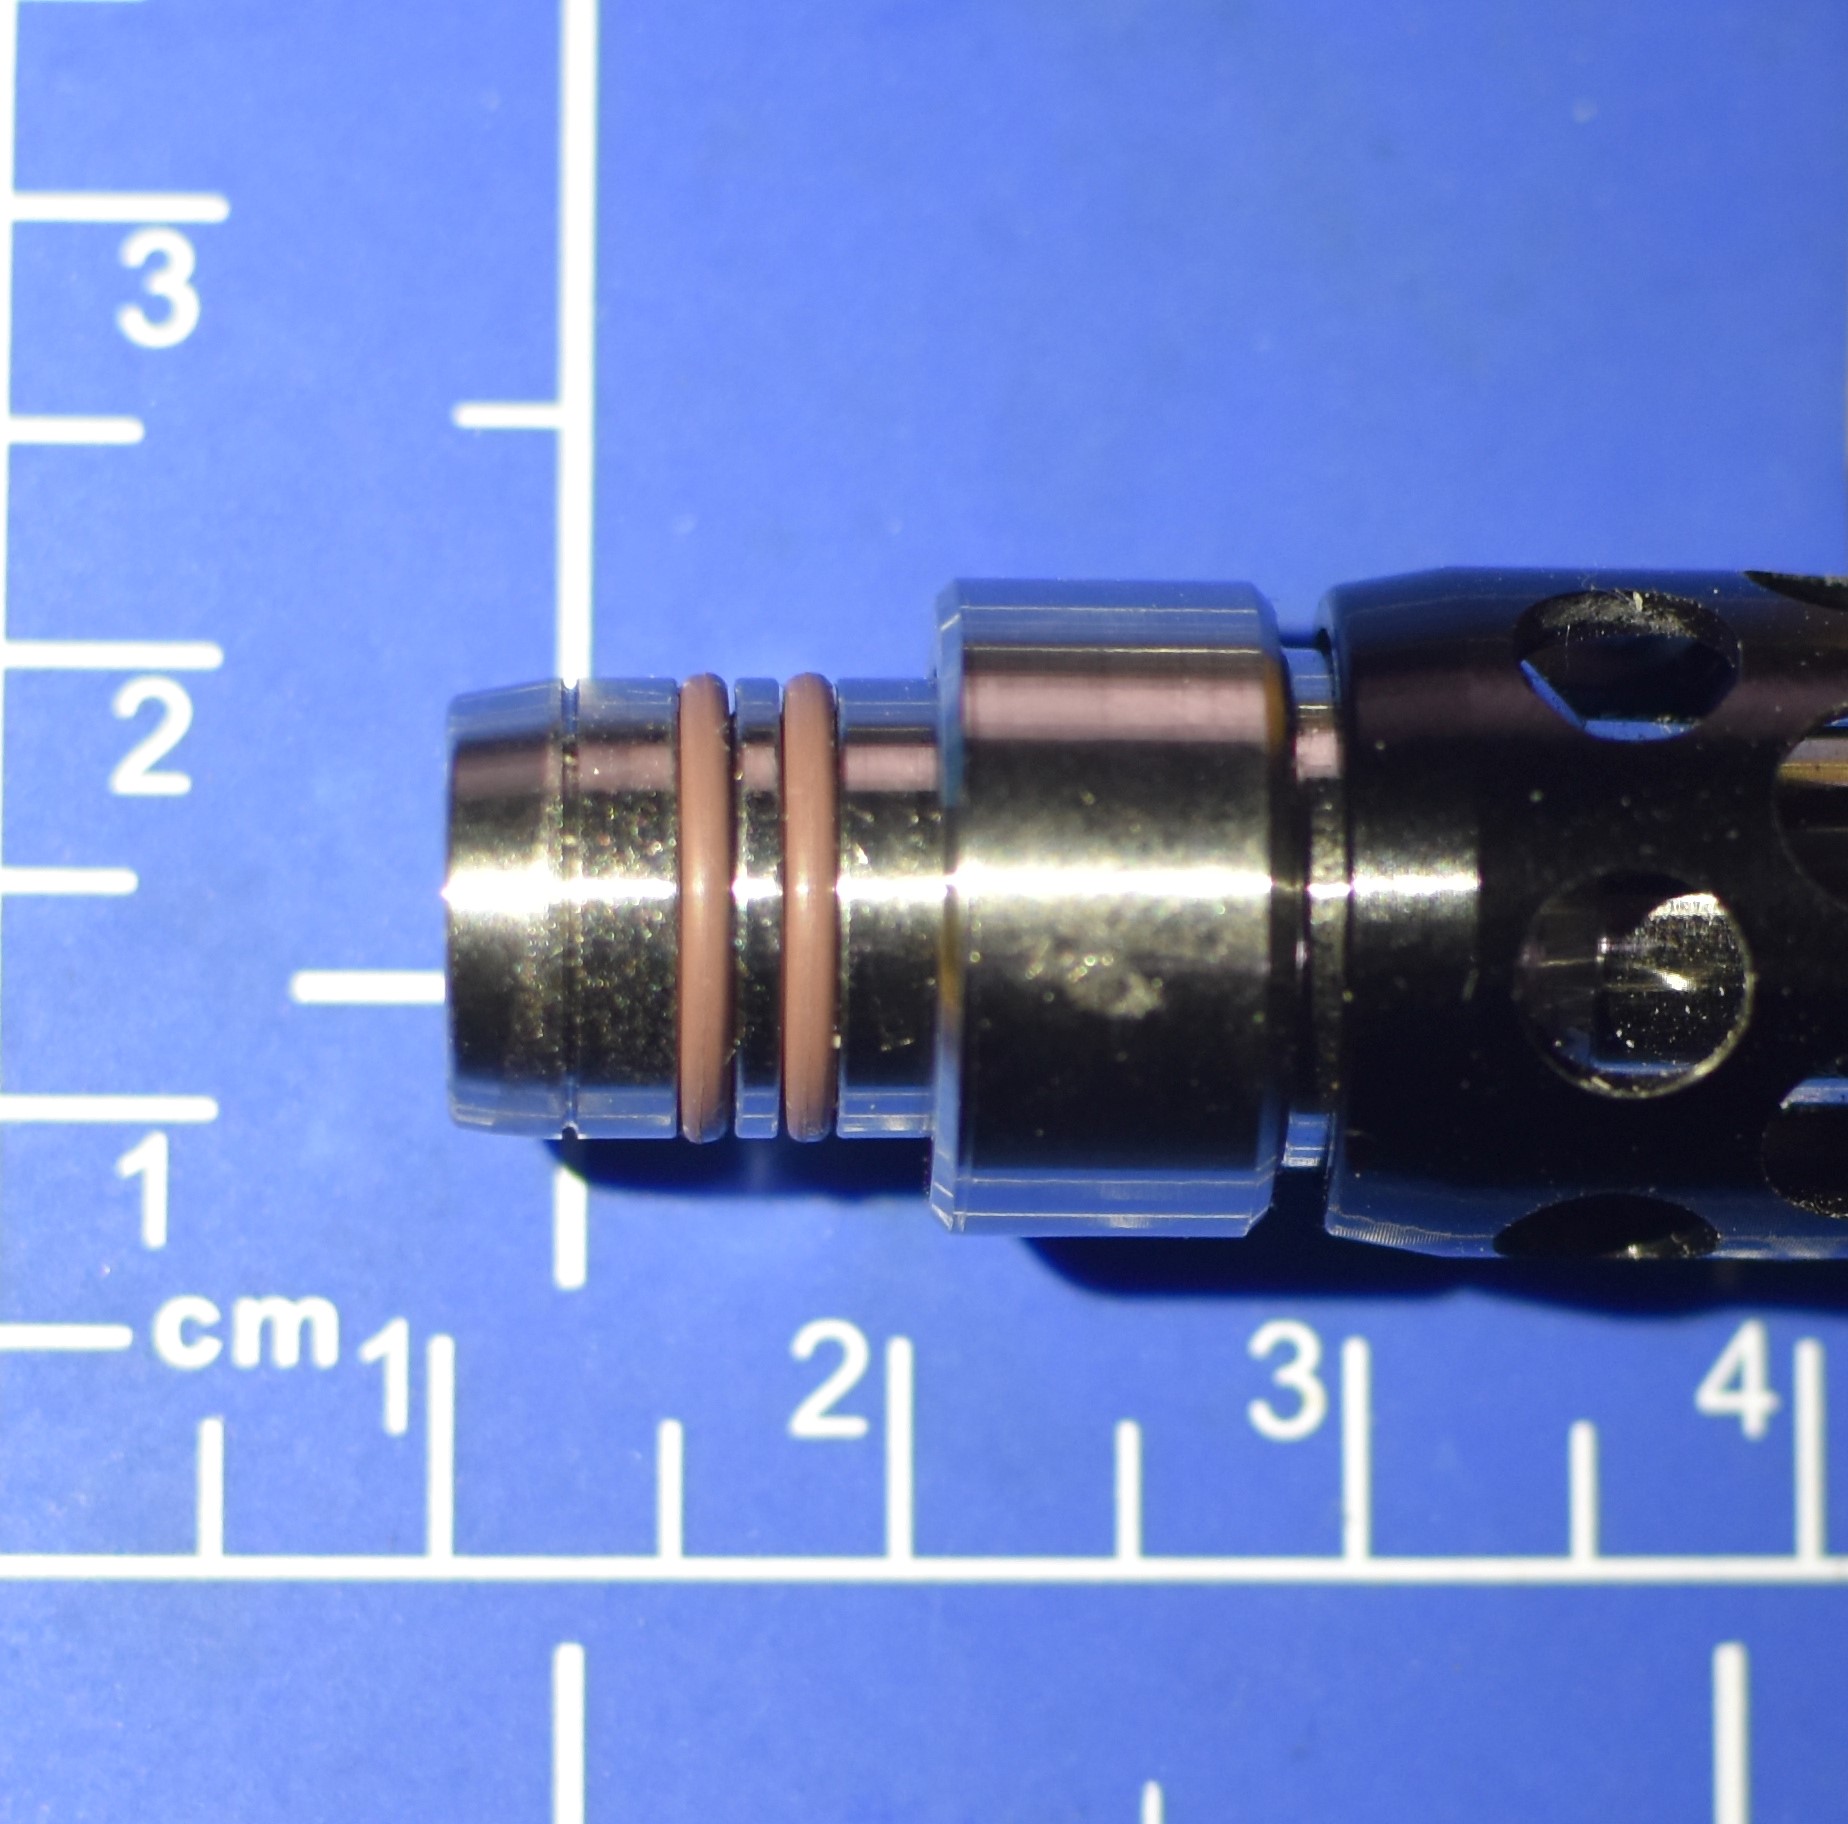
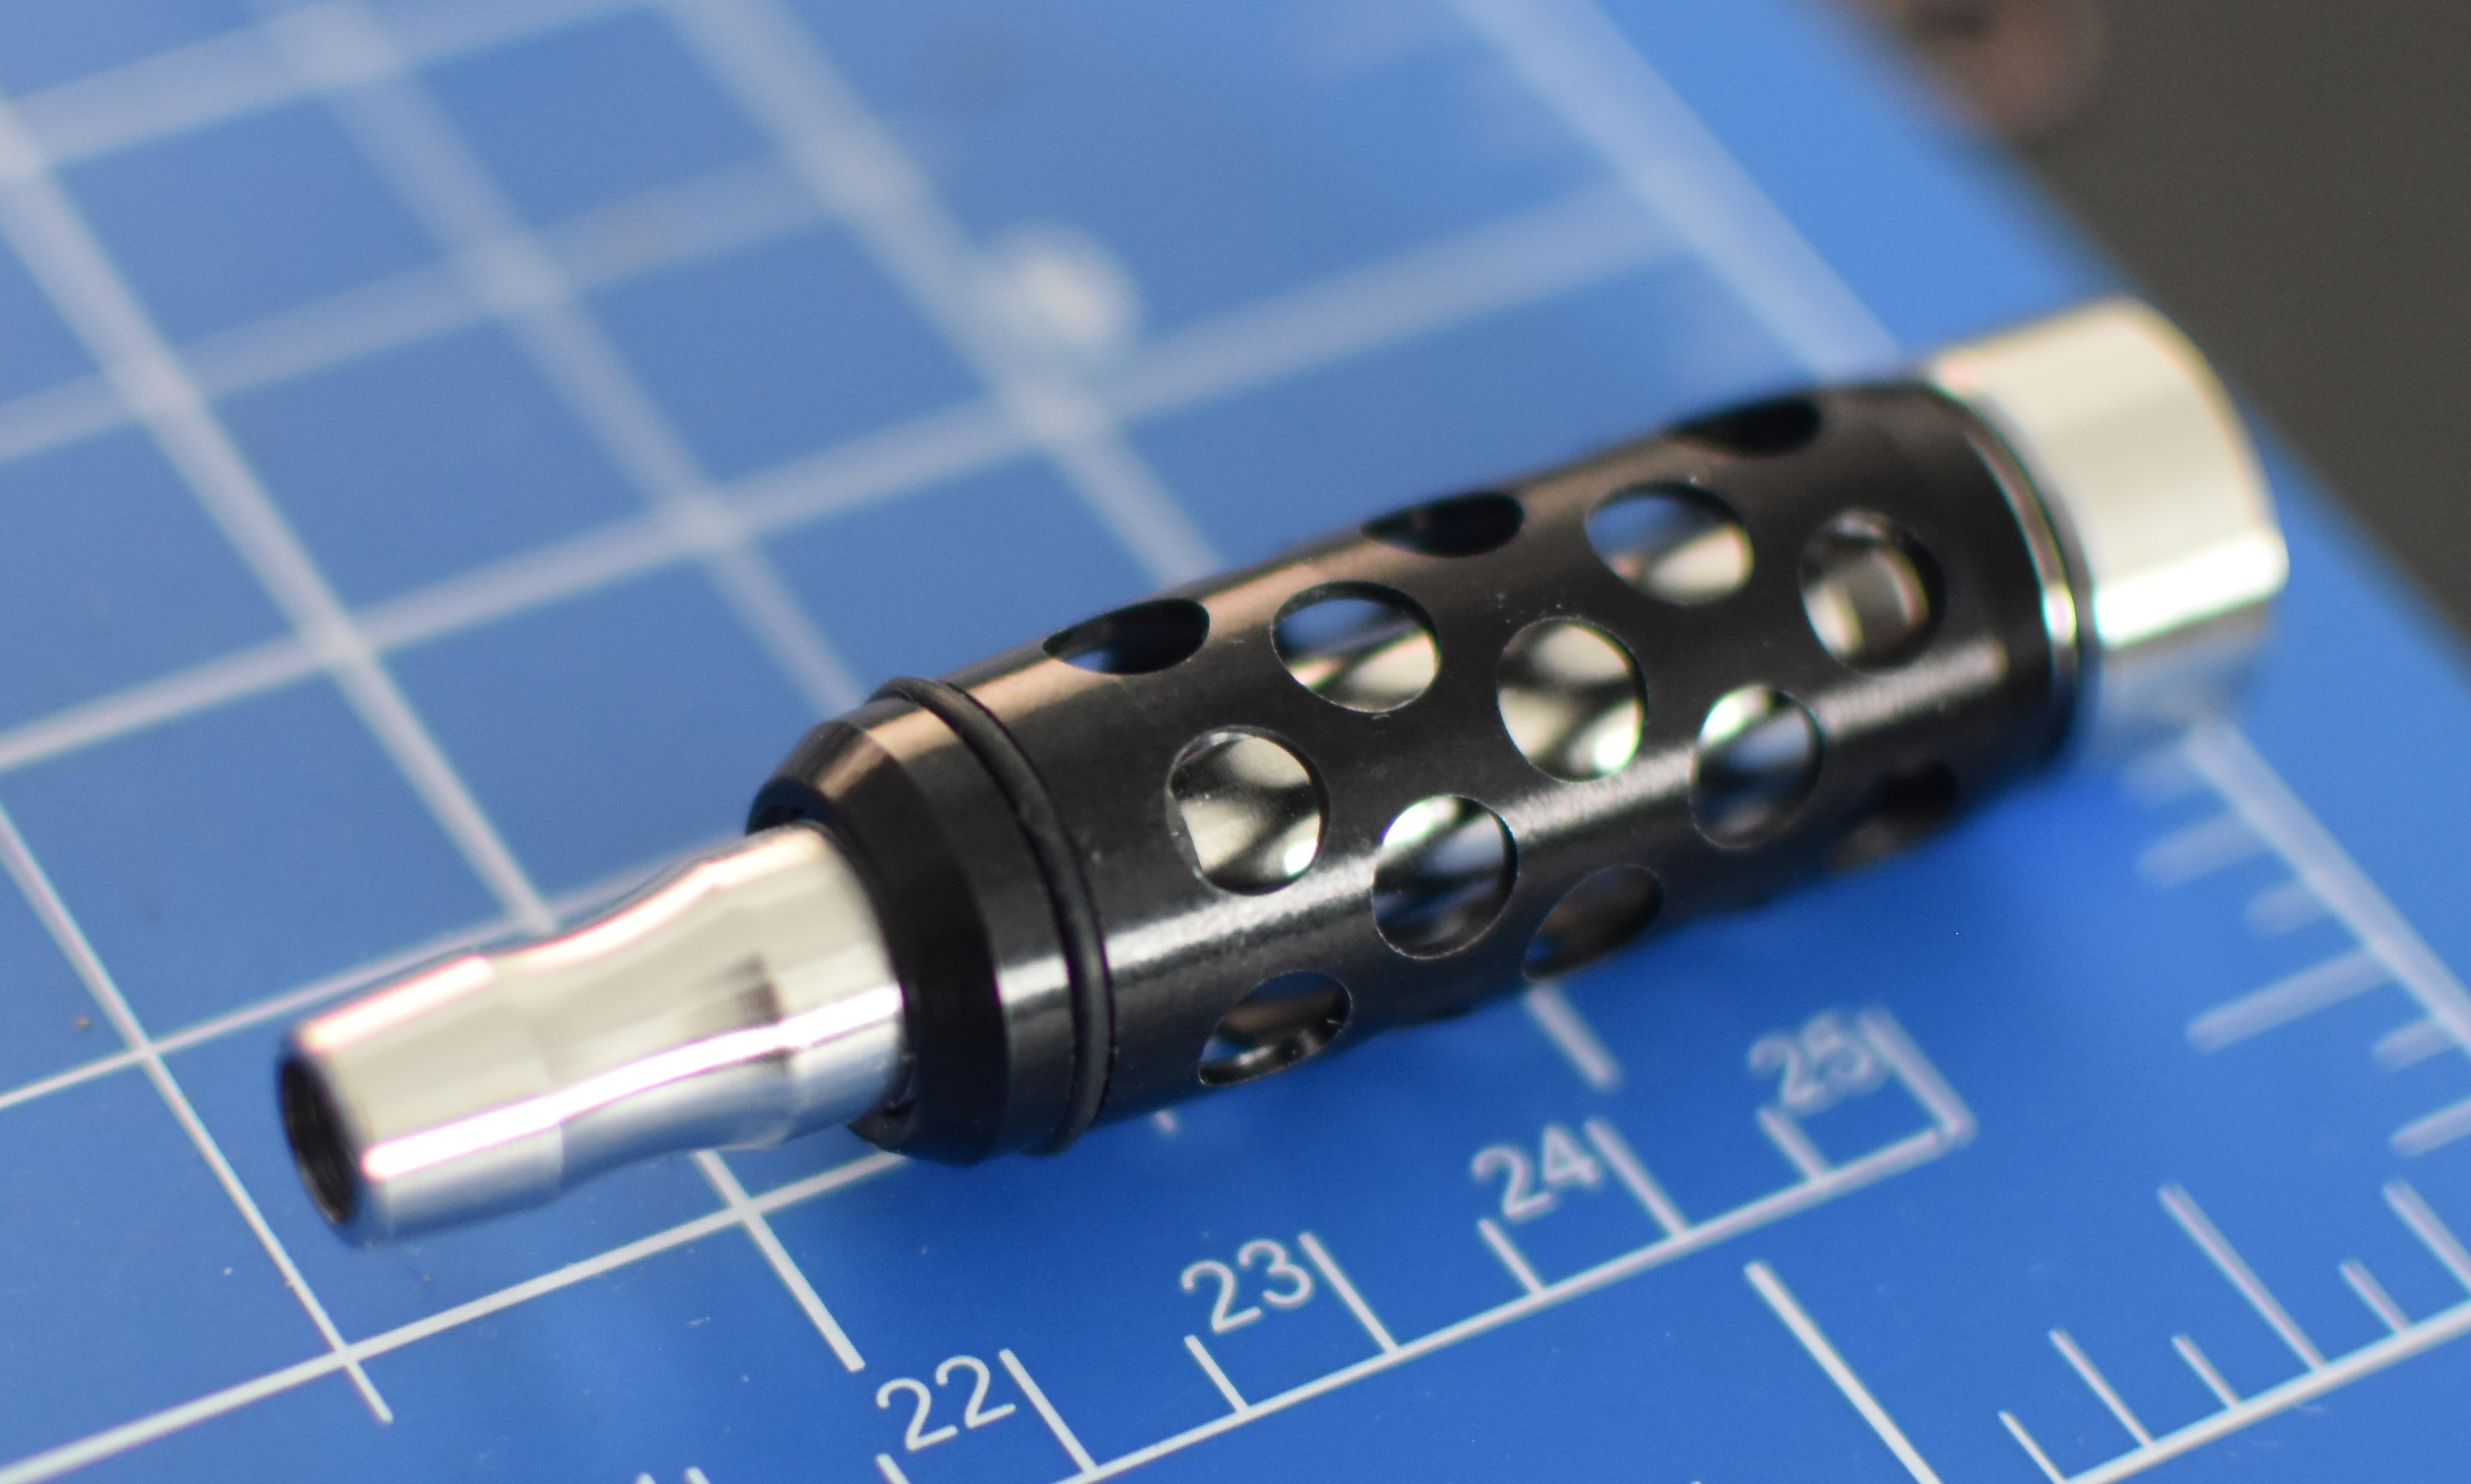
Let's get down to business: The Anvil is very well built, it's really new and in perfect condition, all parts fit perfectly, the quality of manufacture is exemplary. The object is ergonomic and seems very solid.
I received the terp chamber, the 1/2 chamber and the helix beta chamber (at my request despite the fact that it's not the final version, this one has more restrictions).
After an usual cleaning with Iso, I had to watch the video of Vestratto to understand the assembly and the functioning of the airflow.
Face to face with a dyna :
I made 2 bowls with the terp chamb, the airflow half open and heating with a flame. It was good and enjoyable, first native and then with a J-hook. I was able to shoot 2-3 big hits for one heating cycle. I can already say that it's very easy to use!!

On the 2nd try, I did a second heat, not very useful.
Then I tried the 1/2 chamber with a double heater (2 lighters at the same time). I wanted to save heating time, failed, I combusted...

I did a cleaning again...
Then I made a bowl with the helix chamber, airflow full open....and there friends, it was milky and thick, very intense in the mouth and in the body, a big sensation.

The extraction was very homogeneous and of nice brown color.
I finished with the learning curve, the following bowls followed the same way...
There is still some adjustment work to do but I understood how it works and I saw where it could take me, which is very far...
I don't know yet if it's possible to block the airflow once you've found your routine or if you have to readjust it every time (which is easy with the visible mark).
At first glance, it's an unbreakable vape and will always work if you have a lighter on hand. I need a new one by the way...
Thank you John
@Vestratto for your work and creation, and for your participation here to help us to understand and use the Anvil, so we can help you make it even better.... all this for the future generations (wow, stop, I'm roasted!).
Edit : a video to complete (+ light brown avb!) :

")