Anvil by Vestratto

Gibbleguts

Well-Known Member
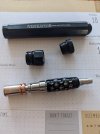
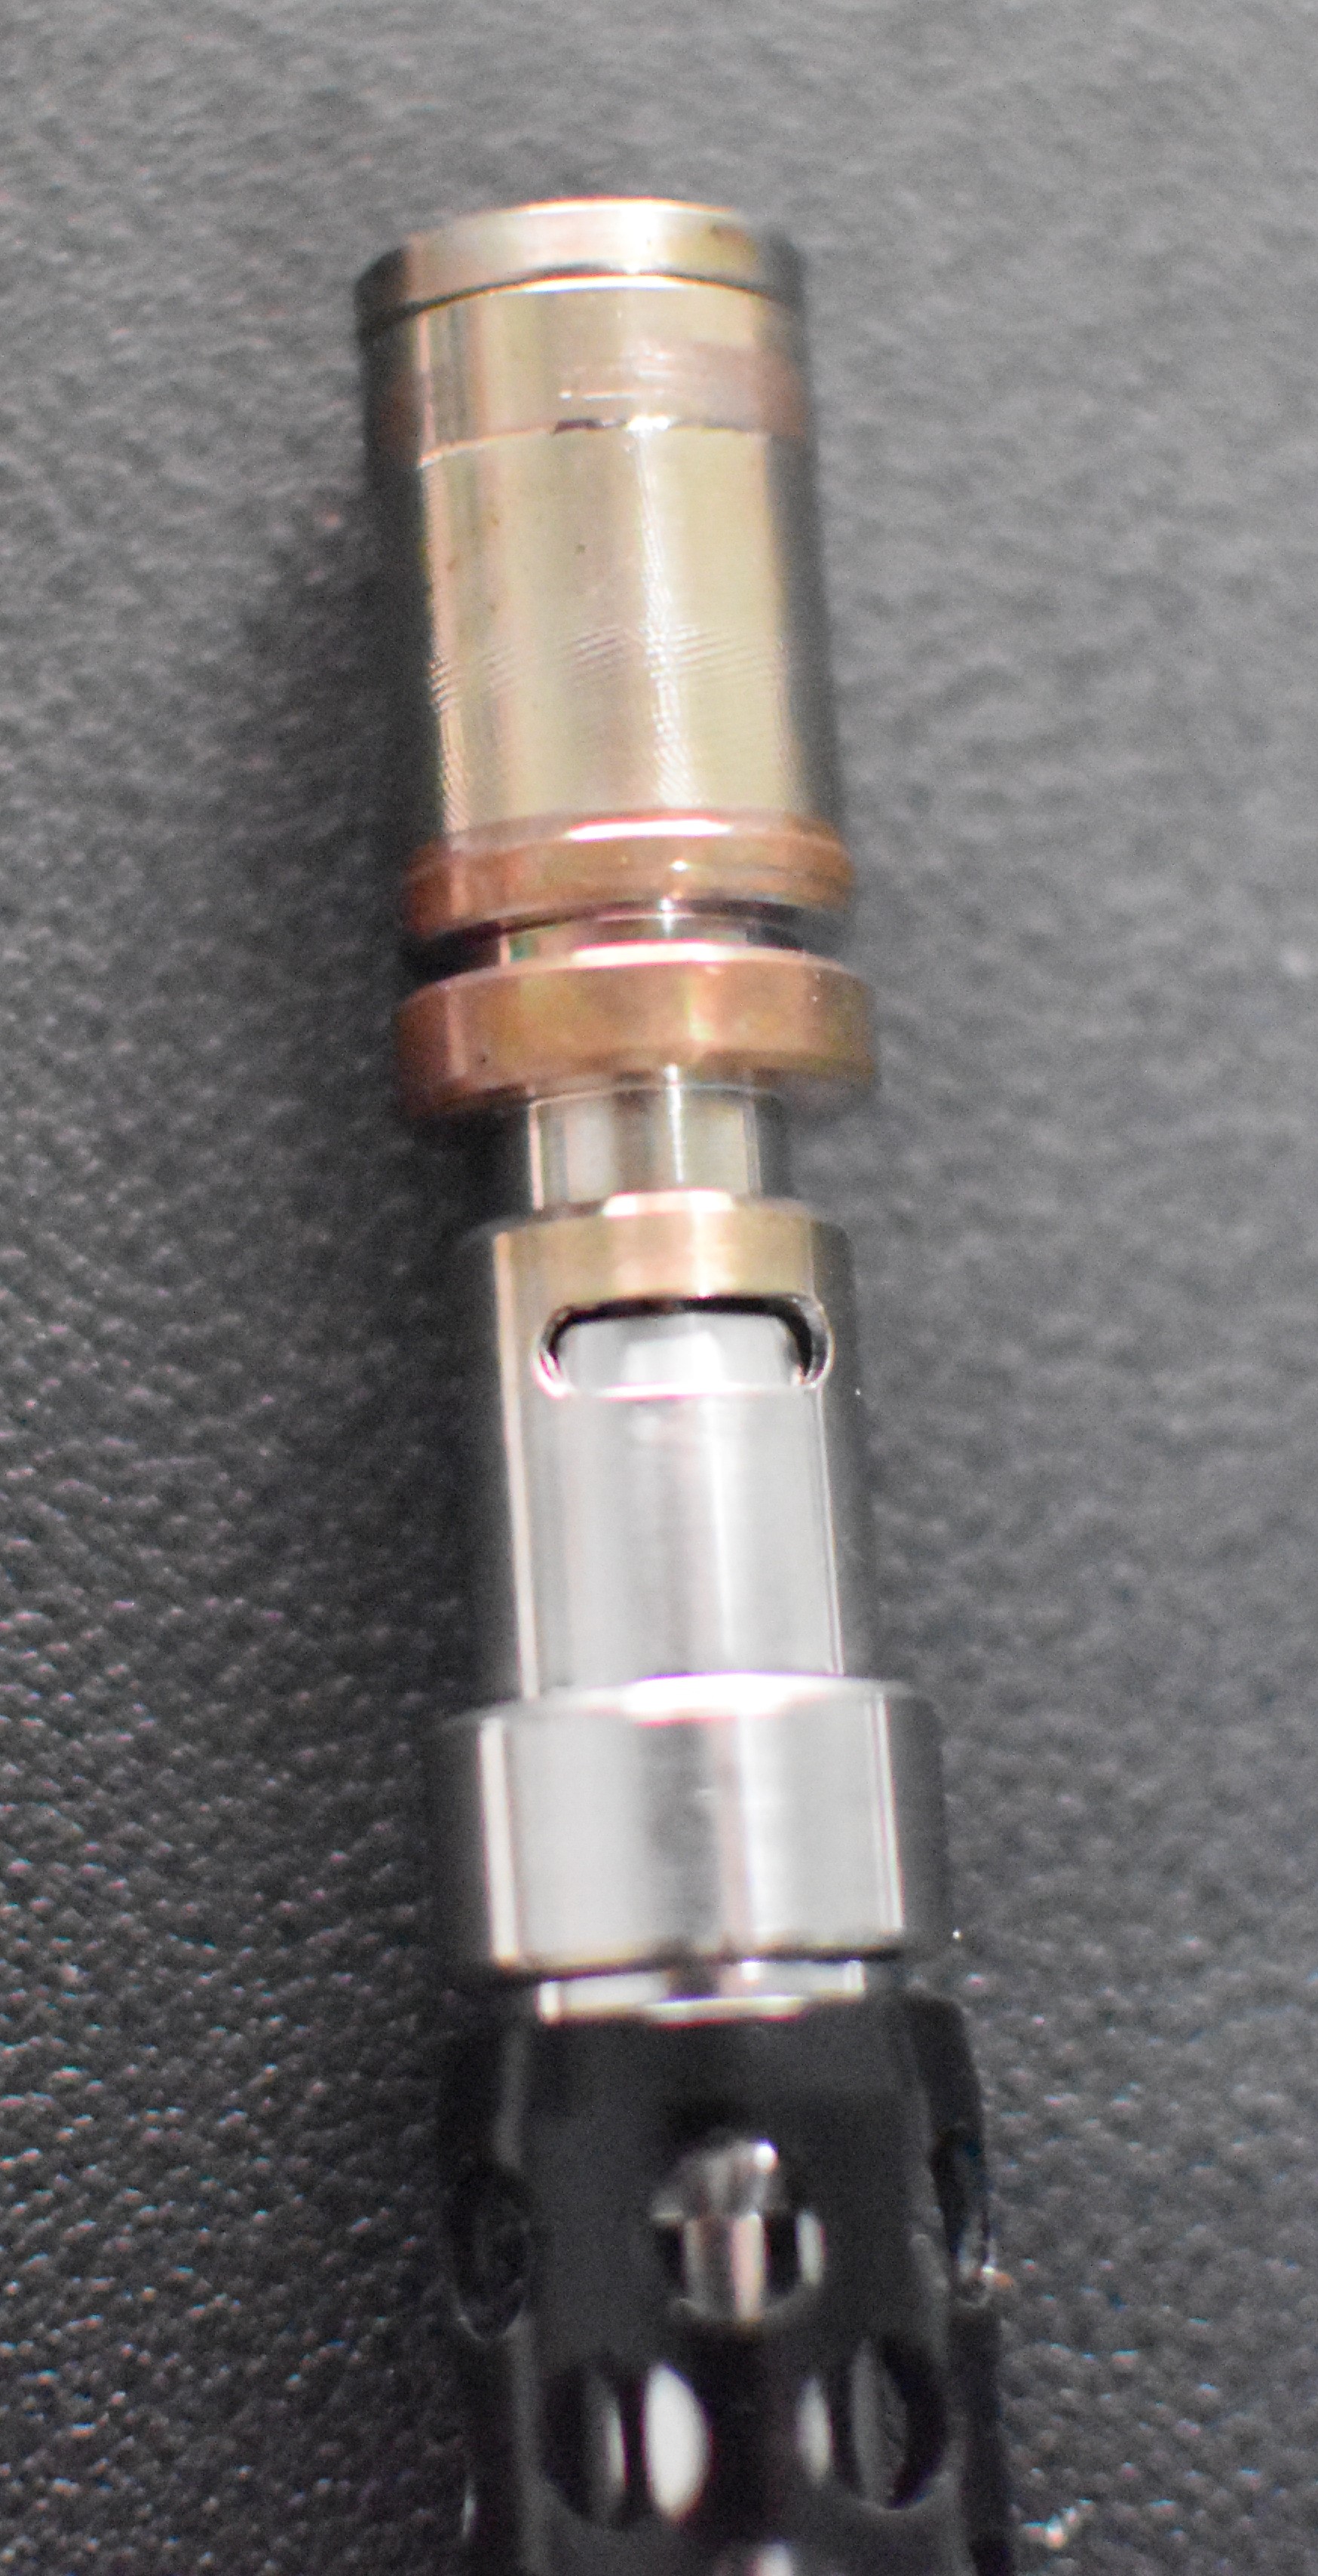
Just recieved mine as well. It will be a little before I am able to try it but wanted to share my initial thoughts. Case as earned isnt deep enough to store the vape in but we were warned that would be the case. Another concern about the case is the second lid for storing the spare chamber doesn't stay on but looks like it is short an O ring so not sure if it is that simple. And finally my final issue is is that QC still seems to a little lacking. It was packaged exceptionally well but there were tool marks on the visible copper heat battery.

None of these issues really dampen my excitement to try it but do show they aren't quite ready for a full release of them.
 

Attachments

  • 16408910537193697552280903255369.jpg
    16408910537193697552280903255369.jpg
    516.6 KB · Views: 139
  • PXL_20211230_190311215.jpg
    PXL_20211230_190311215.jpg
    1.3 MB · Views: 124
  • PXL_20211230_190303509.jpg
    PXL_20211230_190303509.jpg
    1.5 MB · Views: 143
  • PXL_20211230_190229721.jpg
    PXL_20211230_190229721.jpg
    1.9 MB · Views: 135

marduk

daydreamer
None of these issues really dampen my excitement to try it but do show they aren't quite ready for a full release of them.

Is it just me, or does that www.vestratto.com on the case give off a 1990's dotcom promotional merchandise vibe? I kinda feel like "Vestratto" should be enough... it's a pretty unique word.

You guys are lucky, mine shipped on 12/28 but expected delivery is 1/7. Can't wait!
 

kuzko

Well-Known Member
Just recieved mine as well. It will be a little before I am able to try it but wanted to share my initial thoughts. Case as earned isnt deep enough to store the vape in but we were warned that would be the case. Another concern about the case is the second lid for storing the spare chamber doesn't stay on but looks like it is short an O ring so not sure if it is that simple. And finally my final issue is is that QC still seems to a little lacking. It was packaged exceptionally well but there were tool marks on the visible copper heat battery.

None of these issues really dampen my excitement to try it but do show they aren't quite ready for a full release of them.


Man, it sounds like this thing works as advertised but the defects are concerning. If my $200+ device had that defect, even if it’s only cosmetic, I would promptly return it. And a chamber that looks used? I’m glad the manufacturer is sending out new parts for the functional defects but it just seems like these early units are still beta, or worse.
 

Petetbay

Well-Known Member
I’ll wait, this device is not ready for prime time imo. It is a not cheap device, manufacturing flaws are unexceptable, promises to make it right doesn’t mean anything when there’s no track record. :2c:
 
Last edited:
Petetbay,
  • Like
Reactions: Bad Dog

seki

Well-Known Member
I've been using this a little more than I really ought to be, but so far I'm already sensing that the torch you use is going to play a not insignificant role in the success you have with this device. I've had two sessions with a Blazer PB207 Micro Torch. The sessions themselves were great. Good flavour, more clouds than my baby lungs could handle and pretty thorough extraction.

After posting my video to Reddit, it got a few complaints about the slow heat up time, which admittedly with the Micro-torch took a little longer than I would have hoped for. Now I fully acknowledge that I'm a novice and need to use the device more to get a better feel and develop better technique, but heat up times for the two sessions was about 60 and 70 seconds.

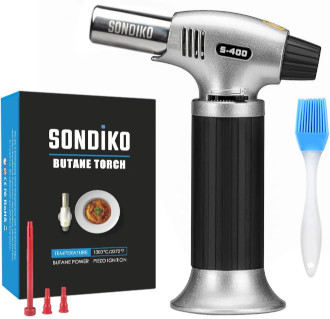
With that in mind, I used a kitchen torch that I normally use with my Supreme 3.5, only with the flame turned almost all the way down. It's this one specifically:
sondiko.jpg

For my 3rd session, I had the airflow 3/4 closed whereas previously with the Micro Torch, it was completely open. With this new torch and airflow setting, heat up time was about 30 seconds but the entire session tasted like burnt popcorn from start to finish. Draw restriction was also too tight I found. I'm not sure if mine is one of those that had the air restriction issues, but I found it tough to draw on at that setting.

I think I went for the 4th session too quickly. The draw was way too tight for me so I opened it up completely again and used the same kitchen torch. Another 30 second heat up to click. The session started off fine, but ended in combustion. I think the 4th session was less than 20 minutes from the 3rd, so that may have played a factor.

I think this was referred to previously in some of the videos, but there does seem to be a optimal rate for ramping up the heat, sort of similar to how varying coil depths on induction heaters have different heating curves with Vapcaps. It seems to me that this guy is just too big as I had the flame turned almost as low as you can go.

Like the fellows have been using in the demo vids, I placed an order for a Blazer Firefox. At 4.5" tall, it falls in between the pocket torch and the 6" Sondiko kitchen torch. I probably should have done this from the get-go. As it stands, I'm going back to the Micro Torch until the Firefox arrives.

Edit: As a PSA, I think part of the reason I may have combusted earlier is because I misunderstood how this device worked. It turns out, it was the opposite of what I had thought.

If you want completely open air flow, this is the position you need to set the Anvil in:
anvil-open.jpg


And for the most restricted air flow setting this is what it should look like:
anvil-closed.jpg
 
Last edited:

Gibbleguts

Well-Known Member
Man, it sounds like this thing works as advertised but the defects are concerning. If my $200+ device had that defect, even if it’s only cosmetic, I would promptly return it. And a chamber that looks used? I’m glad the manufacturer is sending out new parts for the functional defects but it just seems like these early units are still beta, or worse.
I am in a different mindset at the moment. I did know in advance that it was their first release, I guessed it was likely their would be some issues but am ok with that with the communication we have been getting.

As for hitting it. It's fantastic I did have a few issues first hits with the airflow adjustment. I tried pulling it out to open it but that shut it down to pretty much no flow. Pretty sure it doesn't adjust at all but other then wanting to know how it is supposed to be I am not really sure I care. Now I don't think I will be using the small bowl a lot I find the large bowl to be a fantastic dose at medium roast. It is quickly changing my mind on flower vapes.
 

Whiff

Vestratto Brand Ambassador
Company Rep
I've been using this a little more than I really ought to be, but so far I'm already sensing that the torch you use is going to play a not insignificant role in the success you have with this device. I've had two sessions with a Blazer PB207 Micro Torch. The sessions themselves were great. Good flavour, more clouds than my baby lungs could handle and pretty thorough extraction.

After posting my video to Reddit, it got a few complaints about the slow heat up time, which admittedly with the Micro-torch took a little longer than I would have hoped for. Now I fully acknowledge that I'm a novice and need to use the device more to get a better feel and develop better technique, but heat up times for the two sessions was about 60 and 70 seconds.

With that in mind, I used a kitchen torch that I normally use with my Supreme 3.5, only with the flame turned almost all the way down. It's this one specifically:
sondiko.jpg

For my 3rd session, I had the airflow 3/4 closed whereas previously with the Micro Torch, it was completely open. With this new torch and airflow setting, heat up time was about 30 seconds but the entire session tasted like burnt popcorn from start to finish. Draw restriction was also too tight I found. I'm not sure if mine is one of those that had the air restriction issues, but I found it tough to draw on at that setting.

I think I went for the 4th session too quickly. The draw was way too tight for me so I opened it up completely again and used the same kitchen torch. Another 30 second heat up to click. The session started off fine, but ended in combustion. I think the 4th session was less than 20 minutes from the 3rd, so that may have played a factor.

I think this was referred to previously in some of the videos, but there does seem to be a optimal rate for ramping up the heat, sort of similar to how varying coil depths on induction heaters have different heating curves with Vapcaps. It seems to me that this guy is just too big as I had the flame turned almost as low as you can go.

Like the fellows have been using in the demo vids, I placed an order for a Blazer Firefox. At 4.5" tall, it falls in between the pocket torch and the 6" Sondiko kitchen torch. I probably should have done this from the get-go. As it stands, I'm going back to the Micro Torch until the Firefox arrives.

Edit: As a PSA, I think part of the reason I may have combusted earlier is because I misunderstood how this device worked. It turns out, it was the opposite of what I had thought.

If you want completely open air flow, this is the position you need to set the Anvil in:
anvil-open.jpg


And for the most restricted air flow setting this is what it should look like:
anvil-closed.jpg
Hey Seki!
The kitchen torch you had posted is way too big for the Anvil, the Micro pizio torches i find are the best to use. Also when adjusting the airflow you want to twist the oven while to adjust the airflow, There should be a little line to indicate open and close. It looks like your 1st picture is what should be fully open. i will try to make a video for you tomorrow on airflow adjustment or maybe i can go live on ig for some of you guys who have their units already. I may be pickin my baby boy up from the hospital tomorrow but its not 100% he's coming home yet so i will try and get online at some point to demo the units for some of you.
 

Texus

Well-Known Member
Just finished a lovely first session. Arrived looking great. Only bit of rough finish was on the top of each cap/click mechanism. But less rough than what @seki posted.

And a nice intuitive device to operate. Nice to not need to spin.

The draw? It is tight. And thru water, much tighter than I prefer, even at its most open setting. I've not tried it on my easiest pulling glass (the TAG piece that @Shit Snacks put me onto), but on some pretty open stuff like the Sneaky Pete Megaglobe.

Things were much better without water. And the pairing that I really, really loved was in the Inception J-Hook (which has some nice internal cooling features). https://oconnellwoodworks.com/products/14mm-inception-j-hook-1 (and the also have some B-stock cheap ones: https://oconnellwoodworks.com/products/14mm-inception-j-hook)

Great cooling, super pull, and great quality vape experience. This seems like a killer one, especially once the very restrictive draw in these early ones can be addressed. Good times.

Hey Seki!
The kitchen torch you had posted is way too big for the Anvil, the Micro pizio torches i find are the best to use. Also when adjusting the airflow you want to twist the oven while to adjust the airflow, There should be a little line to indicate open and close. It looks like your 1st picture is what should be fully open. i will try to make a video for you tomorrow on airflow adjustment or maybe i can go live on ig for some of you guys who have their units already. I may be pickin my baby boy up from the hospital tomorrow but its not 100% he's coming home yet so i will try and get online at some point to demo the units for some of you.
Focus on family, and am looking forward to an airflow tutorial when you are able. But family first.
 

Vestratto

Well-Known Member
Manufacturer
Mine landed this morning, and I've taken it for a spin. Quick and dirty review: It's great. Closest thing to a Supreme 3.5 that I've tried is my initial impression. I'm finding it very effective. My session was well over 90 minutes ago, but certainly feels like it was much more recent than that.

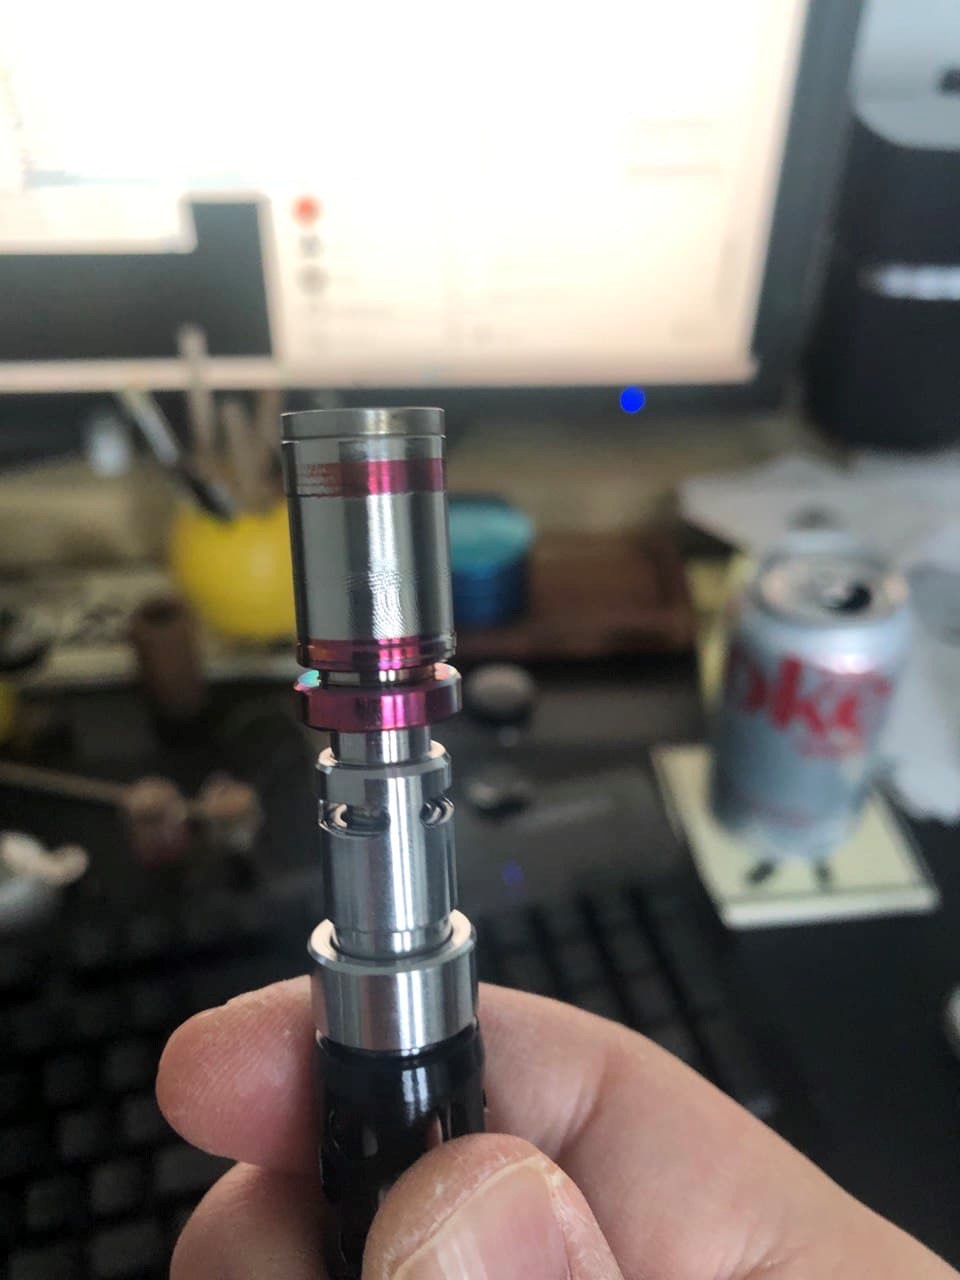
I was surprised to see my unit turn purple after just one session. I hadn't noticed that in any of the demo vids so far, is this normal or am I going to die?
photo-2021-12-30-11-31-19.jpg


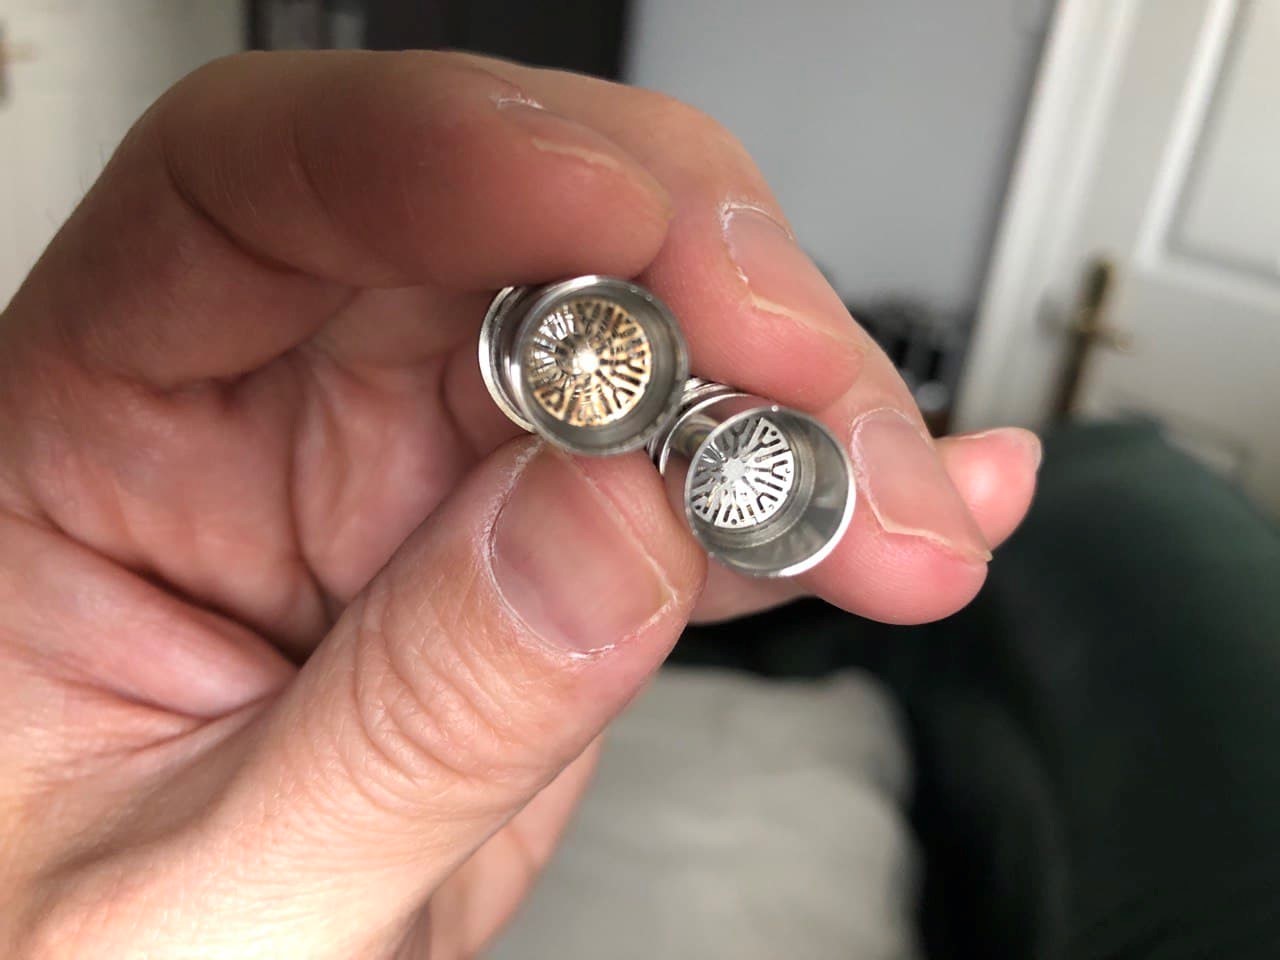
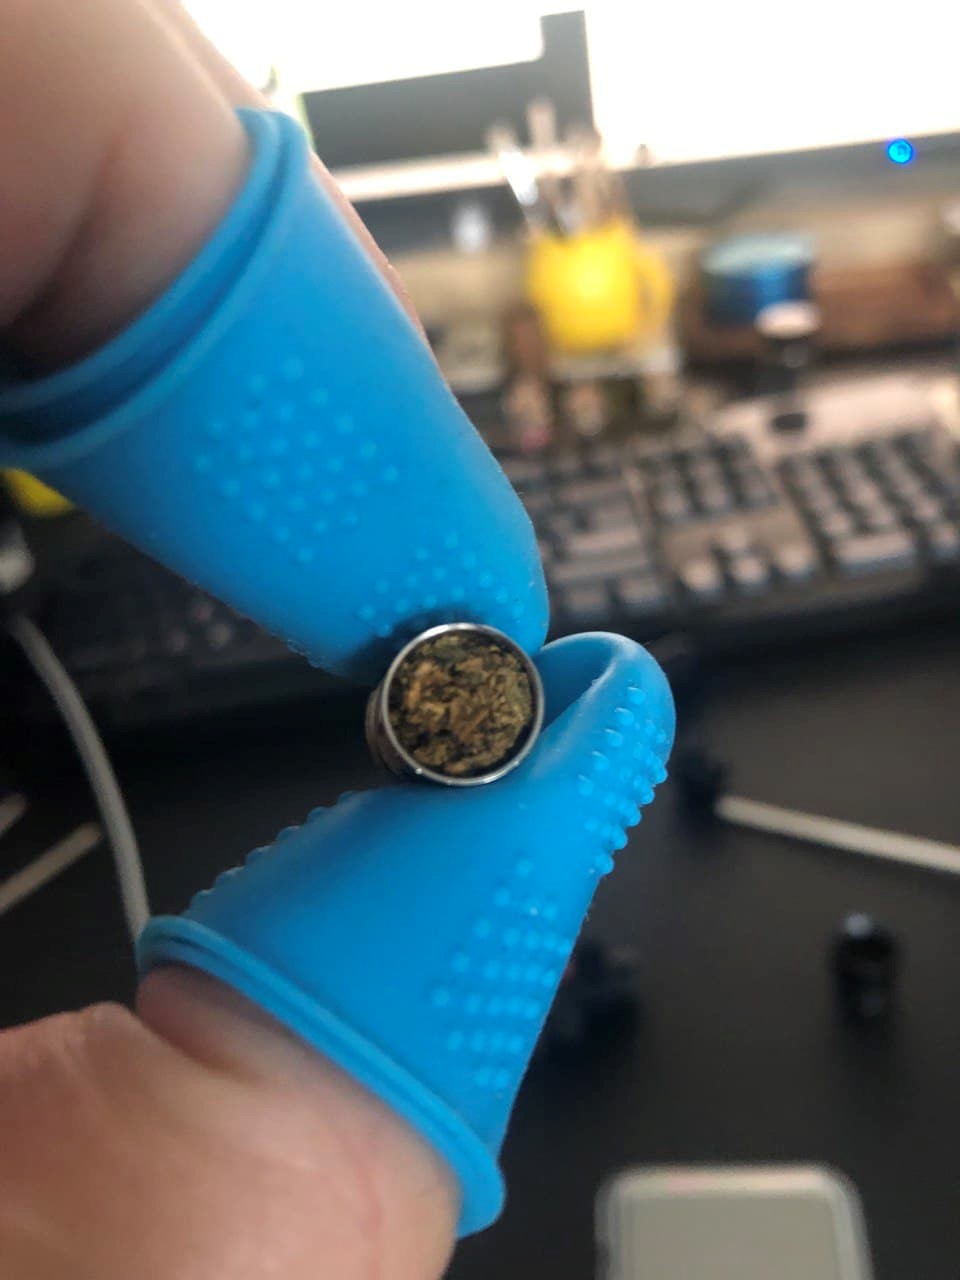
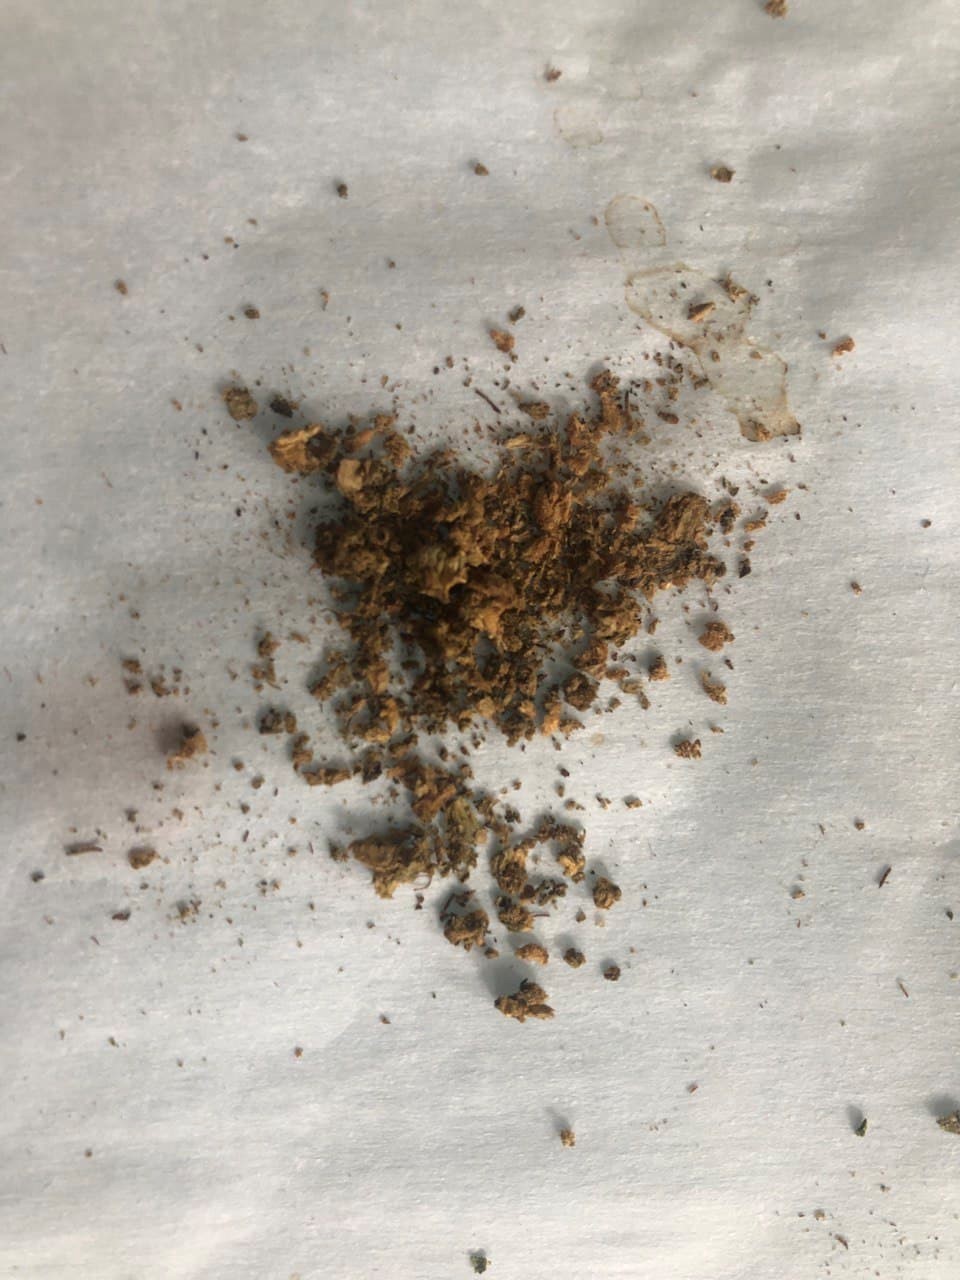
Function aside, I did have some dirty chamber issues as mentioned, but oddly enough, I had one that was clean, and one that looked like it had been previously used:
photo-2021-12-30-11-11-42.jpg


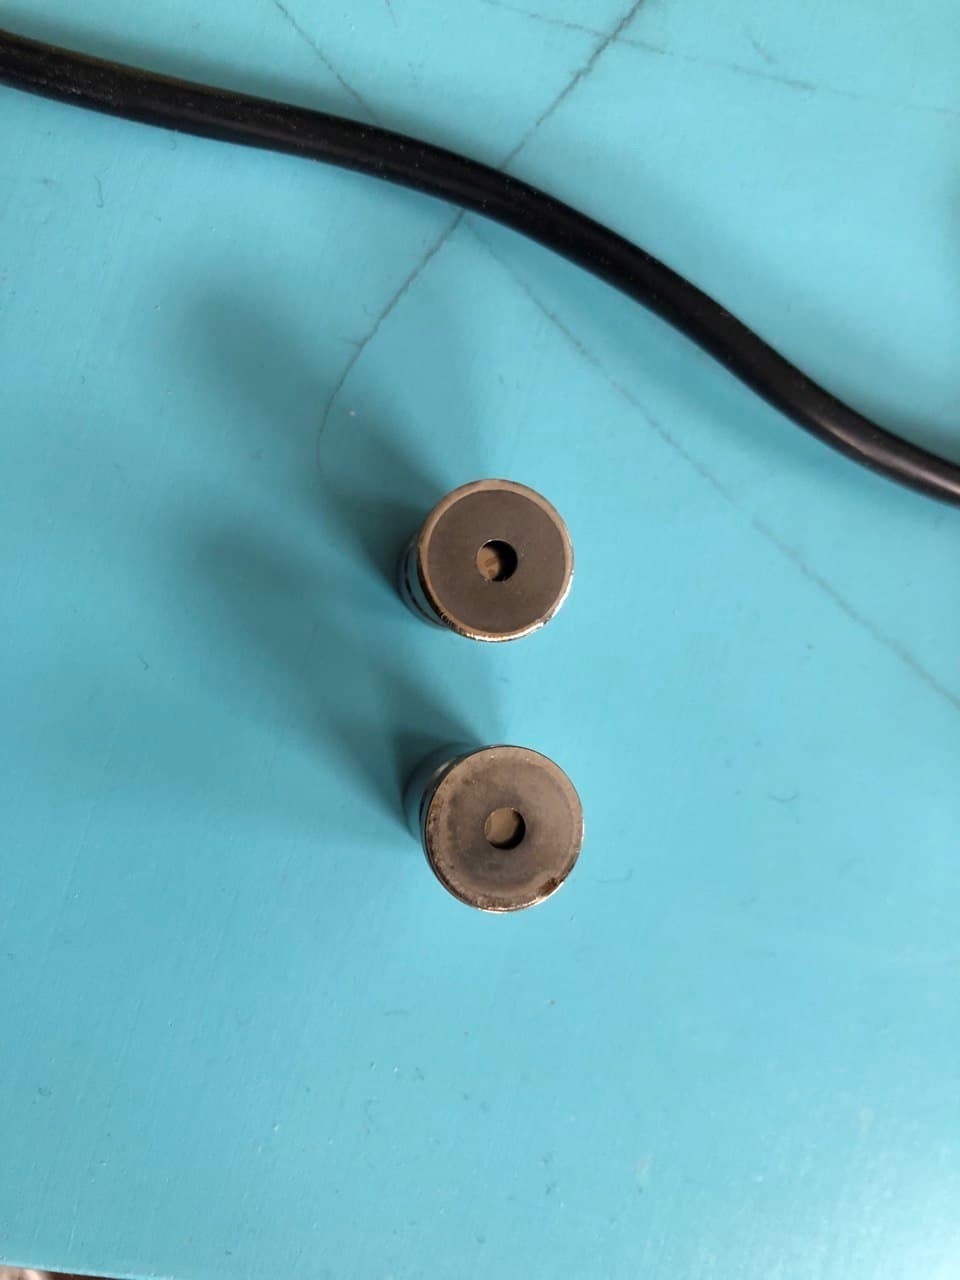
Not a huge deal, but they were slightly rough looking on the top too, but it seems to be cosmetic-only based on function:
photo-2021-12-30-11-13-14.jpg


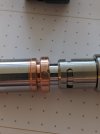
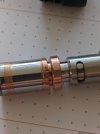
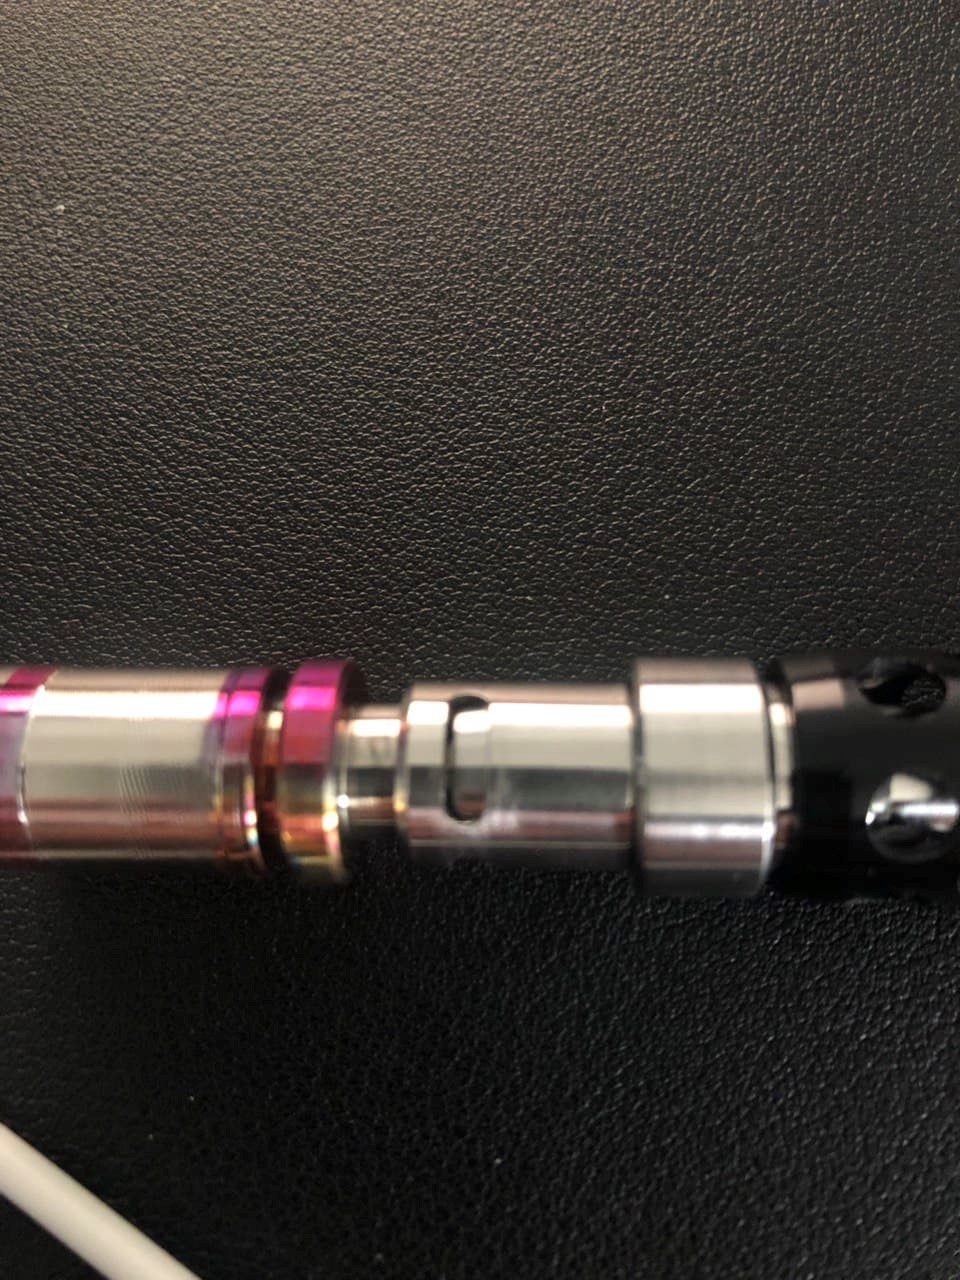
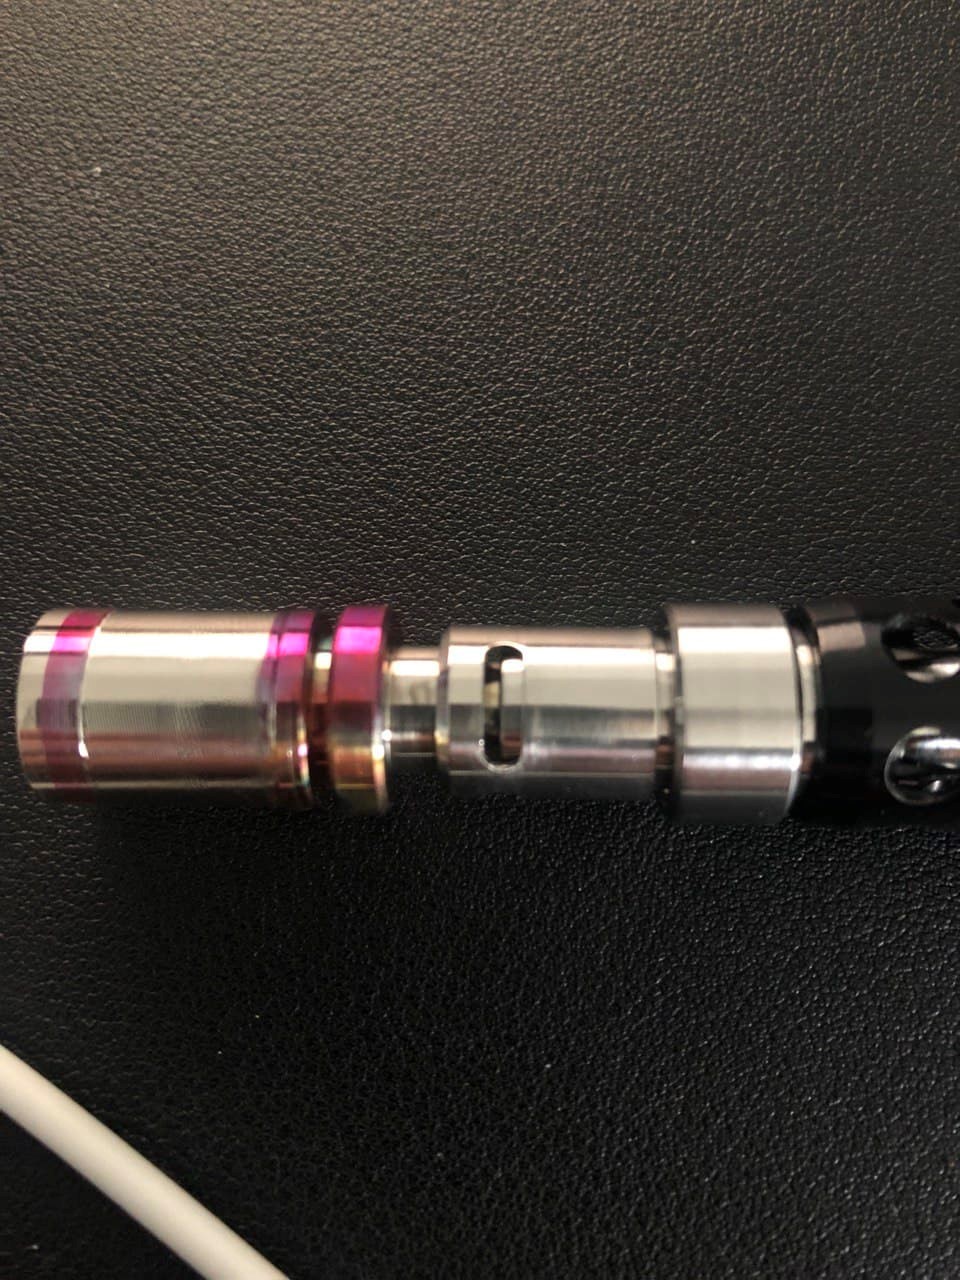
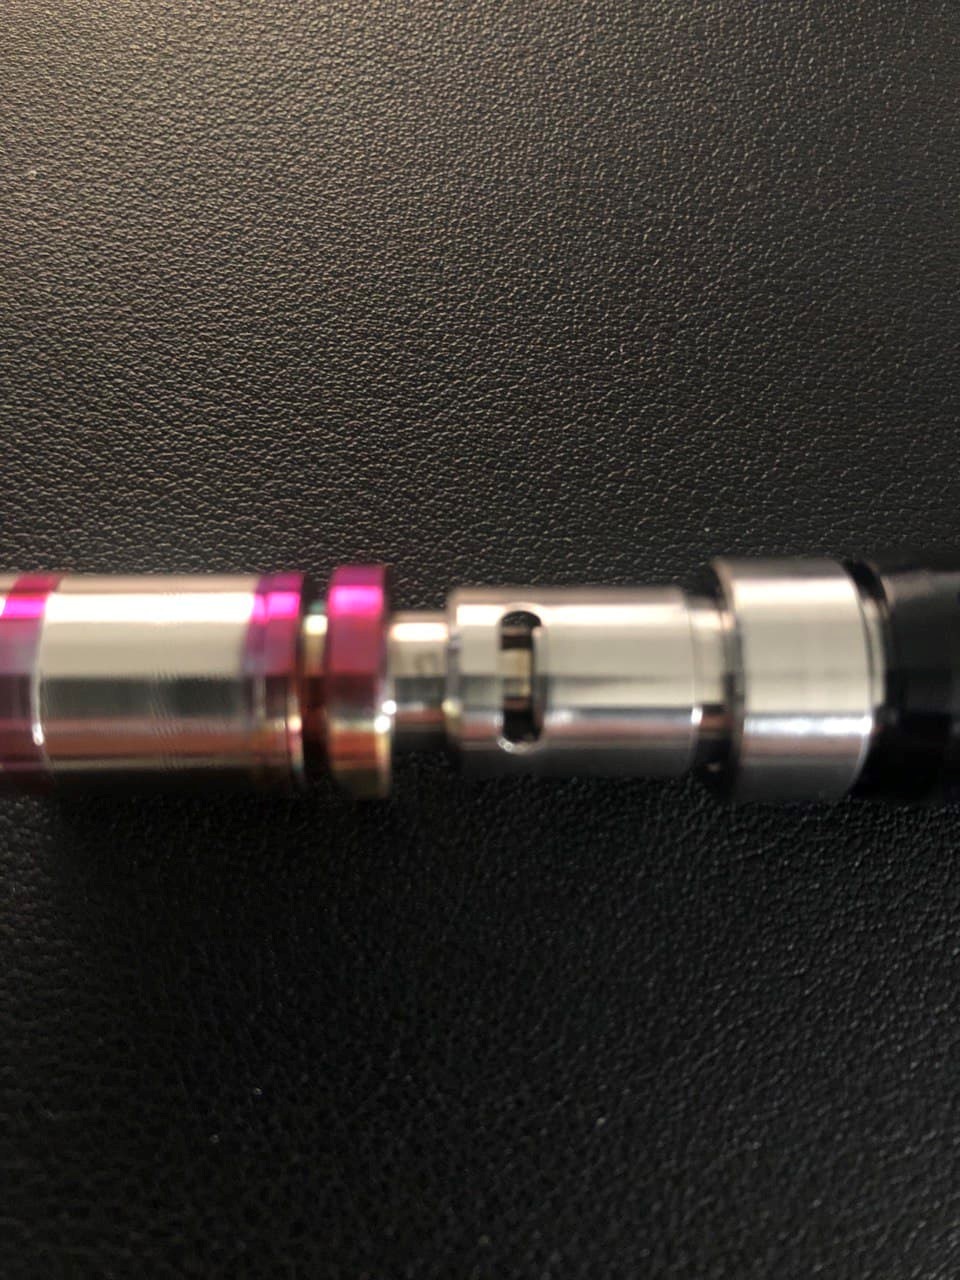
Also, I obviously haven't been paying enough attention, because I thought for some reason the airflow was adjusted by twisting the unit horizontally, but it turns out it seems that you pull the unit apart slightly to open it up:
photo-2021-12-30-11-48-15-3.jpg

photo-2021-12-30-11-48-15-2.jpg

photo-2021-12-30-11-48-15.jpg


This one's a winner IMO, folks. Already planning on ordering my backup unit.

edit: AVB pics
photo-2021-12-30-11-33-52.jpg

photo-2021-12-30-11-42-46.jpg
Hi there - John here

Thanks for posting these great photos.

The "roughness" alluded to are the laser welds. These are autogenous welds - meaning no filler material - between the 316 herb chamber and the 410 disc that holds the snap discs in place. The smoothness depends a lot on the fit. The fit gap is between 0.001 and 0.0005" so it is pretty much at the limit of reasonable capability. If the disc sits perfectly central the weld is glass smooth. If offset to one side the weld is thicker on the touching side and thinner on the opposite. I can't go tighter than slip fit on the disc insertion because the wall thickness of the herb chamber, being only 0.01" thick, will buckle with a press fit.

I suppose we could give the bottom a slight polish but I honestly never found a laser weld offensive so didn't even think of polishing. I'll see what we can do but absolutely no functional issue should be experienced. The yellow patina on the full herb chamber isn't because it was used but because there wasn't enough argon flowing during welding to fully shield the unit from oxidation. The yellowing is a chromium oxide surface coating similar to what will develop during normal use. Sorry bout that. We will be more liberal with the Argon in the future.

During heating the copper will take on a variety of hues as it builds up its patina. Unlike steel the copper patina will evolve over time. Particularly where the torch is applied we routinely see azur blues and hot pinks as the surface oxides evolve. As you get more familiar you can actually see when the unit is going to click by the colour activity.

As stated before optimum heating time is about 35 - 38 seconds when the torch is pointed at the groove between the oven proper and the CopperBlock thermal reservoir. Adjust flame intensity and distance to be 30 seconds heating the oven wall, 45 seconds heating the thermal battery. I use a simple Honest dual flame torch - I set the inner bright blue flame section to approximately 5/8 inches long and set the tip of that bright blue section on the region of the oven I want to heat - oven wall - light roast ..... CopperBlock thermal reservoir to ride the line with a very dark roast.

Trying to heat the Anvil with an excessively large torch will defeat its design. The outside will build up too much heat before the inner herb chamber sensors snap. There is a purpose built thermal lag in the device that prevents the herb from coming to temperature too quickly and burning off the terps.

Check out this video from the summer on how to adjust the airflow. This is the PRIMO - or first version. You can compare it to yours and see the evolution of the design. The parts are obviously a little different but the principle is identical.


Again for the first 25 units new -more open air valves are on the way. For the first five units new magnetic and top caps are on the way. For the "all of you" that got tubes that weren't drilled deep enough - new tubes are on the way.
 
Last edited:

Texus

Well-Known Member
Hi there - John here

Thanks for posting these great photos.

The "roughness" alluded to are the laser welds. These are autogenous welds - meaning no filler material - between the 316 herb chamber and the 410 disc that holds the snap discs in place. The smoothness depends a lot on the fit. The fit gap is between 0.001 and 0.0005" so it is pretty much at the limit of reasonable capability. If the disc sits perfectly central the weld is glass smooth. If offset to one side the weld is thicker on the touching side and thinner on the opposite. I can't go tighter than slip fit on the disc insertion because the wall thickness of the herb chamber, being only 0.01" thick, will buckle with a press fit.

I suppose we could give the bottom a slight polish but I honestly never found a laser weld offensive so didn't even think of polishing. I'll see what we can do but absolutely no functional issue should be experienced. The yellow patina on the full herb chamber isn't because it was used but because there wasn't enough argon flowing during welding to fully shield the unit from oxidation. The yellowing is a chromium oxide surface coating similar to what will develop during normal use. Sorry bout that. We will be more liberal with the Argon in the future.

During heating the copper will take on a variety of hues as it builds up its patina. Unlike steel the copper patina will evolve over time. Particularly where the torch is applied we routinely see azur blues and hot pinks as the surface oxides evolve. As you get more familiar you can actually see when the unit is going to click by the colour activity.

As stated before optimum heating time is about 35 - 38 seconds when the torch is pointed at the groove between the oven proper and the CopperBlock thermal reservoir. Adjust flame intensity and distance to be 30 seconds heating the oven wall, 45 seconds heating the thermal battery. I use a simple Honest dual flame torch - I set the inner bright blue flame section to approximately 5/8 inches long and set the tip of that bright blue section on the region of the oven I want to heat - oven wall - light roast ..... CopperBlock thermal reservoir to ride the line with a very dark roast.

Trying to heat the Anvil with an excessively large torch will defeat its design. The outside will build up too much heat before the inner herb chamber sensors snap. There is a purpose built thermal lag in the device that prevents the herb from coming to temperature too quickly and burning off the terps.

Check out this video from the summer on how to adjust the airflow. This is the PRIMO - or first version. You can compare it to yours and see the evolution of the design. The parts are obviously a little different but the principle is identical.


Again for the first 25 units new -more open air valves are on the way. For the first five units new magnetic and top caps are on the way. For the "all of you" that got tubes that weren't drilled deep enough - new tubes are on the way.
Thank you very much for such an informative reply. It is reassuring and this sort of thing is of great interest to a lot of us here. I like to think 9f this as an educational community.

It has been a lovely evening getting to know Anvil.
 
Hi John,
Thanks for a fantastic product, this thing truly hits different.
Please comment on the magnetic cap seemingly being axially instead of diametrically magnetized causing the Anvil not to center.
My unit also has some cosmetic imperfections in the machining of the copper, small scratches on the oven, small scuff on the body.
It has more of a beta look like Sneaky Pete's than the one pictured on the Planet Haze site, so it might be good to comment on what makes for a discounted factory second vs a normal QC pass.

Hello FC,
When I say it hits different, it's the vape signature. It milks like crazy but stays fluffy and forgiving. I don't even mind using it native, fairly hot but not very irritating at all. I've only done one restricted load but wasn't able to detect any further sublimation effect, not that I've ever tried a Sub mind you. I don't see any reason not to use it wide open at this point as that seems restricted enough for me. Like Dynavaps a lot of the restriction comes from the pack of the load so to restrict it further is just masochism.

I can say, that with the Terp Chamber at least, this device is not suitable for blasting whole nugs, sorry Zuhdj. It was a very dense nug so without much conduction just the outside got cooked off. Once crushed up with a second heatup it milked like the first one never happened.

It does not fit 10mm, the heat shield makes contact before the mouthpiece can seat.

My solution to the infuriating magnetic cap is using two Dynamagnets on a little flat metal pocket knife. It holds both chambers and acts as a stand.
 

Vestratto

Well-Known Member
Manufacturer
Hi John,
Thanks for a fantastic product, this thing truly hits different.
Please comment on the magnetic cap seemingly being axially instead of diametrically magnetized causing the Anvil not to center.
My unit also has some cosmetic imperfections in the machining of the copper, small scratches on the oven, small scuff on the body.
It has more of a beta look like Sneaky Pete's than the one pictured on the Planet Haze site, so it might be good to comment on what makes for a discounted factory second vs a normal QC pass.

Hello FC,
When I say it hits different, it's the vape signature. It milks like crazy but stays fluffy and forgiving. I don't even mind using it native, fairly hot but not very irritating at all. I've only done one restricted load but wasn't able to detect any further sublimation effect, not that I've ever tried a Sub mind you. I don't see any reason not to use it wide open at this point as that seems restricted enough for me. Like Dynavaps a lot of the restriction comes from the pack of the load so to restrict it further is just masochism.

I can say, that with the Terp Chamber at least, this device is not suitable for blasting whole nugs, sorry Zuhdj. It was a very dense nug so without much conduction just the outside got cooked off. Once crushed up with a second heatup it milked like the first one never happened.

It does not fit 10mm, the heat shield makes contact before the mouthpiece can seat.

My solution to the infuriating magnetic cap is using two Dynamagnets on a little flat metal pocket knife. It holds both chambers and acts as a stand.
Hi there.

The machining of the unit you're holding right now is done by me (yes me) on my Haas ST-10. An absolutely marvellous machine with a clearly 2nd rate operator :) The issues you're commenting on regarding the scuffing and moire look is a function of how rigidly I am currently able to hold the CopperCore Ovens on the fixtures I built. My current tooling design and fixtures are more "get the job done" rather than compete with the finishes of a Montblanc Pen as example. The surface imperfections are a function of vibrations setting up a resonance that causes the tool to skip over rather than bite through the material. Now that the basic R&D is done the fine tuning around form fit and finish can proceed more quickly. If the Anvil gets a good response on its Prime Directive - to annihilate bowls, then I will have a lot of effort put towards improving its looks.

Some details - the pure copper is very tricky to machine at the best of times. 99% of the copper you see out there is alloyed to make it strong and rigid (copper plumbing parts an excellent example) but we build the CopperCore oven with pure electrolytic copper so it will form an inter- metallic bond with the stainless. Even skilled machinists will tell you pure copper is a bit of a challenge. Speeds, feeds, tool selection all have a lot of room to be optimized for sure. I currently use the same tool for the copper and stainless sections in the same machining pass. This obviously needs a look but is down the priority chain when the frickin' tubes I contracted were only drilled part-ways :(

My tooling supplier dropped off a variety of cutters to try with different rake angles, radii, chip breakers etc. but to be honest I was very afraid to change anything this past month. My logic. Its not perfect looking- but Anvil is functioning really well. See what folks think. If there is enough interest after this first batch then I am clearly very prepared to invest more heavily in the tooling required to improve the surfaces. Rest assured none of the cosmetic issues will affect performance.

You point out an interesting thing. Initially I was trying to help some folks out by offering factory seconds. I'm changing my position on that. For anyone I've made a commitment to I will of course honour that commitment. But I'm not going to offer seconds in the future. We are currently shipping product that is made to the best of our ability. We are obviously needing and willing to improve in a lot of areas. As our ability improves we will be shipping better looking Anvils and both us will be happier. I have decided that in future we will only ship goods that are "to the best of our ability" and anything less will be scrapped.

If you want to annihilate bowls Anvil functionality is good to go now. If you want to annihilate bowls and impress your friends at the Polo field we may be a revision or two away to perfect every cosmetic detail.

Sorry - the magnetic cap has a little ridge defining the flat area. If the unit isn't right in that flat zone it tends to scoot to the sides. I'm likely going to do exactly what you've suggested and replace the aluminum magnetic cap with a 410 stainless magnetic cap that will hold the unit much more firmly. Thanks for the great idea.

We were originally planning to launch with a magnetic stand that will hold the herb chambers/Anvil as per your knifes-up. We decided on adding the storage tube so the unit could be "put away hot" in a portable setting. I'll get a proper stand up on the web-site in January. For those interested in making their own I use the Magcraft Magnets (1/2" X 1/8") which are available at a lot of retail Hobby Shops.
 
Last edited:
#1012 checking in, just got it cleaned and a ran a half bowl, I'm in love. I already really liked the way the thing looked, the blended metals and overall design really click with me. Mine has some very tiny machining marks but nothing noticeable, and they are on the condenser anyway so the device itself looks mint. The build quality is awesome, feels super solid and everything fits and threads buttery smooth. I packed the half bowl pretty tight and still had no problem with draw resistance, felt wide open right out of the tube and the results were a fantastic super dark brown with an even cook and a massive, tasty, smooth cloud. I used a PB207 set to max for heating, felt like about 30 seconds to heat up, pointed just above the thermal battery.

The only minor gripe I have would be the tube and it's cap, but that's already being addressed. The magnet inside the cap to store an extra bowl works great, but the one for device storage/hot bowl removal doesn't hold it like it should.

Overall super impressed with the Anvil, and Vestratto with the open communication and dedication to fixing even the minor imperfections. They've certainly earned my business going forward and a heavy recommendation to anyone that will hear it.
 

Vestratto

Well-Known Member
Manufacturer
#1012 checking in, just got it cleaned and a ran a half bowl, I'm in love. I already really liked the way the thing looked, the blended metals and overall design really click with me. Mine has some very tiny machining marks but nothing noticeable, and they are on the condenser anyway so the device itself looks mint. The build quality is awesome, feels super solid and everything fits and threads buttery smooth. I packed the half bowl pretty tight and still had no problem with draw resistance, felt wide open right out of the tube and the results were a fantastic super dark brown with an even cook and a massive, tasty, smooth cloud. I used a PB207 set to max for heating, felt like about 30 seconds to heat up, pointed just above the thermal battery.

The only minor gripe I have would be the tube and it's cap, but that's already being addressed. The magnet inside the cap to store an extra bowl works great, but the one for device storage/hot bowl removal doesn't hold it like it should.

Overall super impressed with the Anvil, and Vestratto with the open communication and dedication to fixing even the minor imperfections. They've certainly earned my business going forward and a heavy recommendation to anyone that will hear it.
Thanks for the nice feedback. Welcome to Anvil.

Noted on the magnetic cap.

Quick note on post-cleaning. In my experience after a thorough cleaning a small bit of rinse water remains in the herb chamber snap disc holder. Heating the first time WITHOUT herb will boil that water off nicely.
 

Greenleaf88

Well-Known Member
Just got mine loving it took 2 hits of a half bowl going to Try a full one now.

Just a couple questions I know one might of been answered but the other idk.

The case is just a little to small I know it was said it was getting fixed do I have to reach out or they will just ship?

The magnet part am i supposed to use the storage part or the other one cuz im struggling to align the magnet that on the other side of the storage its like it might be just a tiny bit to small. If u addressed this I apoligize.

I cant seem to figure out the airflow control lol. Other than that I'm loving the hits I'm getting and the color of my abv. It tastes great hits great and it looks beautiful.
 

marduk

daydreamer
@Vestratto it seems people are not having the best possible experience with the magnets. I'd recommend exploring Polymagnet "Attach" centering magnets from Correlated Magnetics. They are patented magnets that work much better than standard axially/diametrically magnetized magnets. The size needed for the Anvil would only cost a couple of dollars, so your cost increase would be very minimal. You can even get magnets made to your specs and coated in teflon if desired. I bought some of these magnets a few years ago, and they do live up to the manufacturers claims. They are well worth the price premium, IMO.

Polymagnet website: http://www.polymagnet.com/

12.7mm Attach centering magnet: https://catalog.polymagnet.com/polymagnet-products/attach/1001067.html
 
Top Bottom