I've been using this a little more than I really ought to be, but so far I'm already sensing that the torch you use is going to play a not insignificant role in the success you have with this device. I've had two sessions with a Blazer PB207 Micro Torch. The sessions themselves were great. Good flavour, more clouds than my baby lungs could handle and pretty thorough extraction.
After posting my video to Reddit, it got a few complaints about the slow heat up time, which admittedly with the Micro-torch took a little longer than I would have hoped for. Now I fully acknowledge that I'm a novice and need to use the device more to get a better feel and develop better technique, but heat up times for the two sessions was about 60 and 70 seconds.
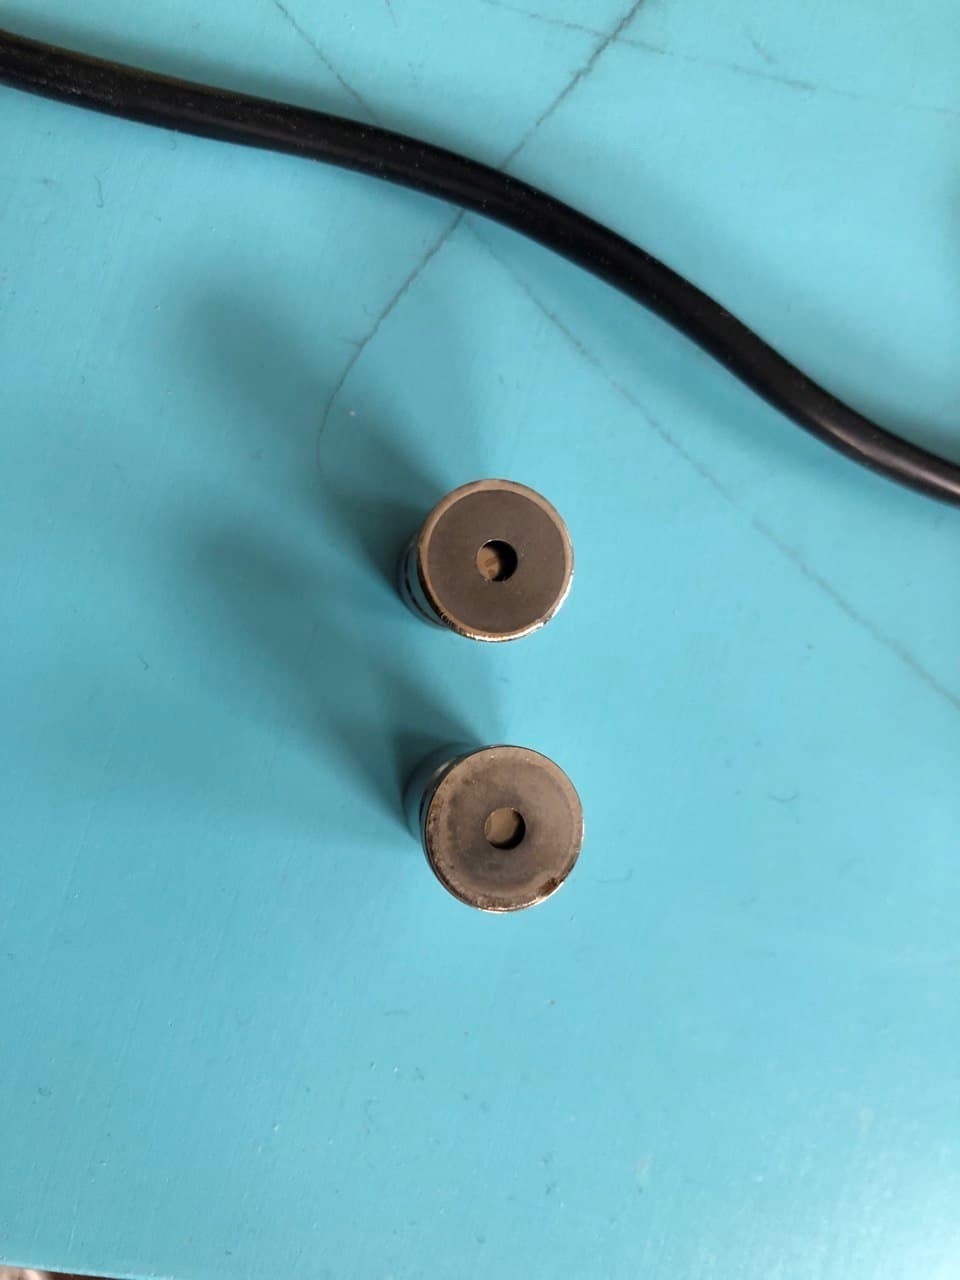
With that in mind, I used a kitchen torch that I normally use with my Supreme 3.5, only with the flame turned almost all the way down. It's this one specifically:
For my 3rd session, I had the airflow 3/4 closed whereas previously with the Micro Torch, it was completely open. With this new torch and airflow setting, heat up time was about 30 seconds but the entire session tasted like burnt popcorn from start to finish. Draw restriction was also too tight I found. I'm not sure if mine is one of those that had the air restriction issues, but I found it tough to draw on at that setting.
I think I went for the 4th session too quickly. The draw was way too tight for me so I opened it up completely again and used the same kitchen torch. Another 30 second heat up to click. The session started off fine, but ended in combustion. I think the 4th session was less than 20 minutes from the 3rd, so that may have played a factor.
I think this was referred to previously in some of the videos, but there does seem to be a optimal rate for ramping up the heat, sort of similar to how varying coil depths on induction heaters have different heating curves with Vapcaps. It seems to me that this guy is just too big as I had the flame turned almost as low as you can go.
Like the fellows have been using in the demo vids, I placed an order for a Blazer Firefox. At 4.5" tall, it falls in between the pocket torch and the 6" Sondiko kitchen torch. I probably should have done this from the get-go. As it stands, I'm going back to the Micro Torch until the Firefox arrives.
Edit: As a PSA, I think part of the reason I may have combusted earlier is because I misunderstood how this device worked. It turns out, it was the opposite of what I had thought.
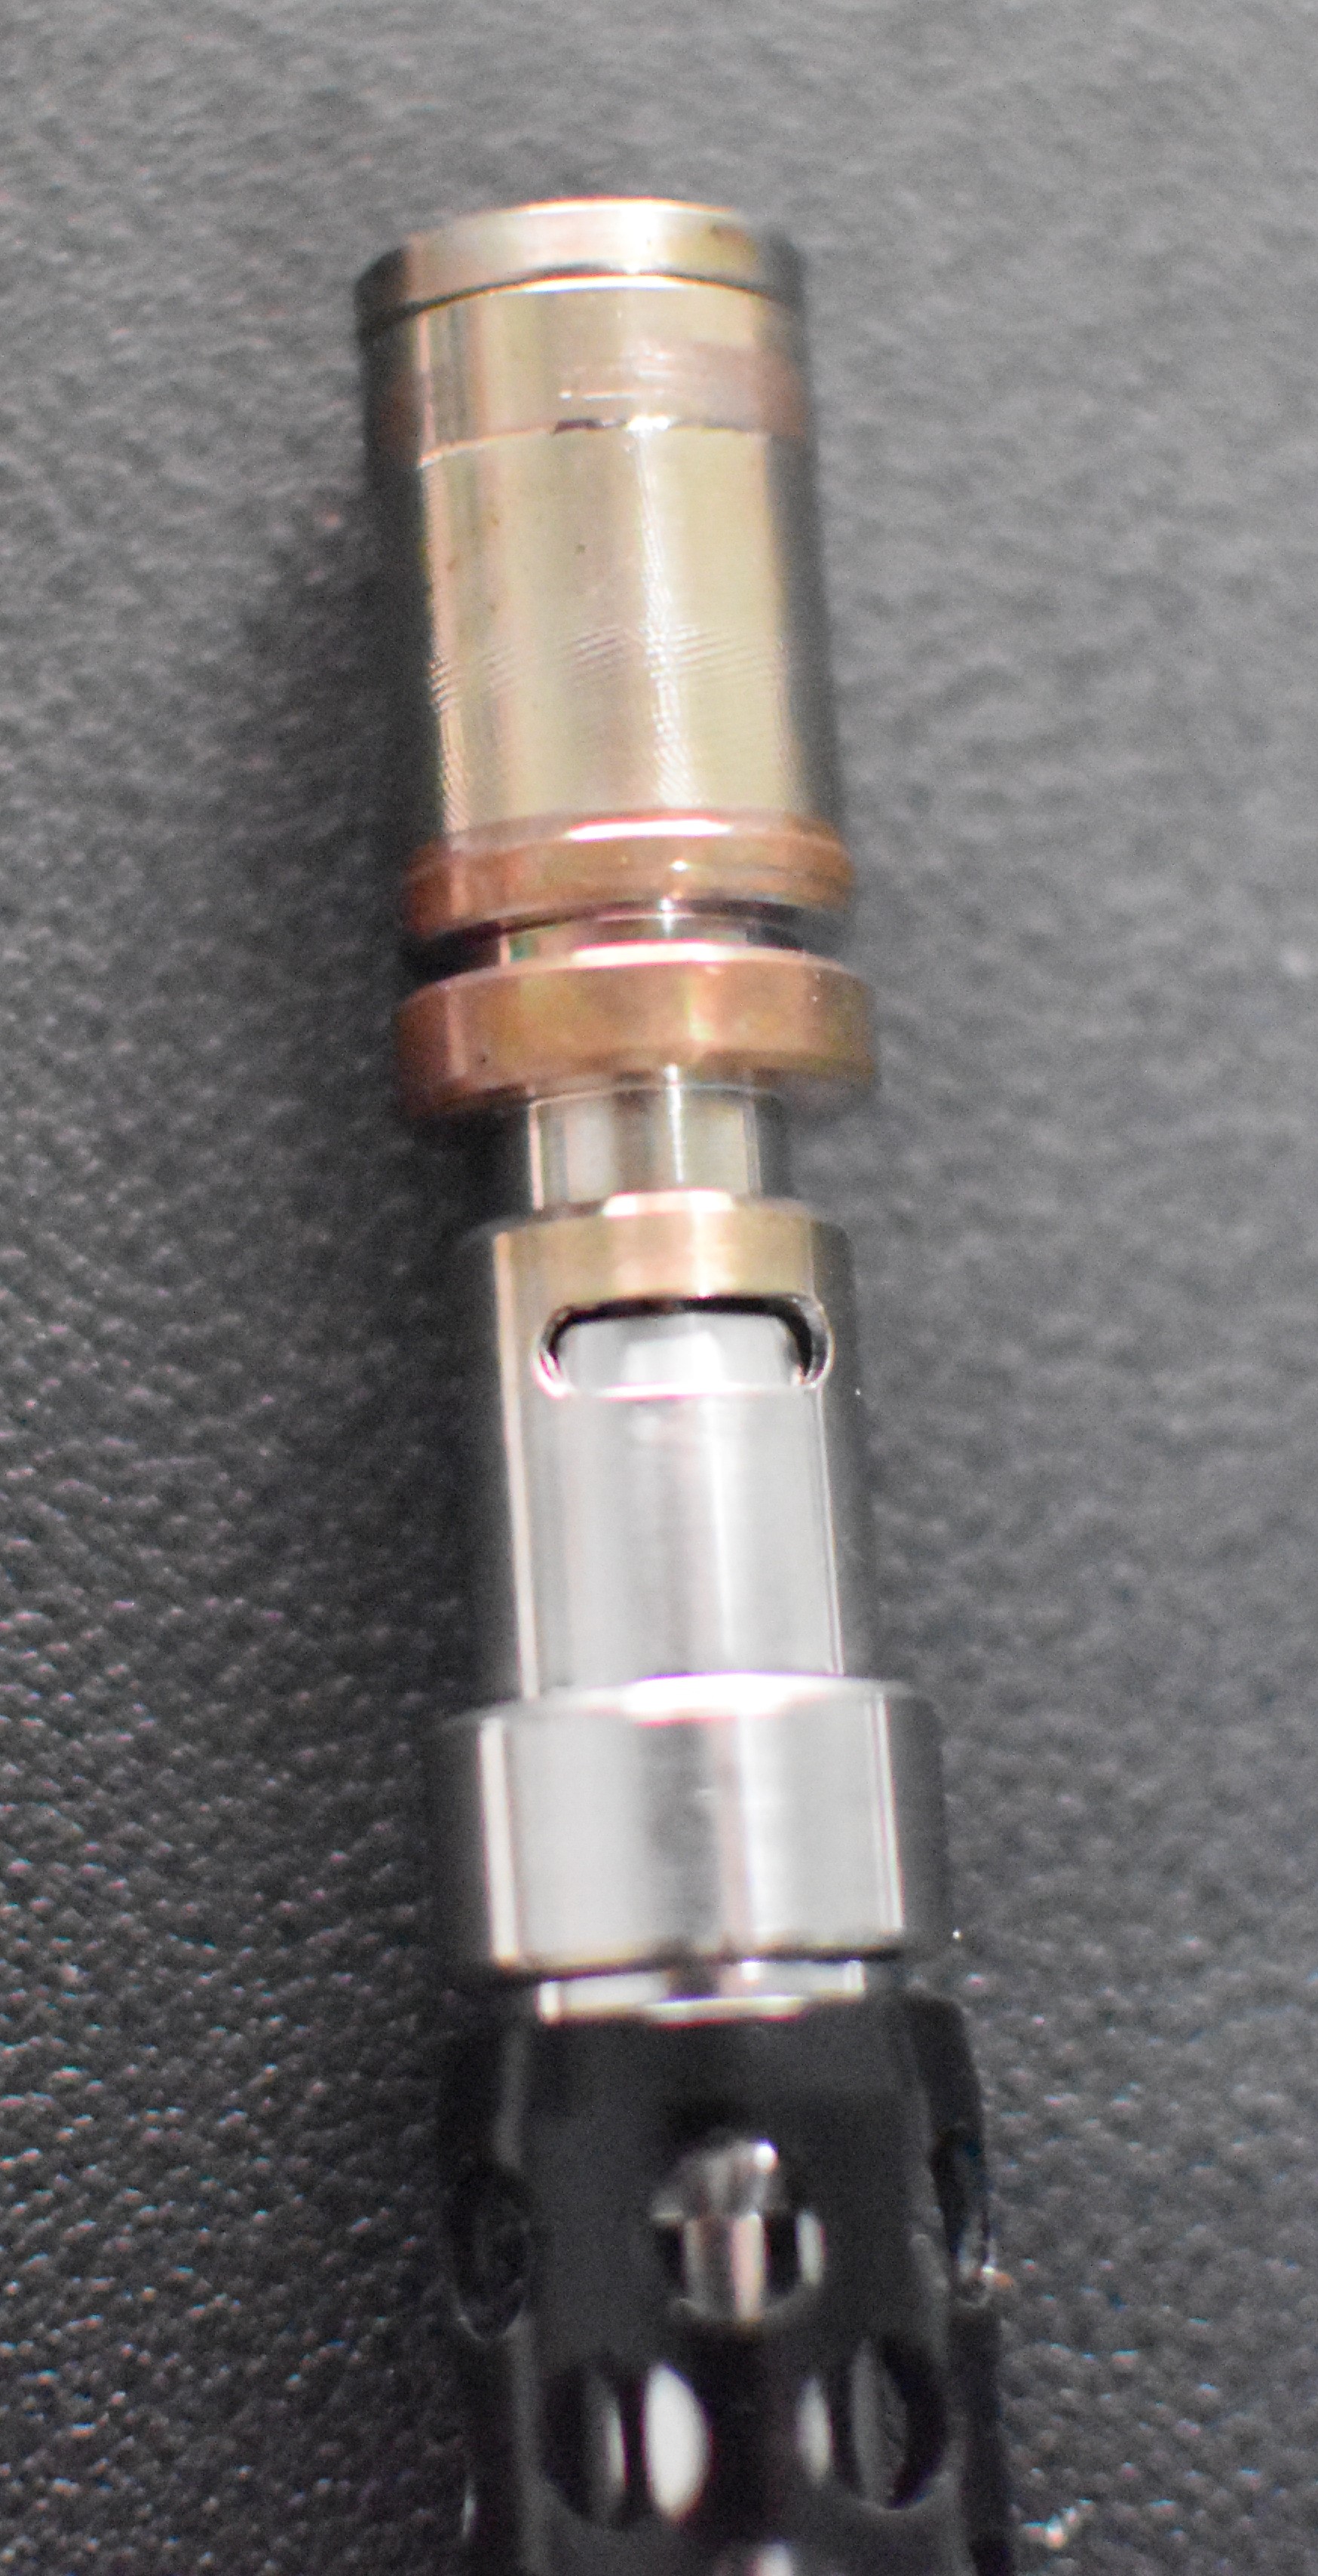
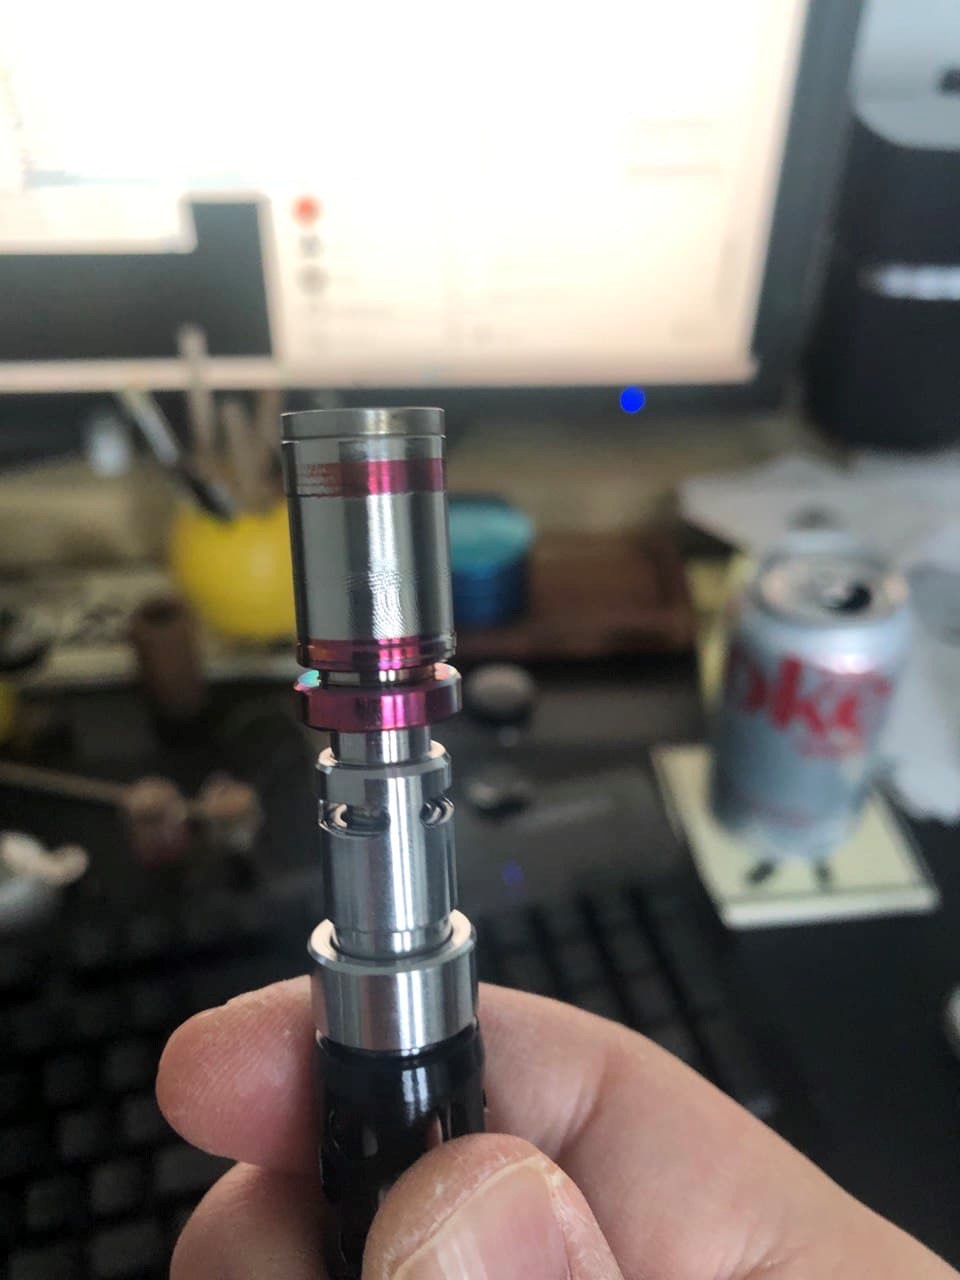
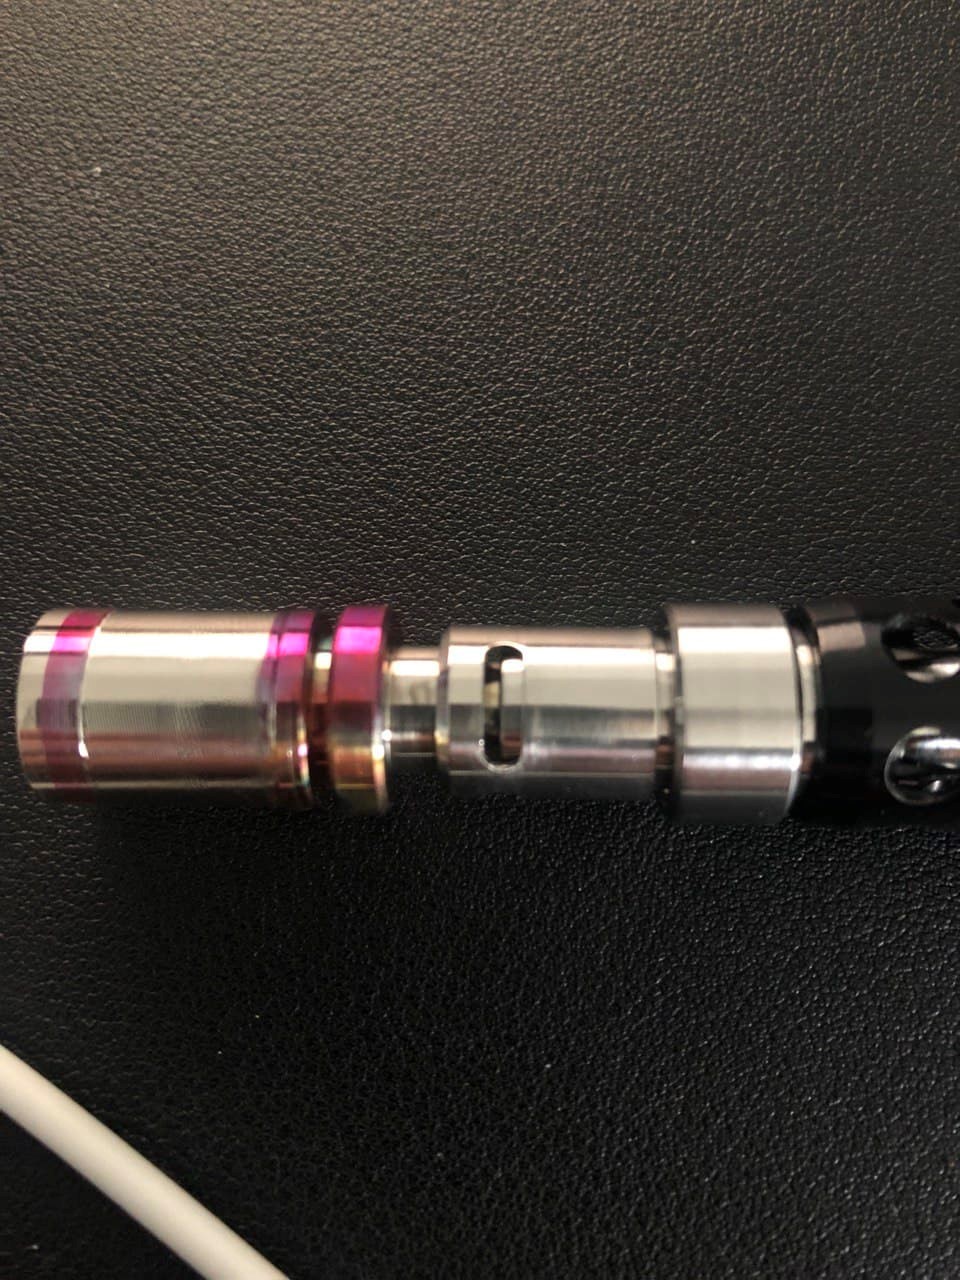
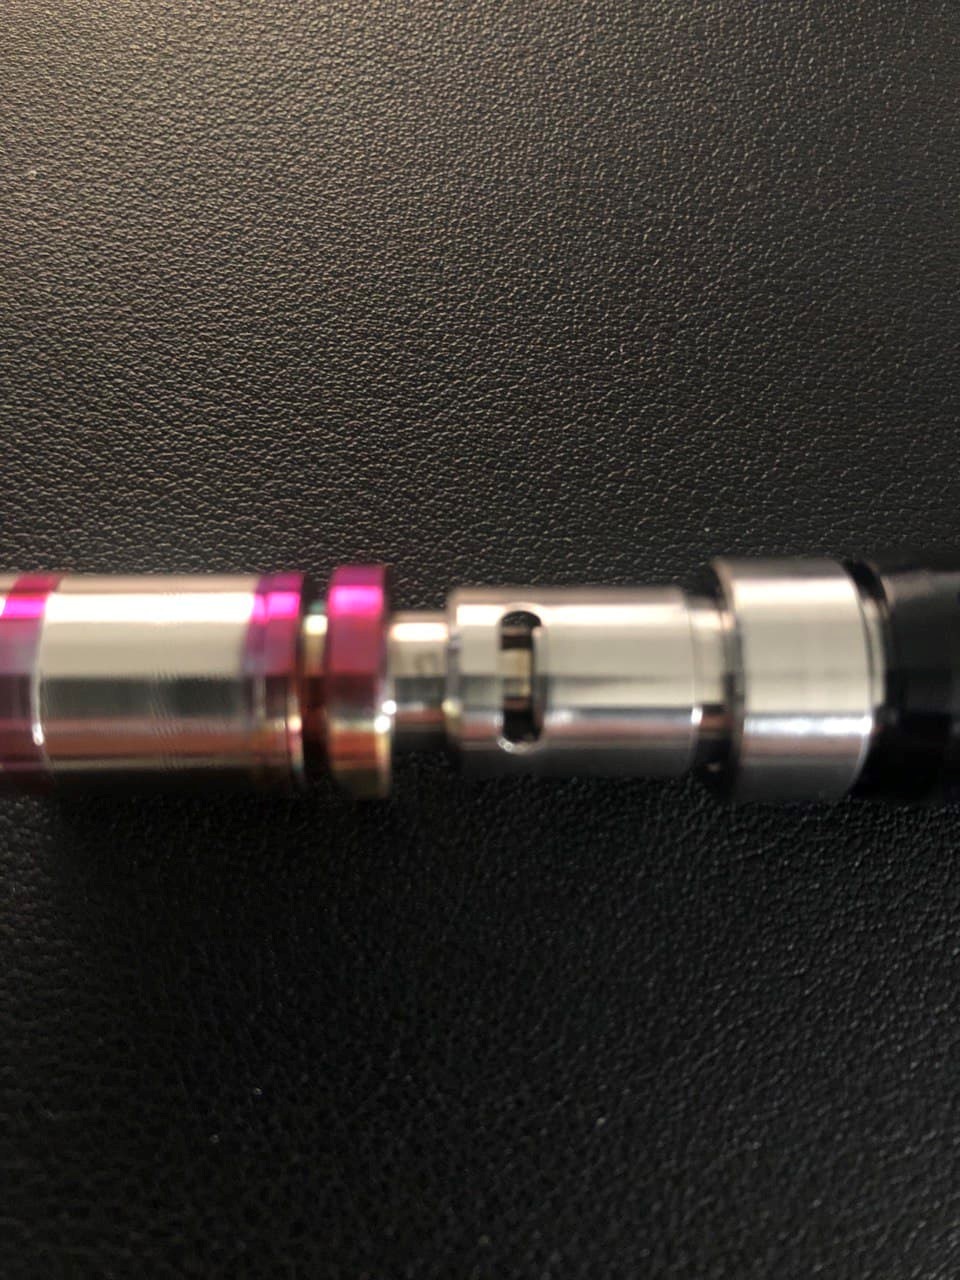
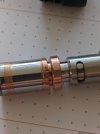
If you want completely open air flow, this is the position you need to set the Anvil in:
And for the most restricted air flow setting this is what it should look like:


")