Hi


Long time, no see... literally!

Was diagnosed with cataract in both eyes last year, and ended up not even being able to tell, how many fingers

️

the doc held up in front of me.
Fcking terrifying experience, I can tell you!

Well, took some time, but I eventually managed to get me two brand new lenses implanted... and are seeing

'things' now, I probably haven't been able to see for years, without actually noticing


Reading back through the thread now and seeing some amazing DIY log making here from you fellows, while I was away. Good work, folks! Keep it up!


In other news... Dave
@underdog was so kind, to share some of his alpha heater cores with
@brainiac and me, so that I'm eager now to test one of them out in a Misty DIY setup. For the time being though, I'm still lacking a fitting body, to install the huge 1/2" alpha core into, as it's base plate is 1.5" wide. Much too large for the heater well of any of my existing log bodies.
So... how to rig up an experimentell body on the fly!?

I remembered an Idea from
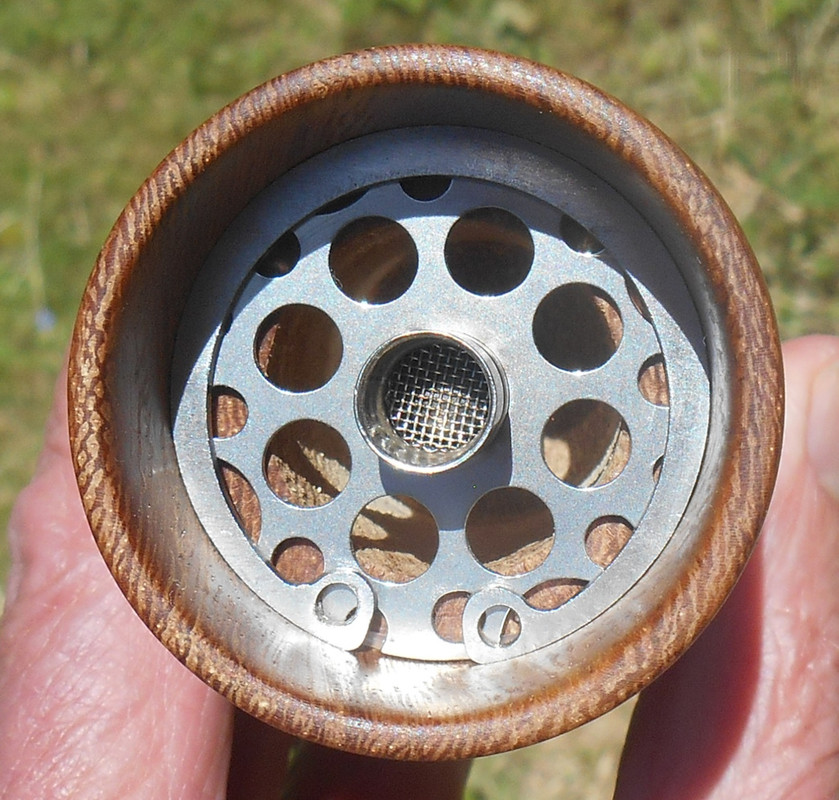
@Alan, he posted a while back, where he used a heavy duty cardboard tube, to make a log body from. So I worked my way back through the HI thread, to find the details of how Alan did the base for it. Basically, he just uses a thick wooden puck to install the heater cover and cartridge on and that also holds the connector. He just drills a hole into the side of the puck to hold the connector and then a second, larger hole from the top of the puck's center for the cartridge to slip through, that connects to the hole from the side in a right angle. Just like he does for the base for his Square HI, only round:

Once he's soldered the cartridge heater in, the heater cover goes on top and gets screwed into place. Done!
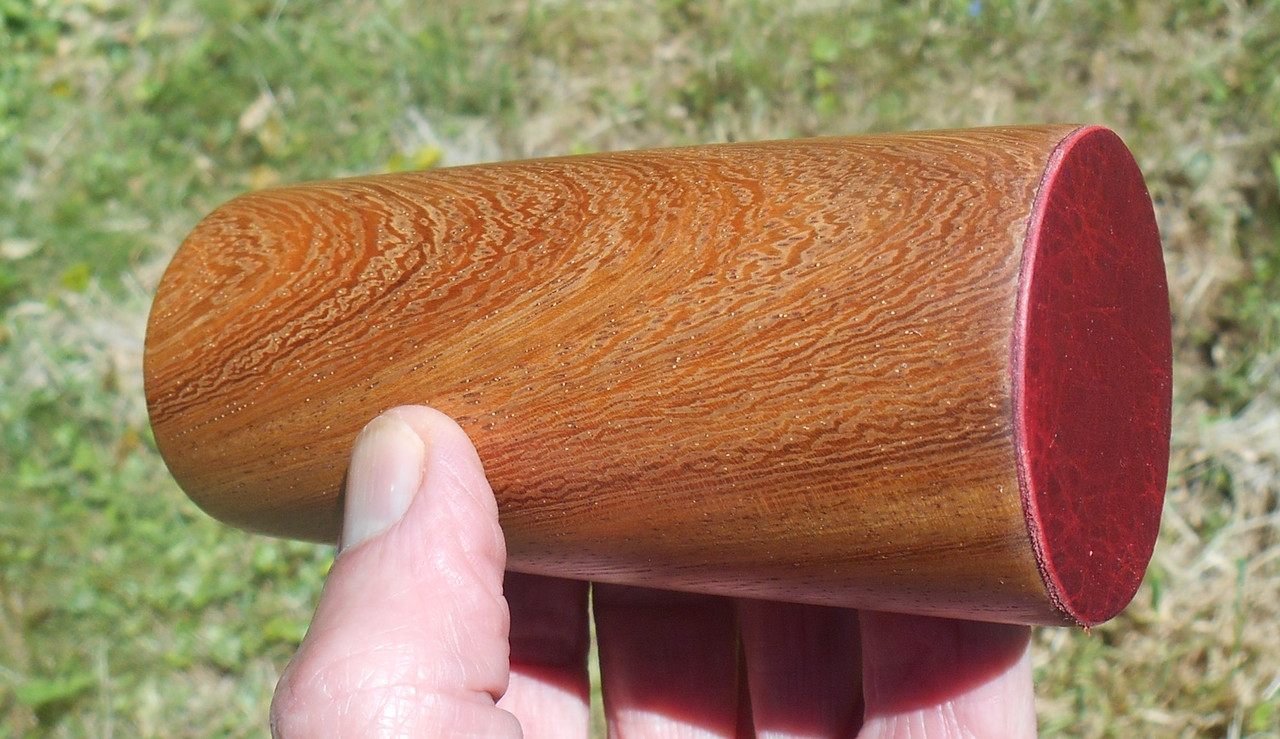
You now have a very compact little vape, that you can simply slip into any round casing/sleeve, that you like. Be it a heavy duty cardboard tube, a bamboo sleeve, or even a turned wooden blank, that gets completely drilled through with the forstner bit... as long as the OD of the wooden base puck fits the ID of the tube.
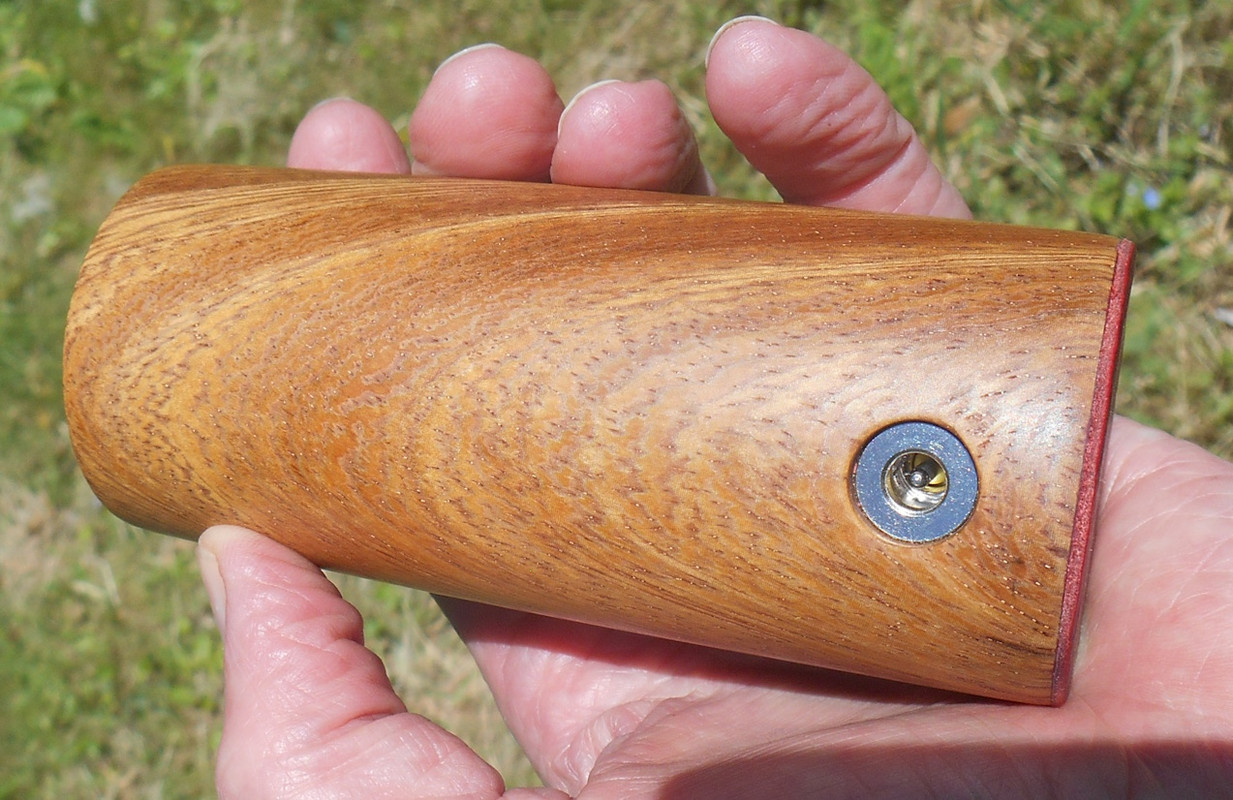
The sleeve then just needs a hole in its side at the exact hight, where the connector sitting in the base puck comes to rest later on. Apart from the friction fit, the inserted jack holds the base puck firmly in place then.
Genius simple idea


One of Alan's bamboo HIs with his round wooden base puck inserted:

(click to expand)
Thanks so much for the kind words and posting the video and photos
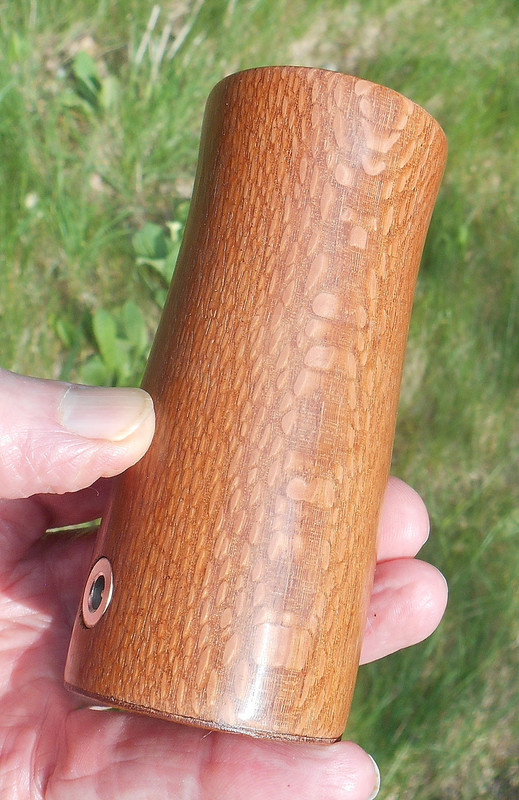
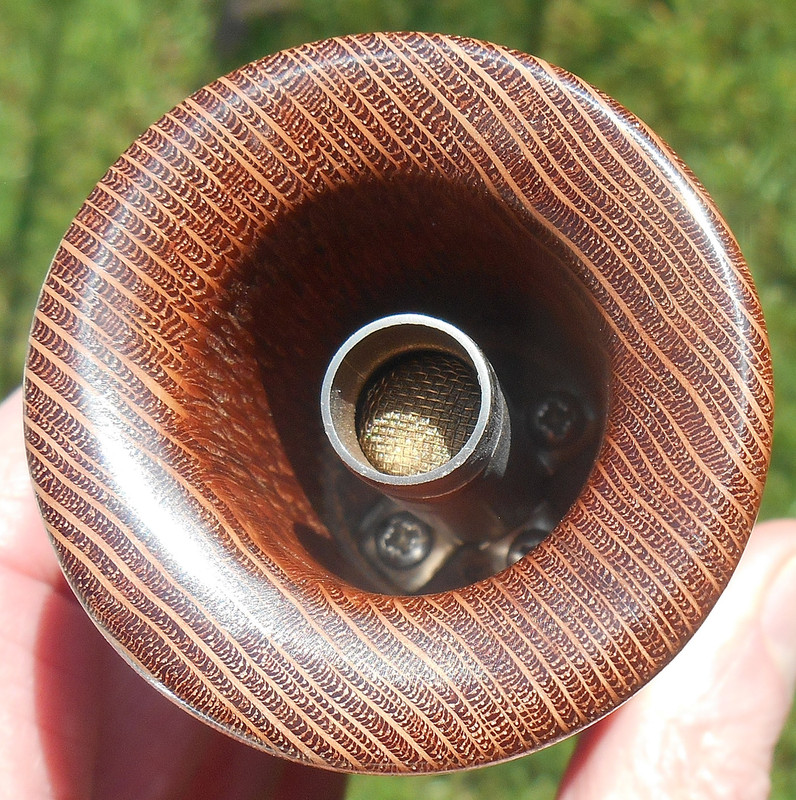
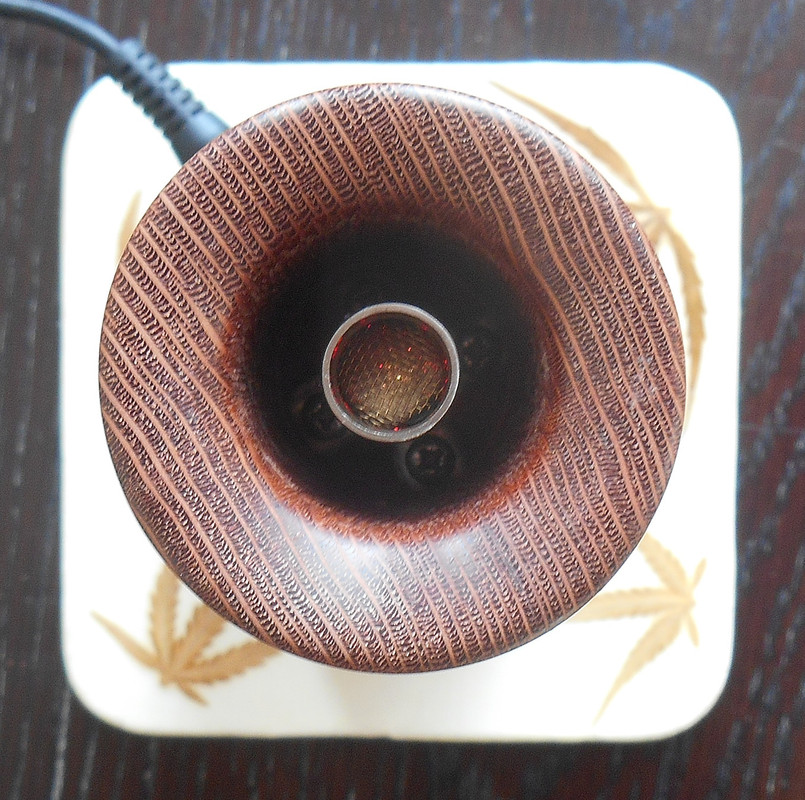
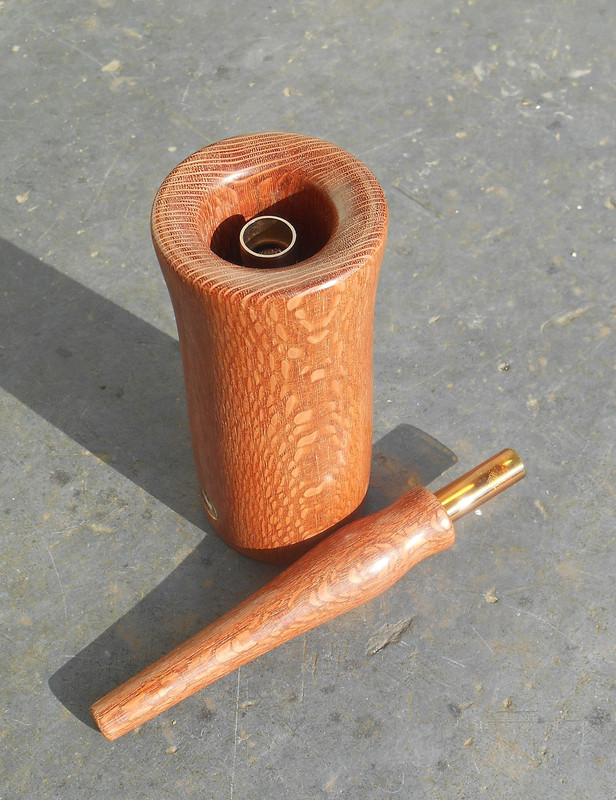
@Vitolo Glad the testing is going well. The heavy duty cardboard HI is based on the concept I had for a toilet paper tube HI, where a puck shaped wood base slides into the tube. The power plug extends through a hole in the cardboard tube to the power socket mounted inside the wood puck. I have started to use the same technique for bamboo HI’s. Here is how they look.


I bore a hole into the bottom to allow the wood puck to slide in. The ss heater cover attaches to the wood puck using two ss screws, so it will never become loose and rattle. Since the wood helps to stabilize the shape of the bamboo and there is no stress from a power socket in the bamboo, there should be a low chance of cracking. The old method involved shaping a cork ring to the proper size and shape to fit inside the bamboo. I can use this new method for glass heater covers since the hole bored in the bamboo is the same size as the cork ring and the wood puck holds the cork ring in place. My limitation on bamboo size was 1.5” ID, since that is the largest cork rings I can find. Now I can attach the cork ring to the wood puck base if the ID is larger than 1.5”. Have some cool looking larger size bamboo that I can now use. This same assembly method can be applied to any wood shell, so there is continuous wood from top to bottom.
@Razhumikin Glad you are happy with your holly wood HI. So many different ways to roast.
@GoldenBud Thanks for posting the videos. I generally never clean my heater cover unless some oil drips down inside. Have had some units back in for repair that had the air intake slits clogged with debris, so there are times when it is nice to take them apart. It is more of a challenge taking apart those units using a ss cartridge heater w/ screen fins. The fins can get caught on the air intake slits and come off the heater. They aren’t really meant to be taken apart, but can come apart for repairs as needed.
Have really been enjoying paper roasting tubes with the HI.
https://fuckcombustion.com/threads/paper-roasting-tubes.51923/
The screen stays so clean and I just make a new tube when the old one gets dirty. Will never shatter when dropped.
Received some watt meters, but still need to modify them with the 5.5mm x 2.1mm socket and jack.
The heavy duty cardboard tube I had already lying around. It has a 50mm inner diameter and the walls are 1.5mm thick. Just needs to be cut down to the ideal length of a log body. Then I ordered some ready made wooden 50mm OD pucks from Amazon, but as they are only 10mm thick, I will simply screw one on top of another to get the right thickness for drilling the hole for the connector, using two 20mm M2 wood screws to hold them together. These two screws (together with two tiny washers) will later on then also hold the Alpha Core base plate.
Making the wooden base from two parts, makes it also easier for me to solder the cartridge in, because I can simply unscrew both parts and take the top off to do the soldering, after I've drilled the holes for the connector and the heater. Once the heater is soldered to the connector, the top part goes back on and gets screwed down together with the heater cover and washers

As the 1.5" alpha core's heater tube has also a quite large inner diameter of ~11.x mm, I'll have to use a ss fine mesh poncho around the cartridge, to keep it snugly in place and provide a more evenly heat distribution.
At least, that's the plan for tomorrow or Sunday


