lookhigh
FC member
I like the finger grip on the battery cover not to outdo the engraving.
I like the finger grip on the battery cover not to outdo the engraving.
Once again Snacks to the rescue, thank you kindly. Would a Apple iPad adapter plug do? If not which of the 2A plugs would you recommend?
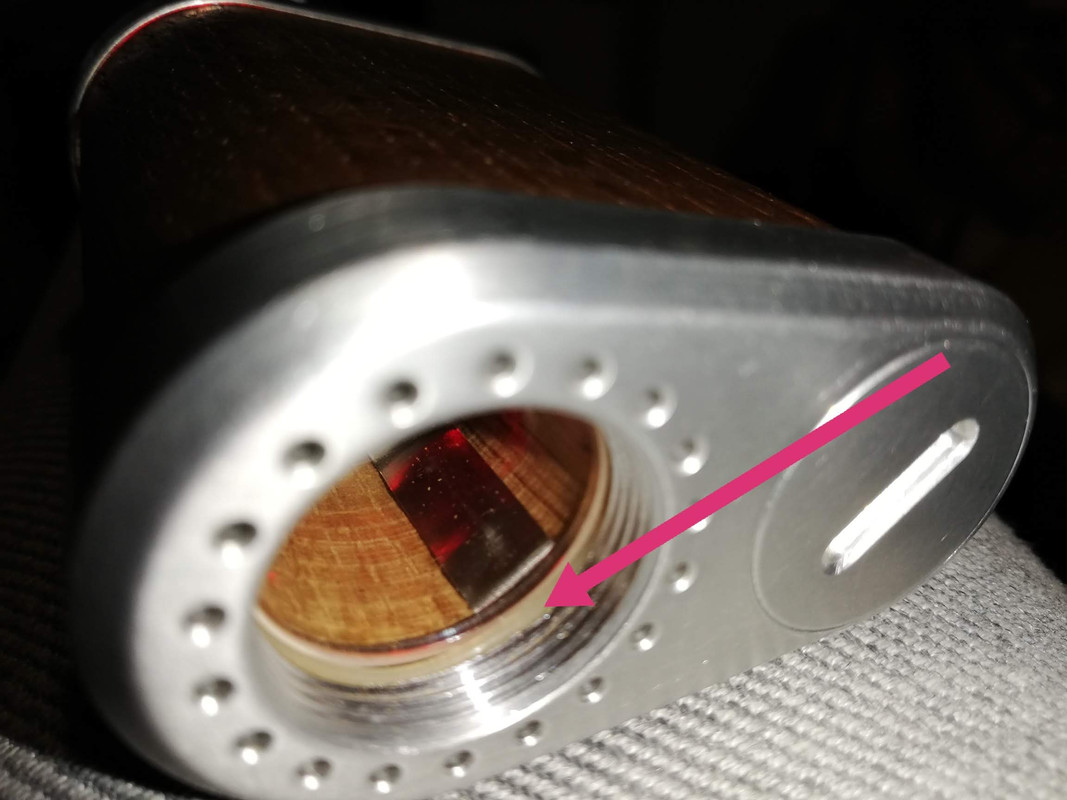
Don't worry it's not hard and I'd probably spend more time with the search function it's faster just to tell you lol there are 2 things you can do. 1remove battery and unscrew just enough to be able to wiggle the top plate back and forth a little, then retighten the screw quite tight, very tight and try using the unit. 2 for a more permanent solution start by removing the stem o ring metal collar, o ring, metal tube and heater screen then unscrew the screw till the top just lift's off, being careful not to lose track of the thin o ring that will either be stuck to the lid or more likely The glass oven liner, if it is just leave it in place, you'll see a metal strip leading up from the bottom of the battery compartment to the top of the wood where it makes contact with the lid, place a thin shim of folded aluminum foil underneath that strip. I also advise you to take advantage of the top being off and use a eraser on the underside of the cap where the strip makes contact and the entire underside to. Reassemble and try your tinymight again if that doesn't help PM me for recalibration instructions
Tear down pics on page 187.@BakedDiogenes you can use iso on a q tip on the threads if it's easier to find than an eraser.
Also, on top of @Bad Dog excellent advice check the o rings.
Remove the stems retaining ring and check the orange o ring for blemishes. Remove the orange o ring and the metal tube. Look inside and you should see a glass sleeve with wood behind it. At the top of that tube, between it and the top plate, there is another o ring (could be blue, black, grey, another colour). Make sure it's in place and even around the top of the glass tube.
I've not tried those cells, they should be ok but the recommended ones are vtc6, hg2 or p26. This heater is 70w and appreciates a decent cell.
Good luck! We will get you going!
I haven't done any of these, so this is as far as I can help. Good luck.It is possible to replace this o-ring without removing the top plate. I already did it when he jumped from the site when blowing the TM with my 300bar compressor

I thought that was normal lolBe careful how you explain things around here.
Butt yes. Mine does the same. Its like the bowl area is slightly thicker than the vapor path side of the glass screen. So I usually insert it while turning clockwise. Once I feel it tighten a little, then I'll push it all the way in.
The first thing I suggest is making sure the screw on the bottom is tight, 99% of the time that fixes it. If not then you may need to open it up.Hey! I was hoping someone could help me with my Tinymight. I've been having performance issues the past two weeks.
It used to extract about halfway through the load, or it would only heat directly halfway across the bowl. However now even at temp 10 its giving 1 half hit, then nothing more after that. No clue what changed as before this it was working amazingly. Should I try to get it sent in for a replacement, or is there any DIY things I can do for it? Thanks in advance.
Thank you! What temp are you using? That's substantially more vapor than what I've been getting. Do you normally use it in sessions mode?As requested.......
Ahhh so that's the key to getting those milk shots?Be careful how you explain things around here.
Butt yes. Mine does the same. Its like the bowl area is slightly thicker than the vapor path side of the glass screen. So I usually insert it while turning clockwise. Once I feel it tighten a little, then I'll push it all the way in.
Temp set at 10, in session mode, strictly for the video. I normally take about 3-4 hits on temp 6, then a clean-up hit on 9, in on-demand mode.Thank you! What temp are you using? That's substantially more vapor than what I've been getting. Do you normally use it in sessions mode?
Yes. You need to tighten the nut for the stem holder for a good seal, to compensate for variances of glass. For me, the long spiked stem is slightly larger than my 18mm wpa, which is slightly larger than my 3 in 1 wpa, so I usually need to adjust the stem holder ring when changing stems.Ahhh so that's the key to getting those milk shots?
That looks sweet. What did you use to cap (not cup) the balls?Almost all glass, and portablepleased with today's tinkeringsView attachment 11076
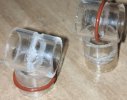
What is inside the red orings? I can’t quite make it out like the rest (balls included, of courseBoth ends are the same, except for the usual basket screen
 ), and it doesn’t look like a separated TM cooling unit which has the orings at the top of each section. The pic appears like they’re centered on something but not the stock CU. Nice setup!

 Been vaping the same .05 bowl the past 3 /12 hours and it's been great though I do kinda miss the clouds but I can't argue with the results! Those whispy hits ad up alright and I've had a very nice buzz going the past few hours! Going to keep playing around with this and see where it takes me, been a cloud chaser for some time but this lighter approach is very nice too
  this vape keeps up with my changing vaping needs and gives me options other vapes can't touch
 Some people have deft done that, there are some pics in this thread but idk which pagesDo you guys customize the wood on your tinymight? I bet someone can do some wicked art or laser etching or some type of beautiful design with a nice colored stain on the wood? Can you post a pic if you have customized your tiny might?
Those are also known as Arizer cup screens (elbow screens) . Are you located in the EU? Vaposhop has them but if you are looking for a bulk buy there are great deals on amazon and ebay at less than 1$ per piece.
I will try to ask them to include couple more with a new XL stem delivery.
What are the dimensions of these customs ? Does anyone has a pic where the difference is seen ?I tried that, I believe others have as well, to no avail, because they don't have any spares to spare lol worth a shot maybe they will!
