• Do NOT click on any vaporpedia.com links. The domain has been compromised and will attempt to infect your system. See https://fuckcombustion.com/threads/warning-vaporpedia-com-has-been-compromised.54960/.

'The Misty Log' - DIY wooden Log Vaporizer

blokenoname

DIY Log Dabbler 😁🪵💪💨💨💨
Afternoon :)

Introducing the ConG adapter: Cork on Glass :D

A simple, tidy and quite easy to do DIY bong adapter, if you're lacking the right tools, to cut a fitting 18mm or 14mm taper yourself :nod:

Local head shop here sells fitting silicone and cork stoppers for plugging up tapered ground glass joints. Only a few cents a pop. So I grabbed some of the cork stoppers, to see what I can come up with.


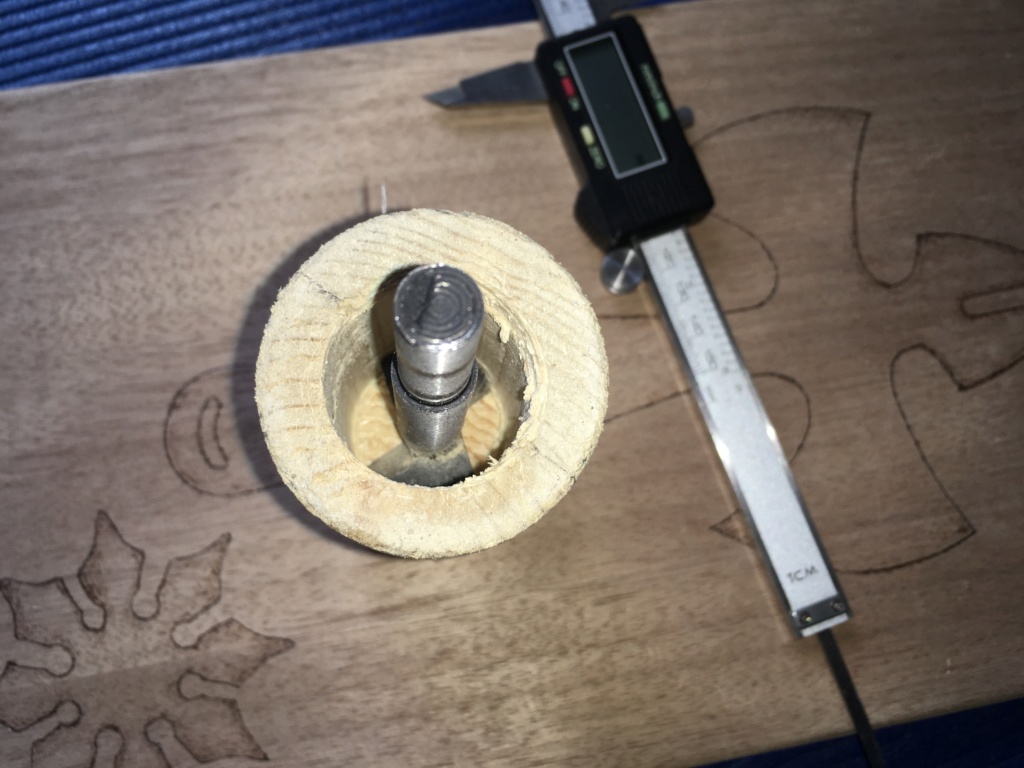
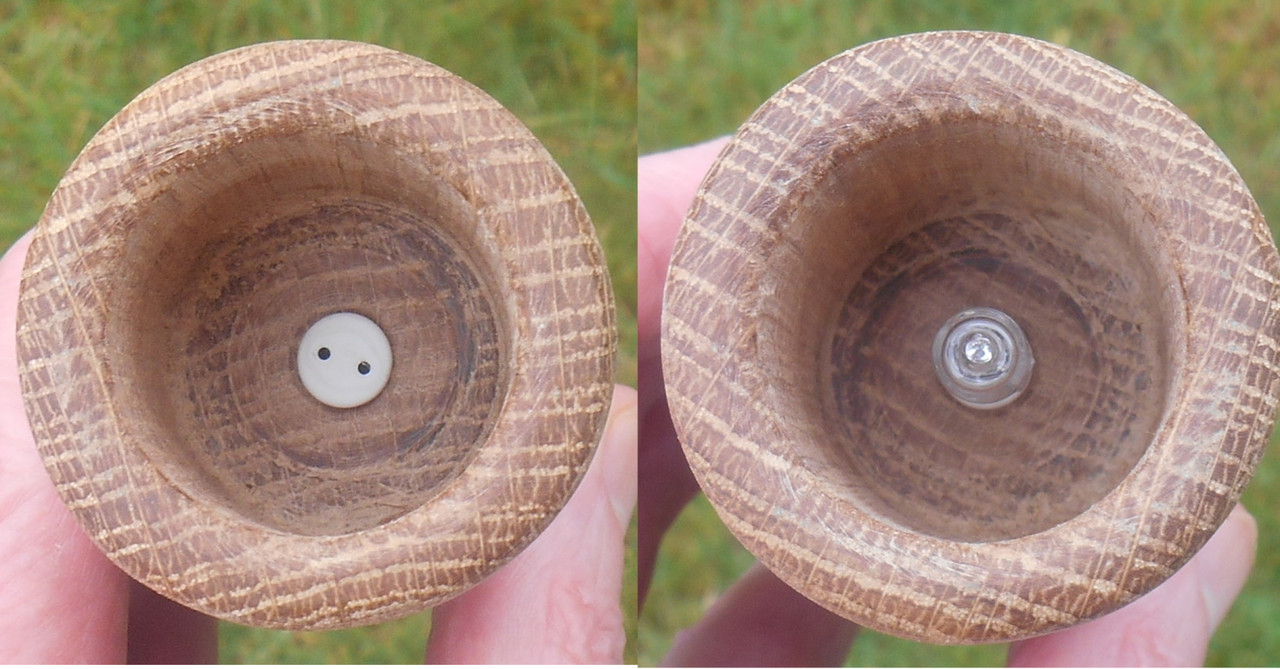
The cork stoppers measure:
Length 26mm
Top width 20mm
Bottom width 17mm

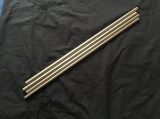
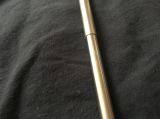
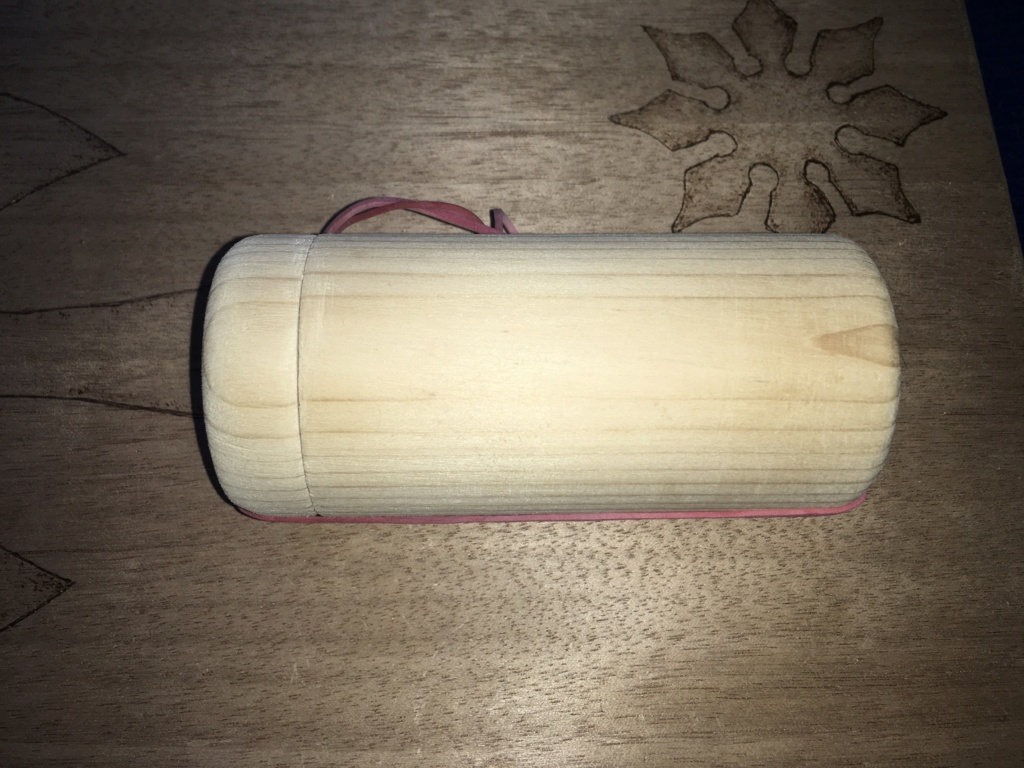
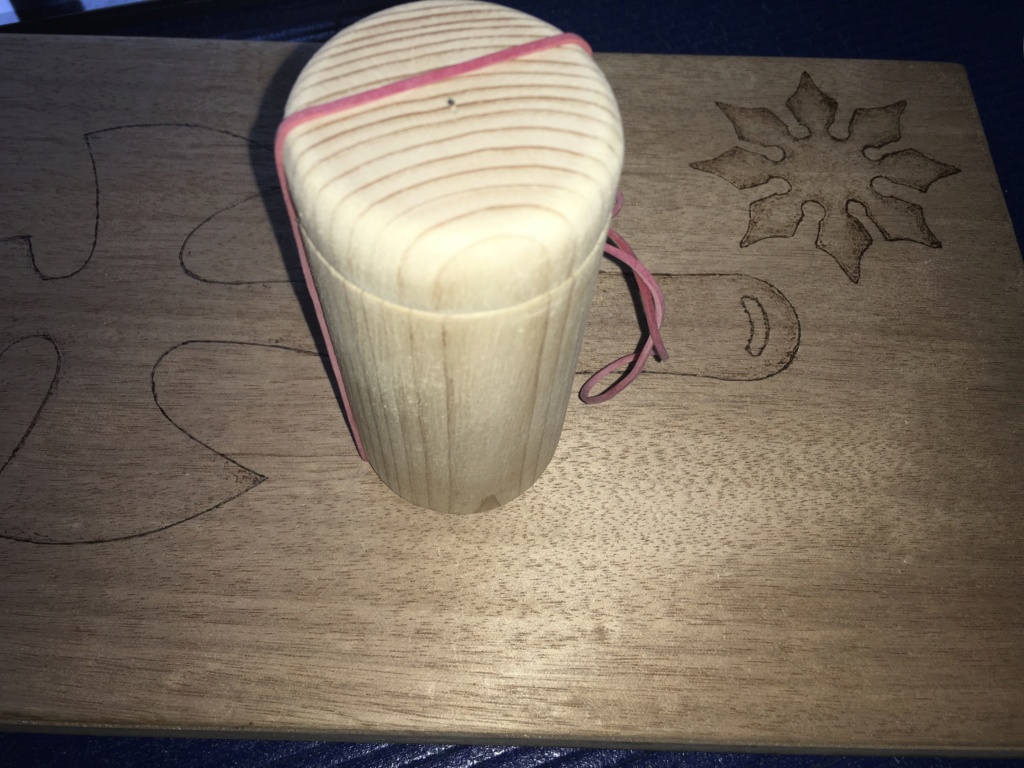
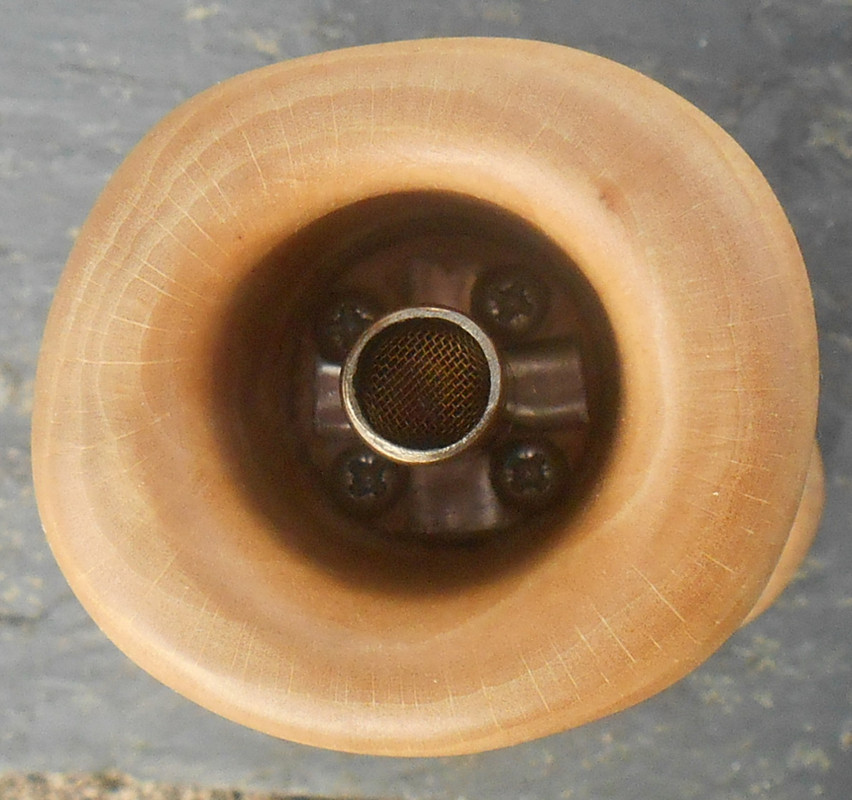
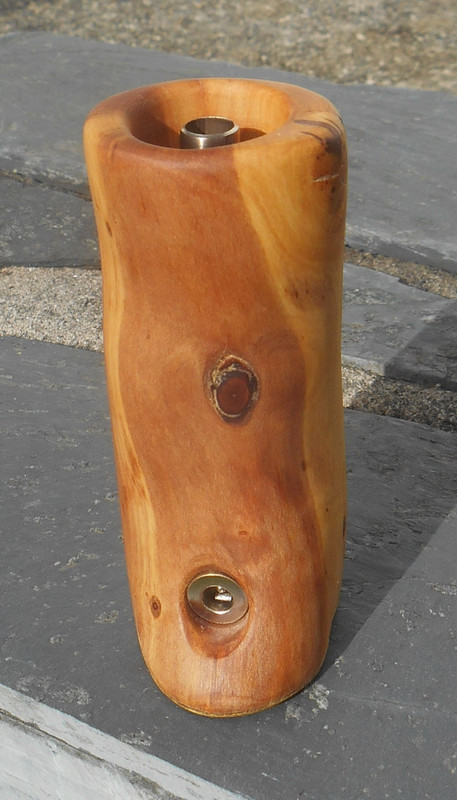
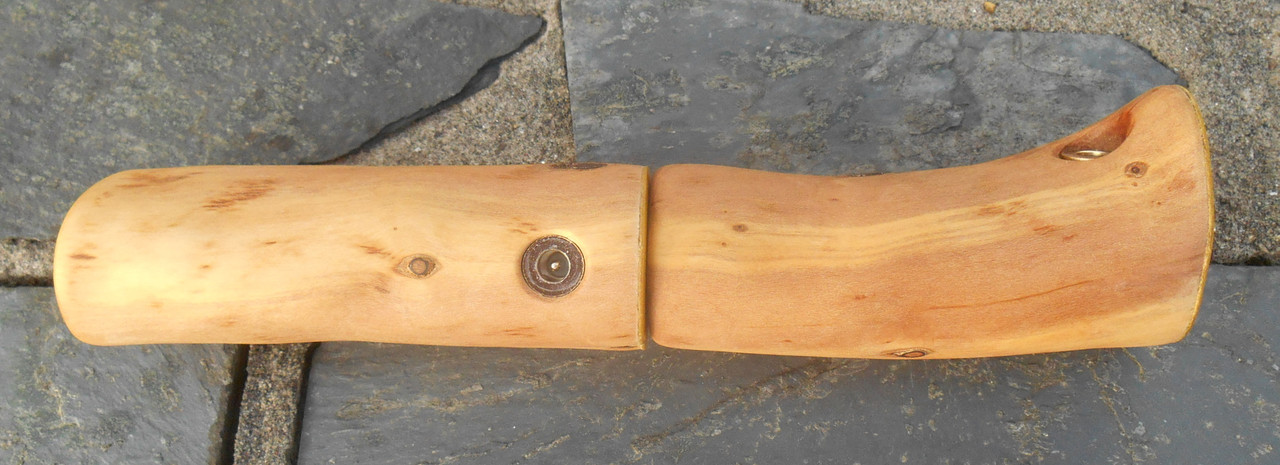
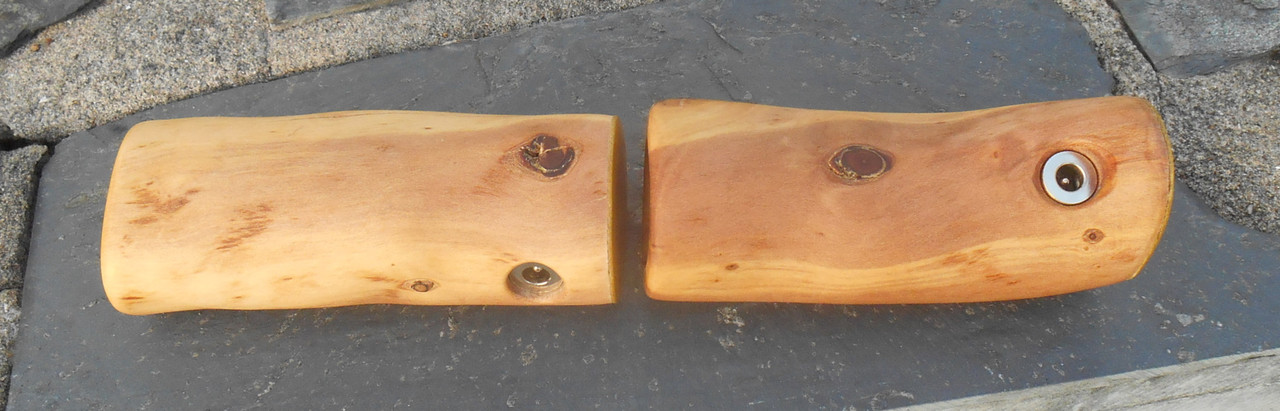
Fits an 18mm gg joint socket perfectly. Added two 20mm wood plugs on top (you can get a bag of those in mixed sizes at any DIY market; they're used to plug up holes and flaws in the wood, you're working on) for better handling and added stability. Then sat in my standard 8mm stainless steel tip and put it all together. You can either press fit the parts, or use a drop of white glue or similar to additionally glue the cork to the wood.
Enjoy :clap:
 

blokenoname

DIY Log Dabbler 😁🪵💪💨💨💨
Evening folks :)

Updated the heater design for the older style Misty bodies with the user serviceable ‘base loading heater’ a bit, that gets threaded in from the base cavity of the Log.

Combining approaches from Ed and Alan both here, by forgoing the use of solder altogether for fastening the cartridge’s leads to the 5.5/2.1mm barrel plug’s contact pins, and simply using two butt splices and crimping the bugger instead.
Saves some time and the result looks quite tidy, the splices also adding some more stability to the overall construction.
Remains to be seen though, how good this pure mechanical connection will stand the test of time, compared to the use of solder alone, or both splicing and soldering, like Alan does.

Also upgraded the heater cartridge itself to the more powerful 10w heater here, as the additional washer, nut and clipring arrangement holding the heater in place, also add additional thermal mass to the equation and robbing quite some heat from the standard 7.5w cartridge, I usually use for the non user serviceable Misty Log heaters, with the barrel plug located at the side of the base. So the 10w cartridge does a better job here, making good for the additional conduction heat loss.


Last edited:

brainiac

log wrangler
Life's a beech :tup:

Here's the latest output from the log lab at Castle Brainac :).

Beech-side-l.jpg


Beech is not the most inspiring wood for logs but this one's got some lovely grain and the shape gives it more visual interest too. I got the 'foot' effect by leaving part of a branch stem in place. I've used this idea before as it provides two benefits - firstly, it gives the log the appearance of a miniature tree trunk
and secondly, it allows for a deeply recessed jack connector.

Beech-side2-l.jpg


It's only 10cm high which is relatively short for one of mine. That combined with a broad girth gives
it a fairly stout appearance.

Beech-HC.jpg


Four screws holding the heater cover in place so it's probably quite secure :D. I might cover them with a washer in a few days time when I'm confident that all is well. Ran it last night for a few hours and can report that it works as expected. More testing required, ofc :).
 

brainiac

log wrangler
Completed work on another log yesterday. Here's the before and after:

before-and-after-RS.jpg


It was one of a pair of blackthorn blanks - the other one was posted here in mid November last year. They are a almost contiguous - there's about 1cm of branch missing between the base of the first one and the top of this latest one.

Blakcthorn-1.jpg


That knot, being far denser, gets significantly hotter than the surrounding wood.
The grain pattern follows the contours of the log giving colour and form a pleasingly attractive unity.
Unfortunately I can't claim too much credit for that. Mother Nature handled that side of thing :).

Tidied up the base of the heater well with a standard washer, a star washer and a circlip . Also worth a mention: I had to replace my 25mm forstner bit recently so I got a 26mm instead. That extra 1mm makes getting those 25mm washers in, and - if required - out again, a much easier job.

top-down-1.jpg


Next in the pipeline is an oak handrail halogen unit.
And I'll sort out a picture of the two blackthorn units together.
 
Last edited:

Cheebsy

Microbe minion
So it's been a while since I've been playing with the misty bud eater design and haven't posted anything. I haven't touched it for a little while so I thought it was about time I finished the latest version and post again.

I gave up on the Amazon bulb holders, they'd get too hot after extended use and the insulation kept failing and causing a short inside the holder. The sinolec ones are vastly superior in every way. I tried to drill a hole in the corner of the elbow, unfortunately I went a bit too quickly and ended up with a hole a bit bigger than expected lol! Not a big drama as the elbow is still solid. I made a handle from some ss tubing split at each end for a very snug push fit, and covered that with some silicone tube. The same ss tube is used for the bulb cover. I cut the rim off an eq basket, placed a dynavap ccd in the bottom, and a small square of mesh to hold it in place, this is the cap of the heater and the CCD is instead of the foil used earlier in the thread to try to even out the heat.

Here are the parts all layed out ready for assembly
IMG-20200321-162852.jpg


Assembled
IMG-20200321-165404.jpg


'scuse the crappy image but I just like the way this looks
[IMG]
 

Cheebsy

Microbe minion
Thanks @Megaton it's a bit like walking a tightrope in a hurricane! I don't have much in the way of bowl setup choices. I have a @DDave kit for my eq, and a reducing adapter for my wt. For the least exciting method (read least likely to combust) I've been filling a ddave basket screen spaced by his tall adapter. If I get it right I get a very nice, full and even extraction in one draw. If I don't get it right, the vapour is pretty disappointing, or I combust. I tried to put a screen in the reducing adapter but it was way too close with the 20w bulb.

I need to try a few things, swap the 20w bulb for a 10, get rid of this analogue knob for digital voltage control so it's less of a guessing game, I think it could benefit from more thermal mass, I have a thicker walled tube but it's a fraction too big for the elbow so I need to reduce the OD slightly.
 

brainiac

log wrangler
@Cheebsy - excellent work.
Also, the continuing research you mention sounds really interesting. Be sure to keep us posted.
Those Sinolec bulb holders are definitely the ones for this job - see below.

@blokenoname and @Megaton - thanks for the kind words :tup:.

Here are the matched-up blackthorn logs, as promised in an earler post. There's about 1cm missing from the top of one to the bottom of the other.

same-block.jpg

same-block-2.jpg


The latest job was recovering an oak handrail blank that I'd messed up by drilling the 25mm heater well miles off centre. The remedy was to redrill the well with a 30mm forstner. Had to fill the well with a broom handle off cut in order to centre the forstner. Anyway, it worked out OK. Used one of the Sinolec bulb holders for this one. They have a shank diameter of 7.5mm so I drilled out the through hole to that and the holder is firmly seated. Here's the holder/bulb in situ. Note the 25mm drill marks :rolleyes:.

Holder-bulb-rs.jpg


top-and-tail.jpg


I put in an extra loop of wire in there to reduce the jack temp. Connector is merely warm. The heater well base needs tidying up - must get some 30mm star washers - but otherwise I'm happy with it. Under the standard debris screen there are x4 layers of 200 mesh ss screen so light emission is user friendly :cool:
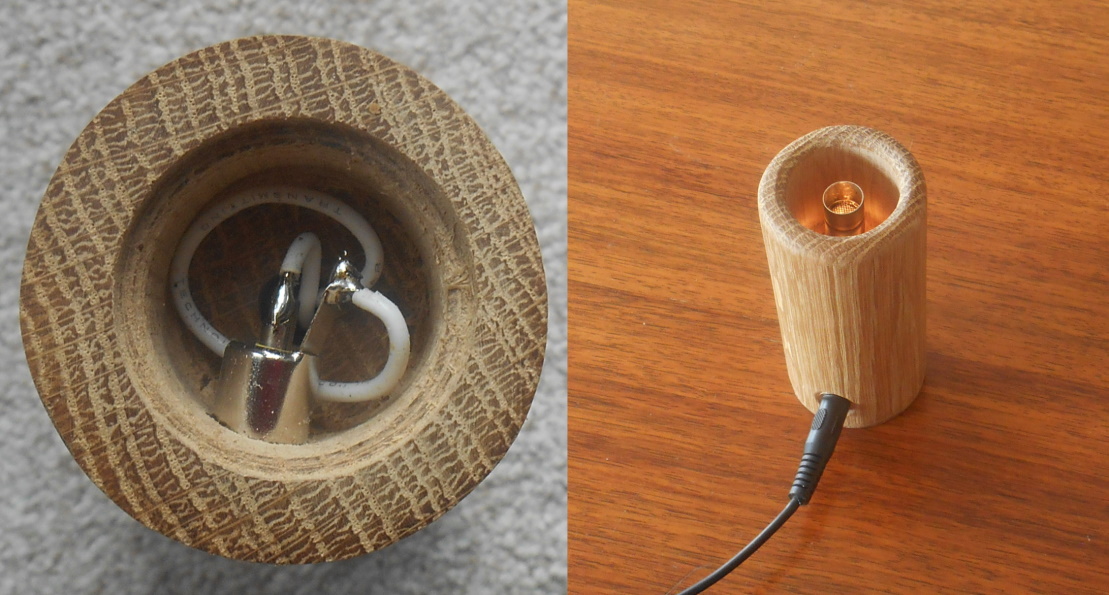
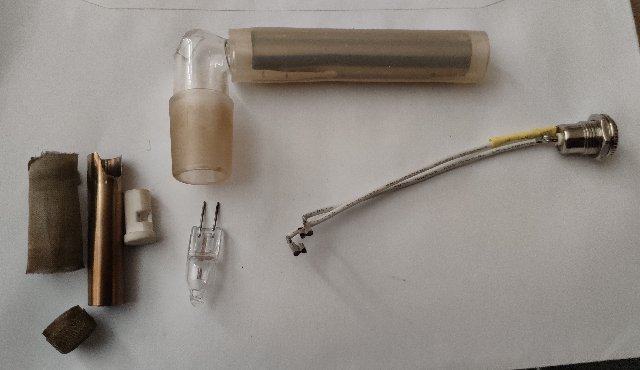
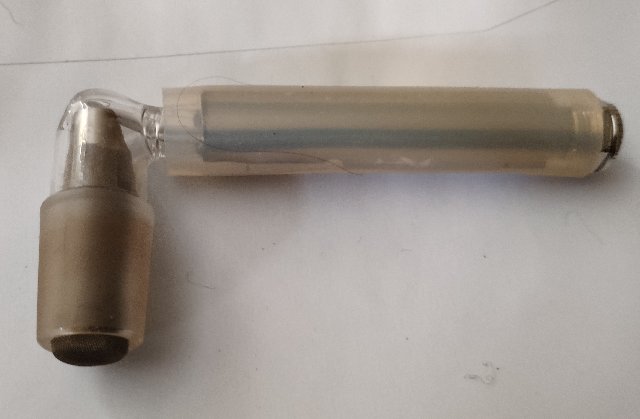
. Using a bulb holder offers the big advantage of easy bulb replacement. My previous halogen units have had soldered bulbs and replacing one of those will mean a full strip-down.

oak-halo-hand.jpg


It has all the power you'll ever need for your vaping requirements :). Certainly have to tame it with a vvps for bud :nod:.

We're in difficult times.
Keep safe and healthy.
:peace:
 

brainiac

log wrangler
Hi Duck

These are the ones that you want:
https://sinolec.co.uk/en/low-voltag...s/1211347-g4-ceramic-ceramic-lamp-holder.html
See @blokenoname post #856 Probably worth you checking for a German supplier. They have VDE certification and it's printed on the cables.

Note that if you do fix the bulb holder directly into the body of the log (as I did - see picture above), that will define the length of your heater cover and therefore the depth of the heater well. If you're OK with the bulb holder 'loose' inside the heater cover it's not an issue.

Good luck and keep us posted :tup:
 

Duck

Active Member
Google Translator

Thanks a lot,
i will look around.
I also have to get a drilling machine, unfortunately you can't look at it at the moment.
Covid 19 everything closed.
I have time, the strength lies in rest.
Fortunately, an ordered heating element came today.
A real monster for another project.

Stay healthy!
 

blokenoname

DIY Log Dabbler 😁🪵💪💨💨💨
Hi folks :)
Long time, no see...

... but then, this little intrusion of pure cosmic horror into all our lives (who the fuck could know, that the great Cthulhu would eventually measure only 60 to 120 nanometers, when he finally woke up and emerged from sunken R'lyeh!? :lol:
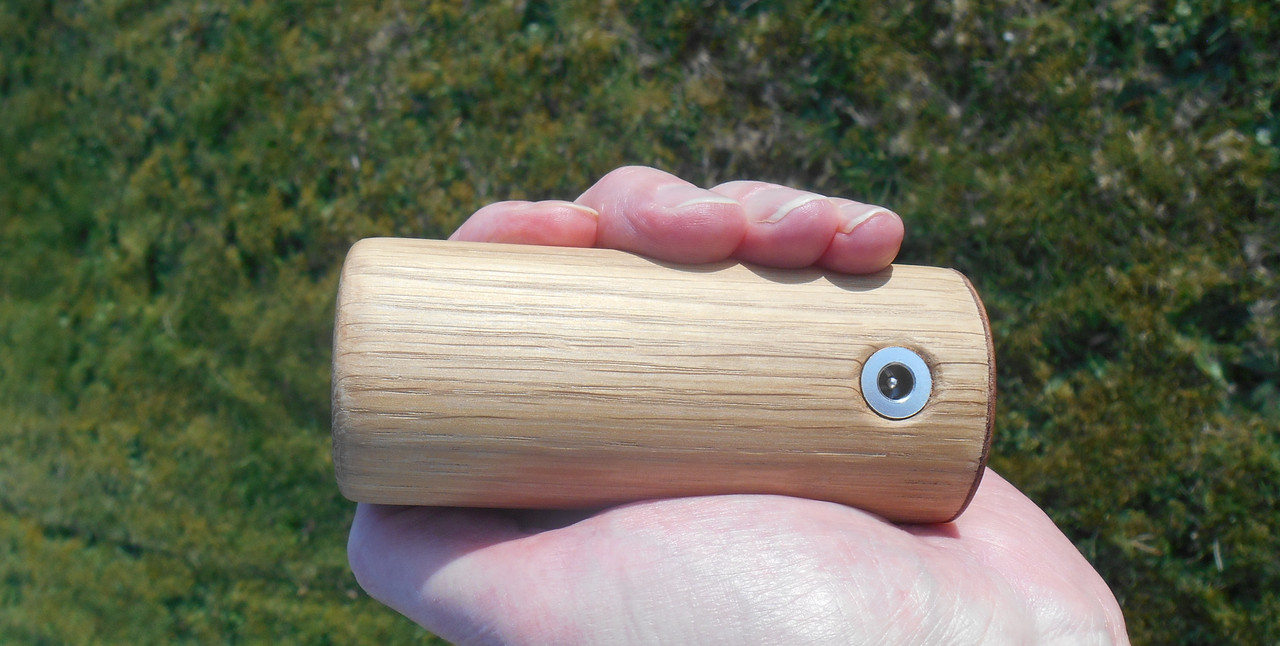
), totally obliterated my sense of time and every day seems to last two days at least. So much new info to soak up every day, I barely found time to concentrate on anything else, than reorganizing my business along the lockdown requirements and reading the News and a wagonload of related scientific papers and studies

We're nearing the end of the second week in lockdown now here in Germany, with another two weeks to go and given the fact, that Wuhan needed at least 8 weeks of lockdown to flatten the curve and hammering down the reproduction factor R0 below 1, I sense another 4 weeks coming here, after that :p
Though I'm residing not wide from one of the outbreak's epicenters here in Germany (next county over), our own county counts only about 200 infections and 4 or 5 deaths so far, with the first case registered at the beginning of March. So it more or less just trickles here and we've got very lucky so far. Hope it'll stay that way.

@brainiac
Again, absolutely stunning work :clap: Your Rustics get better and better and are generally a real looker now :) Had seen and liked it already, shortly after you posted the new pics, but as I said, was to busy in me own head with all the occurring Covid19 drama, to react until now.
Keep up the good work and stay healthy over there (@Megaton, too, of course) on the battered Brexit ship! We'll all get through this hopefully alive and well! :nod:

@Cheebsy
Your Bud Eater also came out great :clap: Glad, the Sinolec sockets are so much better, than the Chinese standard stuff, we get from Amazon. Still hadn't time to order a batch of those myself, but will surely do, when we're in stiller waters again.

Will look into the other's questions here and answer over the course of the weekend :)

Until then, hope you're all sufficiently stashed up to go back to Kalsarikännit! Finnish word for:


Duck

Active Member
Thank you! after 2 weeks, 2 out of 5 packages have arrived.
hope it works with the pictures. hence the links to it.

wzsp78za.jpg
[/URL[/IMG]
URL=https://www.directupload.net/file/d/5804/cxn762mb_jpg.htm]
cxn762mb.jpg
[/URL

u5oyqvvt.jpg
[/URL[/IMG]


URL=https://www.directupload.net/file/d/5804/adcnk6pr_jpg.htm]
adcnk6pr.jpg
[/URL
You will have to grind something if necessary.

axgu7d3f.jpg
[/URL[/IMG]

URL=https://www.directupload.net/file/d/5804/axgu7d3f_jpg.htm]
axgu7d3f.jpg
[/URL

For future handicrafts, a power supply that can be controlled via the pc. The intalation still causes problems.

zb8gd7ya.jpg
[/URL[/IMG]
URL=https://www.directupload.net/file/d/5804/zb8gd7ya_jpg.htm]
zb8gd7ya.jpg
[/URL

5zp7sama.jpg
[/URL[/IMG]
URL=https://www.directupload.net/file/d/5804/5zp7sama_jpg.htm]
5zp7sama.jpg
[/URL
 

Duck

Active Member
@brainiac
Did you just put the Sinolec in the hole in the wood or fix it again? it gets hot, the wood changes and it could loosen. I noticed clearly with my 230V element.
 
Duck,
Top Bottom