Toastface_Killah
Well-Known Member
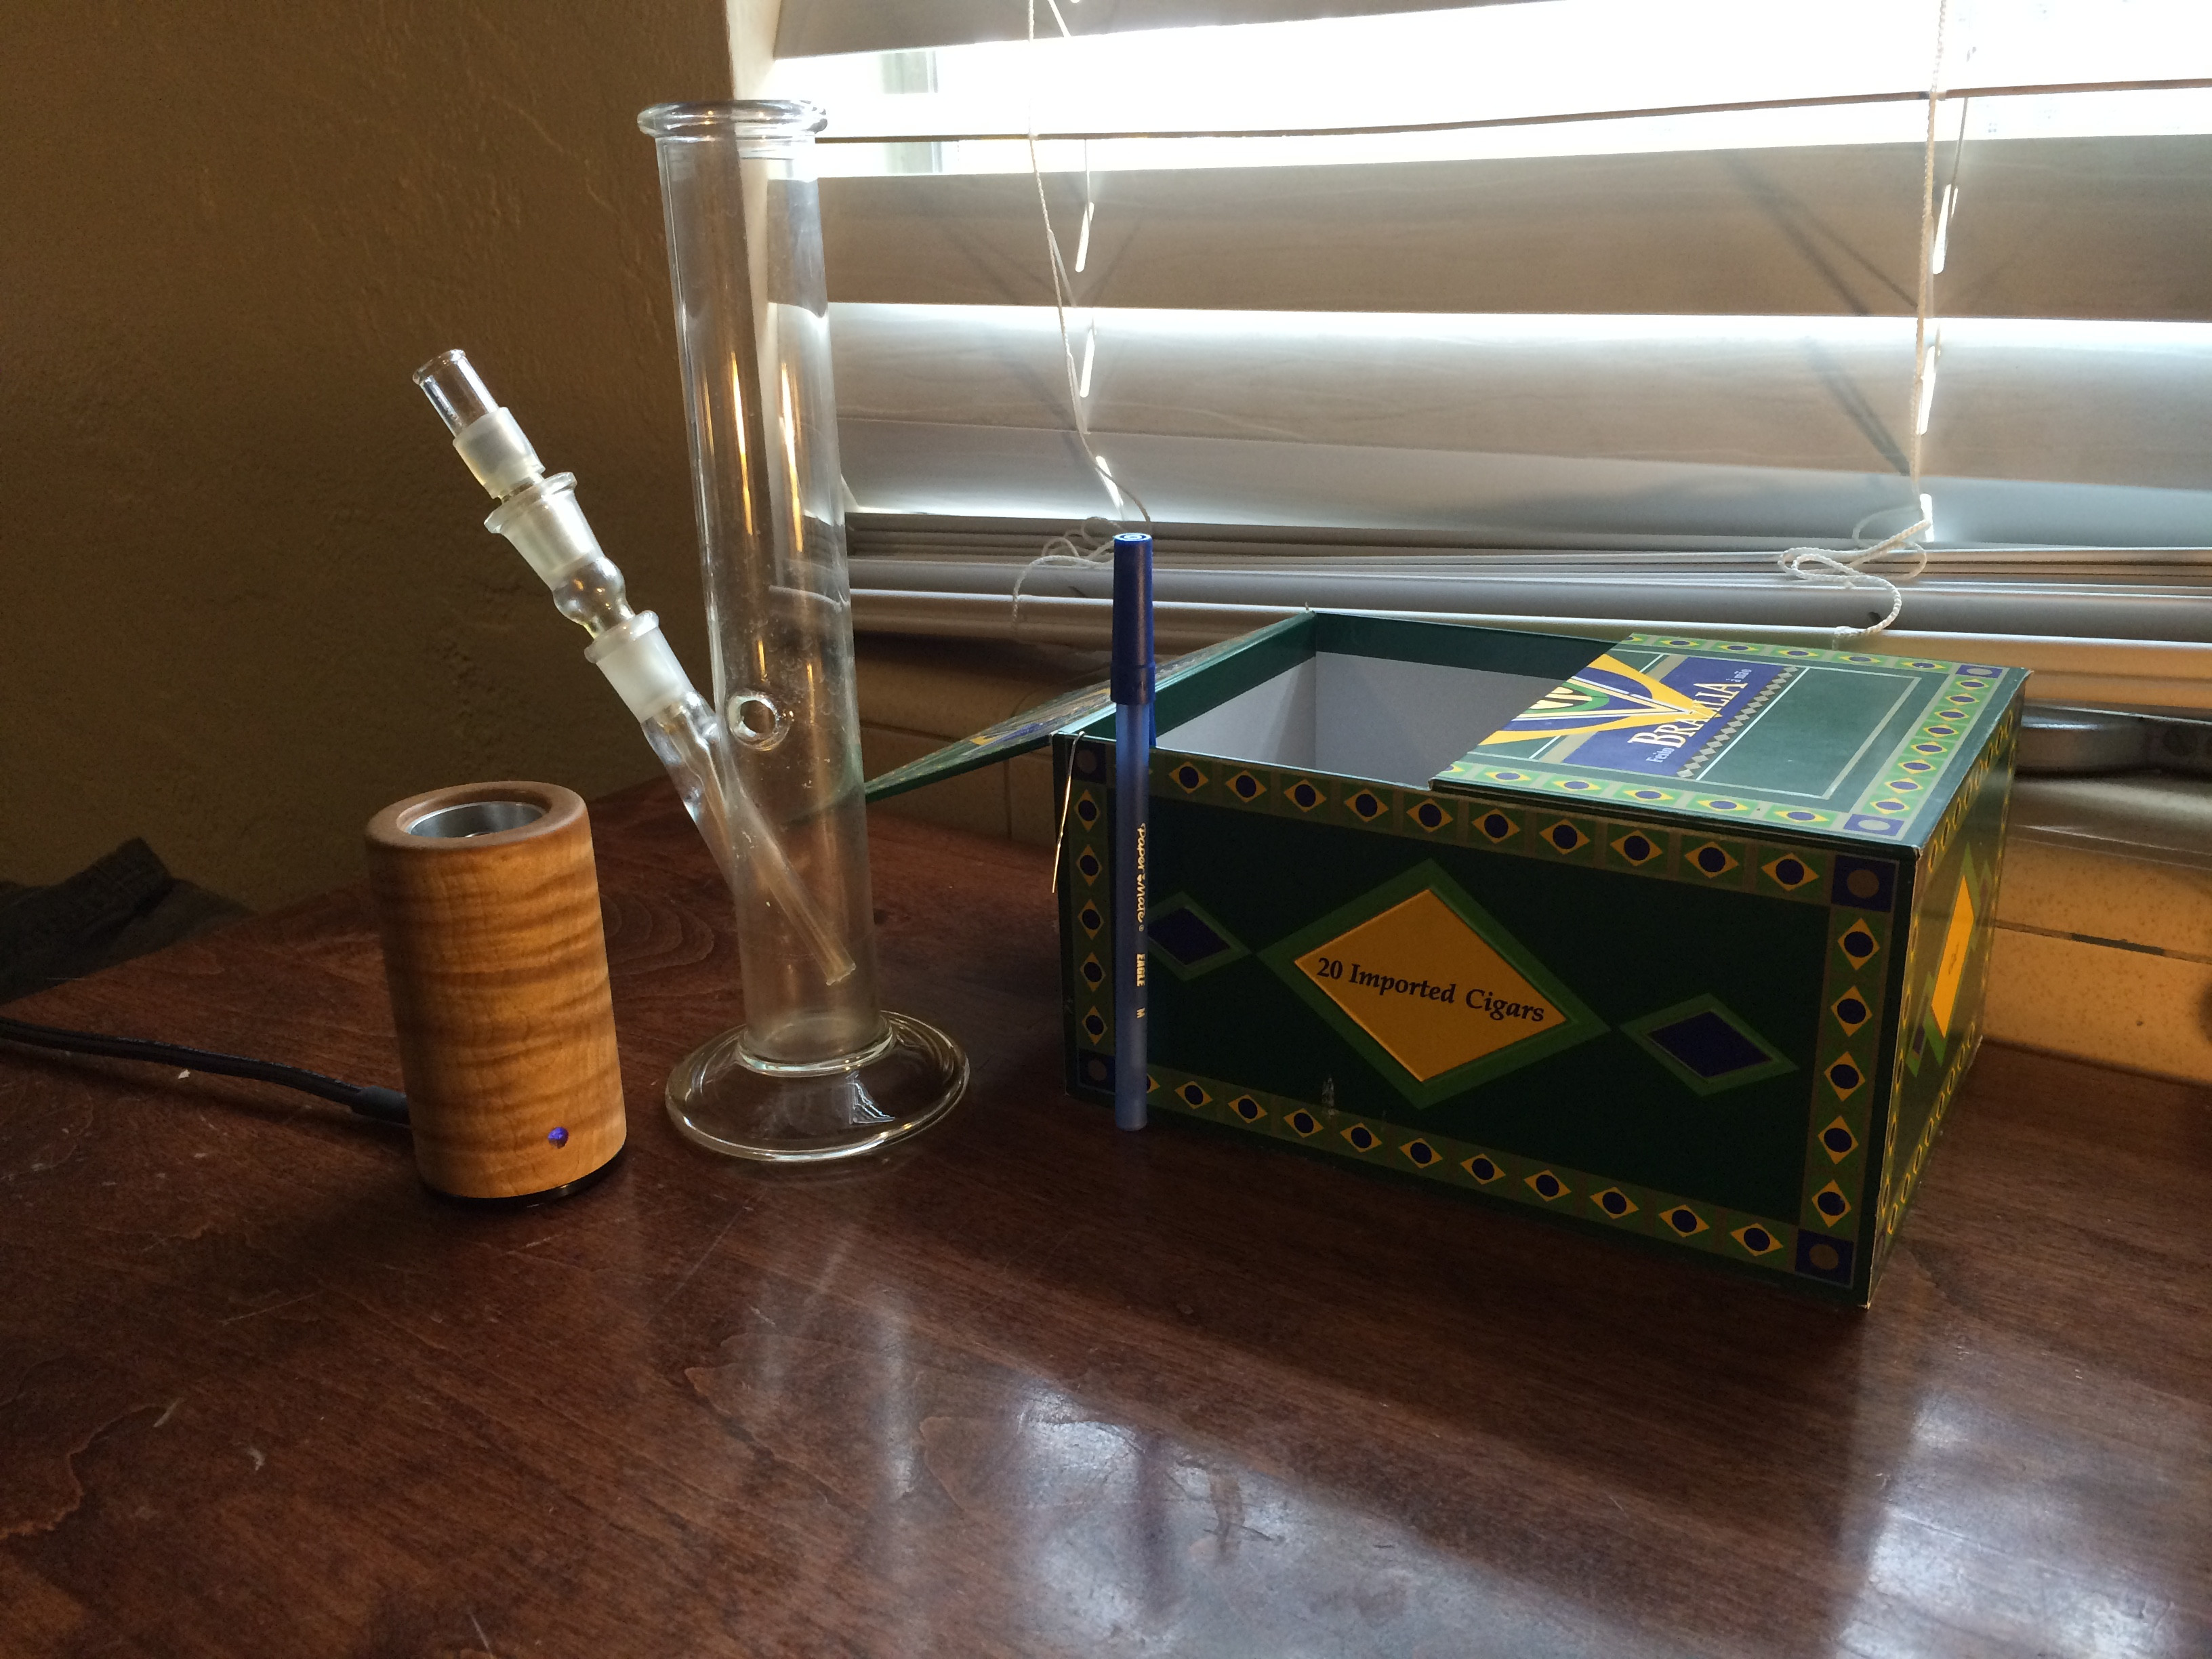
Stando in the mail, super stoked to not have to rest my nano on my couch cushion anymore!
I found someone selling them the price was not as high as you did suggested... only problem i had was the drying... and i also wanted to ask them about drying but who knows anyway if they would tell me the trough...Wood blank prices vary a lot according to availability, since some can only be harvested from trees already on the ground. This wood is very expensive and a blank may cost you 2-3 times as much as the vape itself. You'd be better off browsing sites that sell wood blanks and just choosing from what they have. Also keep in mind that if the wood you choose is partially air dried, vs. kiln dried, that there's no guarantee it'll survive the e-nano cutting process without cracking open.
@NickDlow im not sure if it makes a difference but I'm using a mflb orbiter which is a small bubbler with a whip, and I found, after getting the load closer to the rod, and messing around with temps, I actually needed to draw quicker to get it to milk.
That's pretty much the opposite of what I have to do when using the mflb+orbiter to obtain the same results. I can really milk the orbiter with no combustion at all, and I'm getting the hang of it with the enano, but like I said, my techniques is completely different.
Tl;Dr- try drawing faster, even though that goes against your logic... Try it at 8 I'd say.
Oh and post your results
How are you hooking the Nano up to the Orbiter?
How do you maintain that exactly? Is it just a trick you have or do you not grind? Avoiding grinding is the only way I can avoid my screens clogging up extremely fast, but I prefer the gigantic visible clouds a fine grind gives, so I'm constantly changing out my screens or else it feels like I am trying to suck a marble through a straw.. Hitting the stem without a load seems to make the airflow better for an additional one or two hits, but I still find I need to eventually swap out the screenI have never removed the screens from any of my gongs and stems that came with my enano in early May. I keep my screens perfectly clean with basically no effort — no need to ever remove them or torch them or make new ones.
At least you are having fun.

How do you maintain that exactly? Is it just a trick you have or do you not grind? Avoiding grinding is the only way I can avoid my screens clogging up extremely fast, but I prefer the gigantic visible clouds a fine grind gives, so I'm constantly changing out my screens or else it feels like I am trying to suck a marble through a straw.. Hitting the stem without a load seems to make the airflow better for an additional one or two hits, but I still find I need to eventually swap out the screen

I have never removed the screens from any of my gongs and stems that came with my enano in early May. I keep my screens perfectly clean with basically no effort — no need to ever remove them or torch them or make new ones.
At least you are having fun.
How do you maintain that exactly? Is it just a trick you have or do you not grind? Avoiding grinding is the only way I can avoid my screens clogging up extremely fast, but I prefer the gigantic visible clouds a fine grind gives, so I'm constantly changing out my screens or else it feels like I am trying to suck a marble through a straw.. Hitting the stem without a load seems to make the airflow better for an additional one or two hits, but I still find I need to eventually swap out the screen
Course grind or whole flower nuggets is my method!Second this. Maybe it is just because I like a really fine grind, for the same reason mentioned above.
I used to grind fine because it indeed gave huger clouds, but it was annoying to have the screen clogged often. A course grind and the right temperature is all you need.Course grind or whole flower nuggets is my method!
Fine grind some like bettèr?

1) I never go a dozen loads between cleaning because I prefer and need better airflow. I would say I go through about three sessions when I clean my stem. I clean the minute performance is less than optimal. I clean so frequently the grind does not matter — the draw matters.
2) All I do is soak my stem or gong in it's tube filled with ISO for about 15 minutes. Sometimes I will fold over a pipe cleaner and run it the length of my stem. Then I blow dry with an electronic duster.
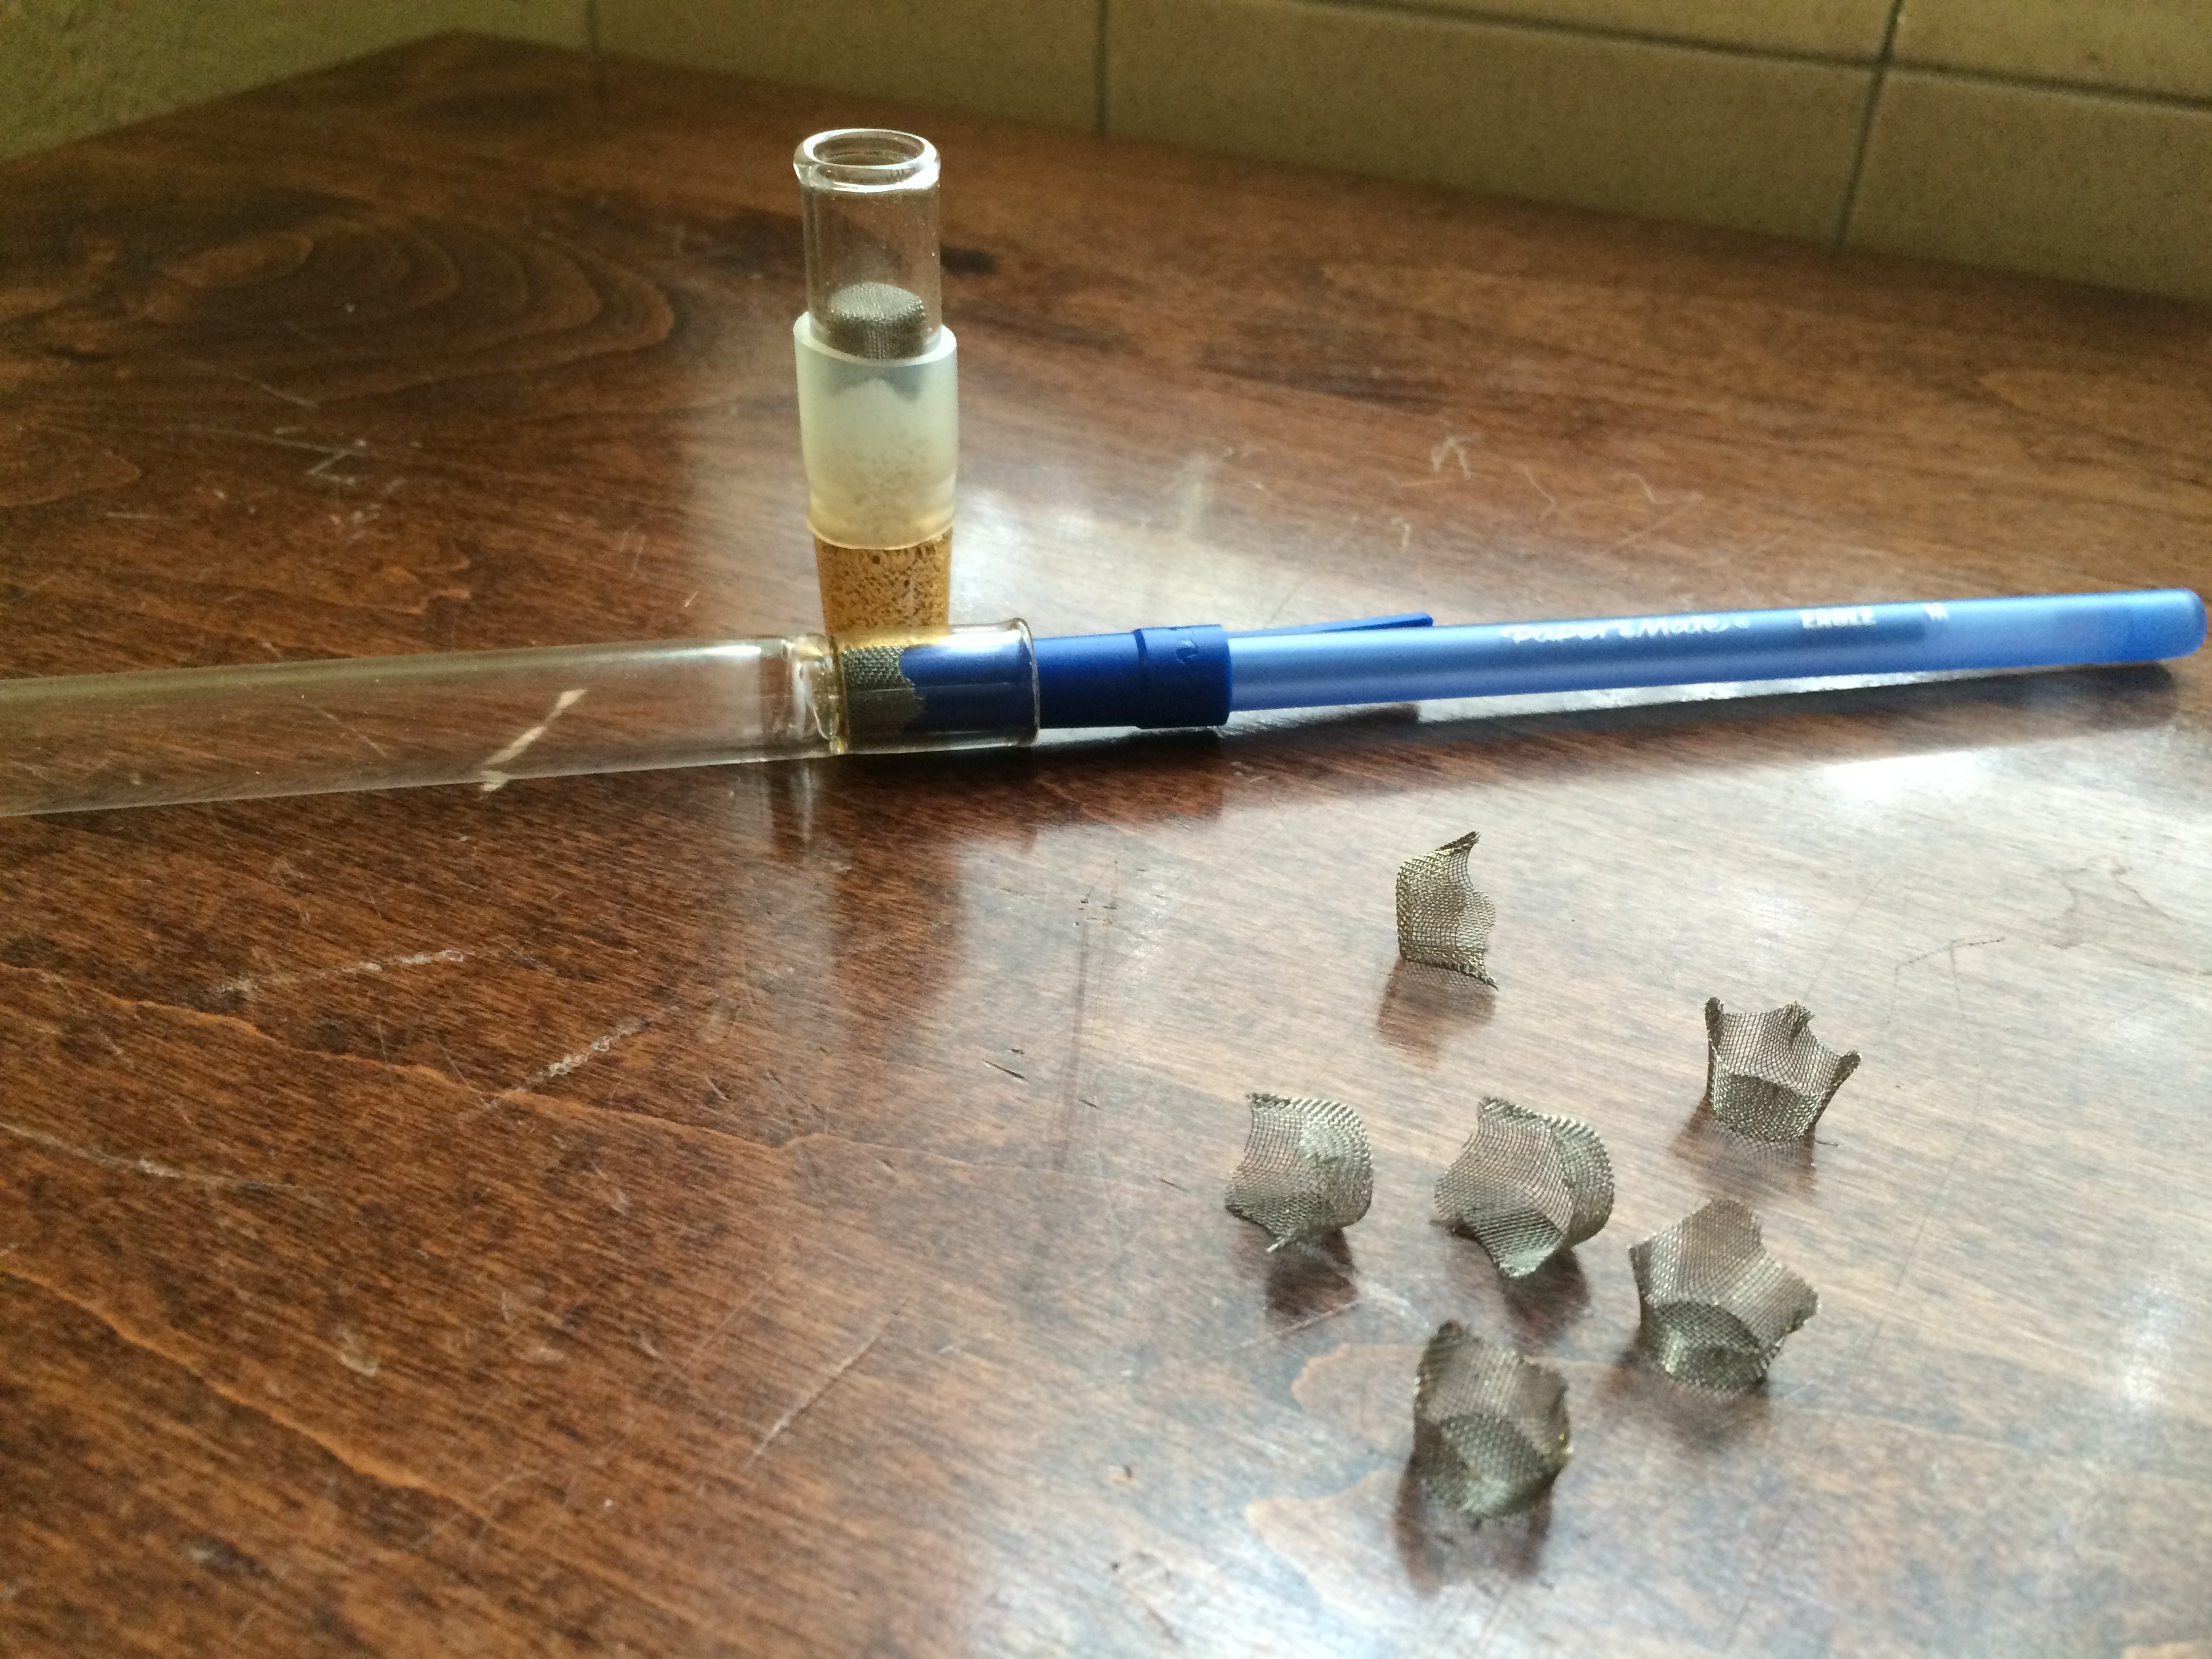
One more thing, I also finally started making my own screens. I was thinking of making a wooden dowel press, but I ended up being able to Macguyver it which is always more fun.
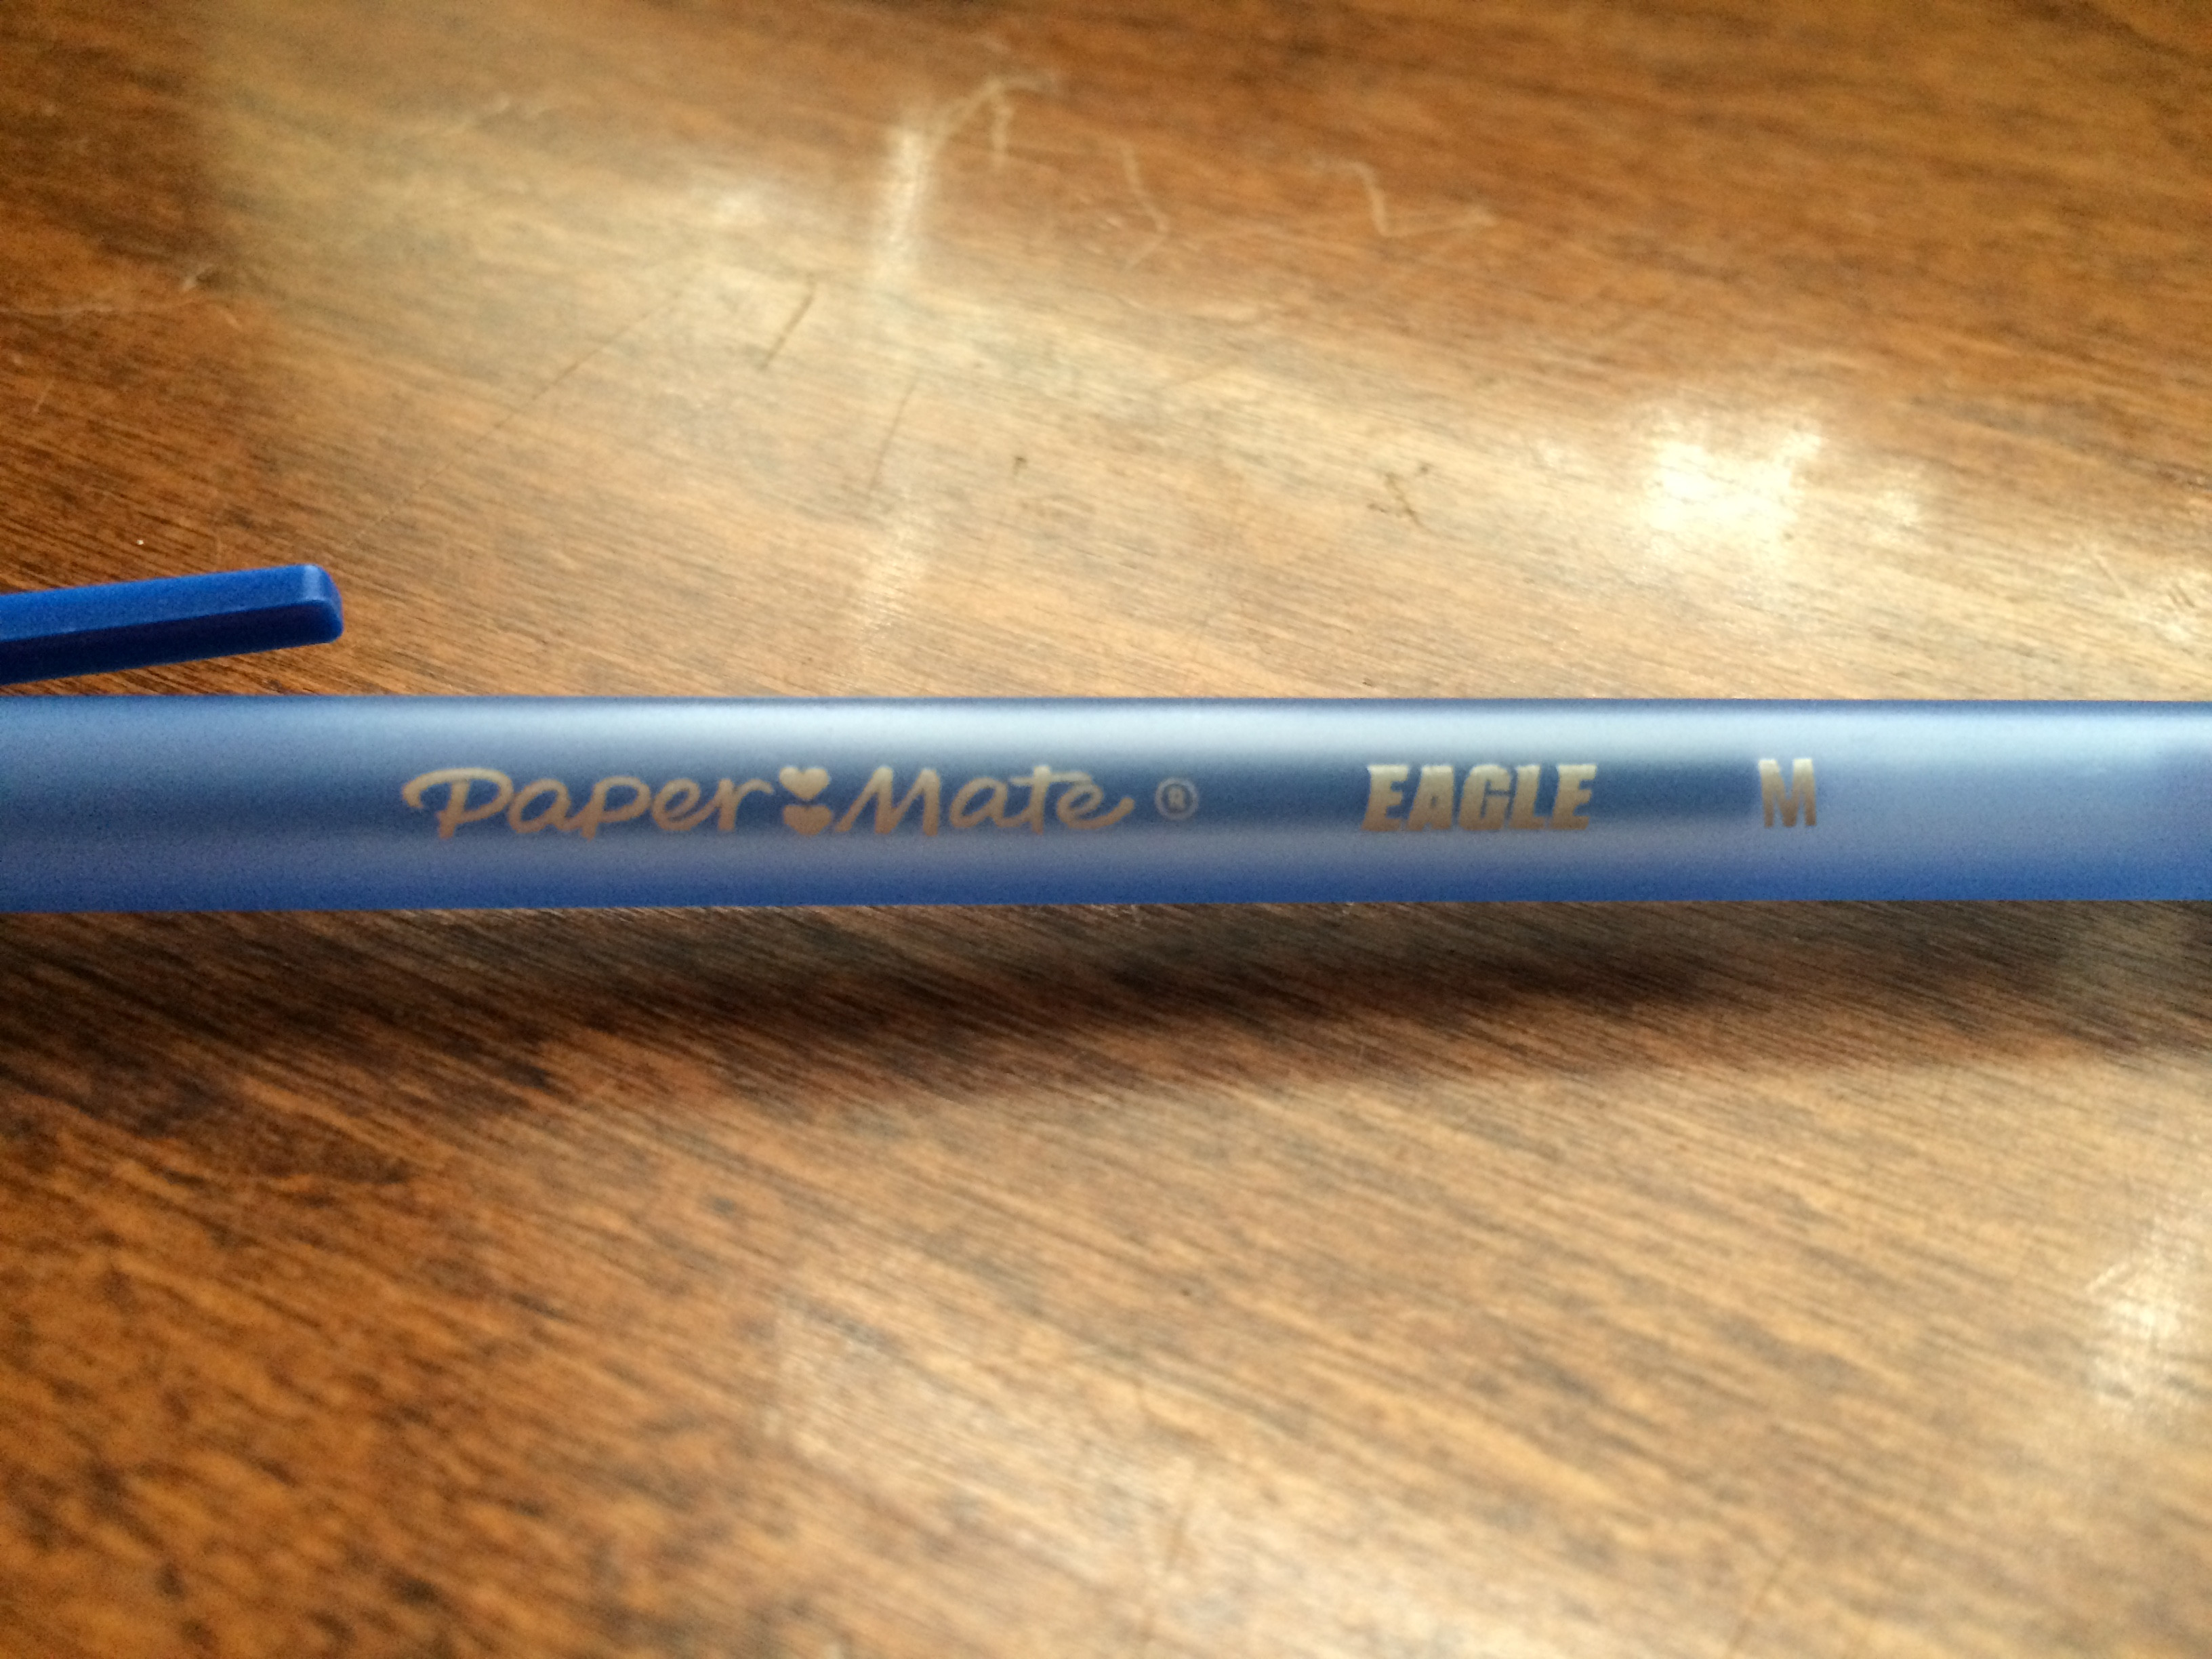
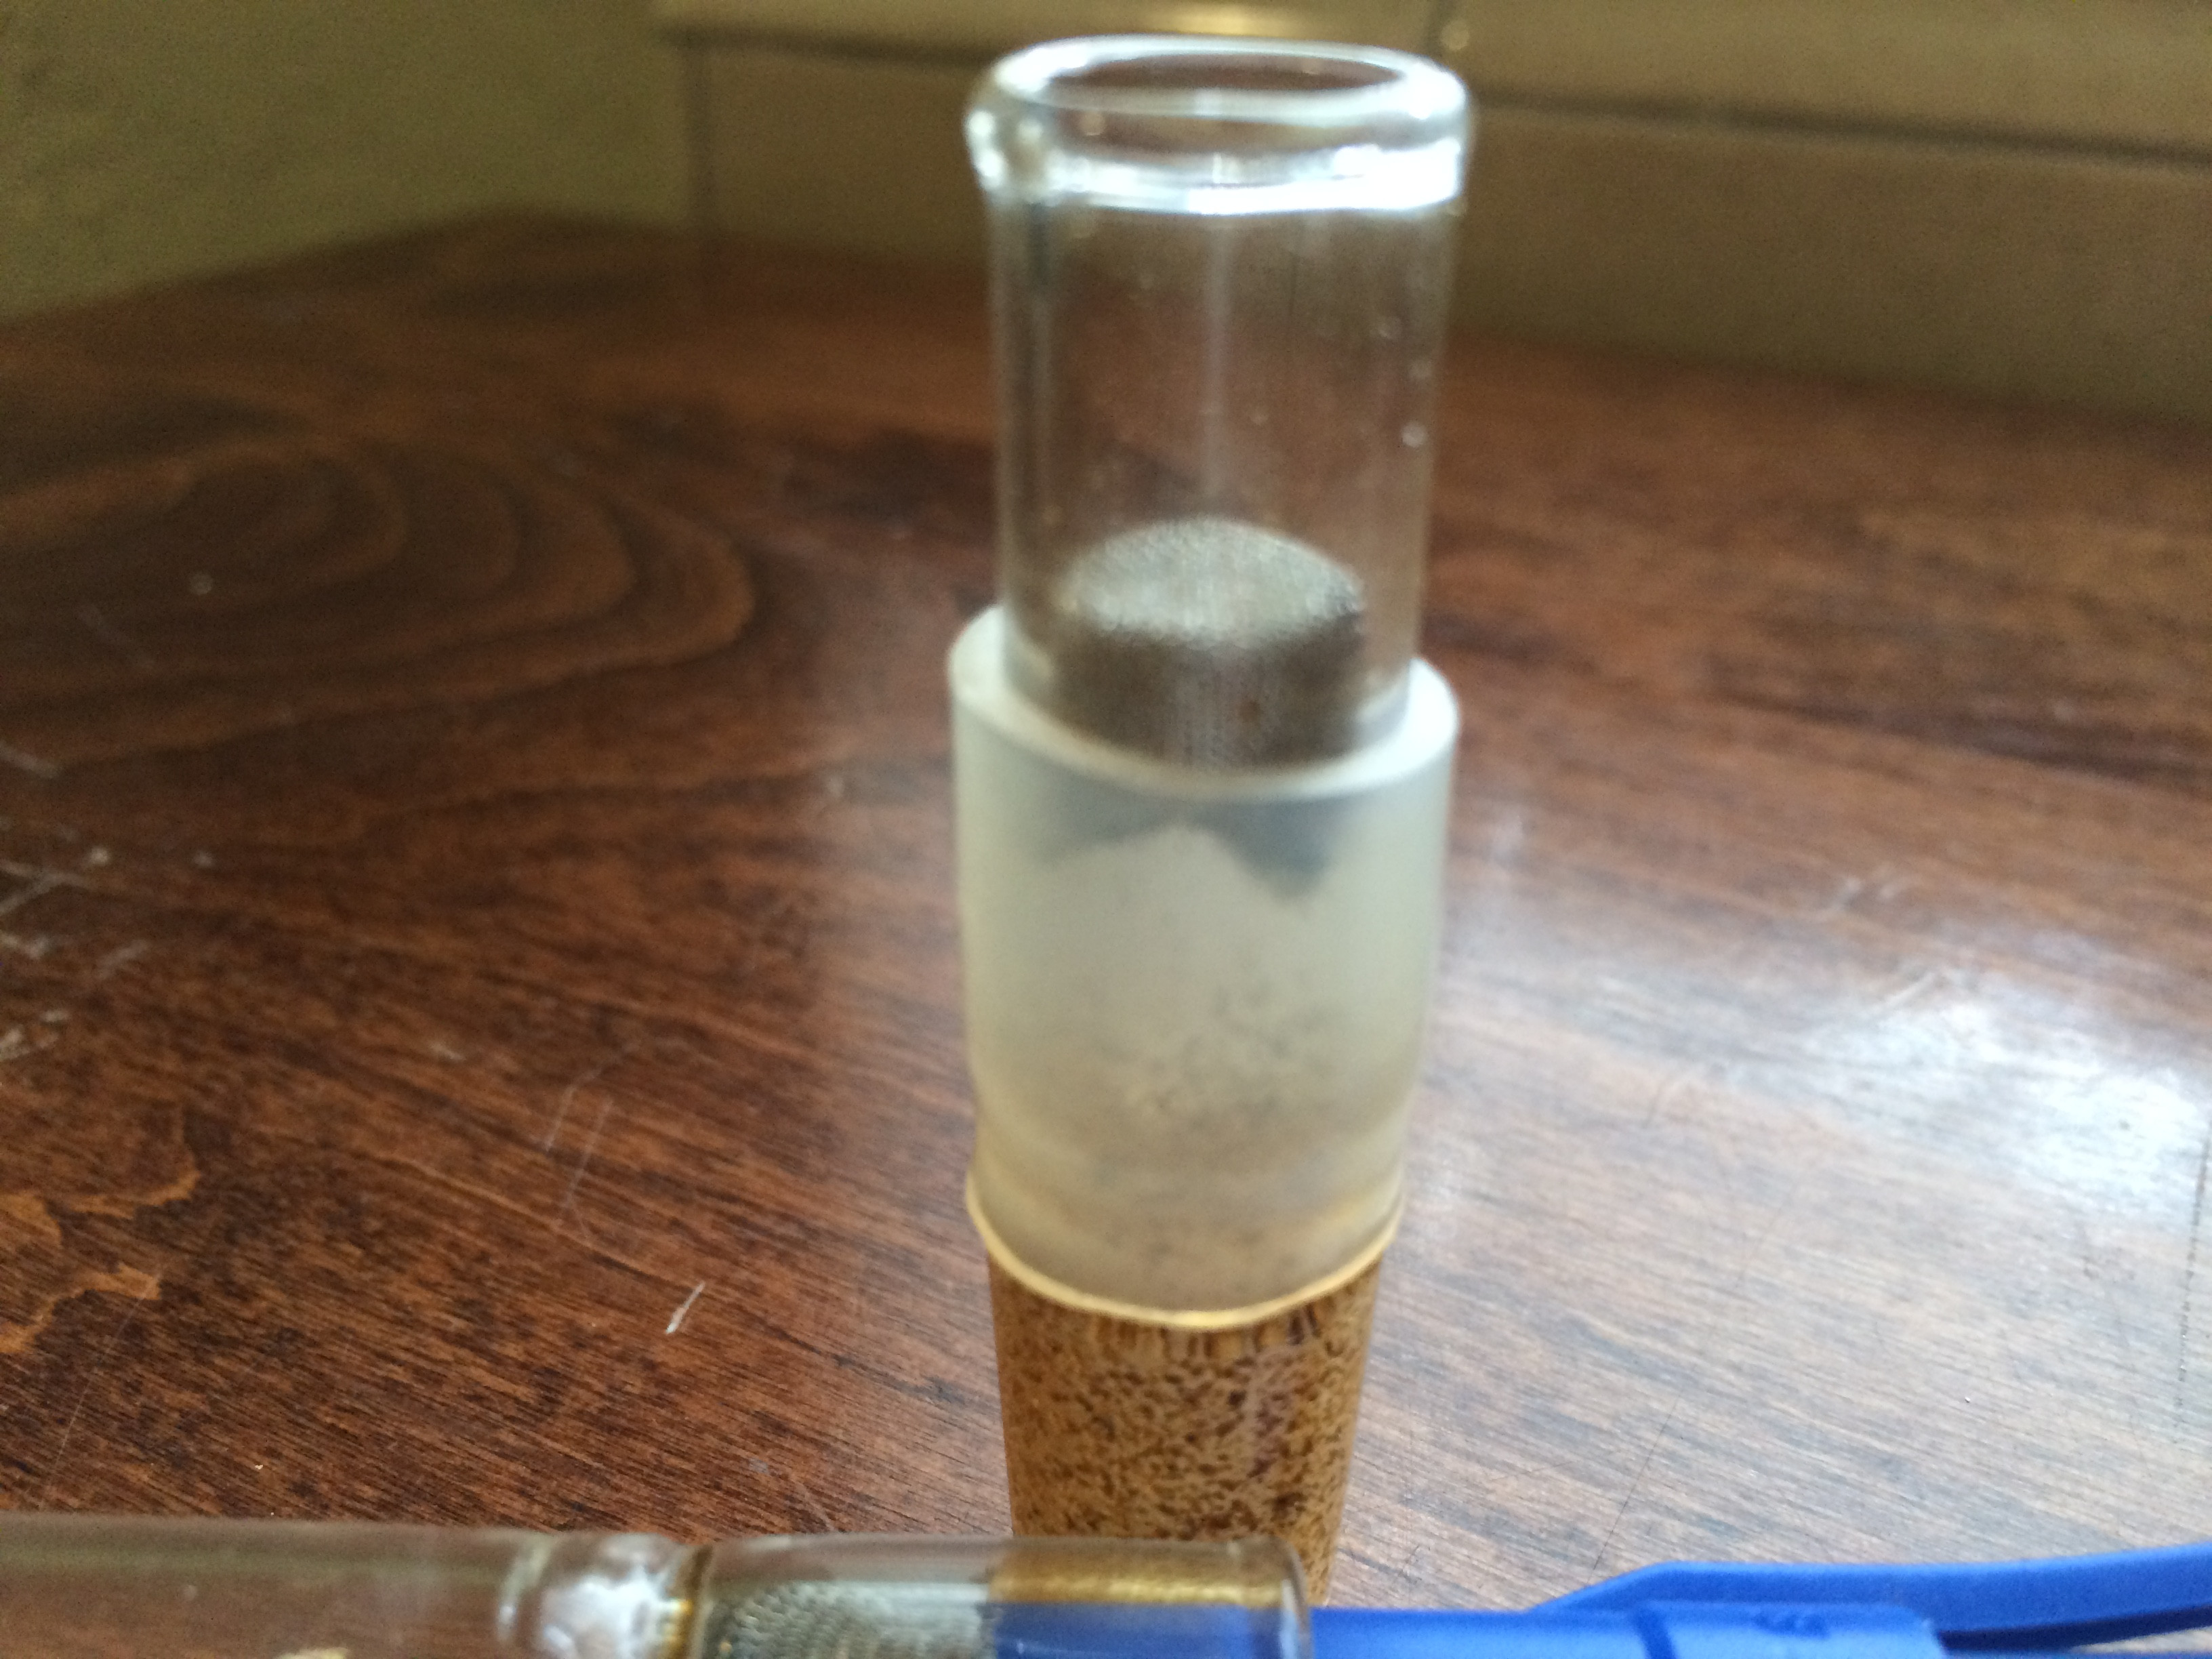
I realized my old honeycomb stem (the OG one before the thick walled stems came out) could act as the mold, and then searched around for a pen that was a good fit and had a flat end. I found this Paper Mate Eagle. I think it is the same size as a bic pen, but the cap has a flatter end on it.
The pen is not totally flush with the inside of the honeycomb stem, so the screens were coming out just a hair too small and had too much give when loading my GonGs. But by pressing two screens into the honeycomb stem at once, one inside of the other, You get one thicker screen that is a good tight fit in your stem or GonG.
I find that I like the two screens pressed into one better, as it keeps my piece cleaner, provides a very small amount of extra resistance, and is more durable.
I realize not everyone will have a honeycomb stem, but this is what worked for me. I'm sure you could use a regular stem, you would just need to press the screen from both sides. Not sure the OD of the SS screens I used, I think maybe 5/8". Also I prefer not to trim the finished screen, because the extra length gives it better purchase in the stem or GonG.
So now I just have a bunch of these ready to go. When they get clogged up mid sesh I swap them out and throw the dirty ones in a jar. When I get down to only a few left I take all the dirty ones and torch em and start over.
Somebody tell me if I should be posting these as links instead of BBcode. I don't want to hog peoples' bandwidth too much.


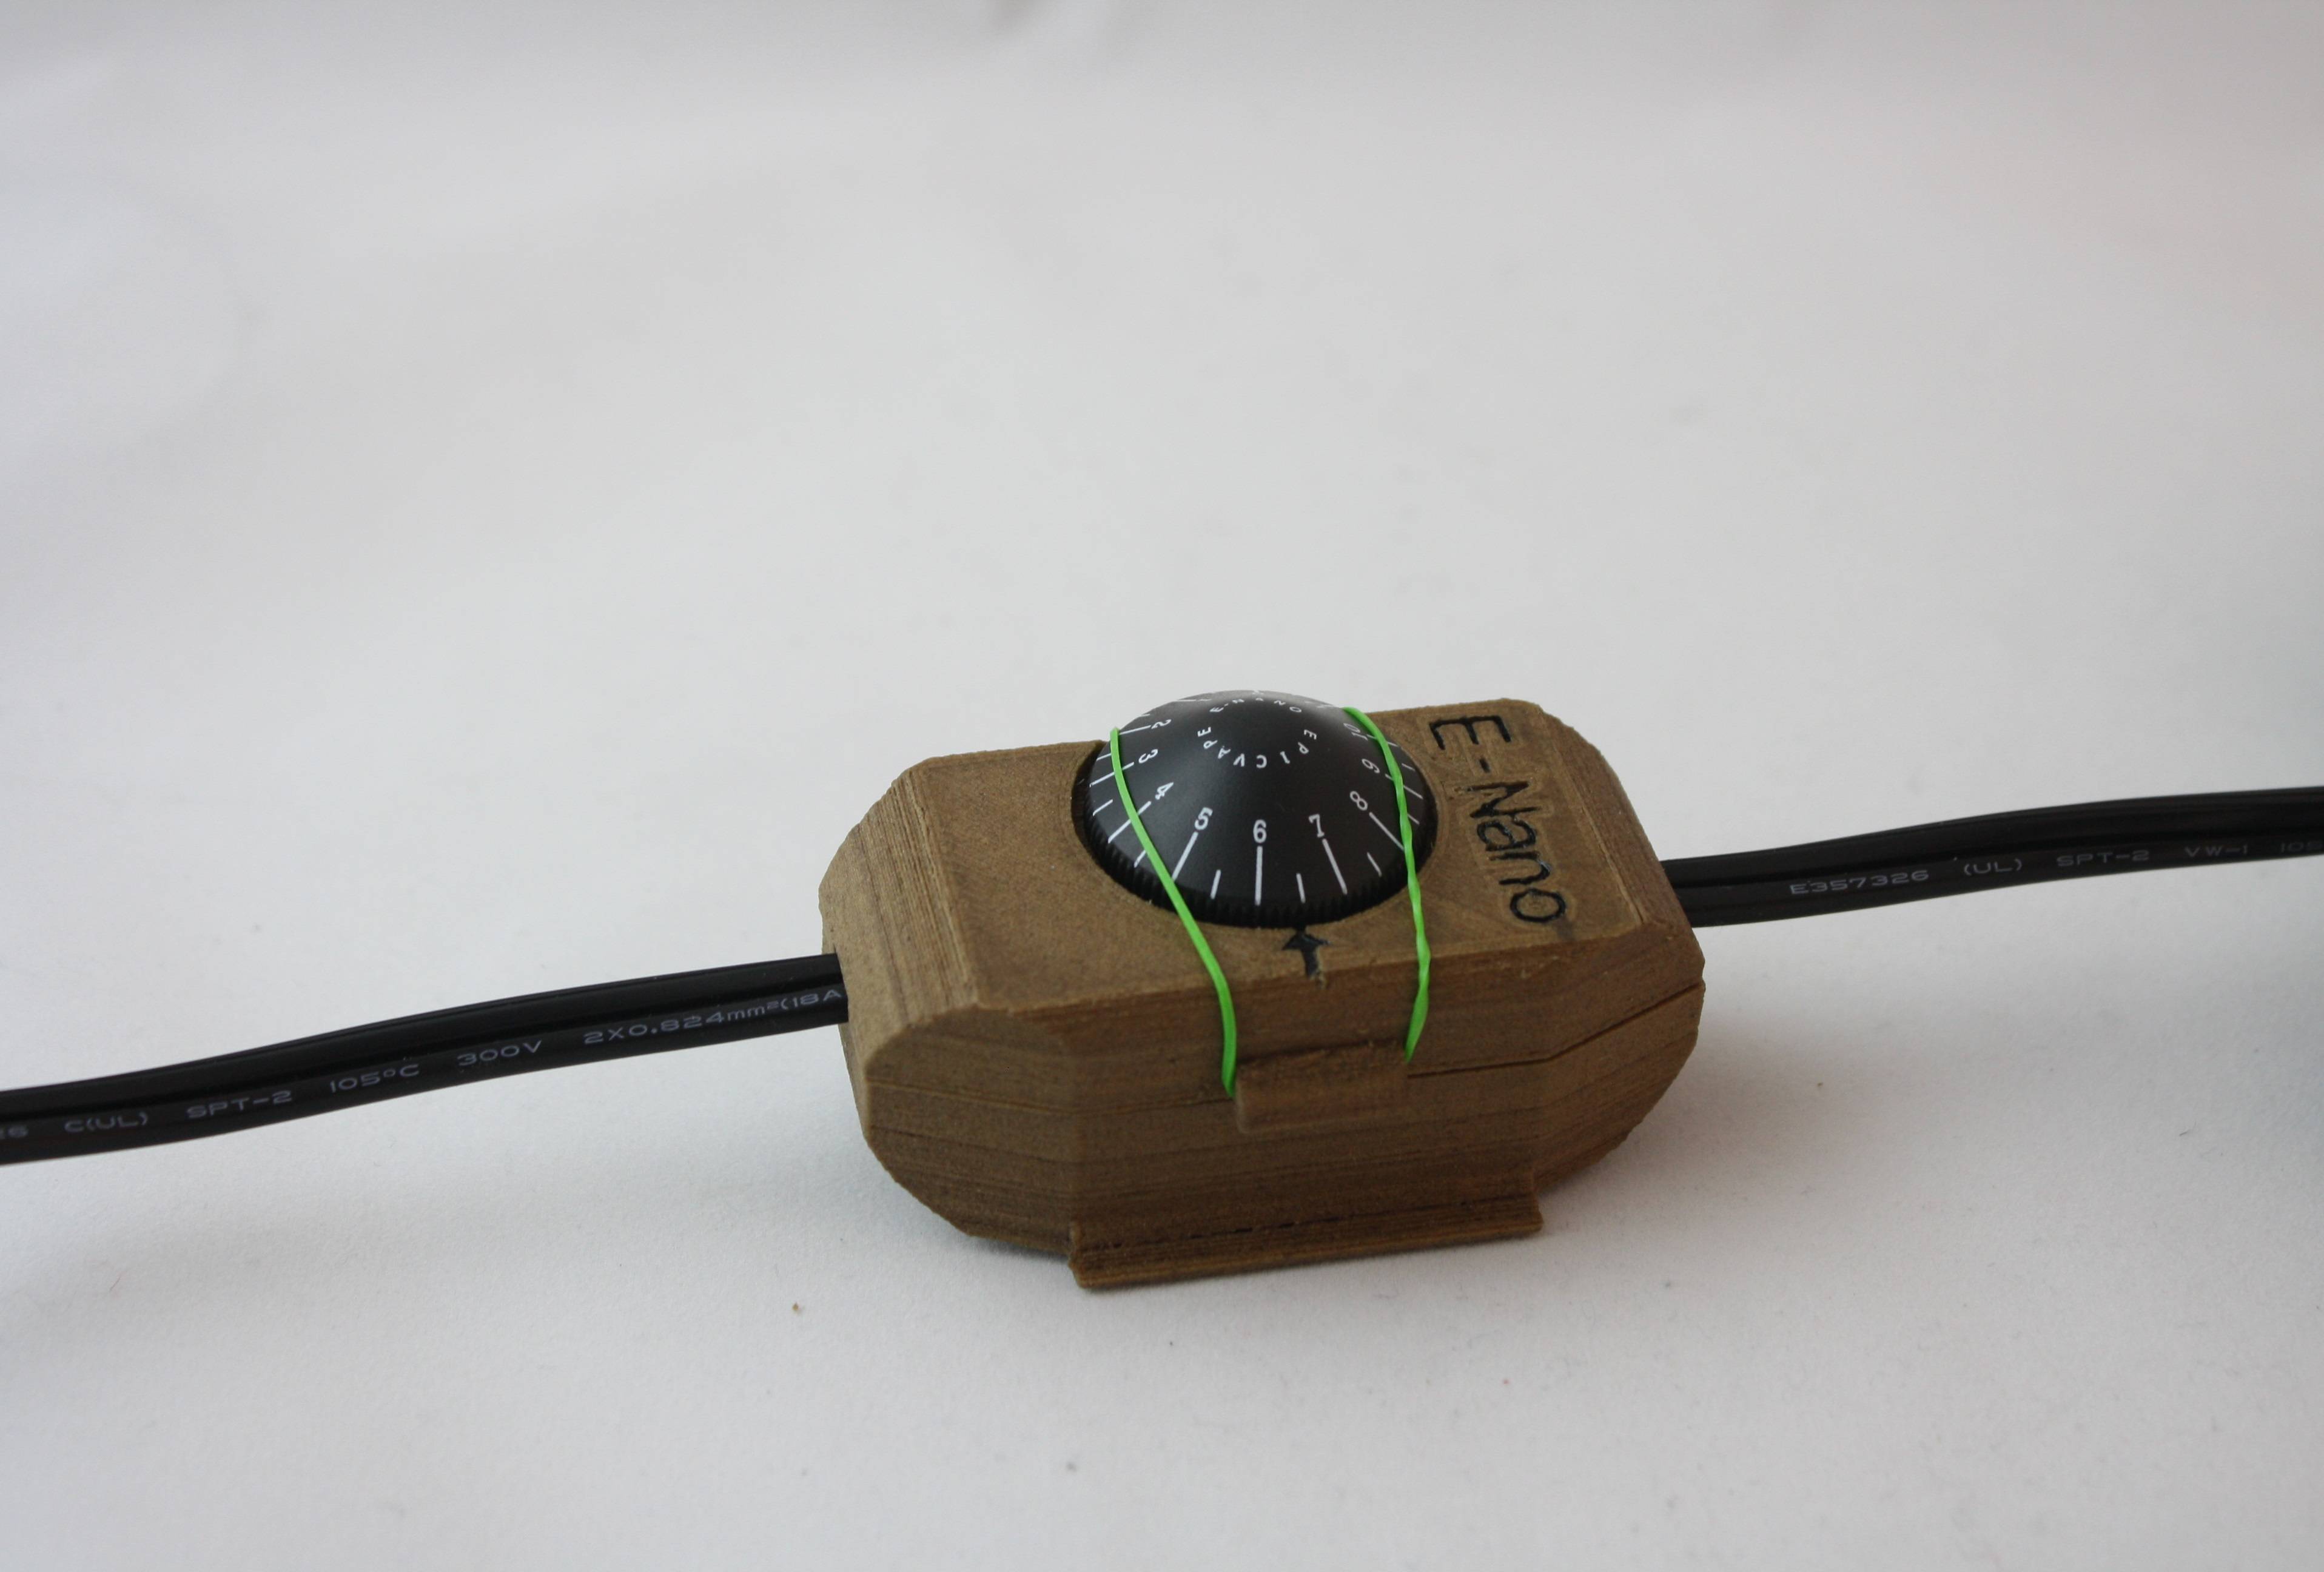
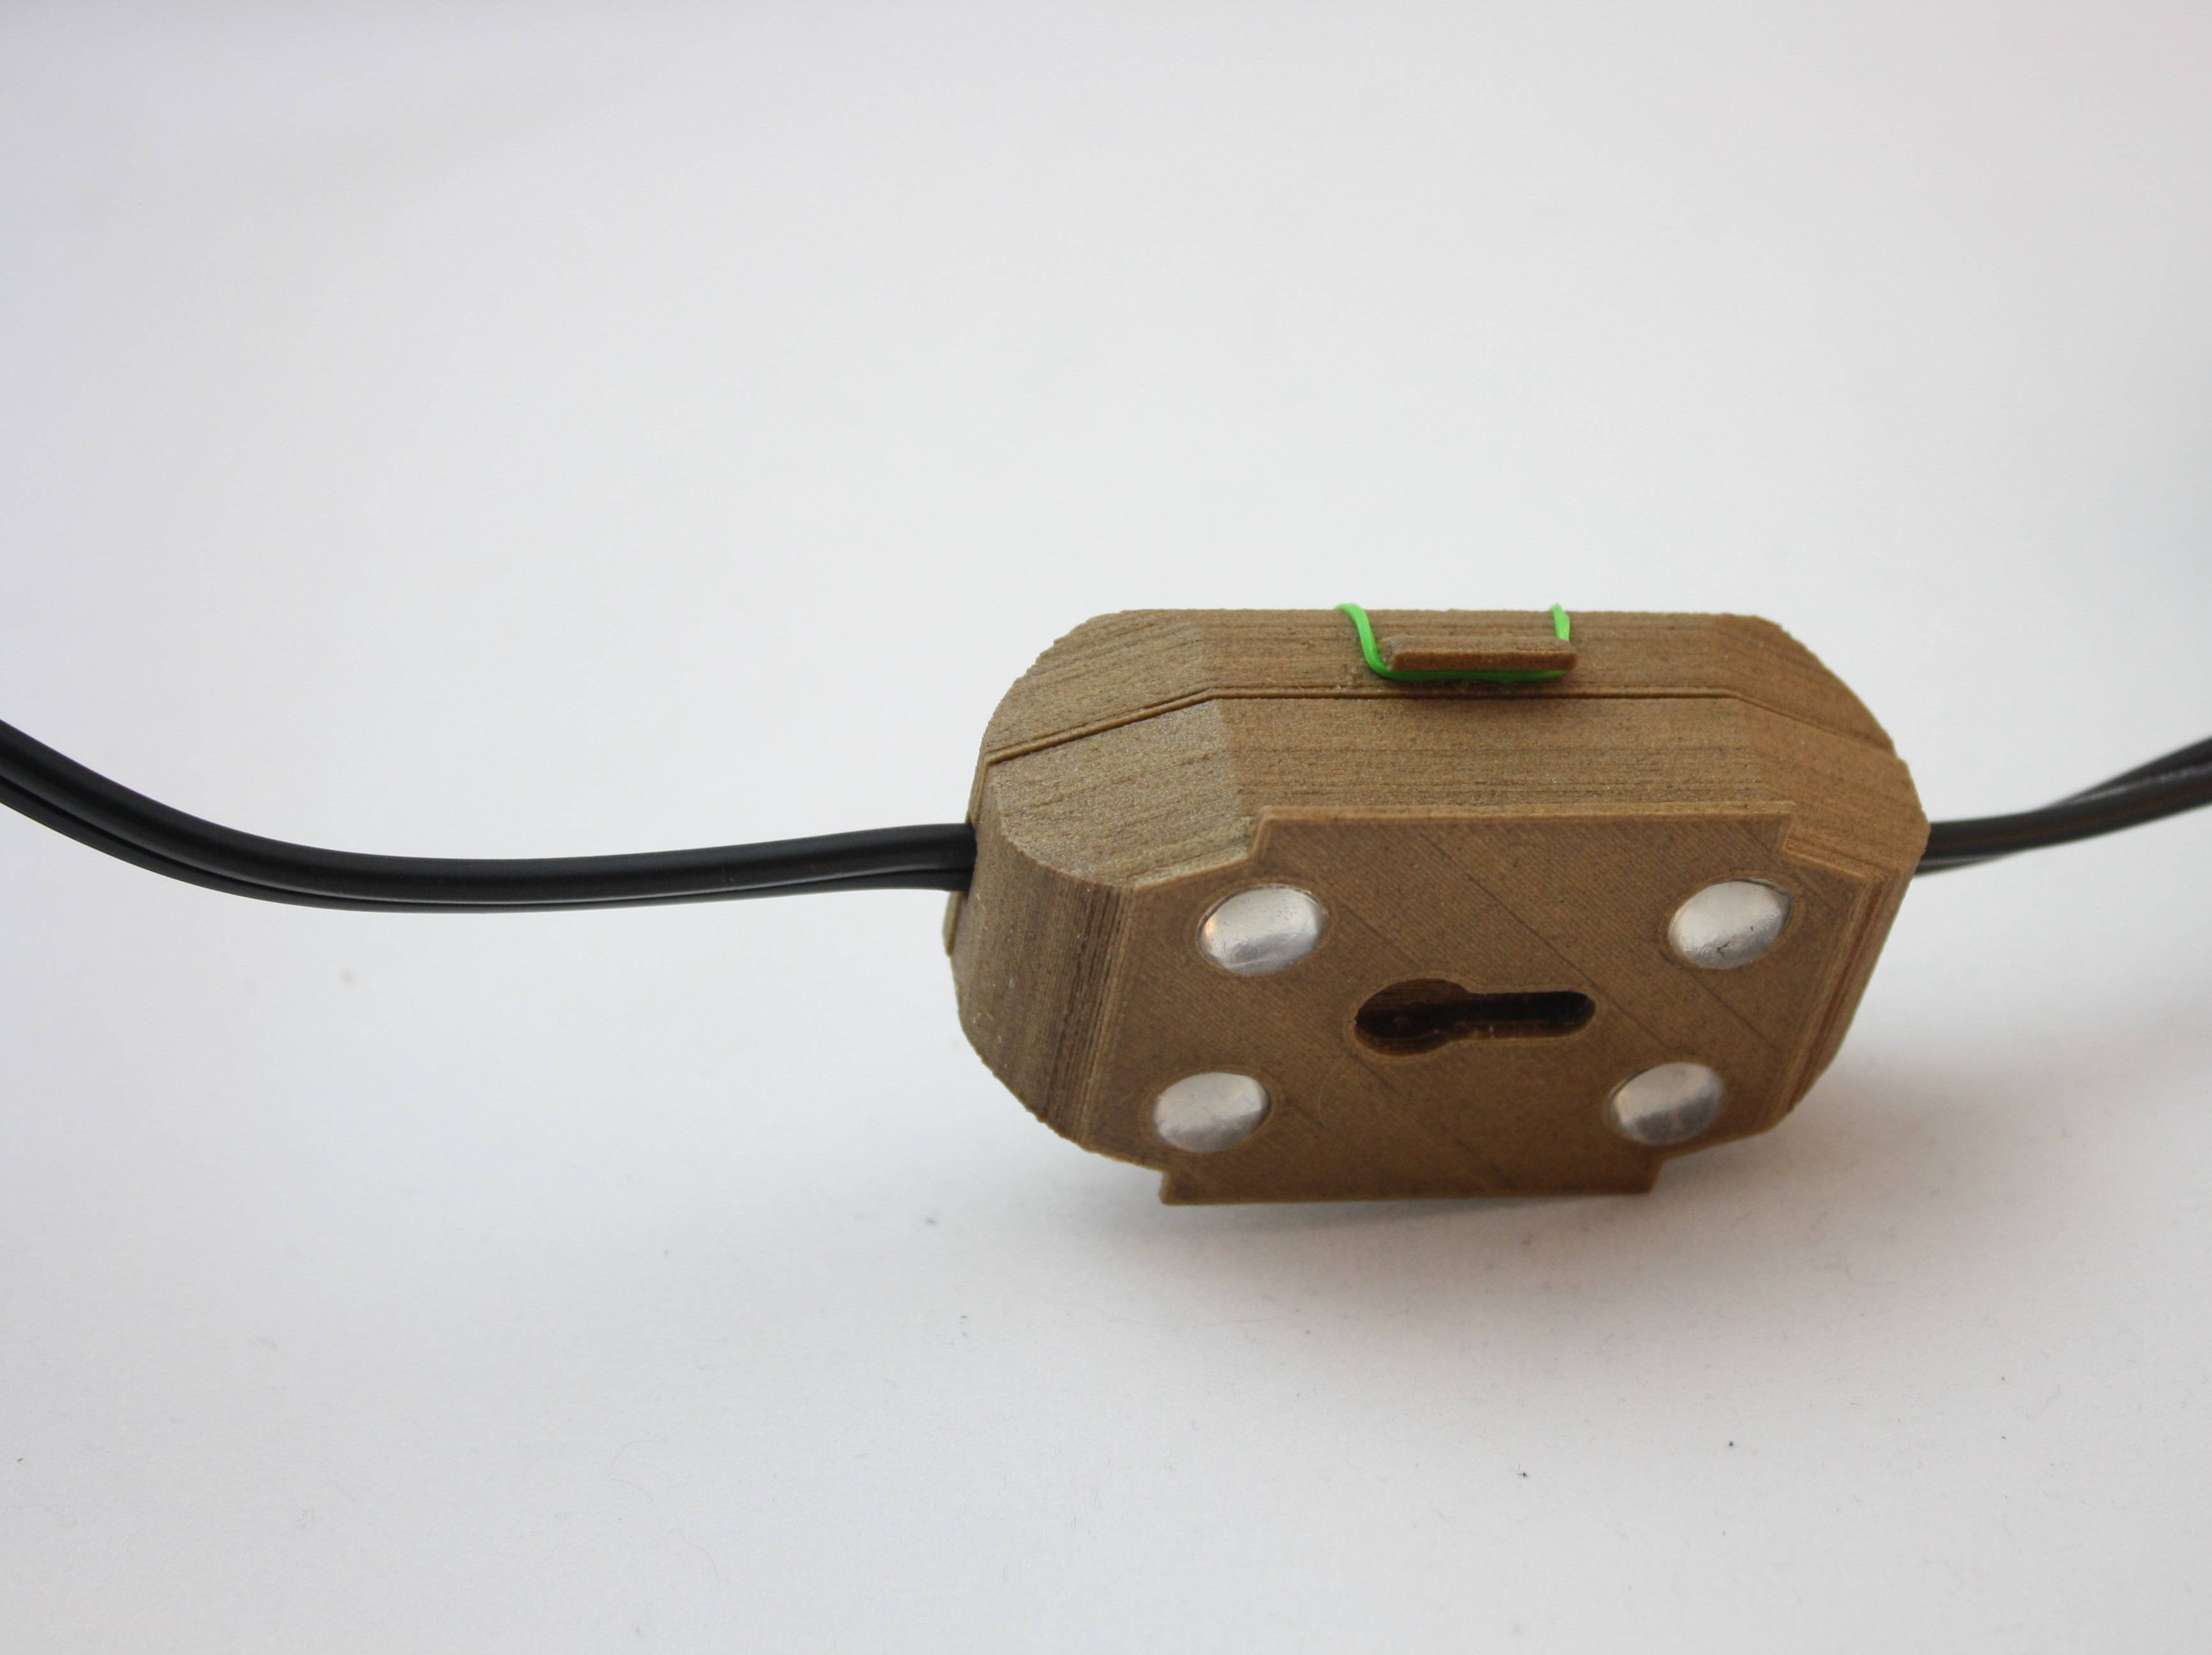
Hey all!
I wanted to share with you one of my recently finished custom orders - a 3D printed wood case for the Nano's temperature controller!
http://imgur.com/sEwvnXt,cKPPYo6,tBAkWaG,I9PNYmI,FTRmMSZ
Here's a few pictures:


This is pushing the limits of my 3D printer's capabilities (FDM technology isn't perfect), but this part came out great with enough practice! The design could still use some tweaking, but I've gotten quite busy and need to focus on customer orders before I can work on more R&D!
As such, I'm not prepared to list this item on my etsy store since it's quite a labor of love at this point. However, if anyone would like to obtain one, please PM me for information.
I dont have an issue with my dial, but my brother would love this.


