
-
SCAM WARNING! See how this scam works in Classifieds.
-
The Frolic by Limelight Giveaway is over. Winner to be announced shortly.
You are using an out of date browser. It may not display this or other websites correctly.
You should upgrade or use an alternative browser.
You should upgrade or use an alternative browser.
Dynavap VapCap
- Thread starter Fenton Mewley
- Start date

natural farmer
Well-Known Member
How did you do with the wind Stu? Last time I was on a ship with my VC I was having hard times finding a spot were the torch could give a good heating...I took my vapcap on a cruise ship this week. My balcony became the most popular place on the ship.


Edit: and hence the need for some electric heating... I am sure George will come with an elegant solution at some point.

Ruta
Well-Known Member
How did you do with the wind Stu? Last time I was on a ship with my VC I was having hard times finding a spot were the torch could give a good heating...
Edit: and hence the need for some electric heating... I am sure George will come with an elegant solution at some point.
Or you could copy @phattpiggie, and make yourself a lighter sheath, definitely works in the wind, and aids in the spinning process
")
Chose
Well-Known Member
So now after more tests
I can get a good throat hit and
Massive clouds without even touching the carb
It just happend and now I have to think about how to put it all together to make the ultimate cloud
Oh yes breath controll
Best vape ever
No seriously best vape I've ever owned and bean vaping for five years and can say it can't be beet
Last edited:
The wind did made it a little challenging. I was able to minimize it by heating it close to the wall that separates the decks between cabins. It took a few seconds longer than normal, but it still worked out ok as we all got very baked.How did you do with the wind Stu? Last time I was on a ship with my VC I was having hard times finding a spot were the torch could give a good heating...
Copacetic
Somewhere North of The Wall
Or you could copy @phattpiggie, and make yourself a lighter sheath, definitely works in the wind, and aids in the spinning process
Yeah, wind is one of the very few limitations of the VC IMO, and although I've yet to try it, PP's solution looks like a winner for sure.
And if you are unable to make your own @natural farmer , maybe if you offer to buy one he might oblige?
natural farmer
Well-Known Member
Yeah, wind is one of the very few limitations of the VC IMO, and although I've yet to try it, PP's solution looks like a winner for sure.
And if you are unable to make your own @natural farmer , maybe if you offer to buy one he might oblige?
That was already in my mind buddy, if I fail to make one!
 I want to experiment with more sturdy spirals than what @paytonpenn has shown us. If I remember correctly though he has made progress with newer builts but hasn't posted pics or videos yet. I wish he does and also give a tutorial of what he used as well as the cost to built one.
PS: Also Milaana can handle the winds of the outdoors for the moment so I am not in a hurry myself...

EDIT:
Or you could copy @phattpiggie, and make yourself a lighter sheath, definitely works in the wind, and aids in the spinning process
I think I missed that one...

Last edited:
Tony Timeless
Well-Known Member
Hi guys,
I just wanted to give a little update after reporting that I struggled somehow with my Ti Woody.
I am lucky that I've had no more combustion happening since then and I am able to clear a cap within 3 heating cycles - when I inhale natively / dry.
I've read several pages back on this thread and I would say I know basically all I need to know when it comes to heating techniques or inhaling techniques.
But, still , I am really struggling and I hope maybe got some ideas for me, here?
The ABV comes out nice evenly brown, but I simply feel that I could get out of this vape WAY more.
I tried out how the Woody would perform with my water pipe so I loaded a small amount, but here also: I get vapor, yes, but I am miles away from milking my bubbler, like (for example) my Evo or the GH does.
I saw several videos of vapcaps milking bubblers - or when used natively: vapor-production like if the person was smoking on an e-cigarette with liquid.
Don't get me wrong please:
I really like this little thing. I already LOVE the company - i got a private message answering one of my questions concerning cleaning - how great CS is that?
And i would love to upgrade my Woody to maybe a Woody S or even buy an omnivap .. BUT as long as I am struggling that much I am on the fence a little now.
Could anyone chime in and help me out here ?
What are possible reasons that I am NOT getting thick enough vapor production?
I am using a single flame torch (the Vapman original torch) , I tried several grind consistencies. And right now I am having some nice Pineapple Kush buds. They have been harvested not that long ago and will get better with some time curing that's for sure, but the Evo for example gives me huge clouds with this herb, so I can except the herb being the reason for this weak vapor production. So therefore it must be my heating technique I guess but no matter how I try I don't get the bubbler milking. And therefore it is unfortunately not satisfying for me at the moment. Also dry- as i said, there is vapor, yes. But the hits feel light and I don't get that much of an effect out of it
Thanks to all of you so much for giving so many great tips . You are such an incredible nice community!
Unfortunately, unlike @Aezhenn , I have still failed to the point I recognized that the ceramic screen in my Ti Woody is cracked. Of course, I don't know if this affects the performance of my unit and I keep failing with my Woody because of that. At least I end up with a lot of particles in my mouth after I draw.
I completely don't know how this happened, too.
So I decided to put the Woody away for some time now. It's too frustrating at the moment.
So basically I have 2 options now:
1. Leave it packed away and probably never use it again
2. Order spare screens and some new stuff from Dynavap and try again with fresh parts?
I decided to go for number 2
")
I will wait for the spare screen to arrive and then give everything a fresh new try . I'm even thinking about adding a Vong to my order to being able practicing bubbler-rips with the vapcap.
If I choose "Vong stem" from the parts category of the shop - will I be able to use the standard SS condenser from my Ti Woody for that? I could directly plug it like this in the 14 mm opening of a bubbler without any mouthpieces (wood / rubber), is that correct?
How long does shipping to Europe usually takes? Maybe someone can share their experience here? Thanks
@DDave :
I am very interested to know more about your method mentioned above about micro dosing in 1 rip.
Could you maybe please elaborate some more on your technique here? In particular:
Do you aim for high temperature when doing one hits in the vapcap? And do you "mouth draw " or do you draw directly to your lungs? What about the carb hole? Is it possible to combust when you keep the carb hole closed completely and inhale slowly even if you stopped heating at the click?
Either I get too thin of vapor or I combust.
With Carb hole fully closed and draw as slowly as you possibly can then you should be able to get a really throaty hit with lots of clouds. Then it's a case of feather the Carb to create a cooler hit. The other option I have tried is draw it into mouth then inhale - like a cigarette or joint, then you can take 4 of 5 small gentle pulls in the same lung full.
The slower you pull, the hotter and more concentrated the hit. The air has more time to be heated and the then the herbs have hotter air flowing over them. It's the opposite from smoking. Drawing harder just dilutes the vapor with more air that is heated less.
If I mouth draw like described I really get dense warm vapor, true. But after I exhale, even the second draw isn't that warm/dense, again. I feel like I am pausing (when exhaling) vapor production stops or diminishes at least
Oh, and I just found this:
Spot on! With single jet, heating at A level gives nice even extractions with no charring!
Do you heat there all the time for small loads till the click or how long roughly before moving up the cap? Like you, I am having a single flame torch!
Last edited:
Copacetic
Somewhere North of The Wall
@Tony Timeless
I personally aim between the N and the A of Dynavap and keep the flame (single) there without moving up the cap (rotating for an even bake of course) and this gets me great results.
I did have occasional crumbs landing in my mouth with the ceramic screen, but not so much that it bothered me much.
The Ti screens on e-bay have more/smaller holes and improve this a little, and the CCD screens that George developed are another step up in this regard.
I have a SLX 303 grinder which seems to supply a medium grind BTW.
I also think I am getting slightly better clouds with the CCD than the others, this is only a minimal improvement though, clouds were already very good for me.
Whatever you do, don't leave this thing unattended in your drawer! It's far too good for that
Keep at it man, I'm confident you'll get it
paytonpenn
Level 30 Nature/Healer
That was already in my mind buddy, if I fail to make one!
My builds have been taken down and I haven't used the Cap in a while. Whenever I buy more wire I'll post the updated build. My new RDA was the Sapor. I was using I believe 22gauge Kanthal A1. Its pretty much same design its just in the new RDA it can be centered without my worrying about it falling/limping like in the video.
RDA is where the money is at, it might cost you 30-40 dollars for a full build (RDA+Wire+Battery).
natural farmer
Well-Known Member
My builds have been taken down and I haven't used the Cap in a while. Whenever I buy more wire I'll post the updated build. My new RDA was the Sapor. I was using I believe 22gauge Kanthal A1. Its pretty much same design its just in the new RDA it can be centered without my worrying about it falling/limping like in the video.
RDA is where the money is at, it might cost you 30-40 dollars for a full build (RDA+Wire+Battery).
Is it the Sapor V2 or the Sapor V1? 25mm or standard? Does the VC rest between the posts?
Also, what king of box mod does it need? I have no idea about e-cigs...
And why don't you play with your VC anymore mister? Too much tolerance has you playing with big toys now?

ktmstick
Well-Known Member
Squiby
Well-Known Member
If I choose "Vong stem" from the parts category of the shop - will I be able to use the standard SS condenser from my Ti Woody for that? I could directly plug it like this in the 14 mm opening of a bubbler without any mouthpieces (wood / rubber), is that correct?
Yes, that is correct. A 62mm VonG STEM fits the standard ss condenser exactly. There will be no room for a mp, nor is one needed.
If in the future you like the idea of adding a mp, you would need to buy an XL SS condenser to accommodate the extra 17mm of a mp
Baron23
Well-Known Member
Thanks to all of you so much for giving so many great tips . You are such an incredible nice community!
Unfortunately, unlike @Aezhenn , I have still failed to the point I recognized that the ceramic screen in my Ti Woody is cracked. Of course, I don't know if this affects the performance of my unit and I keep failing with my Woody because of that. At least I end up with a lot of particles in my mouth after I draw.
I completely don't know how this happened, too.
So I decided to put the Woody away for some time now. It's too frustrating at the moment.
So basically I have 2 options now:
1. Leave it packed away and probably never use it again
2. Order spare screens and some new stuff from Dynavap and try again with fresh parts?
I decided to go for number 2
I will wait for the spare screen to arrive and then give everything a fresh new try . I'm even thinking about adding a Vong to my order to being able practicing bubbler-rips with the vapcap.
If I choose "Vong stem" from the parts category of the shop - will I be able to use the standard SS condenser from my Ti Woody for that? I could directly plug it like this in the 14 mm opening of a bubbler without any mouthpieces (wood / rubber), is that correct?
How long does shipping to Europe usually takes? Maybe someone can share their experience here? Thanks
@DDave :
I am very interested to know more about your method mentioned above about micro dosing in 1 rip.
Could you maybe please elaborate some more on your technique here? In particular:
Do you aim for high temperature when doing one hits in the vapcap? And do you "mouth draw " or do you draw directly to your lungs? What about the carb hole? Is it possible to combust when you keep the carb hole closed completely and inhale slowly even if you stopped heating at the click?
Either I get too thin of vapor or I combust.
Tell George/Matt that what you need is an OG Ti CCD (screen) to replace your ceramic. Use the same spring clip (C clip) to hold it in place. I don't get much particles (if any) and it doesn't break. I know George is working on a Ti CCD for Ti tips, but in the mean time, this works.
Alternatively, you could put one of these in it also...I have done this also and it worked just fine:
https://www.amazon.com/Titanium-Con..._45_s_it?s=hpc&ie=UTF8&qid=1477837384&sr=1-45
Best of luck.
If I mouth draw like described I really get dense warm vapor, true. But after I exhale, even the second draw isn't that warm/dense, again. I feel like I am pausing (when exhaling) vapor production stops or diminishes at least
Oh, and I just found this:
Do you heat there all the time for small loads till the click or how long roughly before moving up the cap? Like you, I am having a single flame torch!
Wow, I just typed a whole response and my added text just didn't make it.
Let's try again:
Consider asking George and Matt for an OG Ti CCD (screen). It works perfectly instead of the ceramic and can be held in with the same spring clip (C clip) used with the ceramic. I know that George is working on a Ti CCD for the Ti tips, but in the meantime this works well.
Alternatively, you can put one of these in it, along with the spring clip to hold it in. You can probably find this at a local head shop, or order on-line.
https://www.amazon.com/Titanium-Con..._45_s_it?s=hpc&ie=UTF8&qid=1477837384&sr=1-45
paytonpenn
Level 30 Nature/Healer
My inner glass tube broke, I have broken like 4 glass bodies and I'm just tiring of seeing it broken.Is it the Sapor V2 or the Sapor V1? 25mm or standard? Does the VC rest between the posts?
Also, what king of box mod does it need? I have no idea about e-cigs...
And why don't you play with your VC anymore mister? Too much tolerance has you playing with big toys now?
Sapor V1 is what I used and really any box mod should work you don't need much power. I am actually wanting something besides the Sapor V1, its a little too low.
Hello. Im looking to order a Vapcap this week, it will be my 1st one. Do you guys recommend starting with the OG or going straight for the Ti woody? Seems like everyone loves this thing and ends up with a couple of them anyways lol. I noticed on PIU they have the OG and a Vapcap II with 2 carb holes, is on of these recommend over the other? TIA!
natural farmer
Well-Known Member
Hello. Im looking to order a Vapcap this week, it will be my 1st one. Do you guys recommend starting with the OG or going straight for the Ti woody? Seems like everyone loves this thing and ends up with a couple of them anyways lol. I noticed on PIU they have the OG and a Vapcap II with 2 carb holes, is on of these recommend over the other? TIA!
Knowing what I know now I would get both at once to save on shipping costs. They have subtle differences in vapor production. But you could always start with OG and if it breaks you can order a Ti and I am sure George would sent a complimentary glass piece to get your broken one up and running again!
Squiby
Well-Known Member
Do you guys recommend starting with the OG or going straight for the Ti woody? I noticed on PIU they have the OG and a Vapcap II with 2 carb holes, is on of these recommend over the other?
First off, you cannot go wrong with ANY model Vapcap. It really is a fantastic vaporizer. Once you discover it's magic for yourself, as you mentioned above, you will likely go back for another purchase... it happens. Just sit back, relax and accept it for what it is.
The choice of Vapcap, in my mind comes down to cost, aesthetics and durability.
The least expensive Vapcaps are the glass tipped/bodied models.
- the OG Vapcap is the entry level Vapcap. It has the glass tip/body, a glass condenser and a fat mouthpiece. It is fragile, the nature of glass, but it is only $35 and you can replace the body, or condenser if you drop it or otherwise break it.
- The Vapcap 2 builds on the OG Vapcap. You get a complete OG Vapcap, plus, a stainless steel condenser and wood mouthpiece. So you can switch it up and use either configuration.
Between the two, I would get the OG Vapcap.
For unparalleled beauty and full modularity, I would choose a titanium tipped Vapcap. These are all very durable but the wood stems and bodies, although beautiful, could possibly be damaged if say, they were run over but a truck. The choice of wood stems and bodies, mouthpieces and condensers let you choose a unique combination all your own. They're beautiful, efficient and mid priced.
For absolute durability and doomsday vaporizer choose the Omnivap. It has a titanium tip, body and mp and stainless steel condenser. Due to the all metal construction, the Omni could be considered indestructible.
The Omni has a performance advantage over the other models in that the ti mp screws into the condenser to create an adjustable airflow. Set it and forget it. It is the top of the line Vapcap and the most expensive.
My overall recommendation would be to buy a beautiful Ti Woody with the Body, Stem or VonG that most appeals to you most. Or get a couple bodies to switch out.
My favorite wood bodied Vapcap is my Ti Vong with a 14mm Burl body.
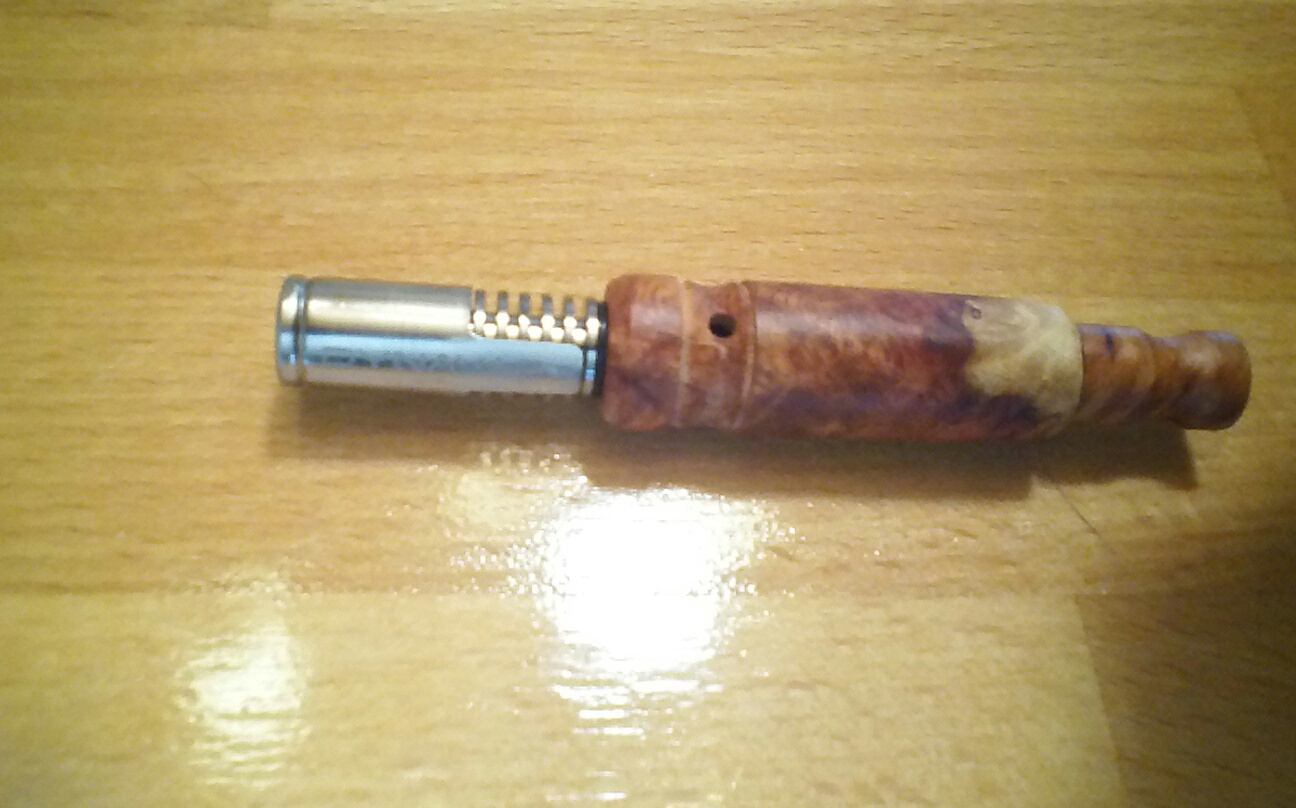
My favorite Vapcap overall is my Ti tipped Copper Stoned. It was custom made by Jason at Dynavap. It has a medium heft, the bumpy stem prevents it from rolling and it fits nicely in the hand.
Last edited:
lookhigh
FC member
Thanks to all of you so much for giving so many great tips . You are such an incredible nice community!
Unfortunately, unlike @Aezhenn ,
So basically I have 2 options now:
1. Leave it packed away and probably never use it again
2. Order spare screens and some new stuff from Dynavap and try again with fresh parts?
!
Or option 3
Send it to me and i will figure out how to use it in time. No charge of course.
@Nevil The two holed version is not available i think.
Last edited:
ktmstick
Well-Known Member
All joking aside, that might be a viable option. If you can find someone near to you that has a vapcap you could send your one to them so they can test drive it for you .Or option 3
Send it to me and i will figure out how to use it in time. No charge of course.
@Nevil The two holed version is not available i think.
Hey @Tony Timeless No problem...@DDave :
I am very interested to know more about your method mentioned above about micro dosing in 1 rip.
Could you maybe please elaborate some more on your technique here? In particular:
Do you aim for high temperature when doing one hits in the vapcap? And do you "mouth draw " or do you draw directly to your lungs? What about the carb hole? Is it possible to combust when you keep the carb hole closed completely and inhale slowly even if you stopped heating at the click?
Either I get too thin of vapor or I combust.
Dose: Pre-measure dosage (either .005g or .01g, depending on need and if weekday or weekend)
Loading: Vacuum into VapCap and put on Cap.
Heating: With triple torch, two flame jets at V level, remaining jet between N & Y heating till click. With single torch, flame jet pointed between N & Y, heating till click.
(heating with single jet torch at V level results in Char or Cumbustion... )
Holding the VapCap: I hold the VapCap in such a way that I can roll my thumb over the carb hole. So slightly roll it back and forth, slightly opening the carb and closing throughout the hit till cooling click.
(After cooling click, I roll the VapCap so that thumb is completely off the carb hole and it's wide open. Just to clear out any vapor from VapCap).
Hold for a few secs, then exhale.
Consistently able to cache the entire micro-load in one hit.
Note: This works with flower. You will need multiple hits when sandwiching concentrates in flower or when vaping Moonrocks.
Do you heat there all the time for small loads till the click or how long roughly before moving up the cap? Like you, I am having a single flame torch!
For my single torch, only heat around the N & Y level of the cap. Down any farther towards the Y and I'm almost guaranteed char or combustion.
Baron23
Well-Known Member
the OG Vapcap is the entry level Vapcap. It has the glass tip/body, a glass condenser and a fat mouthpiece. It is fragile, the nature of glass, but it is only $35 and you can replace the body, or condenser if you drop it or otherwise break it.
@Squiby is our resident expert on VapCaps and we all very much appreciate her efforts to make the modularity and available configurations understandable and everything else she does to proselytize the VapCap.
But, that doesn't mean that we don't all have our slightly different view of things.
In particular, although I indeed bought an OG as an 'entry level' way into vapcaps (it was only $30 then, now $35) I have found the OG to be a really excellent vape. I no longer view it as entry level, I just view it as a VapCap whose chamber material I seem to be able to best work with.
Yes, its glass and glass breaks so if looking for a traveling toy, perhaps the OG ain't for you. But I use mine at home mostly and don't find the glass to be all that dang fragile.
At the same time, the VapCap is a primarily conduction vape with some convection for sure. The material that the chamber is made out of (Ti or glass) and that materials thermodynamics determines how well it works. For me, the OG is king of function.
Truly the Dyna VapCap is a wonderful vape, a wonderful company of wonderful people, and provides enough customization opportunities that everyone should be able to satisfy their particular desires.
Cheers
Squiby
Well-Known Member
I no longer view it as entry level, I just view it as a VapCap whose chamber material I seem to be able to best work with.
My reference to the OG being the entry level was in reference to the price in the line-up of Vapcaps, not performance.
IMO, all the Vapcap models are wonderfully efficient and enjoyable vaporizers. Any Vapcap choice is a great choice.
Last edited:
*plainlazy*
Well-Known Member
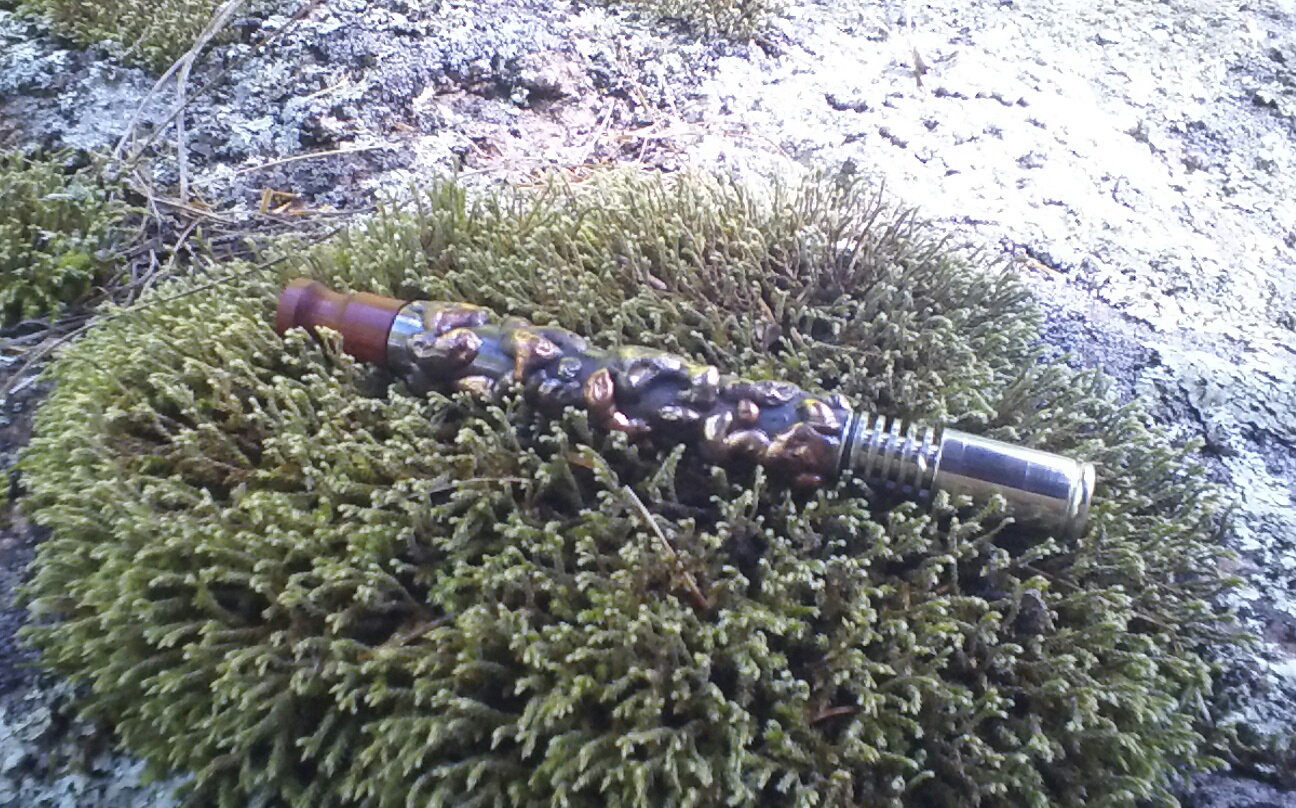
Hey there vap cappers have been away a while but thought id put some pics up. This is my current setup. My medicine box haha. I love this. Havnt used anything else for ages. If there are people still thinking about these vaps get an og its amazing.
Anyway my stash has been drilled by a friend so its now a double garage and has three extra magnets.
Just need to add a phat piggie stem and ill be set haha.
Hope you like
http://imgur.com/a/TmCXI
Anyway my stash has been drilled by a friend so its now a double garage and has three extra magnets.
Just need to add a phat piggie stem and ill be set haha.
Hope you like
http://imgur.com/a/TmCXI