• Do NOT click on any vaporpedia.com links. The domain has been compromised and will attempt to infect your system. See https://fuckcombustion.com/threads/warning-vaporpedia-com-has-been-compromised.54960/.

TinyMight / TM 2

CloudForestWoodcraft

Insta: CloudForestWoodcraft
Accessory Maker
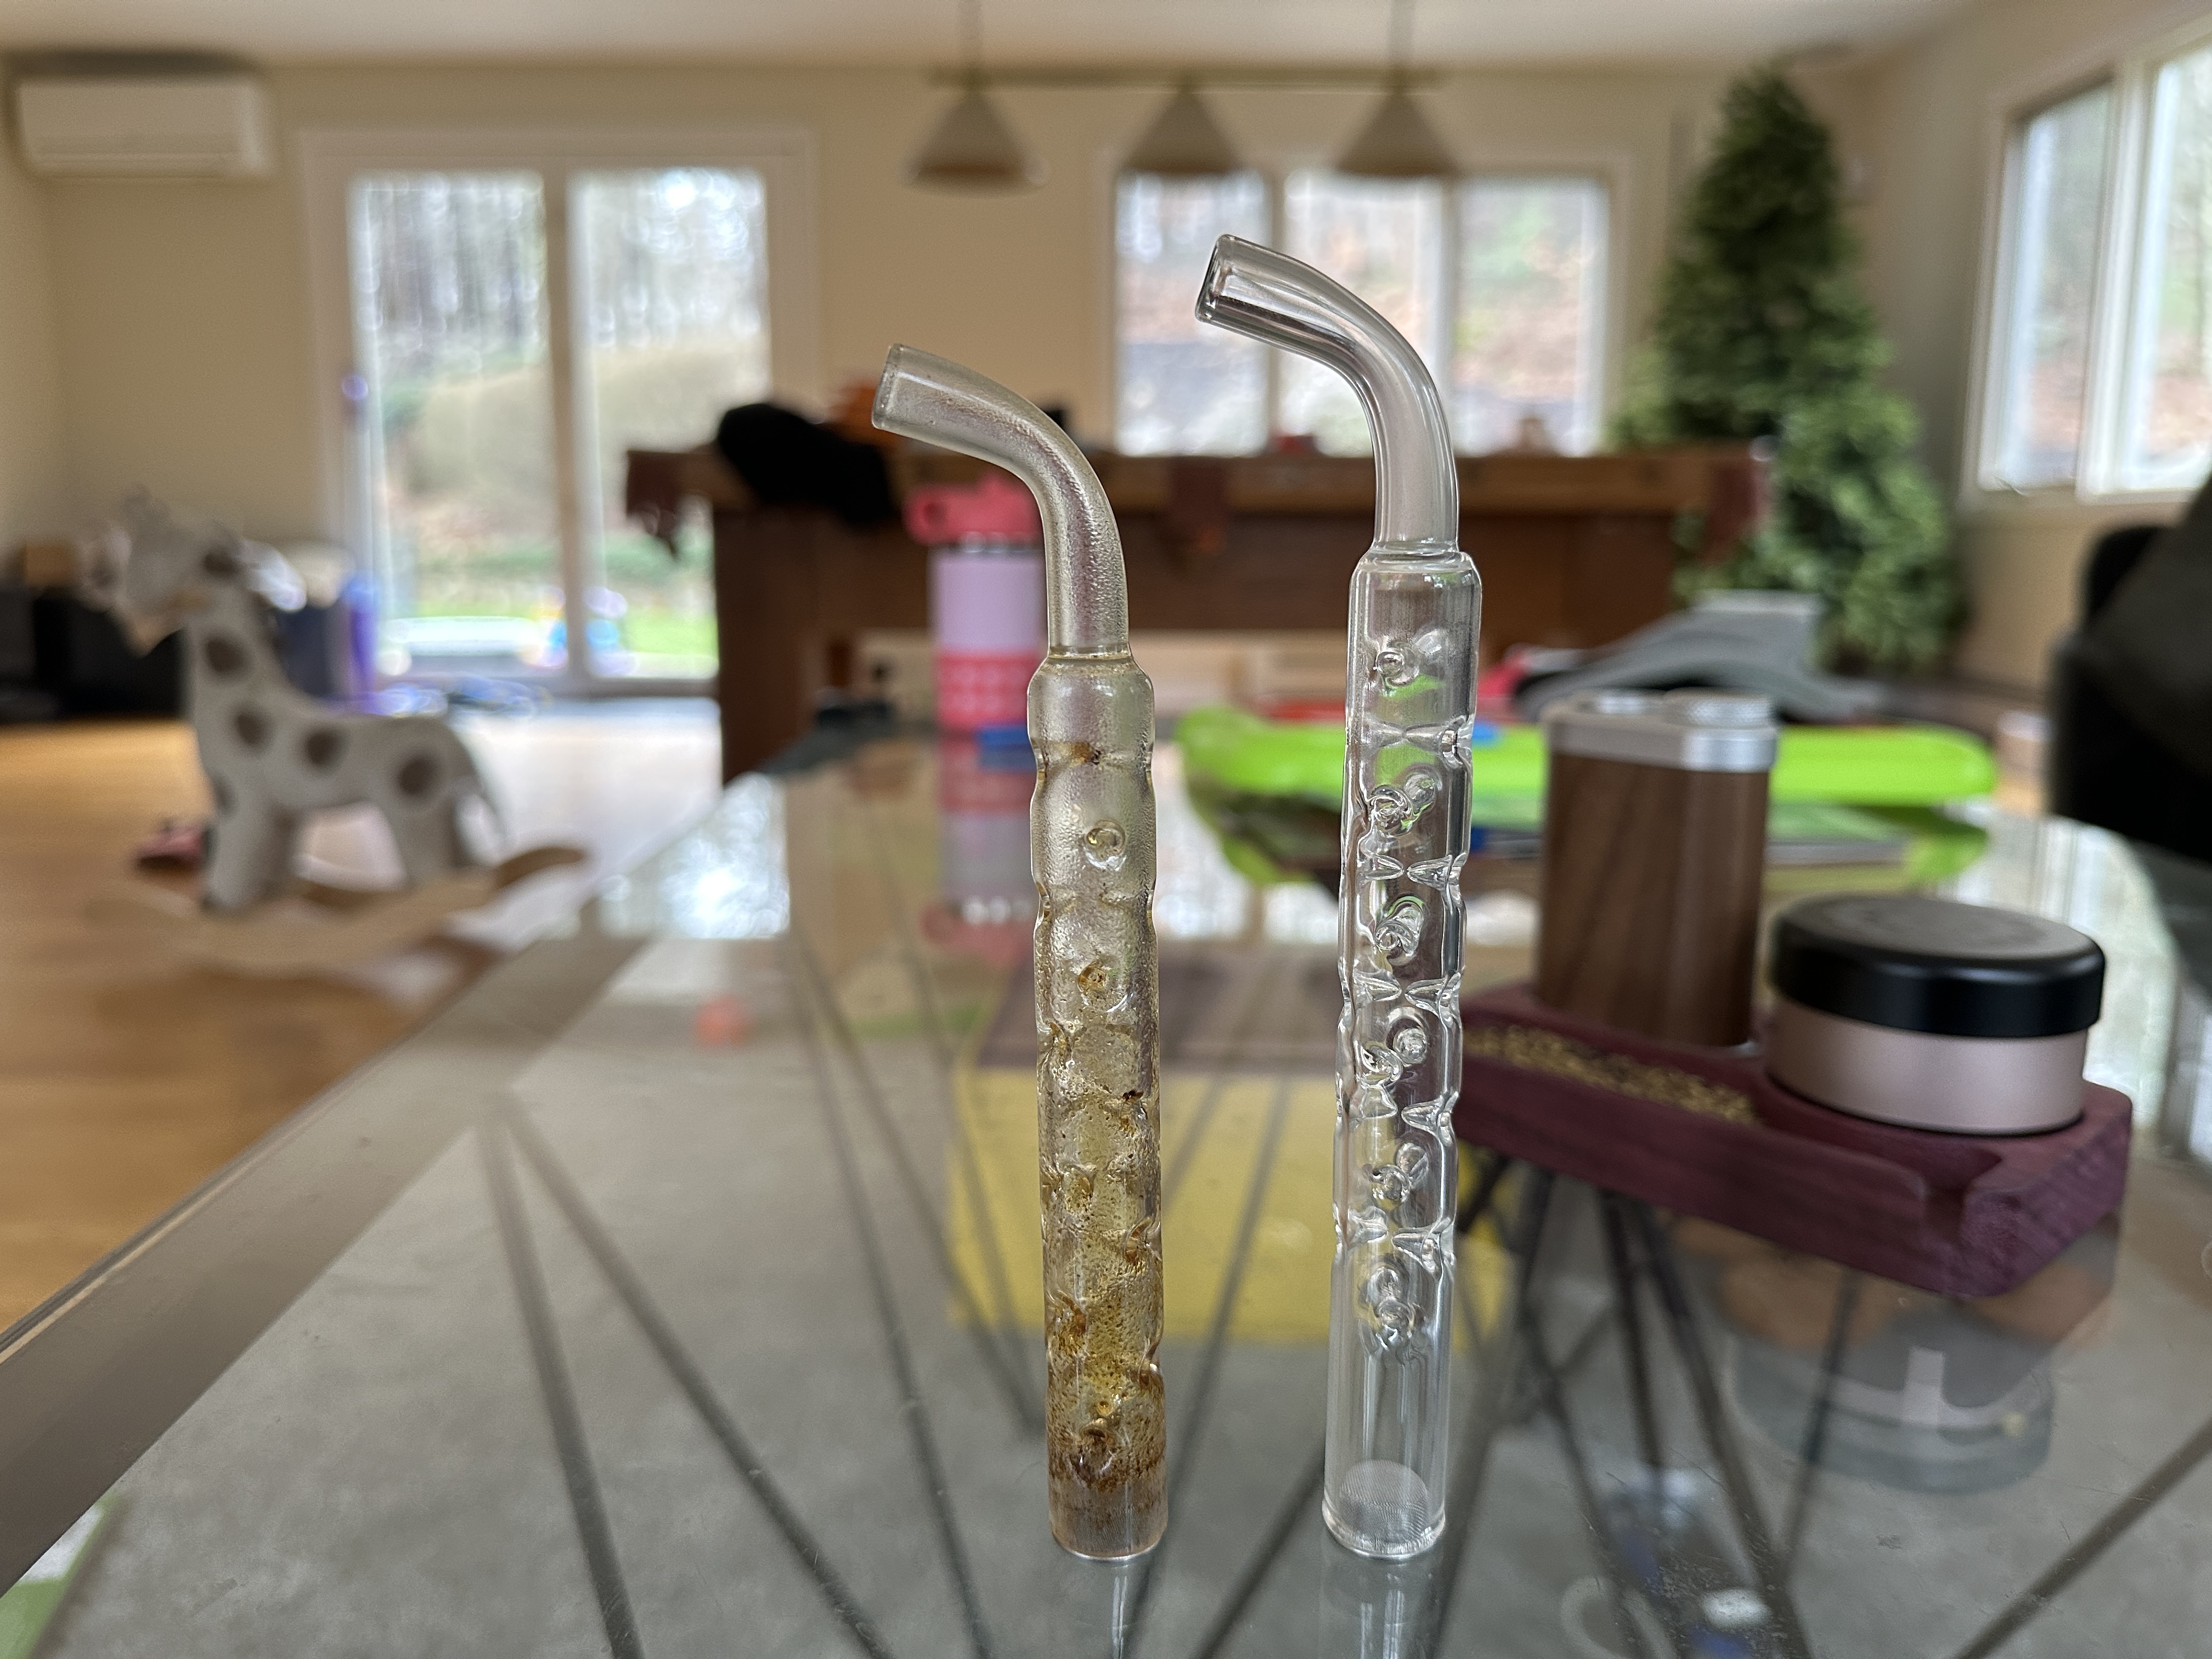
This is the upper glass, not the glass around the heater. This glass is user replaceable, and available for TM! and TM2 (they are different).

Apparently the glass surrounding the heater is not offered as a spare part, and replacing the glass is a major diassembly/ reassembly project that likely voids the warranty.

It shouldn’t be to difficult to replace.

Here’s the TM2 method:

- remove the long middle screw that holds the unit together. You can find it on the units bottom plate.

- taking the top plate off the unit and unscrewing the grounding wire connection.

- Go back to the bottom of the unit and remove the bottom plate.

- unscrew the heater’s post from the circuit board and then slowly removing the heat post from the unit.

- taking out the broken glass, replace and repeat the w I’ve steps in reverse order.
 

gangababa

Well-Known Member
It shouldn’t be to difficult to replace.

Here’s the TM2 method:

- remove the long middle screw that holds the unit together. You can find it on the units bottom plate.

- taking the top plate off the unit and unscrewing the grounding wire connection.

- Go back to the bottom of the unit and remove the bottom plate.

- unscrew the heater’s post from the circuit board and then slowly removing the heat post from the unit.

- taking out the broken glass, replace and repeat the w I’ve steps in reverse order.

Careful!** The top plate will not come off until the grounding wire connection screw has been loosened from the below after the bottom plate is removed. The screw is deeply recessed in the body. Attempting to remove the top cap prior to loosening this screw will cause damage.

Be aware also, that the main bolt seems to pass through a spring (within the body). I do not know where it goes but assume it serves to assure the PCB board is pressed in contact with the bottom cap.

Also be mindful that the glass sleeve keeps the heater coil from unwinding and an unwound heater coil is a terrible thing to face.

** From the Tinymight web site.
"(upper glass) can be replaced easily by opening the back end big screw with a Torx T20 screwdriver and removing the bottom panel. Then there is another hole inside after removing the bottom panel, under the long screw hole is another hole. Place a screwdriver Torx T20 and push it deep until it reaches the inside of the top panel, and unscrew the screw there until you are sure it is loose, probably some 15 full rotations needed. Now you can remove the top panel, and replace the broken glass lining. When putting back, it is important to tighten again first the internal screw, and then the long screw very tight."
 

CloudForestWoodcraft

Insta: CloudForestWoodcraft
Accessory Maker
Careful!** The top plate will not come off until the grounding wire connection screw has been loosened from the below after the bottom plate is removed. The screw is deeply recessed in the body. Attempting to remove the top cap prior to loosening this screw will cause damage.

Be aware also, that the main bolt seems to pass through a spring (within the body). I do not know where it goes but assume it serves to assure the PCB board is pressed in contact with the bottom cap.

Also be mindful that the glass sleeve keeps the heater coil from unwinding and an unwound heater coil is a terrible thing to face.

** From the Tinymight web site.
"(upper glass) can be replaced easily by opening the back end big screw with a Torx T20 screwdriver and removing the bottom panel. Then there is another hole inside after removing the bottom panel, under the long screw hole is another hole. Place a screwdriver Torx T20 and push it deep until it reaches the inside of the top panel, and unscrew the screw there until you are sure it is loose, probably some 15 full rotations needed. Now you can remove the top panel, and replace the broken glass lining. When putting back, it is important to tighten again first the internal screw, and then the long screw very tight."

All good point, thank you for brining them to everyone’s attention!

I forgot the grounding wire needs to be released from the bottom, not the top 🤦‍♂️.


For removing the heater w/o it unraveling, maybe a “trick” might be to bring down the heating coil and funnel it into the new glass sleeve right outside the device keeping everything intact.

Remove the broken glass inside, then just slide the new glass w/ heating coil up into the unit.

Tbd if it would work in that way… but the concept makes sense.
——

Side note, this is probably THE main reason I haven’t put in the time to work on different wood species TM/TM2 shells like Purple Heart, Padauk, Cocobolo, etc.

I feel like despite the TM being sold as, “easily disassembled and fixable” the reality is the vast majority of ppl aren’t going to take that risk of breaking their device to switch out the wood shell.
 
Last edited:

VapeKnight

Day Tripper
TM2 just arrived today, can't wait to get home and give it a try. Everything seems slightly nicer than the OG. I do prefer the smoother polished metal of the OG if it were a choice. I might polish it myself for fun. It came with the usual assortment of extra screens and o-rings minus the tiny O-ring for the multi tool, hopefully that doesn't wear out for a while. My buddy Vaporific my have some vape envy now that I have the TM2:brow:


Vaporific

All who wander are not lost...
My buddy Vaporific my have some vape envy now that I have the TM2:brow:
The video you sent me shows a beautifully finished wood worthy of eye candy. Can’t wait for the operational review. Mildly envious…

Side note, this is probably THE main reason I haven’t put in the time to work on different wood species TM/TM2 shells like Purple Heart
Did someone say RED? 👀 I’ll continue to wait for that wood should it ever come to pass. “To sleep, perchance to dream.” :peace:
 
Vaporific,

2minTurkish

Well-Known Member
For real @Vaporific I'm putting the TM2 (RED) in the recesses of my mind along with the Nomad, so that I'll forget about it and hopefully be delightfully surprised when the time comes.
 
2minTurkish,
  • Like
Reactions: Vaporific

TimeBomb0

Well-Known Member
Been using TM2 for a while, been a nice upgrade from the TM.
Question though, to get vapor I have to vape starting at 8 or 8.5, and quickly go up to 9.5 to finish the bowl. The vapor I get is whispy at 8-8.5, and really only thick at 9.5. My TM I'd usually use at 6-7, and could often get vapor at 5. The TM2 does vape quite efficiently at 9.5, but anything below that seems lacking.

This is with small bowls using both the official adapter stem and the official extra long stem. Anyone else notice this? Any suggestions to make it more effective at temps below 8-9.5?
 
TimeBomb0,

badbee

Well-Known Member
Been using TM2 for a while, been a nice upgrade from the TM.
Question though, to get vapor I have to vape starting at 8 or 8.5, and quickly go up to 9.5 to finish the bowl. The vapor I get is whispy at 8-8.5, and really only thick at 9.5. My TM I'd usually use at 6-7, and could often get vapor at 5. The TM2 does vape quite efficiently at 9.5, but anything below that seems lacking.

This is with small bowls using both the official adapter stem and the official extra long stem. Anyone else notice this? Any suggestions to make it more effective at temps below 8-9.5?
There is definitely something wrong with your TM2. Look through this thread for the recommendations on how to clean and tighten the electrical connections, or send it back to TM for warranty service. Also, make sure you don't have any air leaks by opening the top and checking\reseating the o-rings.
 

onesixty2

Well-Known Member
Been using TM2 for a while, been a nice upgrade from the TM.
Question though, to get vapor I have to vape starting at 8 or 8.5, and quickly go up to 9.5 to finish the bowl. The vapor I get is whispy at 8-8.5, and really only thick at 9.5. My TM I'd usually use at 6-7, and could often get vapor at 5. The TM2 does vape quite efficiently at 9.5, but anything below that seems lacking.

This is with small bowls using both the official adapter stem and the official extra long stem. Anyone else notice this? Any suggestions to make it more effective at temps below 8-9.5?
Def feels off, you should be getting dark roast around 7-8, 9.5 is something I’ve never dared roast on because I was positive it would combust. 10 is only used on-demand for concentrate.
 

GoGlass

Well-Known Member
If some of you have a Stinger Simrell, a french company has developped a glass stem for the TM in which you can insert a simrell, it's called "RocketSlow" :

rocketslow-stinger-stem-refroidisseur-pour-tinymight.jpg


Maximum cooling !!!!
 

VapeKnight

Day Tripper
Even though I was only without my TM for one week, it was sorely missed. The TM2 works as expected, AWESOME... It does run a little hotter than the OG due to upgrades. I never got passes 4 1/2 compared to my usual 6-7 on the dial and it seemed closer to level 8 on my original. All is right in the world again now that there is a TM in rotation :cheers:
 

mikjall

New Member
Hello Lads,

I am here in hope of help.
Bought a TM2 3-4 months ago, had before a mighty and don't wanted long sessions but quick hits.
So after reading a while here and on other places I finally decided to buy one.
Had it mostly on 7-8 since I got the device and was not very enthuastic because I still needed 5-6 loooong draws (one big bowl and we are at violette blinking status).

First I thought the TM2 might be one of those things people are hyping around but then I decided to take a look.


So, my TM2 had an unwanted kickhole.
Contacted the seller and he sent me this lower glas tube.

Swapped the broken out with the new one. Had a fight with the coil (those seperators are sh...) but got it together finally.
Just....wrong.

Situation now is that Power ON/OFF is working, Indicator LED is working, but when pushing the fire button, there is a too fast a response with the trigger vibration which tells you that the temperature is reached (Guys, sorry for my english grammar, not my native language and not the youngest either.) and I hear that the coil isnt making noise, but it still get's a bit warm.

I really dont want to engage another fight with the coil if it isnt absolutly necessary.

Should be fine?
 
mikjall,

riv_vir

Well-Known Member
Is a burnoff necessary? I cleaned the metal socket and screen and glass but didn’t do an official burnoff. I think I ran it empty in session mode at 6-7 or so for a couple minutes 😬
 
riv_vir,

CloudForestWoodcraft

Insta: CloudForestWoodcraft
Accessory Maker
Is a burnoff necessary? I cleaned the metal socket and screen and glass but didn’t do an official burnoff. I think I ran it empty in session mode at 6-7 or so for a couple minutes 😬

It’s good practice - anything you’re going to inhale from deserved a quick burn off.
There’s no harm in doing it outside of the couple of min wait!

——

Today I say goodbye to my 18mm wpa.
Clumsy hands and a granite countertop 🤦‍♂️
3khy0fv1v5epkm7ves6o9wdr74rgoe7.jpg


Though silver lining to today - I made my first spiral stem/wpa.
This was just a prototype, so no polishing, etc and there’s still some tweaking to be done - but for a first pass, I’m real happy with how it turned out 🙌

qqhsmgf2agvpcyt5jq3lu1m4vgl9dxh.jpg


sokrvqo7wzwyfgt6wlimovhsdf62rxo.jpg
 

CloudForestWoodcraft

Insta: CloudForestWoodcraft
Accessory Maker
Grab a Dremel style tool with a diamond cutting disk. Add a bit of water and cut slowly 👍
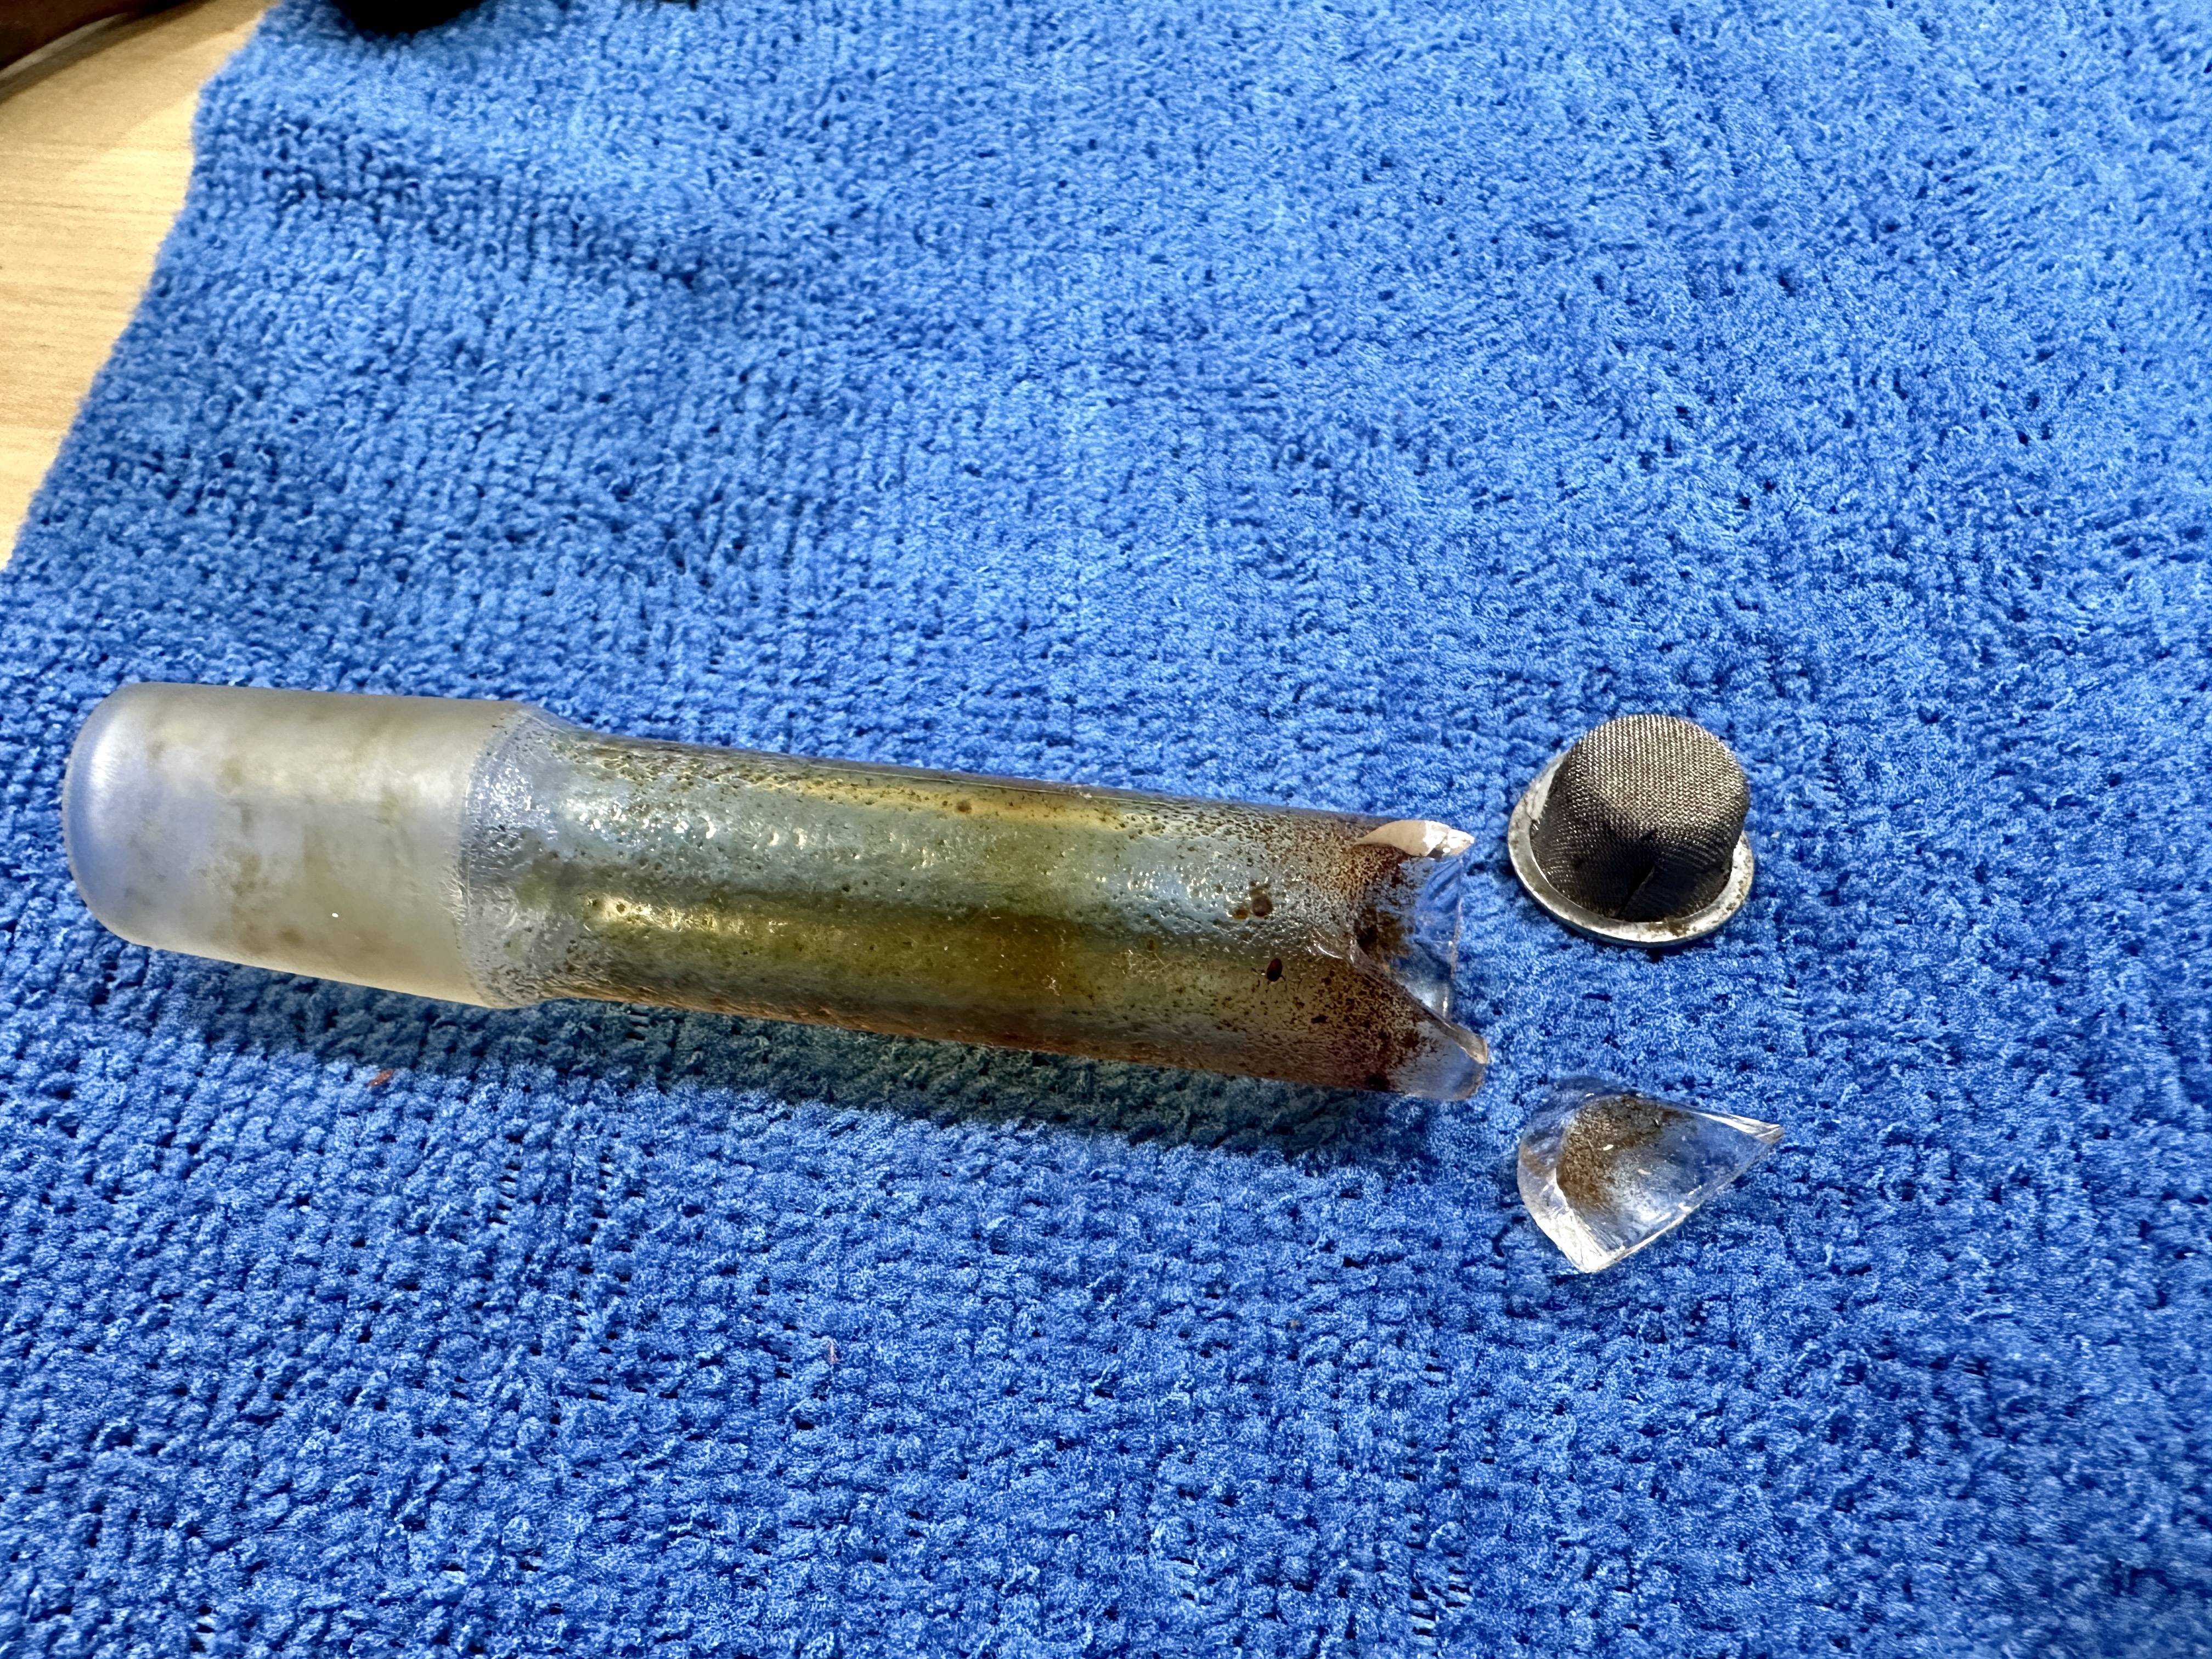
. You can use the edge of the disk to smooth the edges, or flame polish if you need.
Thanks!

Going to give that a try tomorrow.

It worked with my XL stem becoming a ‘pretty long’ stem. I cracked the base and was able to use a diamond dremel to cut it off cleanly.

Was hoping not to have I try it again.
First time is luck, 2nd time is skill… and we’ve already established I have clumsy hands 😅

h792duagfghwsl5d2fu9ubbiybwelb0.jpg
 

mikjall

New Member
Is a burnoff necessary? I cleaned the metal socket and screen and glass but didn’t do an official burnoff. I think I ran it empty in session mode at 6-7 or so for a couple minutes 😬
Mine had a really bad smell/taste, like vaping rancid lineoil. So i needed that burnoff anyway.
 
mikjall,
  • Like
Reactions: ezpz

tokenknifeguy

Well-Known Member
FWIW i carry my TM/TM2 wherever i go. In my pants pocket, jacket, fanny pack or backpack with nothing to protect it.
Straw sucking your herb is for me the easyest way to load a vape so the TM/TM2 is one of the easiest in this regard. No problem for me loading my stem in any situation.
When discretion is absolutely necessry (illegal state here) i use Storz and Bickel capsules. Drop one in the oven and sit the stem on it (you have to be very very careful if doing this with the TM as you can very easily push the heater screen on the heater and then short your TM. No prblem with the new heater screen on the TM2). I flip the capsule for the last draw. Performance is less good than with loading the stem but still satisfaying anough for this kind of situations IMO.
Yeah I do that with the SB capsules as well. I like them better than the current TM's capsules. I've even put two of the SB's capsules in and held down with the stem one time. It worked but not like I was hoping.
 
tokenknifeguy,
  • Like
Reactions: Momor

TeaCup

Well-Known Member
So I've had my first ever "my vape is broken" now what do I do moment. Lent out my Tiny 1 to a buddy whose trying to quit combustion. Gave him a few pointers of what not to do and after exactly one night of use he did what I told him not to do and now I'm not getting any heat.

So it does turn on and it does make the whirring sound like when your holding the button down for a hit. The problem is after you press the button it immediately buzzes back like it's reached temp but it hasn't and continuing to hold the button produces no heat. The only thing I've tried is tightening the bolt, which it was already. Any other suggestions? I don't think it's the battery hinge at the bottom, I'd assume it wouldn't turn on if that were the case? Thanks guys.
 
TeaCup,

Vaporific

All who wander are not lost...
Just the normal battery type stuff......don't drop it in, don't over tighten, don't put it in backwards.
Which of those did he do? Regarding the screw, did you loosen it first then retighten? Loosening it first is key. :peace:
 
Vaporific,

TeaCup

Well-Known Member
Which of those did he do? Regarding the screw, did you loosen it first then retighten? Loosening it first is key. :peace:
To be honest I really don't know, I wasn't there. Just trying to see if anyone has encountered the immediate buzz with no heat. I know he put it in wrong, atleast that he told me so.
 
TeaCup,
Top Bottom