Do you see a chance you'll be able to replace or repair the switch?My warranty expired, and my power button broke, so I did a tear down. The only tool needed is a T6 torx.
I think each battery has temperature sensor, the two black wires. I tried to contact the manufacture of the batteries, but got no response.
The micro controller is a ATMEGA645A.
Technically, the switch soldered on the board still works. If I press it, the unit will come on. There are also a couple of test pads by the switch. If I short those, the unit will power on. Lots of test pads on the Mighty board.What exactly is broken on the switch? Are you able to power it on by shorting the contacts on the board for the switch? (Careful if you try this not to short the wrong thing and fry something)
I imagine you could replace the switch if one can find the replacement part ... or maybe with something equivalent .... do you have any electronics repair, hobby, or industrial electronic supply stores around? They might be worth checking with too ...
Edit: also might be worth contacting S&B ... might be well worth the $120 or so to fix out of warranty ...
you could easily print a 3d casing as the most of the heat is contained inward. check out the heating rod its pretty cool.Technically, the switch soldered on the board still works. If I press it, the unit will come on. There are also a couple of test pads by the switch. If I short those, the unit will power on. Lots of test pads on the Mighty board.
There is a little plastic piece, and a little metal piece that somehow broke off. These pieces somehow transfer the push of the orange power button on the side of the unit to a downward press on the switch mounted on the board. One of the pieces was rattling around in the Mighty for a few weeks before it would no longer power on. The switch in this picture is what I was going to use as a fix.
There were two fixes I was considering. One was to remove the orange button and add a surface mount switch in there, and solder to the switch test pads.
The other was to make a small hole in the Mighty case right above the switch, and add some kind of button so I could press the switch.
This is my second Mighty. The first one had the same issue. I RMA'd it, and I was sent a new Mighty. I got my first Mighty in Jan 2015, and RMA'd it in May 2015. So I have had this one Since April 2015.
I did get an RMA for this Mighty, but that is before I realized it was out of warranty, and before I decided to open it up. I may still send it in, but I'm not sure they will be happy, and I understand. I already bought a replacement Mighty, and it arrived yesterday. I may still try to send it in, just to see what they do.
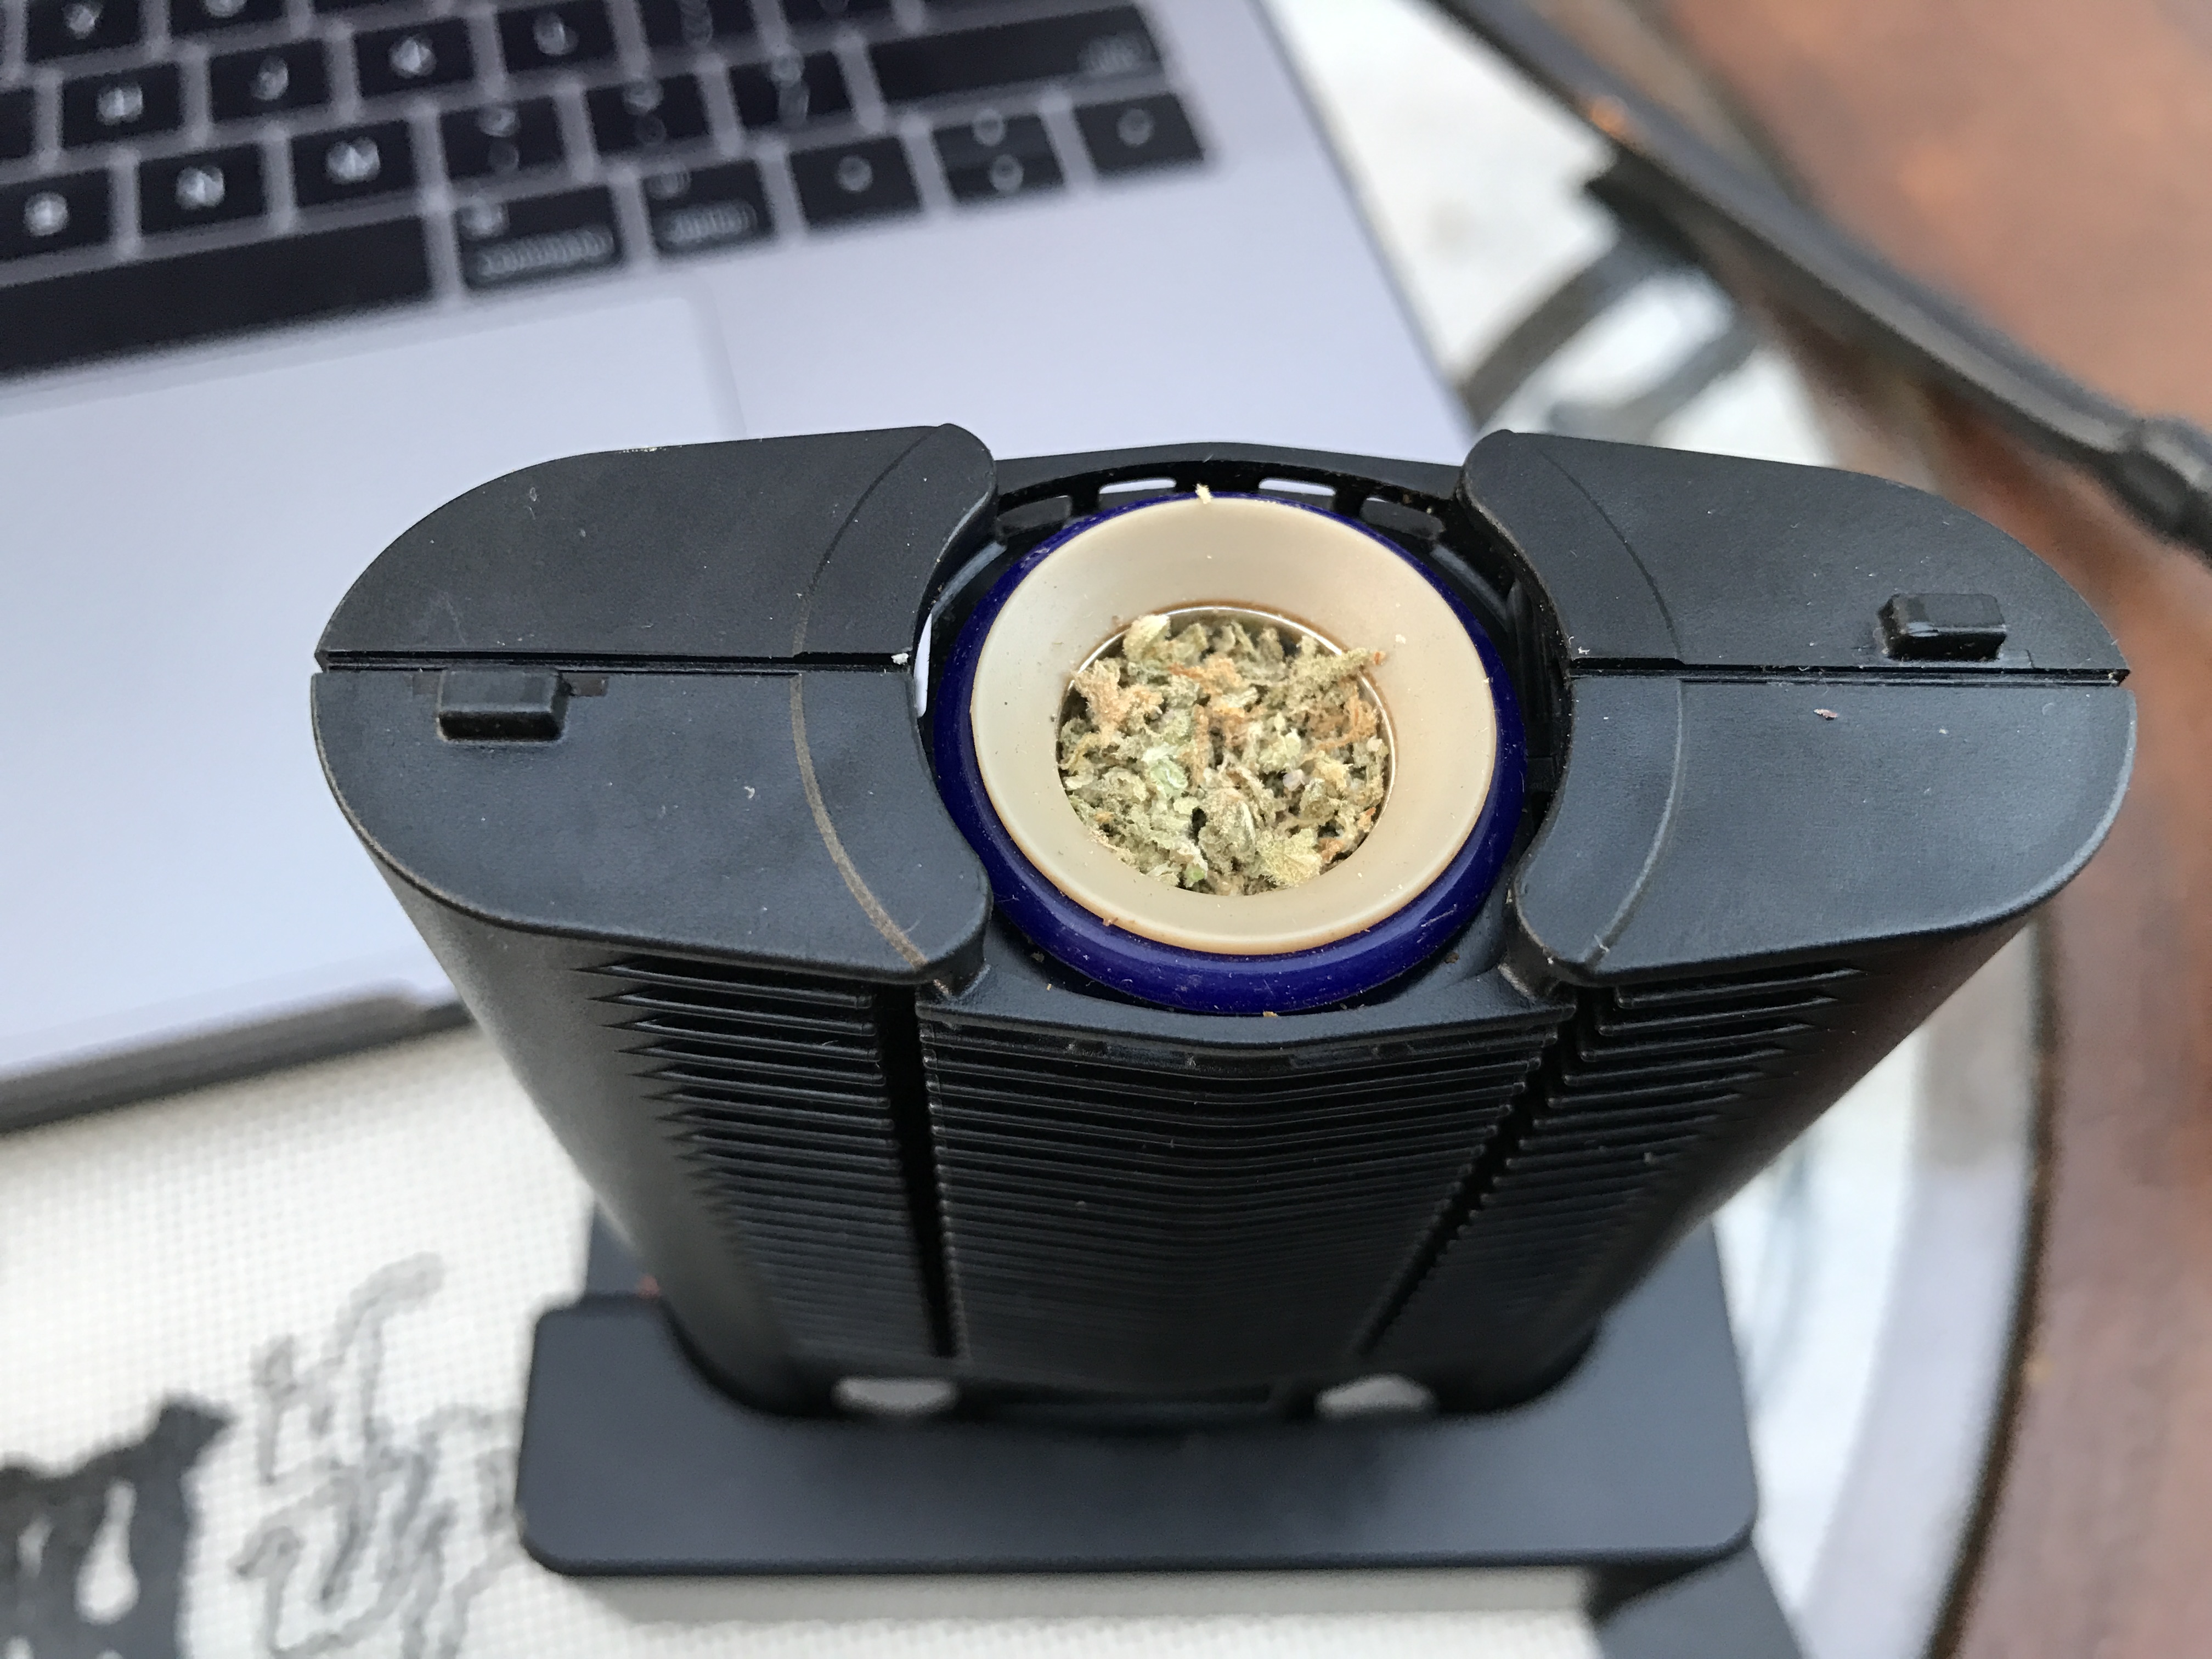
Anyway, when I had the Mighty open, I decided I wanted to see what kind of micro controller was on the board. That involved removing 4 screws to remove the Mighty PCB from the body, and removing the display. After putting it back together, the power switch no longer will power on the unit. If the power adapter is plugged in, there is an ERR04.
One of the screws had a weird pad under it. I wonder if the micro controller is looking to see if this screw is present, and if not, puts the unit in an error condition that needs to be cleared. I got some pogo pins so I can try to figure out if there is some kind of debug port exposed. Looks like there is, but who knows if I can figure it out.
Yes you could have. The sonic cleaner will heat any fluid in it while operating. Some do it with impunity, I recommend floating the parts and alcohol in a jar with water in the sonic cleaner. I do have a resource posted on this . . .Then I got really stupid, and poured iso into sonic bay with stems and let 'er rip. Odors of alcohol hit me first, then started thinking I could really pull a Richard Pryor doing this . . .
was doing the same ,great minds think alike !posted this in vapman thread..
..works for me
Beautiful. Is this up for sale anywhere?Hello Mighty fackerz Viagra for the Mighty,"weeqan"stand ,much luv
was doing the same ,great minds think alike !
http://fuckcombustion.com/threads/2qan-stand-for-the-mighty.23348/page-5#post-1098713Beautiful. Is this up for sale anywhere?
Another CU (Cooling Unit) cleaning tip for new Mighty owners, especially for those upgrading from Crafty.
It was easier to separate the two parts of the Crafty CU. Pull back on hologram-ish slider and press down on oval post/tab, and the two parts separate enough to pull them apart. Not so with Mighty, as the CU is longer, only one end seems to comes free. My first few cleanings were frustrating because I was trying to pry the stuck side free by pulling.
I found this counter-intuitive yet effective:
After separating the CU, they go in a strong ziplock bag with 91 or 99% isopropyl alcohol, then that bag rests in a bowl of VERY hot water for 5-10 minutes, shake and shlosh, rinse very well, bath in water, air dry. No q-tips, no scrubbing.
I stumbled on the heat part of the process by an idiotic accident. Couple years ago was struggling keeping Ascent stems clean. Hey, I thought, I'll get one of those cheapo sonic jewelry cleaners. Then I got really stupid, and poured iso into sonic bay with stems and let 'er rip. Odors of alcohol hit me first, then started thinking I could really pull a Richard Pryor doing this, and pulled the plug. Damn, the stems were very clean, but also very warm. The sonic machine was heating up the iso, and that's what was doing the cleaning work. Tossed that sonic cleaner and switched to giving bags of alcohol very hot, near boiling, water baths. Never on a stove, never in an oven, never on a radiator, never in a microwave, never in any heat producing device. Alcohol is dangerous.
you could easily print a 3d casing as the most of the heat is contained inward.
You may find that by running the Mighty, with no meds, will heat the cooling unit up which helps release the hold that solidified resin has. The cooling unit comes apart much more easily when its hot from use.You do a little two handed finger pressure dance, pushing the CU base to one side, prying the cap lock from other side, trying to clear...
I've been ISO soaking mine for years with no issues. Cool ISO though ... not warm or hot ... usually not longer than 1/2 day but occasionally a couple days.Here's another cleaning comment. Not really a tip, more a lazy man's conundrum, without an adequate resolution.
It's about the sliding hologram cap lock piece: To iso soak or not to iso soak.
Well, the kind folks at S&B tell us specifically not to iso soak the cap lock.
I'm a lazy bastard, and always fought getting that sliding cap lock off. You do a little two handed finger pressure dance, pushing the CU base to one side, prying the cap lock from other side, trying to clear...then click, the sound of another little sliver of plastic sheared off. Yes, it still slides and locks, but the poor design still ticks me off.
So, back to the lazy bastard part. A couple months ago I stopped prying off that sliding locking cap. It stays loosely attached to the upper half for the hot iso soak.
S&B are always right, damnit. The hologram style label is affixed with adhesive. This adhesive is affected by the iso, and a couple labels are starting to peel up slightly at corners. The image also dulls, like the lyric from Truckin' -- "she's lost her sparkle, you know she isn't the same"
But laziness wins, and I'll still keep soaking them attached. I'll update in a couple months.
If you are concerned about the sliding lock/cap, just take it off before soaking in alcohol. I have one over a year old that sometimes soaks 20 or 30 minutes, warmed. Looks fine.In my last cleaning spree (I use ethanol with the pieces inside a ziplock, then submerge in hot water), the plastic bit refereed to above by ChooChooCarlie, with the holograms became completely white after 20 or so mins of my cleaning treatment. You can see there's a sort of film in this part that is not part of he black plastic CU body... It came back to normal once completely dry, but I thought I had lost it (it: the hologram which helps to identify fake units from real ones).
So, although my unit is only about 3 months old, I do not suspect the hologram logo will prevail in the long term. I'm already planning on ordening extra CUs, just because of practicality, not because it affects function.
Talking about function, one of the "teeth" from the straw in the CU (the bit used to inhale the vapor) broke off last time I was taking it apart to clean, but it still seems to work well. I don't think there's a need to contact S&B for that, I don't want my Mighty to be taken away!
Questions:
I'm collecting the ethanol (high proof alcohol) that I use to clean my unit, with the purpose of: either adding it to a drink (green dragon style), or evaporate the ethanol and have a bit of goo reclaim to play with. Any advice, suggestions, warnings?
"Talking about function, one of the "teeth" from the straw in the CU (the bit used to inhale the vapor) broke off last time I was taking it apart to clean, but it still seems to work well. I don't think there's a need to contact S&B for that, I don't want my Mighty to be taken away!"
I'm going to the store for a Mighty. How do I know if they are selling me a recent updated version or if it's old stock without buying it first?
What serial number range should I look for?
Edit:
so I went to the store and was looking for 16000+ serial number and it wasn't anything close it was like MY8N6U or something like that. She said the unit was at least a year old. Didn't buy it.
The Mighty's that have all numerals after "MY" are the older ones.@exime interesting. I just got a brand new warranty replacement from S&B and it had the alphanumeric SN. I haven't been on here in a while, but is that the consensus, that these are the older units?
edit: MY4HWXXX