Been using the HI close to a year and I wanted to do a little review plus share some thoughts on it.
To begin with Alan is excellent to deal with, offers a ton of options and has very economical logs. Shipment to EU was no problem at all, I paid $184 all in. Got the 7/16", cartridge heater, ss heater cover, square HI plus the ss stem (comes standard), two 5" glass stems and two 3" glass slit end concentrate tubes (plus a VVPS). I've been using it exclusively through a bubbler as you can see below (excuse the
filthiness).
I have only been using the glass stem as I prefer the all glass vapor path. Both flat and basket screens work excellent.
My heater is on the powerful side, so I run it between 9.7-10.8V (8.2-10.1W). It's perfect for my way of medicating, as I can finish a bowl in 2 powerful, tasty hits. My bows are pretty small, at most I will fill the whole basket screen to the top. Loving it this way.
Edit: ABV after two hits
Some thoughts on its use-
- You definitely need a wattage meter to use it properly (Alan explained it to me when ordering). What you really care about is how much power the heater is drawing and wattage is more representative than voltage. I've been using a power meter (like a Kill A Watt).
- Voltage drift is normal. I always set it ~0.3V higher when first plugging it in.
- Heatsoaking works wonders. I leave mine on for ~15m before taking the first hit.
- You can't do back to back hits (at least in my way of roasting), but due to its quickly replenishable small thermal mass you can hit it again in 30-60s.
- The power jack connection on the HI can be fiddly. It's very easy to see with a watt meter, as turning the jack around in its socket can vary the wattage greatly, up to 1W. When your whole range from super low to combustion is 2W total, that can be a problem. Alan notes a solution here, it helped a bit.
There is a strip of metal inside the power socket that touches the outside of the plug barrel. If you gently pry it towards the center pin using a tiny screwdriver, it will make better contact when you plug in the extension cord. Send me an email if you are still having issues.
Another trick I've been using is pulling the jack out to the point where there is the most friction, meaning there is very good contact between the contacts. You can see my example below. Using it this way the wattage stays rock solid.
- The roast can be a little centralized using the glass stem. Mainly an issue with the flat screens, basket ones work much better. See image below.
Edit: added second image showing results with a basket screen.
- Only things that need cleaning is the stem, the screen and your water piece. All of which can be cleaned perfectly thoroughly and quickly with iso.
It's an excellent device and I love using it. Powerful, tasty, economical, great craftsmanship.
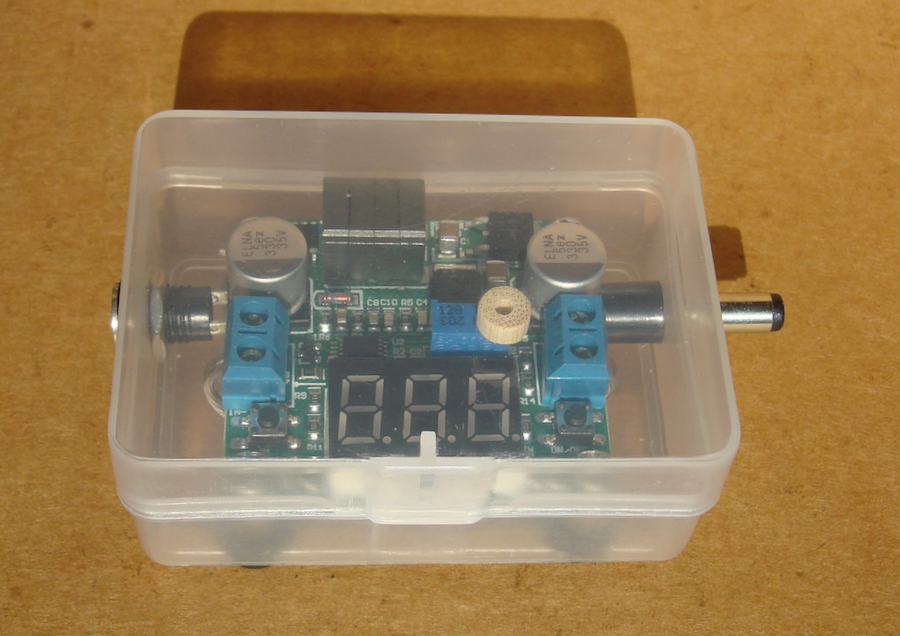
The only negative in the whole experience has been the VVPS. Not Alan's fault obviously, it's a standard budget model that he sells for your convenience; you can use your own. It simply doesn't have the resolution necessary to unlock the full potential of the HI. I think something like the
Advanced Telemetry Module by REFC Labs would work brilliantly.


 I then tried to pull off the heater cover (the metal tube inside the HI) but there was a fair amount of resistance and I stopped worrying I might tear out some wire.