I had the good fortune to work with Ryan at RBT on the Mi-log project which gave me access to his high surface area heaters in exchange for a voltage controller with digital display and cord set solution. A suitable voltage controller was found and modified to accept plugs from a cord set. Subsequently, there was a desire for a voltage controller that was based on the OKR 50 watt chip and using a single plug cord rather than two separate plugs. While researching OKR chip circuits, I discovered a “pass through mod” that allows the use of a 12 volt supply to power a 510 cartridge.
Here is an example.
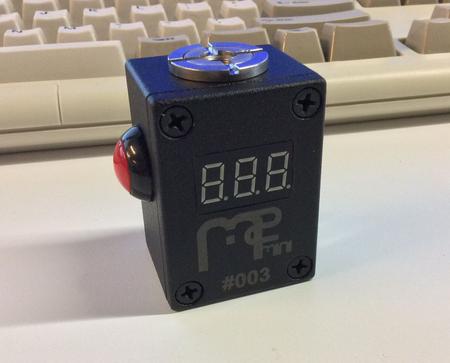
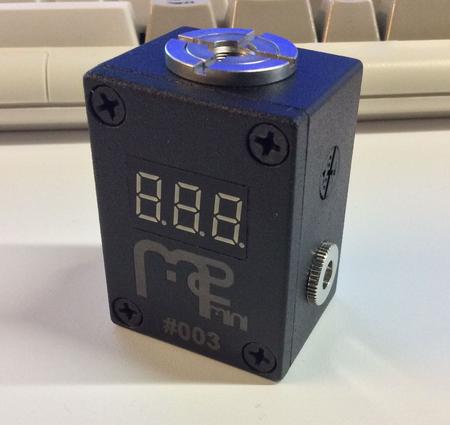
It got me to thinking that maybe it would be best to build the OKR chip into a 510 base unit so that a 510 heater cartridge could be threaded on. This approach eliminates the need for a heavy cord set between the power supply and heater. I had already been tinkering with wooden bodies for a 510 deck and 18mm glass fittings in anticipation of working with Ryan on the Mi-510 project, so the 510 cartridge was a natural progression. It had been agreed that I would be using different materials / techniques than Ryan for building my units. As such, the RBT Mi-log and the Insta Heat will now be taking separate paths.
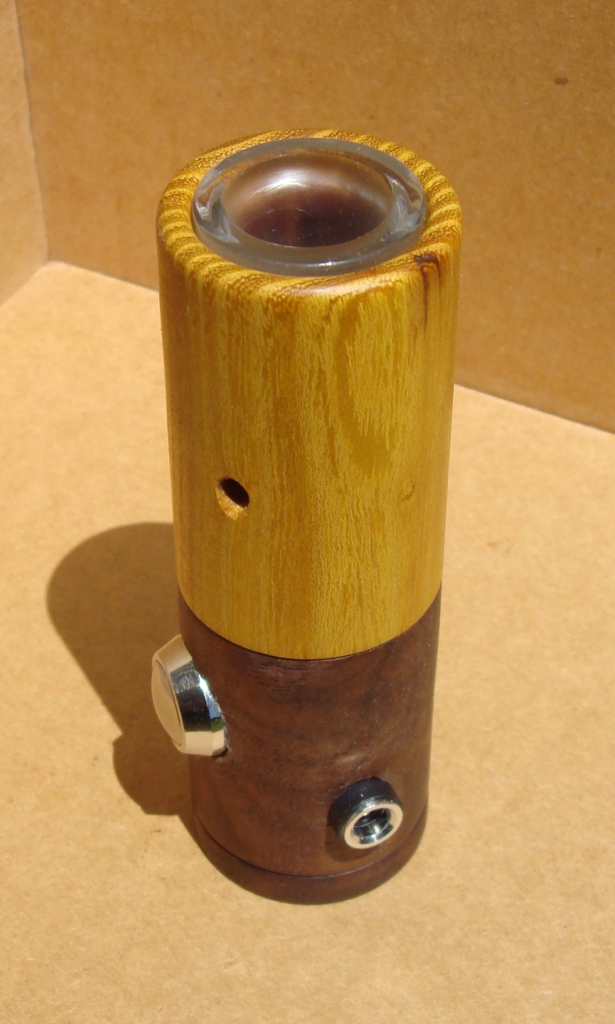
While waiting to get more heater assemblies from RBT, I thought about other ways to connect the wires to the heater and alternate heater configurations. Maximized surface contact between the wire and the heater is desired to reduce the contact resistance which produces waste heat. Each end of the heater screen is wrapped around the end of a wire and then mechanically fastened with a crimp. The heater assembly is coiled into a spiral shape and attached to the 510 deck connections. The spiral shape prevents it from shorting out so that no insulating materials are required. The heater is a different configuration than that provided to me by RBT for the Mi-log project. The air intake holes are located on the side of the 510 heater cartridge so that no air passes through the electronics in the base section. The 510 cartridge section does not get hot during use since the majority of the heat is used for roasting. The 18mm female glass fitting has a ss debris screen and is held firmly in place with a high temperature silicone sleeve that allows for some shock absorption in the event of a fall. The 510 deck is press fit into the wood body so that no glue is required for the heater cartridge assembly.
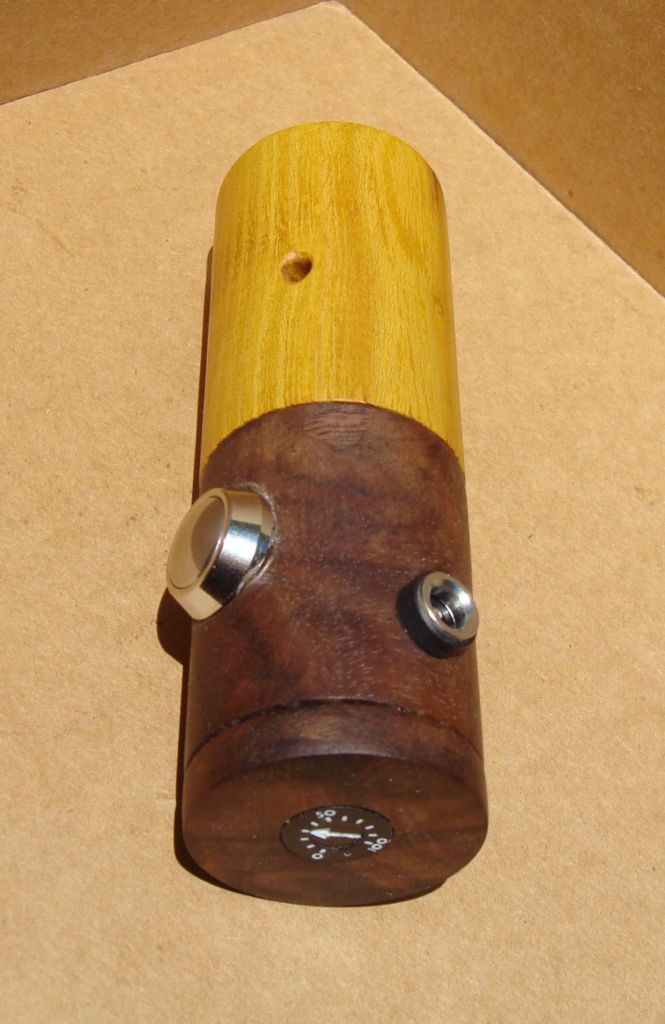
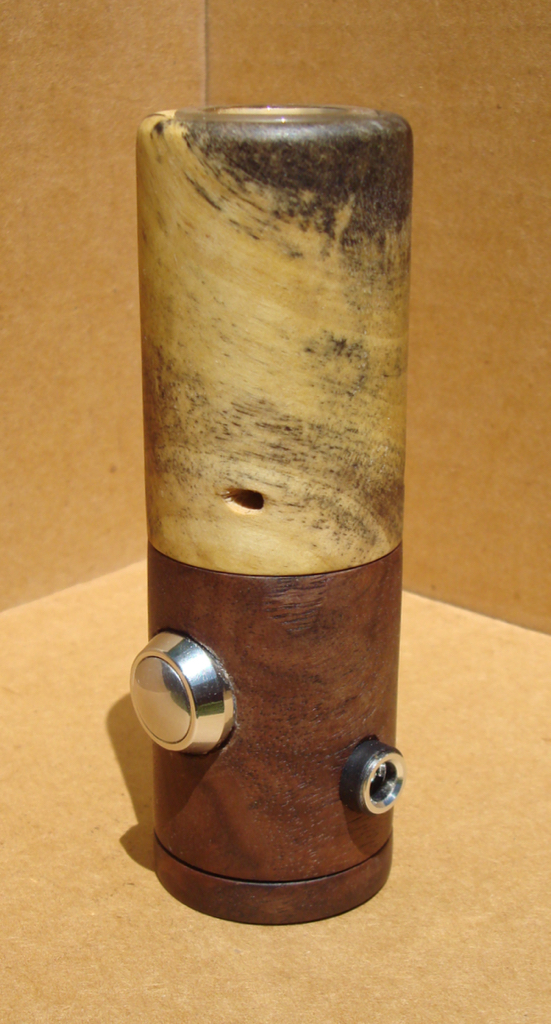
The heat truly is instantaneous. Just push the button and start drawing hot air through the roasting tube. A potentiometer is set into the bottom cap for adjusting the output voltage / power level. The bottom section is 2” tall and the top section is 2.25” tall for a total of 4.25” which is the same height as a Heat Island unit.
It works with 19/22 mm male end roasting tubes.
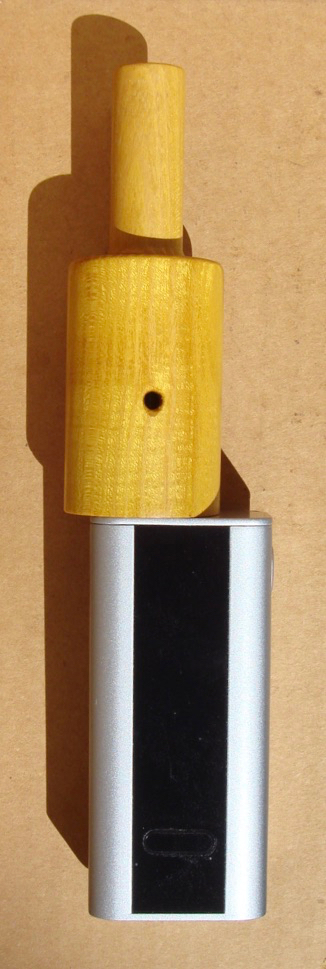
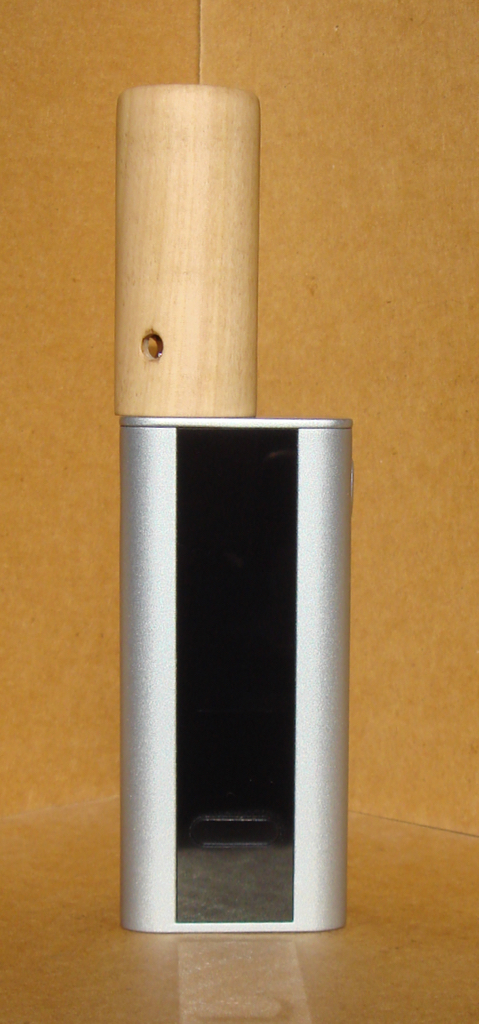
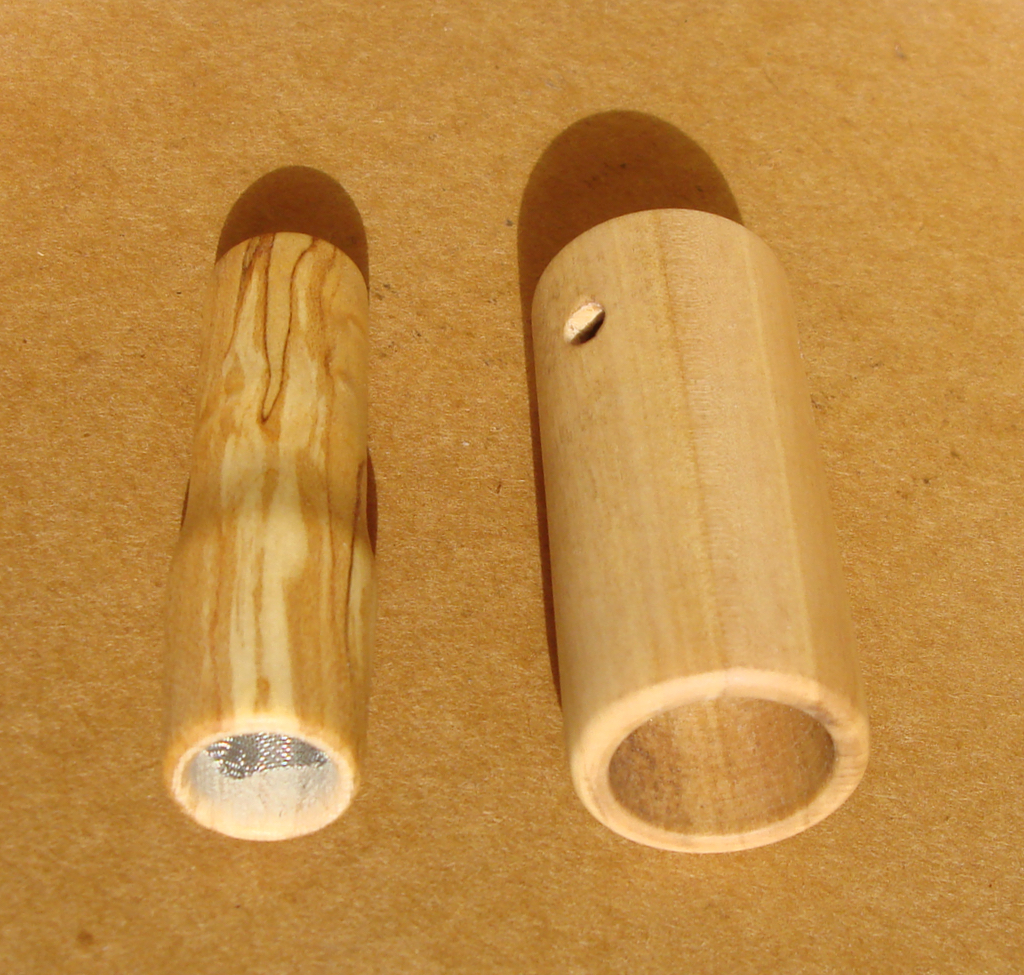
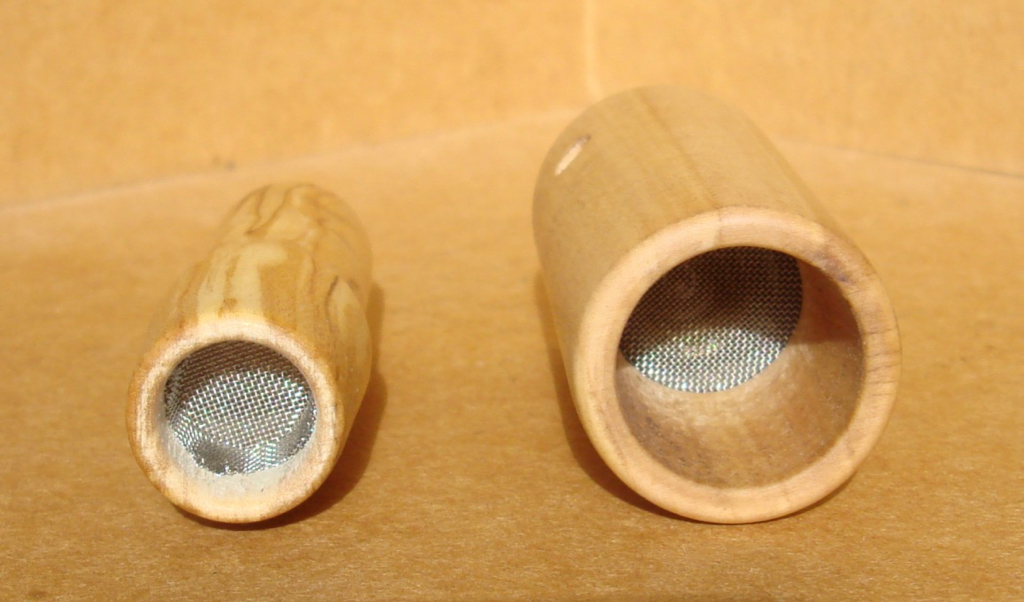
Here are a few shots of the Insta Heat.
The OKR chip connections are fairly simple for the pass through mod circuit. Butt splice connectors are crimped onto the OKR chip contacts so the connecting wires slide right in. The potentiometer is connected directly to the OKR chip and press fit into the bottom cap. A silicone sleeve holds the bottom cap in place, but I am looking for some small screws to hold it more securely. White glue would work, but then it will never come apart again.
This is the OKR chip assembly.
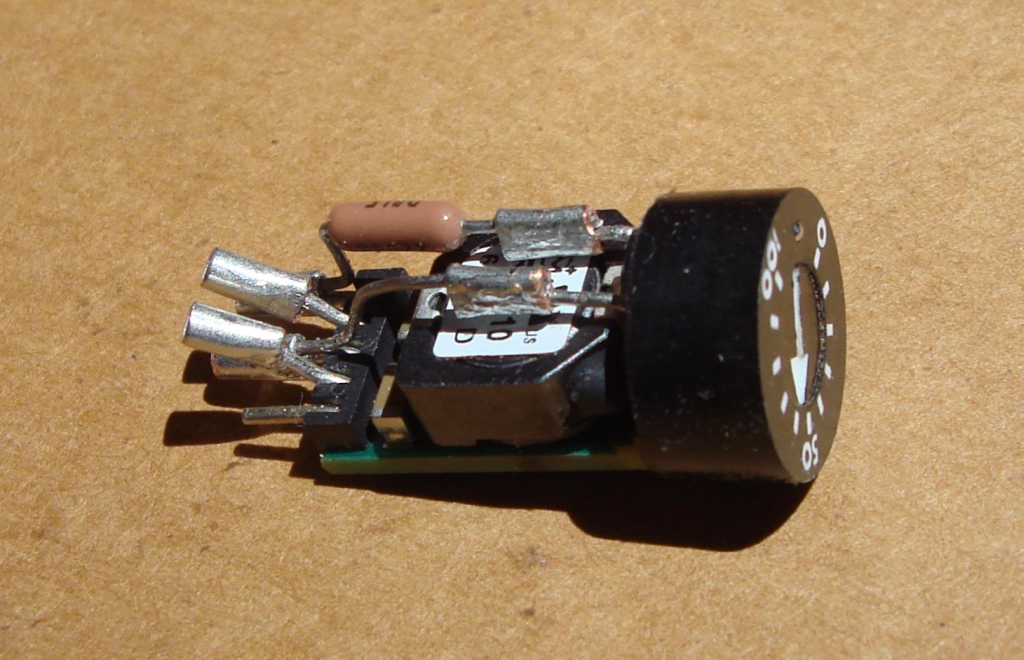
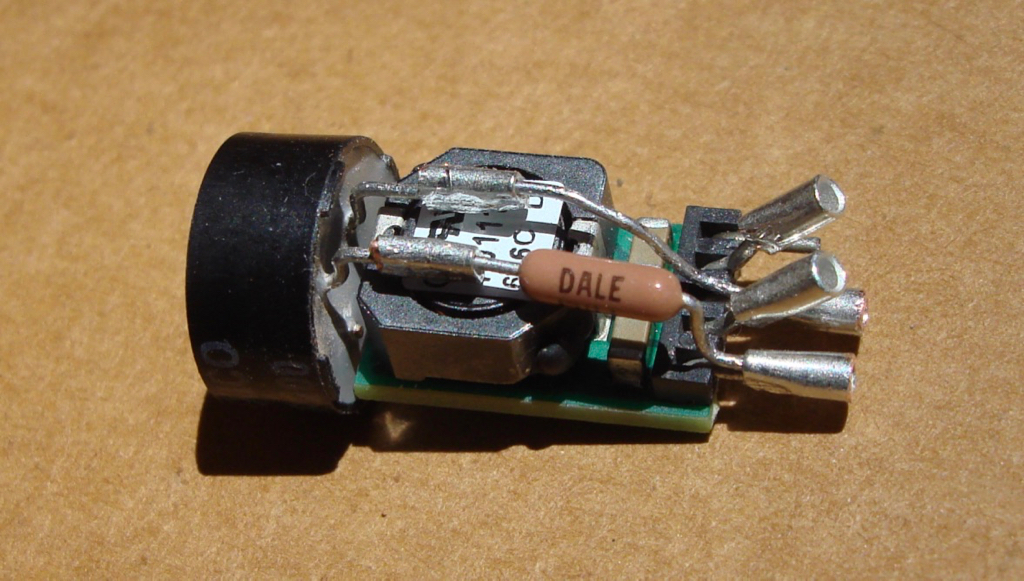
The assembly is about 1/2” in diameter and 1” long. About as small and simple as it can be.
The voltage range is currently about 3 to 6 volts, but can be changed by using a different value resistor.
A 12 volt power supply with a minimum of 6 amps is needed for the Insta Heat. A standard DC extension cord can be used to extend the distance from the power supply.
The heater cartridge section can be used on any mod box / mechanical mod with a 50 watt or greater capacity to make it a portable. Lower capacity boxes may provide slightly lower performance.
Insta Heat units will only be available to those on the Heat Island waiting list for now. If you aren’t on the list, please send me an email to alan@toasty-top.com so I can get you on it. The only cost is your patience.
Thanks to Ryan for inspiring me to create the Insta Heat. I hope they will be a benefit to all future owners.
Here is an example.


It got me to thinking that maybe it would be best to build the OKR chip into a 510 base unit so that a 510 heater cartridge could be threaded on. This approach eliminates the need for a heavy cord set between the power supply and heater. I had already been tinkering with wooden bodies for a 510 deck and 18mm glass fittings in anticipation of working with Ryan on the Mi-510 project, so the 510 cartridge was a natural progression. It had been agreed that I would be using different materials / techniques than Ryan for building my units. As such, the RBT Mi-log and the Insta Heat will now be taking separate paths.
While waiting to get more heater assemblies from RBT, I thought about other ways to connect the wires to the heater and alternate heater configurations. Maximized surface contact between the wire and the heater is desired to reduce the contact resistance which produces waste heat. Each end of the heater screen is wrapped around the end of a wire and then mechanically fastened with a crimp. The heater assembly is coiled into a spiral shape and attached to the 510 deck connections. The spiral shape prevents it from shorting out so that no insulating materials are required. The heater is a different configuration than that provided to me by RBT for the Mi-log project. The air intake holes are located on the side of the 510 heater cartridge so that no air passes through the electronics in the base section. The 510 cartridge section does not get hot during use since the majority of the heat is used for roasting. The 18mm female glass fitting has a ss debris screen and is held firmly in place with a high temperature silicone sleeve that allows for some shock absorption in the event of a fall. The 510 deck is press fit into the wood body so that no glue is required for the heater cartridge assembly.
The heat truly is instantaneous. Just push the button and start drawing hot air through the roasting tube. A potentiometer is set into the bottom cap for adjusting the output voltage / power level. The bottom section is 2” tall and the top section is 2.25” tall for a total of 4.25” which is the same height as a Heat Island unit.
It works with 19/22 mm male end roasting tubes.
Here are a few shots of the Insta Heat.


The OKR chip connections are fairly simple for the pass through mod circuit. Butt splice connectors are crimped onto the OKR chip contacts so the connecting wires slide right in. The potentiometer is connected directly to the OKR chip and press fit into the bottom cap. A silicone sleeve holds the bottom cap in place, but I am looking for some small screws to hold it more securely. White glue would work, but then it will never come apart again.
This is the OKR chip assembly.


The assembly is about 1/2” in diameter and 1” long. About as small and simple as it can be.
The voltage range is currently about 3 to 6 volts, but can be changed by using a different value resistor.
A 12 volt power supply with a minimum of 6 amps is needed for the Insta Heat. A standard DC extension cord can be used to extend the distance from the power supply.
The heater cartridge section can be used on any mod box / mechanical mod with a 50 watt or greater capacity to make it a portable. Lower capacity boxes may provide slightly lower performance.
Insta Heat units will only be available to those on the Heat Island waiting list for now. If you aren’t on the list, please send me an email to alan@toasty-top.com so I can get you on it. The only cost is your patience.
Thanks to Ryan for inspiring me to create the Insta Heat. I hope they will be a benefit to all future owners.


