DIY Bulli Vaporizer

E0x

Well-Known Member
Hey a little knowledge for everyone, AWG means American wire gauge. They lower the number the thicker the wire is IE. 20awg is thicker then 22awg. Now this is relevant to these builds becuase the higher the gauge the more resistance IE. 22awg has more resistance then 20 awg. The lower the number means more surface area for heat transfer.

Hope that helps :)

I am still working on my rda build, just bought a cuboid for this reason. I am building a wood piece to hold all my glass together, I will post some pictures soon. I am having a hard time finding any wire at 22awg I can only find 24awg. I'm in Canada so amazon.CA doesn't have a quarter of the inventory .com does :( .
thank a lot ,

i feel you about the amazon thing .
 
E0x,

StonerSloth

cui bono?
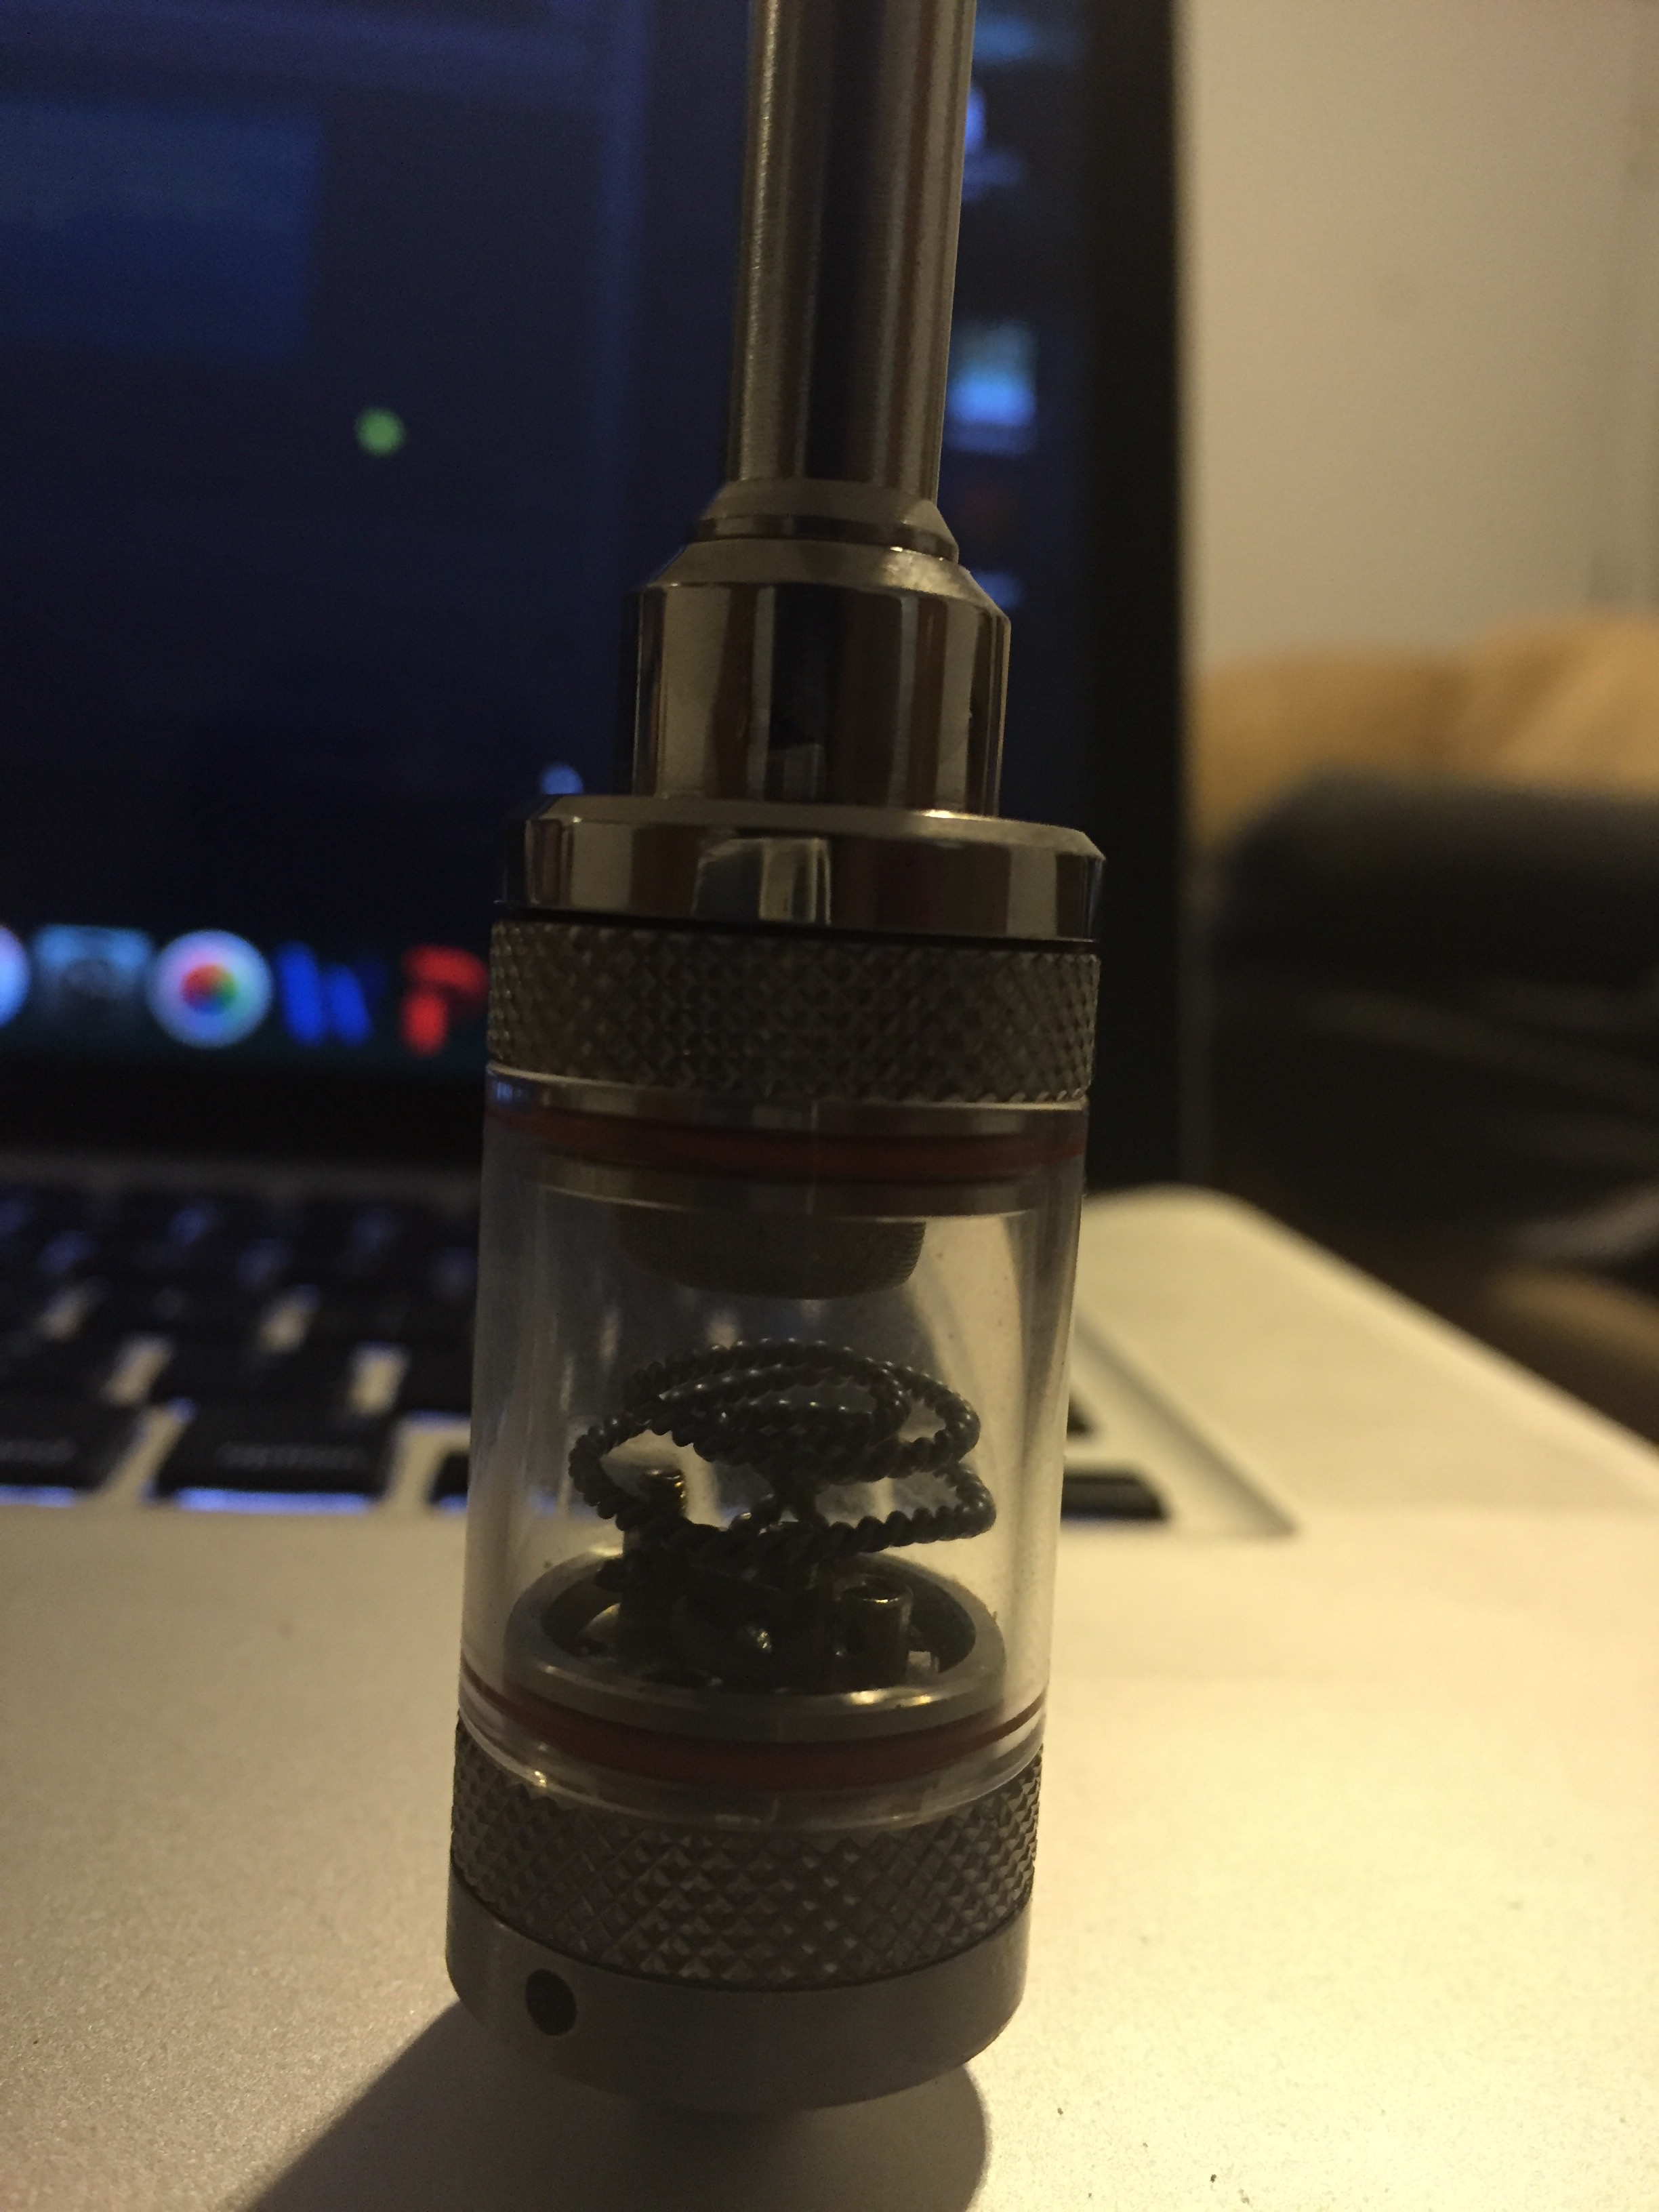
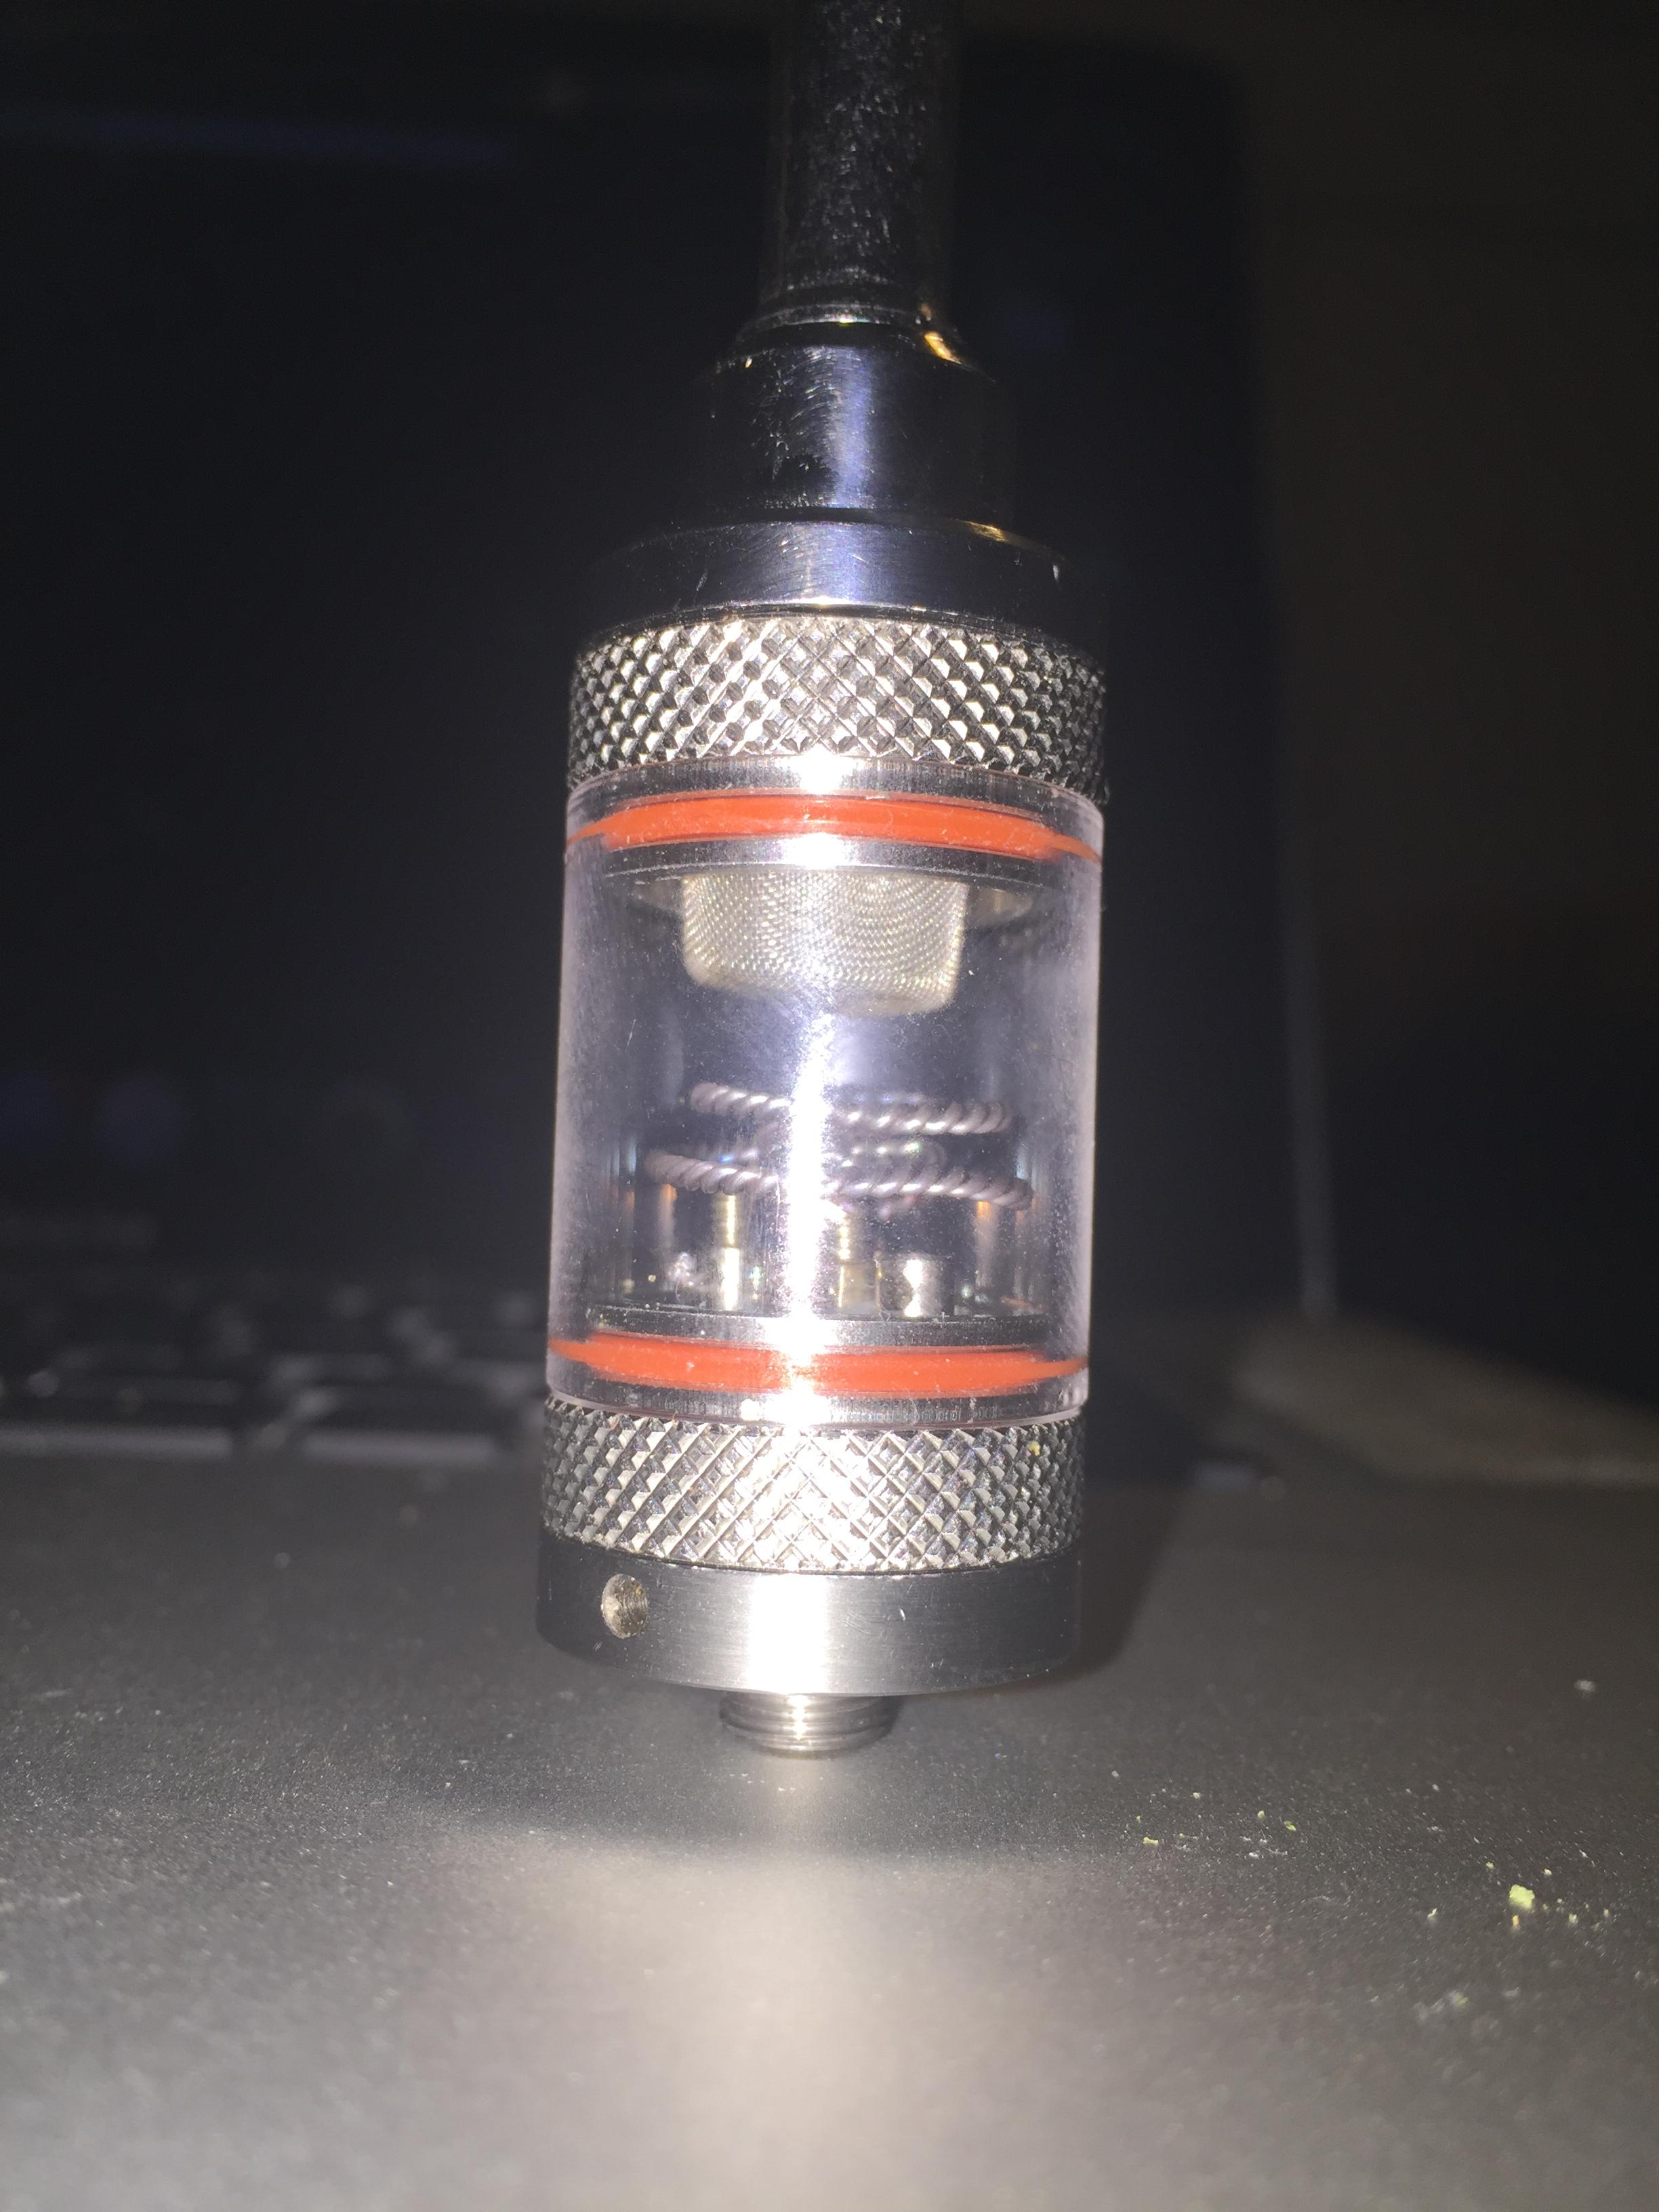
I finally got some 22 ga Ti wire around those tiny little Kayfun screws. I'm running a modest 0.35 ohm coil similar to, but a bit taller than, @Pipes' coil-in-a-coil design. I am also waiting on some SS wire.

As expected, the Kayfun Mini is a very good platform to work with. The tall heating chamber leaves a bit of airspace between the heating element and the screen/load. This airspace helps heat the load more evenly by preventing hot spots, although it does waste some useful energy... I've got to crank the TCR a bit to get the temps I need, but my load is cooking a lot more evenly after some limited testing. Also possibly relevant is that the Kayfun mini weighs twice as much as the Bulli. Heating up all this stainless definitely wastes some energy, but I wonder if I may get a bit of conduction going on during a longer session...???

Regarding the Cloud EVO ELB's - I have some of these on hand to try, as well as some PnP bullet cartridges, but I believe that Pipes discovered much earlier in this thread that anything metal in the heating chamber robbed a bunch of heat from the load, similar to above. This wouldn't matter in a powerful monster like an EVO, but in an instant-on portable with a puny little resistance wire heating element, I think it is a real concern. I did try one brief session with a Pnp cartridge in my Bulli and I couldn't get any vapor. But that was before the eVic mini upgrade/TCR.


I'm not ready to give up my other vapes just yet, but we may almost be ready for day-to-day portable service.
 

E0x

Well-Known Member
I finally got some 22 ga Ti wire around those tiny little Kayfun screws. I'm running a modest 0.35 ohm coil similar to, but a bit taller than, @Pipes' coil-in-a-coil design. I am also waiting on some SS wire.

As expected, the Kayfun Mini is a very good platform to work with. The tall heating chamber leaves a bit of airspace between the heating element and the screen/load. This airspace helps heat the load more evenly by preventing hot spots, although it does waste some useful energy... I've got to crank the TCR a bit to get the temps I need, but my load is cooking a lot more evenly after some limited testing. Also possibly relevant is that the Kayfun mini weighs twice as much as the Bulli. Heating up all this stainless definitely wastes some energy, but I wonder if I may get a bit of conduction going on during a longer session...???

Regarding the Cloud EVO ELB's - I have some of these on hand to try, as well as some PnP bullet cartridges, but I believe that Pipes discovered much earlier in this thread that anything metal in the heating chamber robbed a bunch of heat from the load, similar to above. This wouldn't matter in a powerful monster like an EVO, but in an instant-on portable with a puny little resistance wire heating element, I think it is a real concern. I did try one brief session with a Pnp cartridge in my Bulli and I couldn't get any vapor. But that was before the eVic mini upgrade/TCR.


I'm not ready to give up my other vapes just yet, but we may almost be ready for day-to-day portable service.


please can you share some pics of your setup , thanks.
 
E0x,

enjiatt

Well-Known Member
@StonerSloth I am absolutely loving this kayfun mini!!! Right now it is for sure staying in the mix somehow. It just works!!! I mean great flavor. And the best part is that i'm using a tiny coil, maybe .20 ohms!!! 1-2 second heatup time for the coil.
I think because im using less metal there is less of a metal taste in terms of the coil.

AkXYMG6.jpg


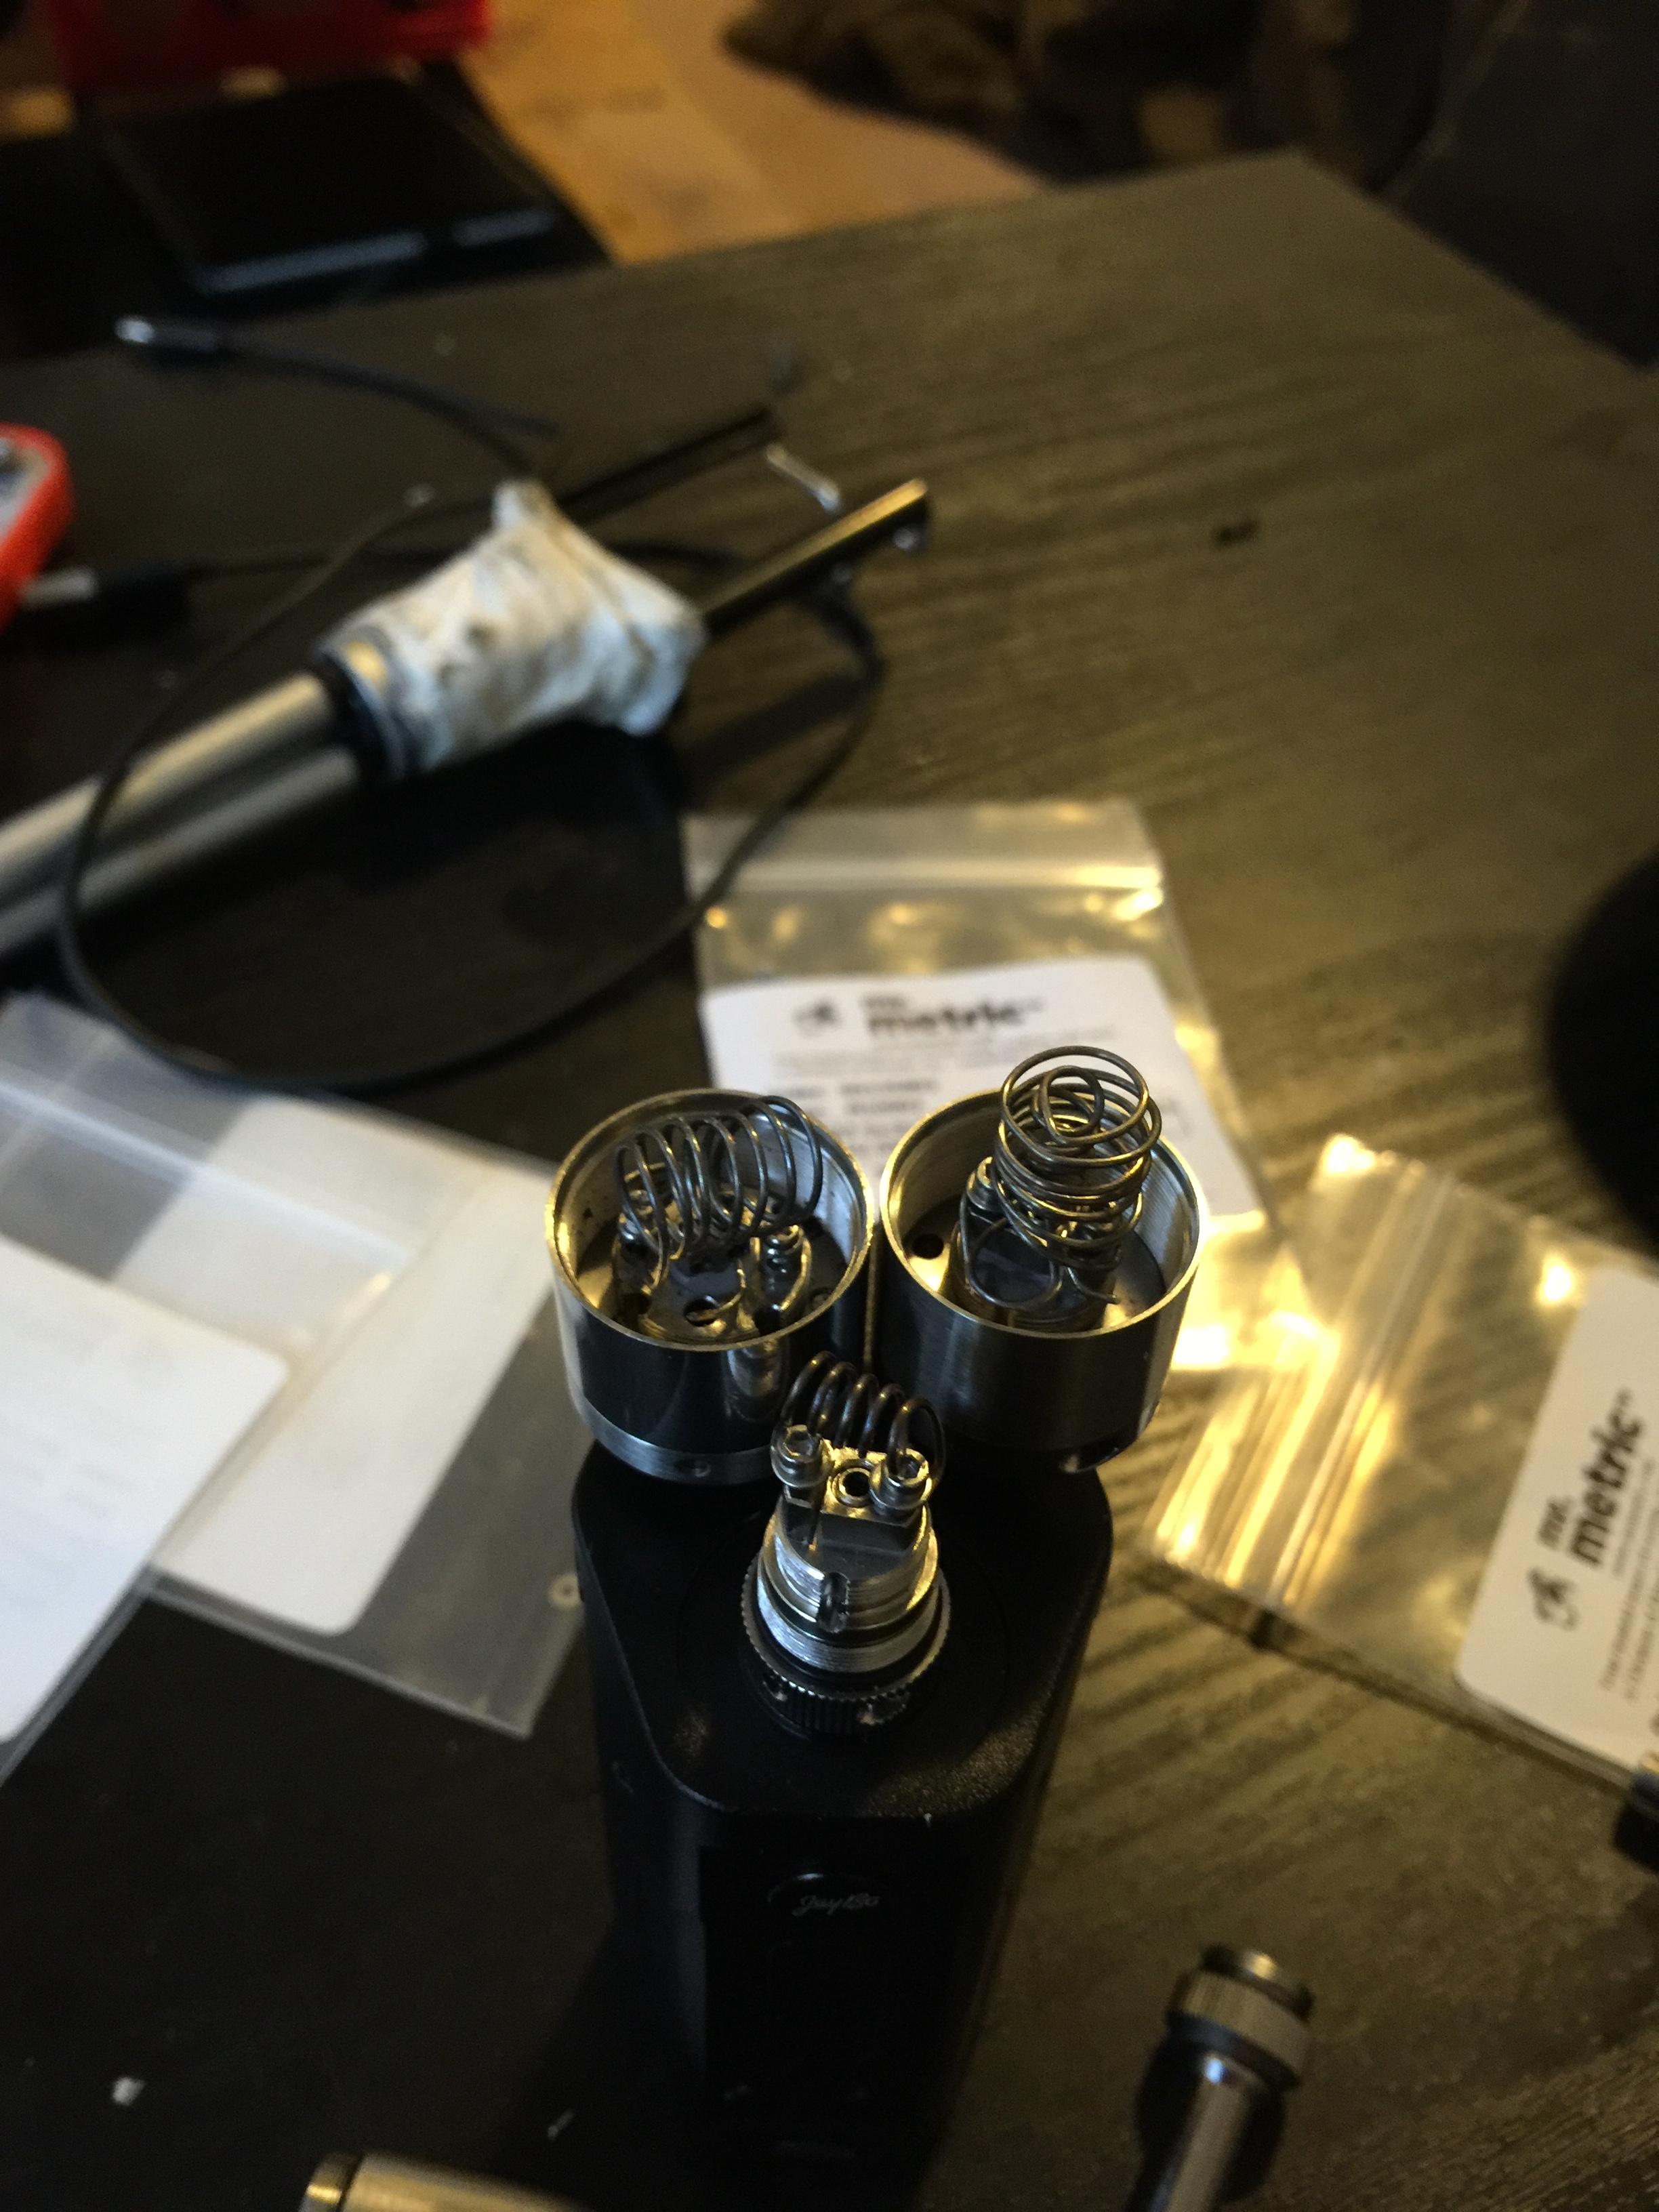
This is all that im using. I just think this design is easy to deal with and easier (still not easy) to set the coils. This coil is really easy not to short. I get great clouds around 530F to 560F at a TCR of 250. The wattage is set to an 80w max. Im thinking I need to raise the TCR so that my temp range is a little wider. Or maybe I just need to lower the wattage??? im not really sure.

BDdVhM5.jpg


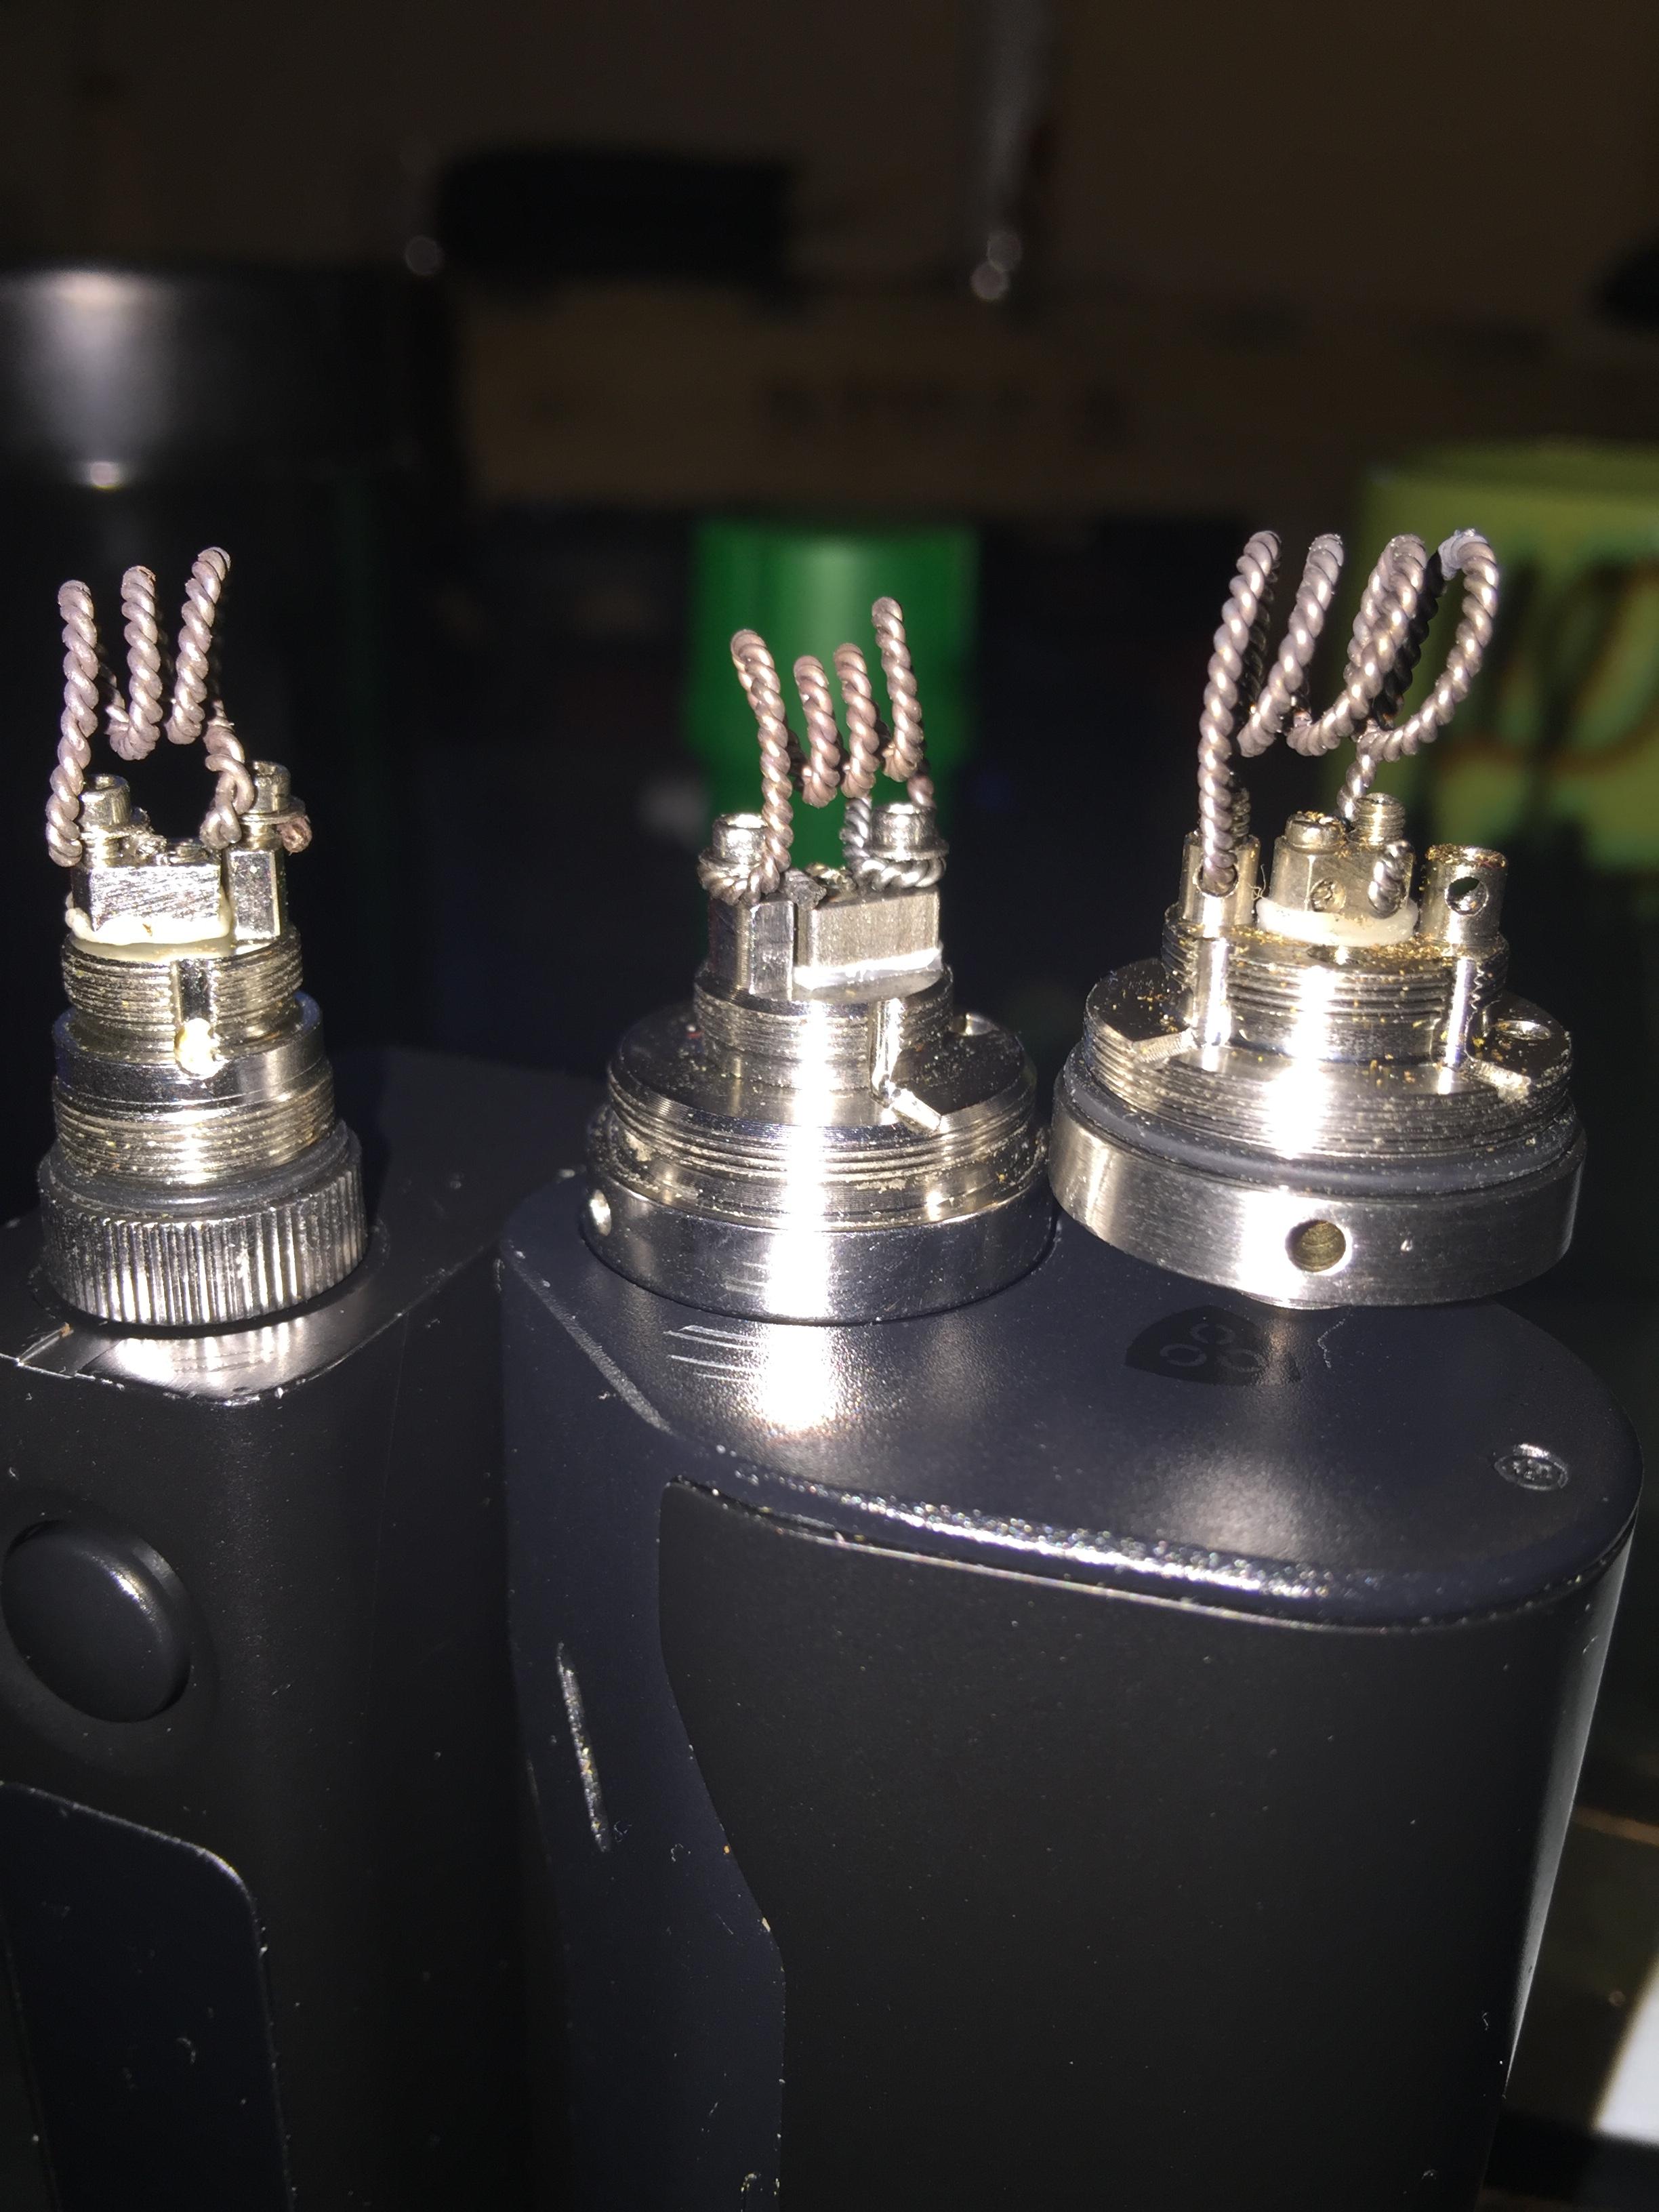
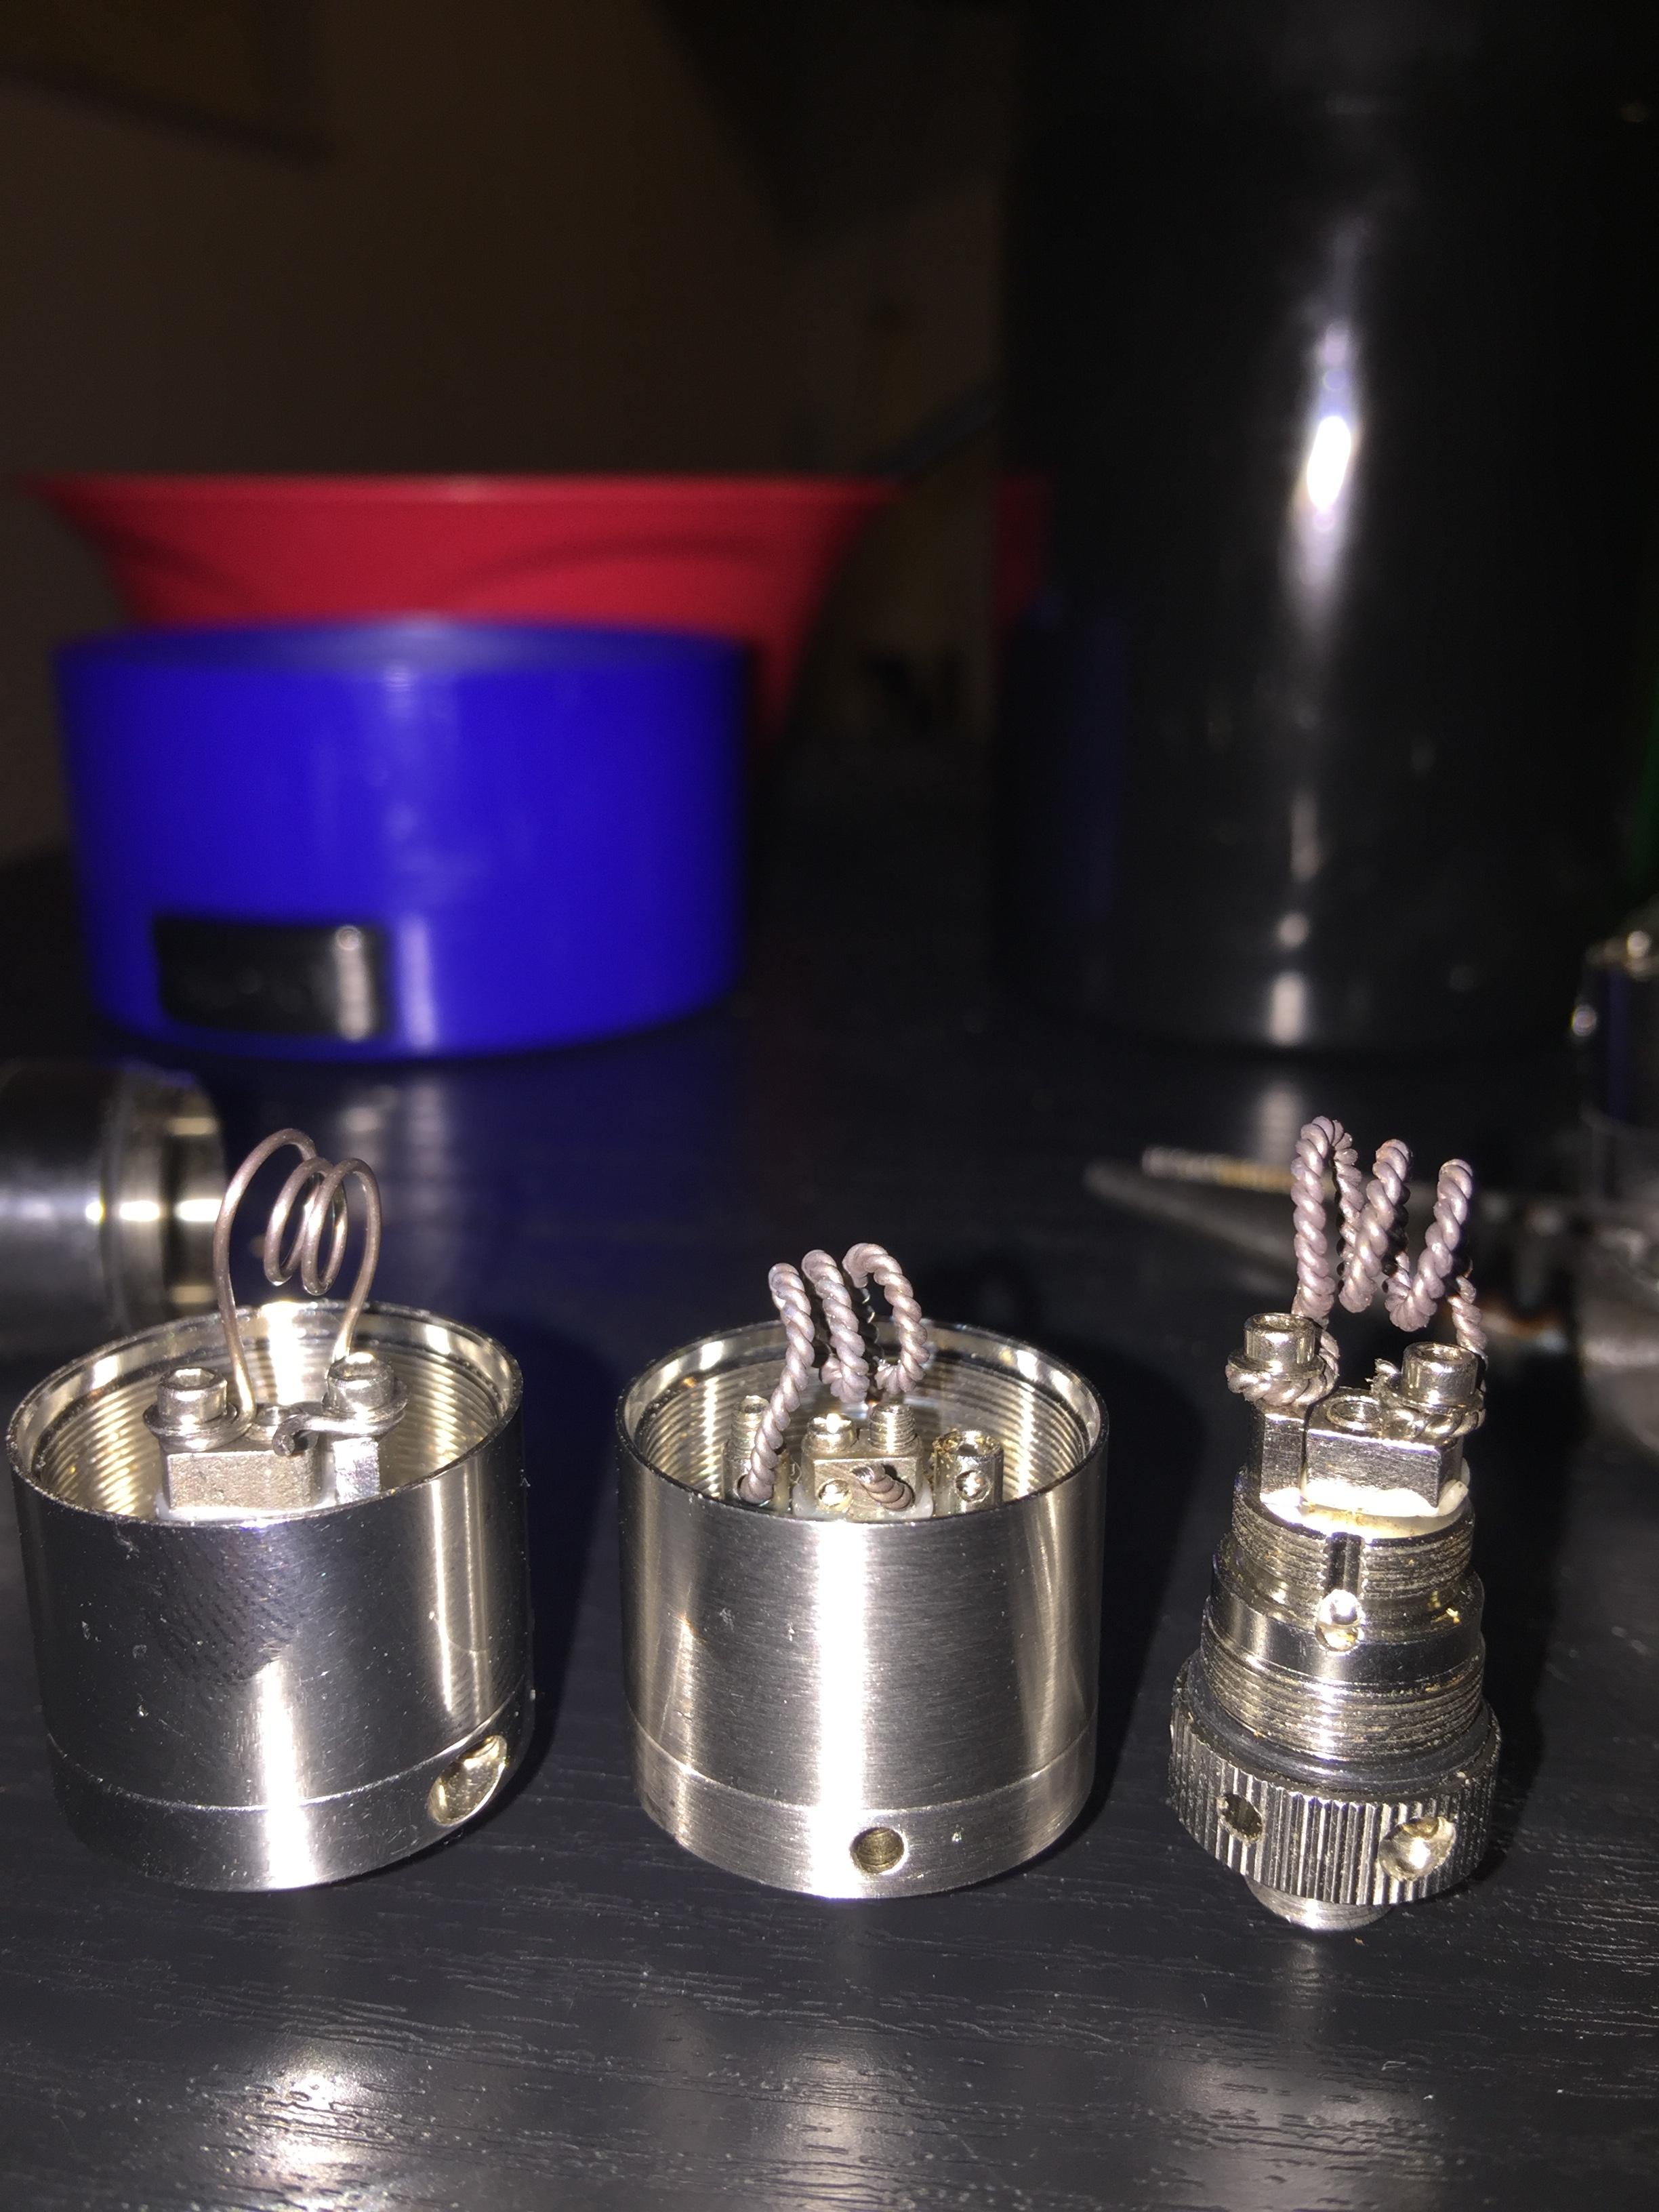
Im actually only using the middle coil and the left coil. The top right was changed to the one that I am using on the mini. Honestly the small one works the best right now. But the others are working great too. Cant really complain.

vqhYReI.jpg


the two pieces are basically bullets for this kayfun mini. It makes it really easy to load super quick. I was really surprised that the taste was so good.

I have a few glass ideas for all of the people that are wanting some type of 90 percent glass setup.

GGeXHFl.jpg

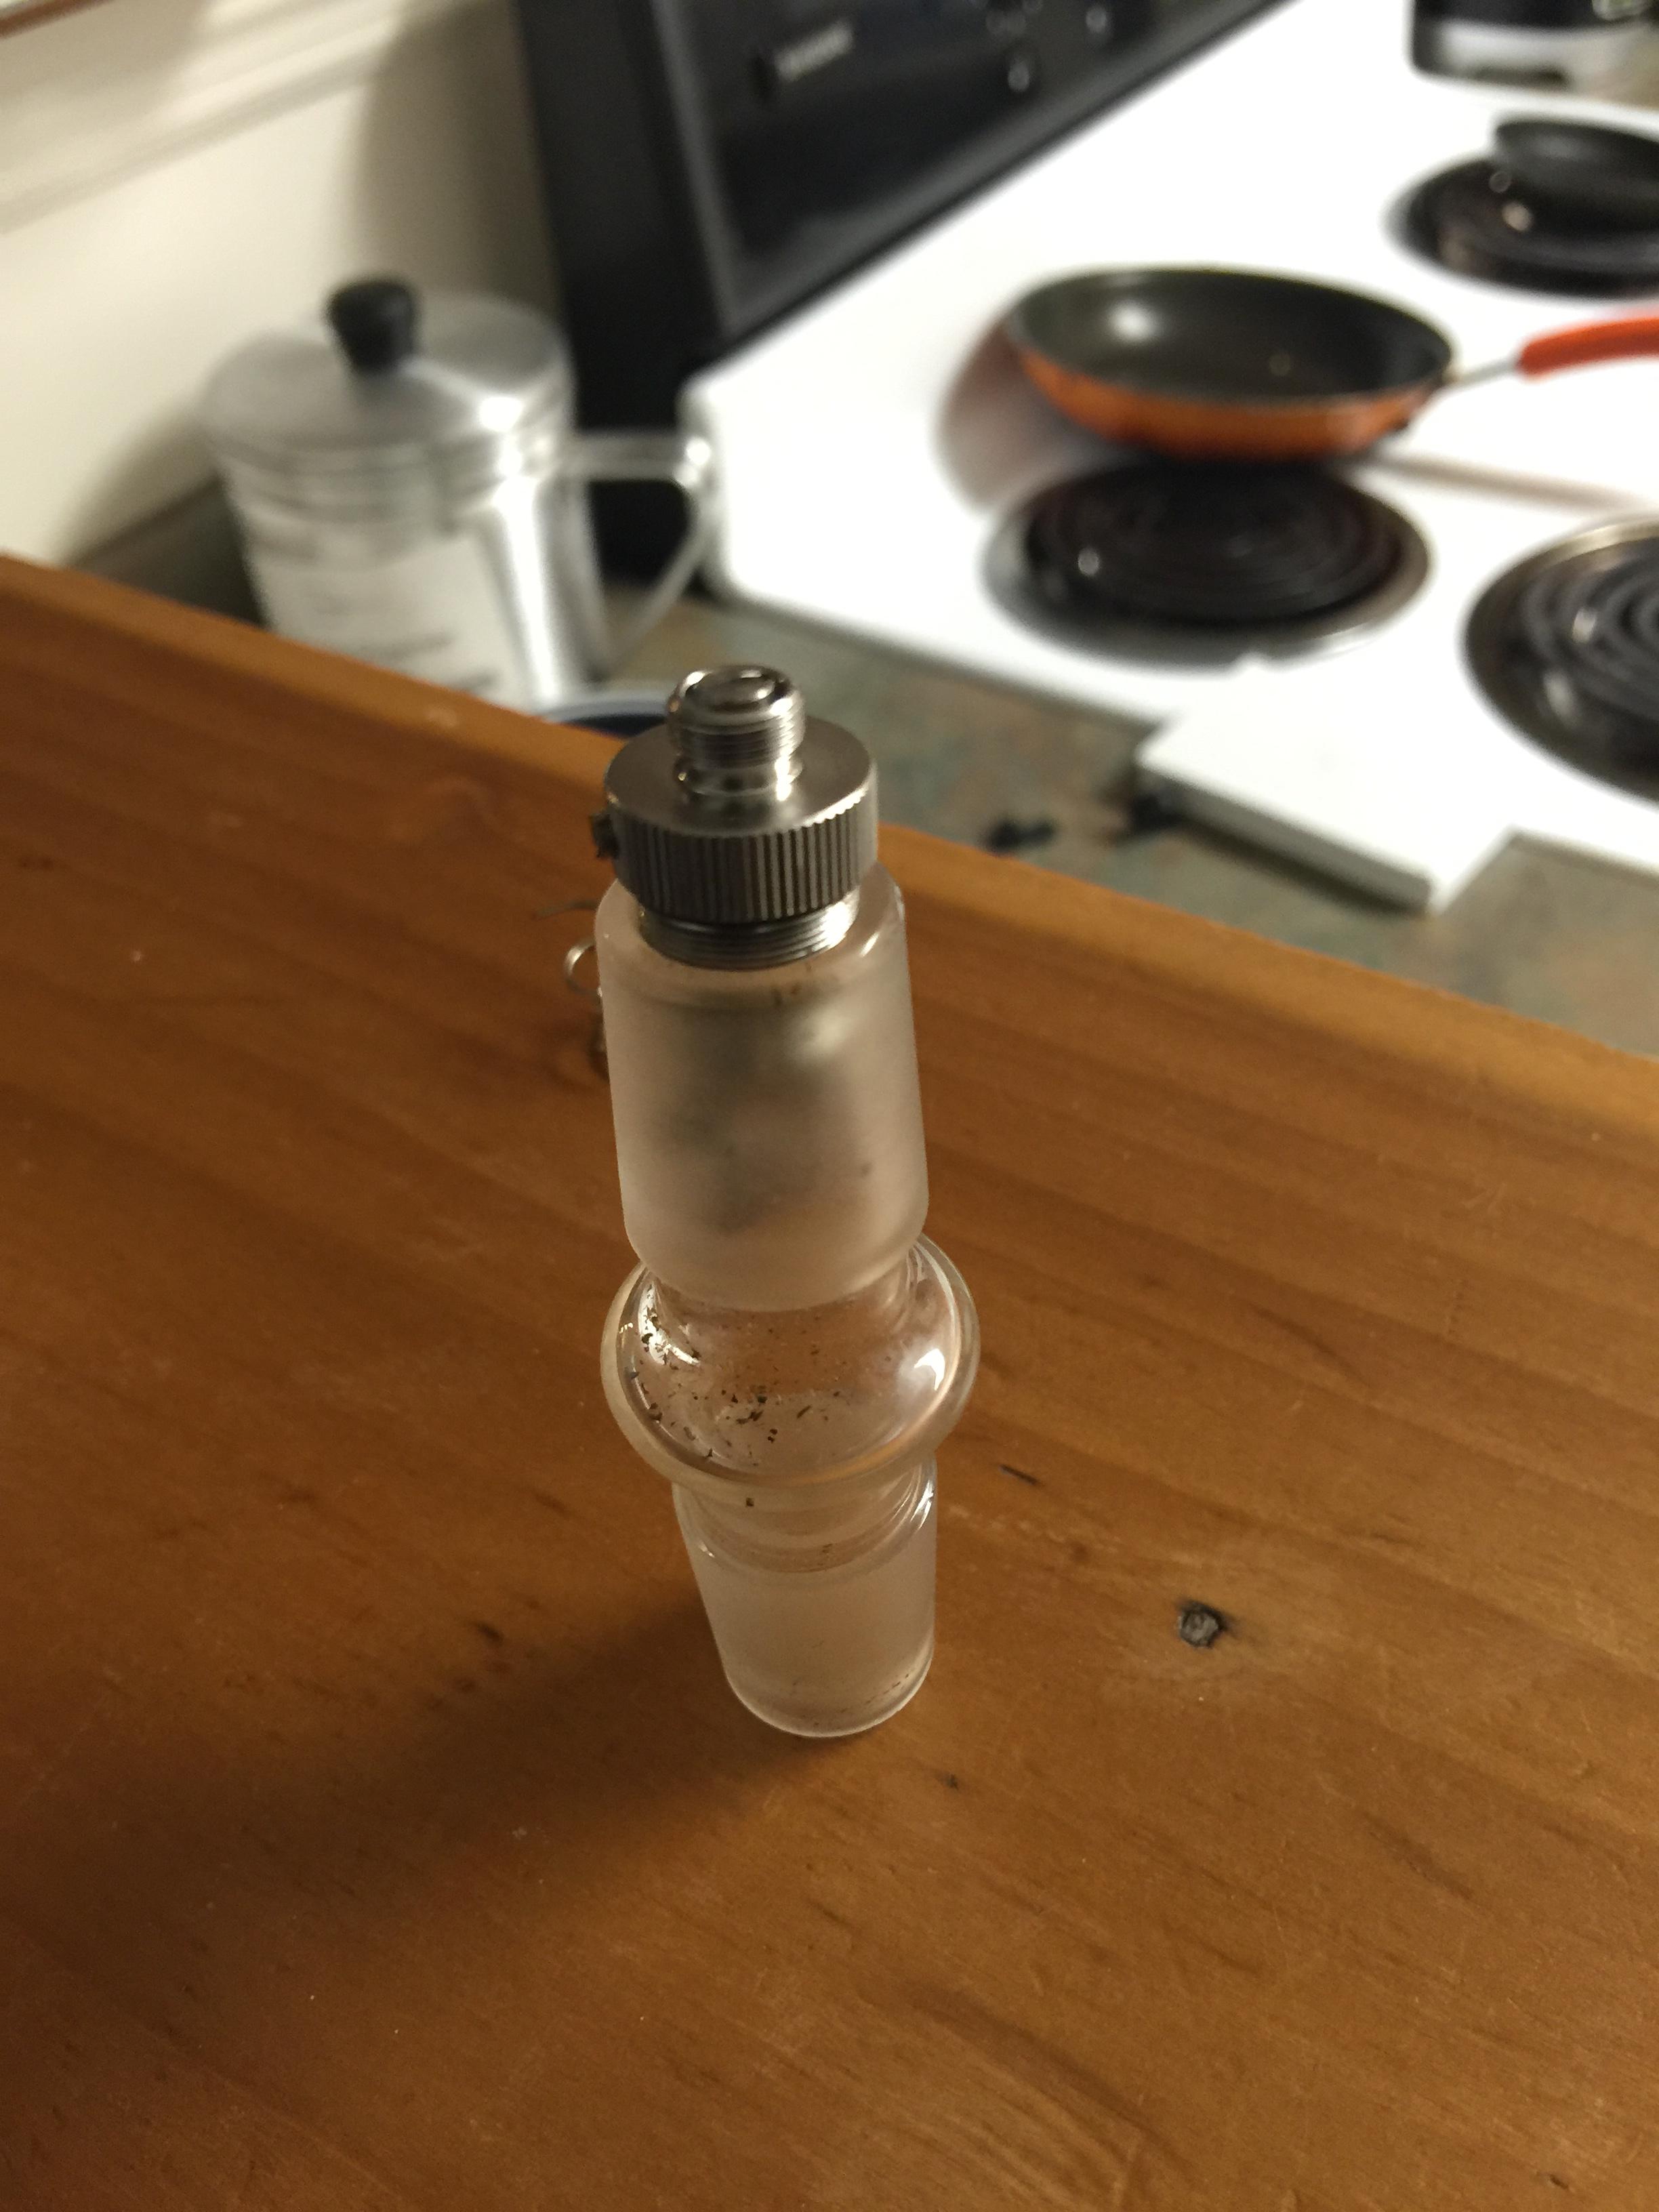
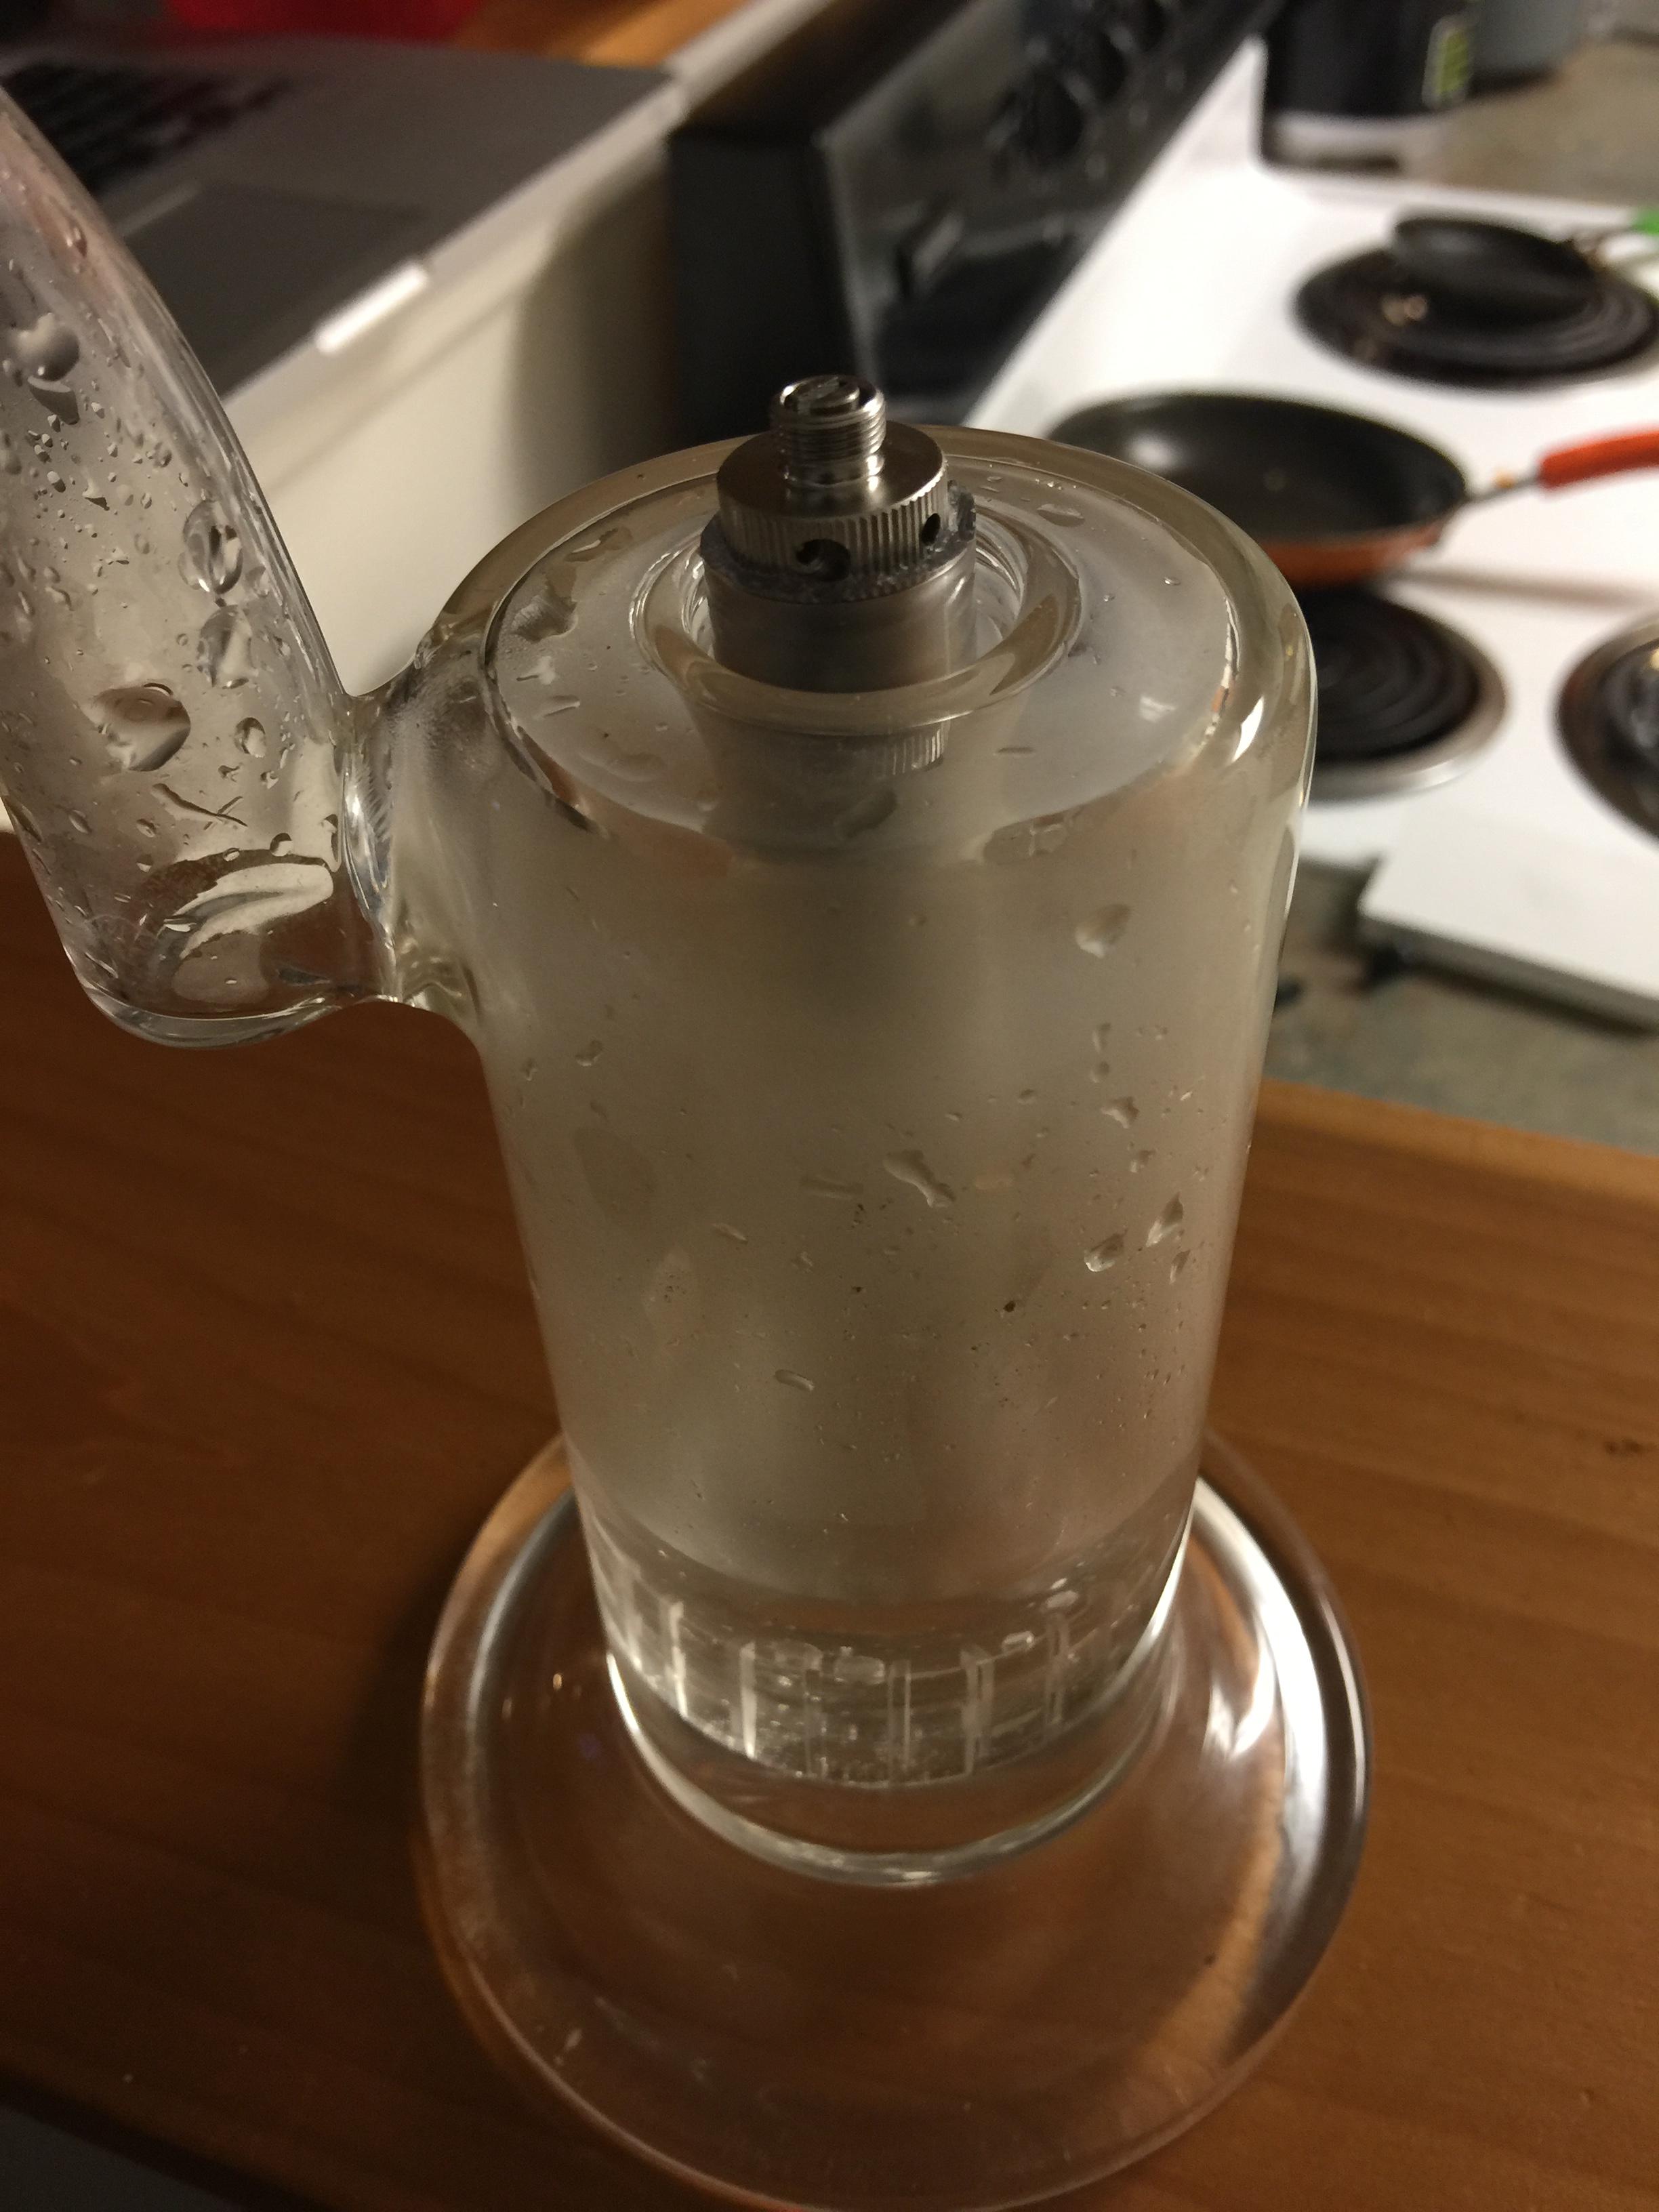
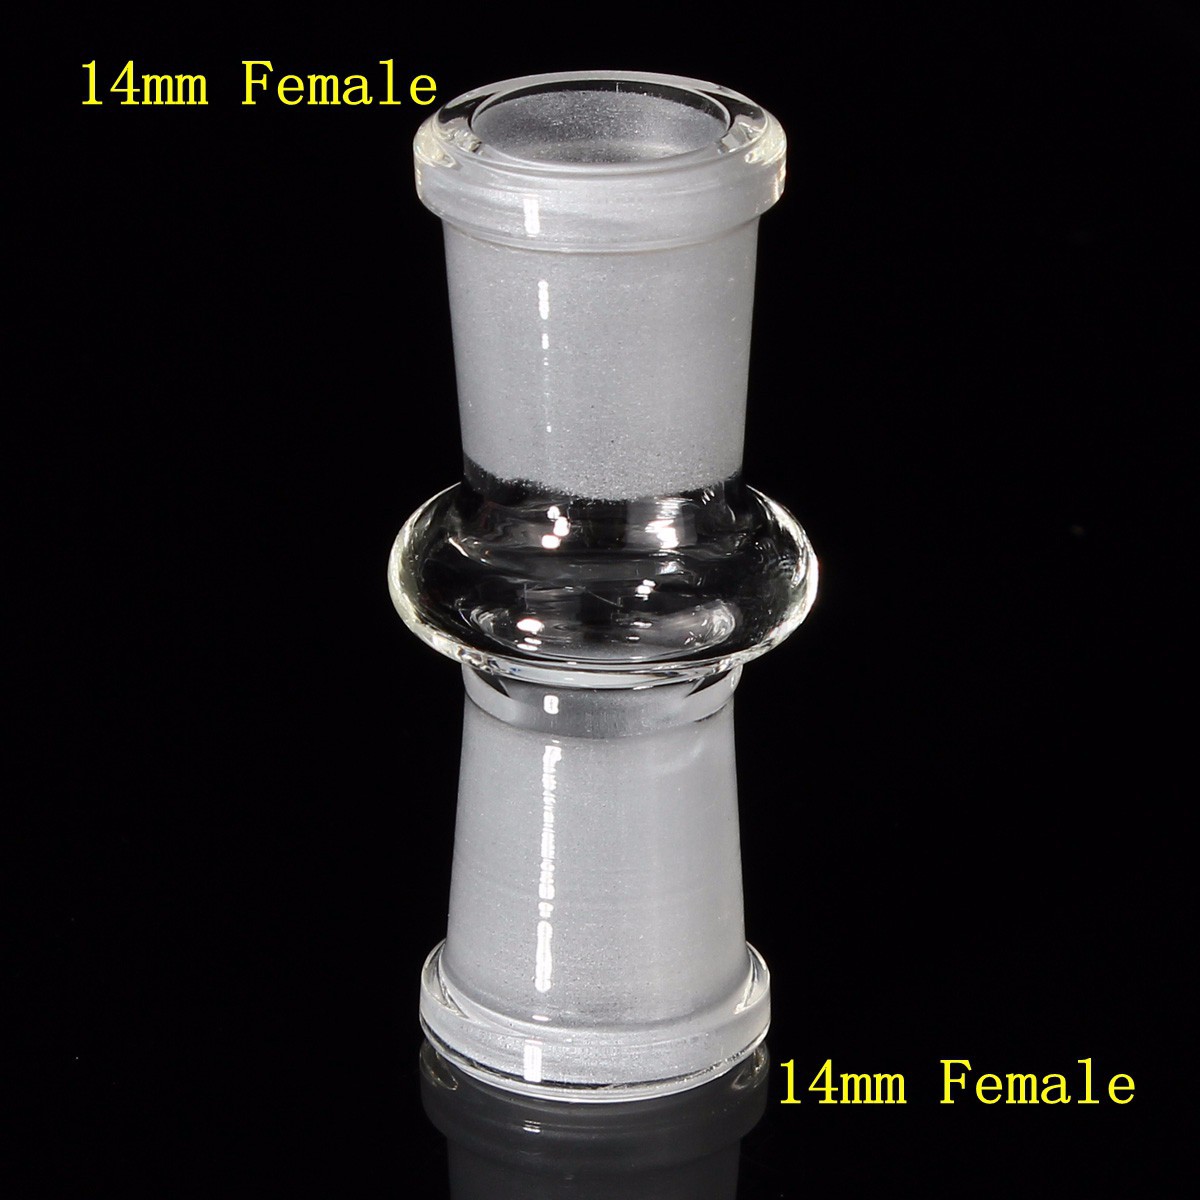
14mm female joint

j4Pg2Fm.jpg

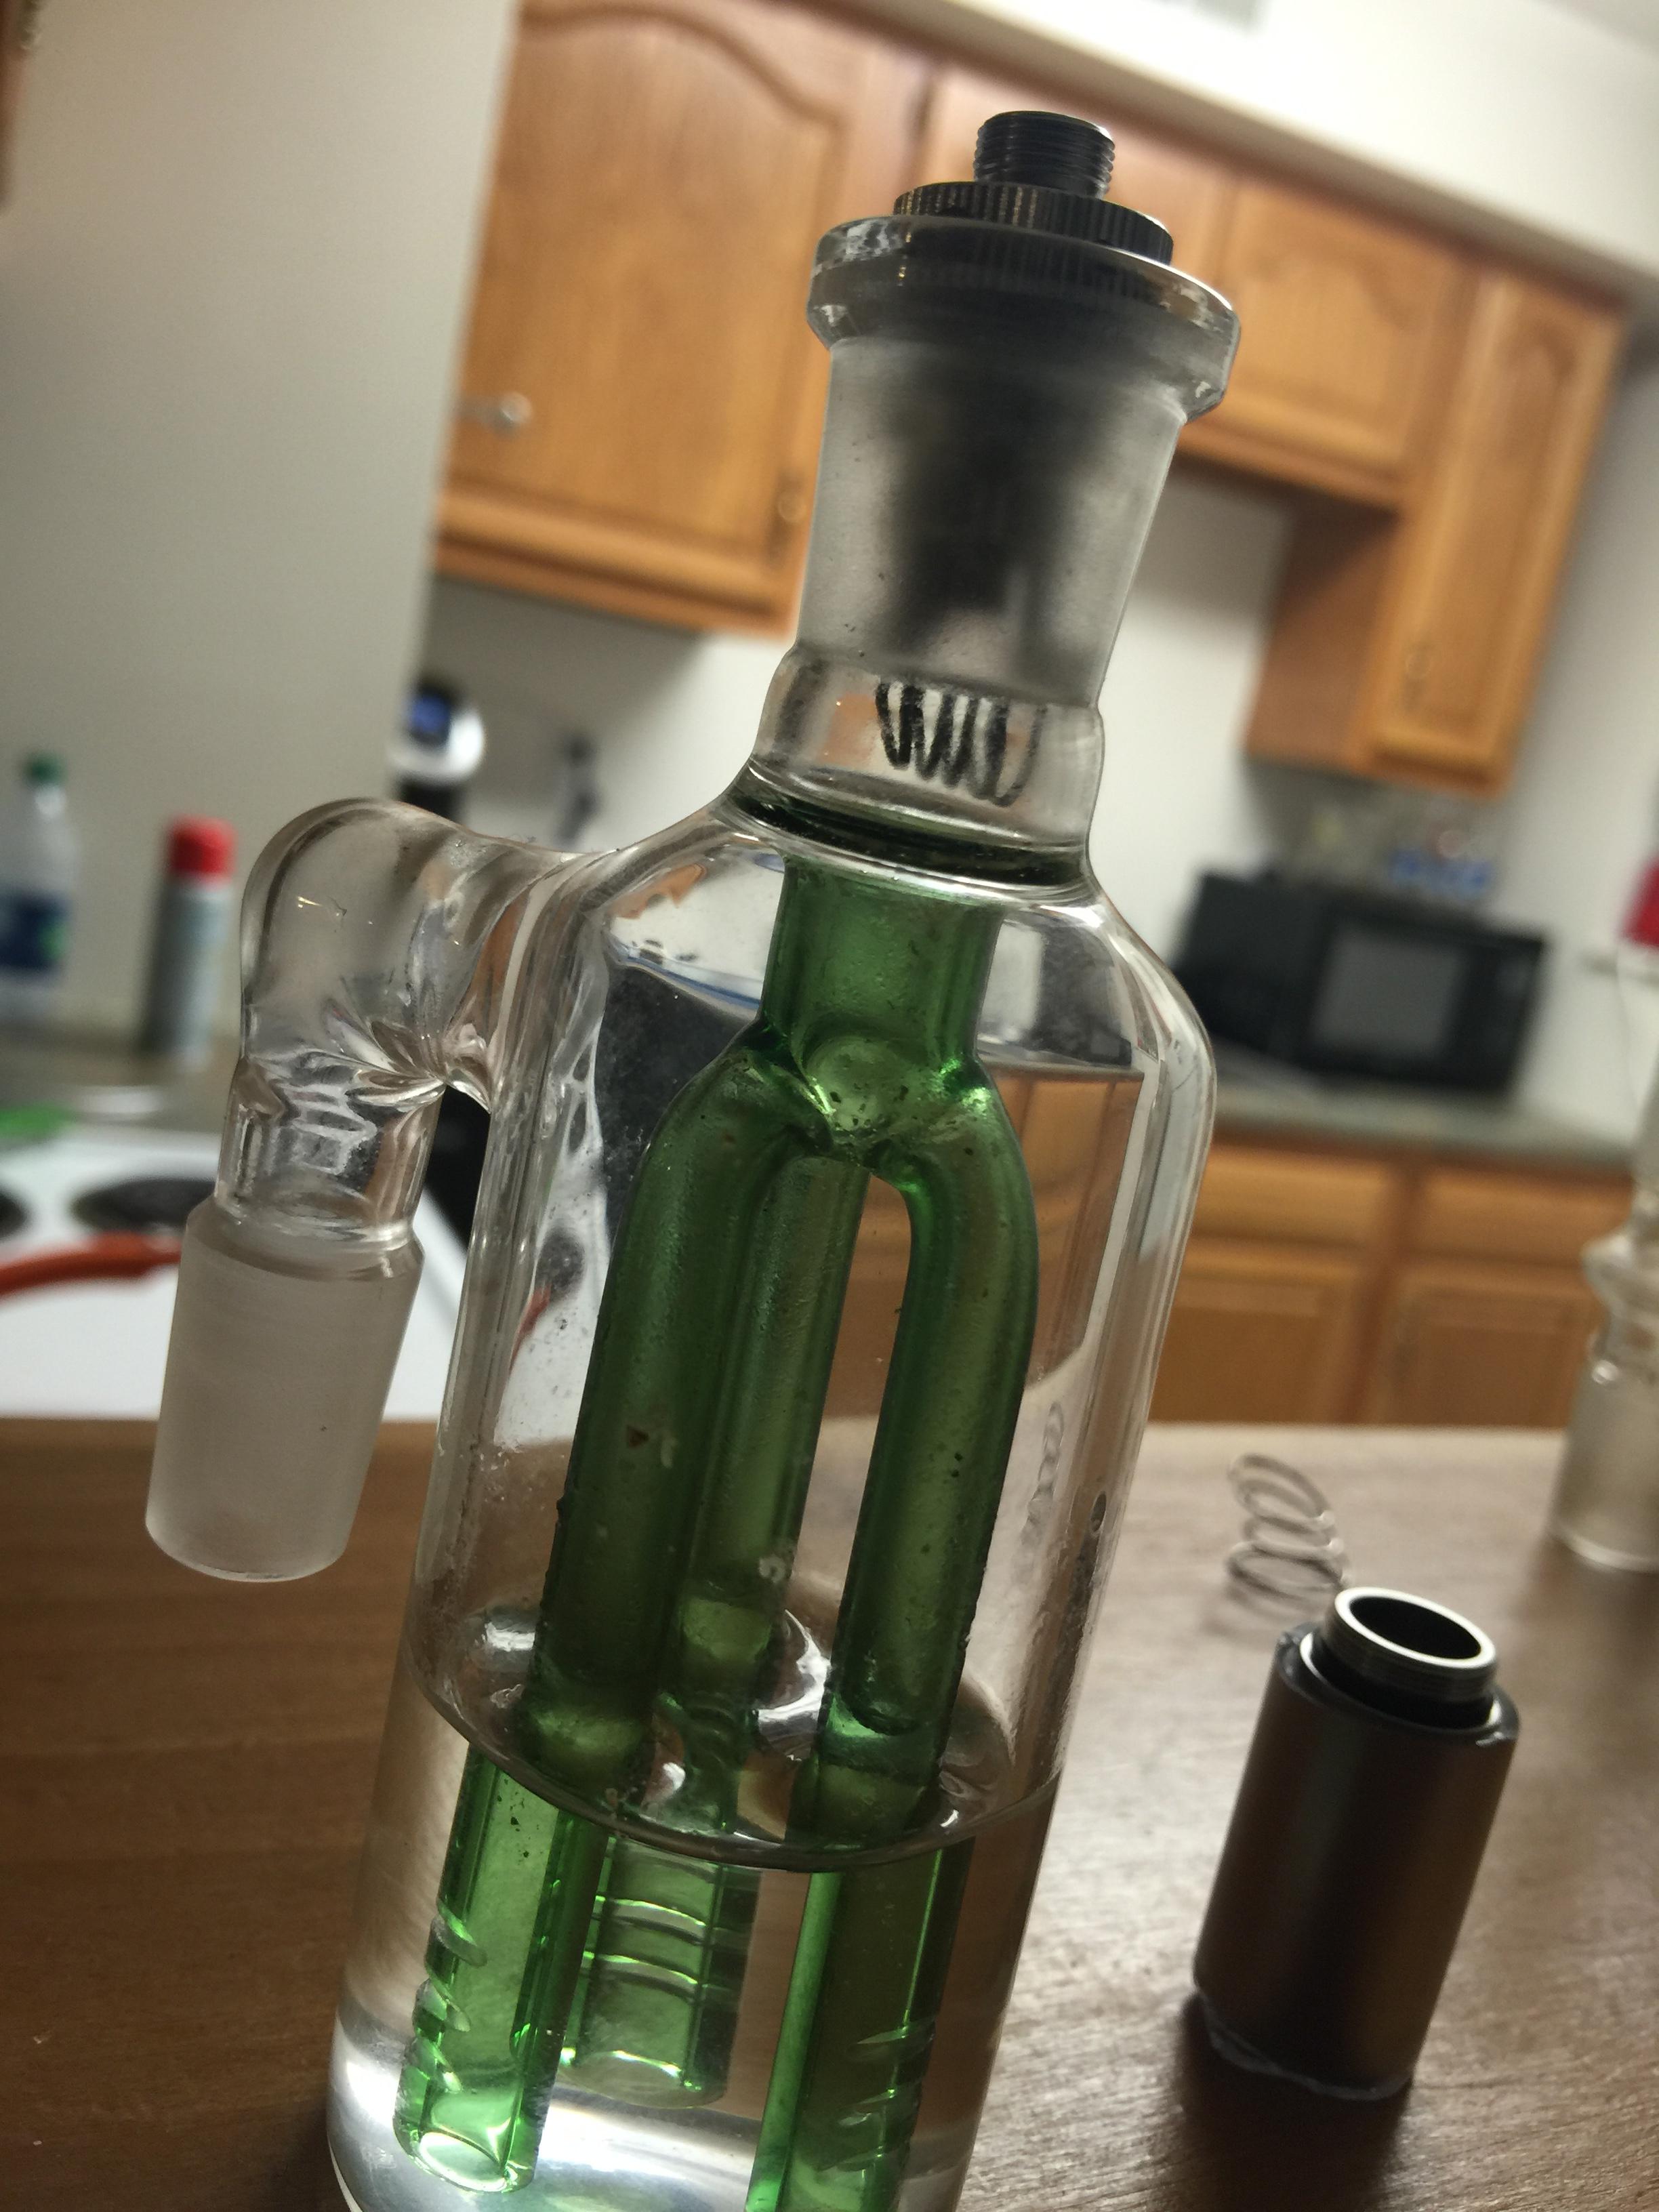
this is a 14mm female joint with the kayfun mini 2.1

MMBlGXE.jpg

18mm male to male adapter with kayfun mini 2.1

suXyb4H.jpg

18mm female joint with kayfun mini 2.1 plus silicone
 

bloom

Member
Wanted to post a video of the whole setup for anyone that is confused. Sorry that I suck at showing clouds lol. Loving this setup so far.

Thank you so much for the tutorial! You could improve it so much by recording when there is no background noise :) But I am grateful nonetheless. How are you holding in those screens? With c-clips? Where did you buy the screen and clips?

I have been following this thread but holding out because the bulli was too rare, but I have just sprung on a kayfun lite v2, a kayfun 3.1, and a kayfun mini v2.1 and I plan on also modding them into convection vapes like these. I am also planning on writing a detailed tutorial as I am building these vapes so that beginners like me won't have to slog through an already 16 pages (I wonder if this will ever grow to be the now 818 page bubbler thread). I would really appreciate advice/help.

Here is what I have on the way so far, please let me know if I need anything else to finish the build:
  1. Joyetech eVic VTC Mini 75W
  2. 4 LG HG2
  3. 1 Xstar VC2
  4. 1 Kayfun Lite V2
  5. 1 Kayfun 3.1
  6. 1 Kayfun Mini v2.1
 
Last edited:

StonerSloth

cui bono?
Thank you so much for the tutorial! You could improve it so much by recording when there is no background noise :) But I am grateful nonetheless. How are you holding in those screens? With c-clips? Where did you buy the screen and clips?

I have been following this thread but holding out because the bulli was too rare, but I have just sprung on a kayfun lite v2, a kayfun 3.1, and a kayfun mini v2.1 and I plan on also modding them into convection vapes like these. I am also planning on writing a detailed tutorial as I am building these vapes so that beginners like me won't have to slog through an already 16 pages (I wonder if this will ever grow to be the now 818 page bubbler thread). I would really appreciate advice/help.

Here is what I have on the way so far, please let me know if I need anything else to finish the build:
  1. Joyetech eVic VTC Mini 75W
  2. 4 LG HG2
  3. 1 Xstar VC2
  4. 1 Kayfun Lite V2
  5. 1 Kayfun 3.1
  6. 1 Kayfun Mini v2.1

You will most definitely need some coil wrapping tools/jigs and some tiny tweezers, screwdrivers, etc. to get your coil situation under control.

The Kayfun terminal screws are seriously small and some tiny stainless washers (#0 or M1.6) will make your life easier.


Edit: @enjiatt - I think you are really onto something with the male/male GonG adapter. I might work on a a variation of that myself. I'm surprised to see you having good results with such a tiny coil! More work to do!
 
Last edited:
Hey guys, been thinking about that stainless steel video, and I got some questions.... so how safe is SS... is it really for sure better than TI, In the video he mentions that it can be hit at higher temperature, without off gassing... does this mean that you could make a purely mech mod? attomizer being SS and coil being SS? with the coil dry burning in a mech mod, would it melt the center post insulator? Could the coil over heat and collapse? because if the SS coil can withstand the heat, of max power, then I would be interested in taking that road... regulating temp with button controls, would be fine as long as fast, but not instantly to hot.
 
legalcloud,

Pipes

Addicted DIY Enthusiast
Accessory Maker
Wow, lots of questions which I'll do my best with.
The safety of inhaling metal fumes from any material is a hot subject in all the ecig forums. True be told, nobody really knows long term effects for any of it. Look at welders who breath in the fumes for a lifetime? Much more potent than what the ecig habit would. I think. Nevertheless, touchy subject.
The temperatures we are dealing with in TC mode are safe for off gassing at least. We are not even getting the coil red hot any more. The possible safety hazard would be if the operator screws up and sets the mode to power or bypass which could and will burn out the TI coils quick in a little puff of "bad" smoke. In this regard SS would be safer as can take more of a pounding before it breaks down.
The main reason to me for trying SS is that the taste has been reported is much better in terms of metal tasting. I am very curious to compare. Was sceptical of how well the TC part would function with a much lower coefficient than previous materials. But reports appear to say it's good and stable. It also looks better as the Ti gets pretty ugly in terms of colouring. The SS looks nice and shiny clean. Have on order but will be a couple weeks.
The SS heat up time is suppose to be pretty much instant too.

Really loving how this TC stuff has caught on. Definitely has become the only vape I've been using for the last 6 months or so. My poor Air got shelved. Can't beat the convenience of it. Cleaning is a breeze and hardly even existent, battery life is better than any other vape I own, taste is very good and hoping to get even better. Portability/discreetness, well is it a ecig or herb vape? Invisible. The bowl options seem to be endless. Gotta love that.

:science:
 

bloom

Member
You will most definitely need some coil wrapping tools/jigs and some tiny tweezers, screwdrivers, etc. to get your coil situation under control.

The Kayfun terminal screws are seriously small and some tiny stainless washers (#0 or M1.6) will make your life easier.
Okay, I got a coil jig on the way and a some Stainless Steel 316L 22 gauge wire. Where can I find the screws and washers in the US?

I am also still lost as to the screen solution, I've gone ahead and ordered 20 0.5" (half inch) stainless steel pipe screens, but I am not sure what I'll need to make these fit in the kayfun as I do not have the RTA to play around with yet. I would ideally like to have everything here to finish the build at the same time, what solutions did you guys use to fit screens into the mini and lite?
 
bloom,

StonerSloth

cui bono?
Okay, I got a coil jig on the way and a some Stainless Steel 316L 22 gauge wire. Where can I find the screws and washers in the US?

I am also still lost as to the screen solution, I've gone ahead and ordered 20 0.5" (half inch) stainless steel pipe screens, but I am not sure what I'll need to make these fit in the kayfun as I do not have the RTA to play around with yet. I would ideally like to have everything here to finish the build at the same time, what solutions did you guys use to fit screens into the mini and lite?


The screens are one of the trickiest parts of these builds - namely the screen above your oven. Keep in mind that a metal screen falling down onto your heating element will lead to a big hot mess and probably a burnt out heating element - so make sure the screen is secure from below.

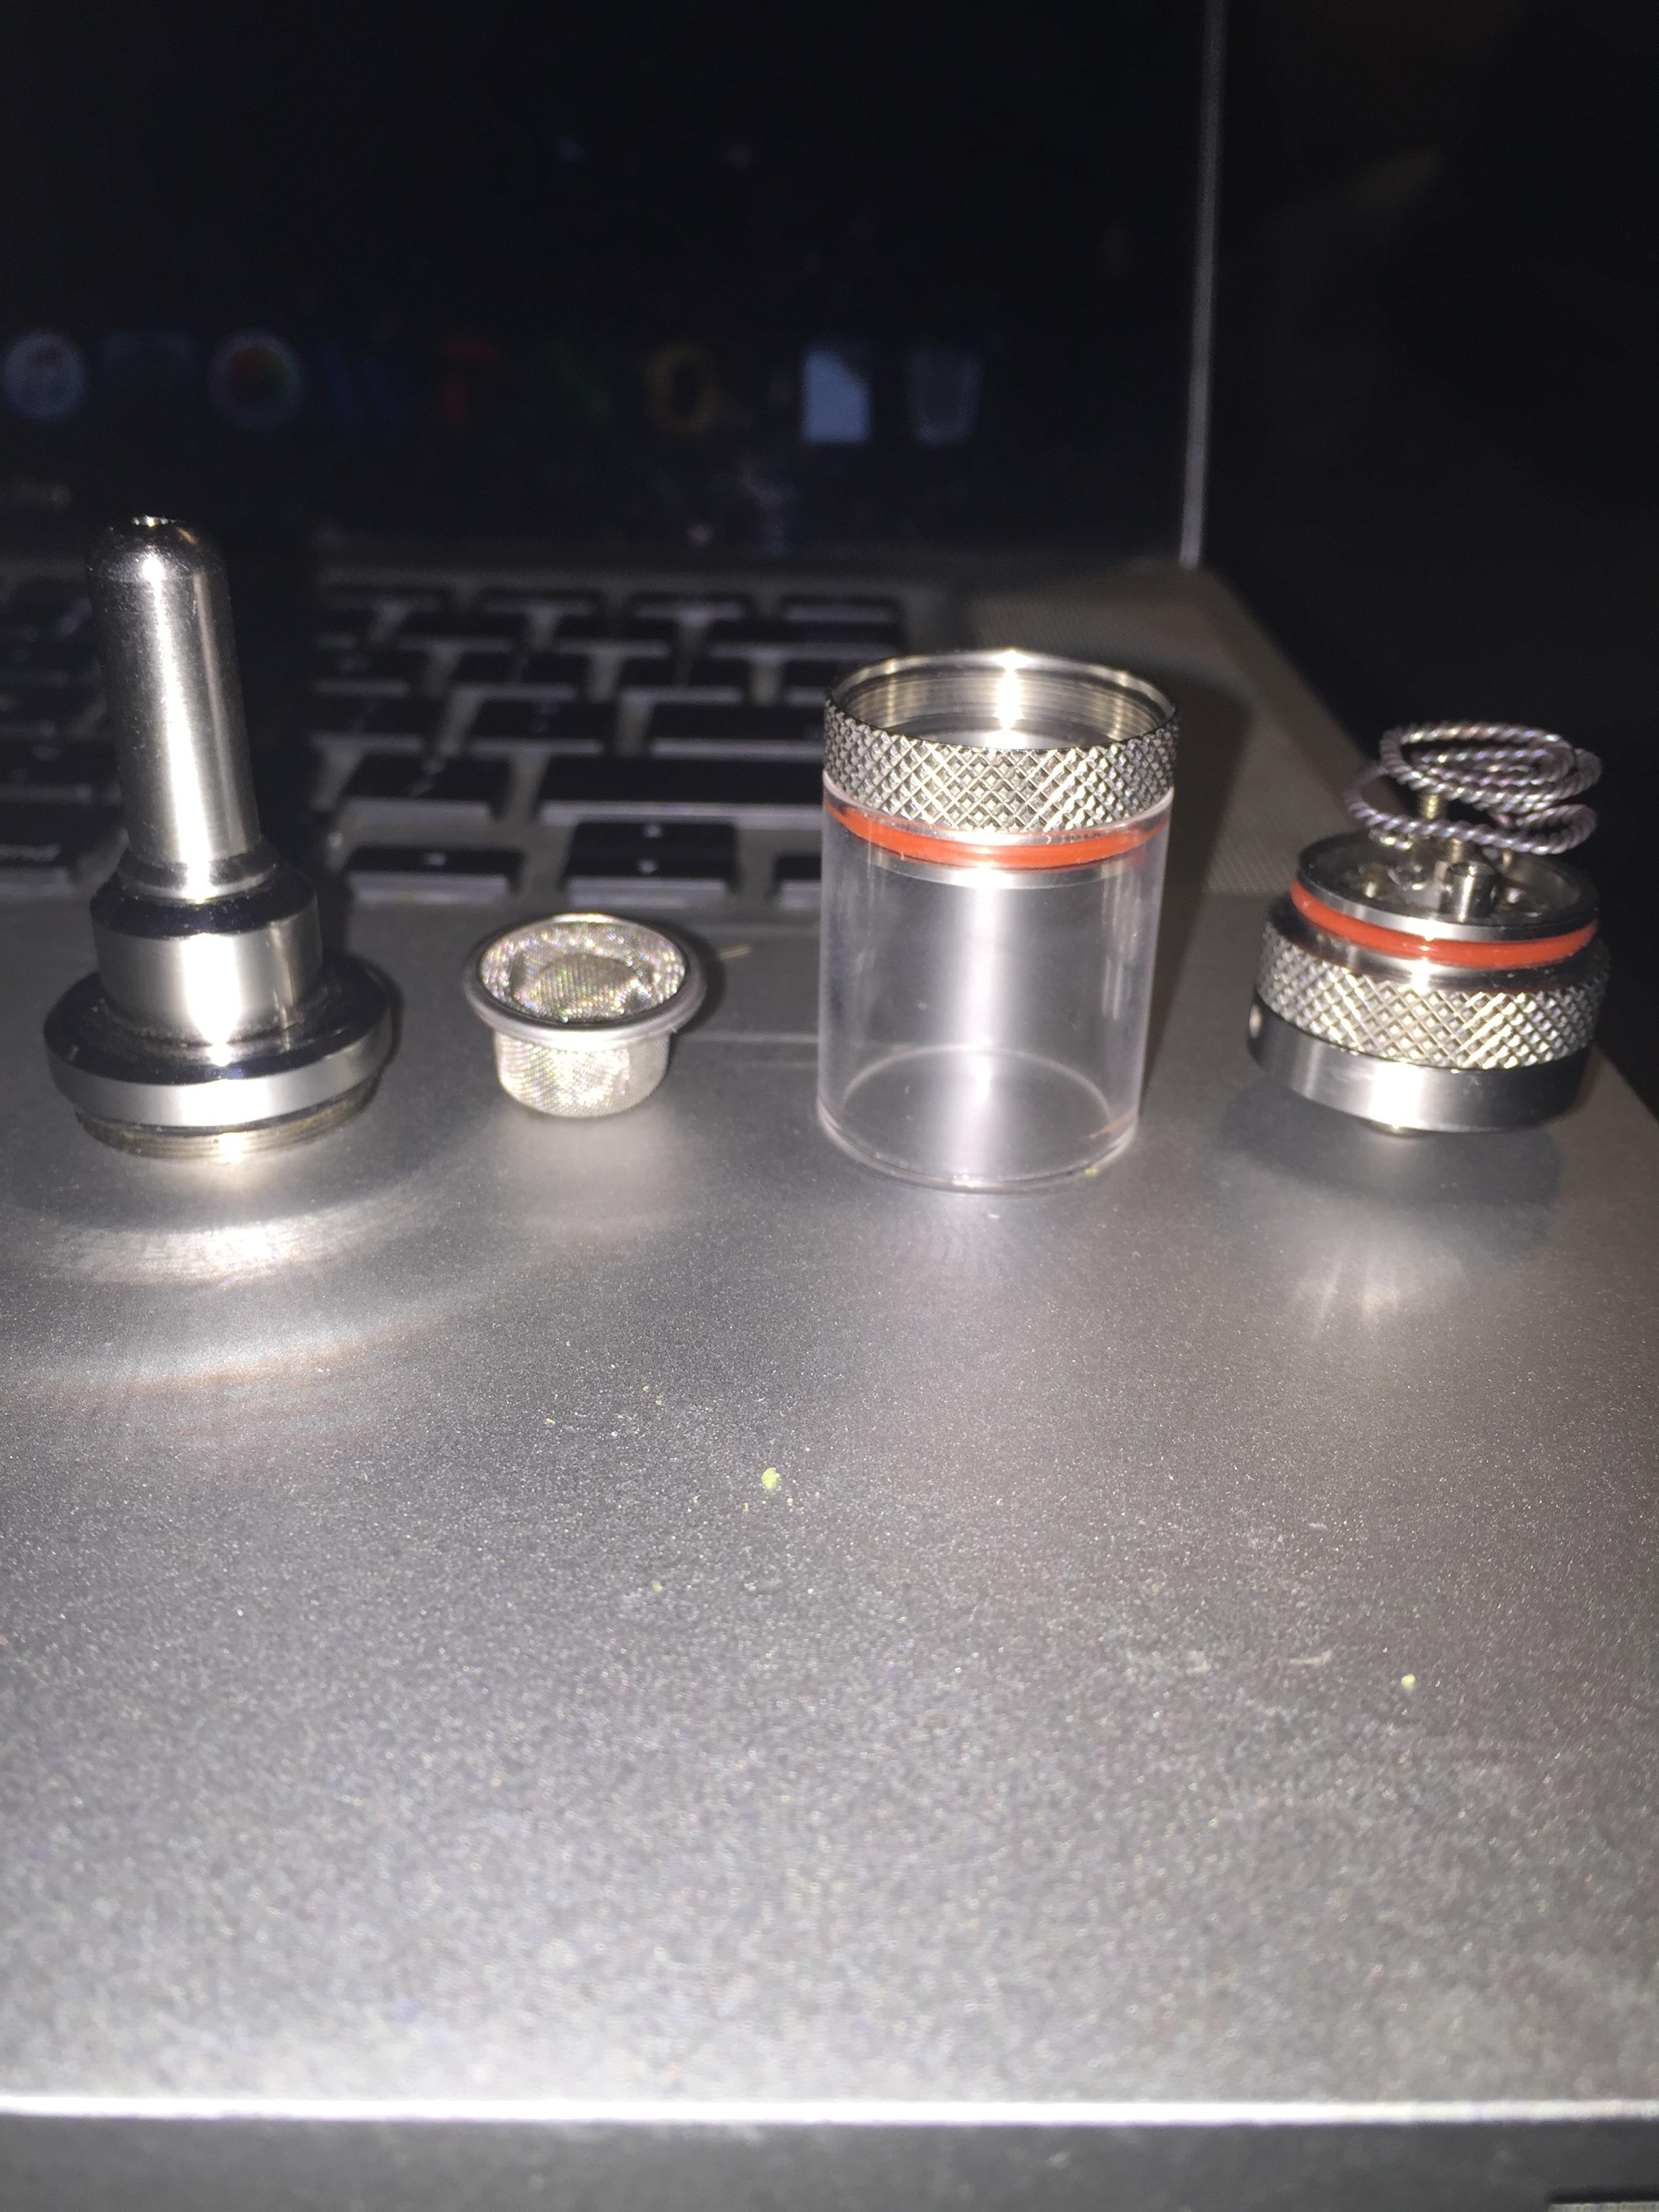
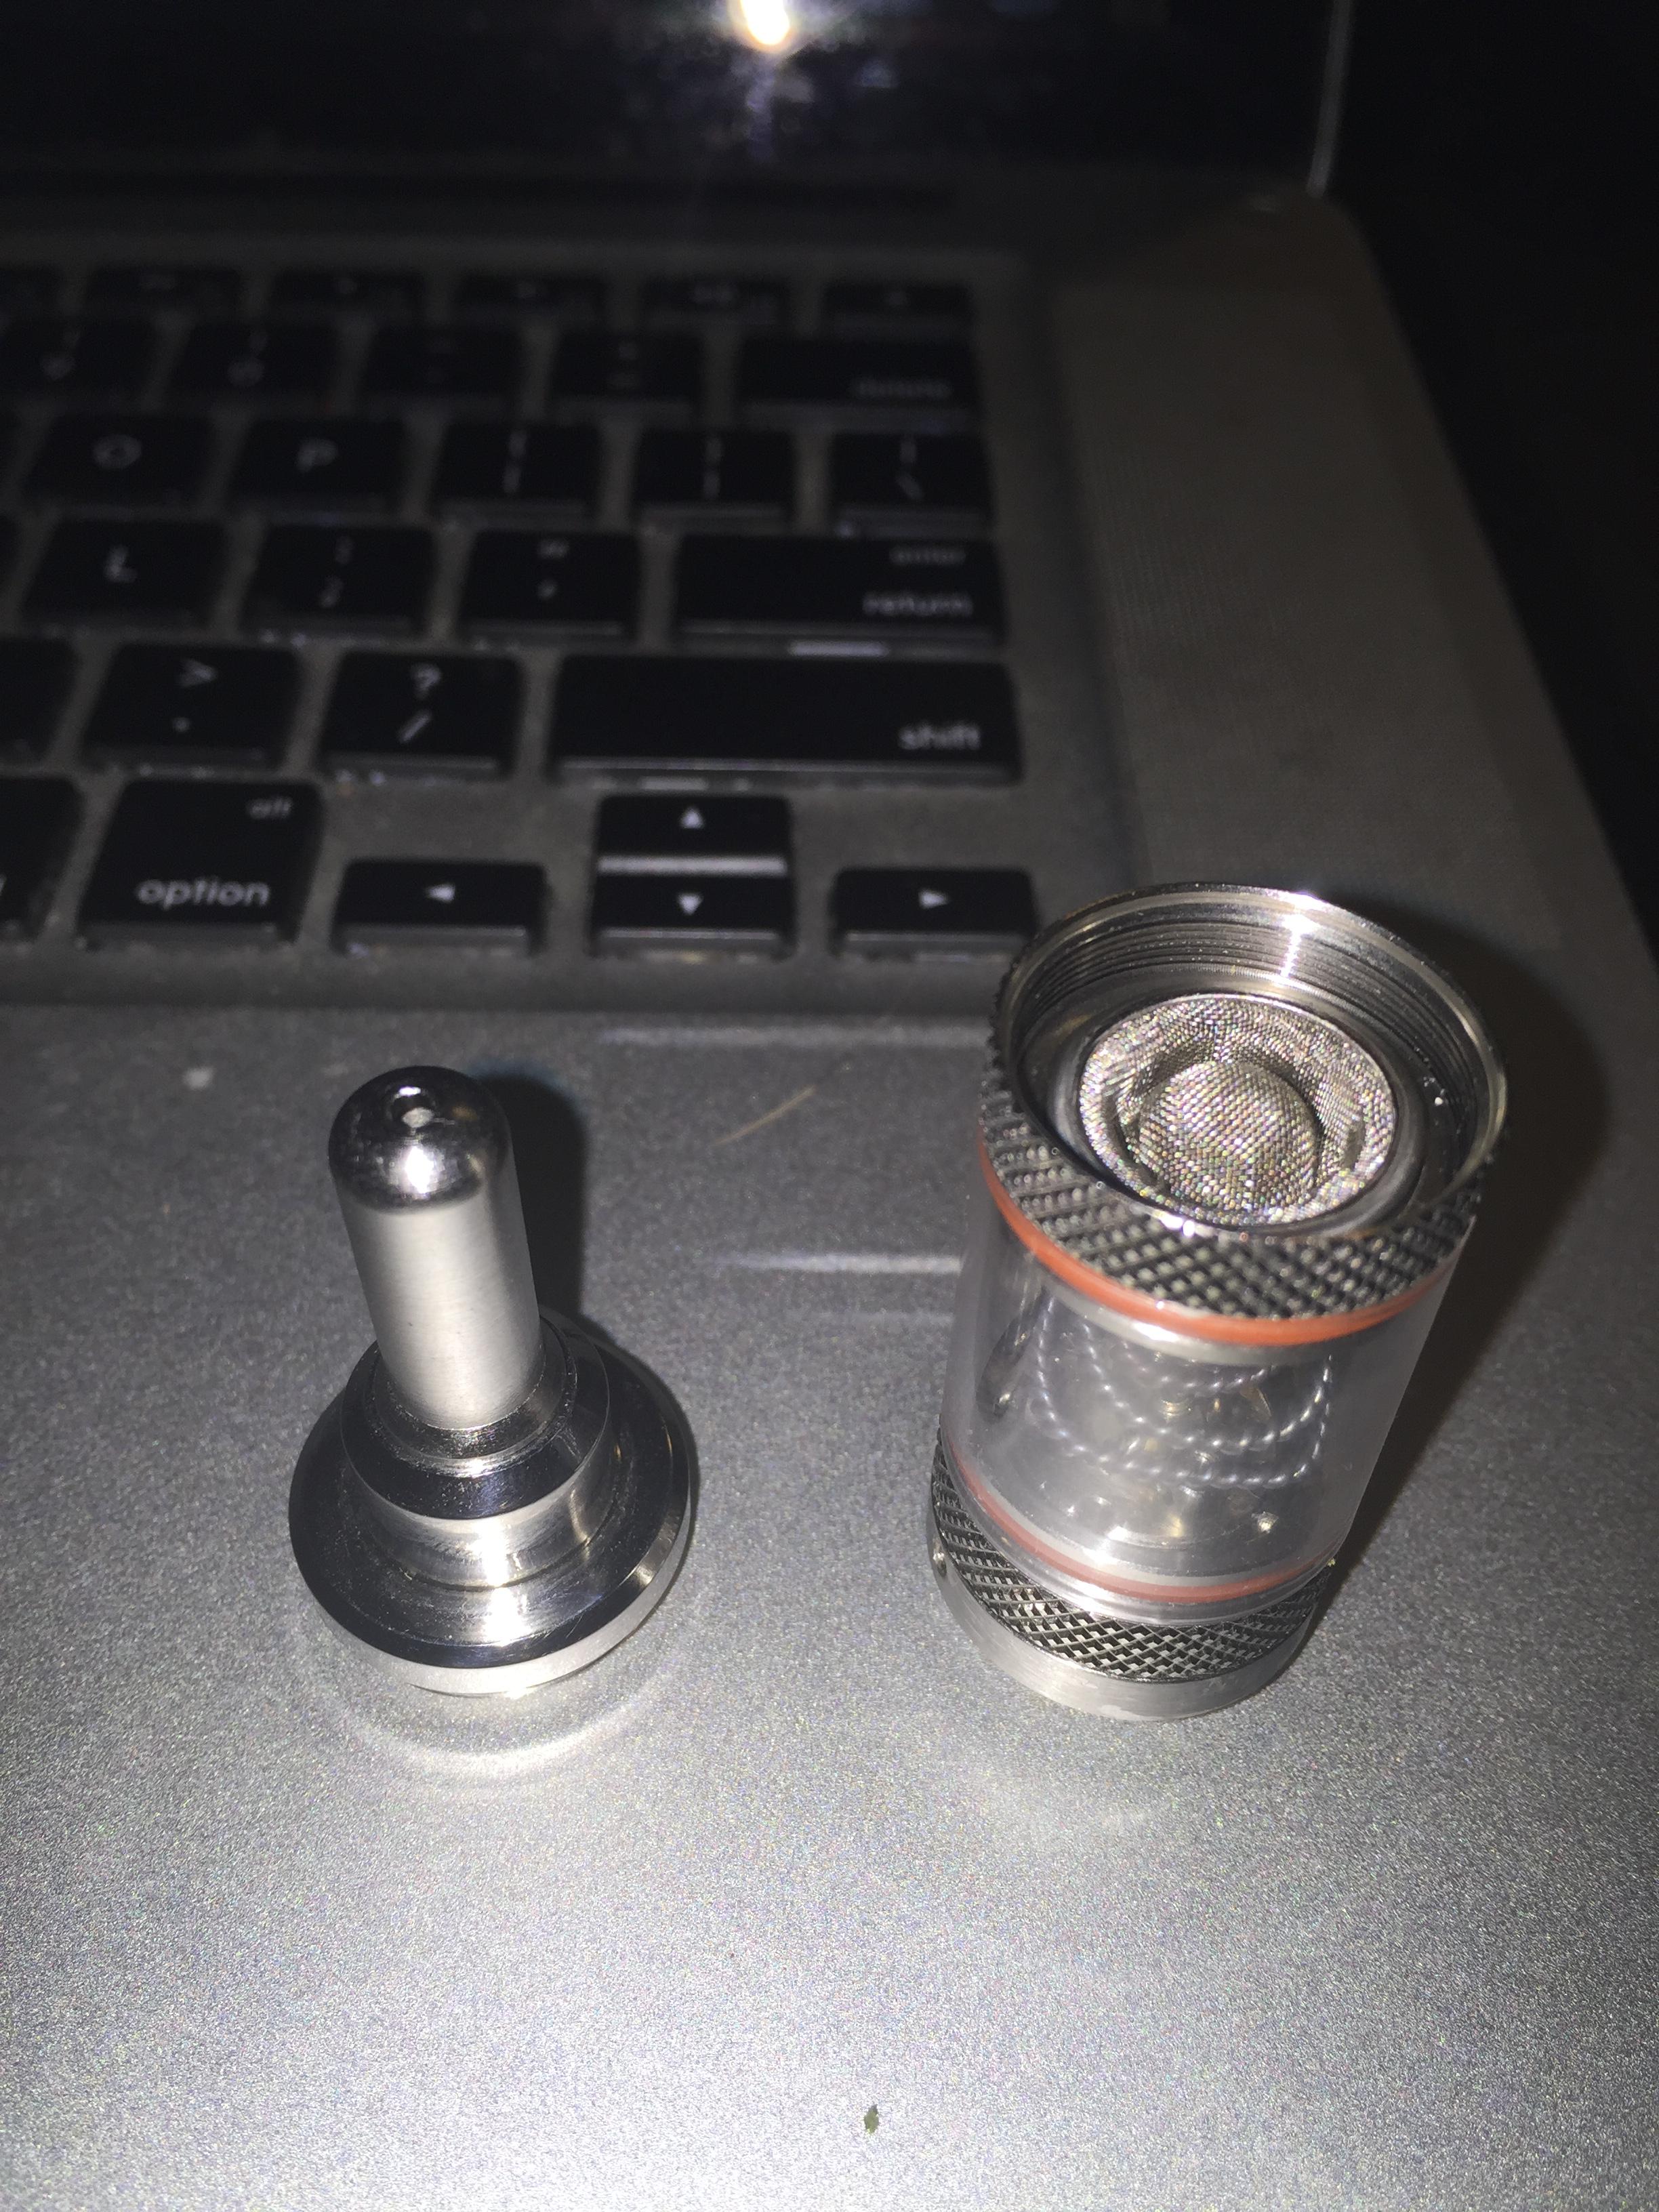
My Kayfun Mini build is in version 0.2 so I wouldn't go replicating it just yet. I have used one of these overpriced Arizer Solo/Air screens in the top of the heating chamber, pushed/formed into place with a wooden dowel. It is sitting tight for now but it needs improvement (obviously ignoring my own advice about the screen)

This concept also works okay in the drip tip adapter for the top-end of the bowl, but the small diameter creates a bit of a choke point that gets clogged sort of easily. I'm looking into finding a better solution here too.

For those interested, the o-ring size on the Kayfun Mini is 9mm ID x 11mm OD. I got some perty silicone o-rings in and they work perfectly. As far a I know there is no US equivalent size - these things are super thin.

After a few days of testing and playing with the Kayfun Mini, there are a lot of things I miss about the Bulli. The Bulli is WAY better with glass than the Kayfun. It works with underdog glass right out of the box and I am shocked to say that it now rivals the Underdog itself thanks to an original hand-built @Pipes coil and a TCR adjustment (680 Ti wire.) You can use the underdog stem o-rings and screen placement to reduce the spottiness of the heat and this fucking thing RIPS with an Underdog stem in a bubbler.

The Kayfun Mini still needs a lot of work to rival the Bulli, but it definitely has some potential. The stainless body is so much thicker and stays hot for a lot longer than the Bulli. It can definitely burn the shit out of you after a session whereas the Bulli cools relatively quickly.
 

enjiatt

Well-Known Member
I have went to small coils but im back to double wrapping just for it to be more sturdy.

I noticed on my small coil that it is easier to move because it is just a little guy. On the bigger ones once they set they seem to stay not matter what.

Now that I have the ez load baskets and the arizer q screens I no longer use the screen next to the heater.


DHKahiy.jpg

it is interesting to see what numbers allow vaping temps. this is what is needed for these three coils from left to right.

in TI mode from left to right.

1. 290F to 360F
2. 400F to 500F
3. 600F to theoretical 700F

arYMSzH.jpg


Here are the current coil I am testing.

from left to right at tcr 200

1. 370F to 470F
2. 450F to 550F
3. not enough even at 600F

In TI MODE

1. 230F to 280F
2. 320F to 380F
3. 320F to 380F (weird i know)


Im mainly using the middle one right now.

s-l1600.jpg

18mm female to 18mm female.

s-l1600.jpg

18mm female to 18mm male


6AD736869A378DF5CD3ECFCE3392266323C997139D9D93D22313233BCFD2361673CCD26331CB9C93D2CFCD9D6318CACBCB5666CEC99B7AA013.jpg


s-l1600.jpg


more testing needs to be done soon.
 

Pipes

Addicted DIY Enthusiast
Accessory Maker
I ordered a Kayfun Mini V2.1 ES just for the hack of it. Dimensions are like spot on. Hope the connectors are reasonable. Has anyone given this guy a go? Solves the 510 drip tip adapter trouble.
Screen setting can be a real pita. I use 1/2" and push the Bull down hard on it while on a semi rubber surface like a rubber matt. This imprints an impression which you can use an hair tweezers to complete the bending around outside. Working by bending just a little at a time as to keep as uniform as possible and just ever so slightly more than the impression.. Once it looks like a good 90 degree downward lip, fit it into the top of the mid section of the Bull. It's hit and miss but once it goes it correctly, it tend to stay well.
It's really mind blowing reading you guys compare to desktops.... The future is here in the DIY domain first.
:tup::tup::tup:

EDIT:
@enjiatt , looks like you do have the V2.1ES, great!! Seems your having fun with it. Thanks for the recipes.
 

Joel W.

Deplorable Basement Dweller
Accessory Maker
Cool thread! I loaded a nug in my rose v2 atty cap last night and turned up the temp until I got decent vapor out. It worked pretty damn well actually on this doughnut build with a Evic VTC.
e8qqg9.jpg
 
Joel W.,

StonerSloth

cui bono?
I ordered a Kayfun Mini V2.1 ES just for the hack of it. Dimensions are like spot on. Hope the connectors are reasonable. Has anyone given this guy a go? Solves the 510 drip tip adapter trouble.
Screen setting can be a real pita. I use 1/2" and push the Bull down hard on it while on a semi rubber surface like a rubber matt. This imprints an impression which you can use an hair tweezers to complete the bending around outside. Working by bending just a little at a time as to keep as uniform as possible and just ever so slightly more than the impression.. Once it looks like a good 90 degree downward lip, fit it into the top of the mid section of the Bull. It's hit and miss but once it goes it correctly, it tend to stay well.
It's really mind blowing reading you guys compare to desktops.... The future is here in the DIY domain first.
:tup::tup::tup:

EDIT:
@enjiatt , looks like you do have the V2.1ES, great!! Seems your having fun with it. Thanks for the recipes.


I am also using the Kayfun Mini v2.1 (not sure what the ES stands for but it looks like the same?) that is the unit I referred to above as 'Kayfun Mini.' Sorry for any confusion. I am still working on the Kayfun - it has a ways to go. I have adopted @enjiatt 's method of putting the screen in the bottom of the oven rather than in the top of the heating chamber (for now?) but the Bulli is still king.


I was hesitant to even type the words Bulli and Underdog in the same sentence for fear of an angry mob of Underdog owners coming after me, but I will let the results speak for themselves - that is an FC-UFO, about twice the size of a D020-D

X0b9hj.jpg
 
StonerSloth,
  • Like
Reactions: Pipes

j-bug

Well-Known Member
I am also using the Kayfun Mini v2.1 (not sure what the ES stands for but it looks like the same?) that is the unit I referred to above as 'Kayfun Mini.' Sorry for any confusion. I am still working on the Kayfun - it has a ways to go. I have adopted @enjiatt 's method of putting the screen in the bottom of the oven rather than in the top of the heating chamber (for now?) but the Bulli is still king.


I was hesitant to even type the words Bulli and Underdog in the same sentence for fear of an angry mob of Underdog owners coming after me, but I will let the results speak for themselves - that is an FC-UFO, about twice the size of a D020-D

X0b9hj.jpg
Underdog owner here, I've been following for a while and love the work you're doing. I was actually considering linking this thread over there and pointing out how versatile the UD stems are :)
 
j-bug,

enjiatt

Well-Known Member
Here is my new creation which didnt take much extra to create.

4gnBc2E.jpg


cn0nrcd.jpg


That is a mini-ELB (not the two cap elbow smash method) that was made from the top of a regular ELB (smashed) and the bottom of a Arizer q screen.

3iyVeB5.jpg


I know what everyone is thinking!!! Thats way too close. Well.....I think its perfect :cool::cool: :cool:

WE2oEoG.jpg

mpFP78K.jpg


This setup should allow me to use the least amount of power because the coil is so close. Right now im using a TCR of 138 and temps get up to maybe 320F and I can start vaping.

If this setup is too close I can just get more of this glass and cut it where it is shorter.

Ive learned that the more red the coil is the worst the taste get. SO if you can get vaping temps without it turning red it should be a perfect long lasting coil.

Im sure @Pipes coil works pretty well in these regards. I just had some space issues.
 

Pipes

Addicted DIY Enthusiast
Accessory Maker
I like it!! And don't think the coils too close at all.

So I broke down and painted my outer cover. Used appliance epoxy paint baked it on to a hard smooth finish. Did not do the inside as feel safer just leaving it wood with some Linseed oil rubbed on.
There are also a couple other ones at various stages of development.

20160208_195332_001-1_zpswb3q7nhr.jpg


Thinking I could make a silicon mould once I get it just perfect but unsure of best material to make them from. Urethane plastic would likely not withstand the heat well plus might off gas. Now the heat really isn't that high as never even touches the metal anywhere. Looking for suggestions for this if anyone can help. A high temp epoxy maybe?

The stem in the picture is an e-solid atomizer which I took the guts out of. Good for the lone user but gets warm on the lips if givin it for long. What's neat is the center can open up and you can put some cotton in with a couple drops of water to help cool the vapour somewhat.
 
Pipes,
  • Like
Reactions: enjiatt

E0x

Well-Known Member
Here is my new creation which didnt take much extra to create.

4gnBc2E.jpg


cn0nrcd.jpg


That is a mini-ELB (not the two cap elbow smash method) that was made from the top of a regular ELB (smashed) and the bottom of a Arizer q screen.

3iyVeB5.jpg


I know what everyone is thinking!!! Thats way too close. Well.....I think its perfect :cool::cool: :cool:

WE2oEoG.jpg

mpFP78K.jpg


This setup should allow me to use the least amount of power because the coil is so close. Right now im using a TCR of 138 and temps get up to maybe 320F and I can start vaping.

If this setup is too close I can just get more of this glass and cut it where it is shorter.

Ive learned that the more red the coil is the worst the taste get. SO if you can get vaping temps without it turning red it should be a perfect long lasting coil.

Im sure @Pipes coil works pretty well in these regards. I just had some space issues.

nice ! , what atomizer is that ?


i am follow the same path , this is what i got now:

xLJa2OY.jpg


more pics here:
http://imgur.com/a/wRZBo
 

StonerSloth

cui bono?
After a few days of testing with the Kayfun Mini and the Bulli side-by-side in various configurations, I had been getting much better results with the Bulli than the Kayfun.

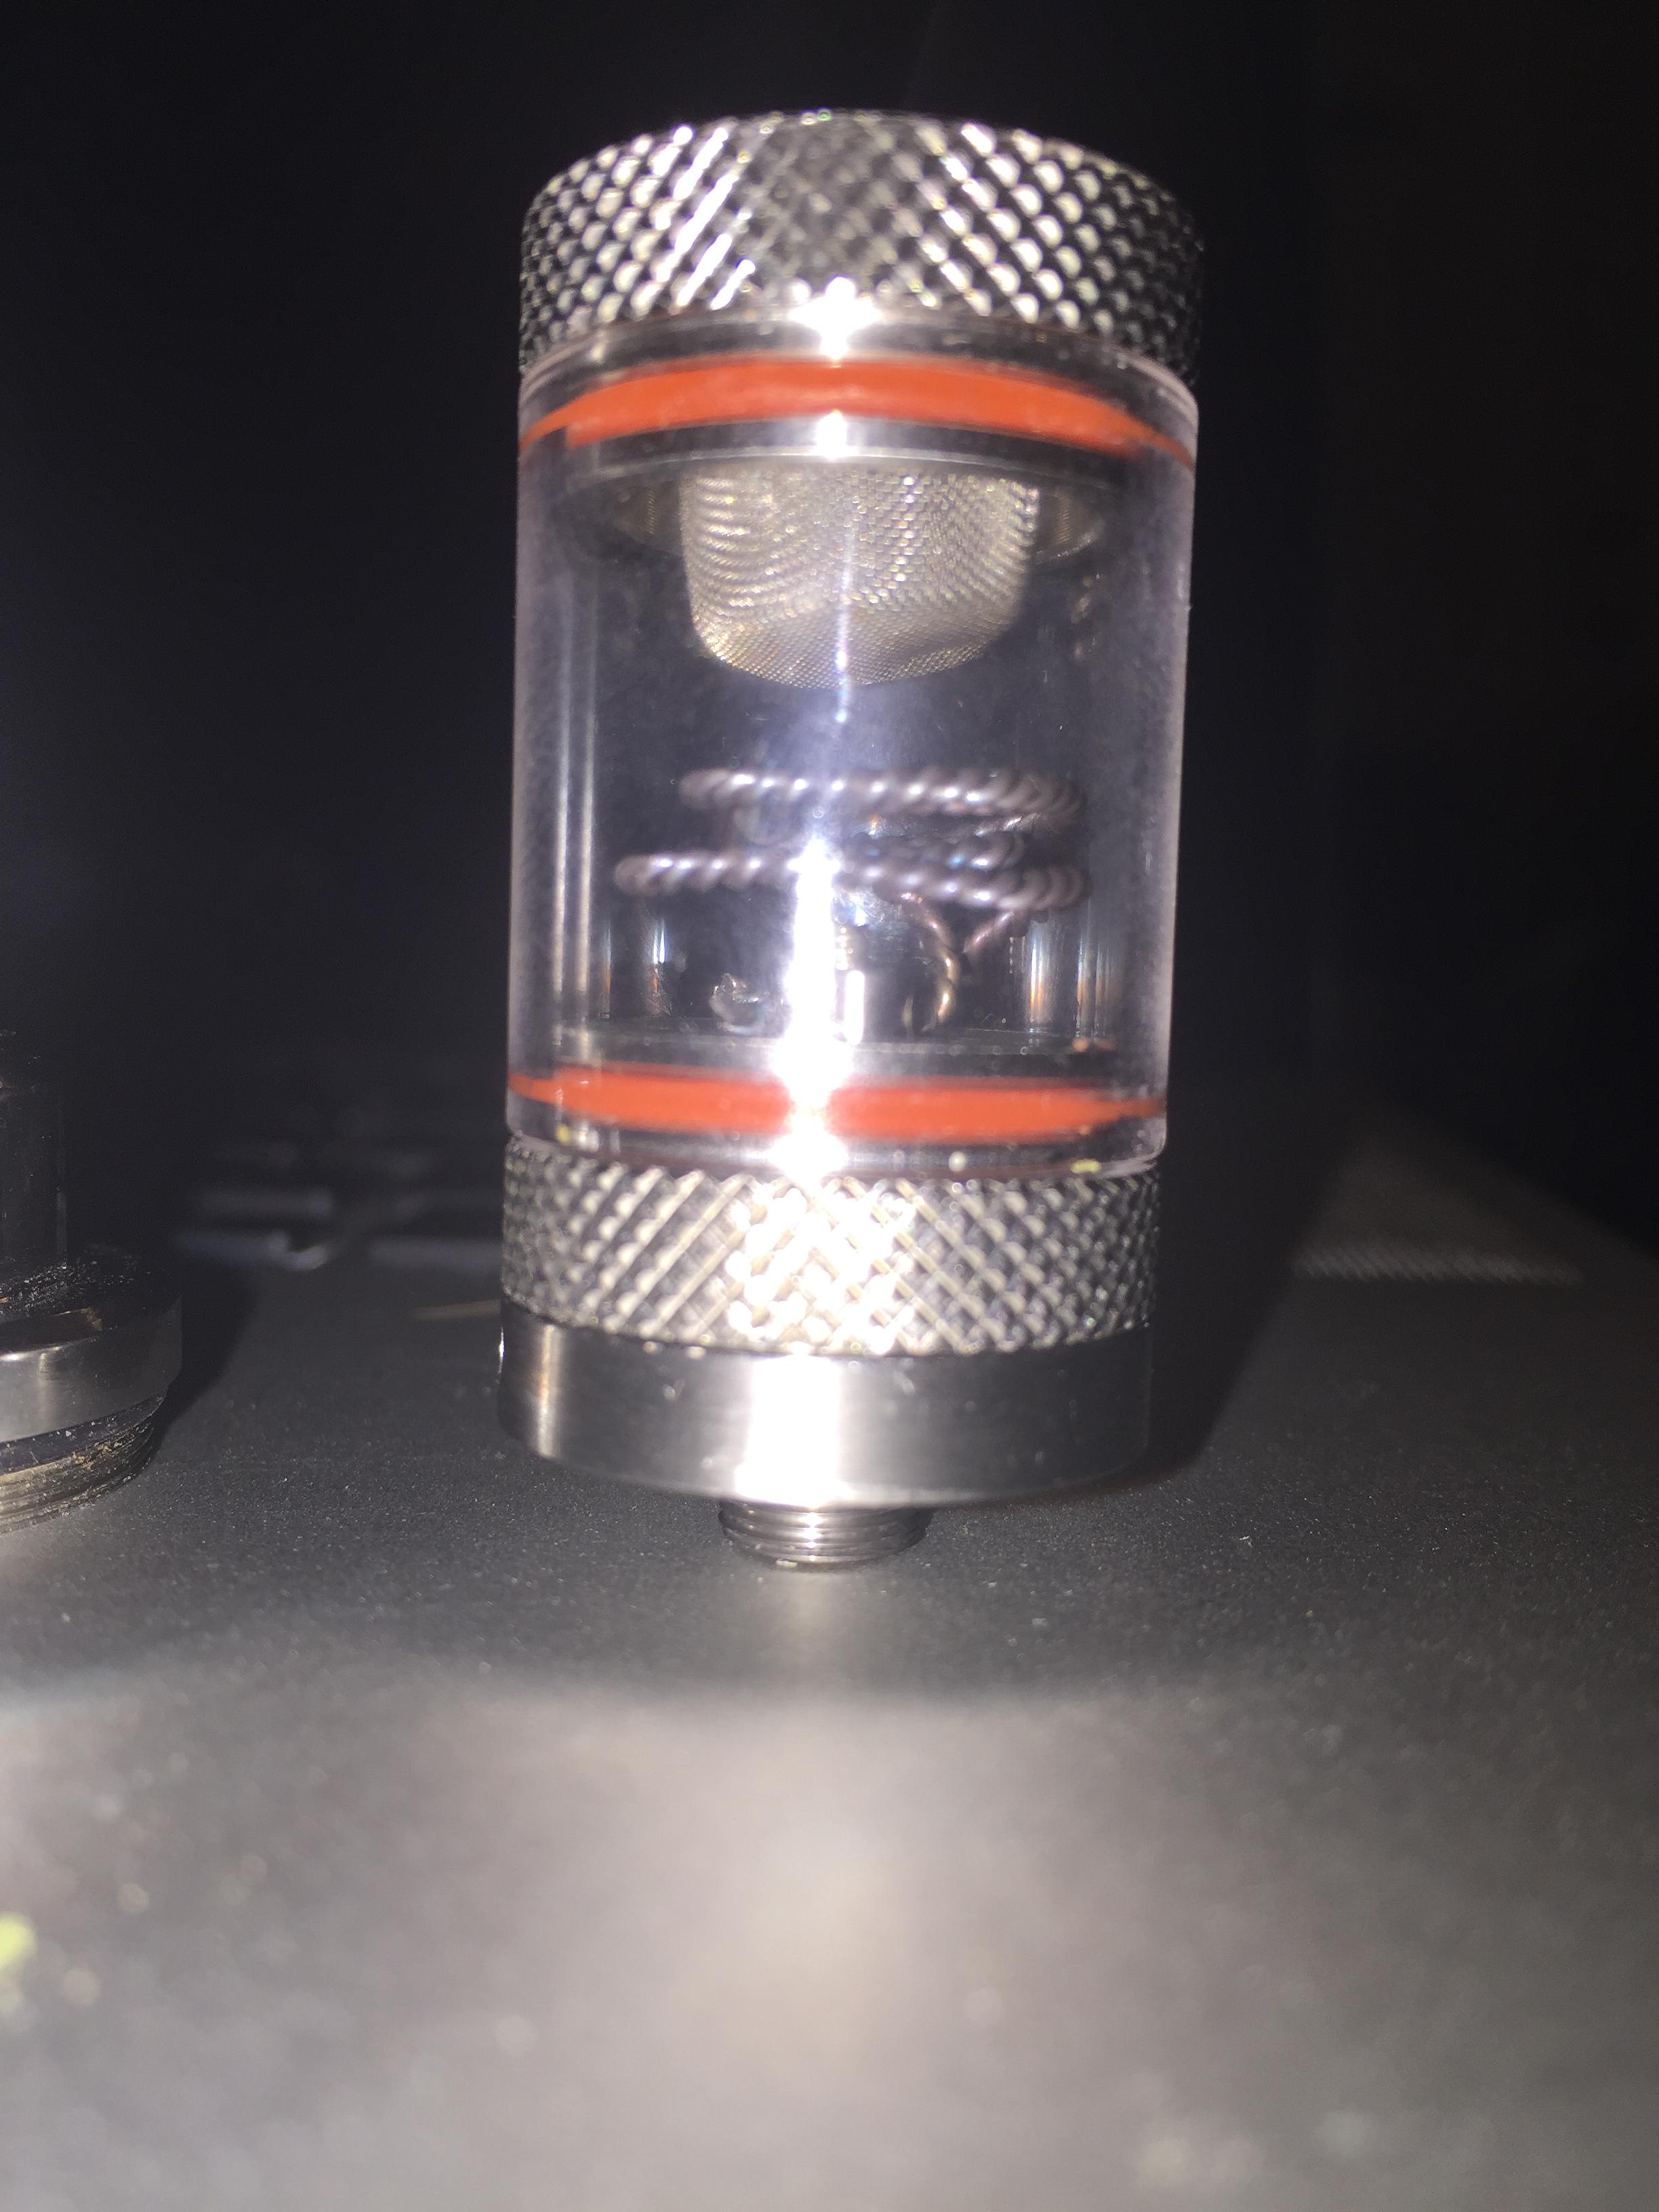
I have a huge 0.42 ohm heating coil in my Kayfun, so it was annoying and frustrating to see so much more vapor coming from my 0.24 ohm Bulli coil at a similar distance between coil/load and at a similar temperature. The Kayfun body itself got really hot, but it never produced a lot of vapor.

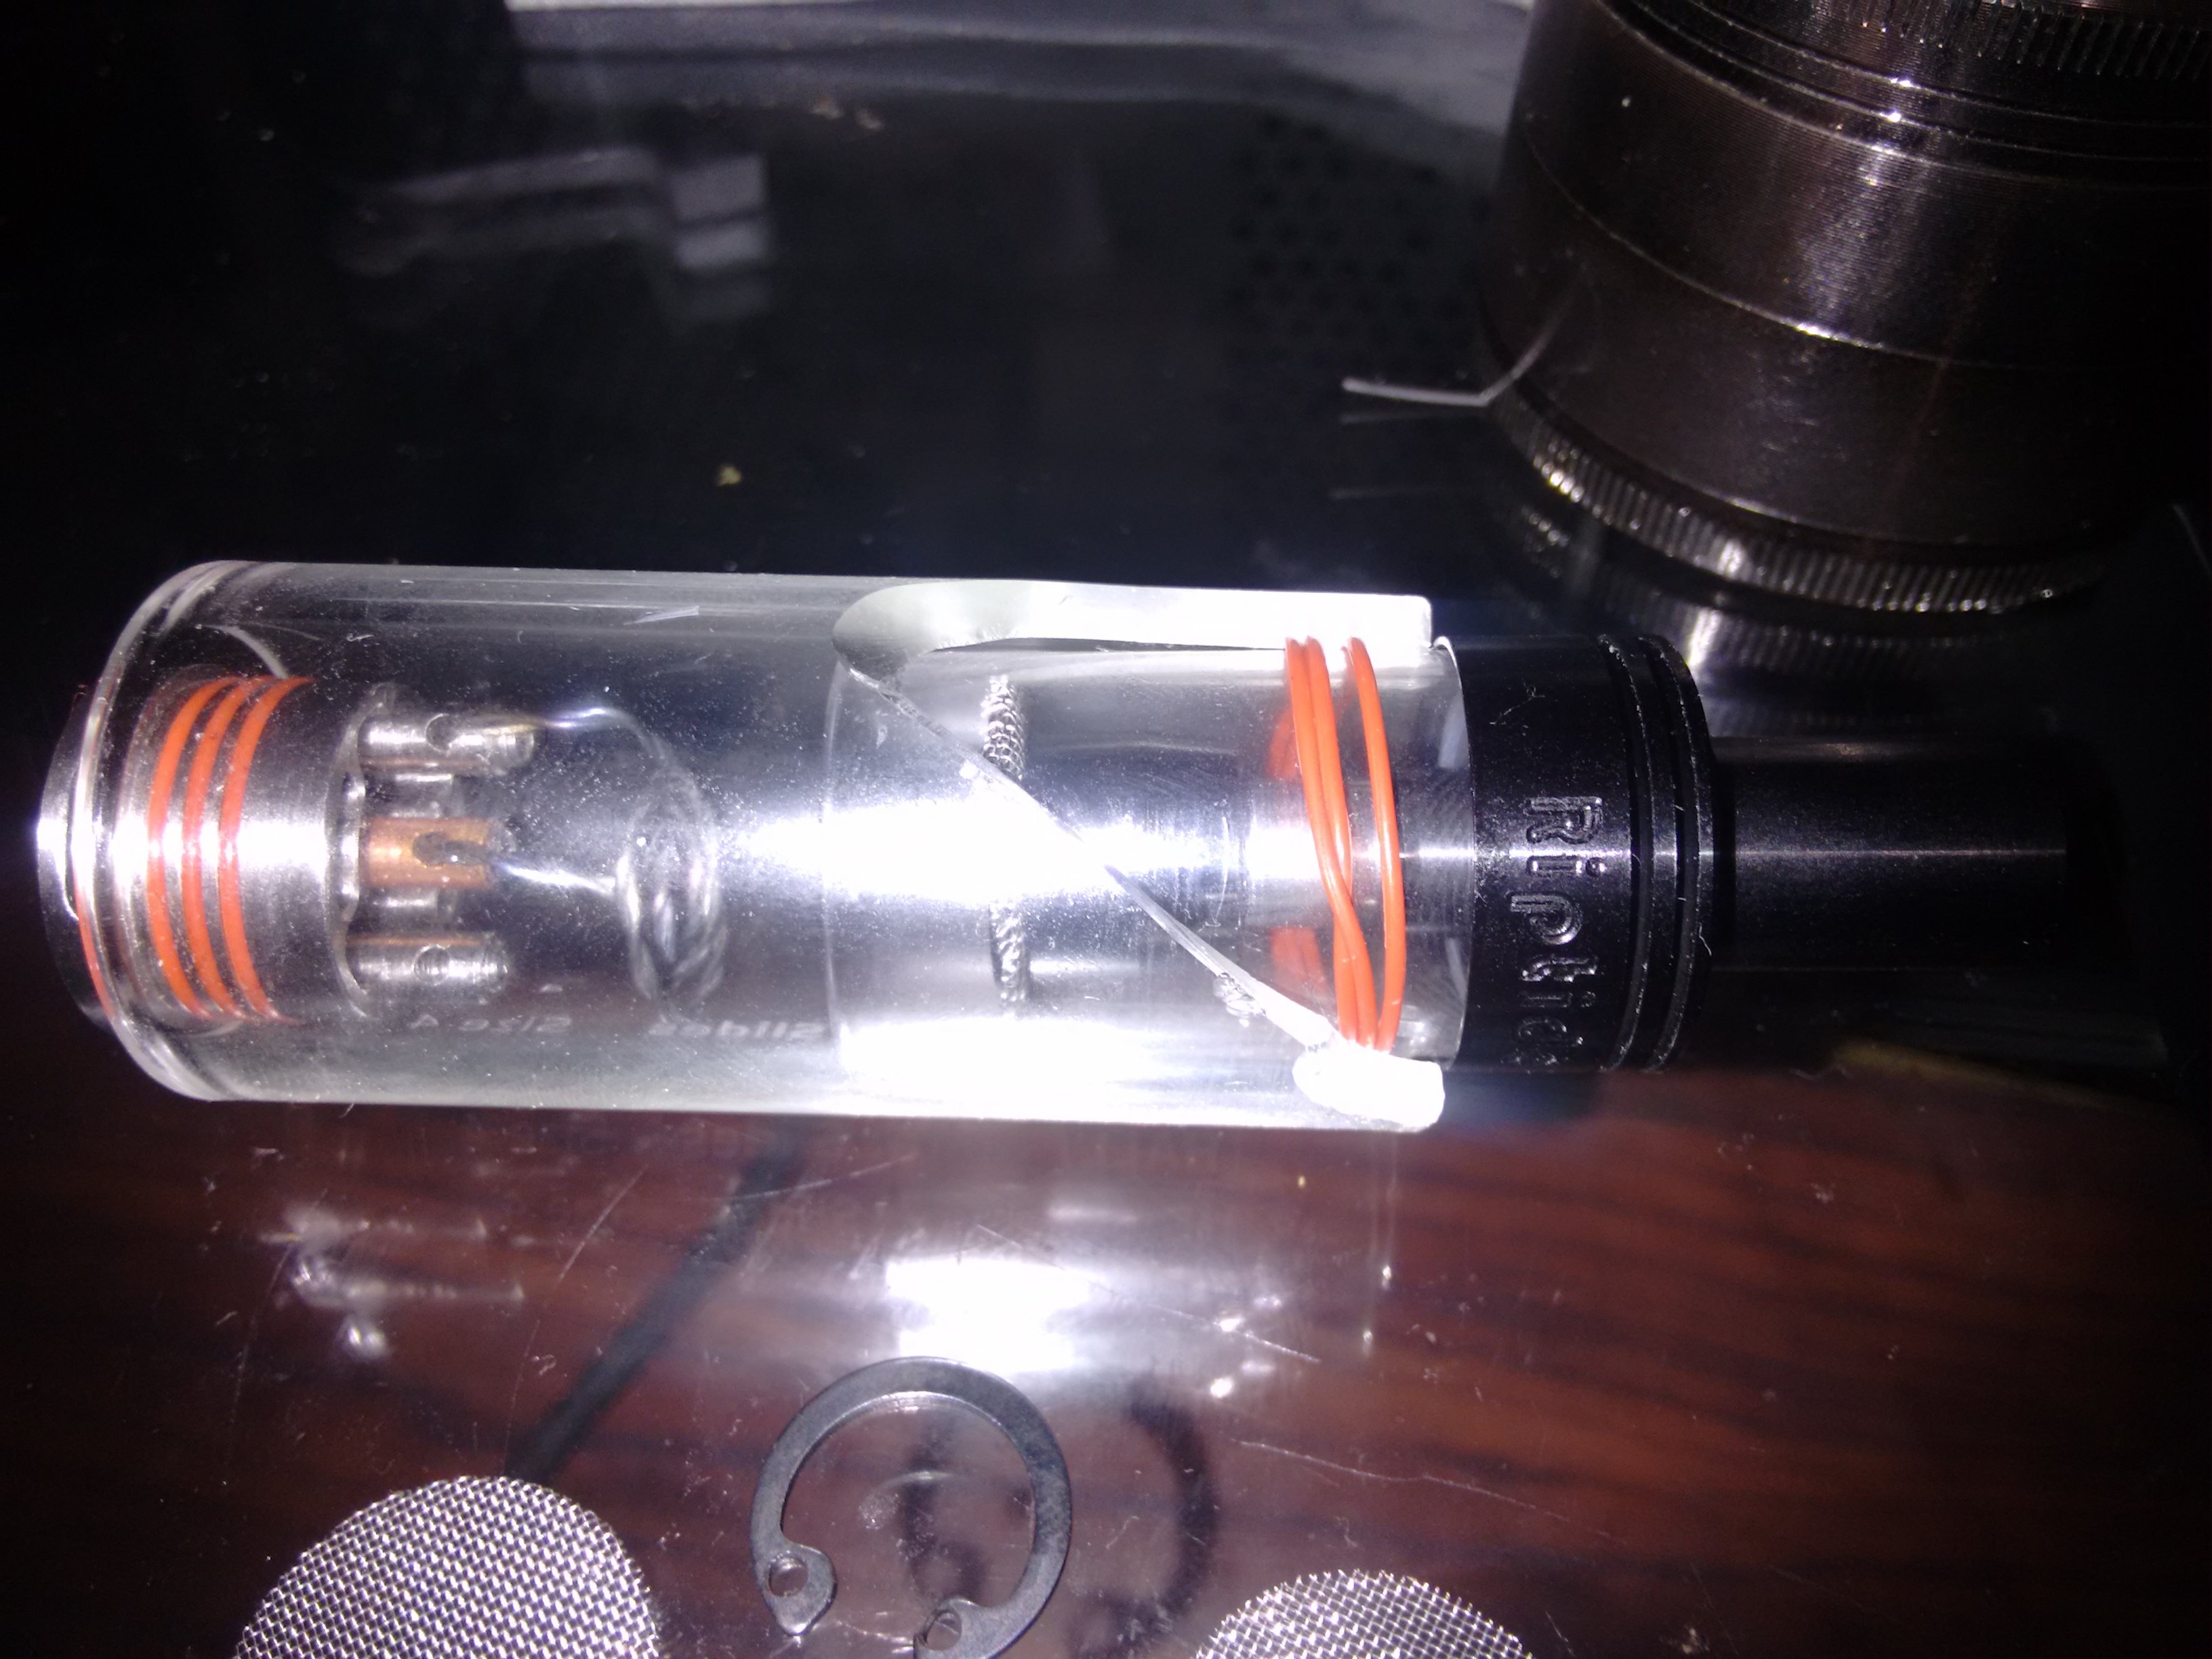
This led me to believe that the problem with the Kayfun Mini was airflow. Although the adjustable air flow is really convenient, I think it is way too restrictive. I drilled a single 5/64" air intake hole in the side of the Kayfun Mini body, at the bottom of the coil, just like I did on the Bulli (bulli has two holes) and holy shit it is night and day. This thing can now finally compete with the Bulli. It still needs some final tweaking, but we are getting there. After drilling a single air hole, the vapor production increased probably 10x. And I combusted once, so there's that.

I am using a stainless DBV screen (5/8" I think?) wedged into the bottom of the Kayfun Mini oven and a domed screen in the drip tip adapter - no screen in the heating chamber at all. I would now call this version 1.0 of my Kayfun Mini build. Pics coming soon!


Edit: I also have one of these 14mm / 18mm adapters on the way for a Kayfun Mini + Cloud EVO ELB pairing :ko:
 
Last edited:

bloom

Member
After a few days of testing with the Kayfun Mini and the Bulli side-by-side in various configurations, I had been getting much better results with the Bulli than the Kayfun.

I have a huge 0.42 ohm heating coil in my Kayfun, so it was annoying and frustrating to see so much more vapor coming from my 0.24 ohm Bulli coil at a similar distance between coil/load and at a similar temperature. The Kayfun body itself got really hot, but it never produced a lot of vapor.

This led me to believe that the problem with the Kayfun Mini was airflow. Although the adjustable air flow is really convenient, I think it is way too restrictive. I drilled a single 5/64" air intake hole in the side of the Kayfun Mini body, at the bottom of the coil, just like I did on the Bulli (bulli has two holes) and holy shit it is night and day. This thing can now finally compete with the Bulli. It still needs some final tweaking, but we are getting there. After drilling a single air hole, the vapor production increased probably 10x. And I combusted once, so there's that.

I am using a stainless DBV screen (5/8" I think?) wedged into the bottom of the Kayfun Mini oven and a domed screen in the drip tip adapter - no screen in the heating chamber at all. I would now call this version 1.0 of my Kayfun Mini build. Pics coming soon!


Edit: I also have one of these 14mm / 18mm adapters on the way for a Kayfun Mini + Cloud EVO ELB pairing :ko:

I have went to small coils but im back to double wrapping just for it to be more sturdy.

I noticed on my small coil that it is easier to move because it is just a little guy. On the bigger ones once they set they seem to stay not matter what.

Now that I have the ez load baskets and the arizer q screens I no longer use the screen next to the heater.

it is interesting to see what numbers allow vaping temps. this is what is needed for these three coils from left to right.

in TI mode from left to right.

1. 290F to 360F
2. 400F to 500F
3. 600F to theoretical 700F


Here are the current coil I am testing.

from left to right at tcr 200

1. 370F to 470F
2. 450F to 550F
3. not enough even at 600F

In TI MODE

1. 230F to 280F
2. 320F to 380F
3. 320F to 380F (weird i know)


Im mainly using the middle one right now.

18mm female to 18mm female.

18mm female to 18mm male


more testing needs to be done soon.

Okay! So here is the deal. I also got my Kayfun mini 2.1 in the mail 2 nights ago. I immediately threw on some 1/2" stainless steel screens and started vaping. Boy was I excited, I was getting good vape amount after a bit of warm up time. Very good flavor compared to combustion :nod:

However, thee chamber would get very very hot for me. I have been using it heavily since. Today, I go to use it and it combusts! :hmm:Odd, I think, my settings didn't change. So I clean it out and build a new coil and start over. Only to find out that the deck would not recognize the new coil! I figured out why!


The two leads, positive and negative are seperated by an insulator! The Kayfun mini clone I received uses (plastic?) as an insulator! It had melted under the heat of me vaping:o->:ko:!! Please check your decks!!

I already see the symptoms in Enjiatts post that I quoted (I removed the images to save space).:disgust:

I don't know why mine melted so quickly! I tried replacing it with an o ring that i had around, but no luck. The resistance of my coils now cannot be read and I am scared of having inhaled carcinogens. I might call this diy project quits until I am ready for a full heating element build...I will probably look for a professionally designed and manufactured vape.

Any recommendations? I am considering the Arizer Solo but I don't know if it is still the best bang for the buck?:hmm:
 
Last edited:
bloom,

StonerSloth

cui bono?
Okay! So here is the deal. I also got my Kayfun mini 2.1 in the mail 2 nights ago. I immediately threw on some 1/2" stainless steel screens and started vaping. Boy was I excited, I was getting good vape amount after a bit of warm up time. Very good flavor compared to combustion :nod:

However, thee chamber would get very very hot for me. I have been using it heavily since. Today, I go to use it and it combusts! :hmm:Odd, I think, my settings didn't change. So I clean it out and build a new coil and start over. Only to find out that the deck would not recognize the new coil! I figured out why!


The two leads, positive and negative are seperated by an insulator! The Kayfun mini clone I received uses (plastic?) as an insulator! It had melted under the heat of me vaping:o->:ko:!! Please check your decks!!

I already see the symptoms in Enjiatts post that I quoted (I removed the images to save space).:disgust:

I don't know why mine melted so quickly! I tried replacing it with an o ring that i had around, but no luck. The resistance of my coils now cannot be read and I am scared of having inhaled carcinogens. I might call this diy project quits until I am ready for a full heating element build...I will probably look for a professionally designed and manufactured vape.

Any recommendations? I am considering the Arizer Solo but I don't know if it is still the best bang for the buck?:hmm:


Every atomizer I have ever seen (admittedly few) uses the same type of insulator under the positive post.

I have probably a few hundred draws (almost always 10 sec each) on both my Kayfun and Bulli and have seen no visible degradation of the insulator.

Did you read my post about the Kayfun Mini not having nearly enough airfow? I am now using two 5/64" diameter air flow holes next to the heating element (was only one as of Tuesday) and it is producing some serious vapor.

It sounds like your element is generating enough heat (obviously,) but it is just sitting in the heating chamber instead of getting pulled through the load... Needs more air flow.
 
StonerSloth,

Pipes

Addicted DIY Enthusiast
Accessory Maker
Sneak Peak.
Started to test the upcoming "Project" endeavour. Any other suggestions for a name are welcome.
Finally got all the needed pieces. But really want to try with SS coils once that comes in. Hopefully soon, as it's in the mail.
I think I've got it all though out for the most part, but needs some real life testing to ensure the insulator holds up and any other unforeseen problems.
The base for this unit starts with a 510 to Ego Adapter

Here is that adapter with the insides removed and nut, bolt and various washers. The Teflon Insulating Bushings, both bottom and top are actually heat sink insulators for TO220 style transistors and such.

20160213_154052-1_zpsw752vihp.jpg


The coil I made for it.

20160213_155031-1_zpsowmy8tmp.jpg


Mounting the coil.

20160213_155822-1_zps9pzfrivb.jpg

20160213_160240-1_zpszrkvuvsn.jpg
20160213_160259-1_zpstd1ss1lp.jpg


SS tube installed.

20160213_160420-1_zps6eql4oug.jpg


Outer cover, which also holds stems of various types. The screen is a 3/4" which is wedged between the O rings.

20160213_161024-1_zps5wzfww10.jpg


Bottom after some grinding on the bolt.

20160213_203741-1_zps6oer5a1n.jpg


So that's the first born of a few.
Once I have completed some real life testing I will be starting a new thread complete with links to parts ect. Little premature as yet, but getting very excited about this puppy.

Enjoy,
Pipes
 
Last edited:

bloom

Member
Every atomizer I have ever seen (admittedly few) uses the same type of insulator under the positive post.

I have probably a few hundred draws (almost always 10 sec each) on both my Kayfun and Bulli and have seen no visible degradation of the insulator.

Did you read my post about the Kayfun Mini not having nearly enough airfow? I am now using two 5/64" diameter air flow holes next to the heating element (was only one as of Tuesday) and it is producing some serious vapor.

It sounds like your element is generating enough heat (obviously,) but it is just sitting in the heating chamber instead of getting pulled through the load... Needs more air flow.

Yup, so because my Kayfun mini deck is toast, I switched over to my Kayfun Lite deck. Suprisingly the threading is the same for the inner evap chamber tube as the 14mm kayfun mini v2.1 clone I got so it mates on without modification. I like the bigger deck to build on, as the Kayfun mini's own deck had to fit within the inner evap chamber's diameter. I removed all screws for maximum airflow in the deck (except the coil screws of course). The deck itself I am now very careful to disjoint from the rest of the unit after each vape.

I wrapped a .17 ohm 22 gauge stainless steel coil and am running with a tcr of 190 at 550 F. Still not as big of clouds as I would like, I might have to buy that crafty....
 
bloom,

StonerSloth

cui bono?
Yup, so because my Kayfun mini deck is toast, I switched over to my Kayfun Lite deck. Suprisingly the threading is the same for the inner evap chamber tube as the 14mm kayfun mini v2.1 clone I got so it mates on without modification. I like the bigger deck to build on, as the Kayfun mini's own deck had to fit within the inner evap chamber's diameter. I removed all screws for maximum airflow in the deck (except the coil screws of course). The deck itself I am now very careful to disjoint from the rest of the unit after each vape.

I wrapped a .17 ohm 22 gauge stainless steel coil and am running with a tcr of 190 at 550 F. Still not as big of clouds as I would like, I might have to buy that crafty....

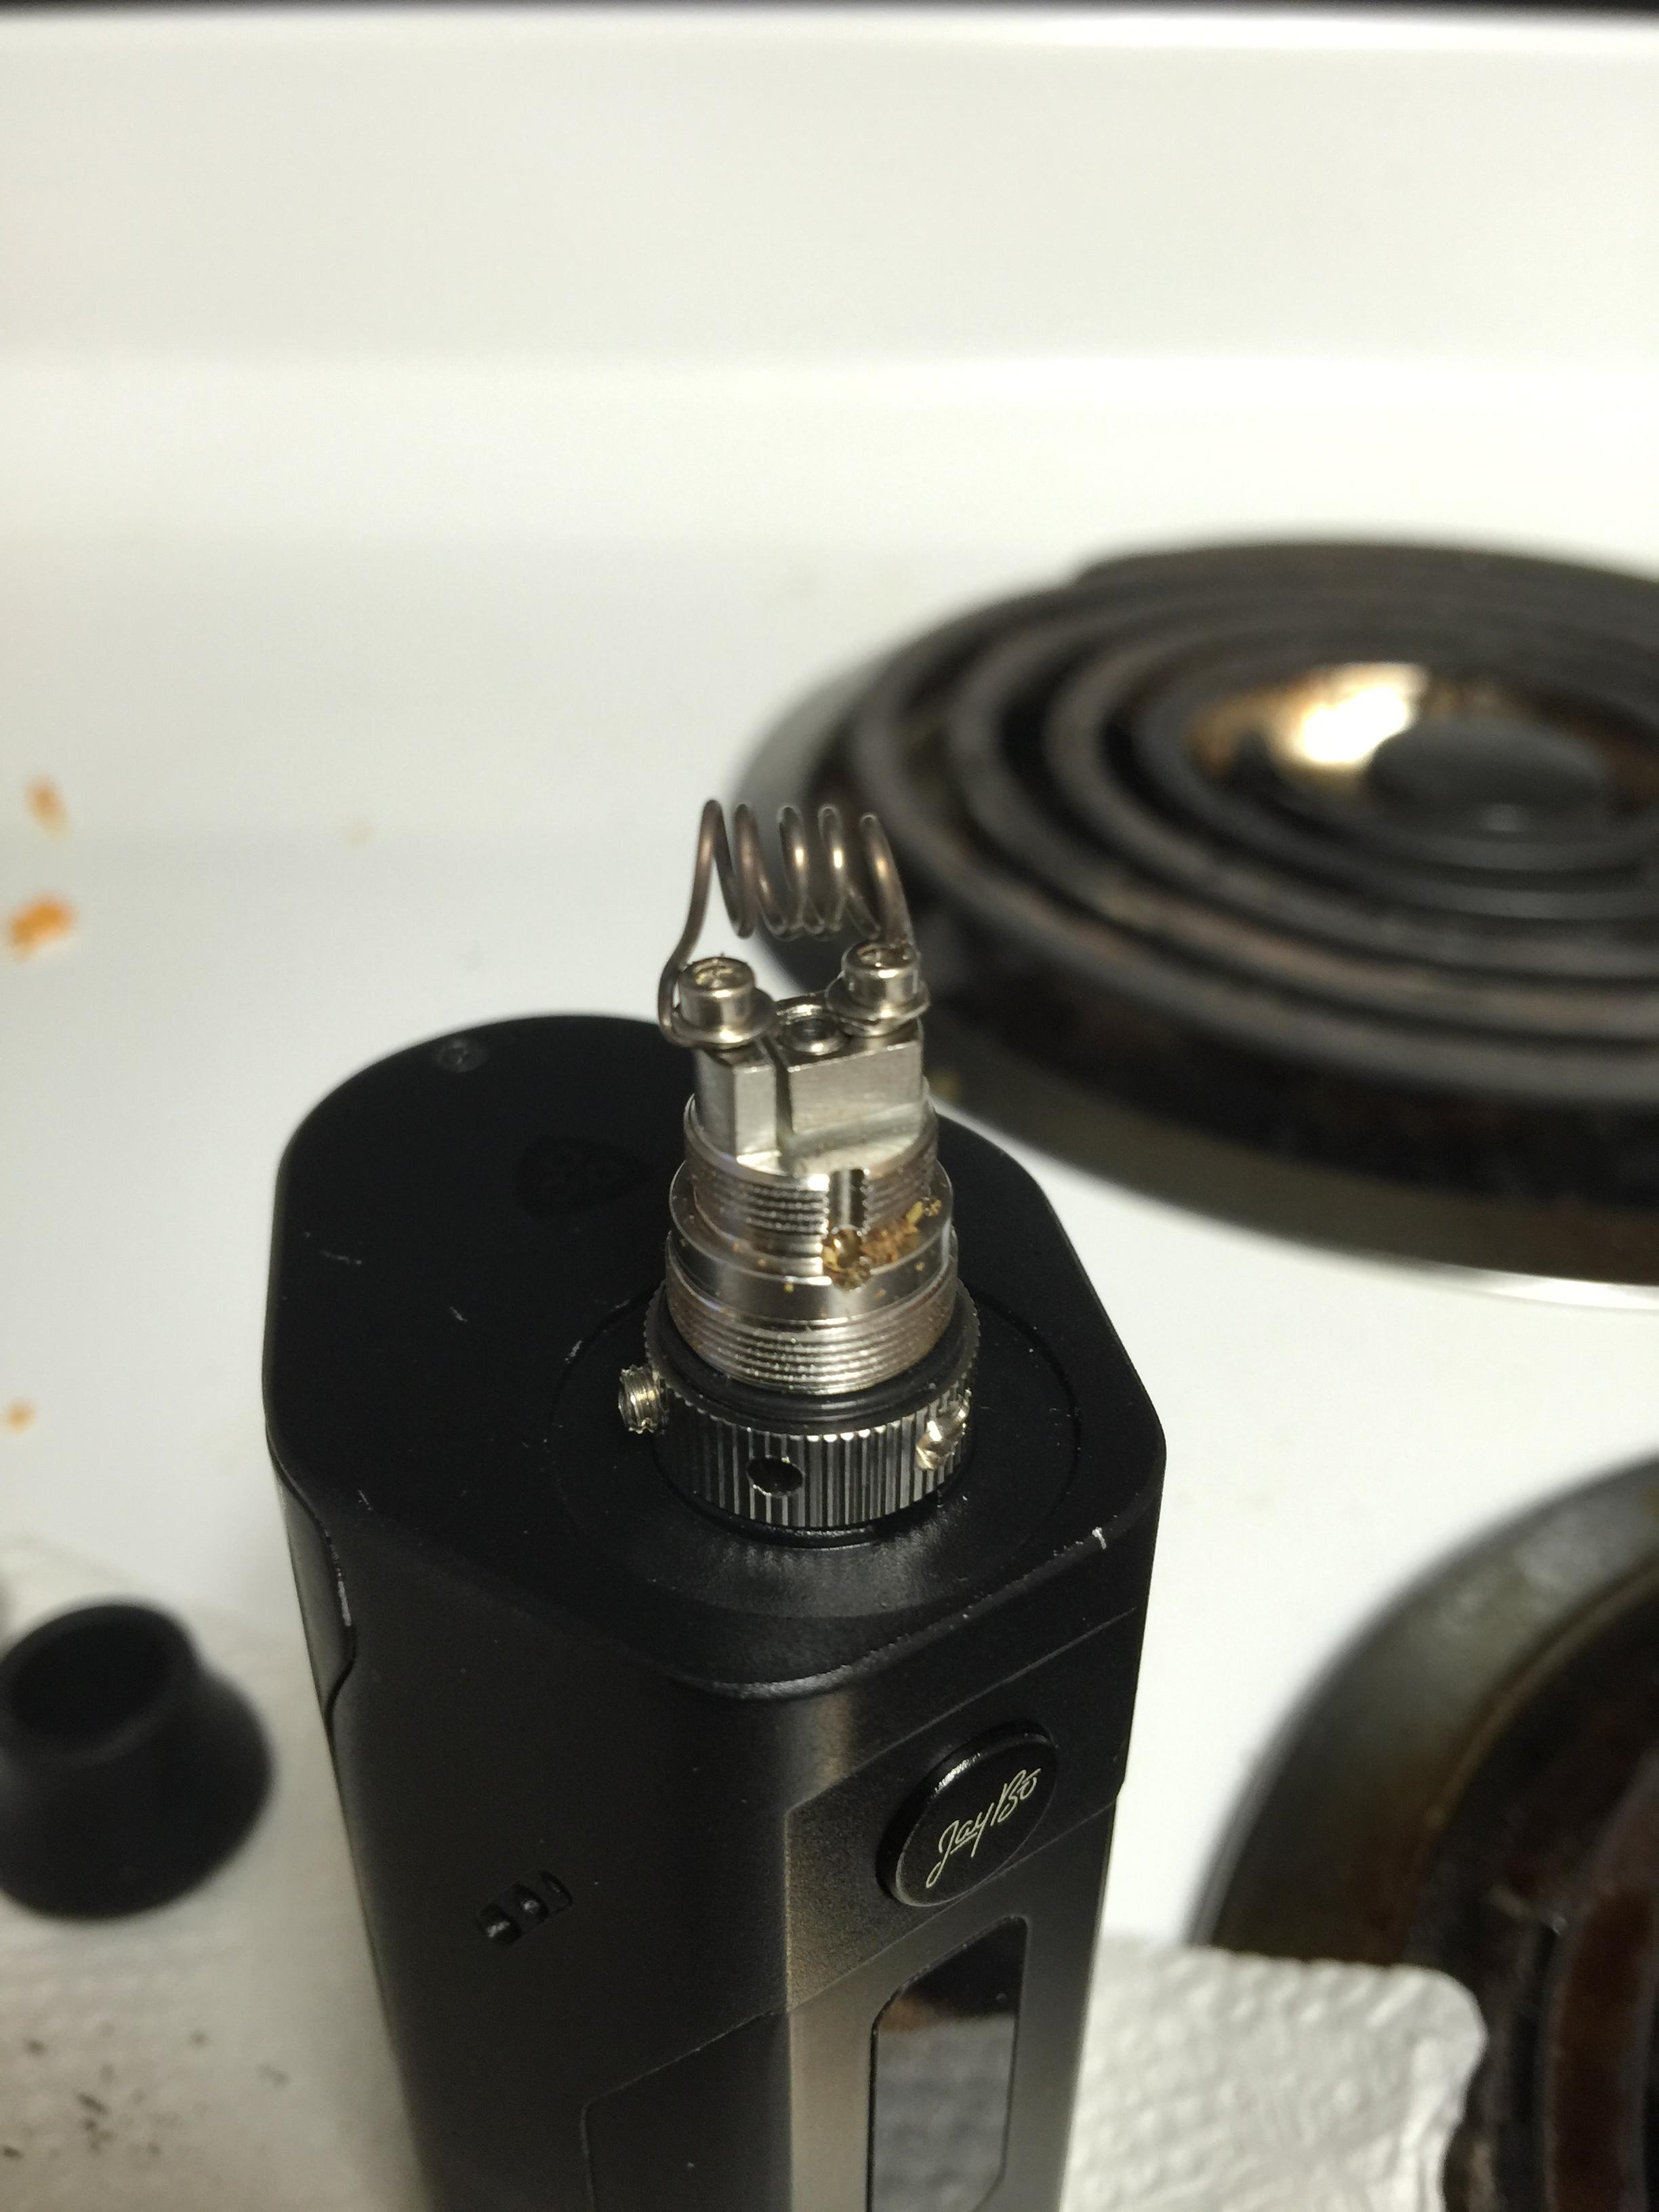
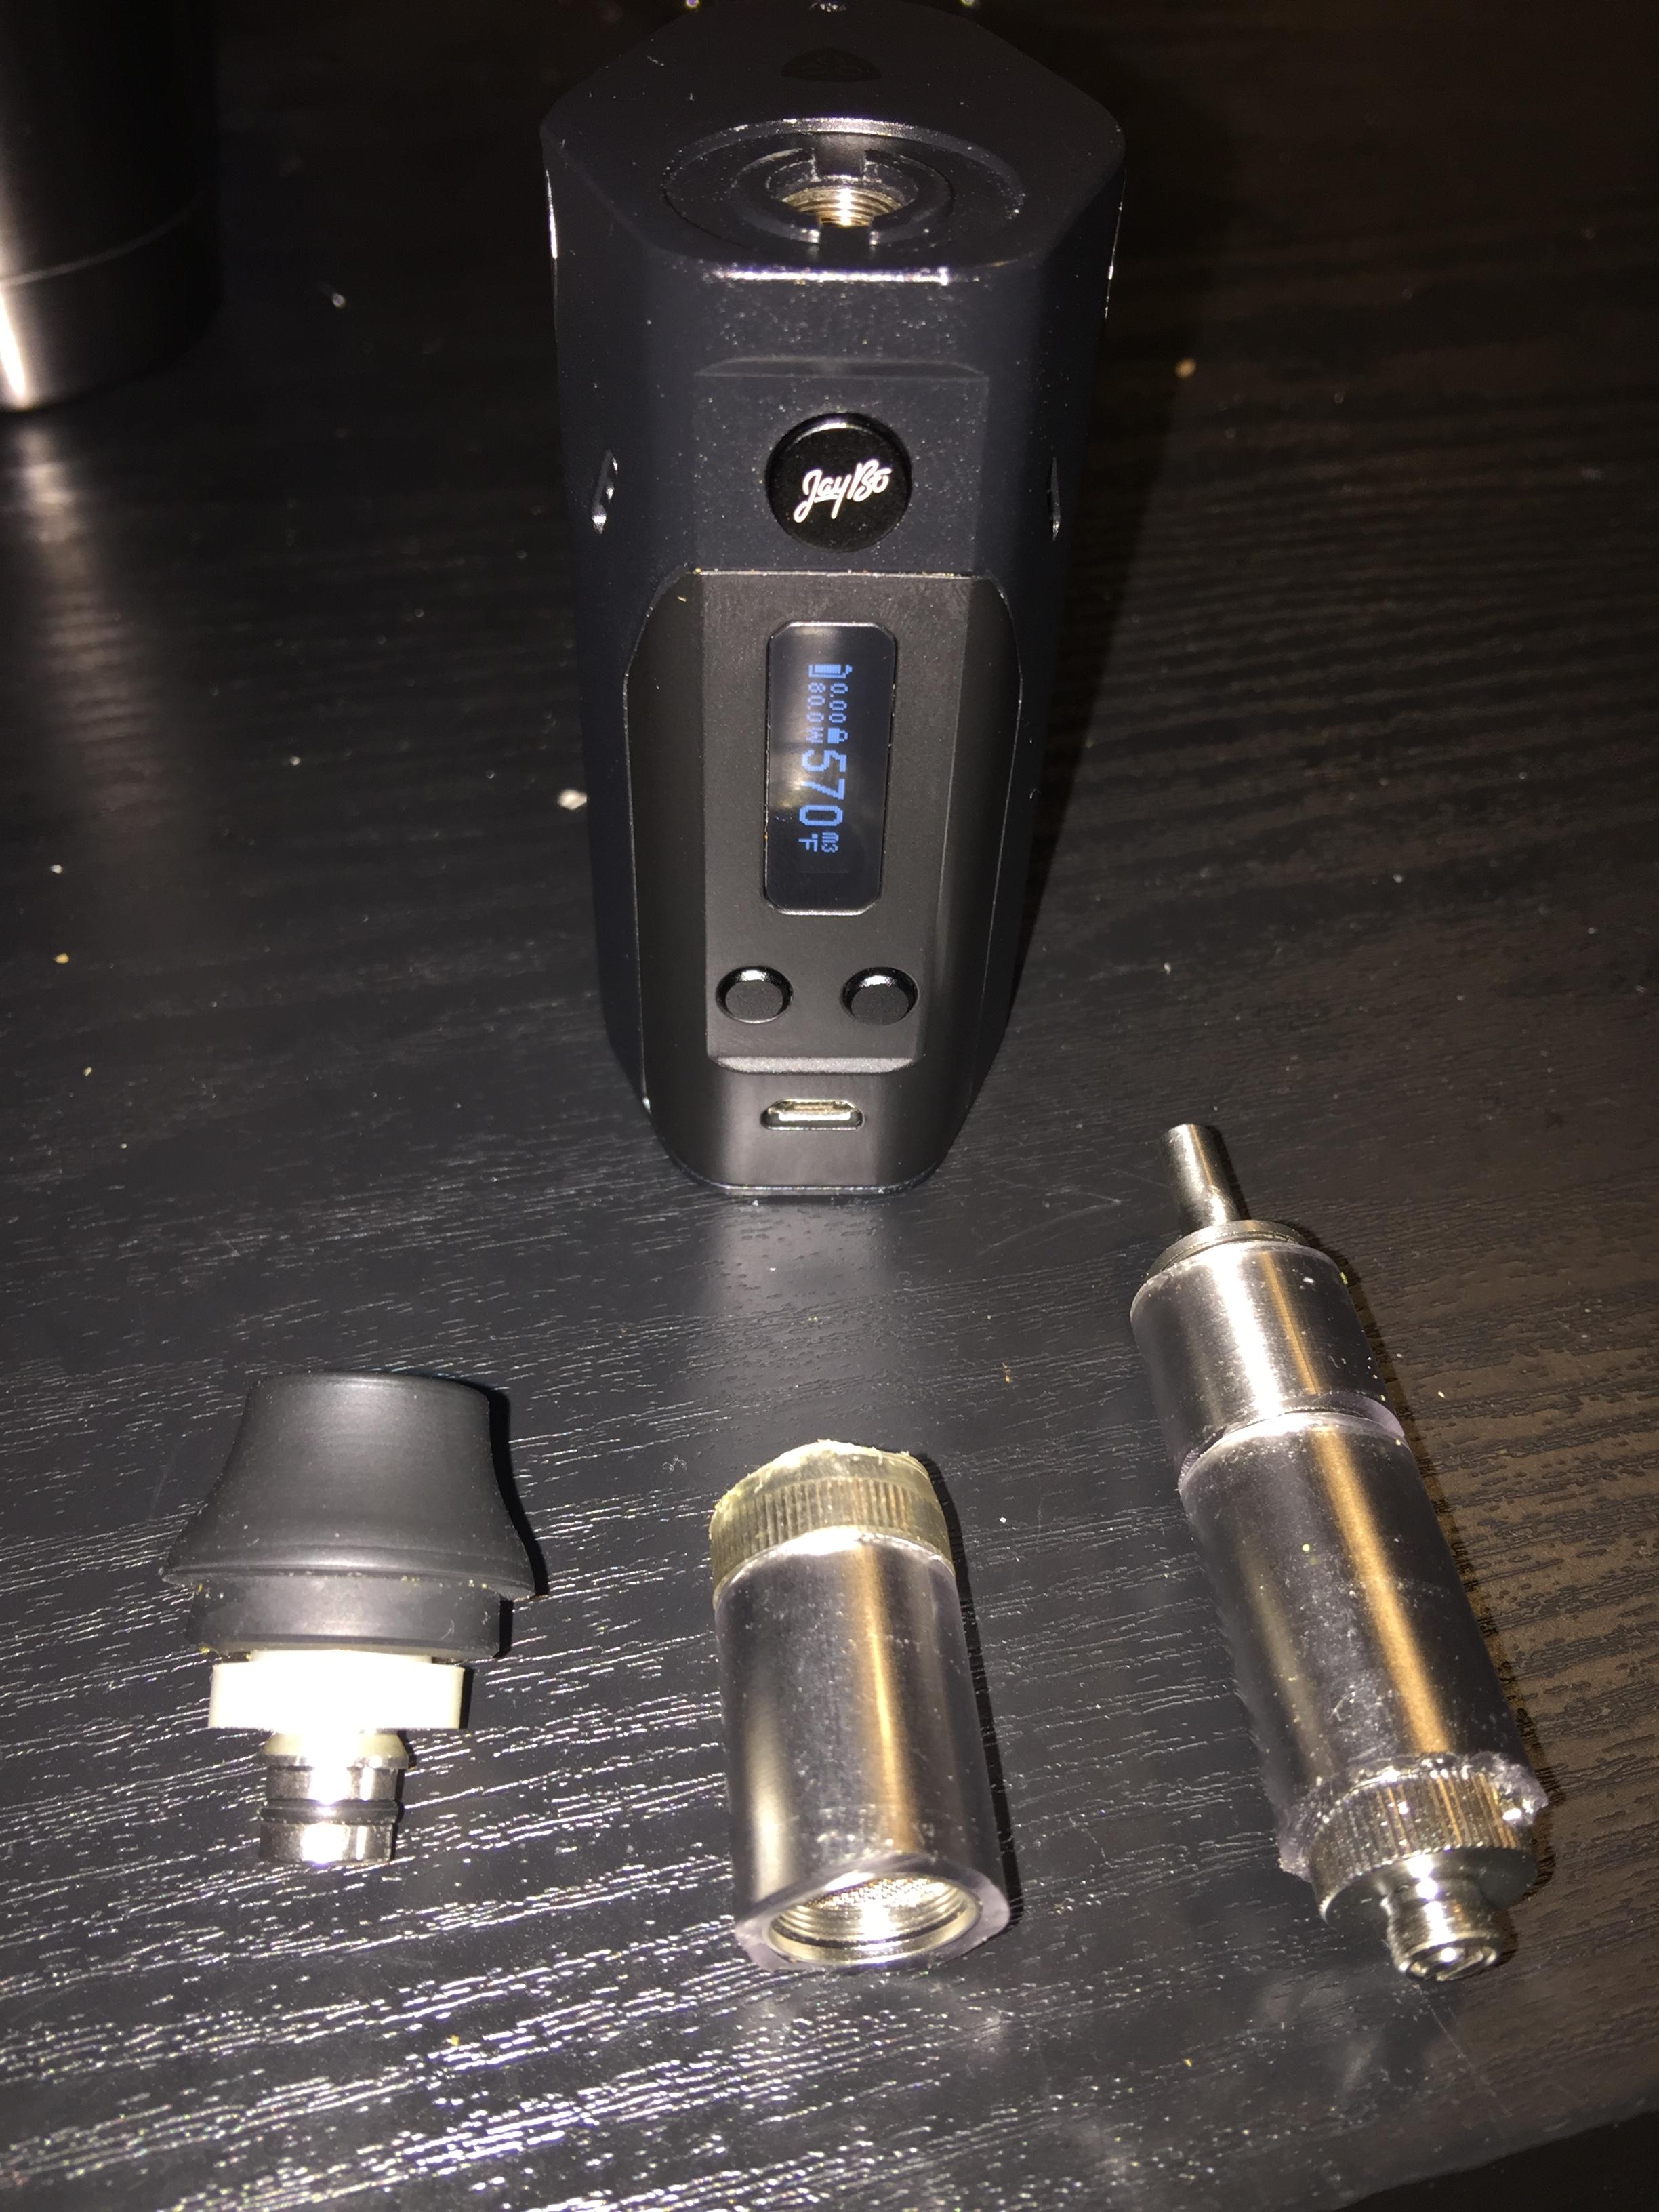
My 316L stainless wire finally arrived. Definitely easier to work with that the Ti - a lot less springy! I am using a TCR of 160 for the 316L wire.

My current Kayfun Mini setup uses a 0.55 ohm 22 gauge stainless coil. I can vape at about 420 F. Note I am not using the inner evap chamber sleeve at all, just the lower housing with two air inlet holes drilled to bring air right into the bottom of the coil. Working well so far but still #2 to the Bulli with its 0.31 ohm 316L ss coil (running at about 570 F on that one.)
 
StonerSloth,
  • Like
Reactions: enjiatt
Top Bottom