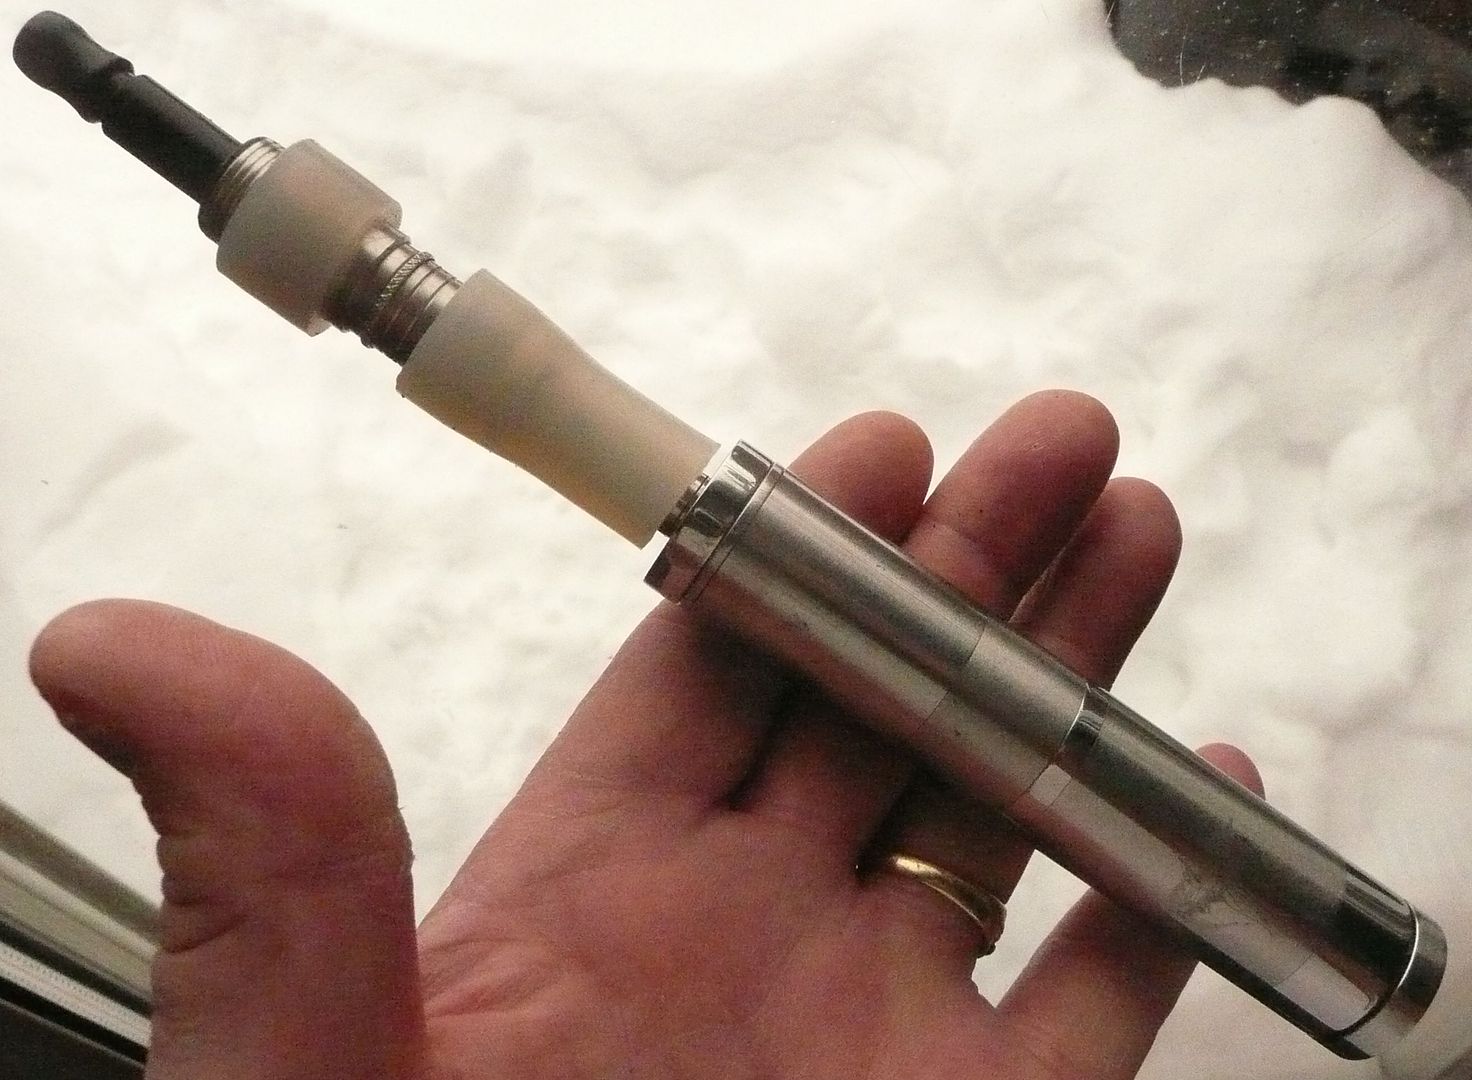
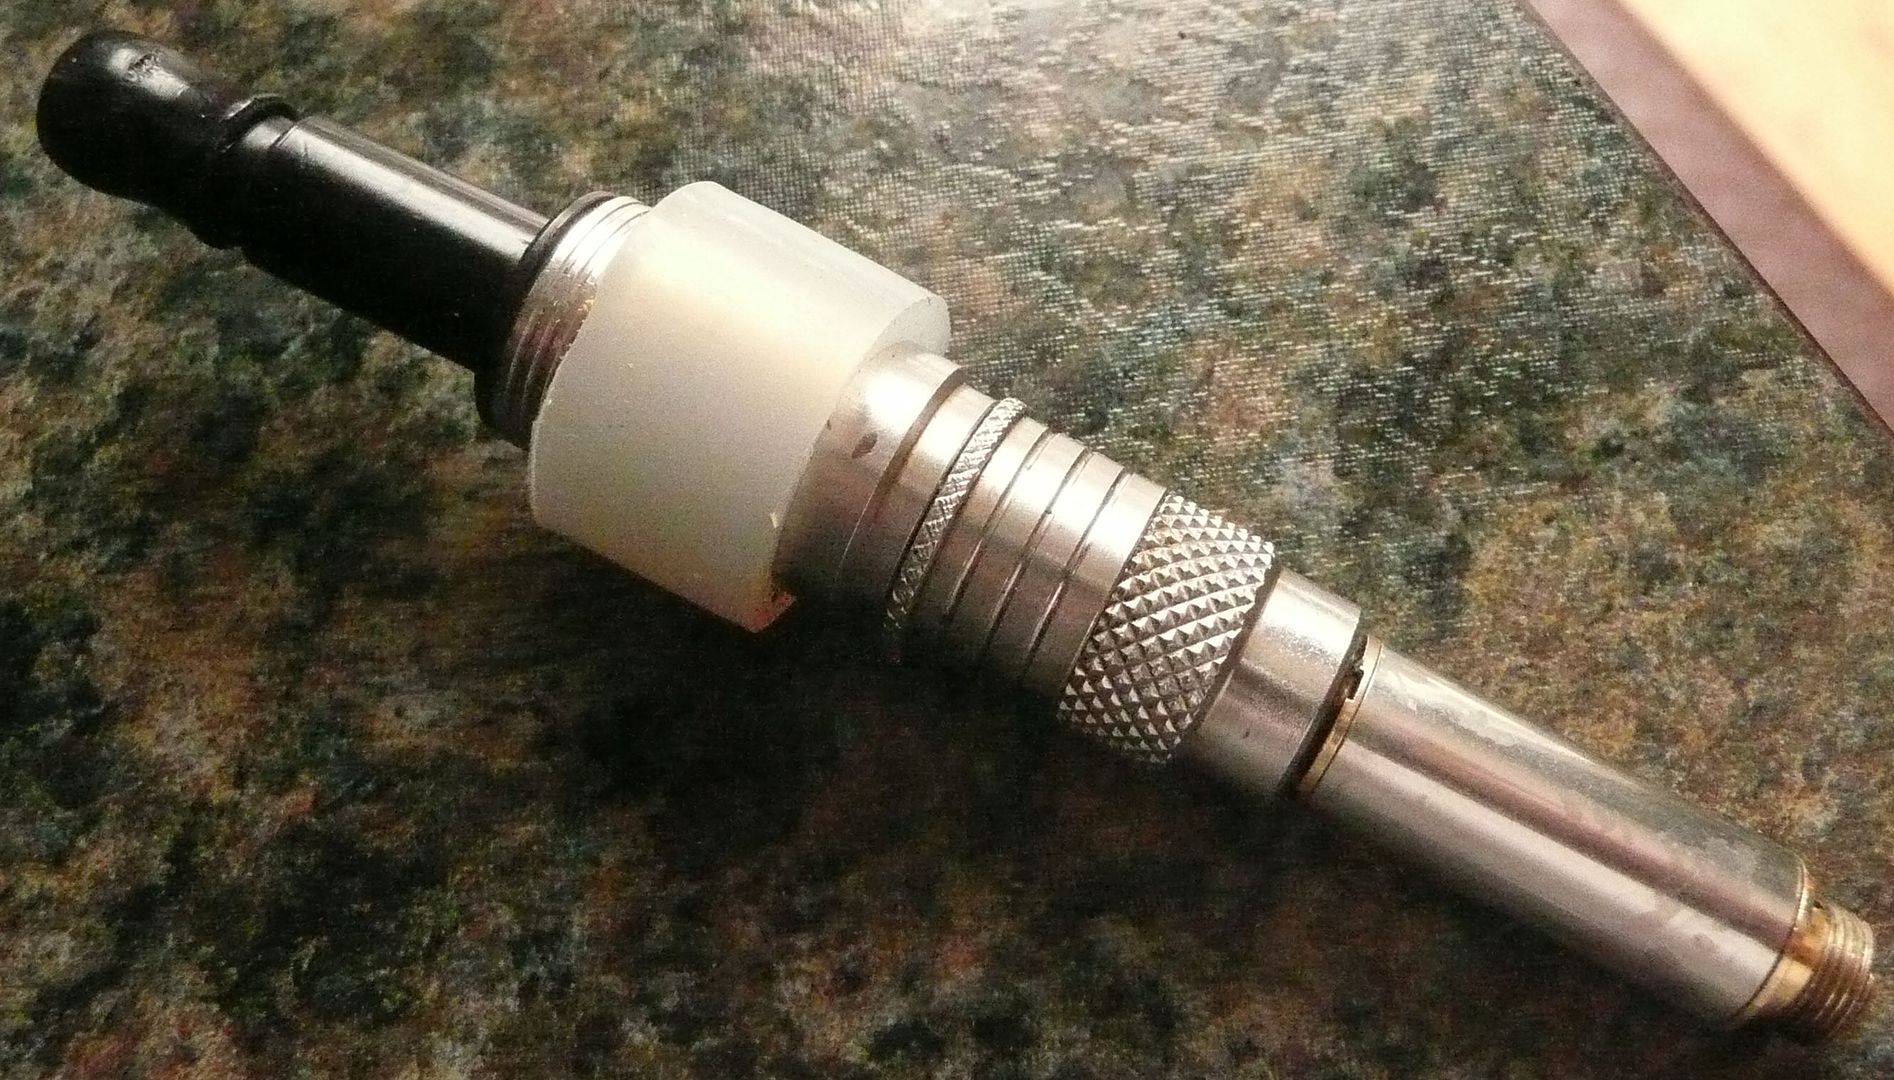
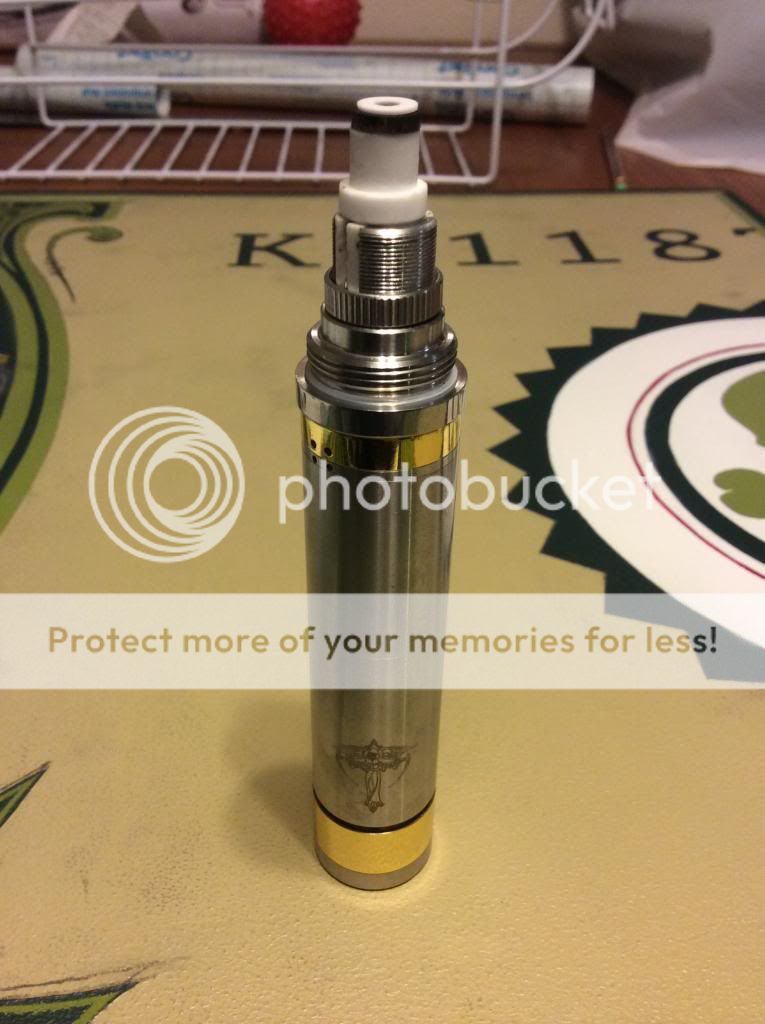
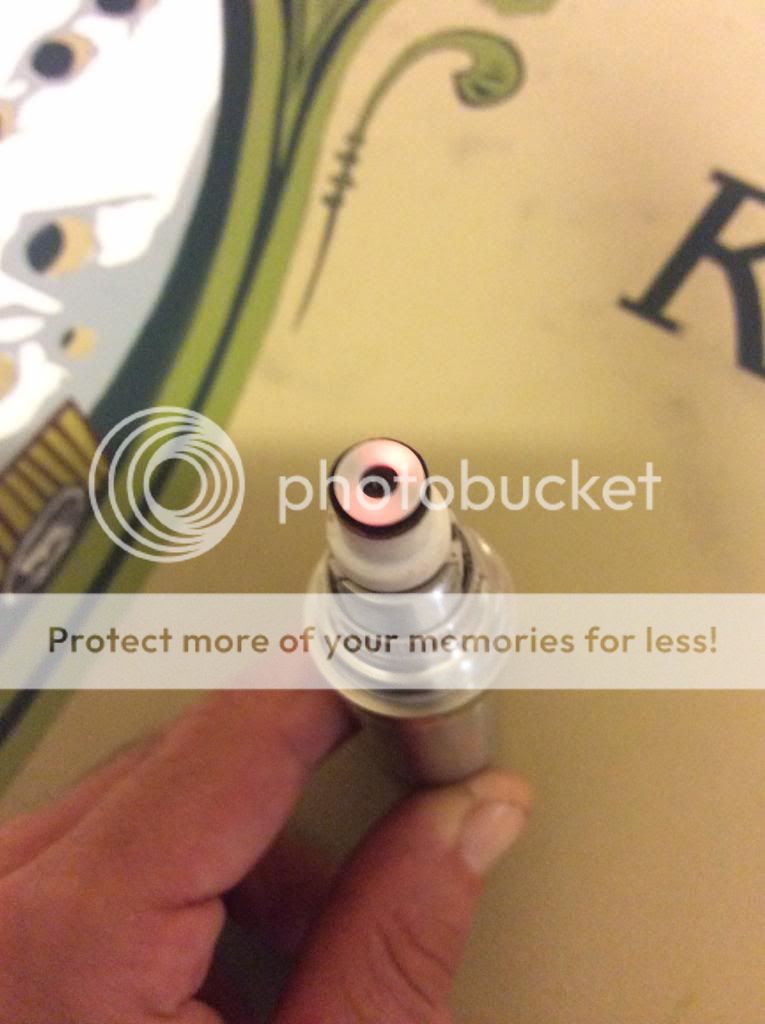
DIY Bulli Vaporizer

is there any other rda/rba that could fit a pourous stone on top of? could this be down with an ud igo-w for instance. looking for a rebuildable with a deep well and a space on top similar to the bulli
 
abstract XstracT,

Pipes

Addicted DIY Enthusiast
Accessory Maker
is there any other rda/rba that could fit a pourous stone on top of? could this be down with an ud igo-w for instance. looking for a rebuildable with a deep well and a space on top similar to the bulli
I agree a porous type stone or the bubble fish stones are great for use as reservoir.
A direct drip type RBA with wide platform and outer lip would likely work well. Cheap too. Get a fish bubble stone as I posted back a bit and curve an arch or sorts to go over the coil and maybe the posts as well.?
Just need to have it touch down on the bottom as it will stick by itself in no time. No reason it can't come into contact with the winding as well. Actually a good thing to some degree.
Have fun, DIY is always cool.
 
Also, the small one loads from the bottom because of the way it's been modified. The mouth piece is hard to pull out as it's a tight bugger. Which is good as can use it to un-screw the bowl portion and not burn yourself. About the heat, since it is smaller then the other two it cools down faster and therefore I do not use the medical tubing. (this might change once I get burned...lol)

BulliTMod1.jpg

BulliTMod2.jpg

BulliTMouthMod.jpg


Pipes

Hey, what size drip tip do you have on the A2-t version? I was just thinking of turning my old bulli into a vape today, googled it and found that you've beat me to it by a long shot :p First post by the way, woohoo!
 

Pipes

Addicted DIY Enthusiast
Accessory Maker
Welcome to the forum. You will have fun here.
Drip tip for TM = Ego Mega
Drip tip for T = 801
Drip tip for A1 = 701 to 510 adapter
 

Pipes

Addicted DIY Enthusiast
Accessory Maker
OK, here's a follow up on the attached post. It was the last concentrate attempt and have been using it ever since. So I got months of use since it was made last June. It was still working but really slow response and felt quite bogged down. Mind you I don't use it all too often as it's just for my All Vaped Bud oil. It may have seen 10-12 grams over the months.?

I know I was going to move on from using the Bull for concentrate, but took a step back and simplified things a bit.

Got away from a reservoir made from ceramic and layed two 2 ohm, 32 AWG (1 ohm end result) heating elements along the bottom on both sides of the mounting screws.
Making it a dual core unit. Used the hard ceramic for center of coils. The reservoir this time is simple silica wick pulled between the screws and wrapped around the underside of elements. The remaining length is wrapped around the outside while screwing mid section on.


Design5d_zpsfb2200ae.jpg


Note: Straitened and evened out the coil before finial assembly.
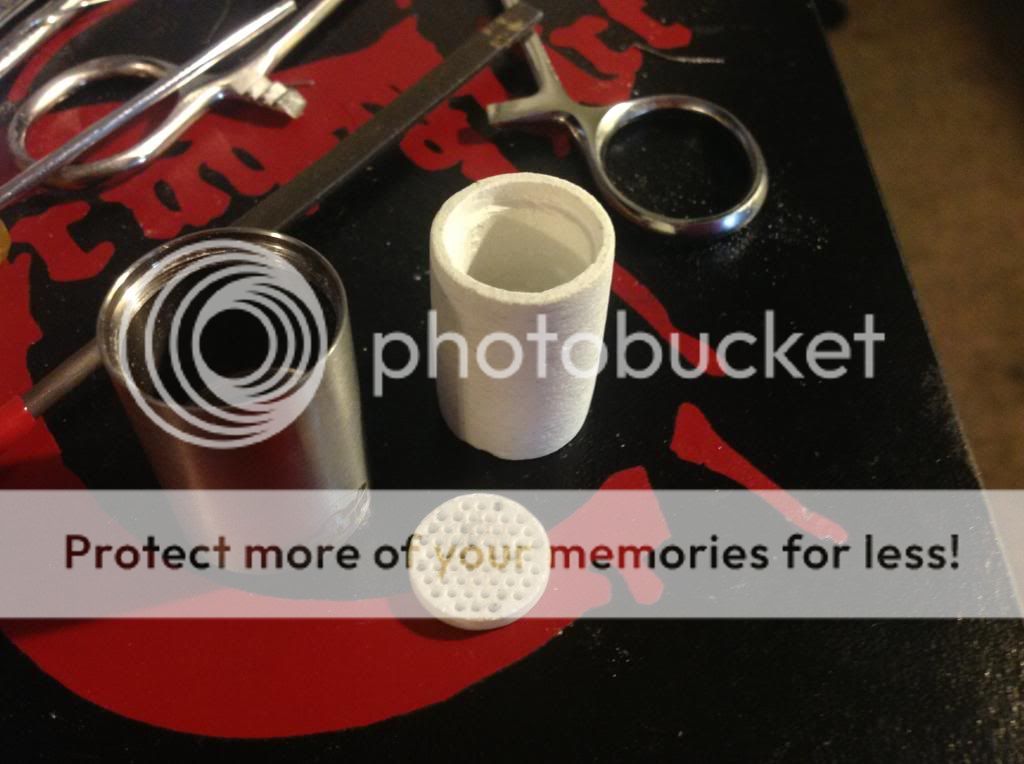
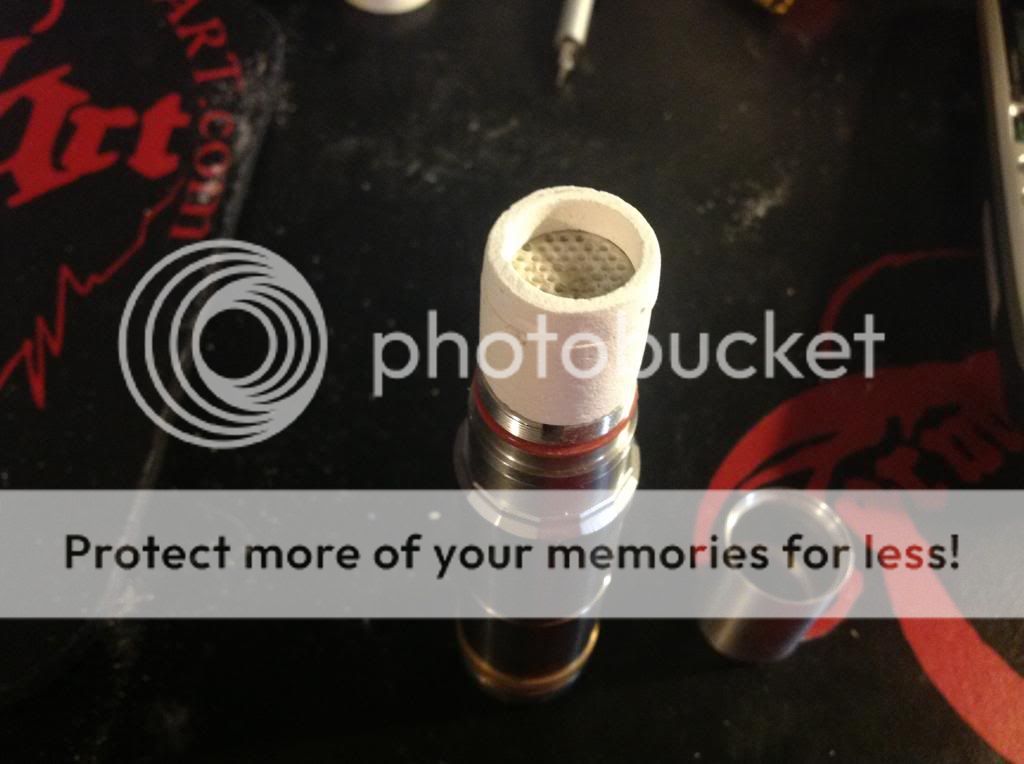
I still made a ceramic top disk with a hole in it which more or less rests on top of the screws and against elements. This is curved from the fish bubble stone. Fits under the inner lip of mid section.


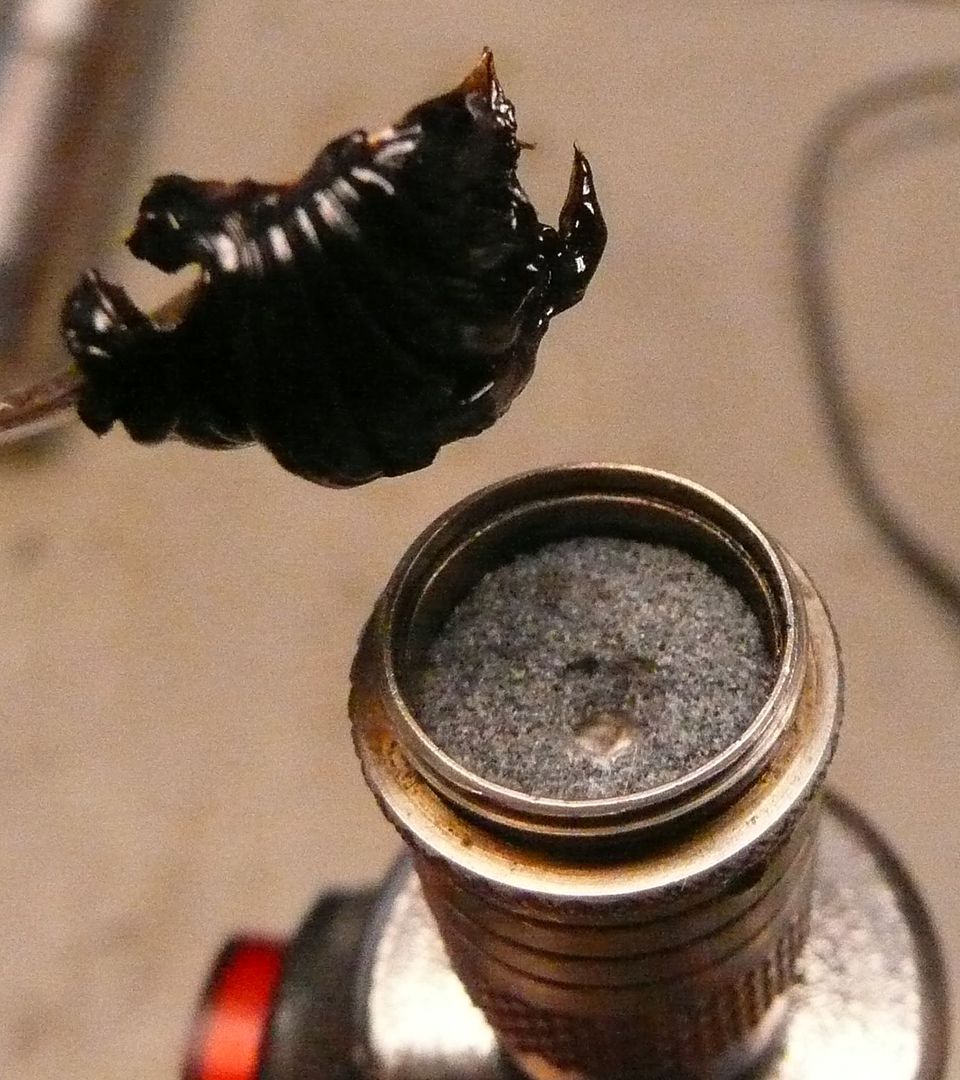
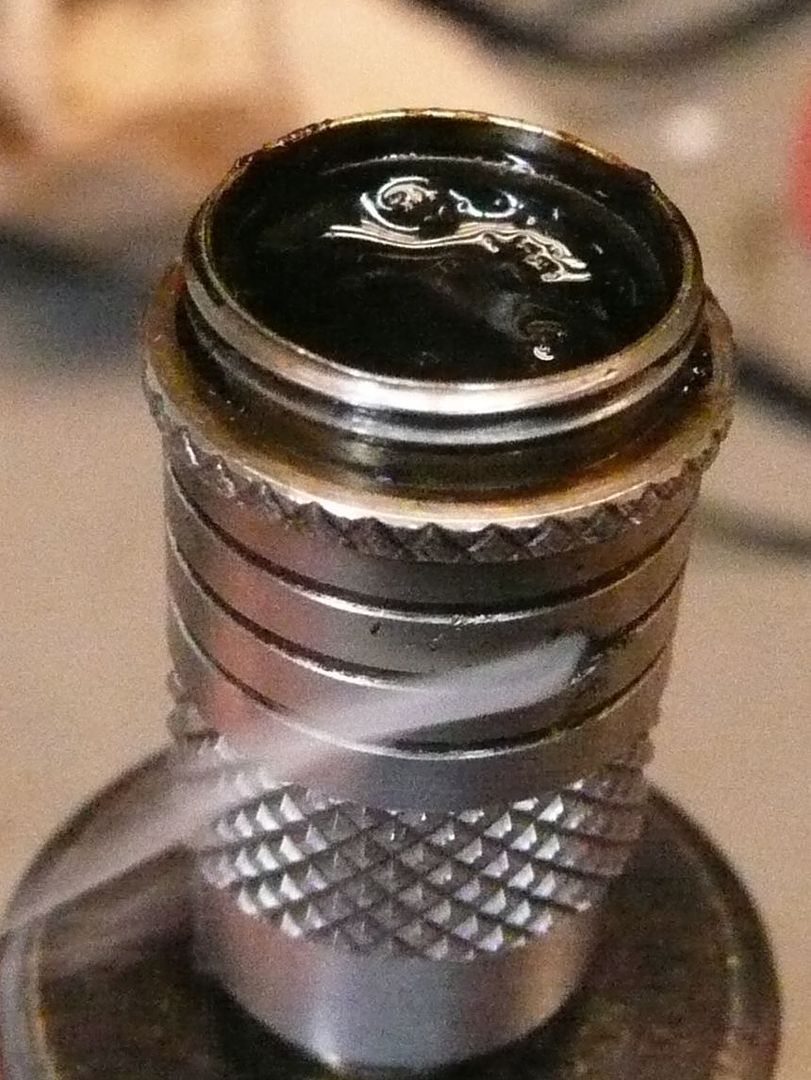
From here the fun began. Have to admit that I cheated a little in that I primed it somewhat before I put the ceramic in place and screwed the mid section on. I screwed this on as tight as possible and wrapped the remaining silica wick around the insides while screwing. I do not think it can be unscrewed once used as it will be mucked up too much inside.
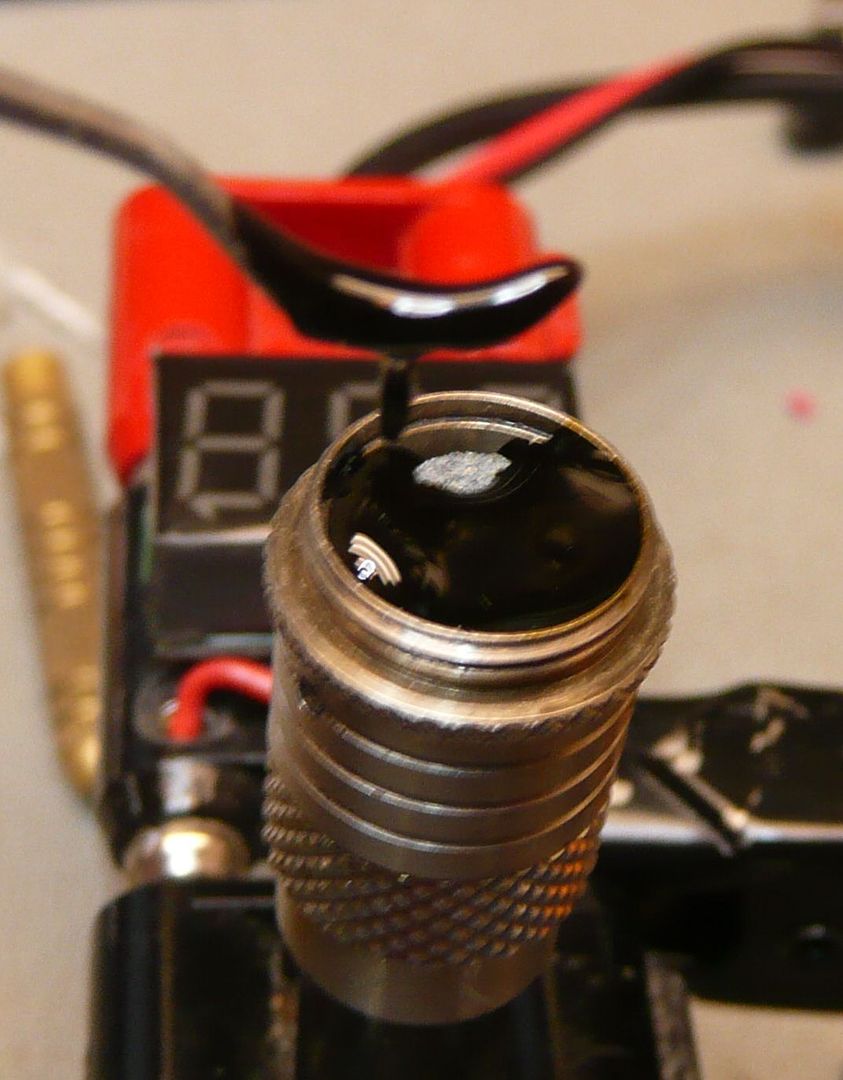
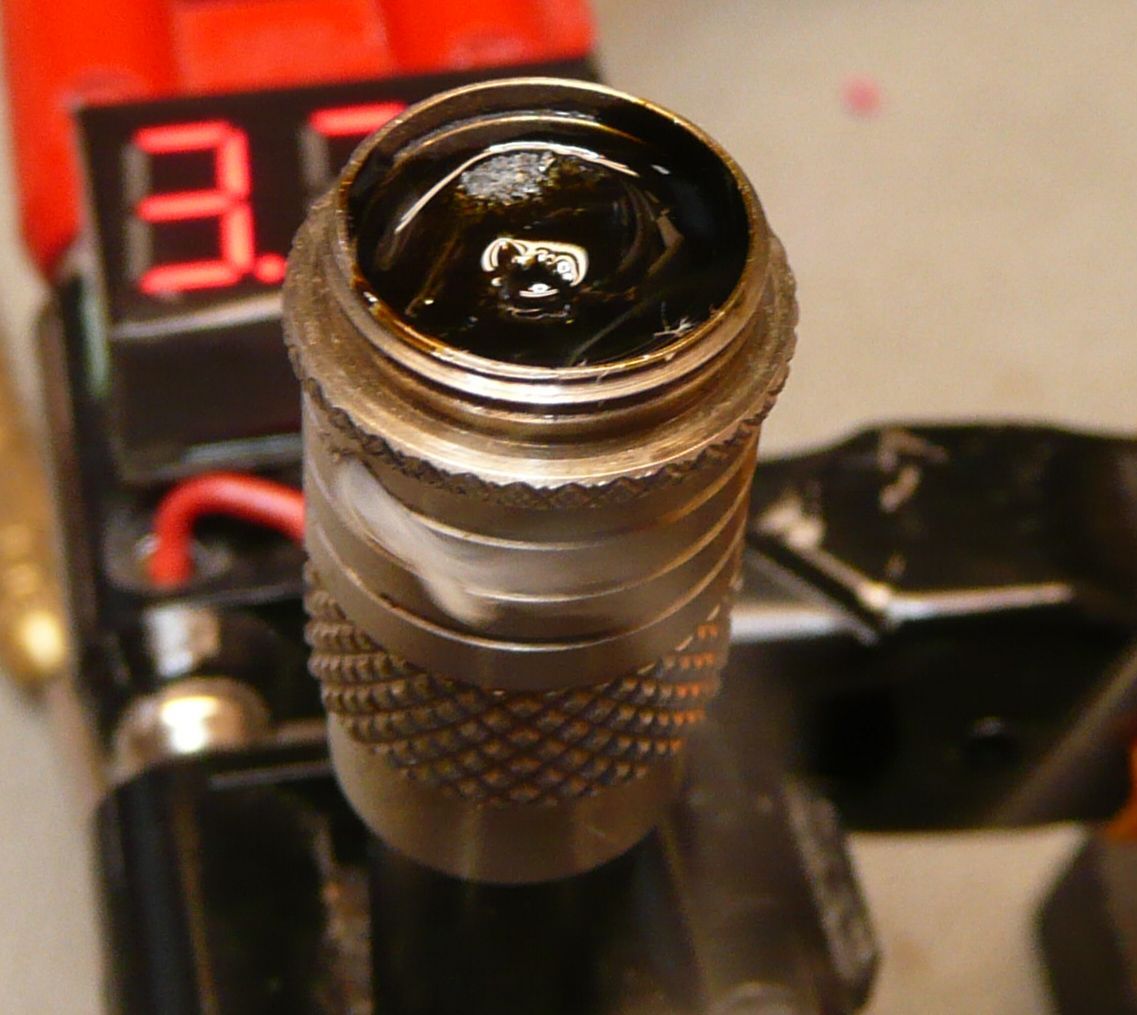
Design5g_zpsdf19b335.jpg

Design5h_zps8af4ddd3.jpg


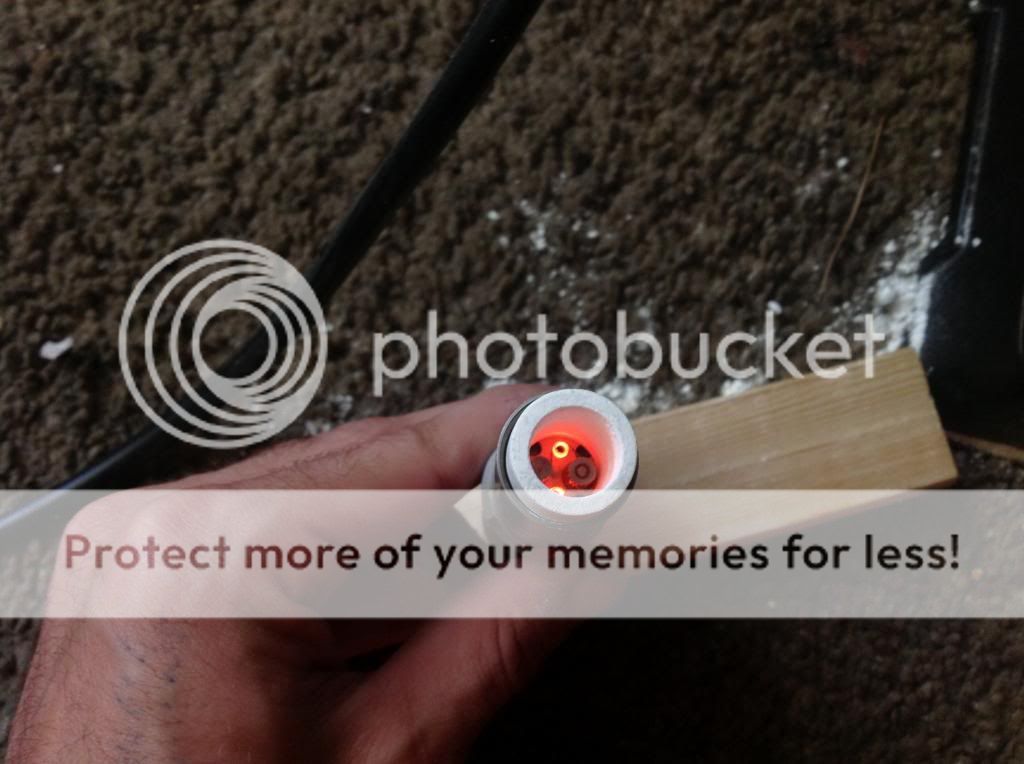
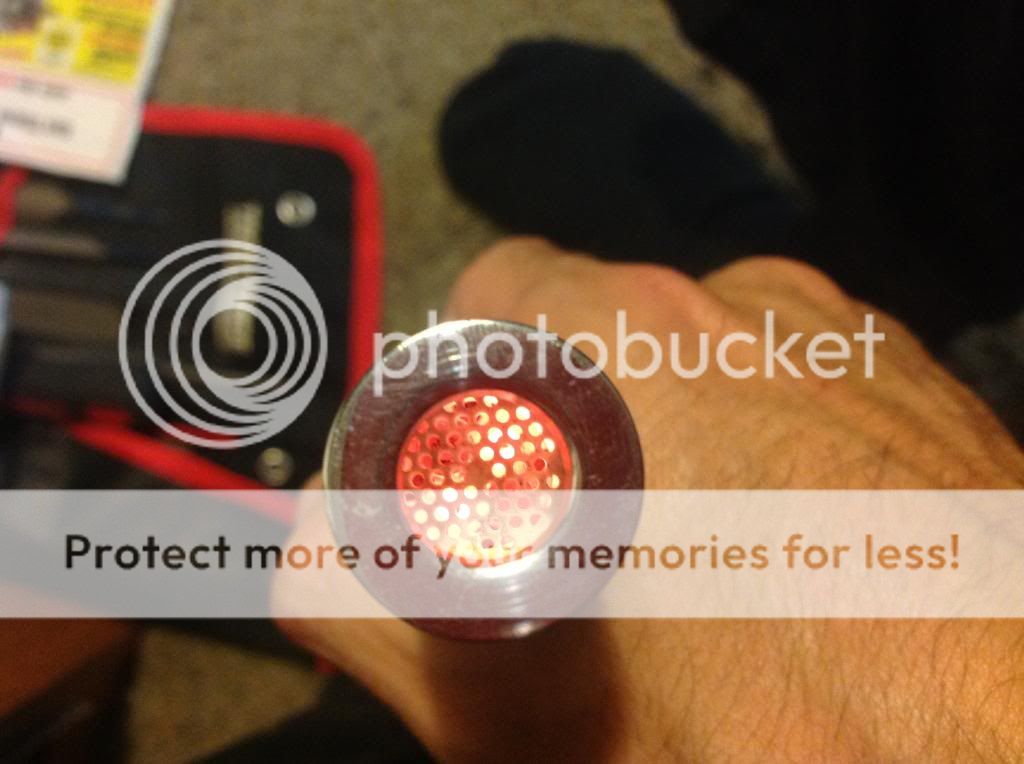
Pulsed it on til vape started and cycled a few times til it melted into the ceramic. Put it on my modded Bolt and wow.

Design5_zpsf7f33846.jpg


It hits with no restriction and sipping is just awesome. Way bigger clouds then I can handle. Been testing on and off for a week. Top er up way before it goes dry and it has not leaked one little bit. I was expecting it to but nope. The mid section I used has two holes in it. One it the off the shelf holes which was put in from manufacturer and the other is lower and was added by myself. Have been trying to determine which position is best for leaking but neither hole have leaked. Also, the mess has not even gone up past the ceramic meaning the top part has remained clean. The space at the top of ceramic and lip of mid section make for topping up easy as pie. I use a flat ss dental tool and it scraps clean across the opening. So far it has gone through roughly 3 grams and still going strong. Very promising for sure.

Happy modding....
Pipes
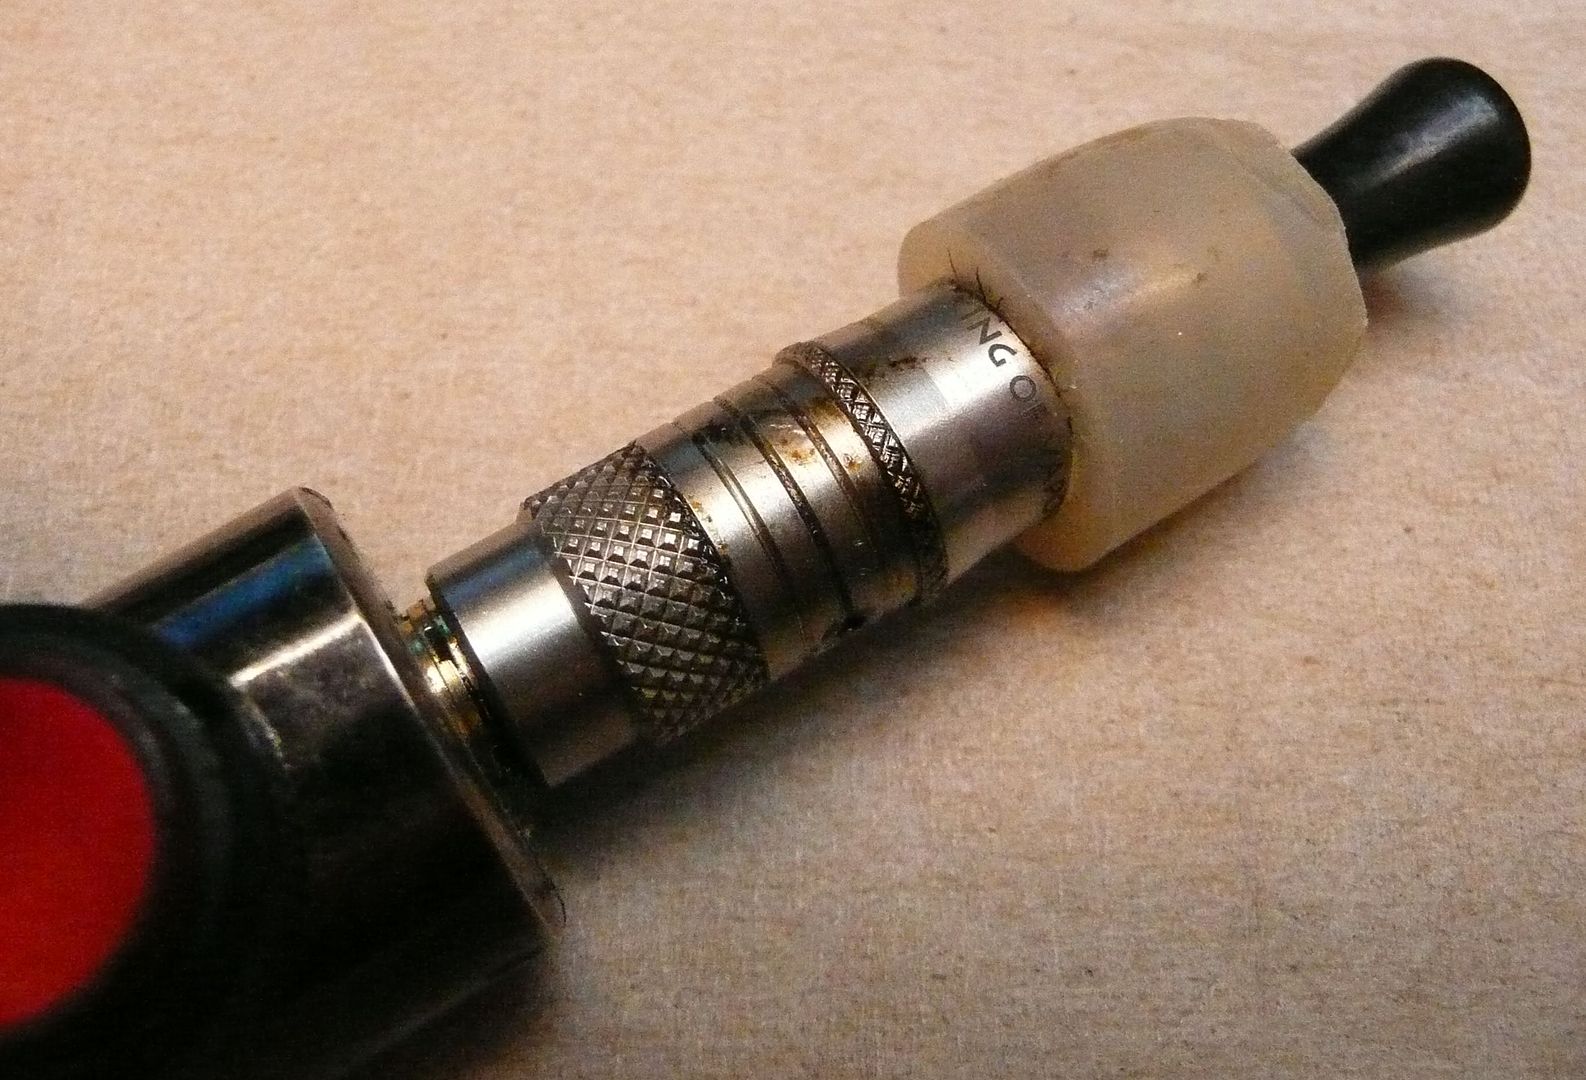
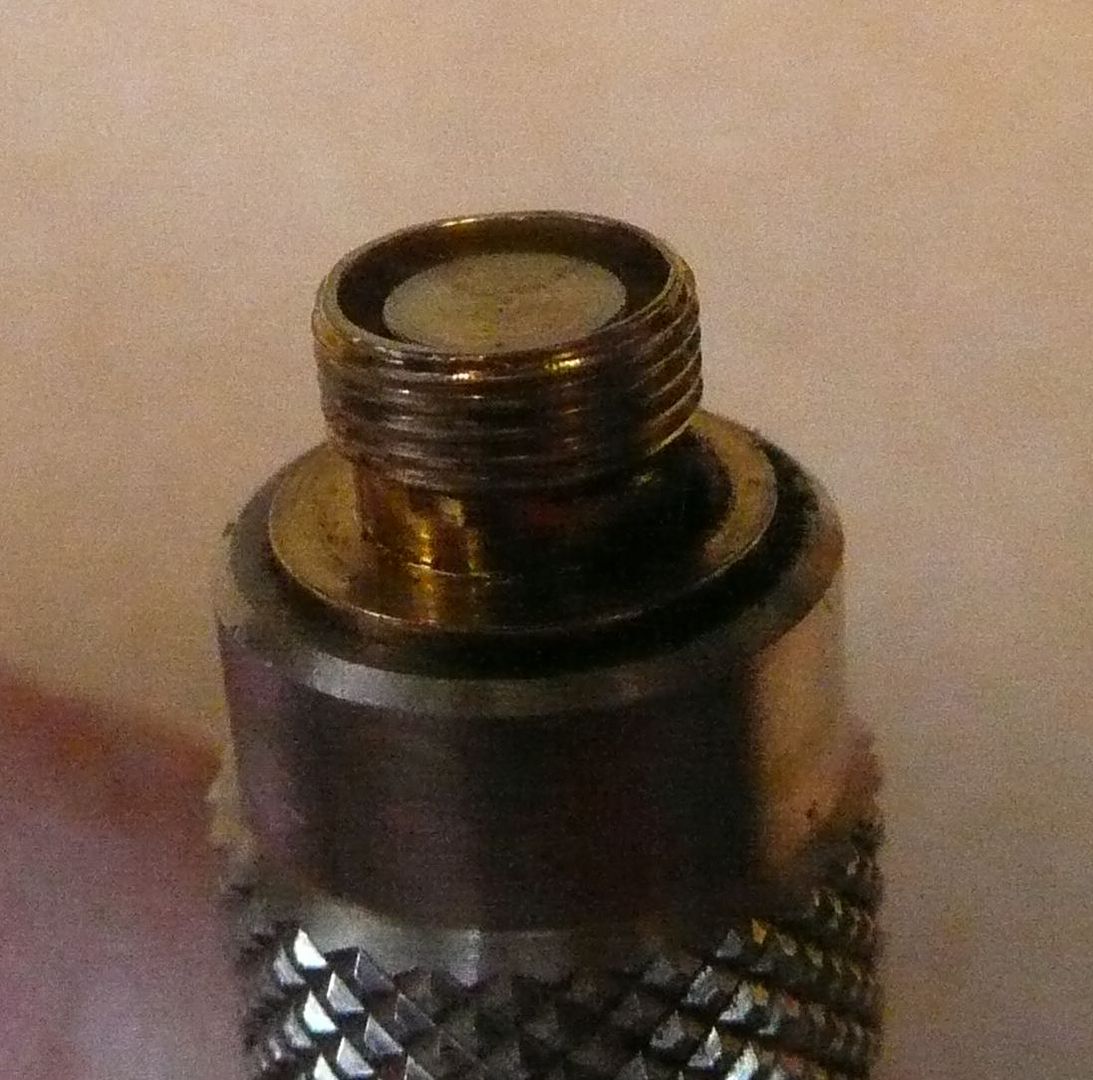
So it's rebuild time. First off, here she is before anything. Note the addition of the upper rubber. Use with the WTs. Smooths it down some.
OilRebuild01_zps5197a91f.jpg


First thing I noticed was the bottom contact was sunken down and needs work as well.

OilRebuild02_zpsd6146d8c.jpg


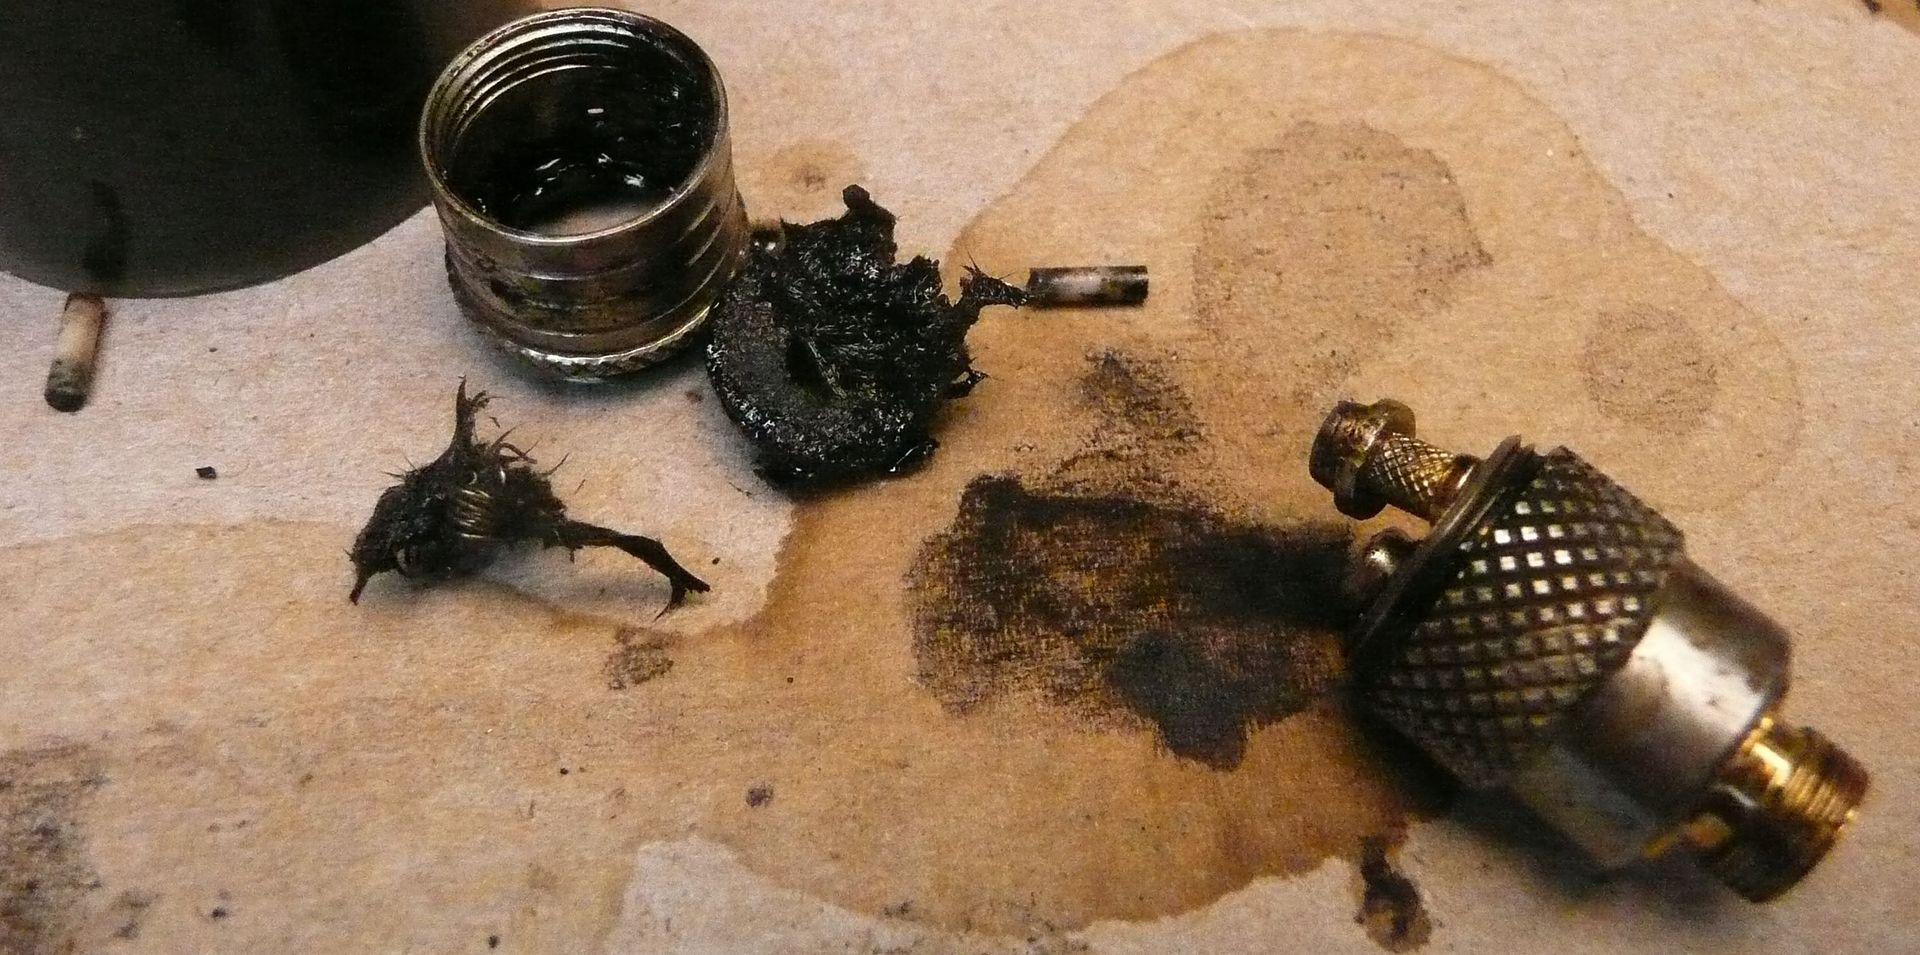
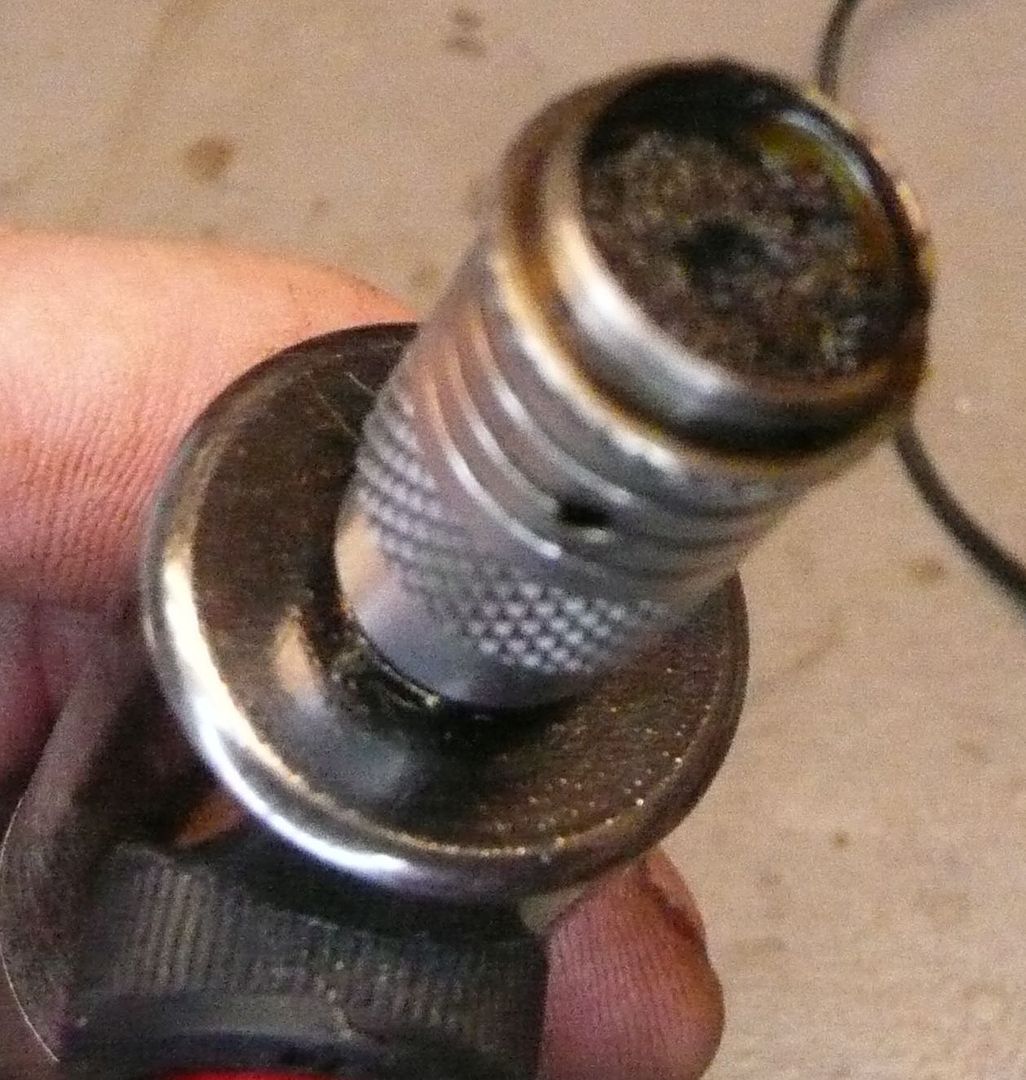
And just as well as the top connector pulled out while taking it apart. It was really mucked up inside as expected.

OilRebuild04_zps4ad0a726.jpg


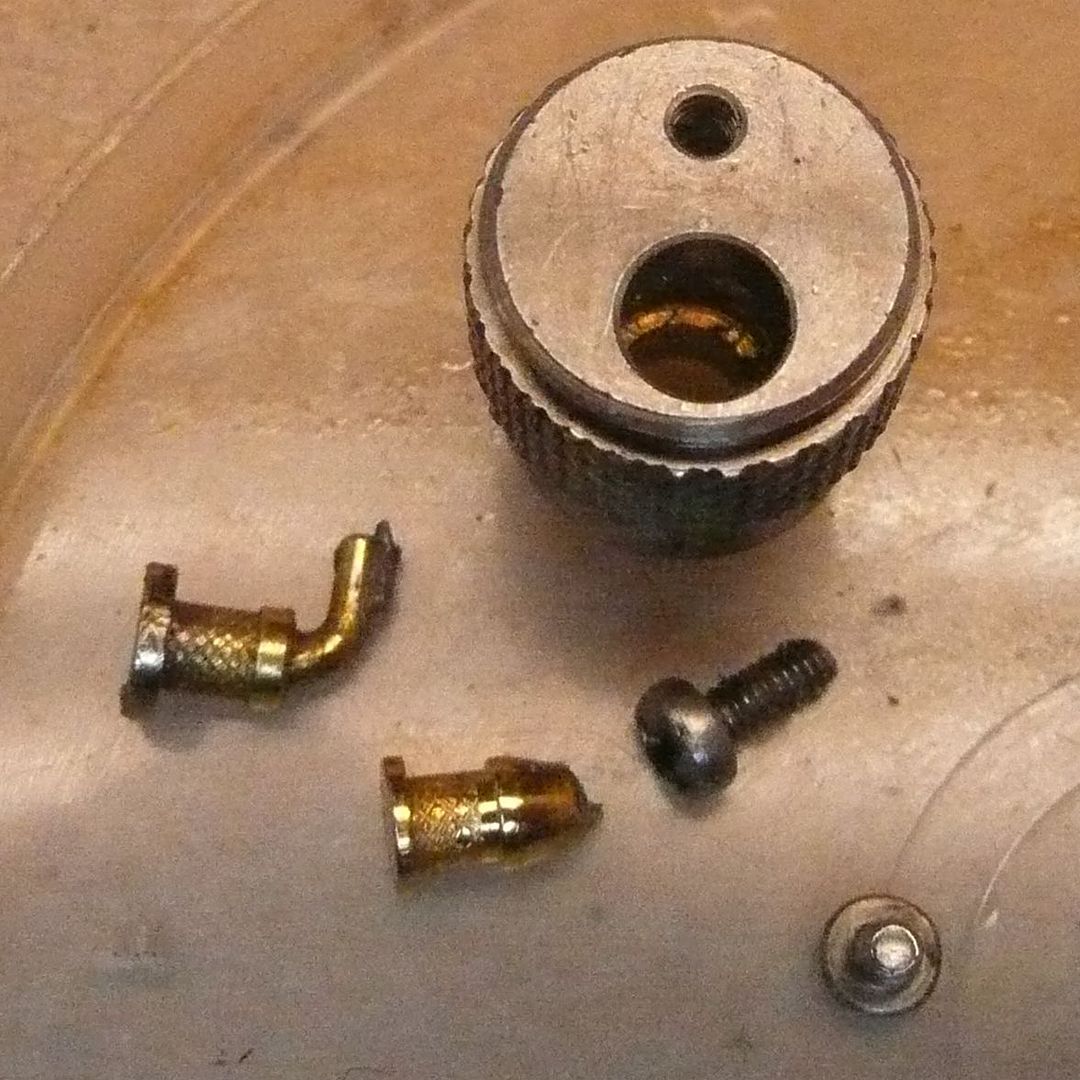
Cleaned up all the parts to re-assemble.

OilRebuild05_zps223cd144.jpg


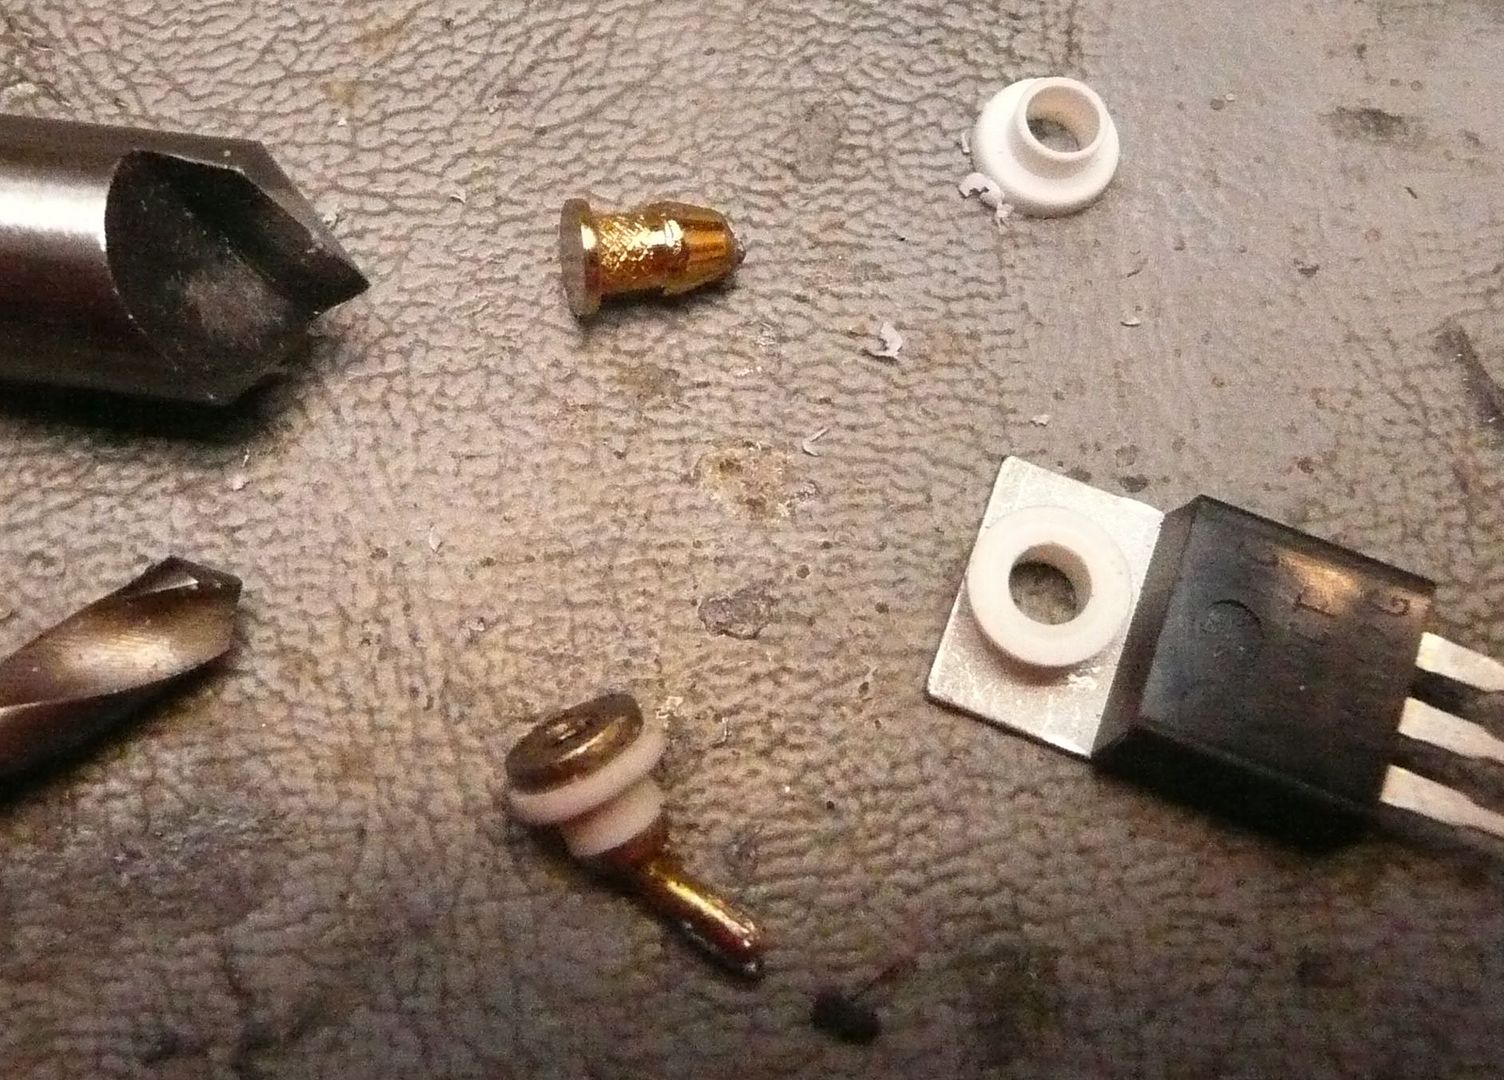
The small bushings that come with the Bulli as well as aftermarket collars do not cut the heat from this type of use so I found an alternative which work much better. They are the insulators for heat sink mounted transistors. Very high temperature hard insulator material. I think it's teflon of sorts.

OilRebuild06_zpsf882b385.jpg


Not a perfect fit and some hole enlargement is needed but has worked out great for my other Bulls.
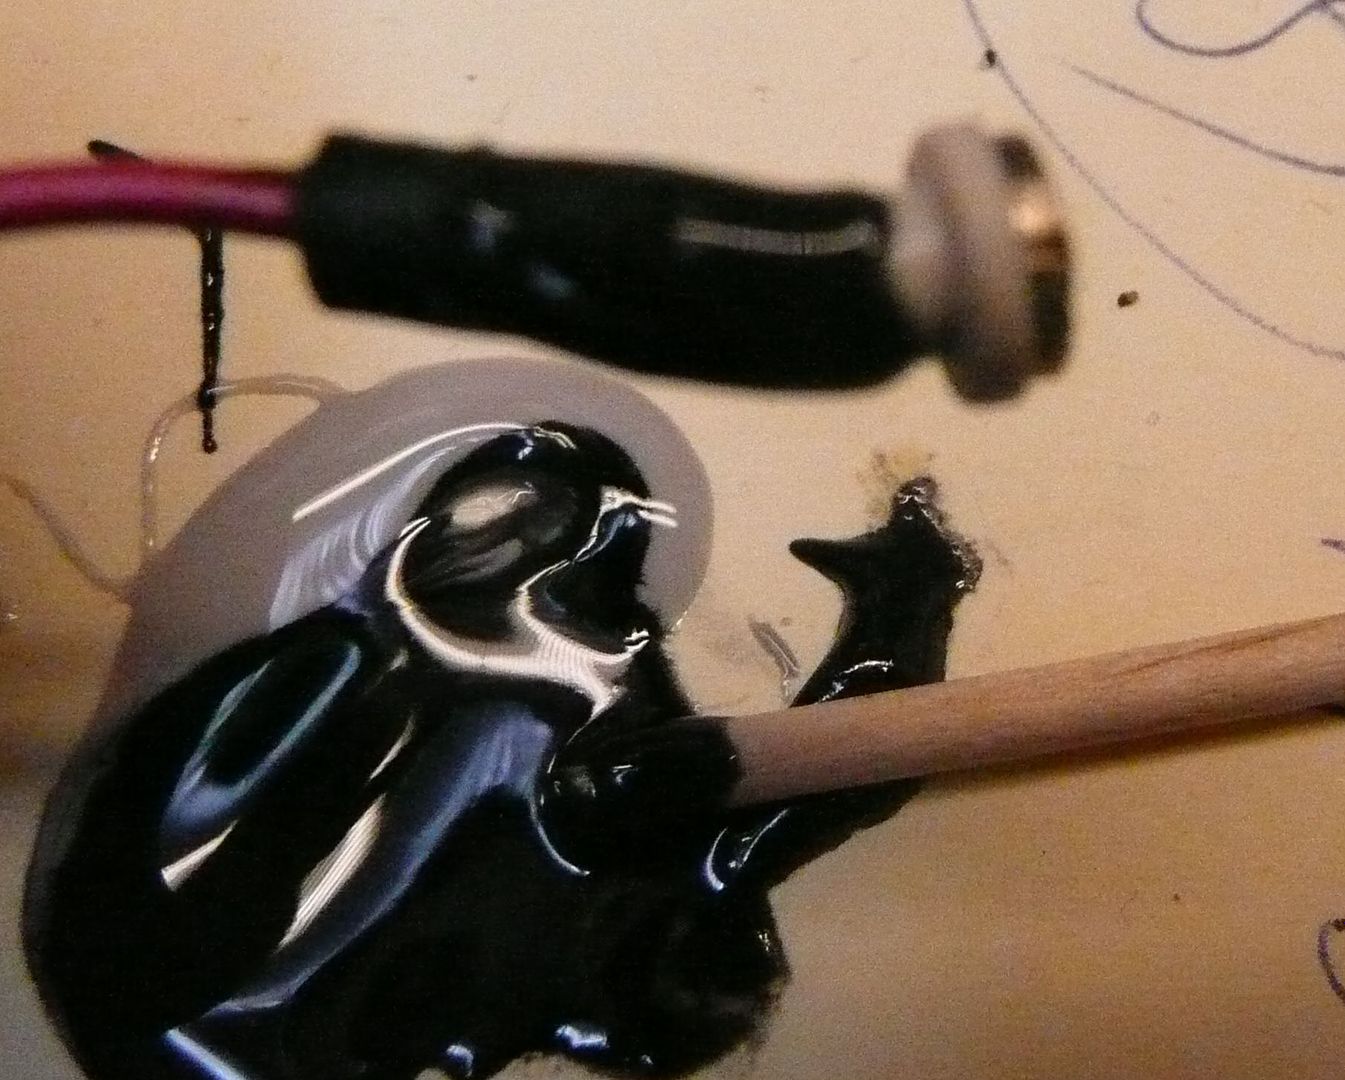
For the top part I add a small amount of JB Weld to hold the connector down tight. There is also shrink wrap under it for easing future re-building.

OilRebuild07_zpsc34b3006.jpg


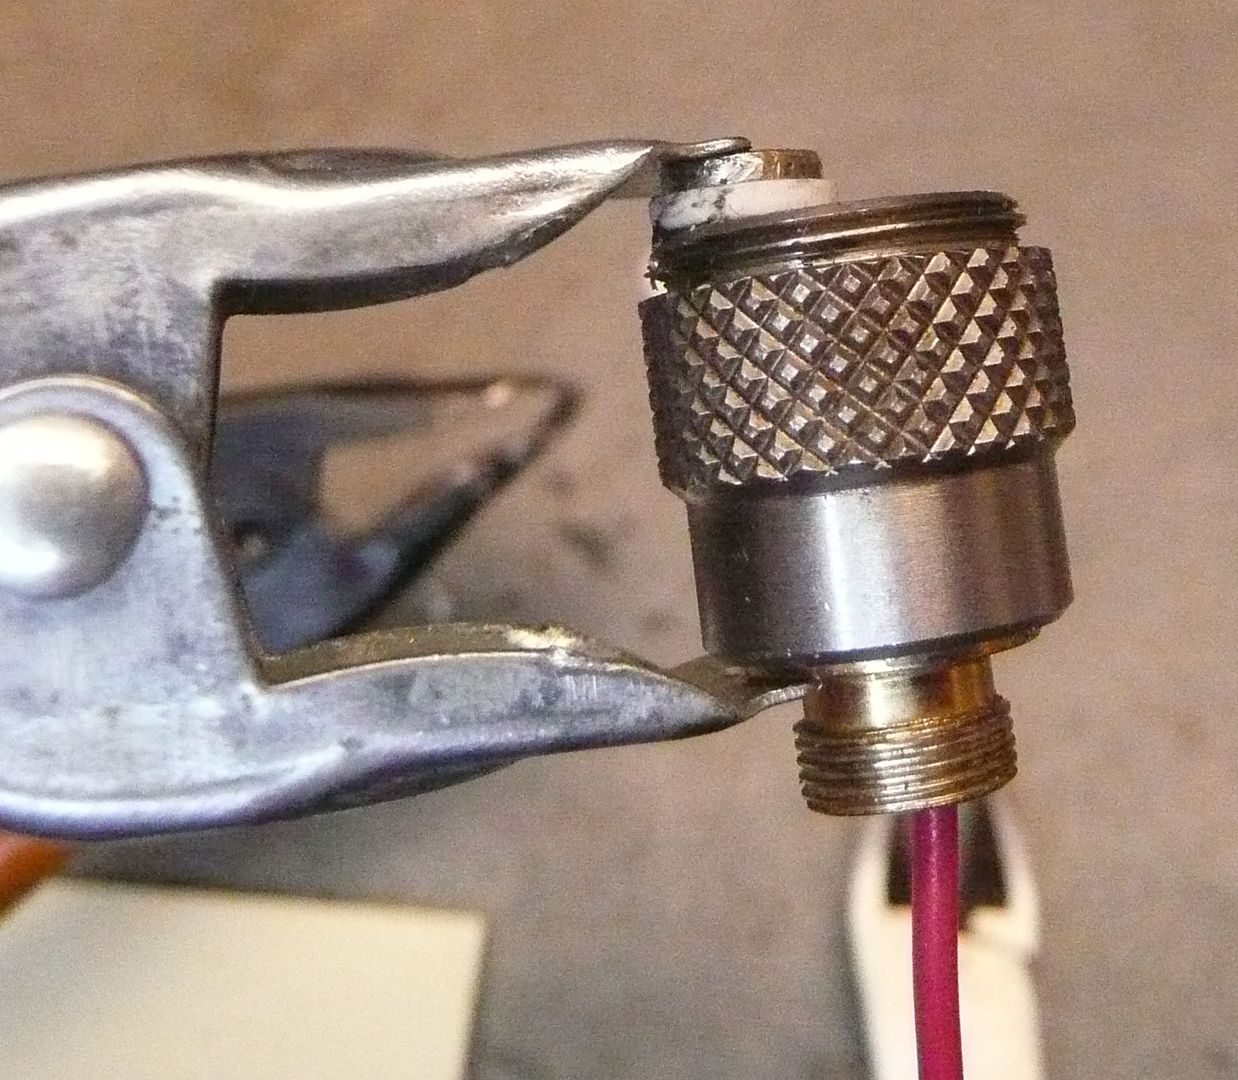
Pushed it into the hole and clamped till dry.

OilRebuild08_zps3b0de116.jpg


The bottom post was a little tighter and had to forfeit the inner rim of insulator. So I used some shrink wrap instead. Mind you the insulating ring itself centers the connection post such it doesn't (shouldn't) touch the outside ground.

OilRebuild11_zps150e84f2.jpg


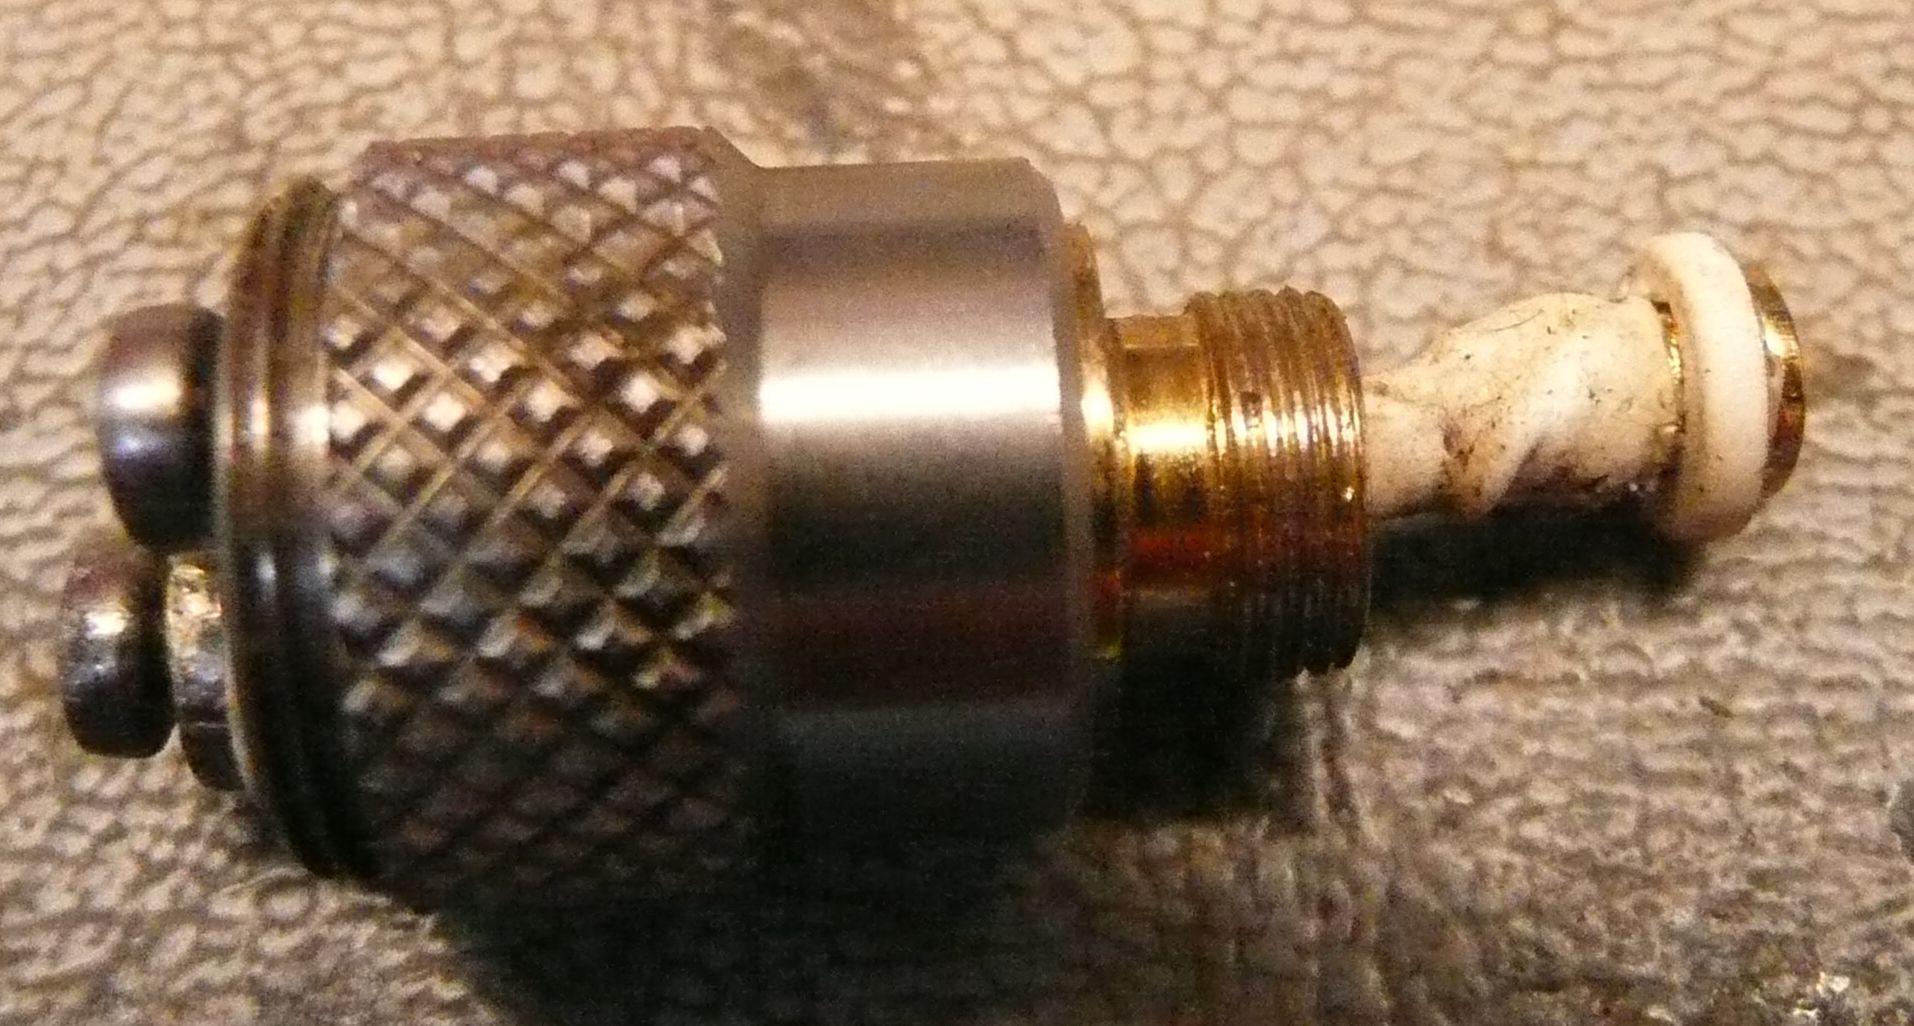
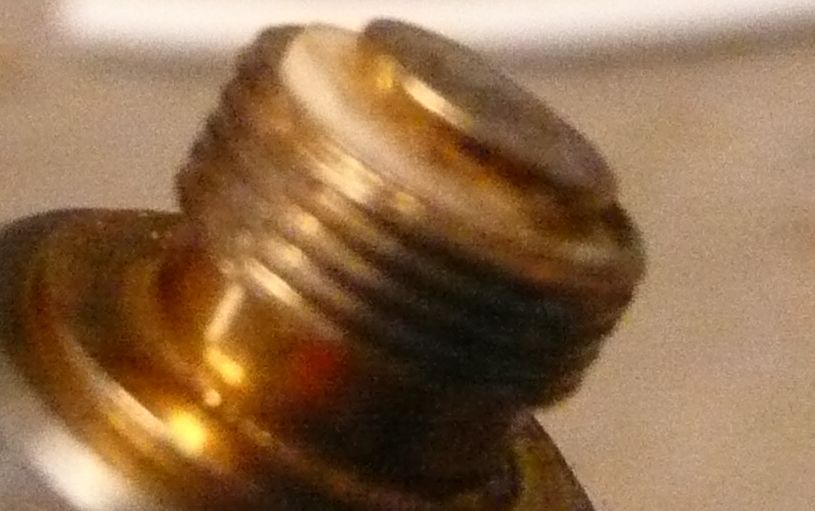
So the end result is a 510 connector with a very hard sturdy contact.
IMPORTANT: Double checked with ohm meter for shorts.

OilRebuild12_zps7aa3112e.jpg


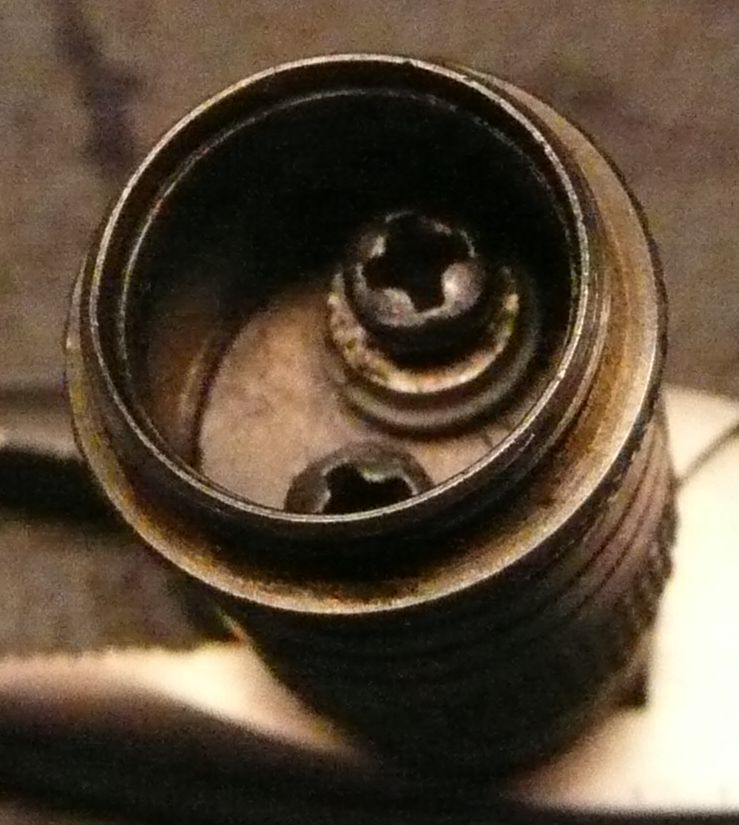
Here is a view from the top without anything done. Just an idea of the chamber size.

OilRebuild13_zps3e150333.jpg


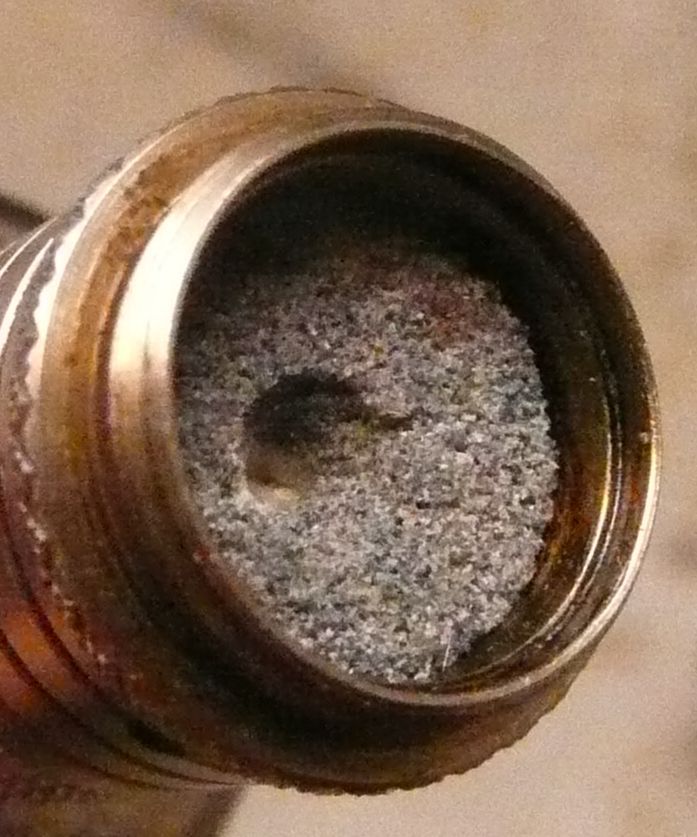
Cleaning the previous bubble stone was a breeze.

OilRebuild14_zps55d2b7fc.jpg


Made a couple 2.4 ohm coils for an overall 1.2 ohm coil. I went to 1.2 ohm so it can be used with regulated devices limited to 12 watts.

OilRebuild15_zps1ebdb24a.jpg


Put it all back together. Still just used silica wick to fill in the holes inside as well as the two small ceramic pieces inside the coils.

OilRebuild16_zps45ecfbf7.jpg


Nothing left to do but load er up. Put in a good size gob.

OilRebuild17_zpsd3873e74.jpg


Let it cook down. Also helped it out some with a lighter.

OilRebuild18_zpsda063e1f.jpg


Here it is all cooked down and ready to go. Quick test went well and suspect it's going to last a few months again.

OilRebuild19_zps1d2aba25.jpg


Definitely a good way to go.

As for the Bulli herbal mod. Still my active back up vape and works excellent and have not had to do a thing to it.

:tup:Happy Modding:tup:
 

Pipes

Addicted DIY Enthusiast
Accessory Maker
Hey, I actually found a major improvement for the Bulli Herbal Vape.

This vape has been performing flawlessly for a long time. The only draw back is the manual control. Since I have been using batteries in a mechanical way without any regulation, the batteries are only good for the upper portion of the charge. This is due to the changing voltage as the batteries charge deplimishes.

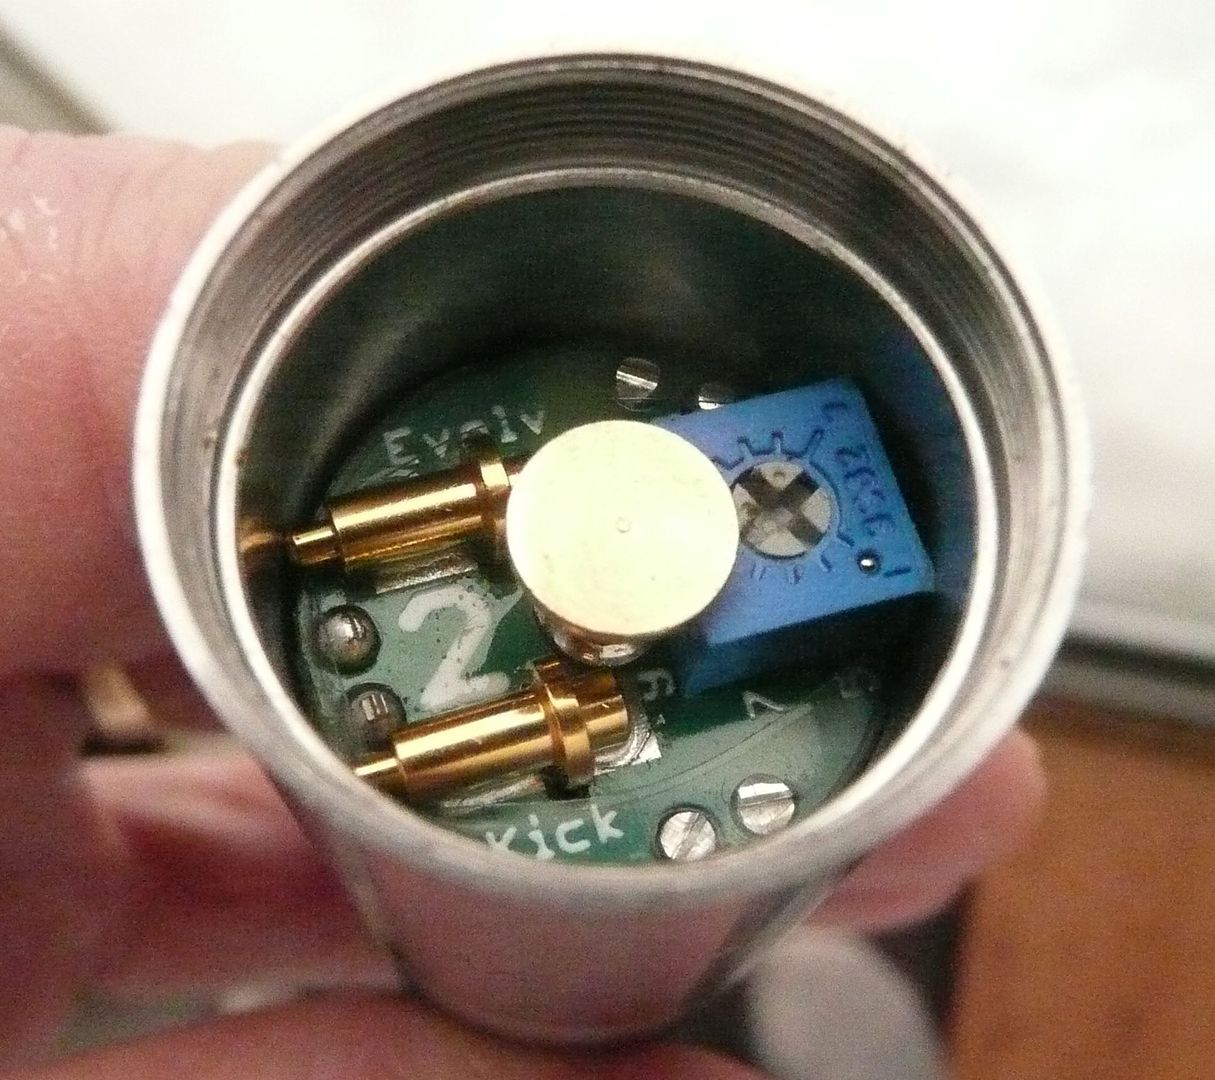
I have always had a regulator device such as the KICK on my mind but it was capped at 12 watts power. This equates to about a 1.2 ohm load with a 3.7 volt supply. So the problem was always running the Bull in Herbal mode would take slightly over 12 watts. This was one of my reasons to try my damndest to get it working at that power but found it not quite enough.

Now with the introduction of the KICK2 with a rating that tops off at 15 watts that all has changed. I like vaping my ecig at 13 watts and found the Kick2 just dandy as I no longer get the taste change from the top of battery to the bottom.

Kick2-1_zpsef3e1b91.jpg


So tested it with the Bull. Left it set at 13 watts and found it very nice from start to finish. Takes out the discharging performance difference out of the equation. Just like running on a PA in that regard.

Here is the Temperature Controlled Bulli Herbal Vaporizer.

Kick2-3_zps9eddec98.jpg


Now because I'm using my Nemesis handle and don't want to overheat it, I added a 510 extender with high temperature silicone. Makes it easy for changing over to ecig mode while still hot.

Kick2-2_zps44c29bfe.jpg


Been playing with it for a week and it is performing great. Also, the Kick2 doesn't time out like most regulated handles. This device also offers safety protection as well. Under charge, short circuit etc.
Can now use batteries that generally would not work well for this application.

Big improvement.....
 

hektik8625

Well-Known Member
Order kick 2- my goal today :) thanks pipes, I'm waiting on stuff, and still educating myself, before real experimenting starts....:) just ordered another atomizer - aqua something, looks like a device I can mod for herbs, also check out the aios rda clone for chi you, ill pick this up next +chi you...there is an inner tube that maybe can be modded with holes creating a built in screen....looks cool check it out on YouTube and ideas will flow :) also check out "the Agro coil" and "the tiger coil" on you tube...there's others too ....would these be good for our applications?
 
hektik8625,
  • Like
Reactions: Pipes

Pipes

Addicted DIY Enthusiast
Accessory Maker
Those fancy coils are more for ecig applications. They use different diameter wire twisted together to play with the exposed surface area. This affects the taste of the juice somewhat. I have tried twisted wire and works well but honestly could not find any big differences. I don't see any benefit in use in this project.

The Chi-you was one I looked at before I choose the Nemesis. That aios clone looks very interesting. Only problem is it is getting away from the standard 510 connector and limites yourself for other options down the road.

Way to go, You are heading down a fun road. The learning curve is the best part.
And it never stops....:science:
 

hektik8625

Well-Known Member
image_zps9836e0fc.jpg
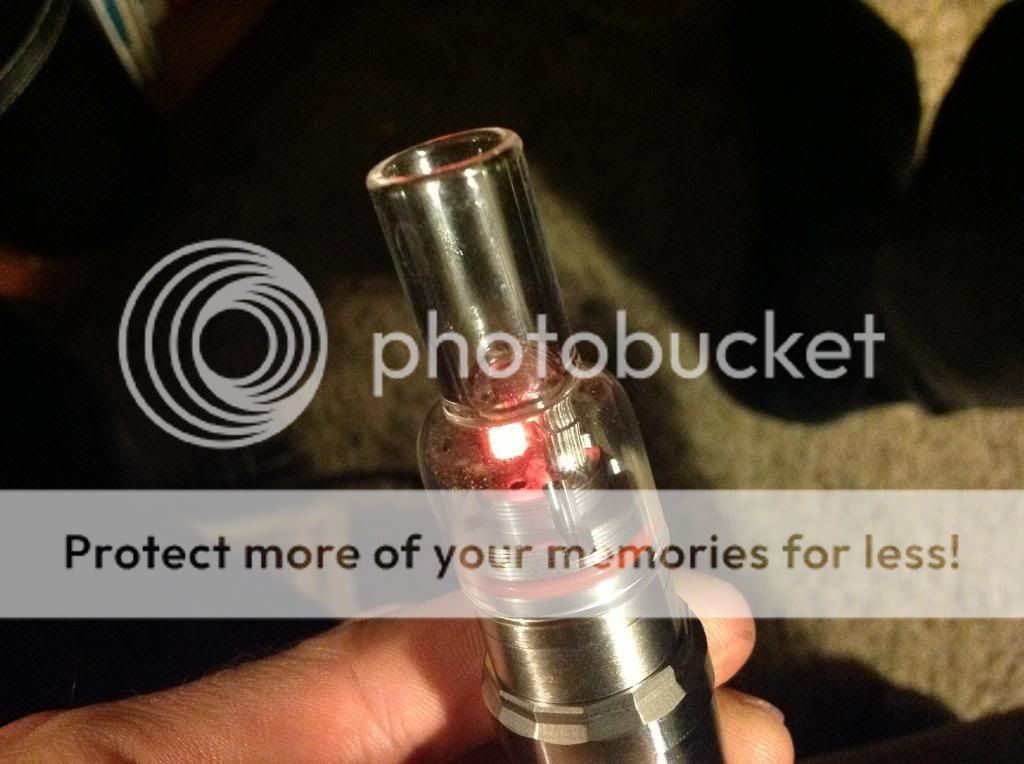
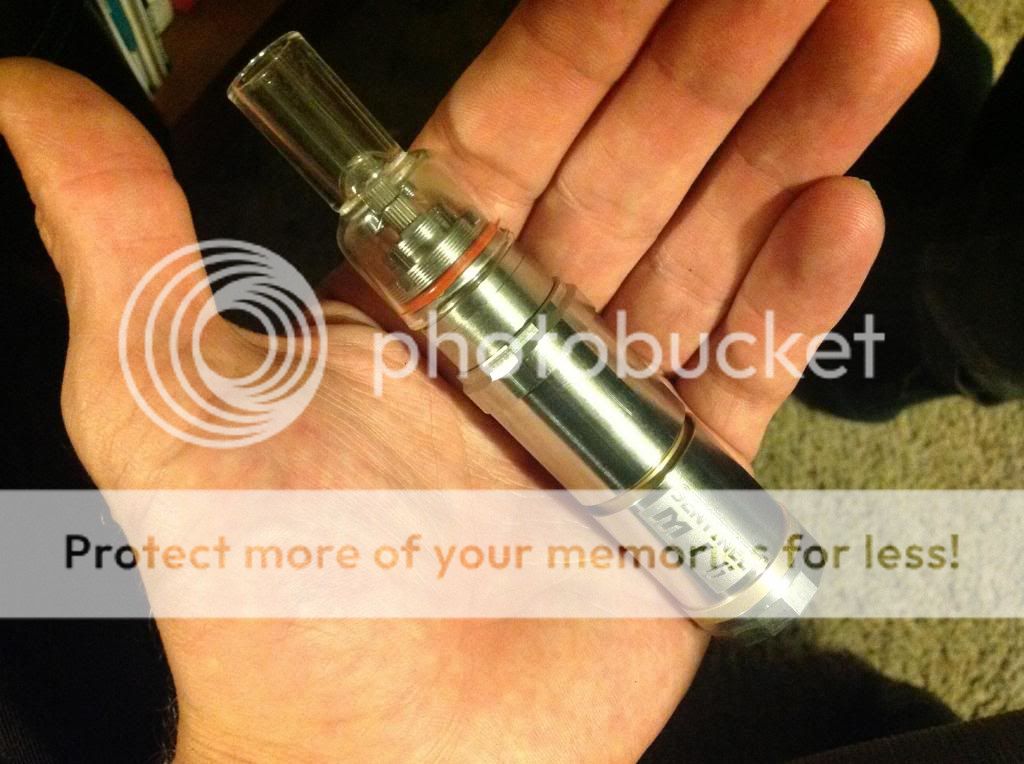
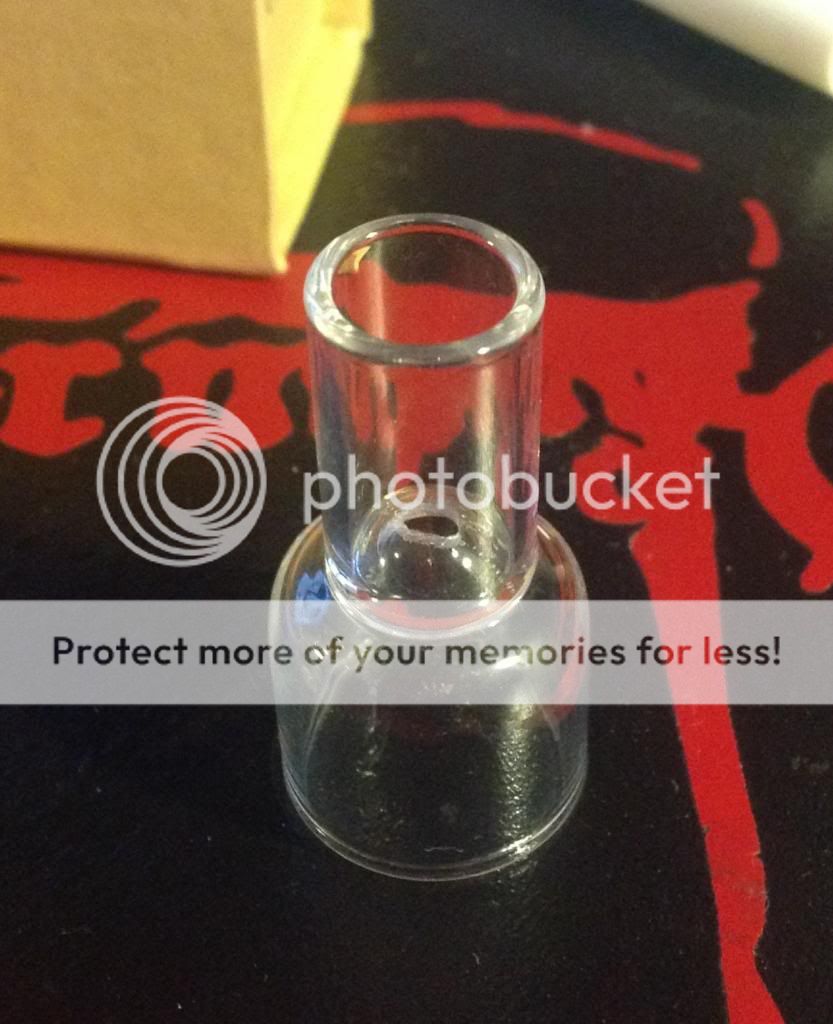
K was just messin around getting the hang of things, made some coils.....during all this I found that the useless potpourri dish that comes with the arizer solo , may not be so useless after all .it fits perfectly on the disassembled AQUA RDA ..... Only Making the hole in the top and side may be the tricky part....but here's my non working idea..., seems customizable a little :)
image_zps260ab797.jpg

image_zpsa87a42ff.jpg

image_zps9299a9a2.jpg
 

SquidgyB

Well-Known Member
A dremel and some diamond grinding tips would do - go slowly and use plenty of water.

I wouldn't like to grid holes down the bottom where the airholes normally are on the aqua. You could get a nice vortex going on inside there if you angled the airholes like I did with the glass vapouriser in the other thread. Might wanna practise on some cheap glass first though, it's easy to go too quickly and break the glass, or slip and chip something. Once you're used to the amount of pressure to use and have the right shaped grinding bits it's pretty easy.

You'll need a lengthy bit to reach down inside and pop that little dome though...
 

hektik8625

Well-Known Member
For sure that worked good with the diamond tip :) this was first attempt, but later did two more small holes :)
image_zps052af605.jpg

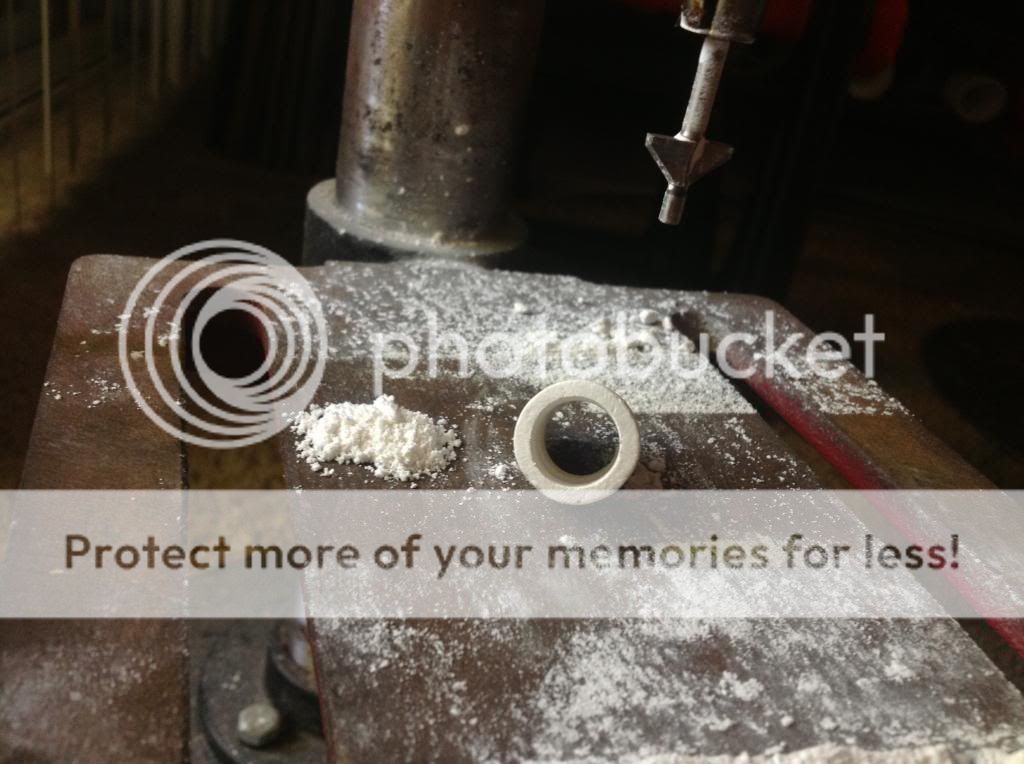
Been messin with plaster of Paris to create a sleeve that holds the ceramic screen.or fish stone screen.. Still just messin around havin fun...Im trying to get a hold of some of those pre filter fritted glass screens for next experiment...... Makes me think....why the hell did I pay so much for a thermovape cera? Well that's history now! Wish I saw this thread a long time ago :))
image_zps051a9a15.jpg

image_zps0c2e7195.jpg

image_zps4418f9ca.jpg

image_zps980d3656.jpg

image_zps48817616.jpg
 

Pipes

Addicted DIY Enthusiast
Accessory Maker
You're jumping along there just great. Looking awesome.
I really like the glass bowl. Looks ready to go. Just throw in a 1/2" screen and bet a drip tip could be work to fit into the end like in the Bull.
Being able to see what's happening is a bonus for sure.
Keep it up. Love seeing these ideas take form. :cheers:
:popcorn:
 

Pipes

Addicted DIY Enthusiast
Accessory Maker
More, more... love this stuff..:popcorn:
I see you got a Nemesis....nice. Have you been thinking about the Kick2 as well?
 

2clicker

Observer
have you guys seen the "hurricane" coil? there is a youtube vid by rip tripper (dude is annoying, but makes nice videos) available. its a flat ribbon coil that is wrapped ontop of itself of which creates a circular coil. hard to explain w/out pics. check it out.

looks like it may work great with a porous ceramic disk above it like pipes abv oil coils pictured above.
 

hektik8625

Well-Known Member
More, more... love this stuff..:popcorn:
I see you got a Nemesis....nice. Have you been thinking about the Kick2 as well?
yeah the nemesis is cool, I like it, but the kick 2 I put on hold while i look into these other PV mods with adjustable watts that go way above 30..... for testing purposes only =)
 

hektik8625

Well-Known Member
have you guys seen the "hurricane" coil? there is a youtube vid by rip tripper (dude is annoying, but makes nice videos) available. its a flat ribbon coil that is wrapped ontop of itself of which creates a circular coil. hard to explain w/out pics. check it out.

looks like it may work great with a porous ceramic disk above it like pipes abv oil coils pictured above.
funny you say that , cause i made that coil when i saw that video a couple nights ago.....but never thought to make two coils..... 1- ceramic and under that a hurricane coil ! thats cool Ill try it later!!!
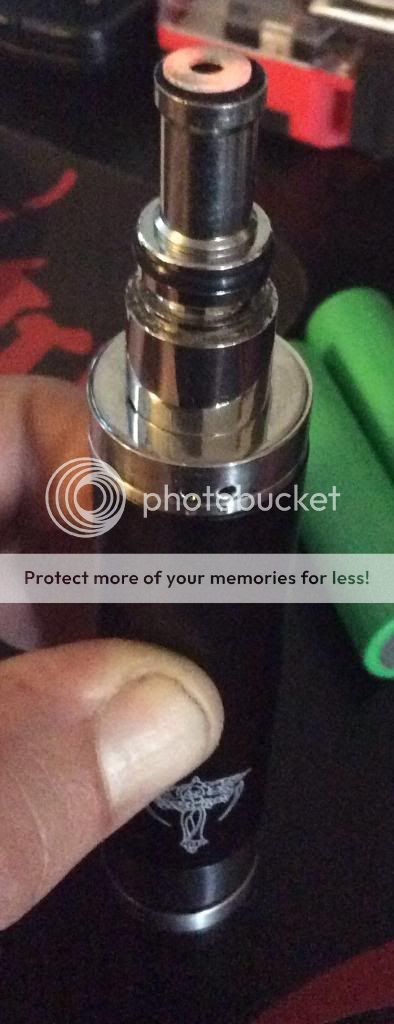
 

2clicker

Observer
funny you say that , cause i made that coil when i saw that video a couple nights ago.....but never thought to make two coils..... 1- ceramic and under that a hurricane coil ! thats cool Ill try it later!!!

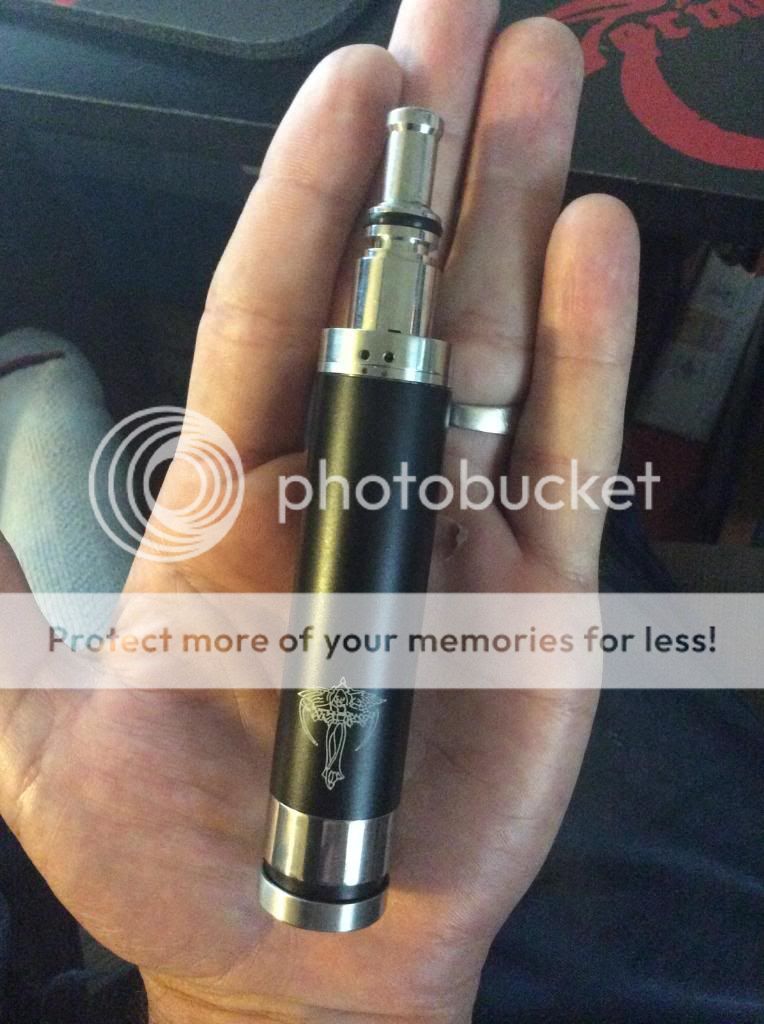
nice! looking forward to seeing your progress/findings.

i wi have to start hanging out in this thread. im all over the "one hitter quitter thread" in the concentrates forum. seems like that thread and this thread are damn similar. going to be trying some rigid porous ceramic myself soon. been using braided ceramic wicks latey and love them. i am just concerned with the fraying i am experiencing.

oh and im looking at getting a nice caravela clone. and a kick2... especially since pipes is so hyped on it.
 
Last edited:

Pipes

Addicted DIY Enthusiast
Accessory Maker
I have tried the braided ceramic wick and to be honest, not overly impressed. Hard to work with because of, as you have stated, the fraying. You have to keep the ends tide off until in place. I use dental floss. Even cutting it, I tie off with 2 pieces and cut between them. Holds up to the heat better but imo, wicking is questionable.
For ecigs I now use cotton. no taste and easy to replace without remaking the coil. Wicks fantastic.

The Kick2 made a huge difference with me for my ecig. Batteries last much longer because of no performance change with battery voltage dropping. I vape at around 13-14 watts so the original Kick would not suit me.
Second thing that made it nice is when wrapping coils, you no longer have to be exact in wire length or ohms. As long as in the ball park the Kick2 will deliver the set wattage. This is because the adjustment is for wattage instead of voltage.
For using in this application the fact of no time out is a big plus.

Going to have to check out the one hitter quitter thread.
 

2clicker

Observer
@Pipes, this is what i bought as recommended by a couple of members in the OHQ thread.

http://store.rbasupplies.com/readyxwick-the-best-premium-heat-treated-ceramic-wick-available/
or
http://www.rbasupplies.com/xc-116.html

it is kiln fired at higher temps for longer than any other supplier can offer. they even have a side to side pic of their wick when cut and a fraying wick. saying their wick doesnt fray. now i dont find it to be fraying like in their pic, but i do see small fibers on my fingers when i handle it. it sorta looks like fiberglass. just has me thinking. i did not expect it to behave like that. what i can say is that it provides unrivaled flavor than any other method ive used (silica and SS mesh). and i love that i can torch it clean and use it again. im sure the porous ceramic will be the ticket for me.

since visiting the OHQ thread i started building and fini dont ecig for nicotine, but i do like to use ejmixed shatter for when im out and need discreet medicating. since visiting the OHQ thread i started building and found that im not so much of a sub ohm vaper. its just too hot for me. i like my switch to be a little more forgiving. especially when using it with others who have no idea what they are even holding. a lower temp gives me cleaner tasting results. and when i was dabbling with sub ohm coils i was burning shit left and right. takes too much finesse to get the tasty results i am after. i prefer a low temp flower vape as well.

im going to check out a kick2. is there a retailer that you suggest for getting one of those?

EDIT*. i contacted the supplier i got my ceramic wick from. he told me that the fibers coming off of their "ready x wick" are a larger micron than any other wick and that because of that it poses no health threats. they said that silica on the other hand is horrible and vapers should not even think about using it.
 

hektik8625

Well-Known Member
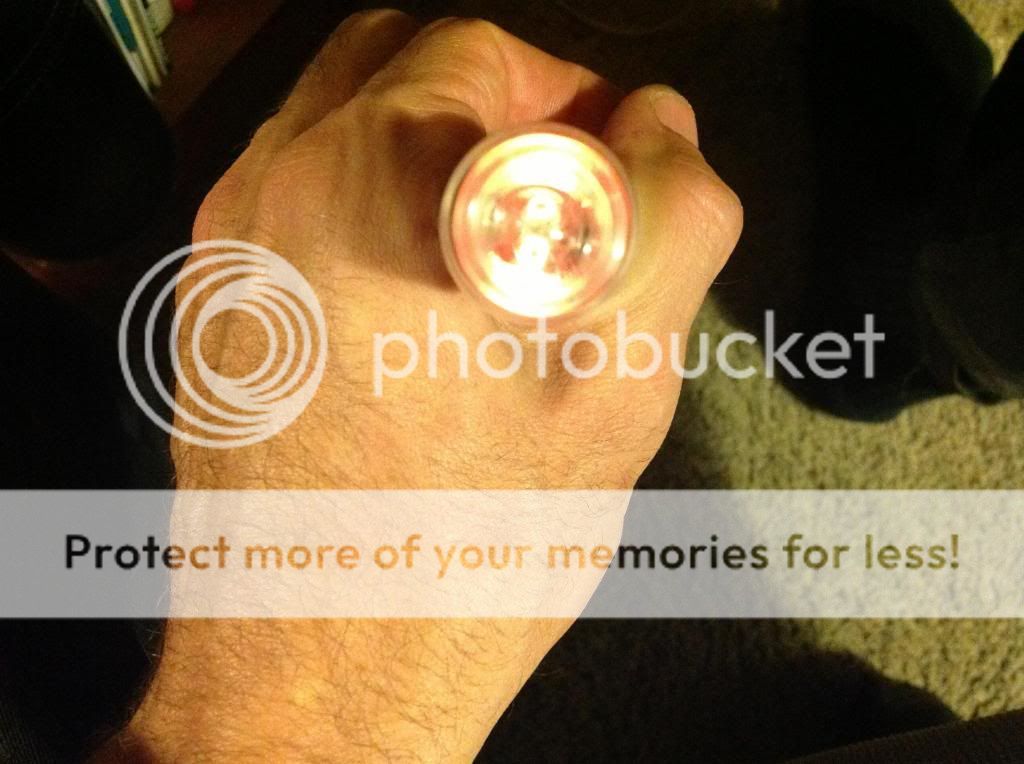
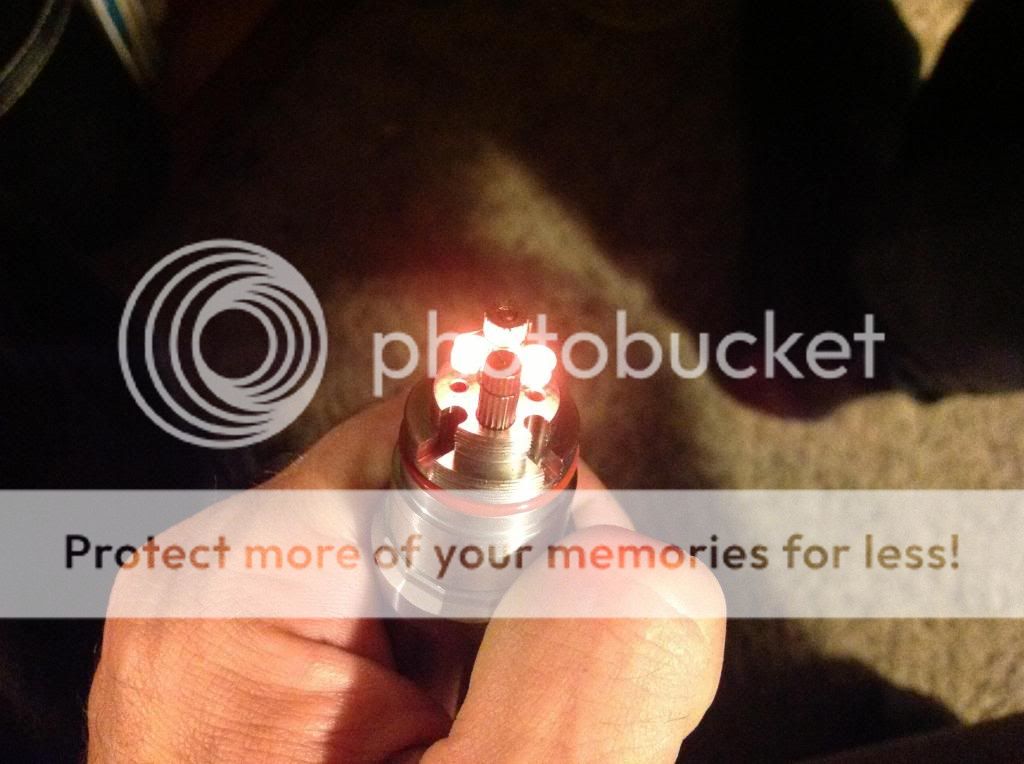
I'm hooked on these mods even though I don't smoke cigarettes, and not really into waxs etc.... only water made stuff, or dry sift =) Building the coils, watching em glow etc.... is fun. Now Im trying all these flavored/ zero nicotine juices, and amazed on them! mint chocolate chip is bomb.... wonder if thats how chocolate thai buds were made back in the days? anyways this smart dude named Dennis, aka "Fat Daddy" invented these ceramic heaters for the e cig world. But we need em in our world =) they fit perfectly in those small ceramic rba cups too, ill post pics later. . http://fatdaddyvapes.com is the place to get these sick ass ceramic donuts... sick sick sick!!! just ordered more =) .50-.75ohm . and FASTTECH.com has some cheap RBA's to experiment with, and good customer service... recently got a 3 pack of black nemesis tubes for $10 bucks, just for fun =) heres a pic of the other e lighter thing i assembled with vapin donut and glass honeycomb screen.
... EMBUR $250 Boo!
photo_zps0e75fe78.jpg

photo3_zps1276c304.jpg
 
Last edited:
Top Bottom