
Steven
Well-Known Member
@Bad Ocelot @21stCenturyVape I couldn't agree more with all your points. The best way I have found to load the v3 medium and large donuts is to break off a bb sized chunk, the same size loads as a v2.5 and place it on the donut. Flash it with some power so that the chunk is stuck in place. Then, place the unit horizontal so u r facing the donut and flash power at it in very short pulses while rotating. This will let gravity slide the wax chunk accross the donut, coating it evenly. If done right no boiling will occur but I have messed up a few times.
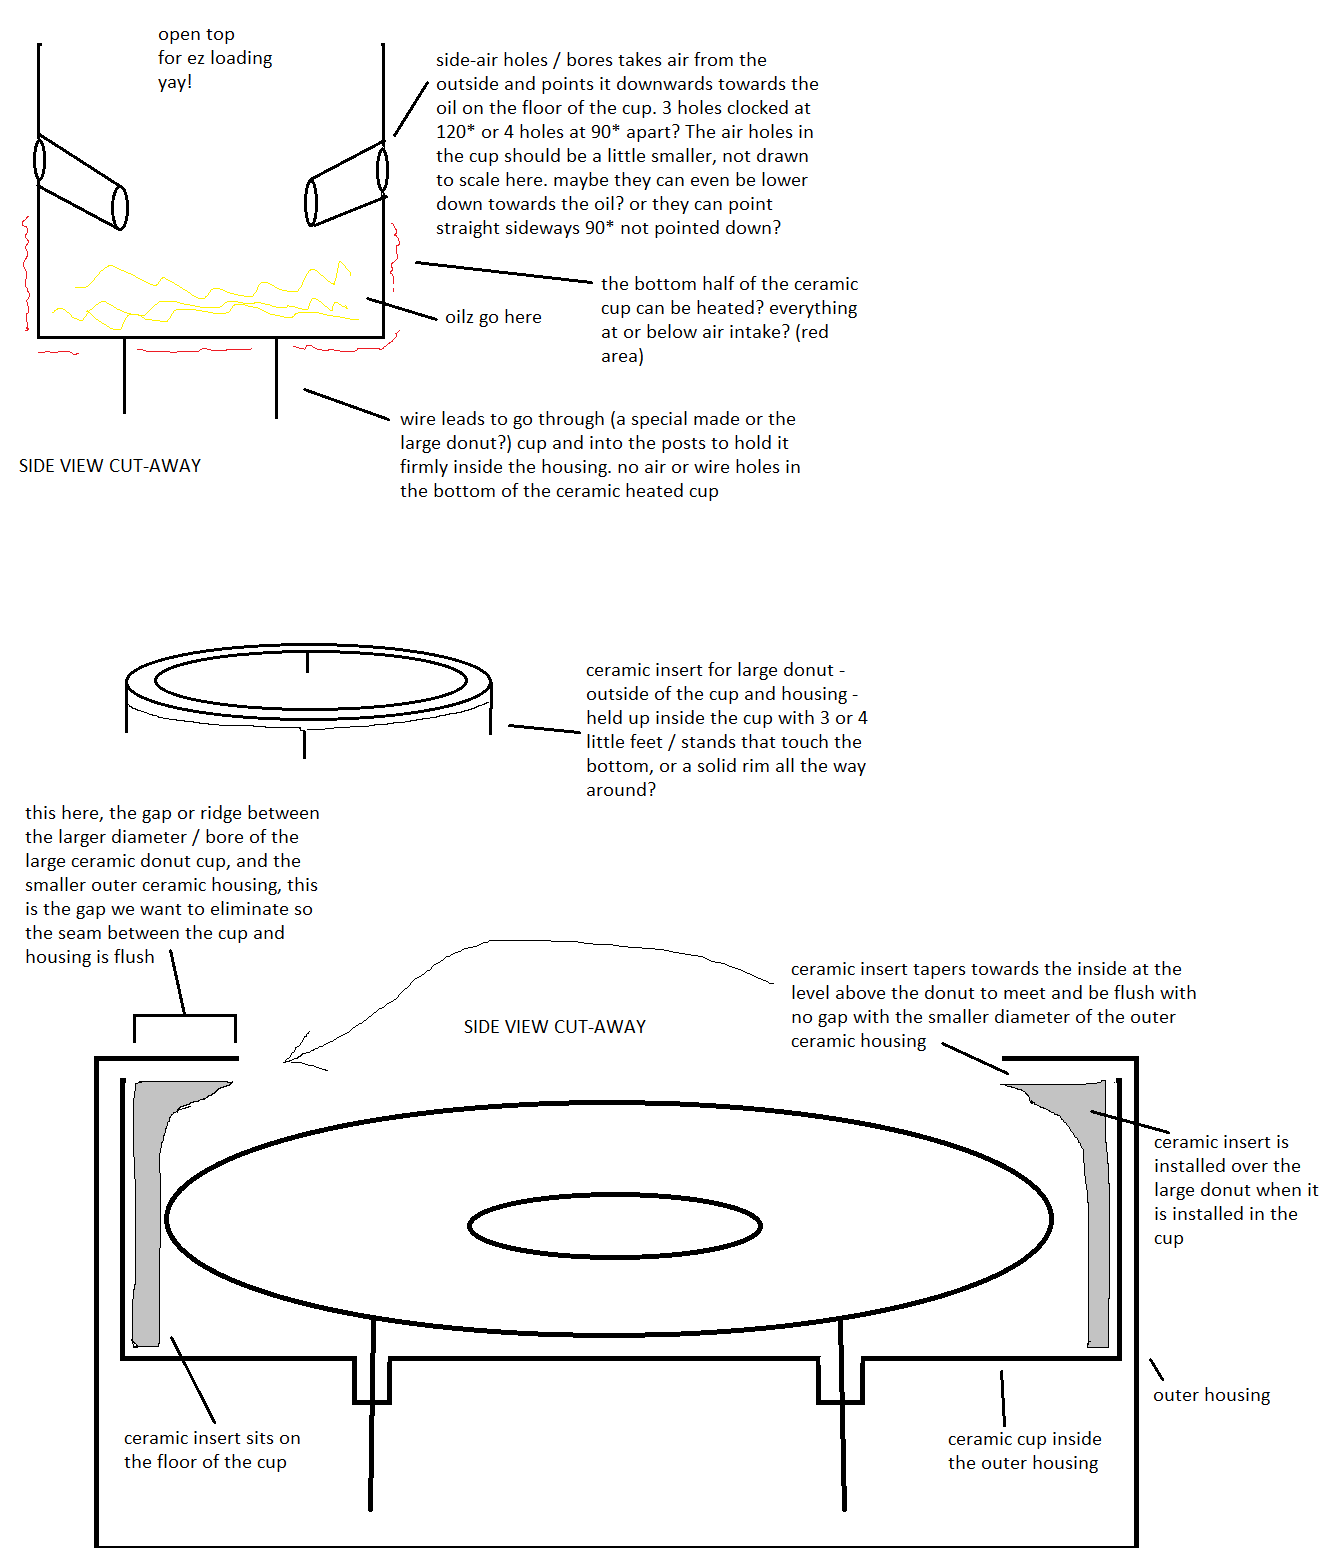
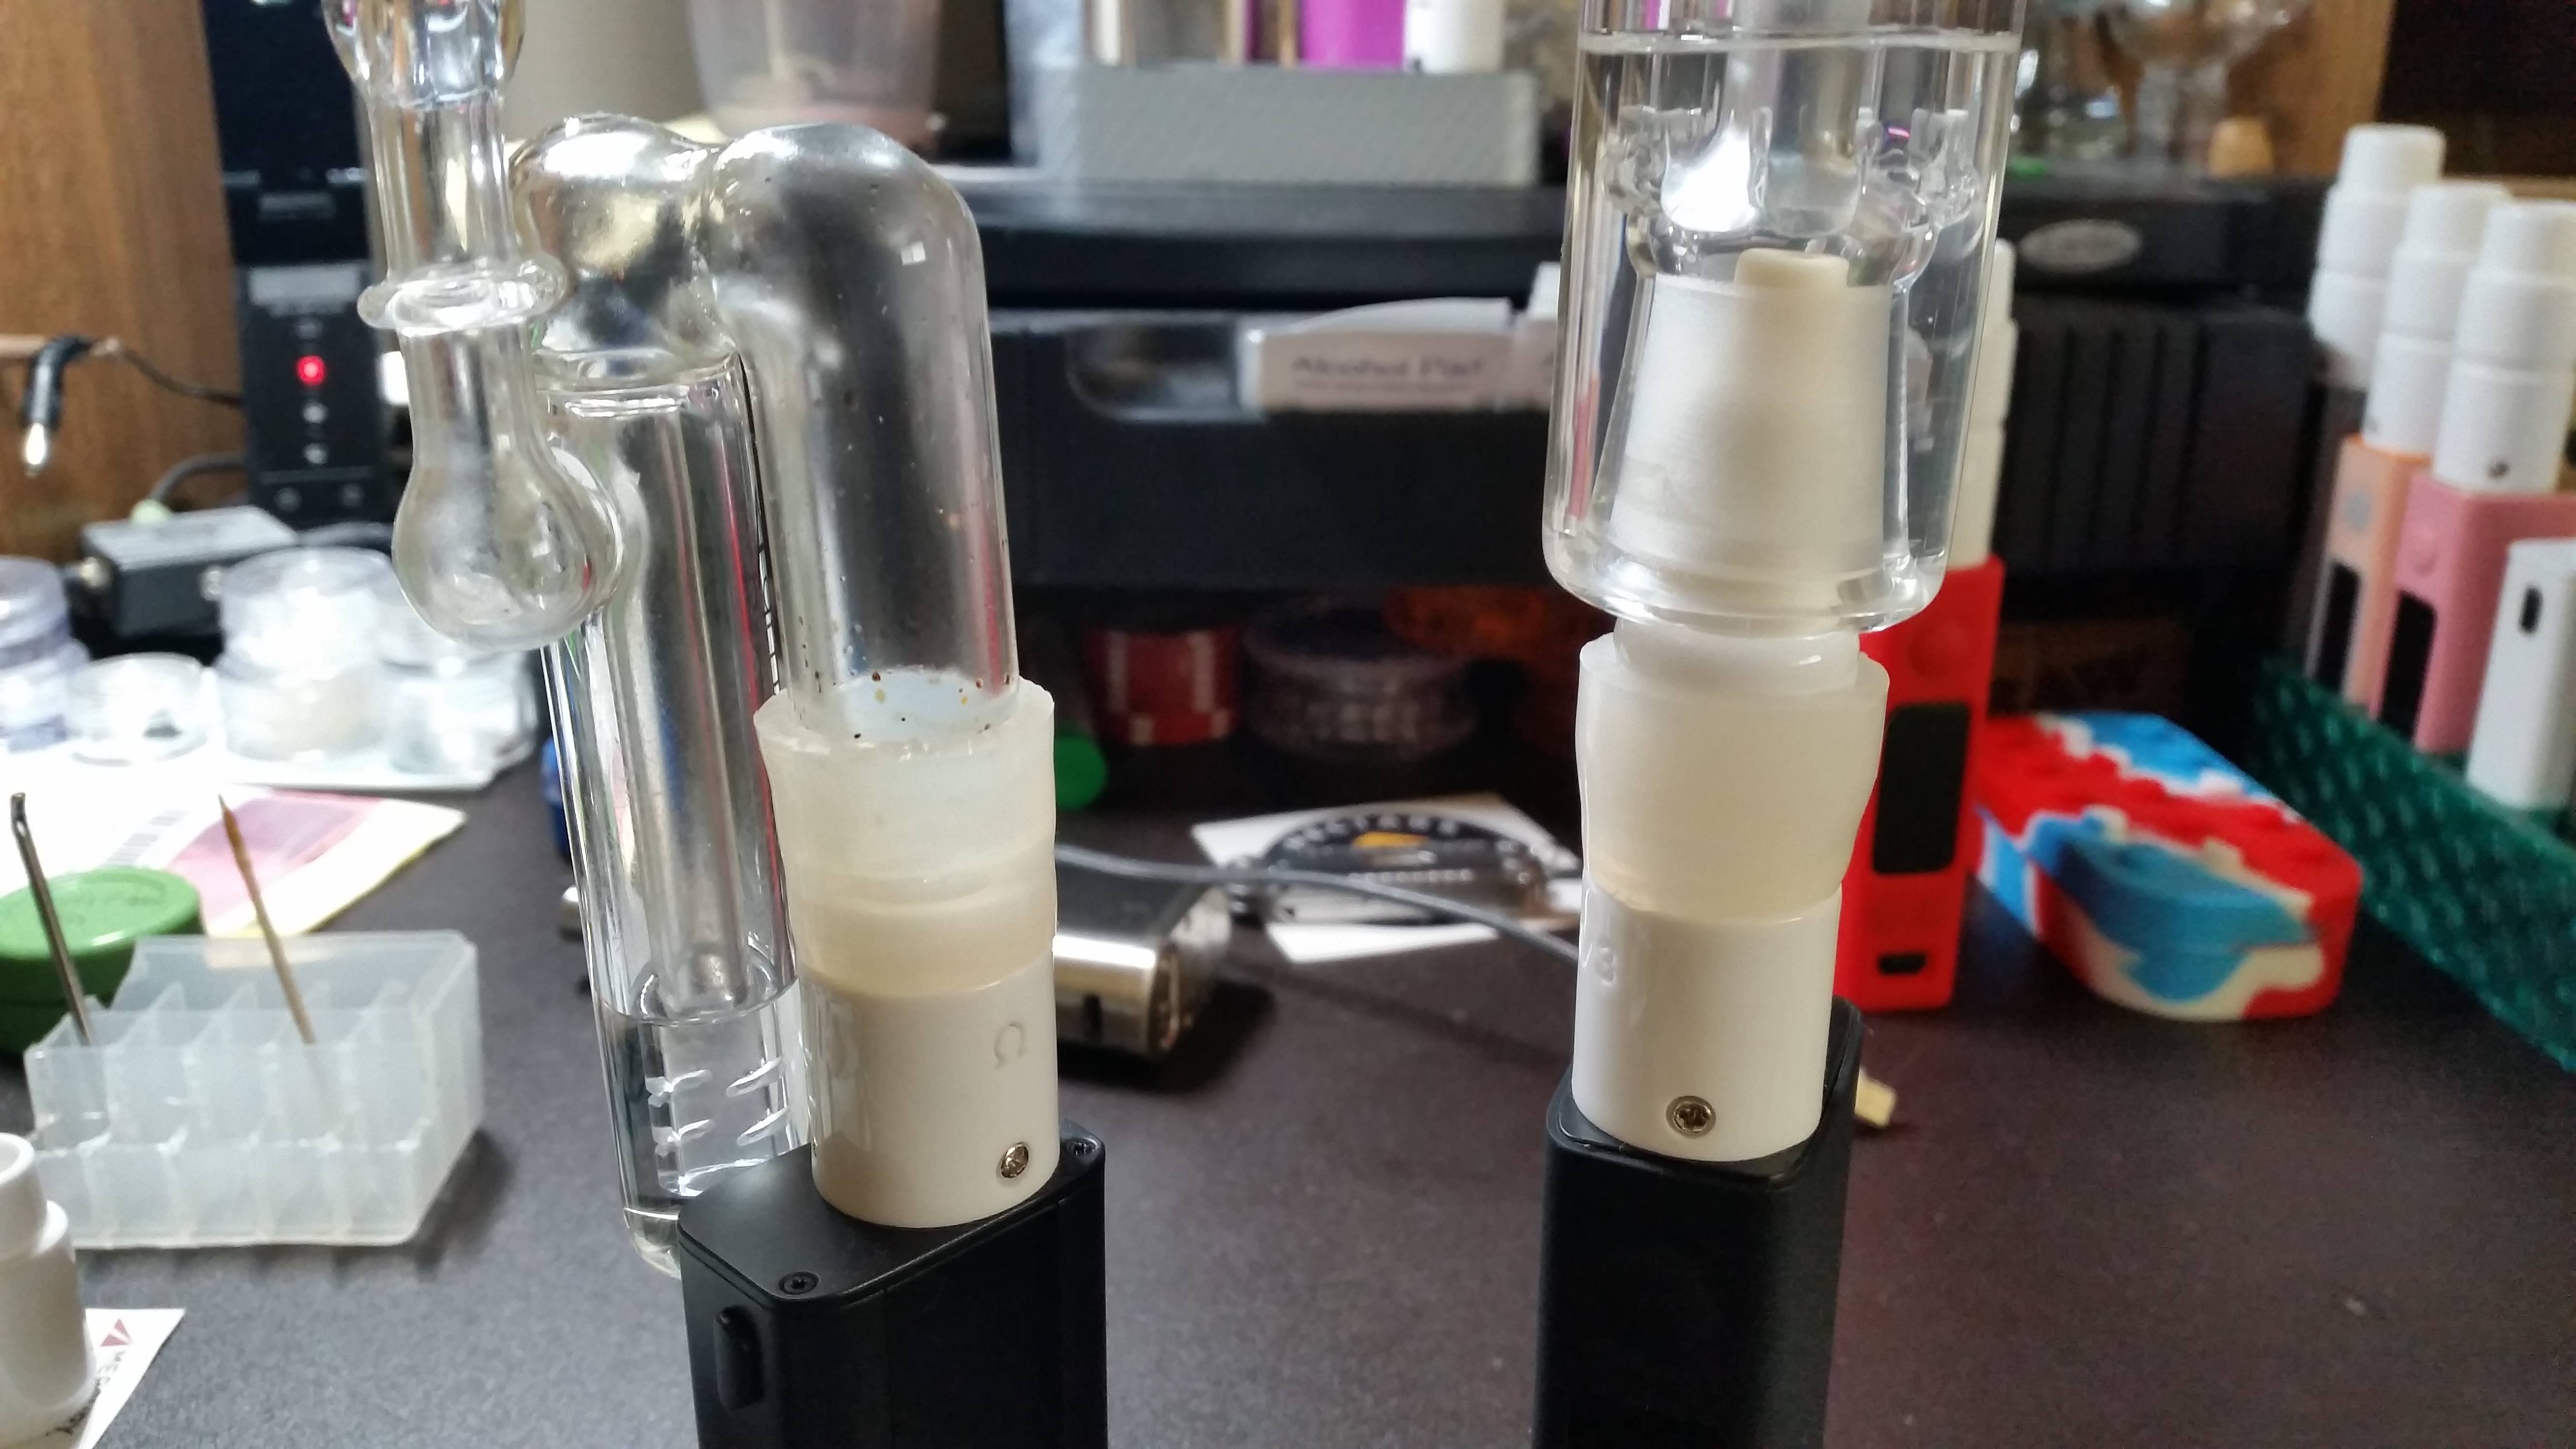
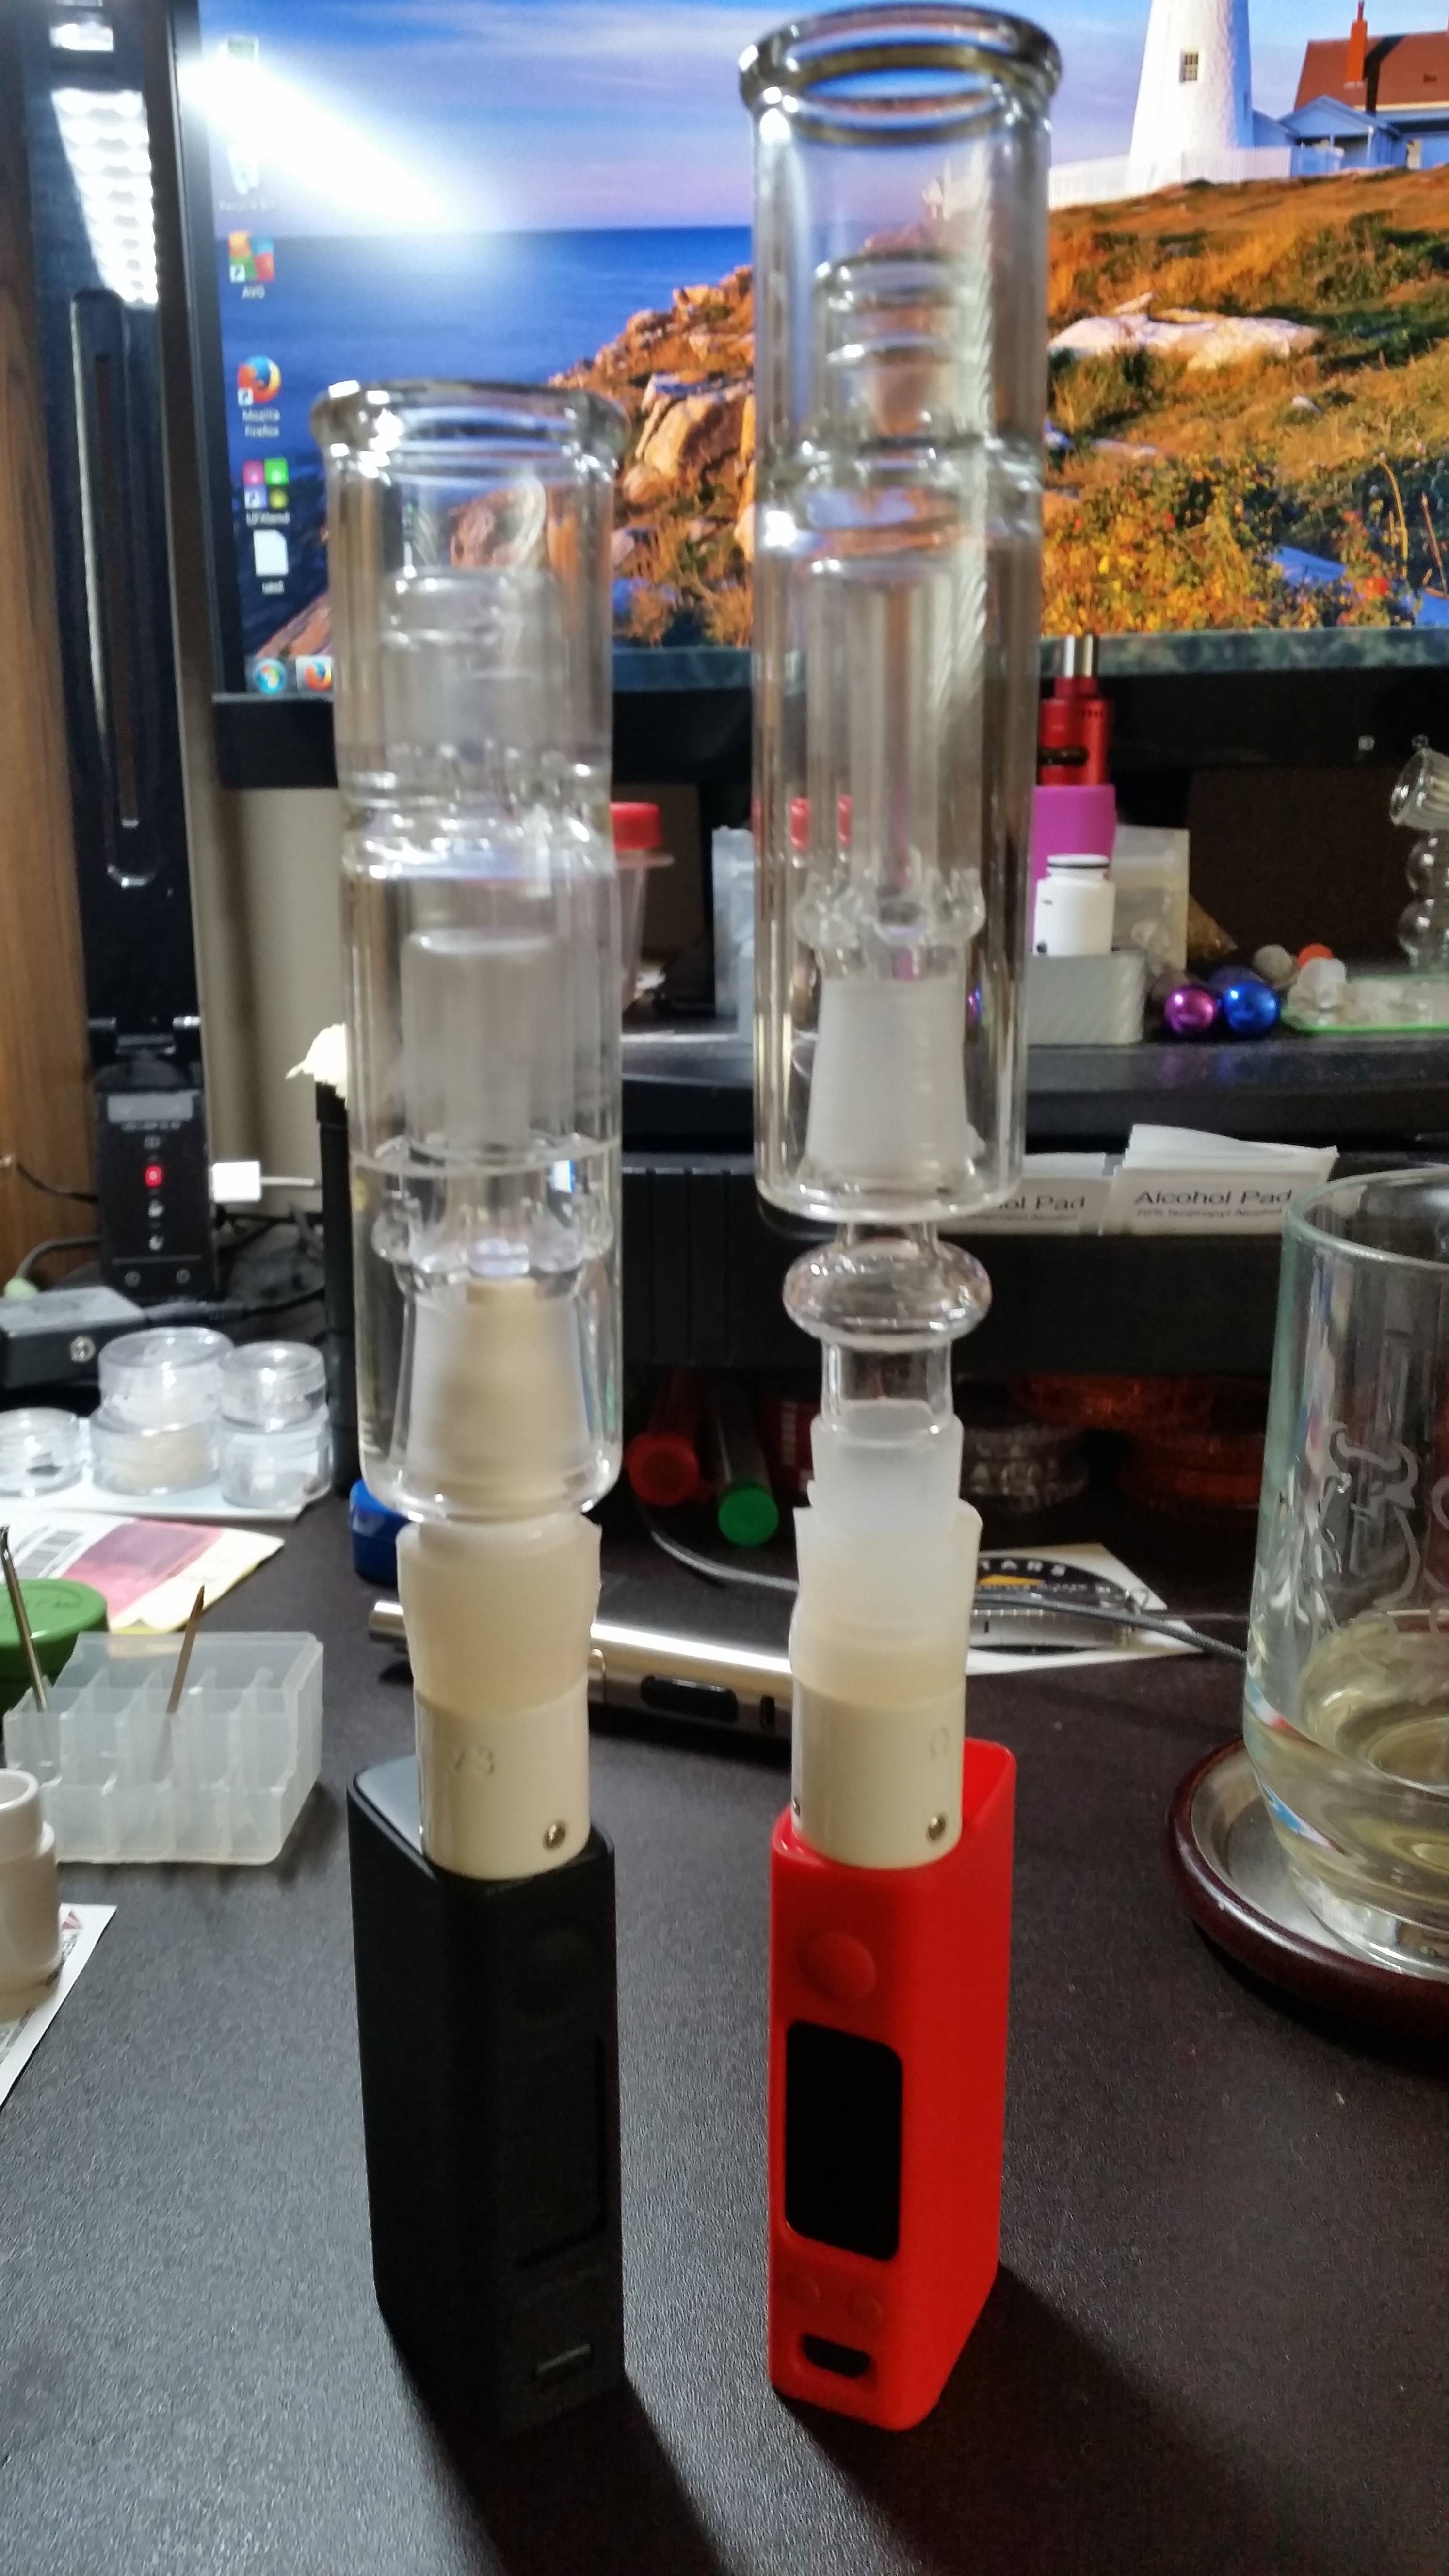
I just started using the medium donut/cup Matt sent me for testing and my first impressions in it is pretty good so far. The medium cup actually lines flush with the outer housing so there are no gaps inside the housing/cup. The gap was a prone area for loaded wax to touch the walls, making it hard to vape it efficiently. I like the medium donut performance so far. I noticed the v3 works best once the posts are fully clogged with reclaim. The medium v3 needs less break in time due to smaller lead holes and a flush wall from cup to housing
I just started using it today, just got back from a Tahoe trip so more testing needed. I'm interested if the smaller lead holes will eliminate leakage altogether. We will see by the end of tm. I'm a heavy user. I'm actually curious how it looks now. Gonna have to take a peek when home
I also wanted adjustable air but that is easily achieved with a silicone band around the housing. I cover 90% of the air holes actually.
Haha I was going to add more to this but after seeing that cup...


 There are a few cups or ceramic attys out there that have a couple of those details, but not all of those.
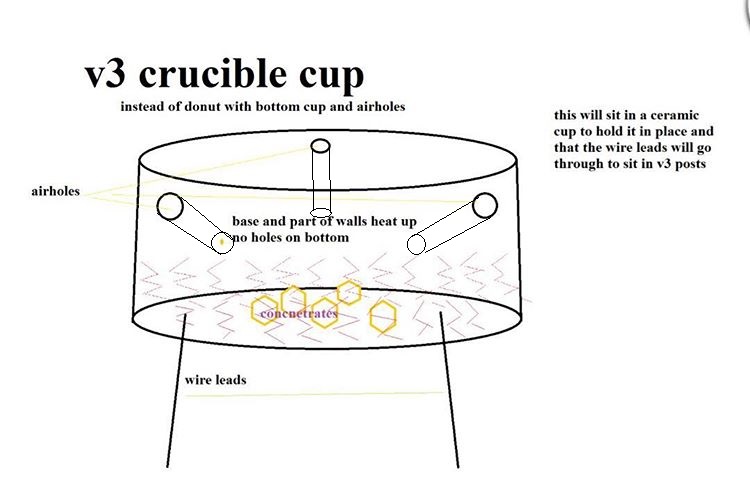
 so that's what I'm thinking here with the new heated cups


 )
)")
 this looks like a copy of w9's kiss attys
 ) in as few puffs as possible, with a small load on the large donut. Within reasonable temp levels, so it doesn't burn or come close to it, or degrade delicate compounds. I think the donut has to be around 400-430 to do that for me, so I leave out the THCv, CBC and quercetin (whatever that is) but I get almost all the rest
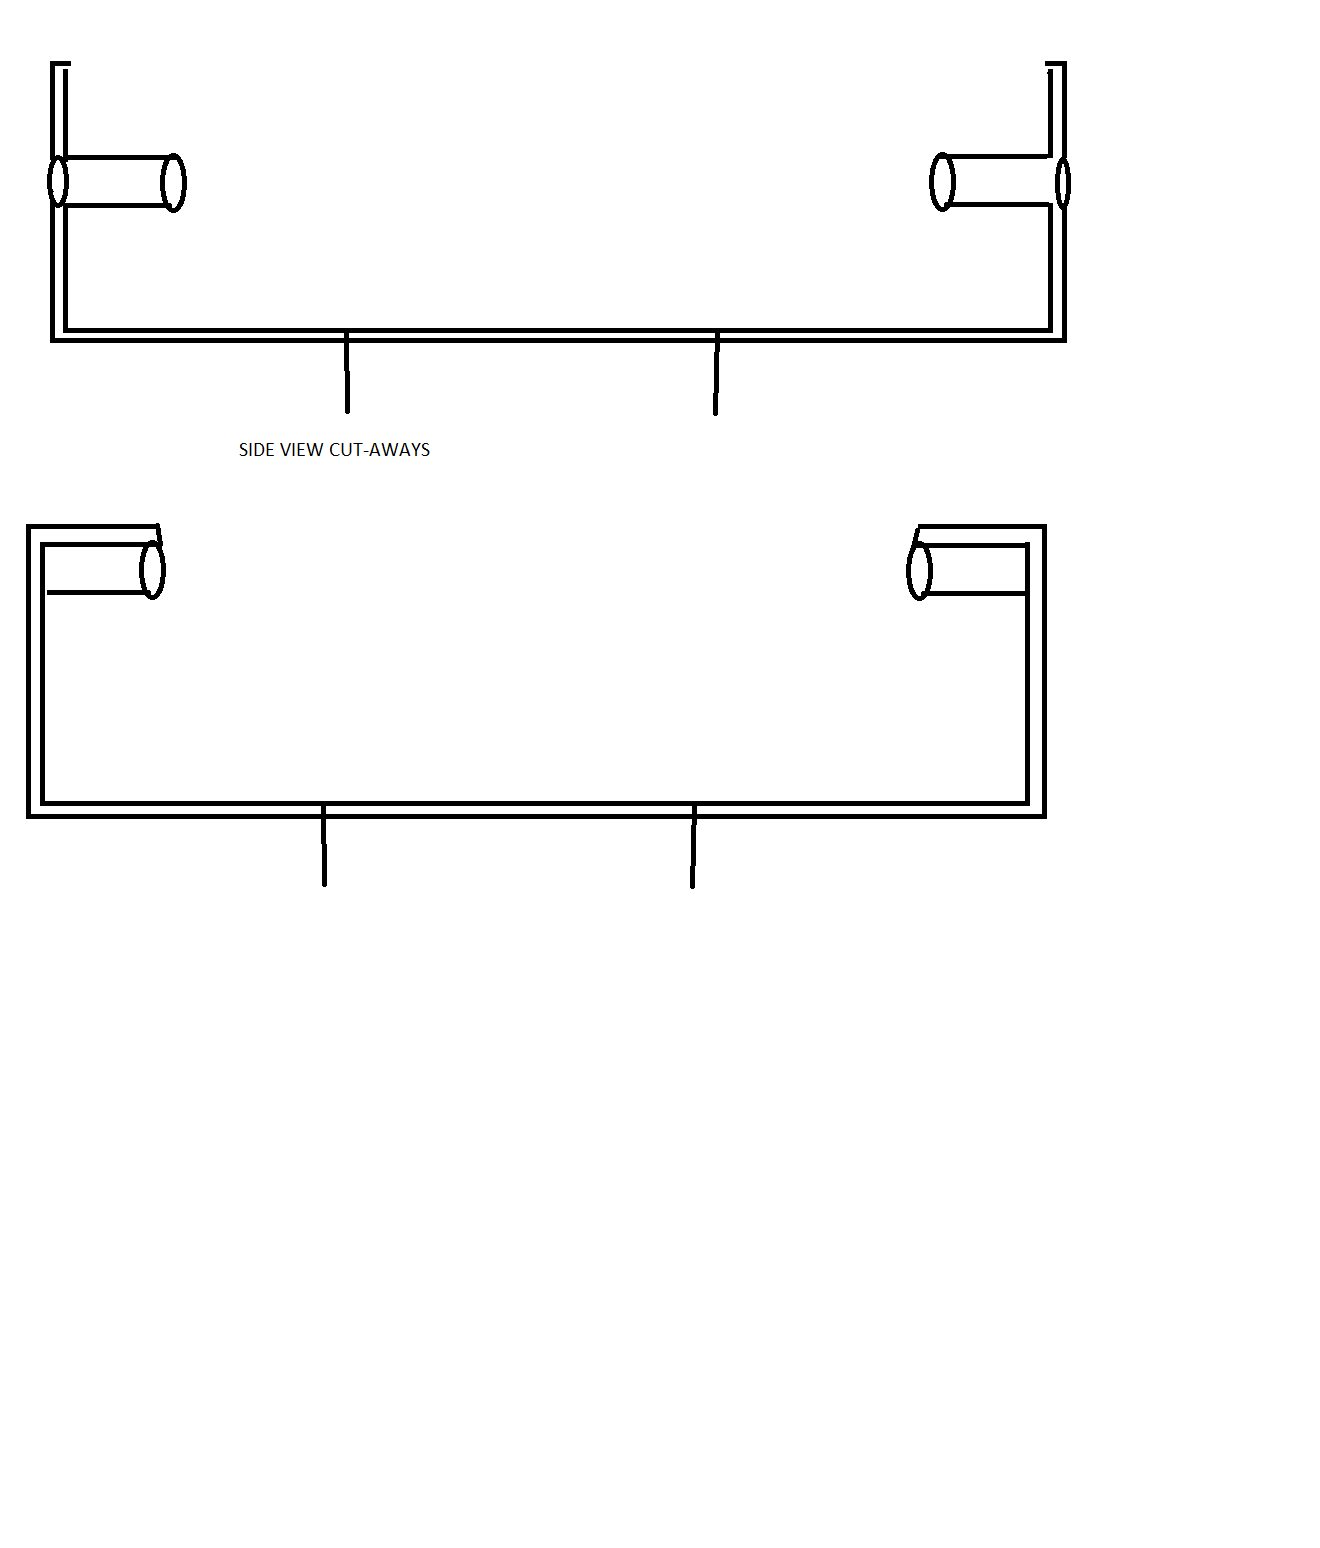
 we can think of a better way to do this, c'mon guys
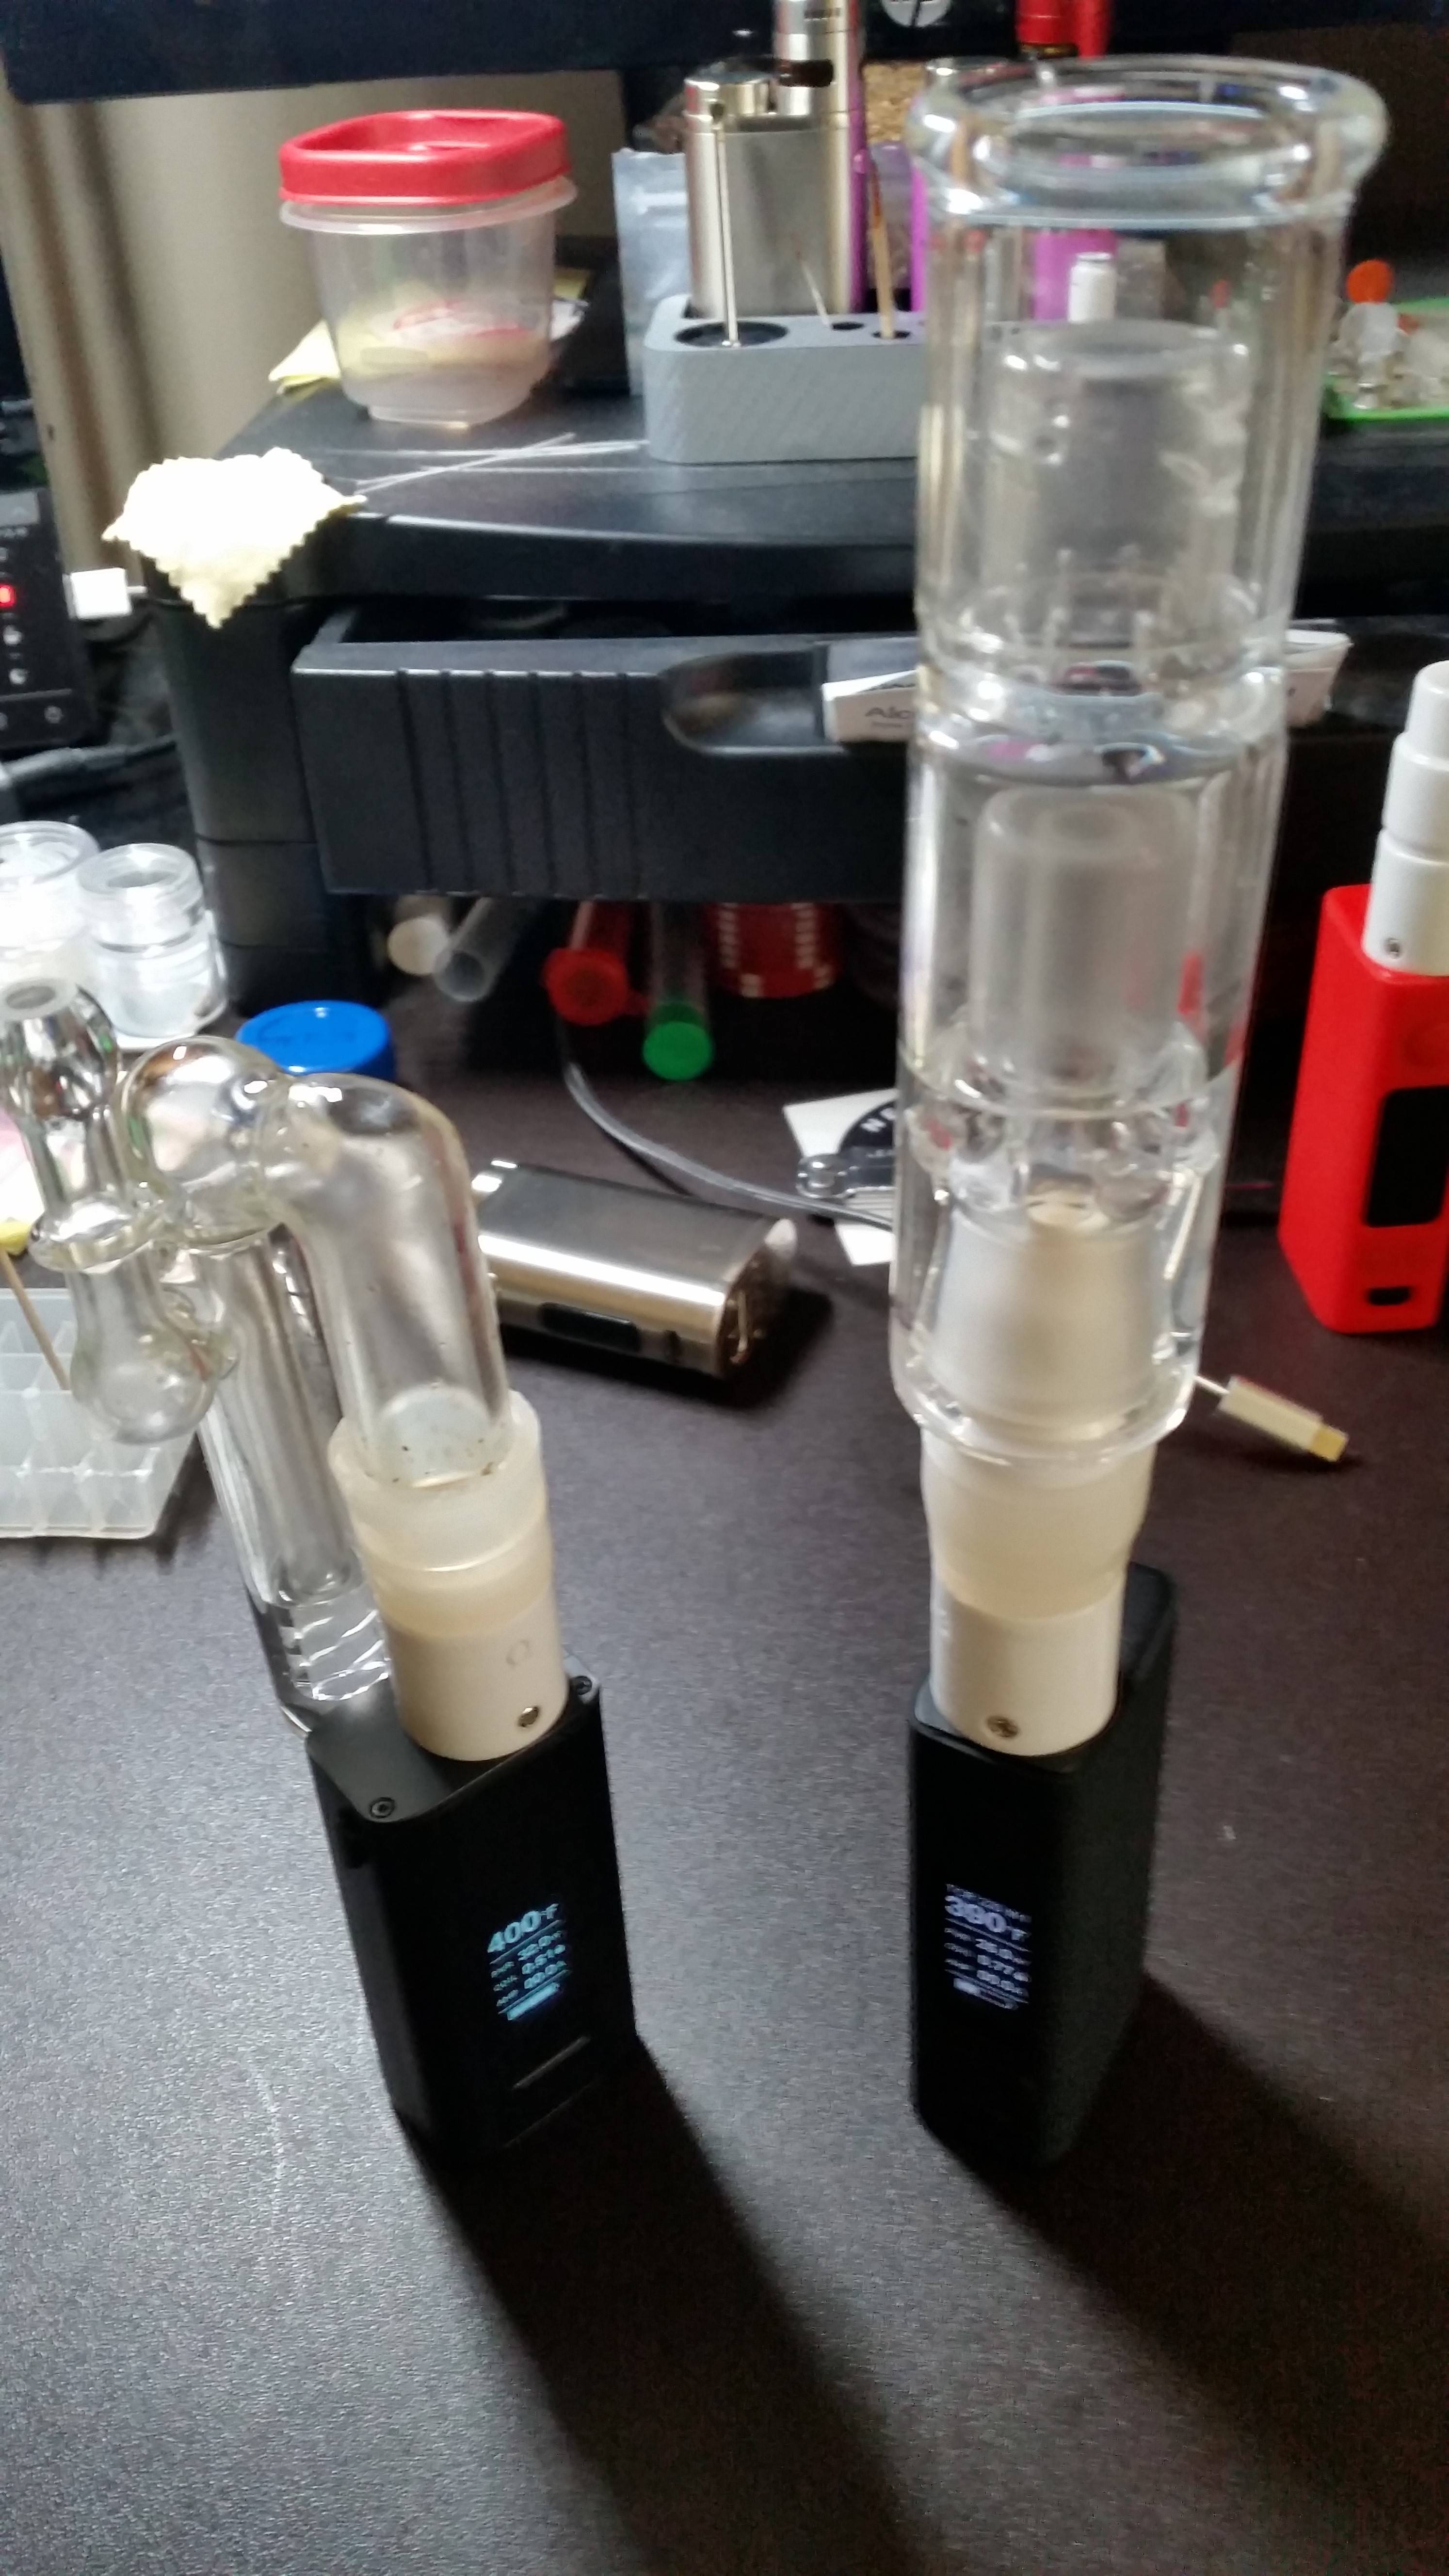

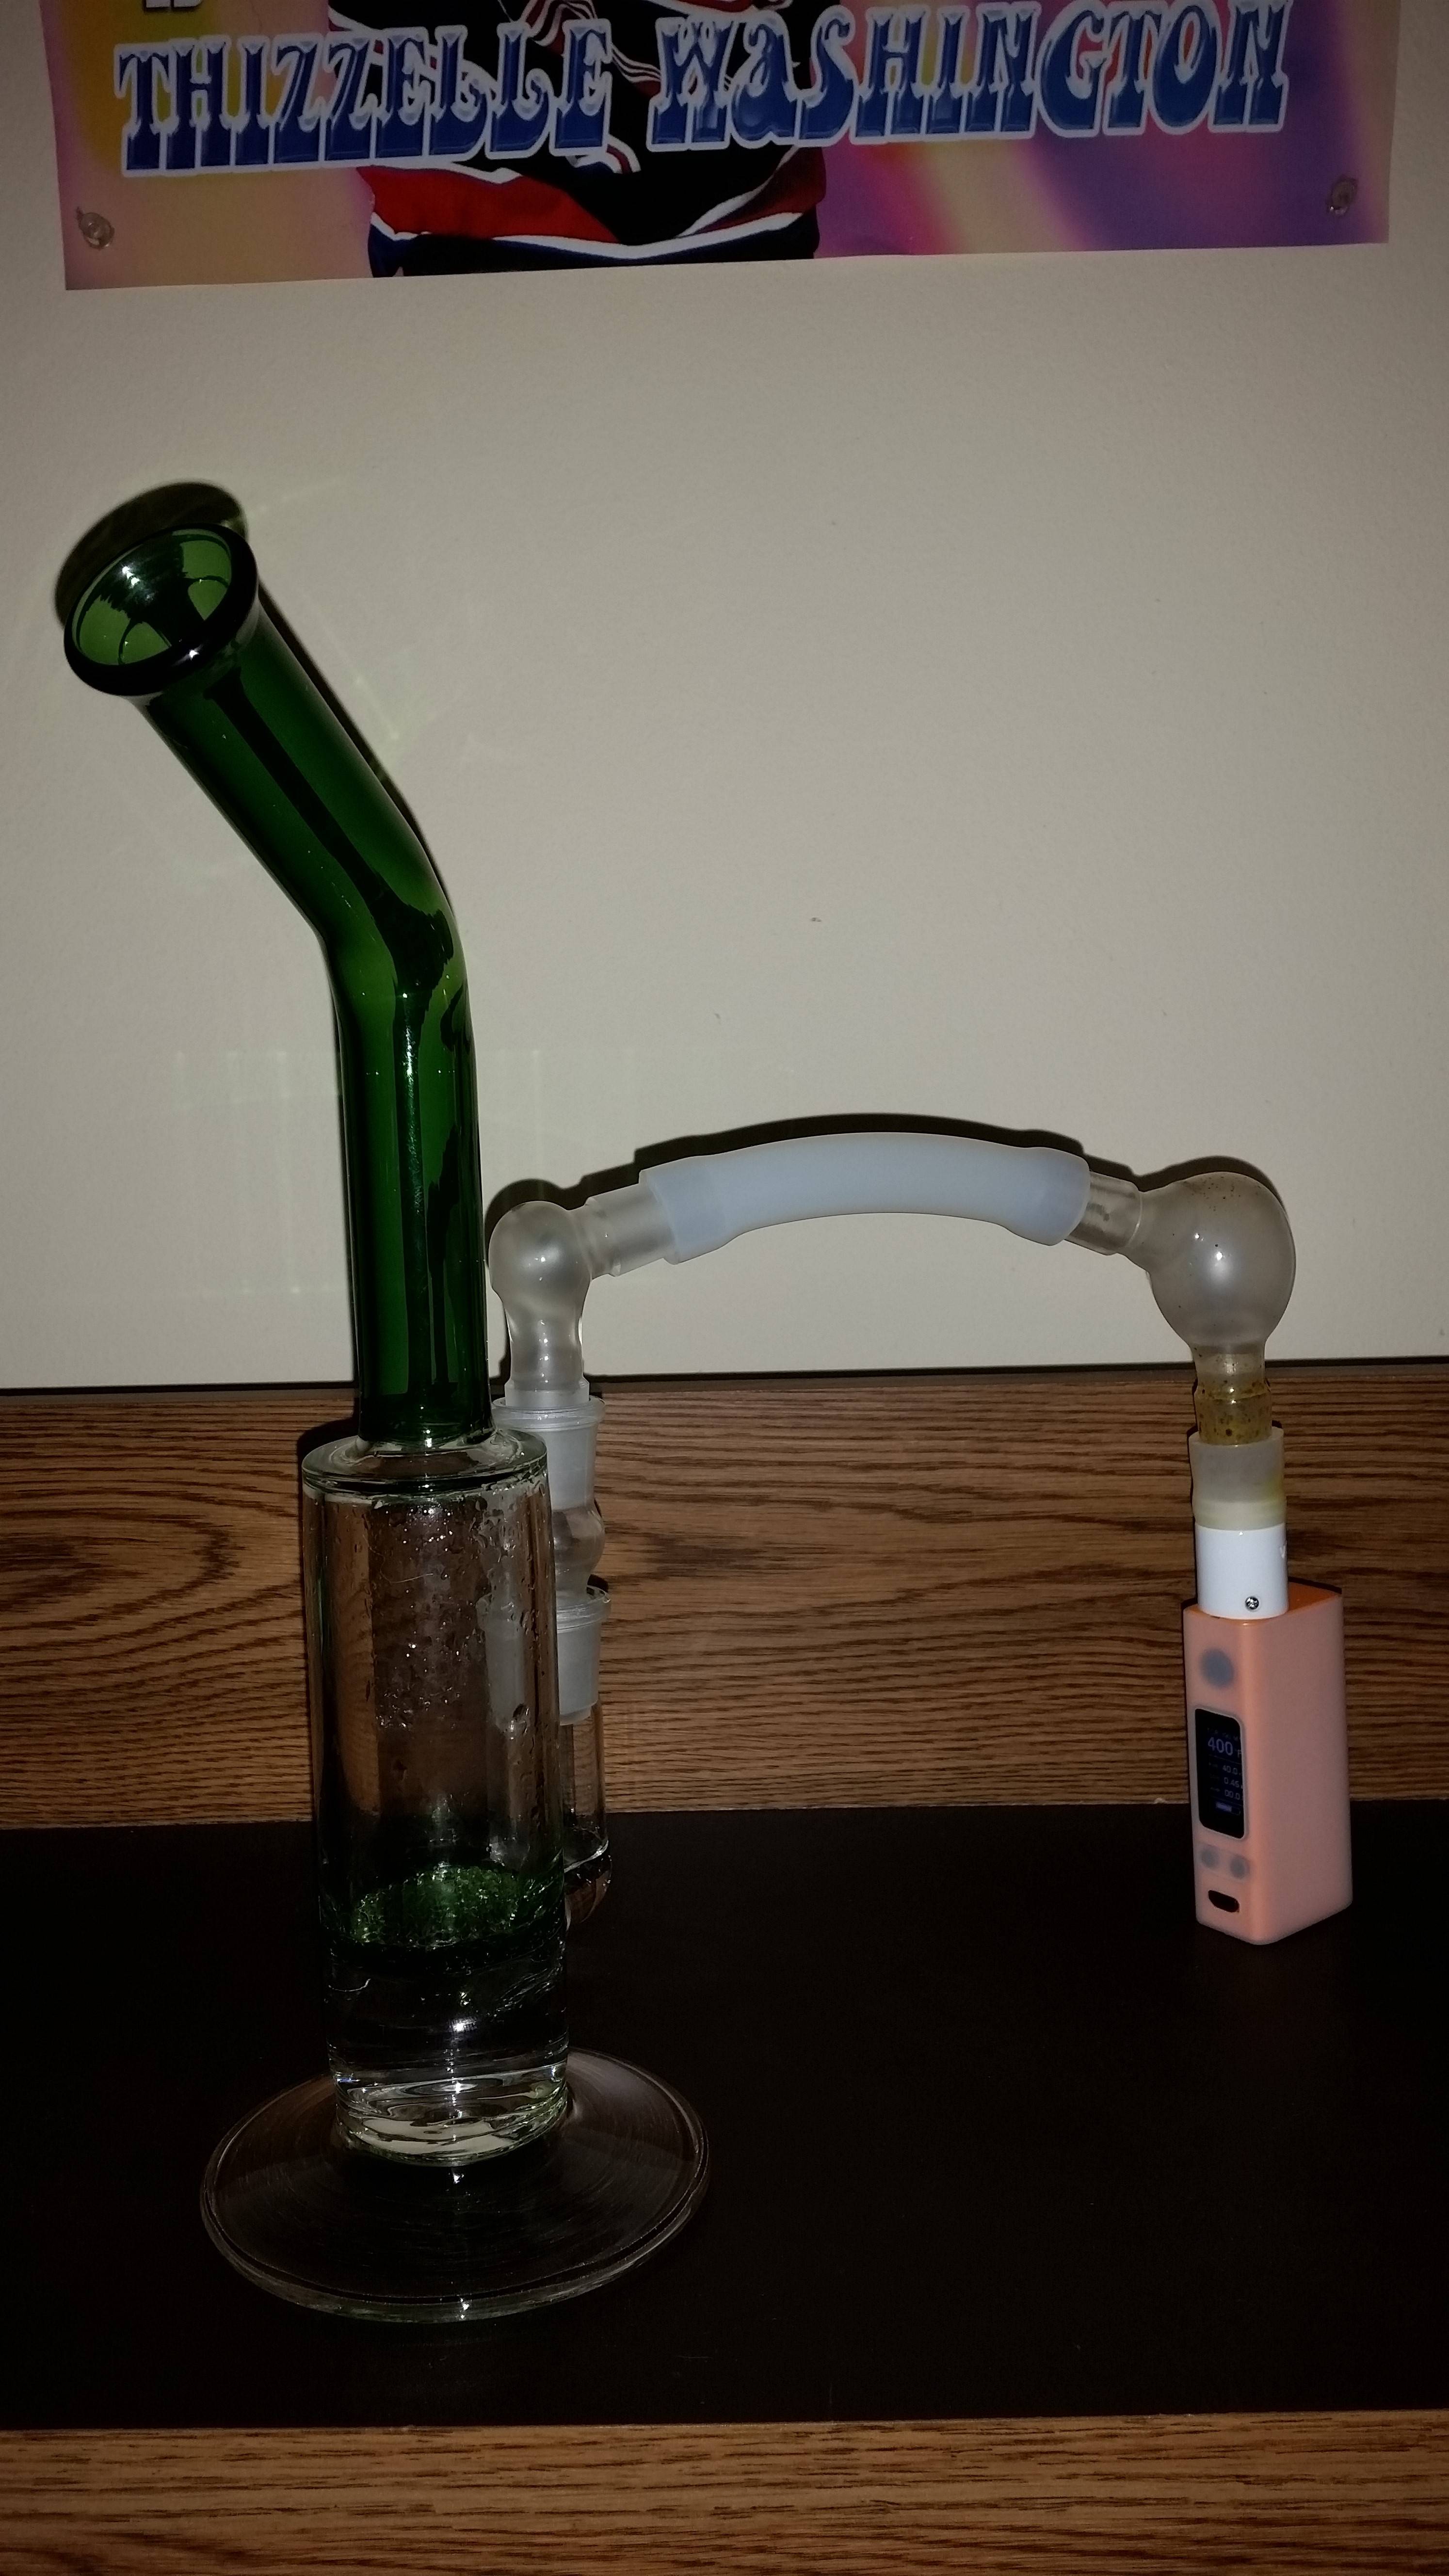
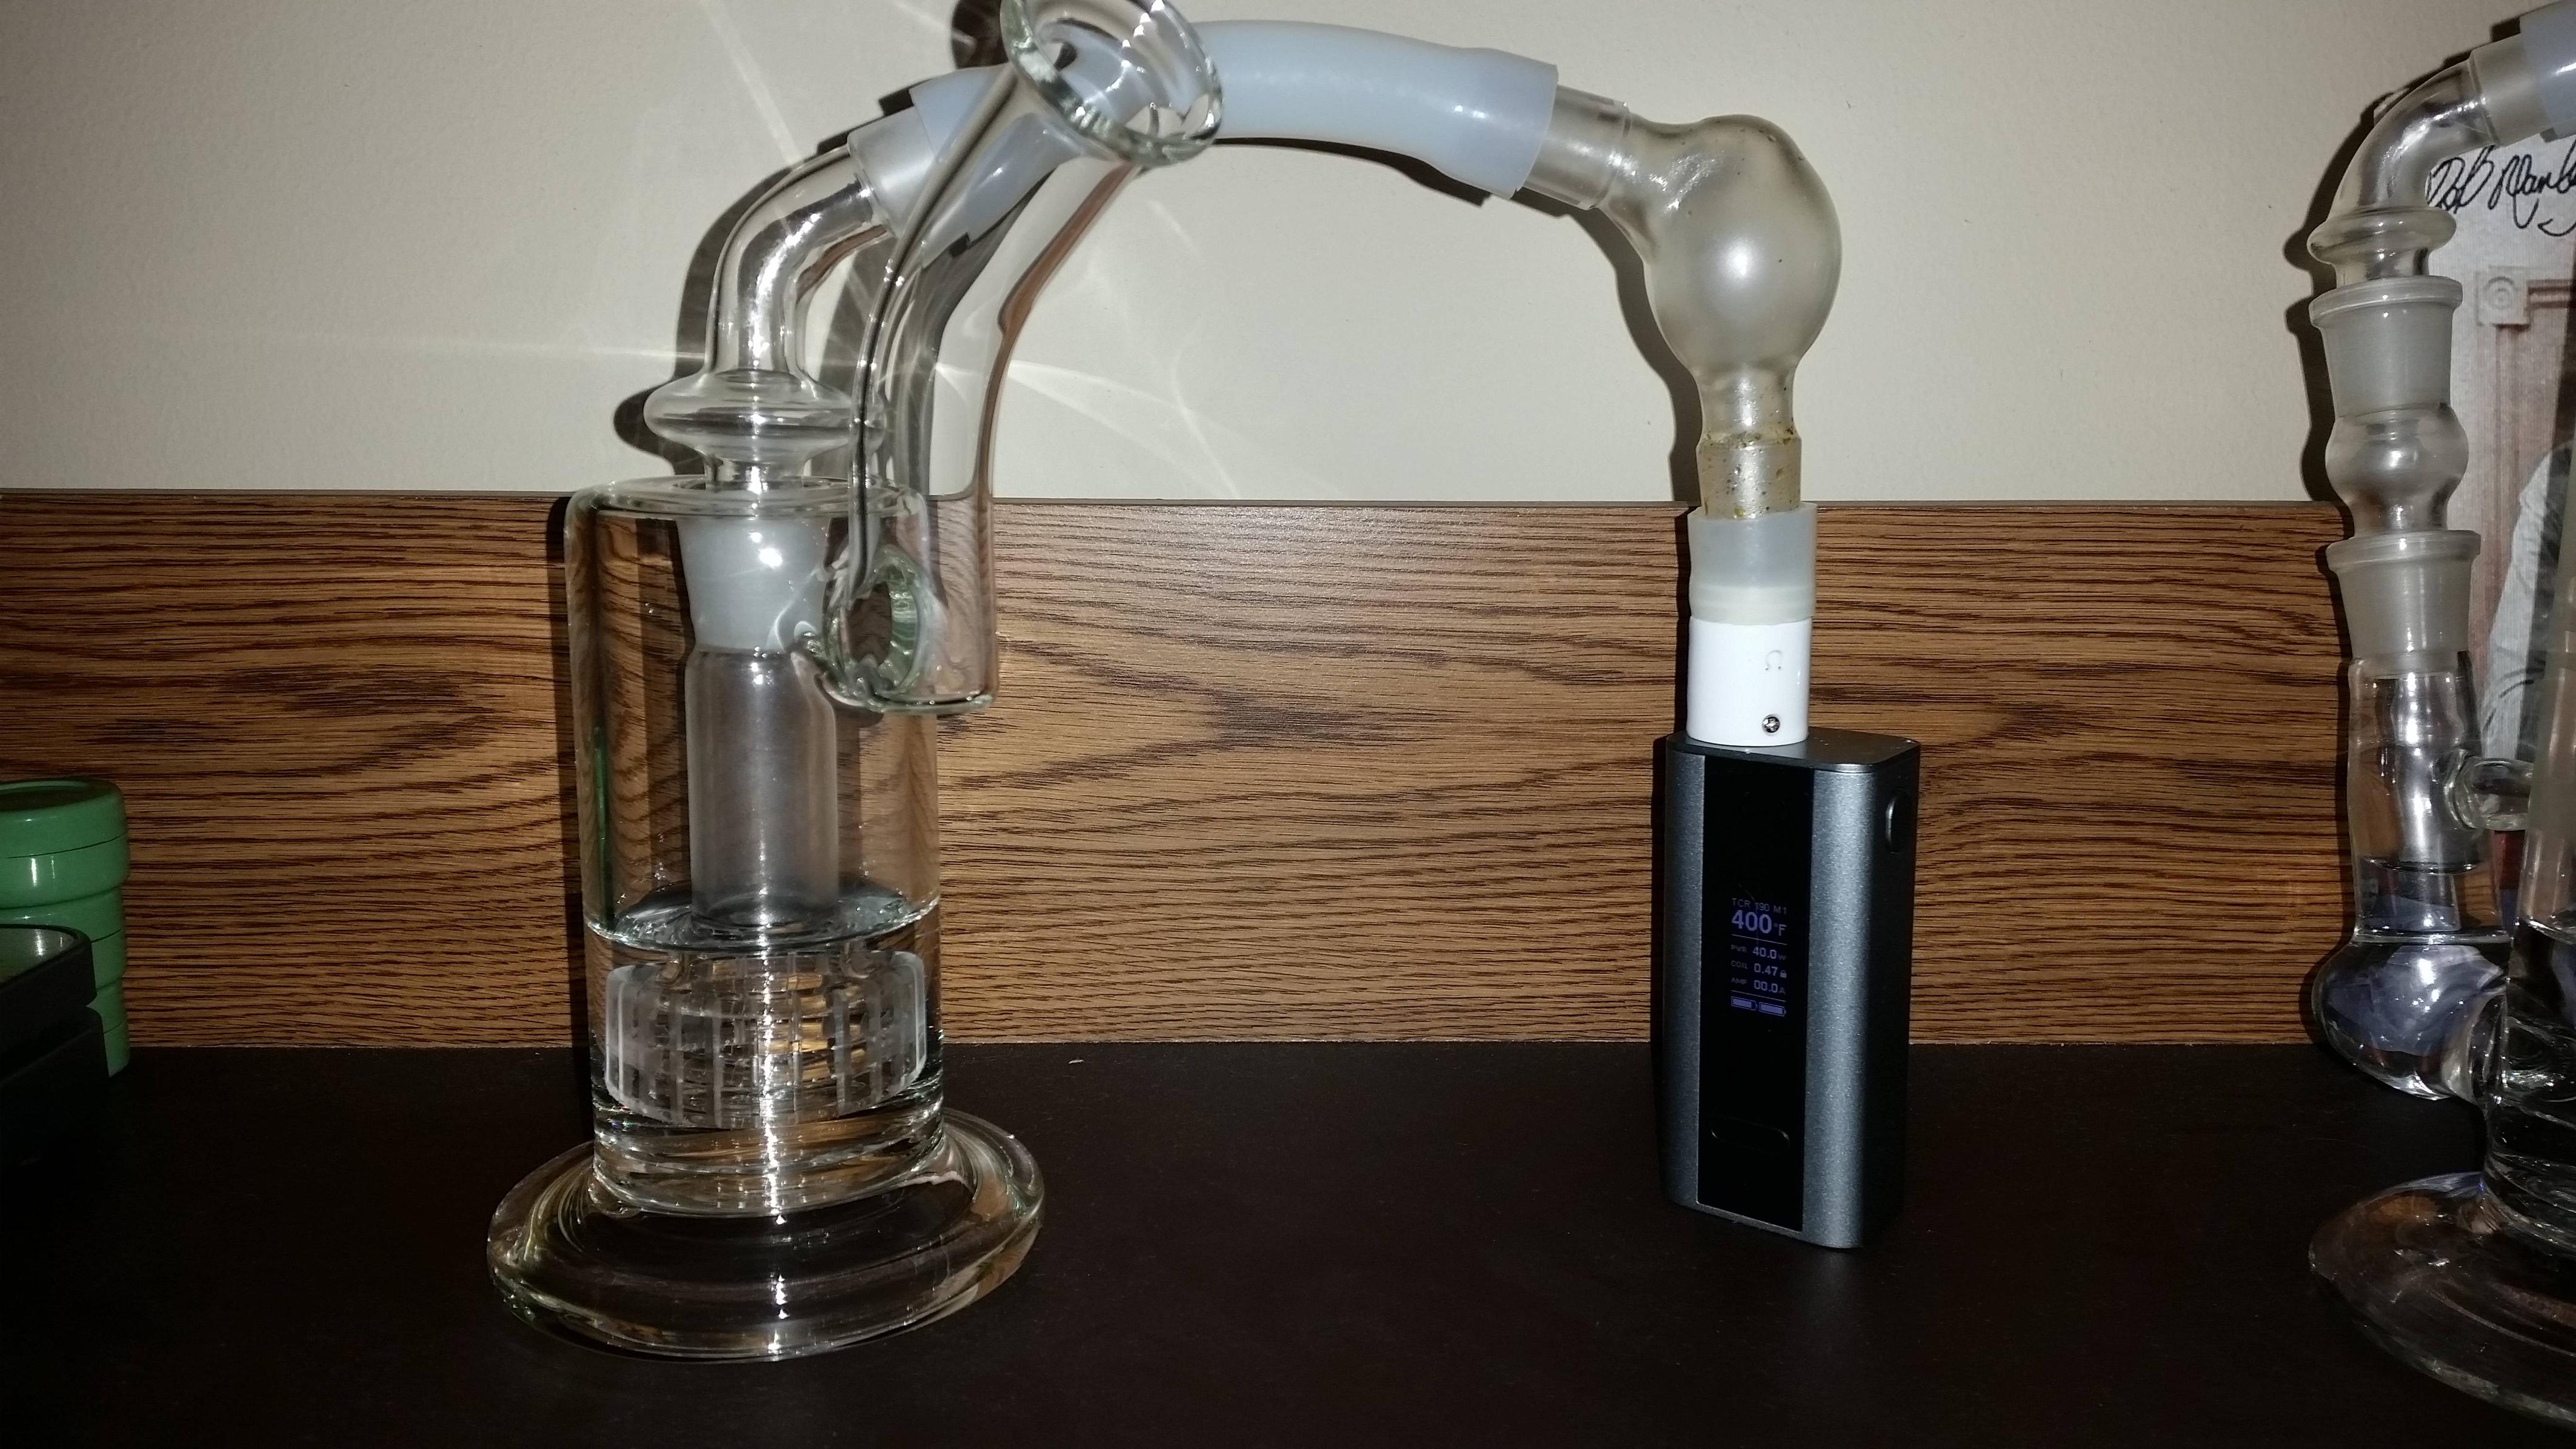
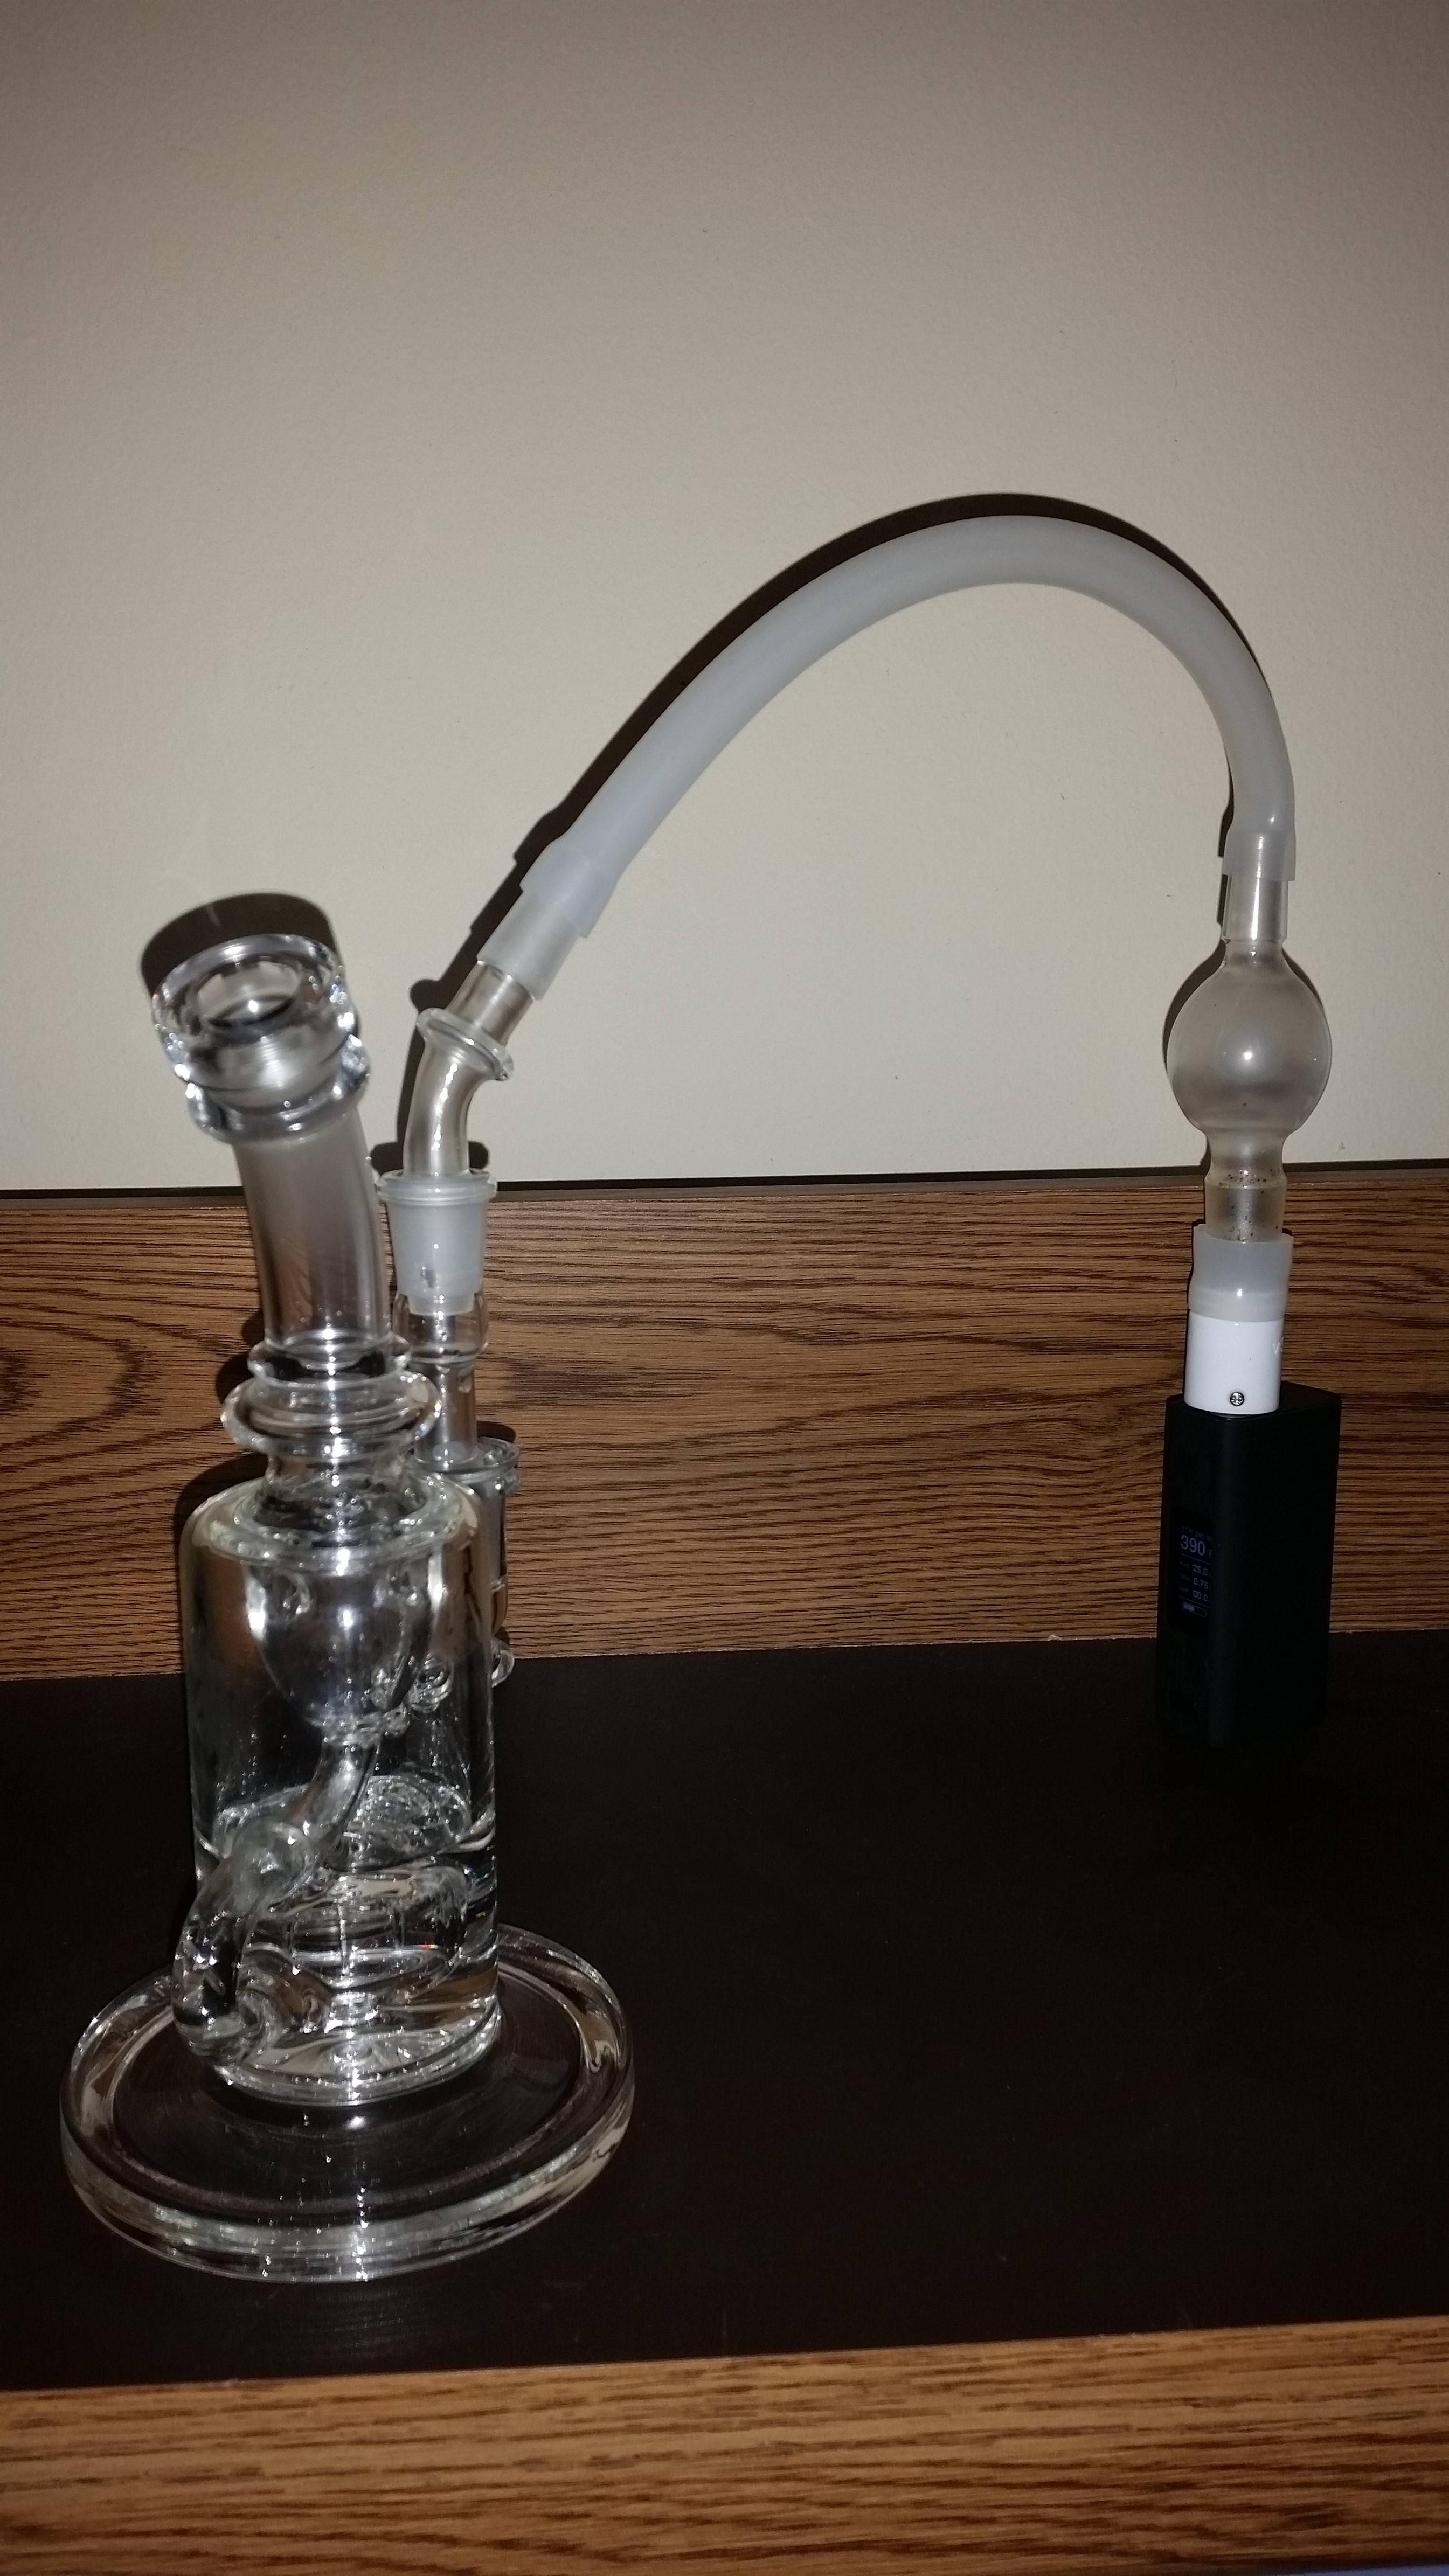
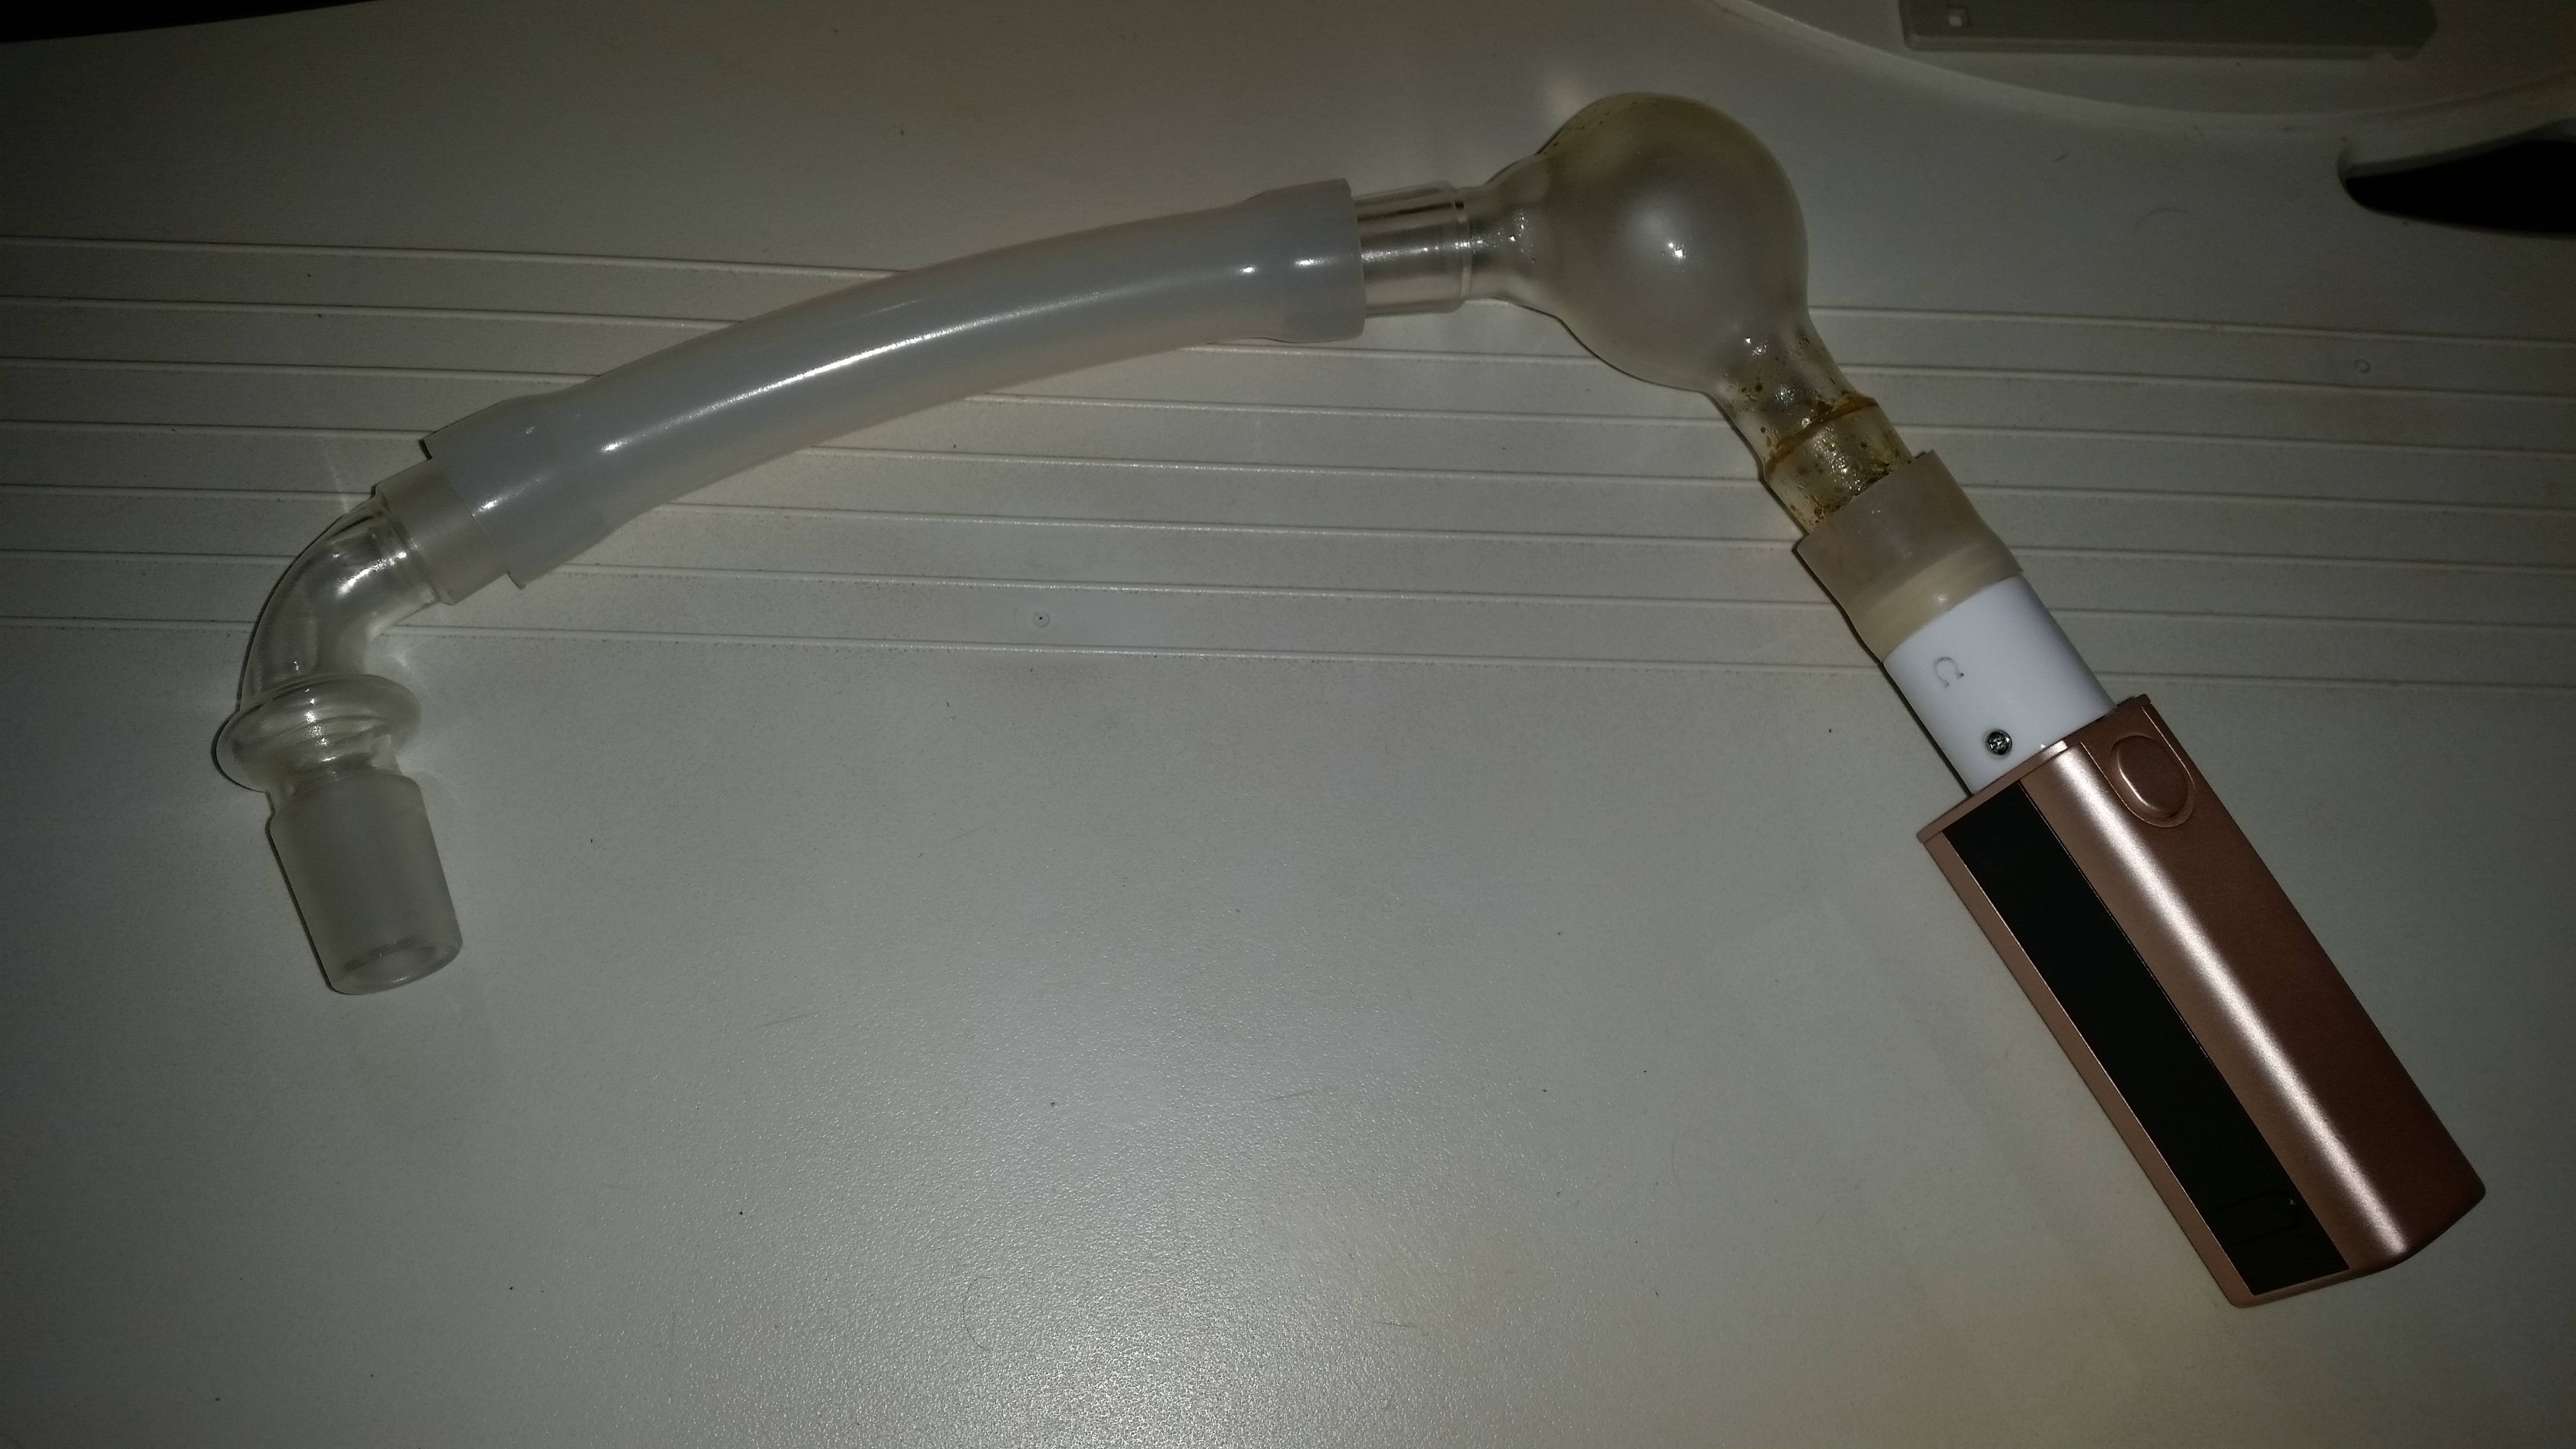
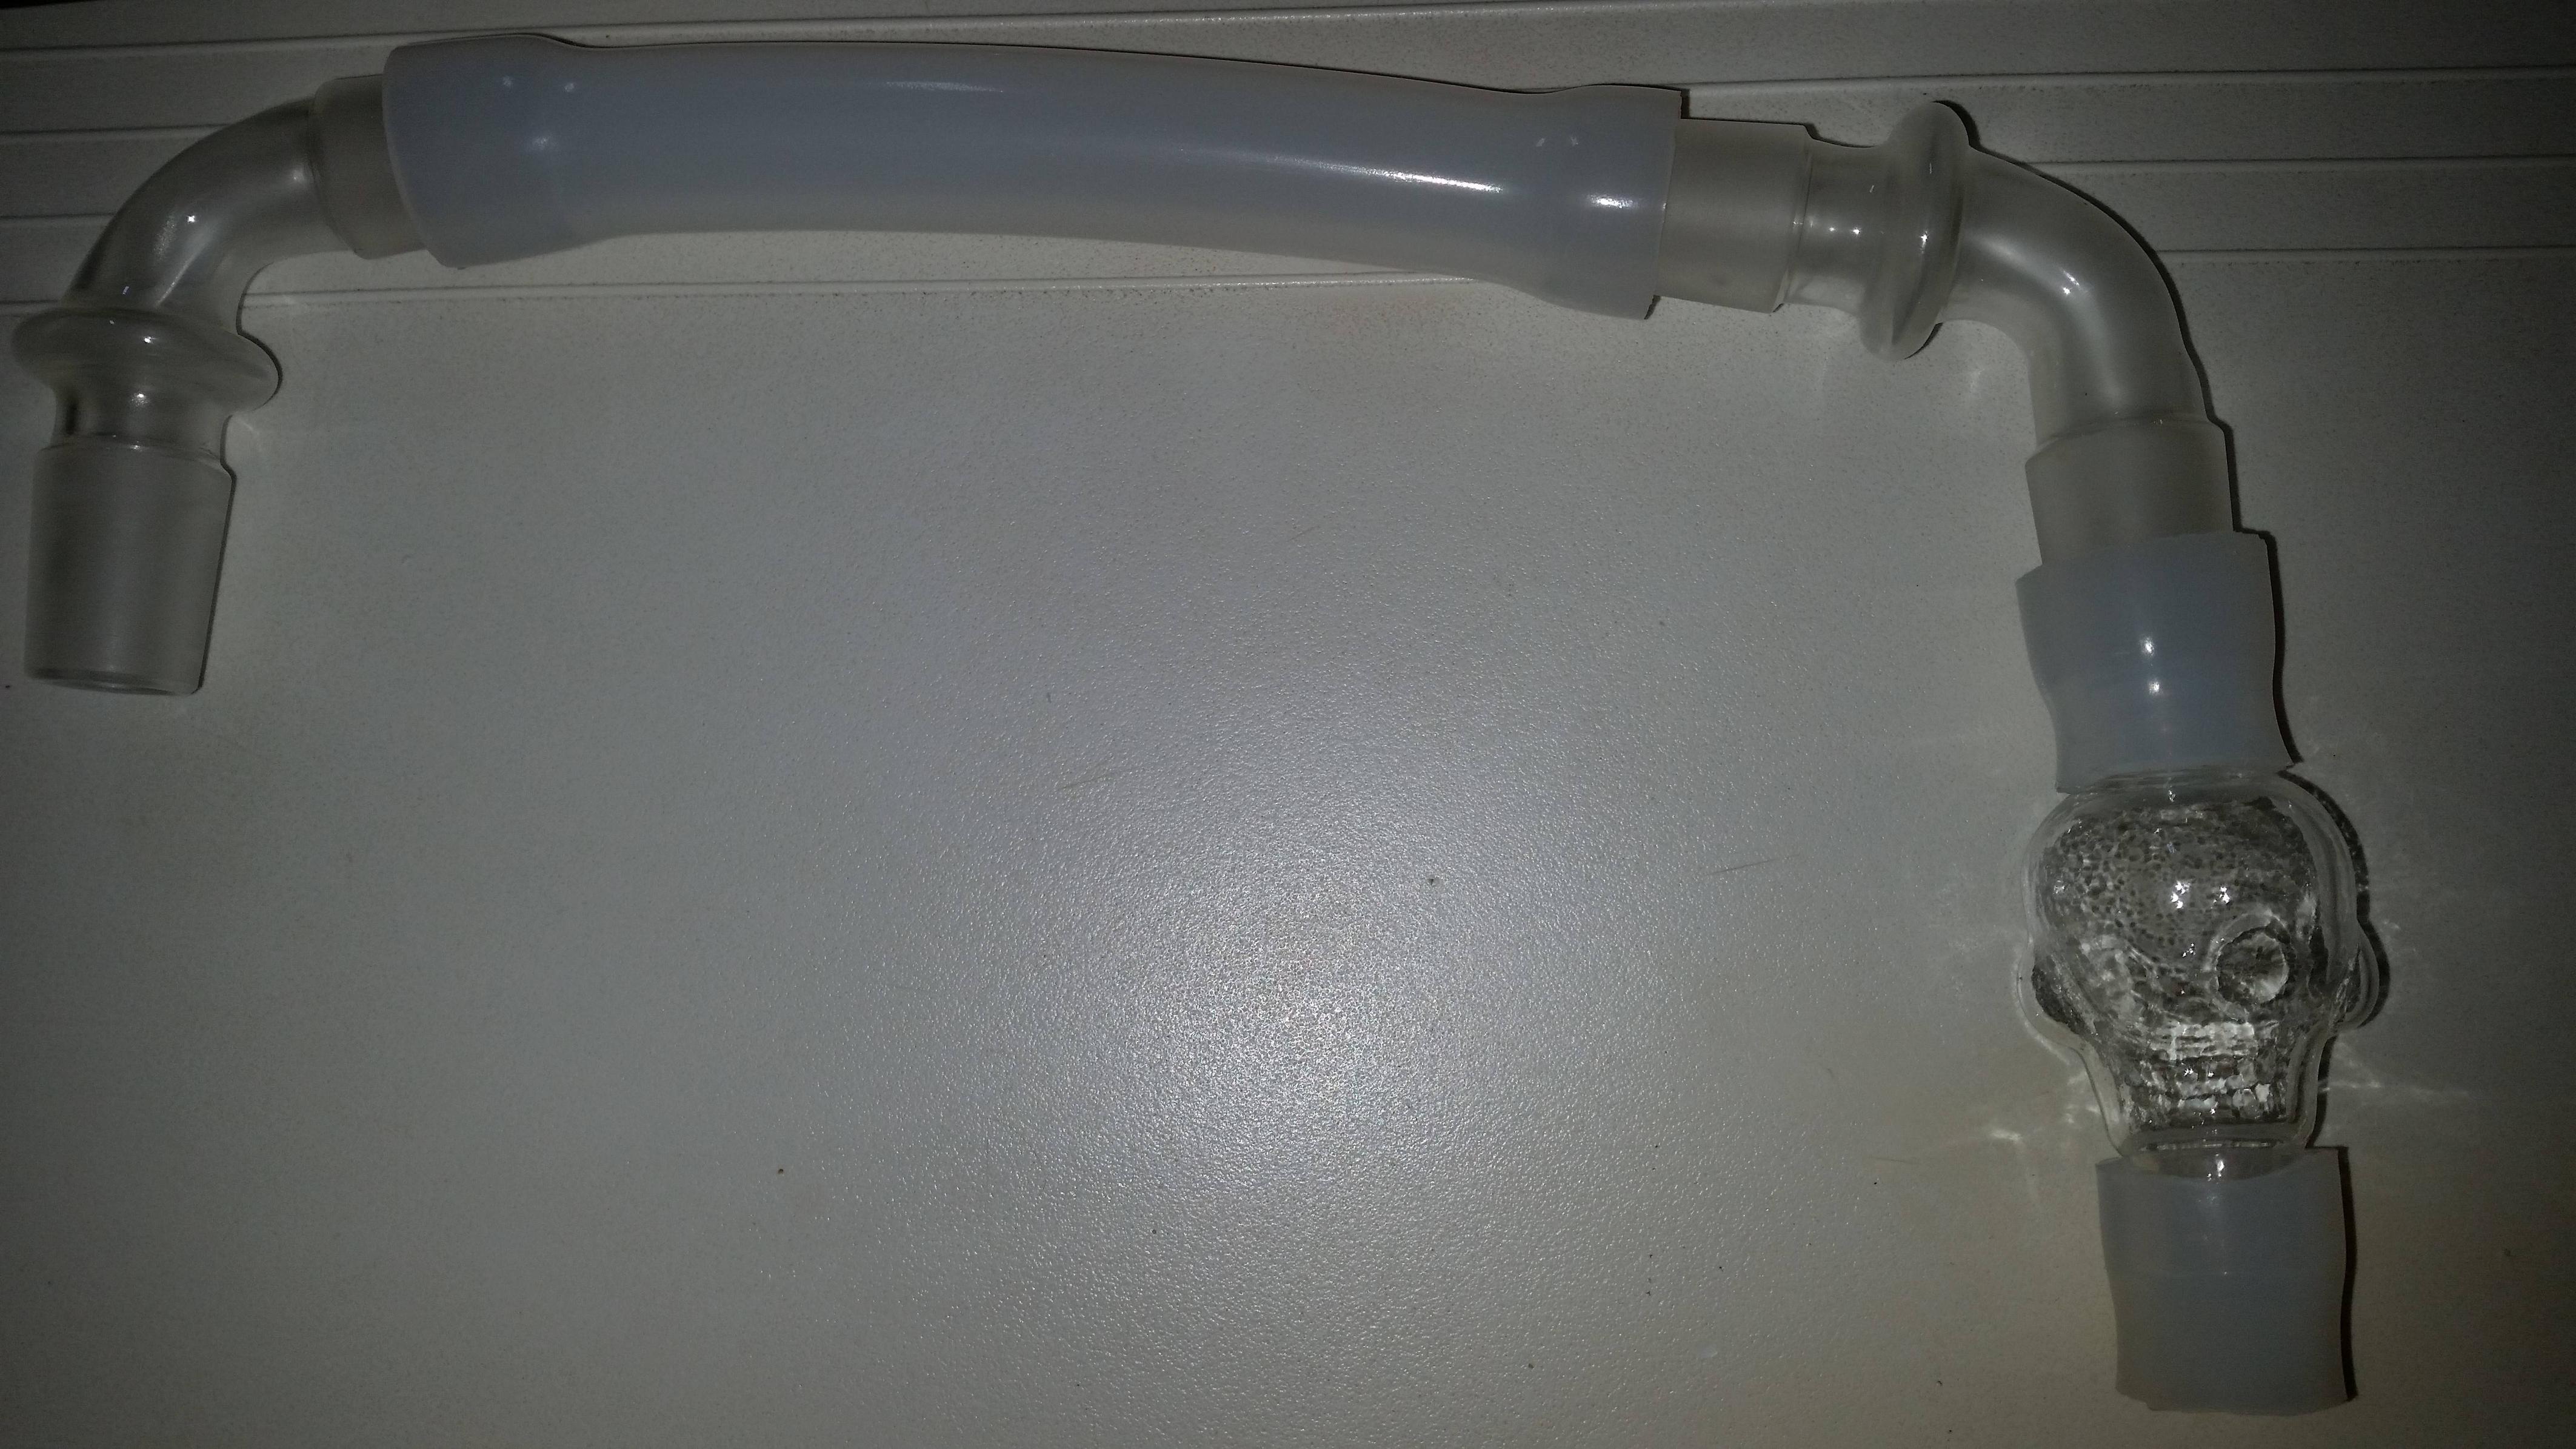
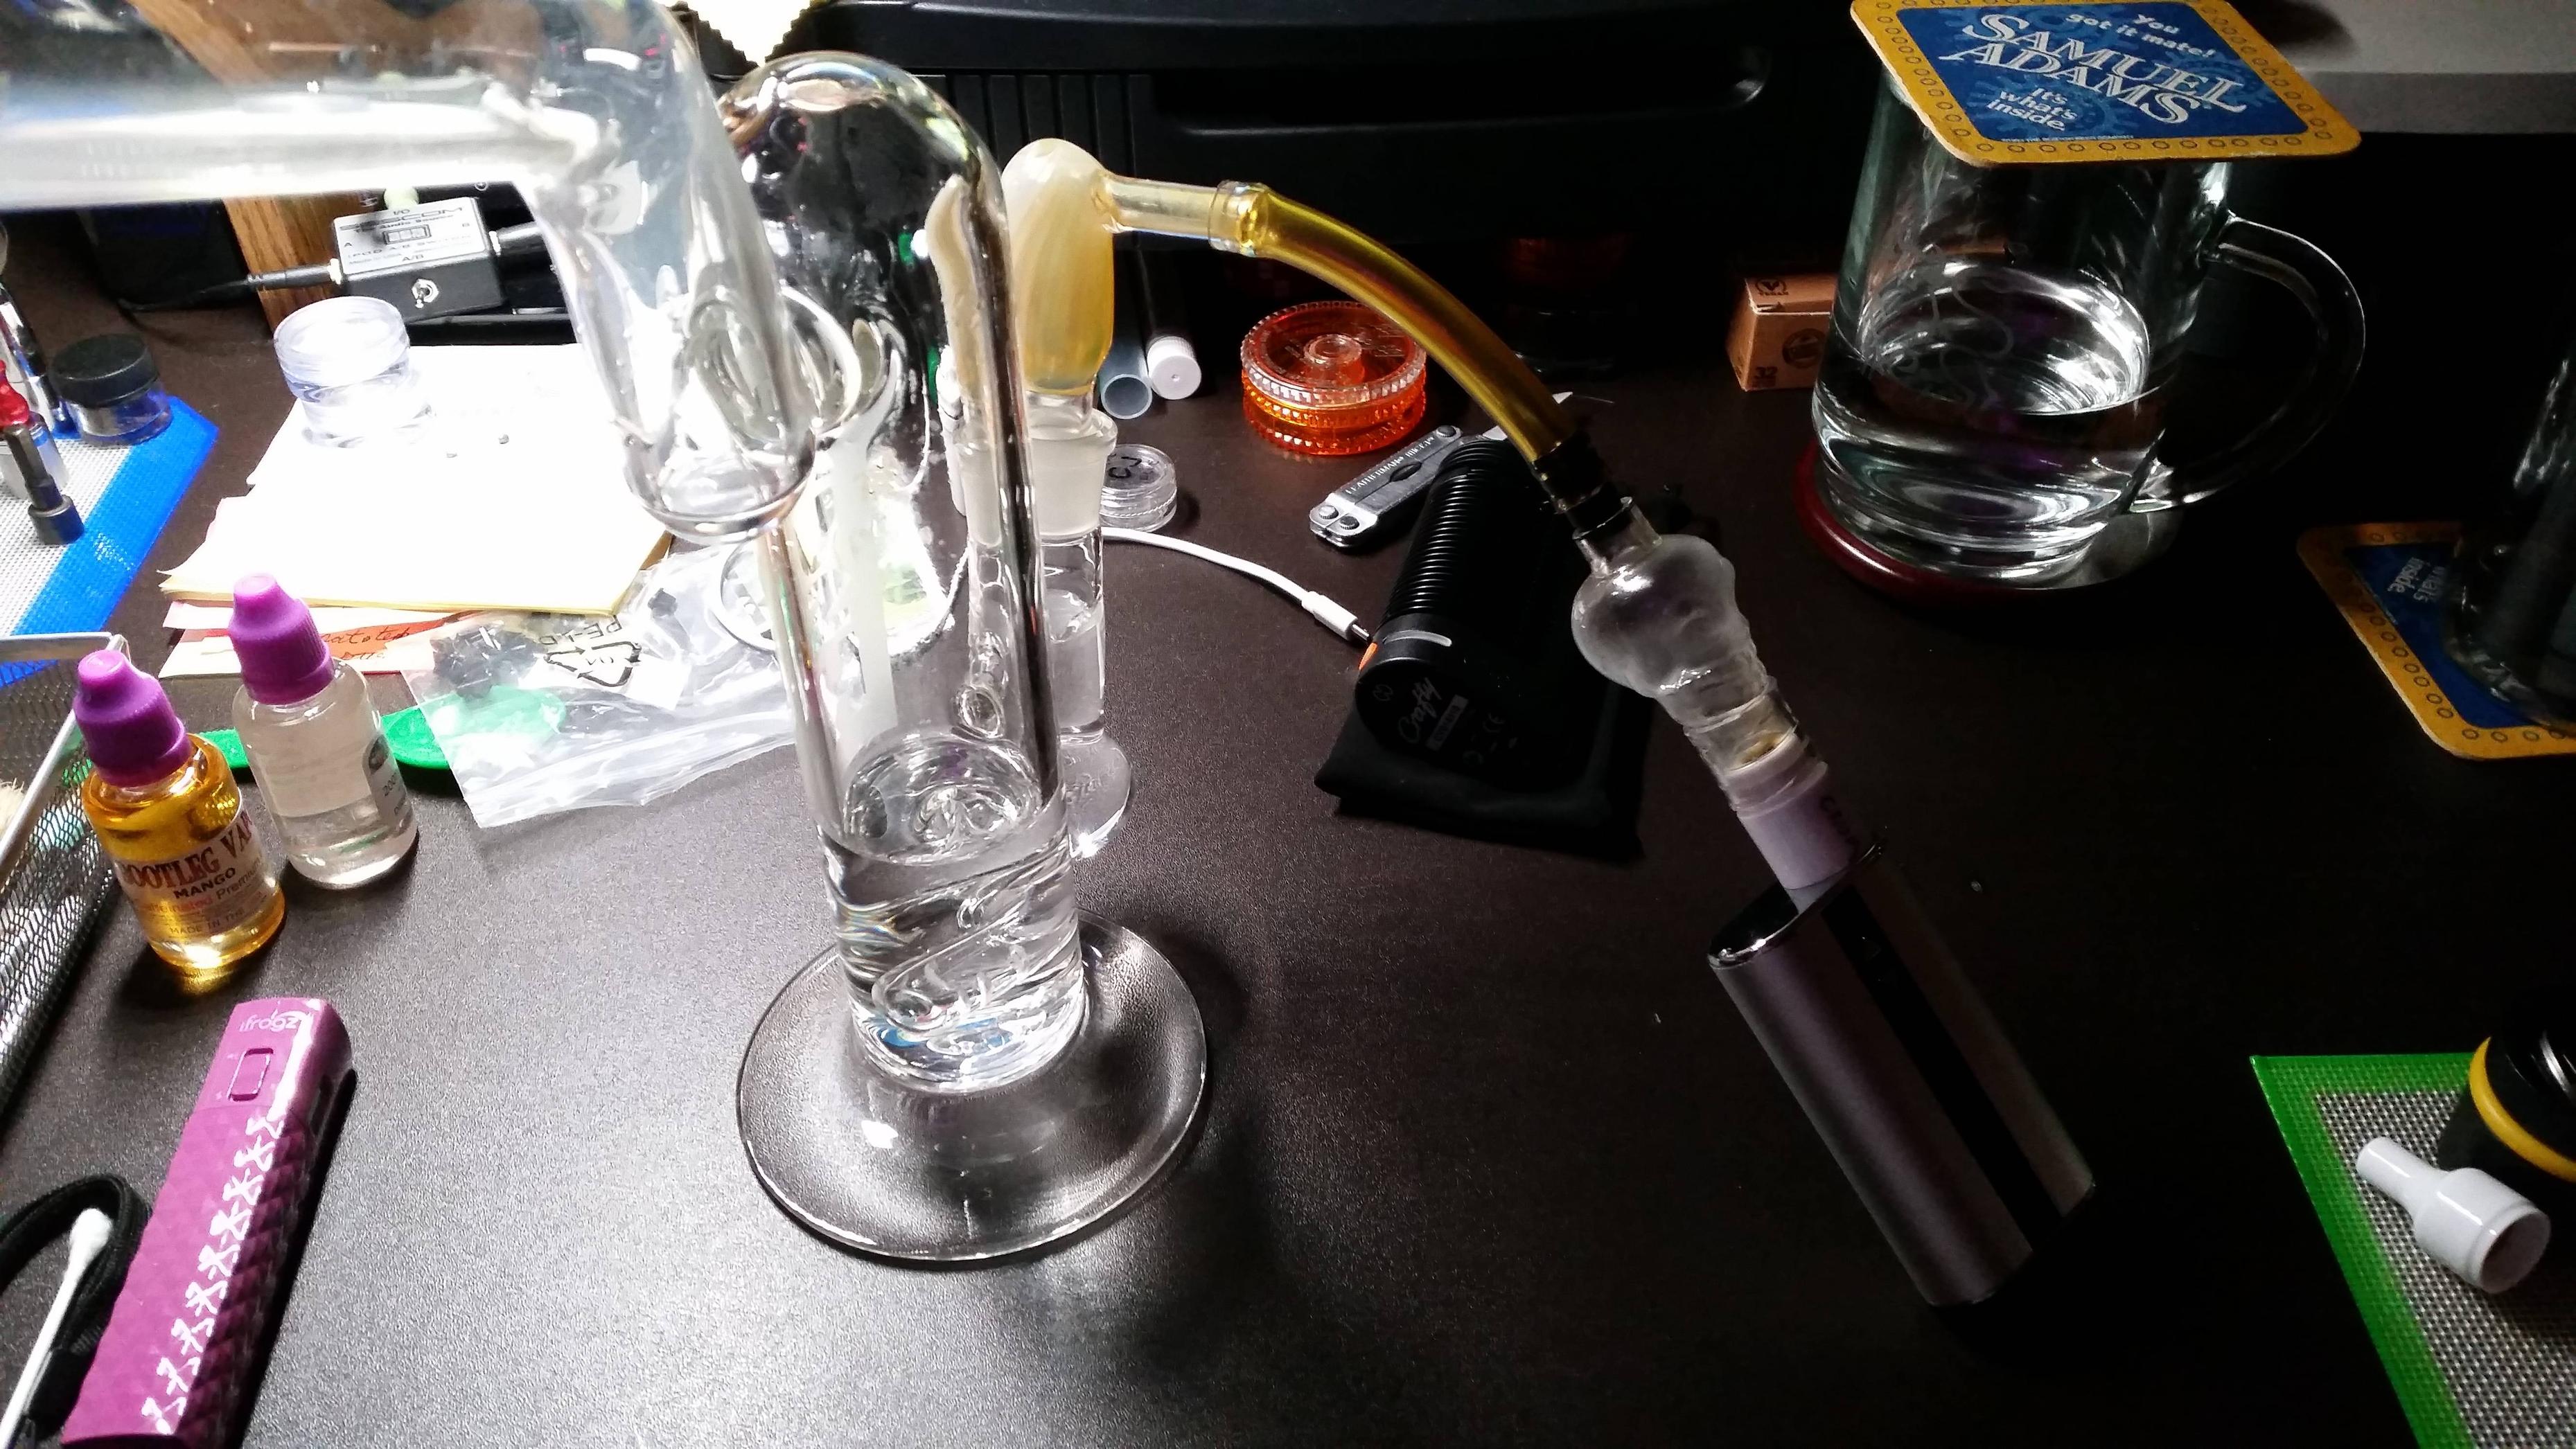
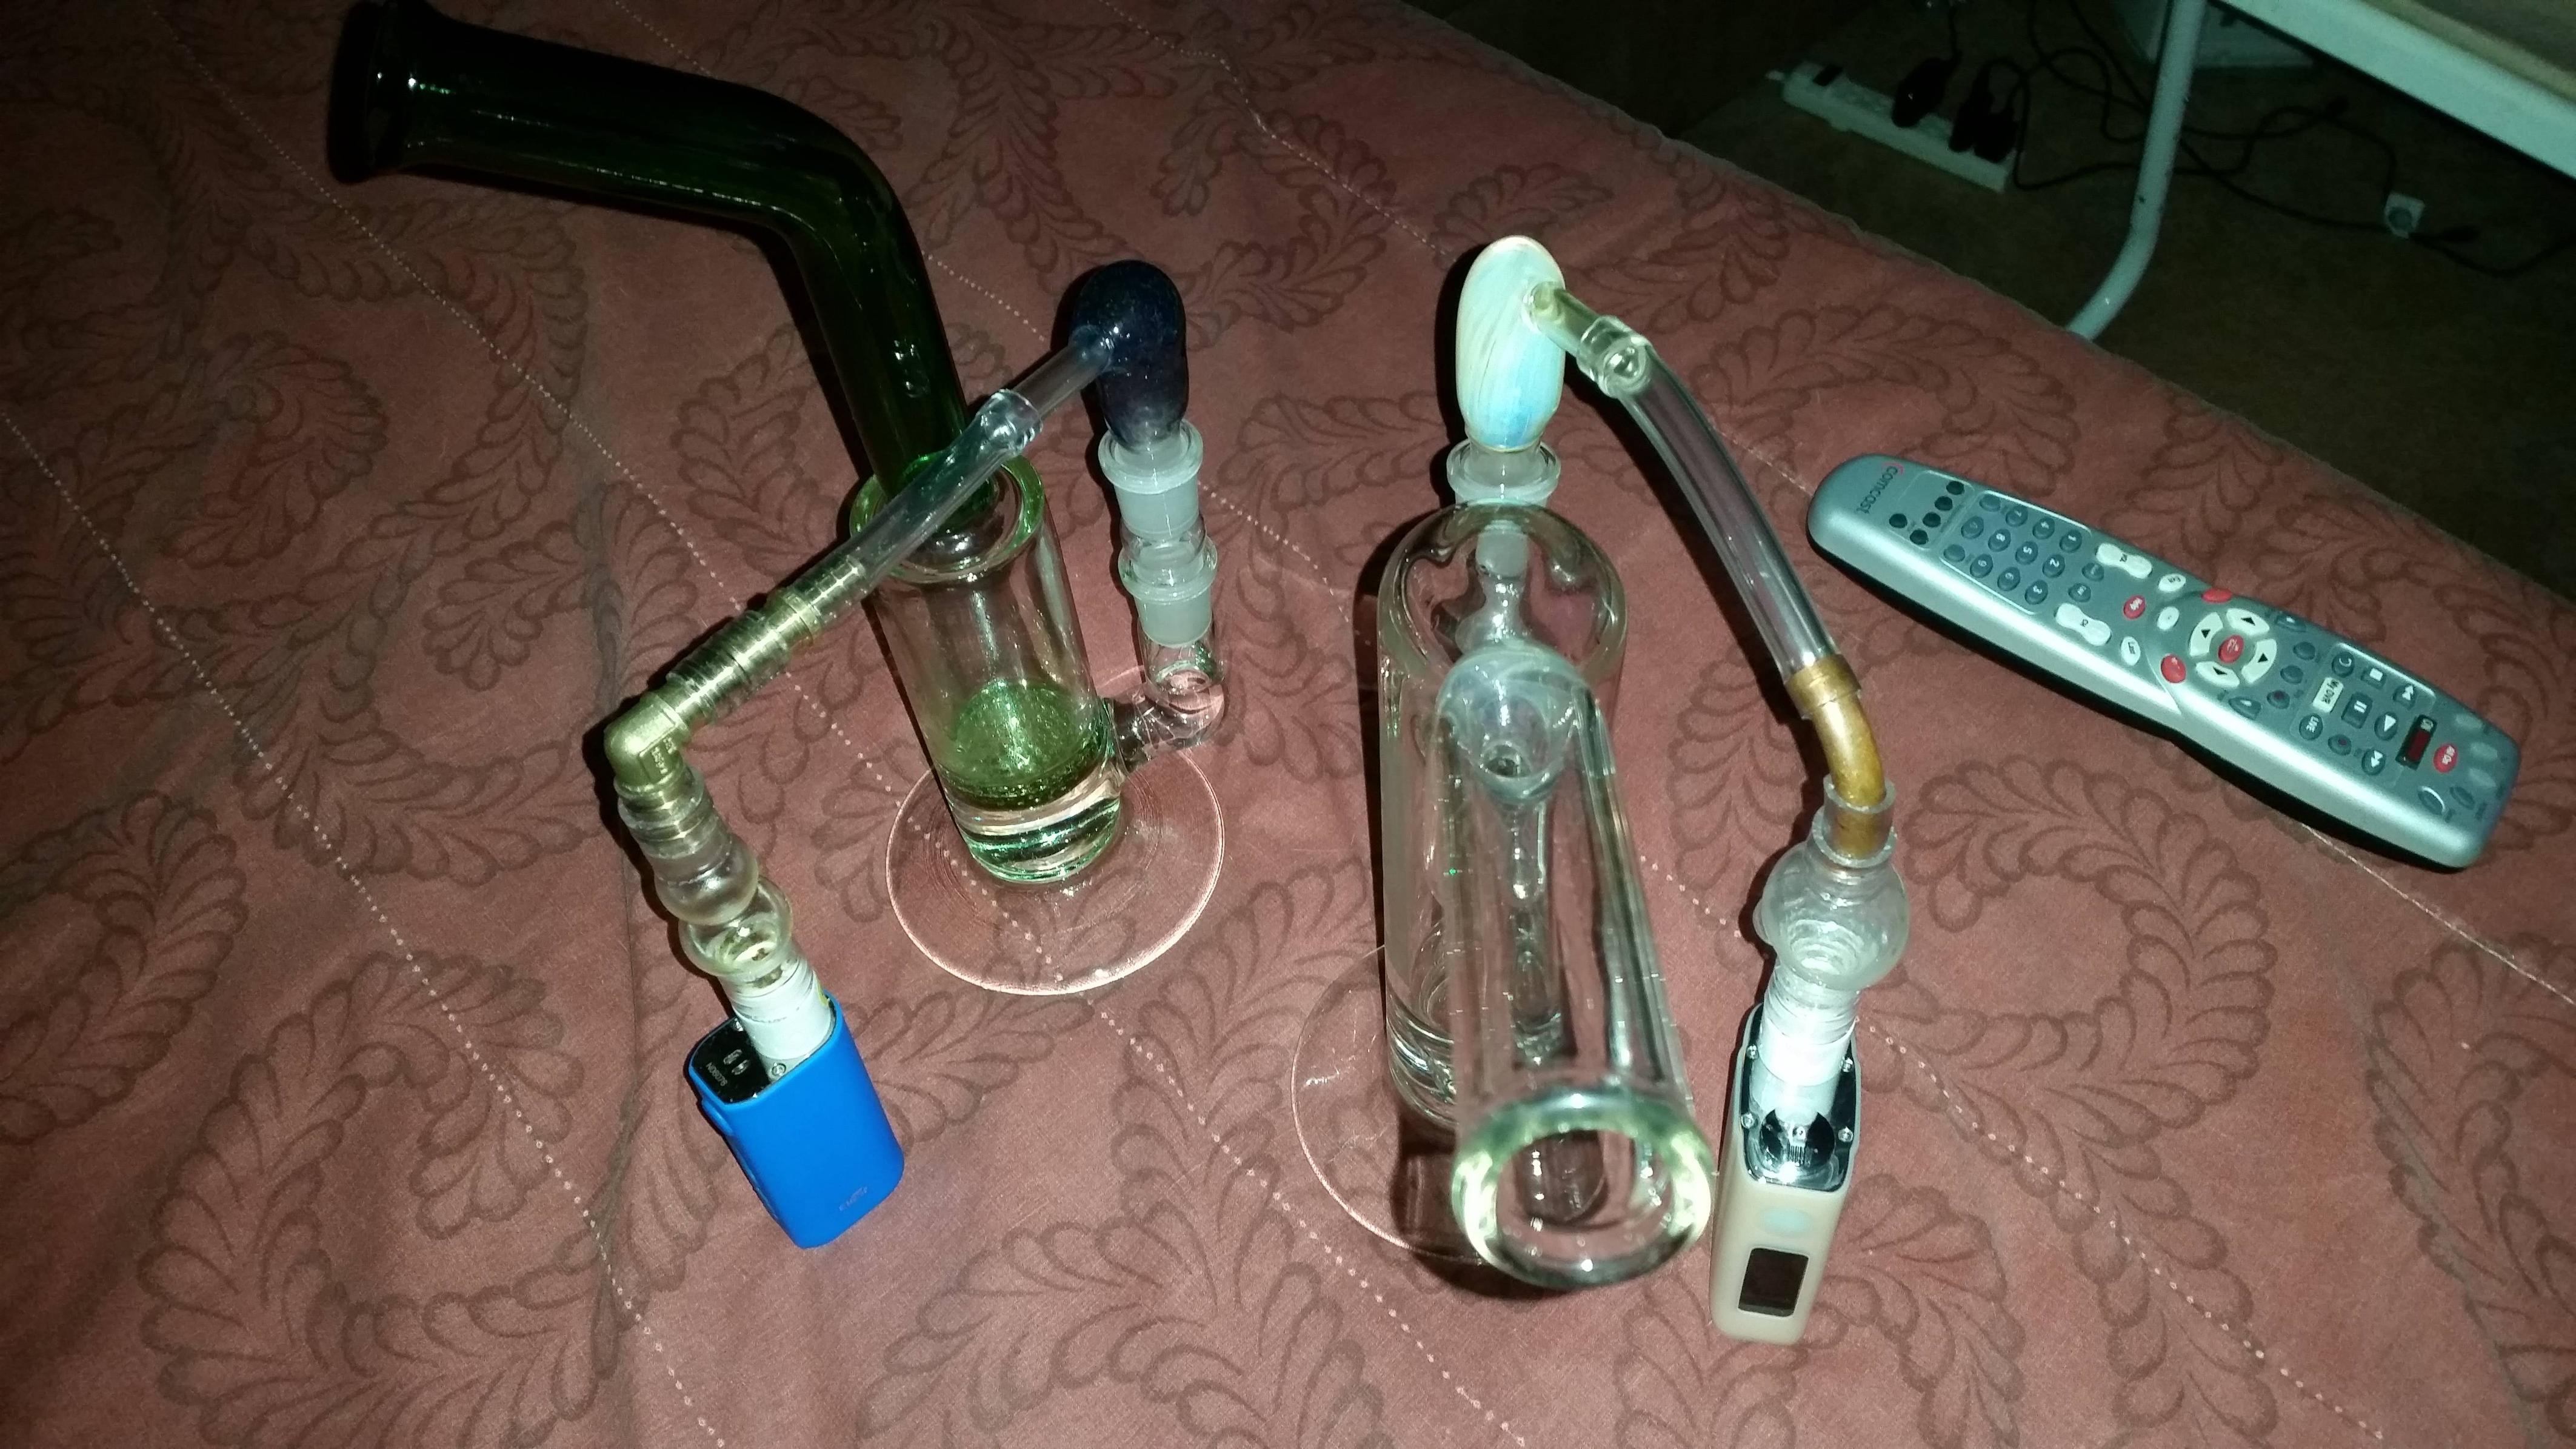
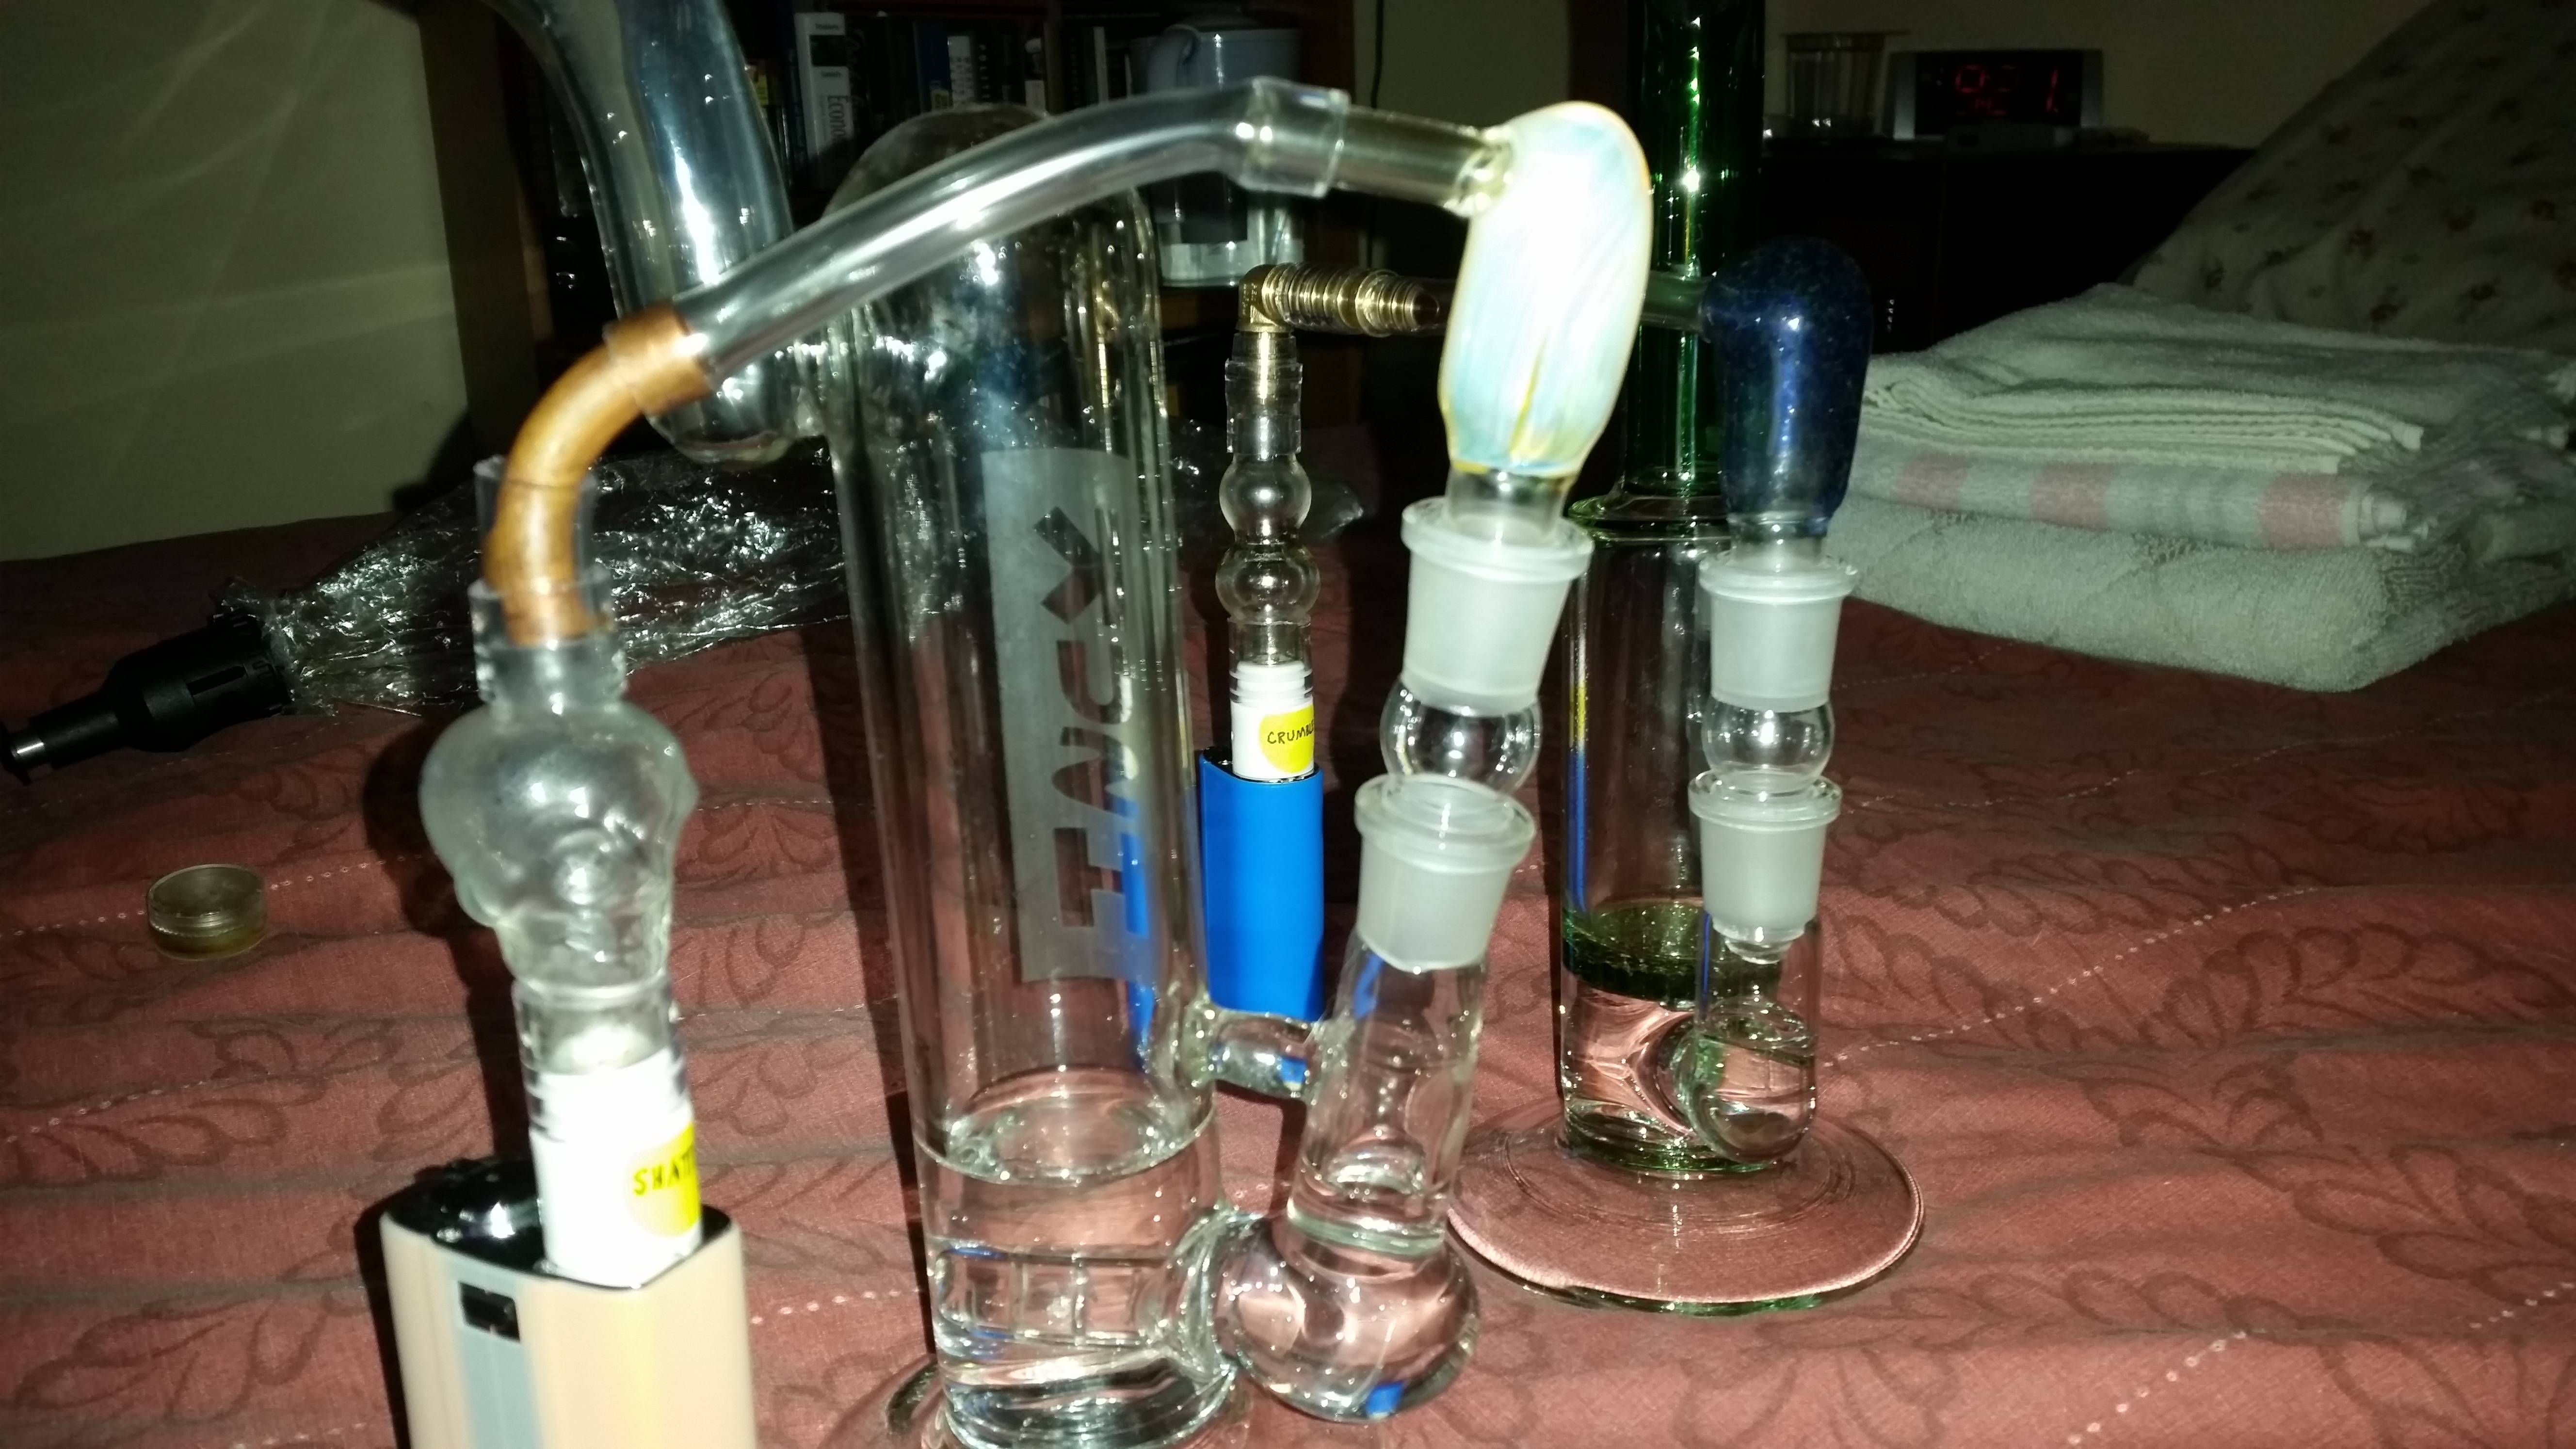
 They replaced my venerable old, skull glass globes that I have passed grams and grams worth of vapor through, for my viewing pleasure. Those old things worked, but I wanted a connector that is more streamlined with less connective parts, and that I do now have. As noted, the half inch silicon strips are very versatile as a connector for these type of things. I was using these bulbs for a few weeks with my v2.5s, and I was happy to see this setup works also with the v3.0 base, with just a little more careful wiggling and sliding
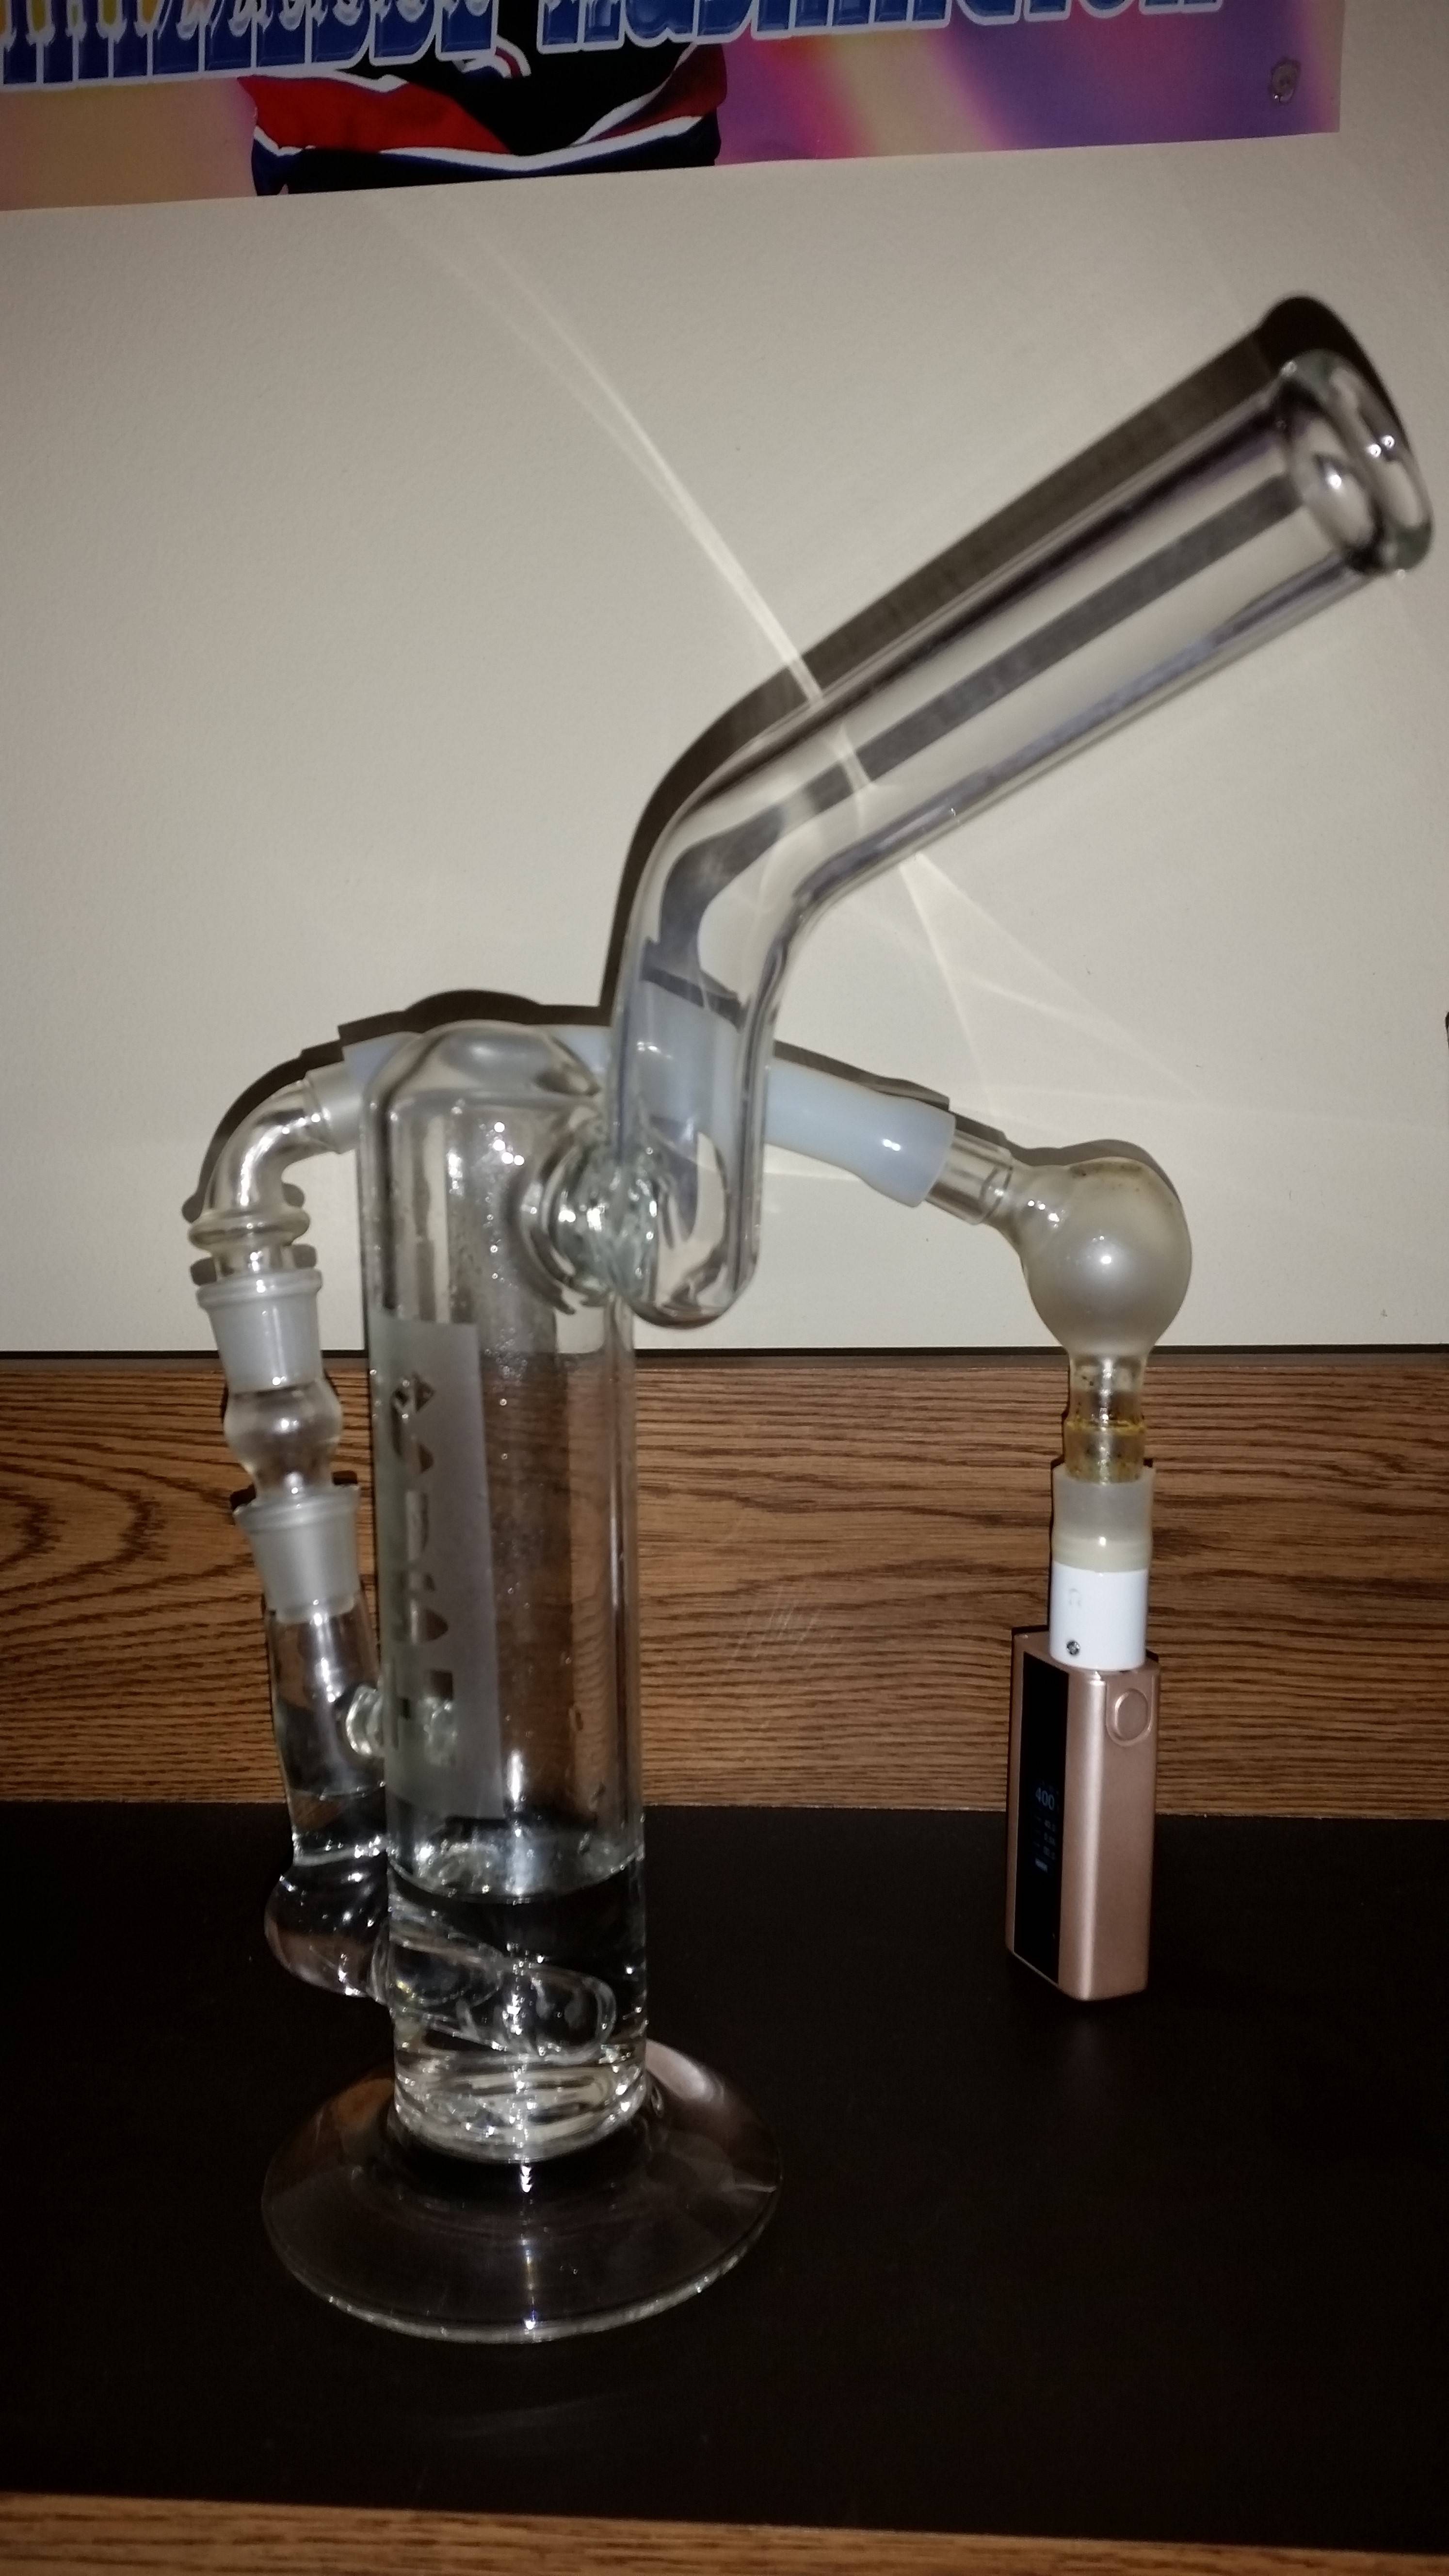


")


 I'm still quite happy using and fine-tuning my new big and medium donuts for now