
-
SCAM WARNING! See how this scam works in Classifieds.
You are using an out of date browser. It may not display this or other websites correctly.
You should upgrade or use an alternative browser.
You should upgrade or use an alternative browser.
Dynavap VapCap
- Thread starter Fenton Mewley
- Start date
Ricardo
Well-Known Member
Feel your pain m8.... I've only had mine since Monday and hat a gut wrenching moment yesterday when I dropped it, juggled it with hand and foot and saw it land on a tiled floor... but the weed gods granted me a reprieve and it stayed intactSo my VapCap arrived yesterday.... and honest truth 3 uses later it's slipped out of my hand and smashed into a million pieces
") . Funnily enough, I wasn't having much luck with the technique before the fall but the screen was displaced and I had to reinsert it - getting much better hits now. There's a new "fluttering" feel to the draw now and I got totally blasted for 3 hours on a pretty small load. I'm talking 8.5 - 9
. Funnily enough, I wasn't having much luck with the technique before the fall but the screen was displaced and I had to reinsert it - getting much better hits now. There's a new "fluttering" feel to the draw now and I got totally blasted for 3 hours on a pretty small load. I'm talking 8.5 - 9  . Any UK members of a certain vintage might remember "The Numskulls" comic strip in the Beezer (the "our man" days, before Beezer and Topper merged and they turned the man into a boy...). That's how this morning has been. A lot of my days are like that
  . But really happy now with the OG now - probably should upgrade before I actually do smash this one
 ")
Squiby
Well-Known Member
You may be concentrating your flame too low on the cap. The lower the heat applied, the slower to the click and the hotter the bowl. The higher up the flame is applied to the cap the quicker the click comes and the cooler the bowl.it was taking me around 15-25sec to hear a click and my ABV was pretty burnt.
The single flame lighter is the most difficult for a new Vapcapper. It requires a up and down motion over the cap as you twirl the Vapcap in the other hand. Multiple jets only requires the Vapcap to be twirled while holding the flame in the other hand steady.
Dynavap sells it for $5. You can ask them to add some to your order.degummed hemp fiber is hard to find in UK, is there an alternative to hemp fiber?
CanadianBakin
Well-Known Member
Summer's coming!

(eventually) right?
Let's talk about summer stuff while we wait for it to actually arrive. How about a floating vapcap for us boaters? This was taken last summer. I was more afraid of dropping the omni than I was of dropping the phone - I might get lucky and the phone would get caught in the grass, but I'm pretty sure the omni would sink down to the muck.
Alternatively, I was thinking of some kind of lanyard would be good. Maybe a loop of stainless steel fishing line or some other kind of tackle would work. Do any fishermen know of a piece of tackle with a loop of stainless steel that would fit through the air intake and loop around the condenser?
Also, has anyone used the roll-uh-bowl with their vapcap? Does it work well? I like to block the carb when using a vong, so I'm afraid the silicone would collapse. What kind of adapter are you using with it?
Hmmm. Me too, maybe.
(eventually) right?
Let's talk about summer stuff while we wait for it to actually arrive. How about a floating vapcap for us boaters? This was taken last summer. I was more afraid of dropping the omni than I was of dropping the phone - I might get lucky and the phone would get caught in the grass, but I'm pretty sure the omni would sink down to the muck.
Alternatively, I was thinking of some kind of lanyard would be good. Maybe a loop of stainless steel fishing line or some other kind of tackle would work. Do any fishermen know of a piece of tackle with a loop of stainless steel that would fit through the air intake and loop around the condenser?
Also, has anyone used the roll-uh-bowl with their vapcap? Does it work well? I like to block the carb when using a vong, so I'm afraid the silicone would collapse. What kind of adapter are you using with it?
I will order an Omni XL Damascus the next days.
Hmmm. Me too, maybe.
Hogni
Honi soit qui mal y pense
Why putting the fishing line through the air intake? Wrap it tight around the tapper of the mouthpiece and fix it with a good special knot. There are even fishing lines out of titanium you can use for your ti VC.
During the breaks of vaping put the VC into a condom, blow it up and close it with a knot.
In case of flipping over it will not sink but stay dry ready to go ;-)
During the breaks of vaping put the VC into a condom, blow it up and close it with a knot.
In case of flipping over it will not sink but stay dry ready to go ;-)
jimfish4130
Well-Known Member
Alternatively, I was thinking of some kind of lanyard would be good. Maybe a loop of stainless steel fishing line or some other kind of tackle would work. Do any fishermen know of a piece of tackle with a loop of stainless steel that would fit through the air intake and loop around the condenser?
You could put a section of silicone whip round the body, like people do to cover the carb but without covering it, then put your string/wire through that
Summer's coming!
(eventually) right?
Let's talk about summer stuff while we wait for it to actually arrive. How about a floating vapcap for us boaters? This was taken last summer. I was more afraid of dropping the omni than I was of dropping the phone - I might get lucky and the phone would get caught in the grass, but I'm pretty sure the omni would sink down to the muck.
Alternatively, I was thinking of some kind of lanyard would be good. Maybe a loop of stainless steel fishing line or some other kind of tackle would work. Do any fishermen know of a piece of tackle with a loop of stainless steel that would fit through the air intake and loop around the condenser?
Also, has anyone used the roll-uh-bowl with their vapcap? Does it work well? I like to block the carb when using a vong, so I'm afraid the silicone would collapse. What kind of adapter are you using with it?
Hmmm. Me too, maybe.
One of those cork balls that boat dwellers use as a keyring to stop them losing their keys to the gloomy depths might help too? That and a bit of fishing line?

Or this
http://www.force4.co.uk/davis-key-b...gclid=CNqZ2MPD9NECFRQ8Gwod1pYL9A#.WJTIAo6g9L4

Who twirls and who rolls back and forth?
Samantha!
Last edited:
Hogni
Honi soit qui mal y pense
Stone the crows! An high engineered device like the Key Buoy is a congenial partner to the VC I guess
Squiby
Well-Known Member
How about a floating vapcap for us boaters?
Make a custom Dynastash from cork.
Then make a custom skinny VonG stem from balsa wood.
Never stand up in a boat with your Vapcap.
Never heat your Vapvap over the side of the boat.
Keep your VC to yourself. Your fishing mates can bring their own VC.
If you fall overboard, hold on tight to your VC and stash. Their buoyancy may be your water wings.
Ruta
Well-Known Member
I think I might just pick up the quad of the Dynasite https://www.dynavap.com/dynashop/accessories/quad-torch-lighter
But not sure that they would be able to ship to UK. Failing that they can't be shipped I might just go with @phattpiggie suggestions. It would be good to hear what Rata thinks of the lighters. Because the one I have at the moment is very juicy and doesnt work well outdoors.
Looking at the Maxim lighter I think I will get that. Its 3 jet flame and looks the part. Does anyone have this lighter? and would they recommend?
http://www.turboflame.co.uk/vflame.php
This is the one i've got now, have had the normal dual flamed in the past, i definitely rate them, does not appear too juicy, think the new concentrated v flame is better for the cap heating.
All metal body is a must for me, none of this flimsy plastic that cracks over time, i wonder how many cheap lighters people get through?
Hope this is of help, others may disagree, different horses for different courses and all that jazz
Squiby
Well-Known Member
this thread is 400 pages deep and I'm sure there are some great tips and tricks in here, but could someone provide me with the main ones?
Most or all of my observations have been mentioned here at one time or another or perhaps even many times.
Anyway, IMO here are 7 top tips for Vapcap success and a content and delightful life ...
Tip #1 - Respect the click.
BOTH WAYS. The cap really does know what it's doing. Sure, you can heat it past the click a second or so, but I have found that stopping at the click gets me three good hits per session with no worry over possible combustion. Leave that for later when you are more experienced.
The first cycle is a flavour hit and the next two are pure vapour. I am a microdoser and I only use a tiny amount of herb per bowl. I get three cycles per load and then bliss. Some may prefer to slightly overheat the first round for full vapour on hit one, but that will get you very dark ABV while I myself prefer more of a toast colour.
The cooling click is even more important because if you don't wait for it before reheating, you will combust. It's guaranteed, write it down, take it to the bank, count on it. It's easy to get lost; heat the cap, toke away, gaze with loving admiration at your Woody's yet undiscovered beauty and then, without thinking, you put the torch to it again. NO...STOP, don't do that. Wait for that cooling click. For me, this was the toughest part of the learning curve - learning to wait for the cooling click. Now, it's just habit. This alone should give you an indication of how incredibly easy it is to operate. I've never combusted, but I have come close a once or twice. Each time was without question, user malfunction.
When done correctly, the herb always comes out an even toasty brown. Perfection. Yes, you guessed it, it's true. The cap it IS magic.
Tip #2 - Choose your fire.
The flame or heat source that you choose DOES effect your outcome. A four jet torch brings immediate, or in just a few seconds, perfect vaping temps. Dial down the fire and you add more seconds getting to the click. With a quad, triple or double jet, the time to temp is very short. A candle may take up to 20 seconds but it is heating that oven nice and slow. Easy does it..Yum...
A single flame with its pinpoint precision is more challenging to a new Vapcapper than multiple flames which cover a greater general area of the cap. A quad will quickly bring you to the click without overheating. Stick to multiple flames if you are a novice.
Tip #3 - Find your sweet spot.
Where you apply heat to your cap makes all the difference. Heat low on the cap and your bowl temps are higher than heating the tip of the cap. This adjustment fine tunes the temperature of your bowl and it contents. Infinite variability is possible through your heat source by how/where on the cap you apply it. Experiment to find your sweet spot.
I begin by heating the lower half of the cap, near the digger putter. This creates an initial burst of heat. The second cycle has the heat concentrated in the middle section of the cap and the final cycle is heated near the top. This gives me toasty coloured ABV every time.
Practice often to find your sweet spot.
Tip #4 - Attract a magnet (or Dynastash/ER).
When I ordered my Dynastash and DynastashER, I really sort of expected them to be novelty items. Boy! Was I wrong. These tiny stashes are sooo cool and better yet, super convenient. They tuck away your vapcap and store your herb. They are small, dugout sized, fit easily in your palm and your pocket, are super attractive and just sooo handy. The ER has the added benefit of an extra silicone stash. It's meant for concentrate but I have been stuffing flower in it or you could use it for your ABV. Again, super handy. I haven't even mentioned the main attraction, the magnet. It keeps your cap stuck close by so it won't roll away. And it looks great doing it. It holds the cap for you when you're filling the bowl. Place your vapcap on it after a toke and it will cool the cap to the cooling click sooner. The Dynastash/ER just ties the room together so to speak and I don't feel like I have a bunch of random separate pieces cluttering the place up. Also, you can stash your stash by using the magnet to hold it to any ferris metal such as a table leg or your fridge. I hide a stash with its Vapcap on the back of a cast iron lantern that sits on my porch.
Tip #5 - Bigger is not better.
The bowl size is perfect; Small but not too small. Perfect and adjustable. I like to take a tiny nug and pop it in the bowl. No need to grind your herb or fiddle or fuss around when emptying the bowl.
The Vapcap taught me to microdose. You will save money on your herb. It will surprise you with its efficiency. Try gaping smaller and smaller amounts and you will find that less actually delivers the same effect.
Tip #6 - Lose the Loose Particulates.
I was so thrilled when I found the Vapcap and the surprisingly smooth vapor It delivers. But, I still experienced lung irritation from the tiny bits of plant material that would get past the screen and into the condenser. Some would stick to the inside of the condenser but some would make it into my lungs. A short bit of degummed hemp fiber can be fashioned into a flat disk shaped filter and sandwiched between two screens. This stops all particulate bits from making its way to your lungs. It creates an even smoother pontificating vapor and as a special bonus, it keeps your condenser unbelievably clean for a very very long time.
Tip #7 - Read the Thread
If you are ever depressed or disappointed by some act from a fellow human being, read the Dynavap thread. Not only will you learn about the Vapcap and its rapid evolution from a tiny efficient vape to the stunningly beautiful and masterfully engineered device and collectors item it is today, but you will appreciate the good will that shines through in the stories told here. It's not just that Sativa that's uplifting, the Vapcap has a positive vibe all its own.

Last edited by a moderator:
Lookatmeglow
I seem to have a bad case of VAS
Most or all of my observations have been mentioned here at one time or another or perhaps even many times.
Anyway, IMO here are 7 top tips for Vapcap success and a content and delightful life ...
Tip #1 - Respect the click.
BOTH WAYS. The cap really does know what it's doing. Sure, you can heat it past the click a second or so, but I have found that stopping at the click gets me three good hits per session with no worry over possible combustion. Leave that for later when you are more experienced.
The first cycle is a flavour hit and the next two are pure vapour. I am a microdoser and I only use a tiny amount of herb per bowl. I get three cycles per load and then bliss. Some may prefer to slightly overheat the first round for full vapour on hit one, but that will get you very dark ABV while I myself prefer more of a toast colour.
The cooling click is even more important because if you don't wait for it before reheating, you will combust. It's guaranteed, write it down, take it to the bank, count on it. It's easy to get lost; heat the cap, toke away, gaze with loving admiration at your Woody's yet undiscovered beauty and then, without thinking, you put the torch to it again. NO...STOP, don't do that. Wait for that cooling click. For me, this was the toughest part of the learning curve - learning to wait for the cooling click. Now, it's just habit. This alone should give you an indication of how incredibly easy it is to operate. I've never combusted, but I have come close a once or twice. Each time was without question, user malfunction.
When done correctly, the herb always comes out an even toasty brown. Perfection. Yes, you guessed it, it's true. The cap it IS magic.
Tip #2 - Choose your fire.
The flame or heat source that you choose DOES effect your outcome. A four jet torch brings immediate, or in just a few seconds, perfect vaping temps. Dial down the fire and you add more seconds getting to the click. With a quad, triple or double jet, the time to temp is very short. A candle may take up to 20 seconds but it is heating that oven nice and slow. Easy does it..Yum...
A single flame with its pinpoint precision is more challenging to a new Vapcapper than multiple flames which cover a greater general area of the cap. A quad will quickly bring you to the click without overheating. Stick to multiple flames if you are a novice.
Tip #3 - Find your sweet spot.
Where you apply heat to your cap makes all the difference. Heat low on the cap and your bowl temps are higher than heating the tip of the cap. This adjustment fine tunes the temperature of your bowl and it contents. Infinite variability is possible through your heat source by how/where on the cap you apply it. Experiment to find your sweet spot.
I begin by heating the lower half of the cap, near the digger putter. This creates an initial burst of heat. The second cycle has the heat concentrated in the middle section of the cap and the final cycle is heated near the top. This gives me toasty coloured ABV every time.
Practice often to find your sweet spot.
Tip #4 - Attract a magnet (or Dynastash/ER).
When I ordered my Dynastash and DynastashER, I really sort of expected them to be novelty items. Boy! Was I wrong. These tiny stashes are sooo cool and better yet, super convenient. They tuck away your vapcap and store your herb. They are small, dugout sized, fit easily in your palm and your pocket, are super attractive and just sooo handy. The ER has the added benefit of an extra silicone stash. It's meant for concentrate but I have been stuffing flower in it or you could use it for your ABV. Again, super handy. I haven't even mentioned the main attraction, the magnet. It keeps your cap stuck close by so it won't roll away. And it looks great doing it. It holds the cap for you when you're filling the bowl. Place your vapcap on it after a toke and it will cool the cap to the cooling click sooner. The Dynastash/ER just ties the room together so to speak and I don't feel like I have a bunch of random separate pieces cluttering the place up. Also, you can stash your stash by using the magnet to hold it to any ferris metal such as a table leg or your fridge. I hide a stash with its Vapcap on the back of a cast iron lantern that sits on my porch.
Tip #5 - Bigger is not better.
The bowl size is perfect; Small but not too small. Perfect and adjustable. I like to take a tiny nug and pop it in the bowl. No need to grind your herb or fiddle or fuss around when emptying the bowl.
The Vapcap taught me to microdose. You will save money on your herb. It will surprise you with its efficiency. Try gaping smaller and smaller amounts and you will find that less actually delivers the same effect.
Tip #6 - Lose the Loose Particulates.
I was so thrilled when I found the Vapcap and the surprisingly smooth vapor It delivers. But, I still experienced lung irritation from the tiny bits of plant material that would get past the screen and into the condenser. Some would stick to the inside of the condenser but some would make it into my lungs. A short bit of degummed hemp fiber can be fashioned into a flat disk shaped filter and sandwiched between two screens. This stops all particulate bits from making its way to your lungs. It creates an even smoother pontificating vapor and as a special bonus, it keeps your condenser unbelievably clean for a very very long time.
Tip #7 - Read the Thread
If you are ever depressed or disappointed by some act from a fellow human being, read the Dynavap thread. Not only will you learn about the Vapcap and its rapid evolution from a tiny efficient vape to the stunningly beautiful and masterfully engineered device and collectors item it is today, but you will appreciate the good will that shines through in the stories told here. It's not just that Sativa that's uplifting, the Vapcap has a positive vibe all its own.
This post needs bookmarking for any noobs that come through the door
Ramie121
Well-Known Member
Most or all of my observations have been mentioned here at one time or another or perhaps even many times.
Anyway, IMO here are 7 top tips for Vapcap success and a content and delightful life ...
Tip #1 - Respect the click.
BOTH WAYS. The cap really does know what it's doing. Sure, you can heat it past the click a second or so, but I have found that stopping at the click gets me three good hits per session with no worry over possible combustion. Leave that for later when you are more experienced.
The first cycle is a flavour hit and the next two are pure vapour. I am a microdoser and I only use a tiny amount of herb per bowl. I get three cycles per load and then bliss. Some may prefer to slightly overheat the first round for full vapour on hit one, but that will get you very dark ABV while I myself prefer more of a toast colour.
The cooling click is even more important because if you don't wait for it before reheating, you will combust. It's guaranteed, write it down, take it to the bank, count on it. It's easy to get lost; heat the cap, toke away, gaze with loving admiration at your Woody's yet undiscovered beauty and then, without thinking, you put the torch to it again. NO...STOP, don't do that. Wait for that cooling click. For me, this was the toughest part of the learning curve - learning to wait for the cooling click. Now, it's just habit. This alone should give you an indication of how incredibly easy it is to operate. I've never combusted, but I have come close a once or twice. Each time was without question, user malfunction.
When done correctly, the herb always comes out an even toasty brown. Perfection. Yes, you guessed it, it's true. The cap it IS magic.
Tip #2 - Choose your fire.
The flame or heat source that you choose DOES effect your outcome. A four jet torch brings immediate, or in just a few seconds, perfect vaping temps. Dial down the fire and you add more seconds getting to the click. With a quad, triple or double jet, the time to temp is very short. A candle may take up to 20 seconds but it is heating that oven nice and slow. Easy does it..Yum...
A single flame with its pinpoint precision is more challenging to a new Vapcapper than multiple flames which cover a greater general area of the cap. A quad will quickly bring you to the click without overheating. Stick to multiple flames if you are a novice.
Tip #3 - Find your sweet spot.
Where you apply heat to your cap makes all the difference. Heat low on the cap and your bowl temps are higher than heating the tip of the cap. This adjustment fine tunes the temperature of your bowl and it contents. Infinite variability is possible through your heat source by how/where on the cap you apply it. Experiment to find your sweet spot.
I begin by heating the lower half of the cap, near the digger putter. This creates an initial burst of heat. The second cycle has the heat concentrated in the middle section of the cap and the final cycle is heated near the top. This gives me toasty coloured ABV every time.
Practice often to find your sweet spot.
Tip #4 - Attract a magnet (or Dynastash/ER).
When I ordered my Dynastash and DynastashER, I really sort of expected them to be novelty items. Boy! Was I wrong. These tiny stashes are sooo cool and better yet, super convenient. They tuck away your vapcap and store your herb. They are small, dugout sized, fit easily in your palm and your pocket, are super attractive and just sooo handy. The ER has the added benefit of an extra silicone stash. It's meant for concentrate but I have been stuffing flower in it or you could use it for your ABV. Again, super handy. I haven't even mentioned the main attraction, the magnet. It keeps your cap stuck close by so it won't roll away. And it looks great doing it. It holds the cap for you when you're filling the bowl. Place your vapcap on it after a toke and it will cool the cap to the cooling click sooner. The Dynastash/ER just ties the room together so to speak and I don't feel like I have a bunch of random separate pieces cluttering the place up. Also, you can stash your stash by using the magnet to hold it to any ferris metal such as a table leg or your fridge. I hide a stash with its Vapcap on the back of a cast iron lantern that sits on my porch.
Tip #5 - Bigger is not better.
The bowl size is perfect; Small but not too small. Perfect and adjustable. I like to take a tiny nug and pop it in the bowl. No need to grind your herb or fiddle or fuss around when emptying the bowl.
The Vapcap taught me to microdose. You will save money on your herb. It will surprise you with its efficiency. Try gaping smaller and smaller amounts and you will find that less actually delivers the same effect.
Tip #6 - Lose the Loose Particulates.
I was so thrilled when I found the Vapcap and the surprisingly smooth vapor It delivers. But, I still experienced lung irritation from the tiny bits of plant material that would get past the screen and into the condenser. Some would stick to the inside of the condenser but some would make it into my lungs. A short bit of degummed hemp fiber can be fashioned into a flat disk shaped filter and sandwiched between two screens. This stops all particulate bits from making its way to your lungs. It creates an even smoother pontificating vapor and as a special bonus, it keeps your condenser unbelievably clean for a very very long time.
Tip #7 - Read the Thread
If you are ever depressed or disappointed by some act from a fellow human being, read the Dynavap thread. Not only will you learn about the Vapcap and its rapid evolution from a tiny efficient vape to the stunningly beautiful and masterfully engineered device and collectors item it is today, but you will appreciate the good will that shines through in the stories told here. It's not just that Sativa that's uplifting, the Vapcap has a positive vibe all its own.
EPIC
This really is excellent stuff and is the best guide for the VapCap!
Going back to tip 6 and the hemp. When its sandwich between the two CCDs how often do you have to change the fibre? Do you have a picture of how you actual do it? That would help with knowing how much fibre to use.
Again thanks for you tips. Great stuff.
Squiby
Well-Known Member
When its sandwich between the two CCDs how often do you have to change the fibre? Do you have a picture of how you actual do it? That would help with knowing how much fibre to use.
I change my filter every 3-4 weeks. You can tell its ready to change when you suddenly get a deterioration of taste in your vapor. The filter will be very crisp and fragile at this point.
Here is a post on making a degummed hemp fiber filter. Enjoy!
http://fuckcombustion.com/threads/dynavap-vapcap.18853/page-295#post-1034430
EDIT: It's seems that there is some interest in the hemp filter. So I am including some info from my experience with the CCD hemp filter sandwich.
Installing the filter.
Take off the cap, put your first screen in the bowl and take a chopstick or pencil (anything that fits inside the herb chamber) or even the condenser and push it to the bottom groove. It will click into place. Then pop in the fiber disk. As you place the second screen into the bowl, gently push it into the second groove. You can push it tight against the first screen, but I like the filter to remain uncompressed and this takes a firm but controlled and gentle pressure.
Removing the screens:
Removing the two screens and filter requires some force. Take a metal rod like a narrow nail punch and a hammer. Place the tip chamber side down. Put the nail punch into the back end of the tip and gently tap with a hammer.
The first time I did this, I used the condenser and I ended up slightly deforming the end of the condenser. It still works OK, but still, use something else to force the two screens out of there. If the screens get mangled, just flatten them out with the hammer.
Enjoy!!!
Last edited:
Edit: I mean the last photo on your post- what is it? I need it in Vapcap form!
I'm just about to experiment with making a stem in the style I made my knife handle. It's extremely difficult to shape wood and metal that is joined together and achieve a nice surface. I'm going to try laminating some wood first before I try to do metal.
~~~~~~~~~~~~~~~~~~~~~~~~~~~~~~~~~~~~~~~~~~~~~~~~~~
I just ordered some extra Ti screens, a wide groove Ti tip, SS condenser and hemp fibre from Dynavap. This will allow me to use one tip while I'm experimenting with another or have two running vapcaps at once. I've also been meaning to get some hemp fibre for my Herbalizer and Vapcap.
@Winegums Whatever you make will look great, my first composite stem has a small step where the hard and softer woods meet.
I now put a small scallop at the join and work into it. I knew I had to with the thin brass sheet I used.
My chisel didn't enjoy the brass either but tipped tools will sort that out.
Twister technique here. Good luck and I look forward to seeing the final piece.
Yes it is difficult but it can also be so satisfying, and you can then pair it with a piece of precision Ti and SS and get battered, win, win.
Archaicrevival
Well-Known Member
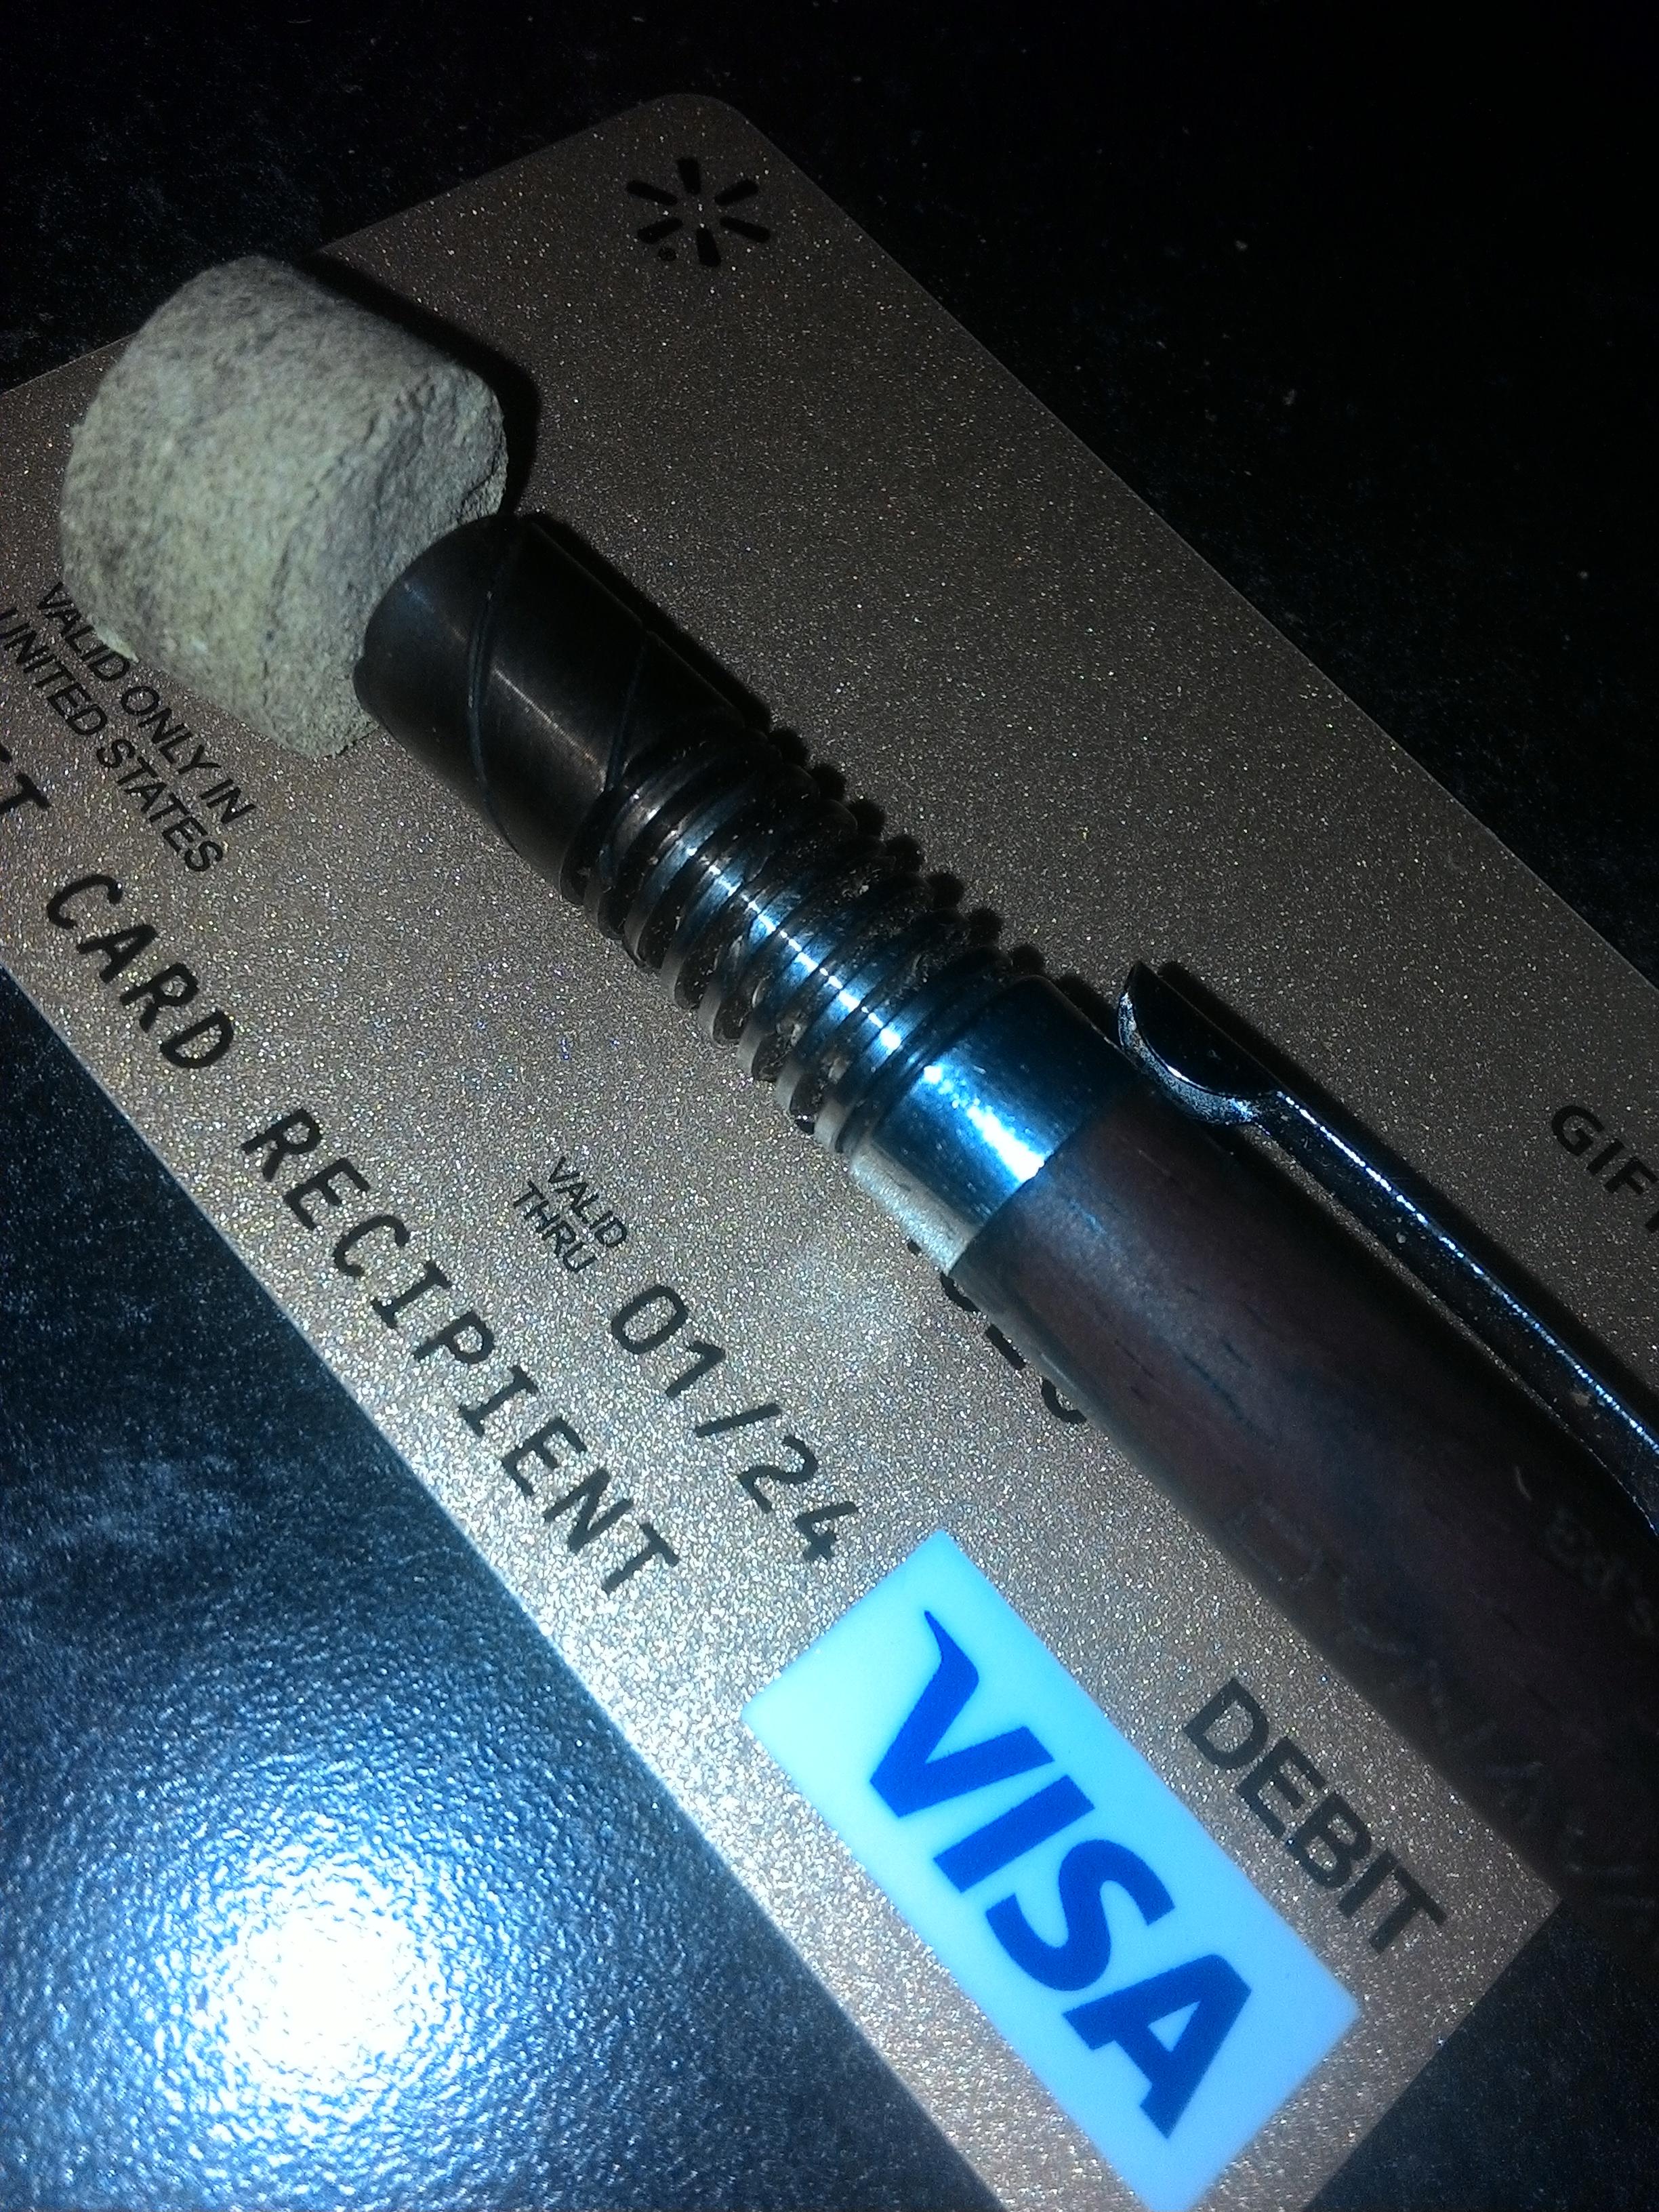
Hash... backed by visa* valid in all participating realities
little maggie
Well-Known Member
I change my filter every 3-4 weeks. You can tell its ready to change when you suddenly get a deterioration of taste in your vapor. The filter will be very crisp and fragile at this point.
Here is a post on making a degummed hemp fiber filter. Enjoy!
http://fuckcombustion.com/threads/dynavap-vapcap.18853/page-295#post-1034430
EDIT: It's seems that there is some interest in the hemp filter. So I am including some info from my experience with the CCD hemp filter sandwich.
Installing the filter.
Take off the cap, put your first screen in the bowl and take a chopstick or pencil (anything that fits inside the herb chamber) or even the condenser and push it to the bottom groove. It will click into place. Then pop in the fiber disk. As you place the second screen into the bowl, gently push it into the second groove. You can push it tight against the first screen, but I like the filter to remain uncompressed and this takes a firm but controlled and gentle pressure.
Removing the screens:
Removing the two screens and filter requires some force. Take a metal rod like a narrow nail punch and a hammer. Place the tip chamber side down. Put the nail punch into the back end of the tip and gently tap with a hammer.
The first time I did this, I used the condenser and I ended up slightly deforming the end of the condenser. It still works OK, but still, use something else to force the two screens out of there. If the screens get mangled, just flatten them out with the hammer.
Enjoy!!!
Does this work with the original dynavaps that lack the grooves?
Hey guys I got up to the shop and made up some turning blanks. I'll put them on the lathe tomorrow morning. They're a bunch of different wood species I had up in the shop.
Edit: If enough people get interested in my stems I might become a vendor and take custom orders.

Edit: If enough people get interested in my stems I might become a vendor and take custom orders.
Last edited:
Squiby
Well-Known Member
Actually, yes it does.Does this work with the original dynavaps that lack the grooves?
With the old tips I just put a disk filter on top of the screen and my herb over that. It worked fine but plant debris would get tangled in the filter, making harder to empty a spent bowl.
When I discovered that I could stack the filter between two screens in the new tips, seating the screens in the bottom and middle grooves, I wondered if a filter sandwich would work in the old tips. I tried it and it works. The screens get jammed in there but they are easy to pop out with a gentle tap with a hammer.
I can't wait to see them! Would you give us some progress shots as to go through the motions?I'll put them on the lathe tomorrow morning. They're a bunch of different wood species I had up in the shop.
Okay pretty soon I'm going to have to make my own thread in the vapour related equipment subforum for my creations.
Here's my last pic of the night. I couldn't help but take one of the blanks out of the clamps and turn it. I took this after roughing it from square to round.

Here's my last pic of the night. I couldn't help but take one of the blanks out of the clamps and turn it. I took this after roughing it from square to round.
alltoreup
Damn you, party liquor
@Winegums that is phenomenal. Make that thread, get that FC accessory maker status and take my money$$$
As a lowly amateur titanium stem maker myself, I appreciate all those out there turning wood for those in need! @phattpiggie looking at you too!! I've been too busy with my kitchen remodel to do anything but enjoy my Omni Vong. No chances to do any more stem making but I have been checking in to see the progress of others.
Keep it up everyone!!
helatruralhome
New Member
Just wondering but do the Ti woody and Omnivap have any glass bits to break? Tempted to upgrade from my OG if they don't