Hello all!

Here is a quick rundown of how I made the Alternate all glass WPA.
First I got a 14mm glass adapter that was 2" long, this is what I want to use as a WPA.
I took the cooling unit apart and ground off the half ledge the chamber screen sits on.
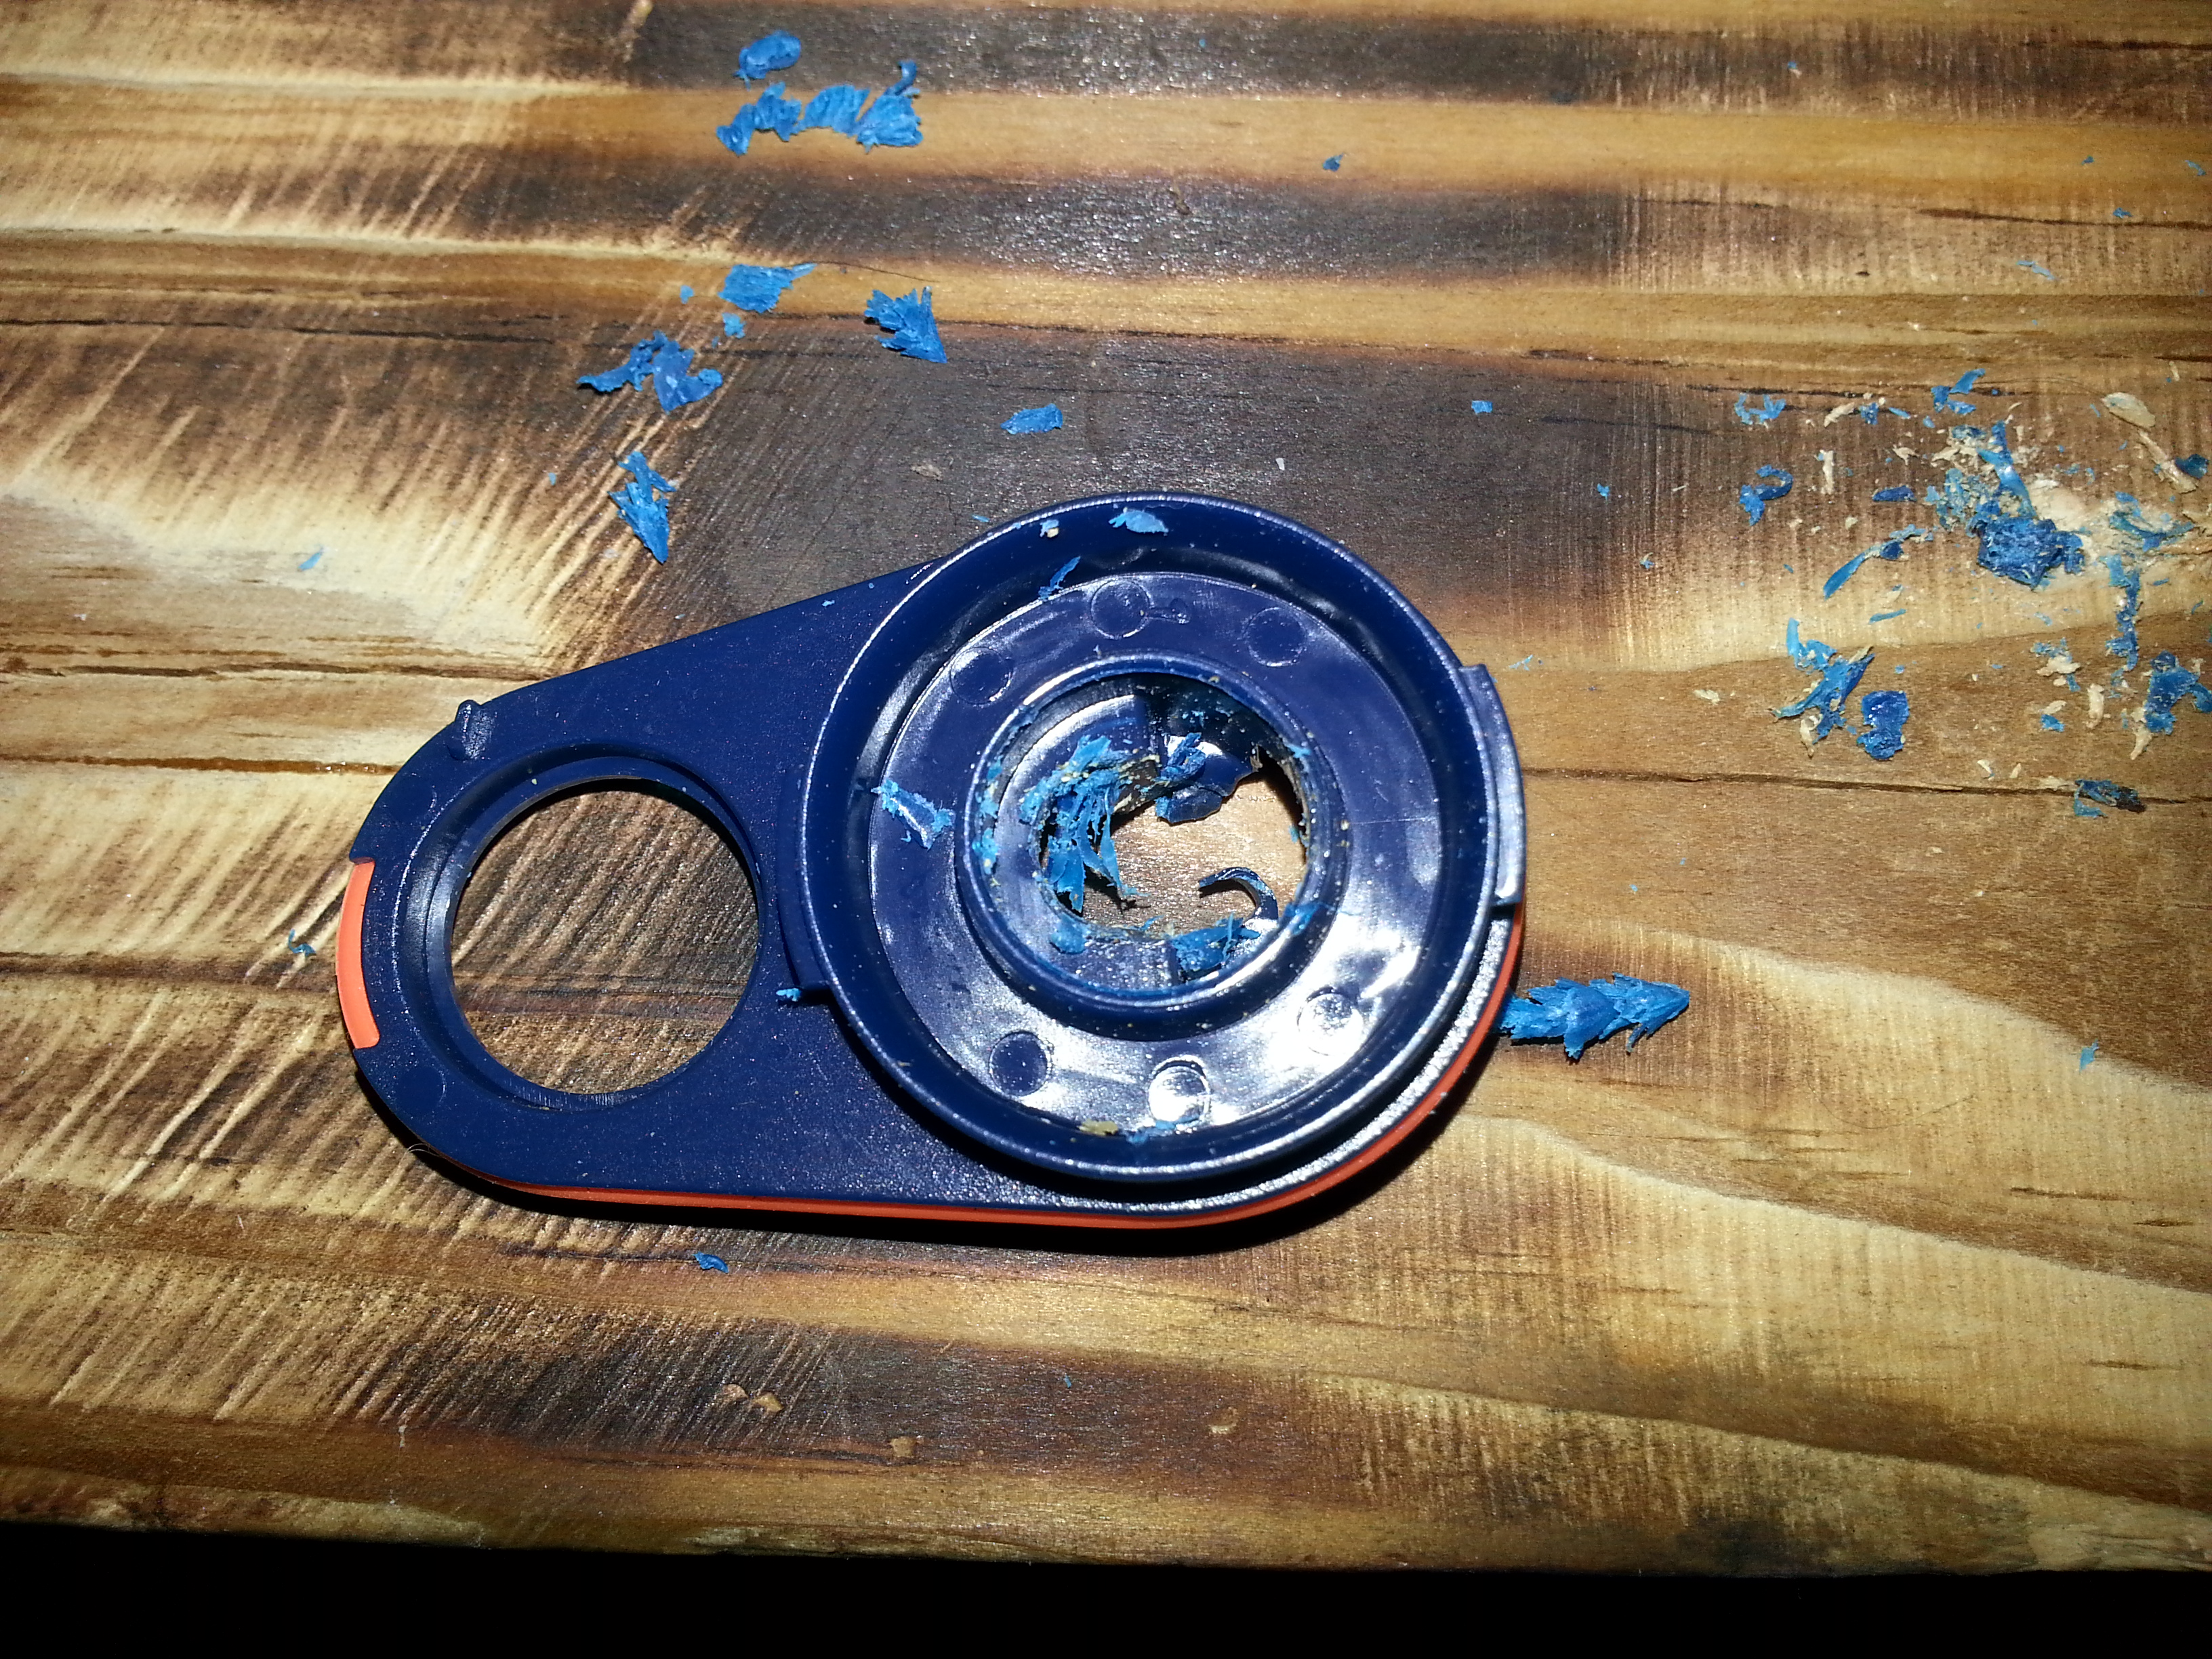
Then on the other side of the cooling chamber I got pliers and broke the little piece that goes across the path of the chamber.
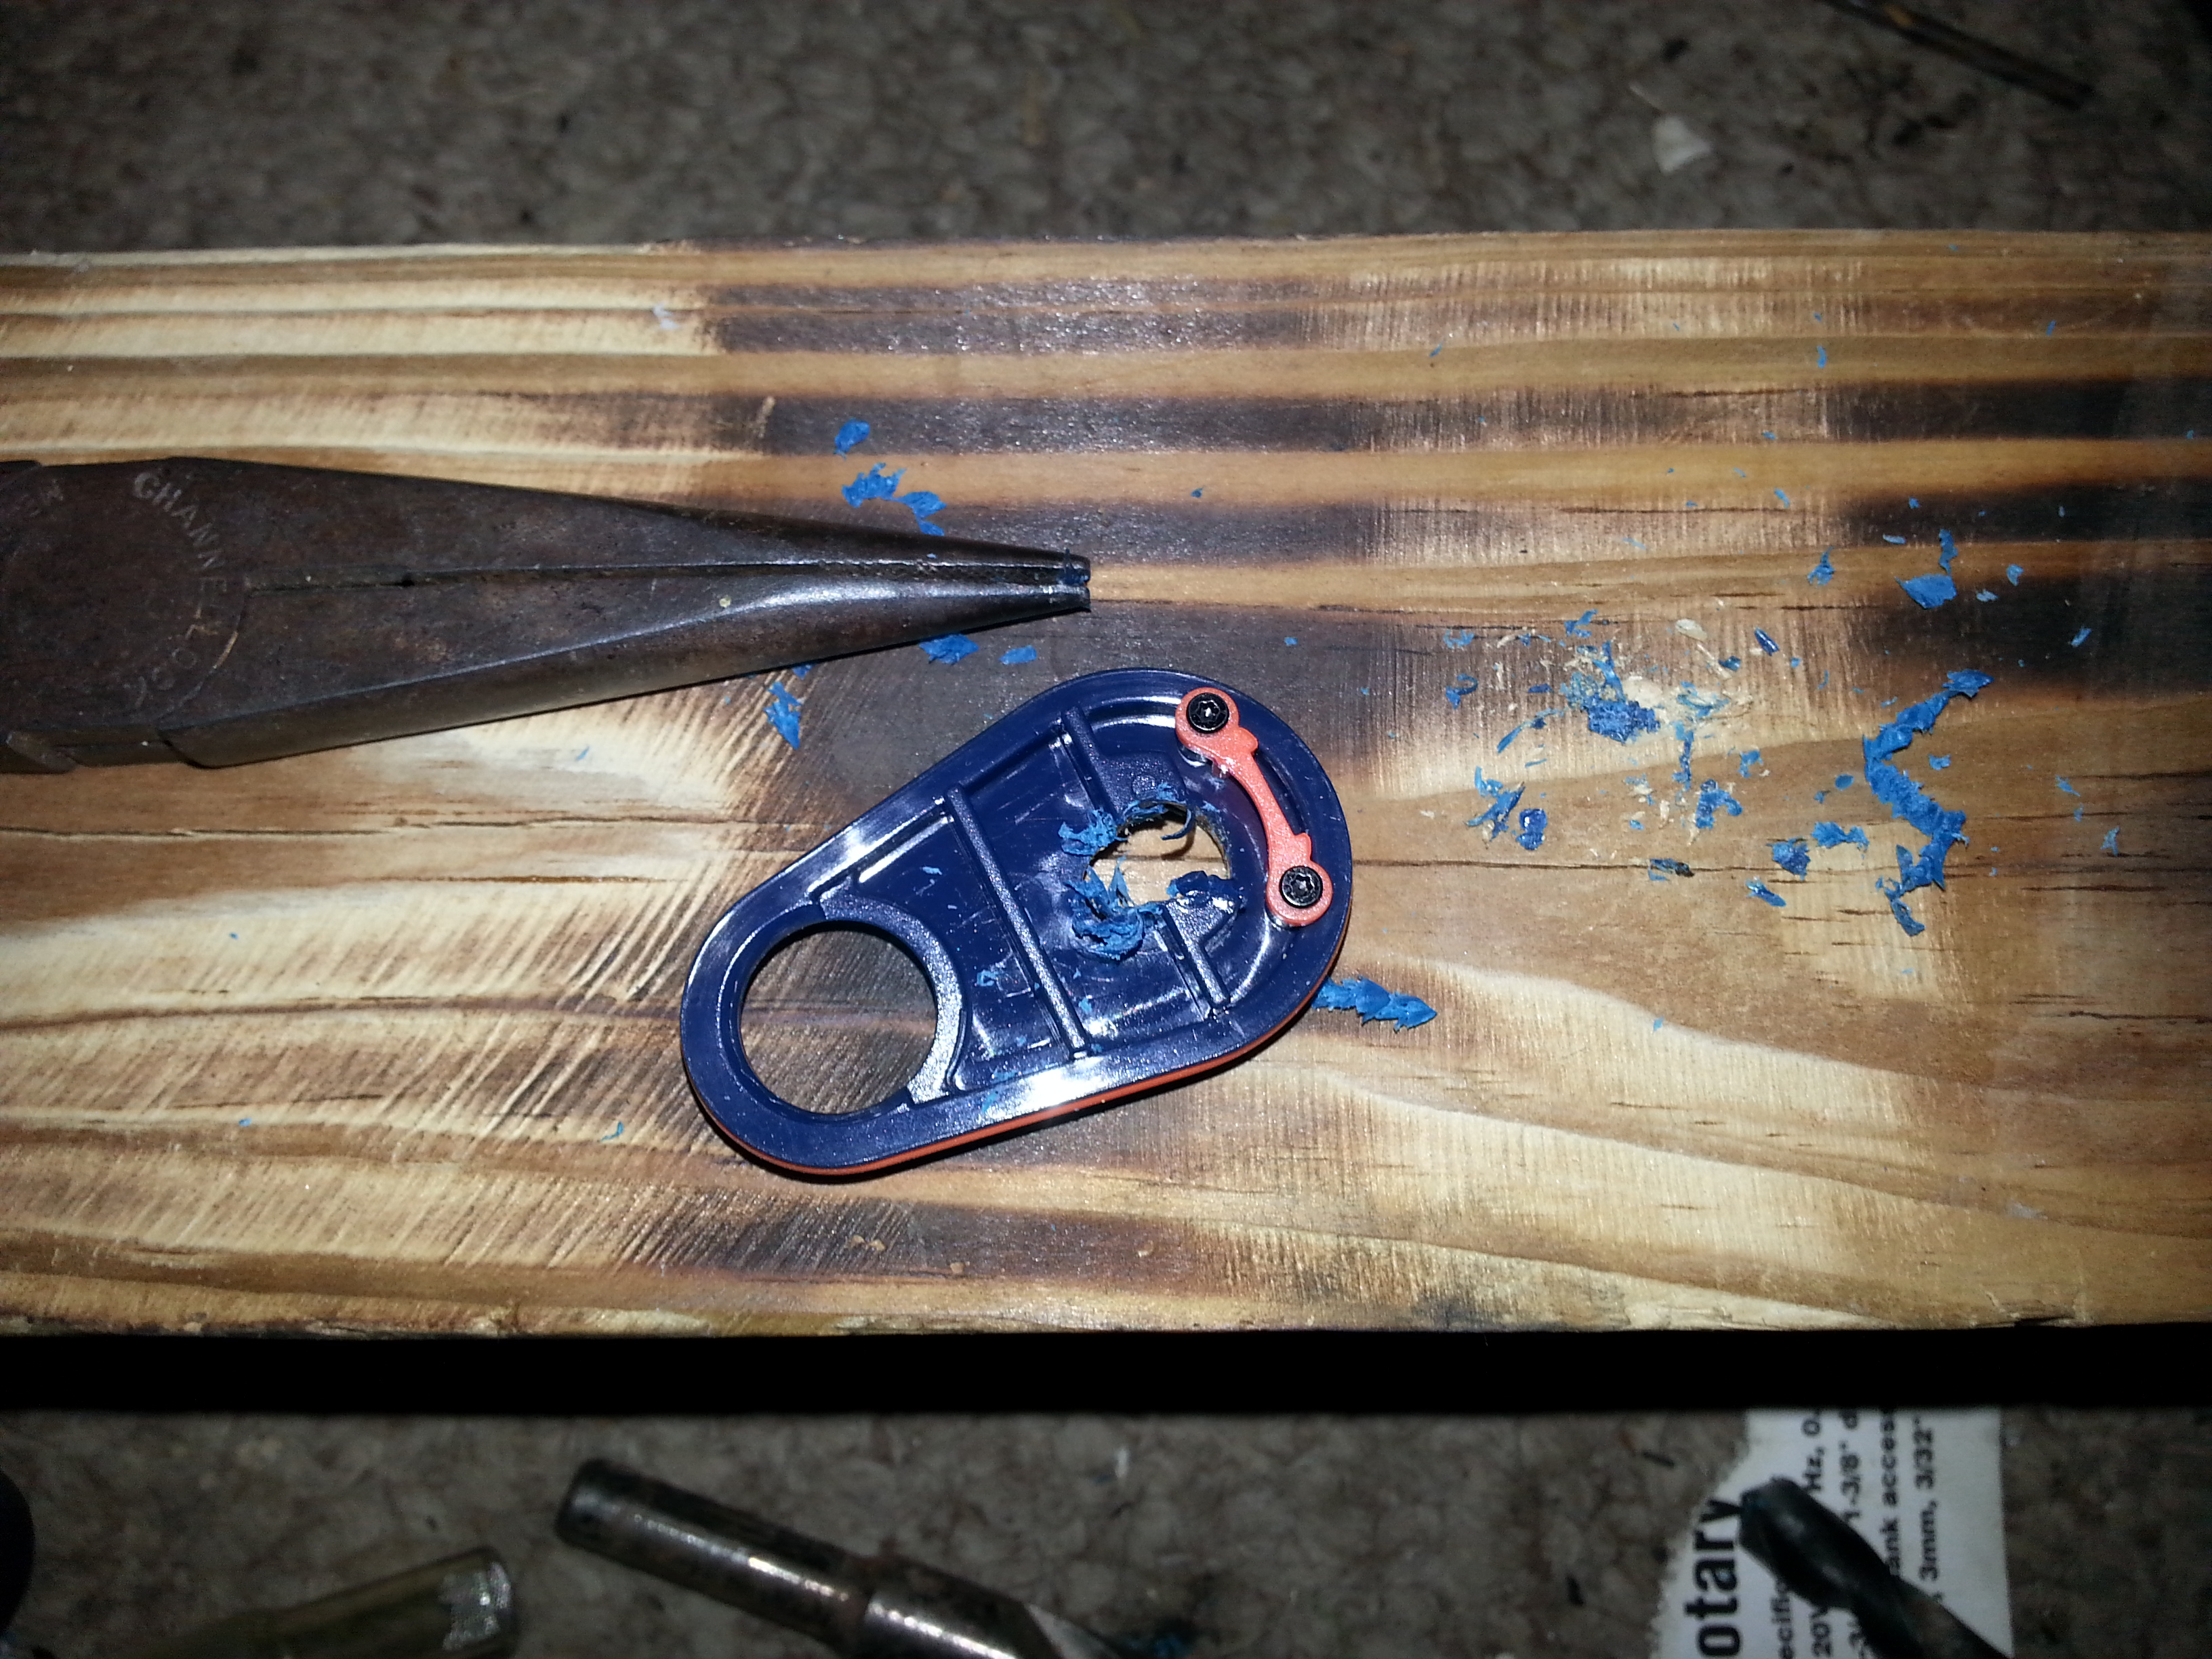
I did this so I could drill straight through without having to worry about the drill bit catching and moving the drill bit off center.
I then put the 2 cooling chamber pieces together. I found out a happy coincidence.
The circle on the top of the CC with the V in it is dead center over top of the oven.
I drilled a small pilot hole straight through the cooling chamber then used a 13/32" drill bit and made a large hole all the way through the cooling chamber.
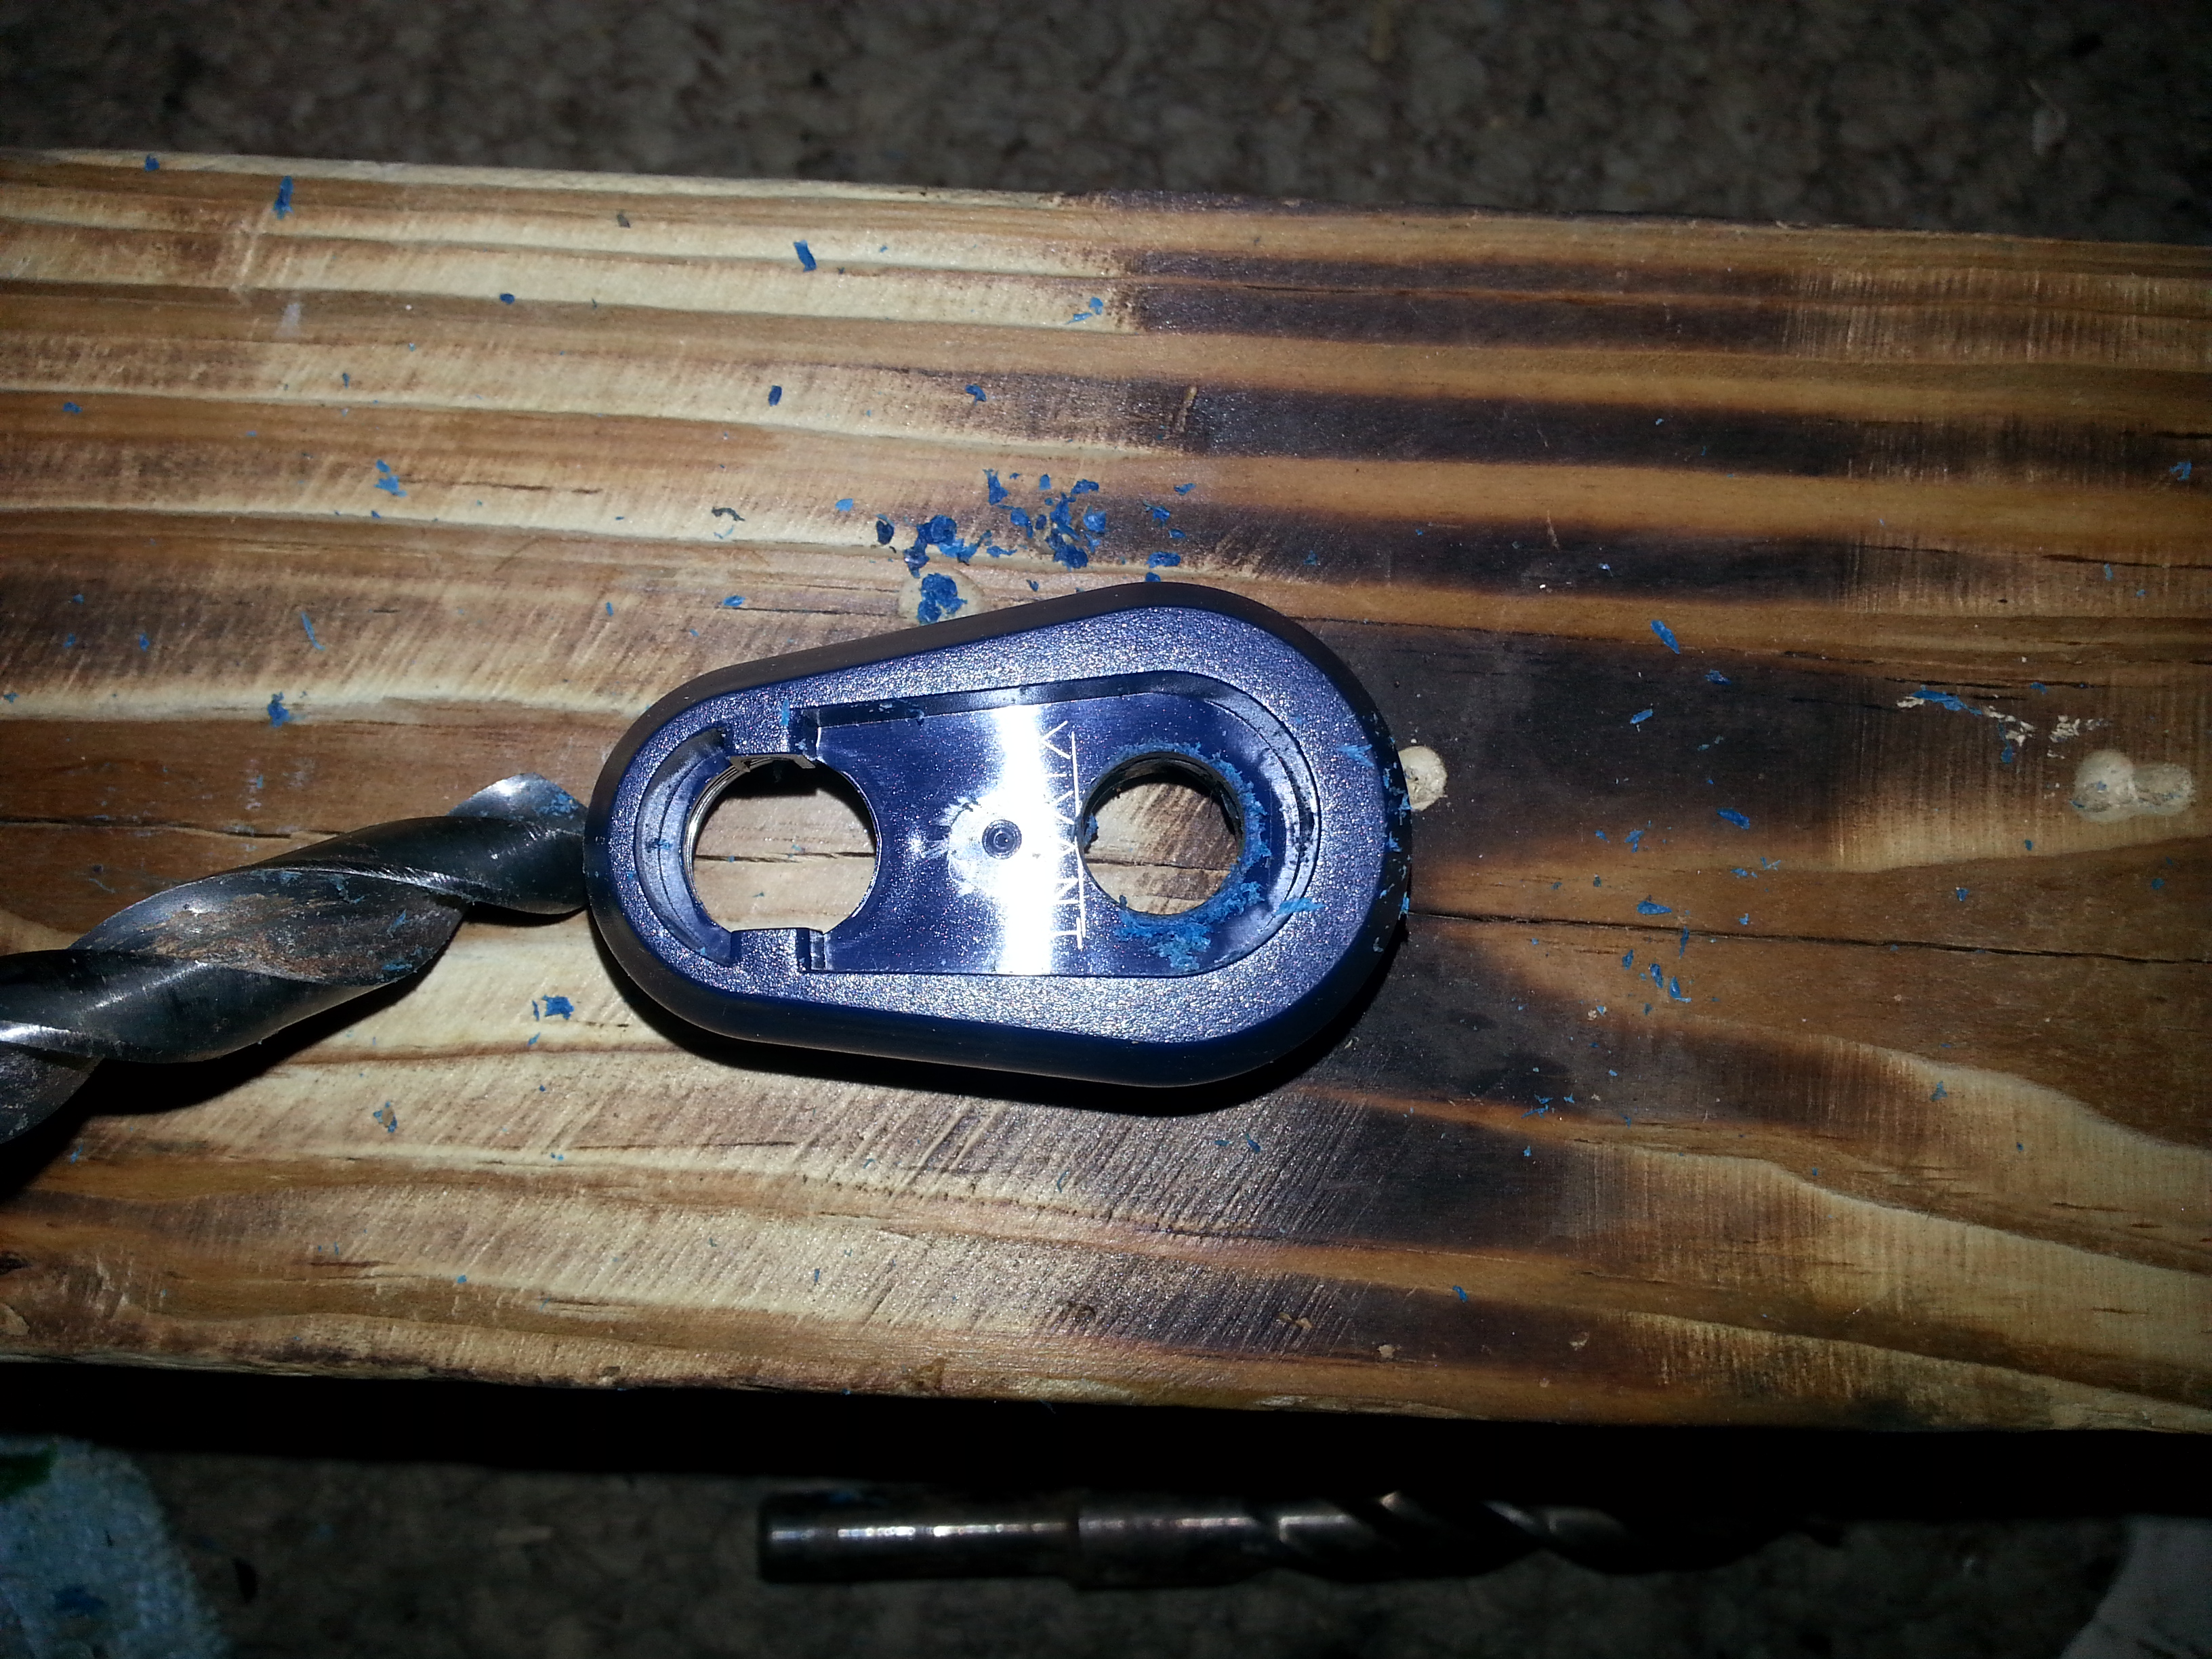
The hole was drilled slightly smaller on purpose, I want the glass joint to fit as tight as possible.
I don't want it to fall out or stick into the female glass joint.
So with a little bit of light sanding I was able to make the glass fit VERY securely as well as make it look much cleaner.
Here is an inside pic of the cooling chamber first the second pic is the outside with the 14mm joint I'm using.
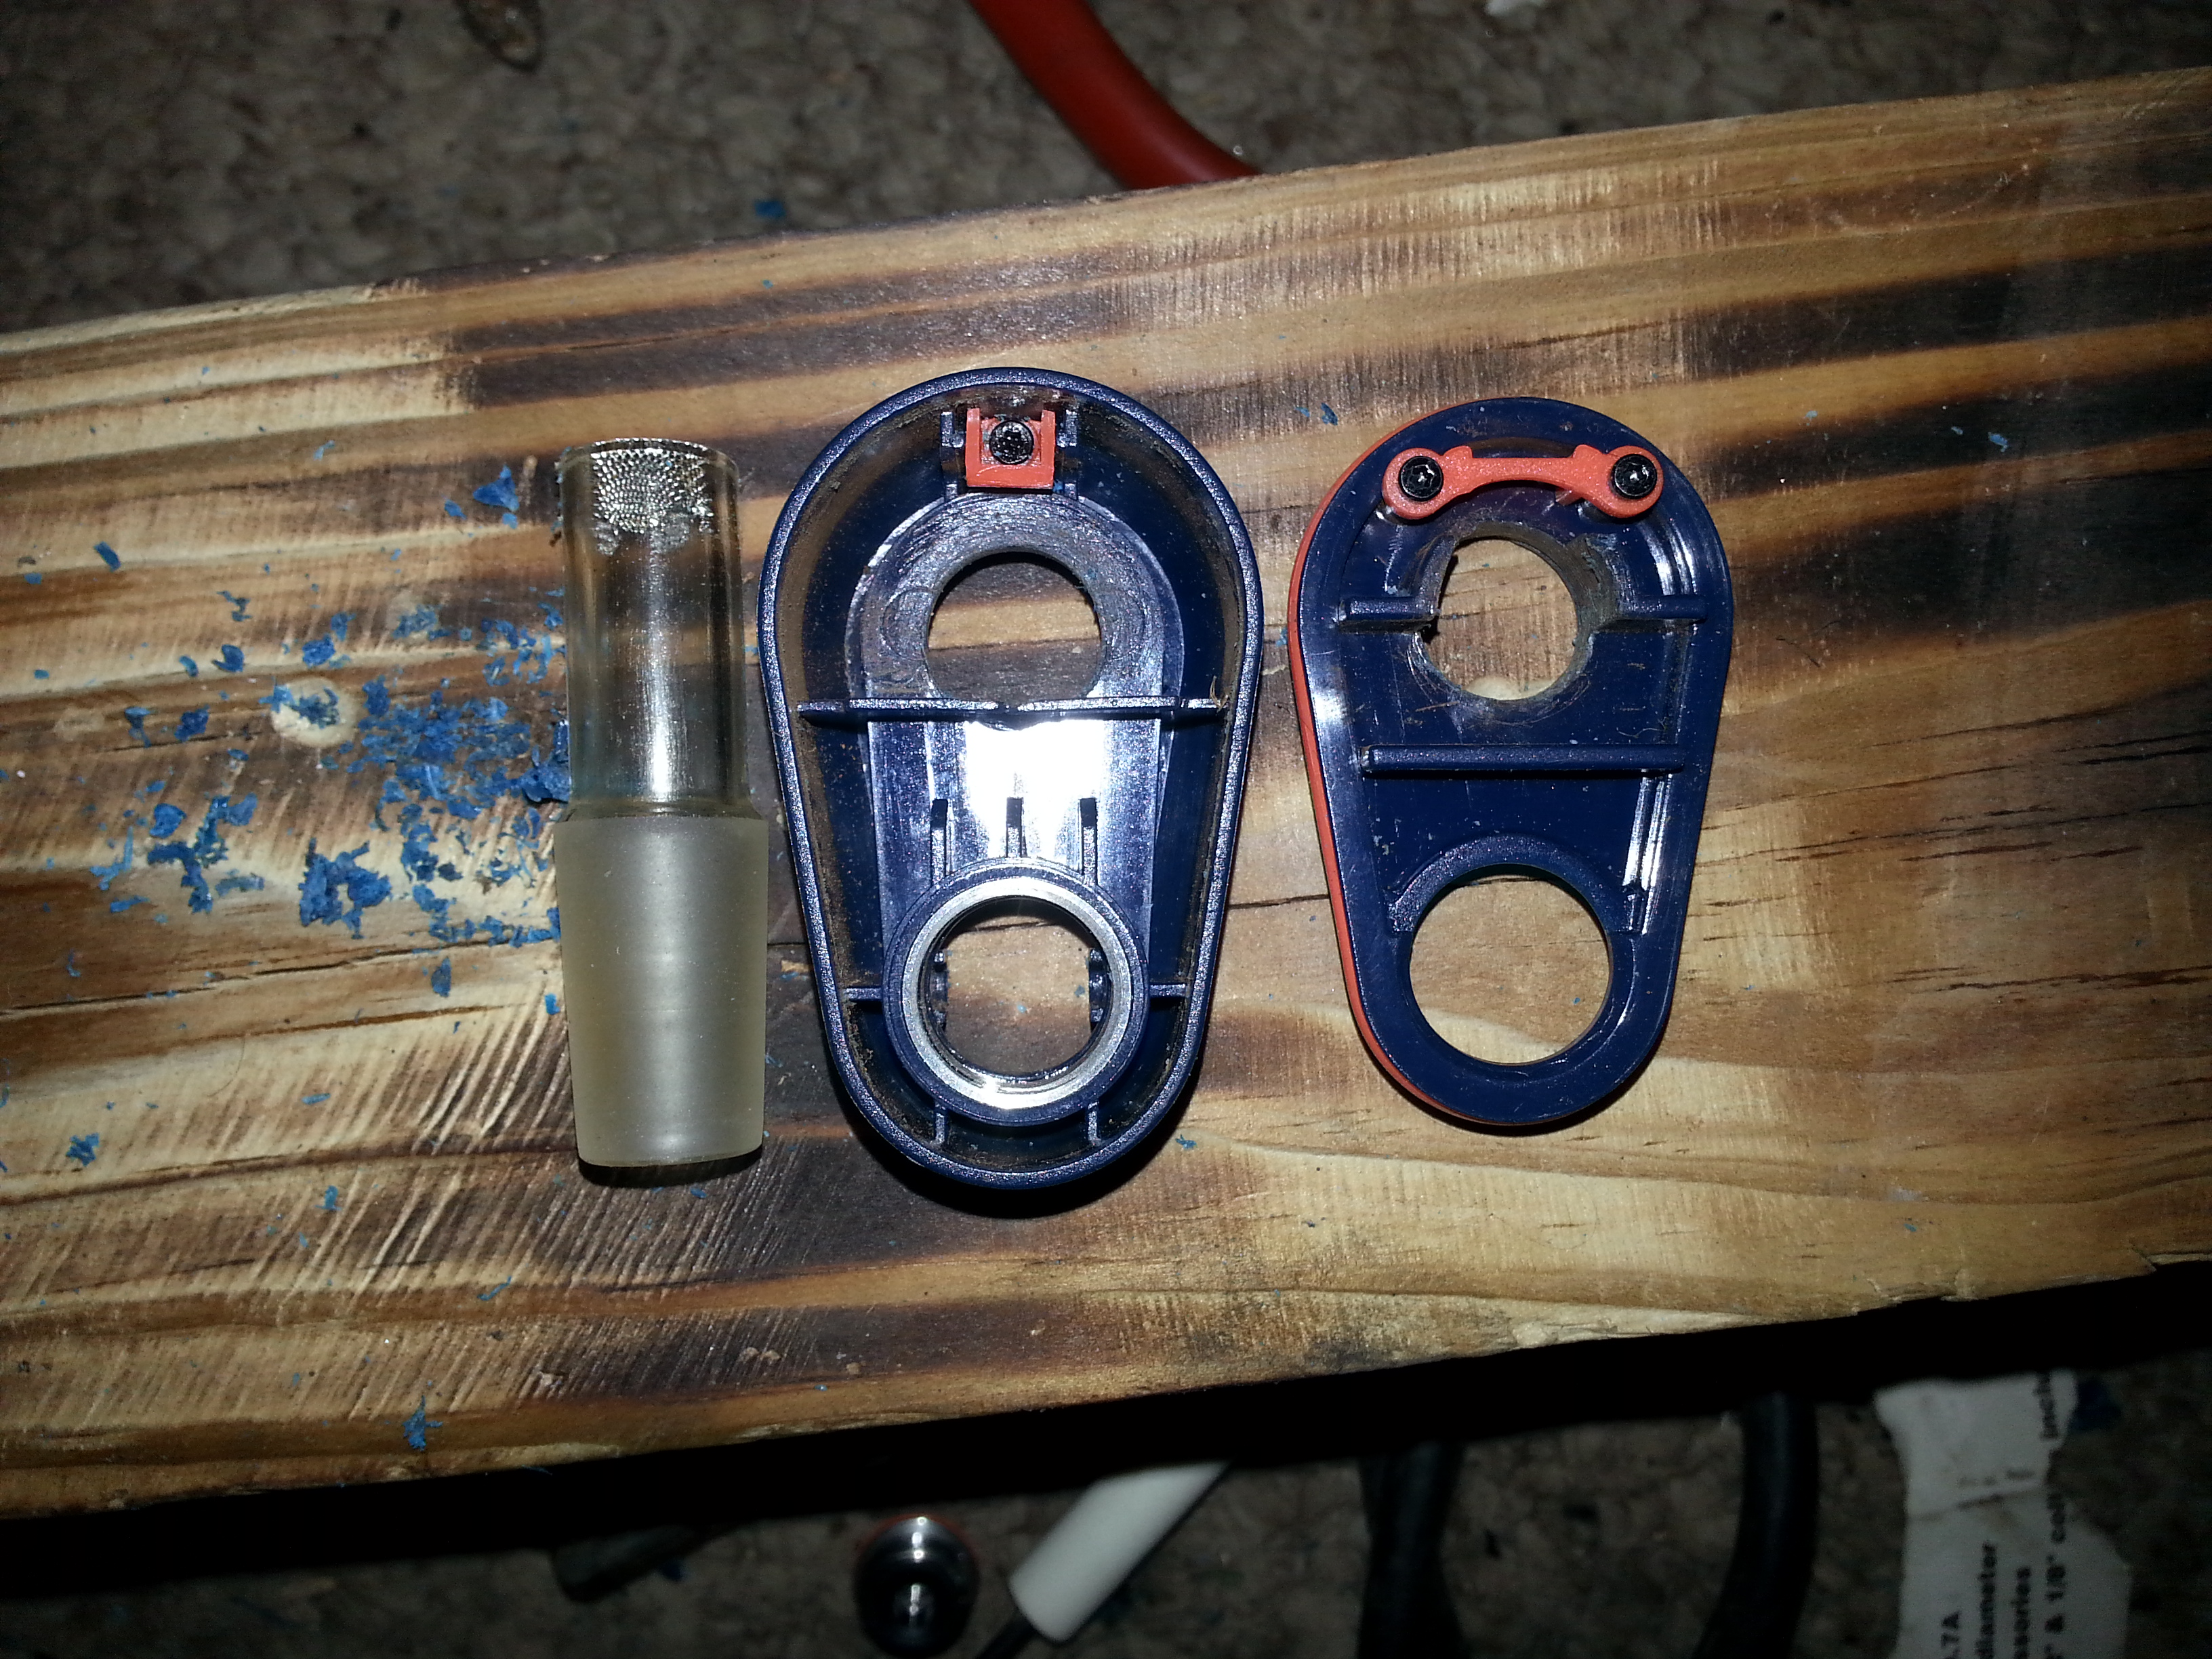
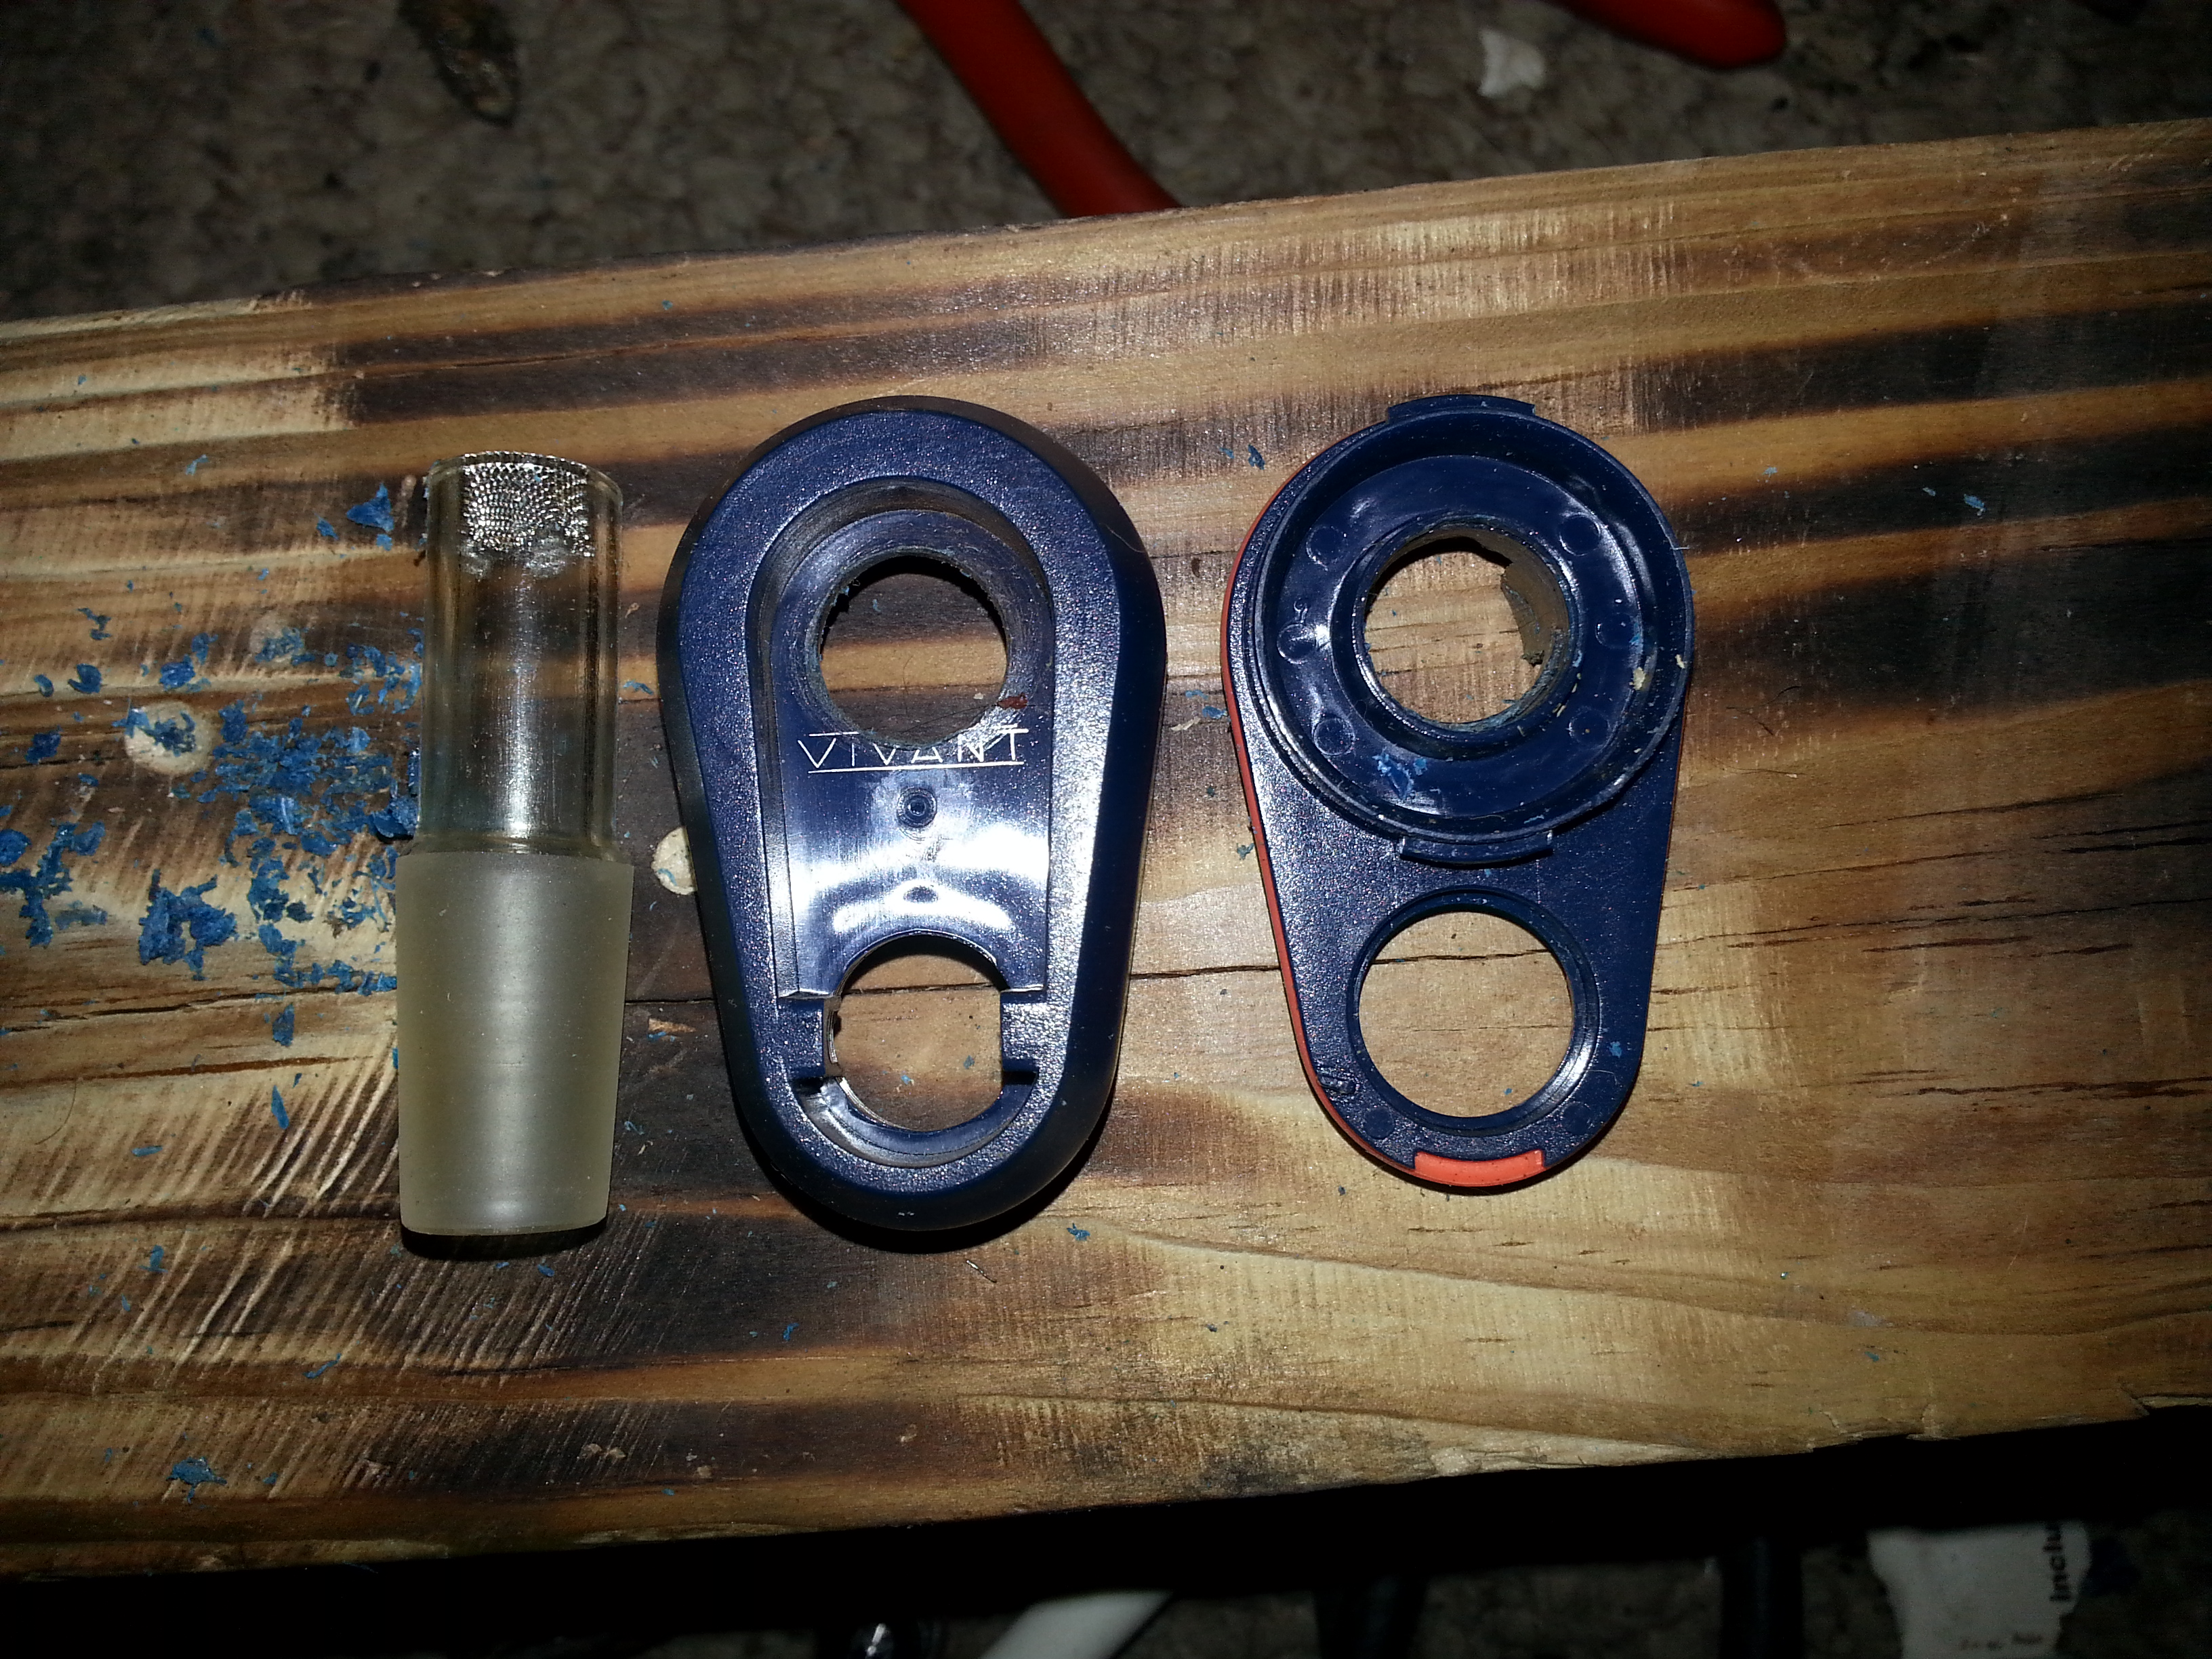
After a good cleaning.
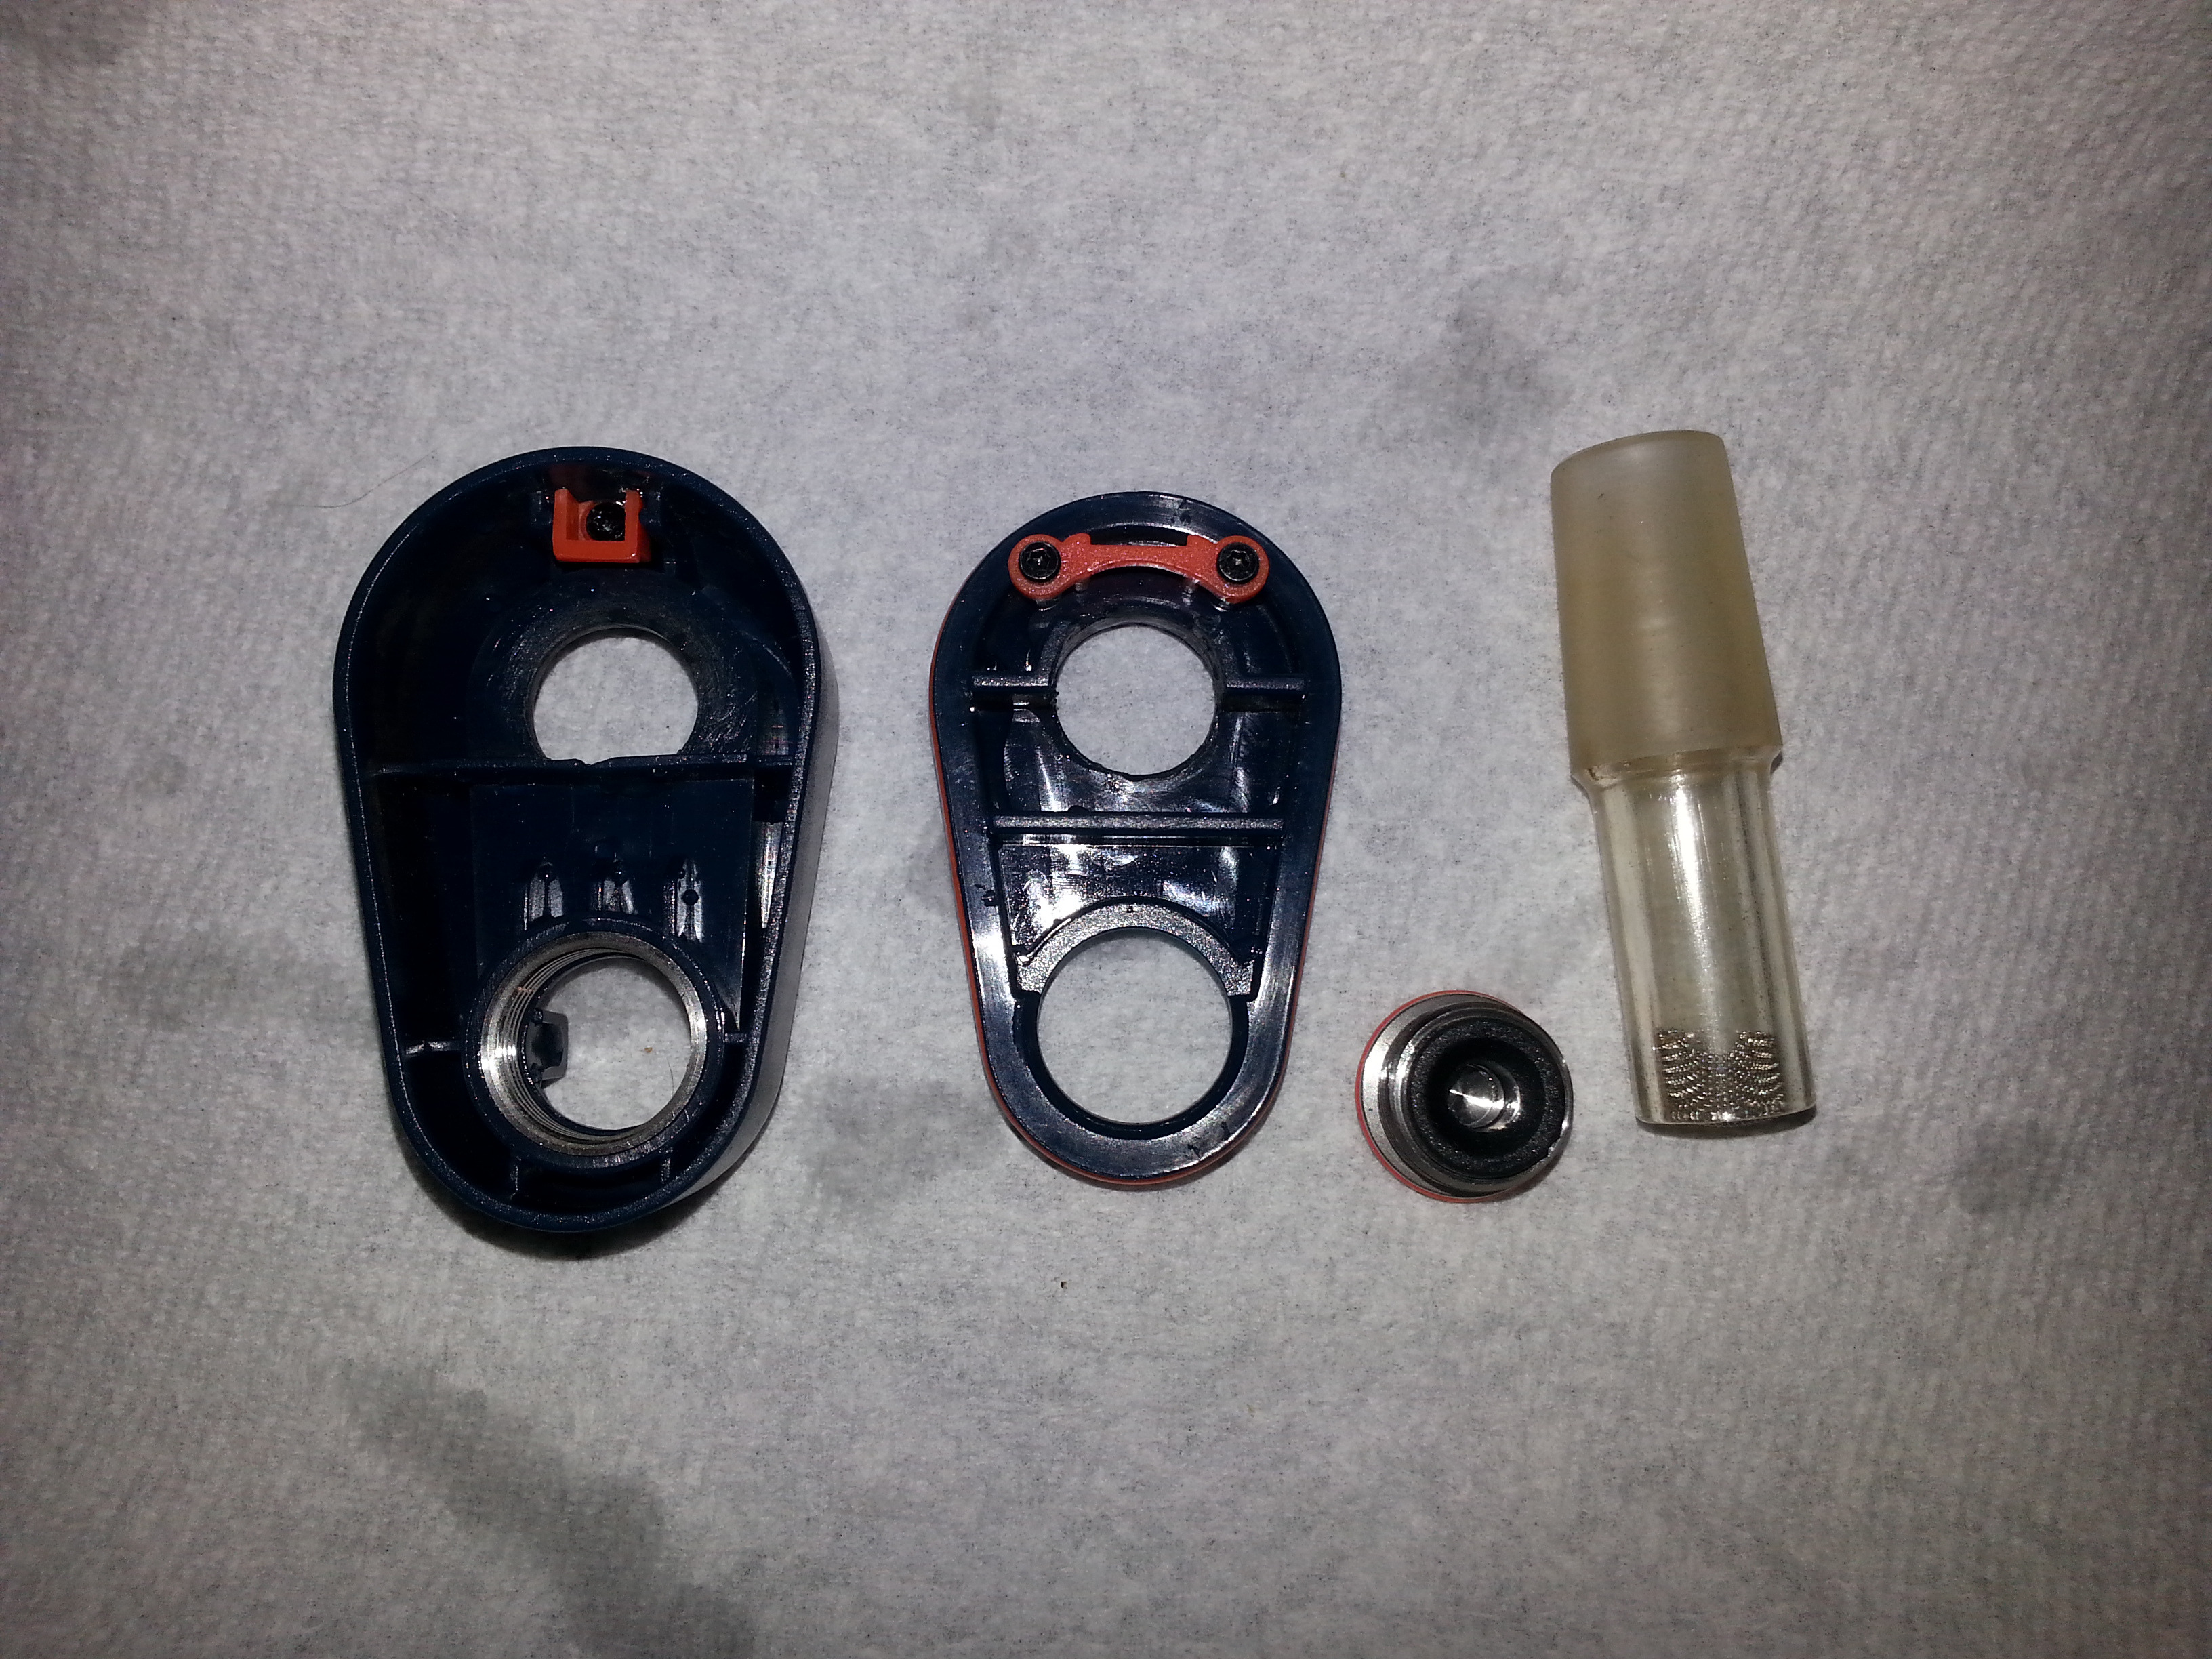
Here is the position I chose to put the joint in the chamber. It can be moved out or in but this seems to be the ideal spot.
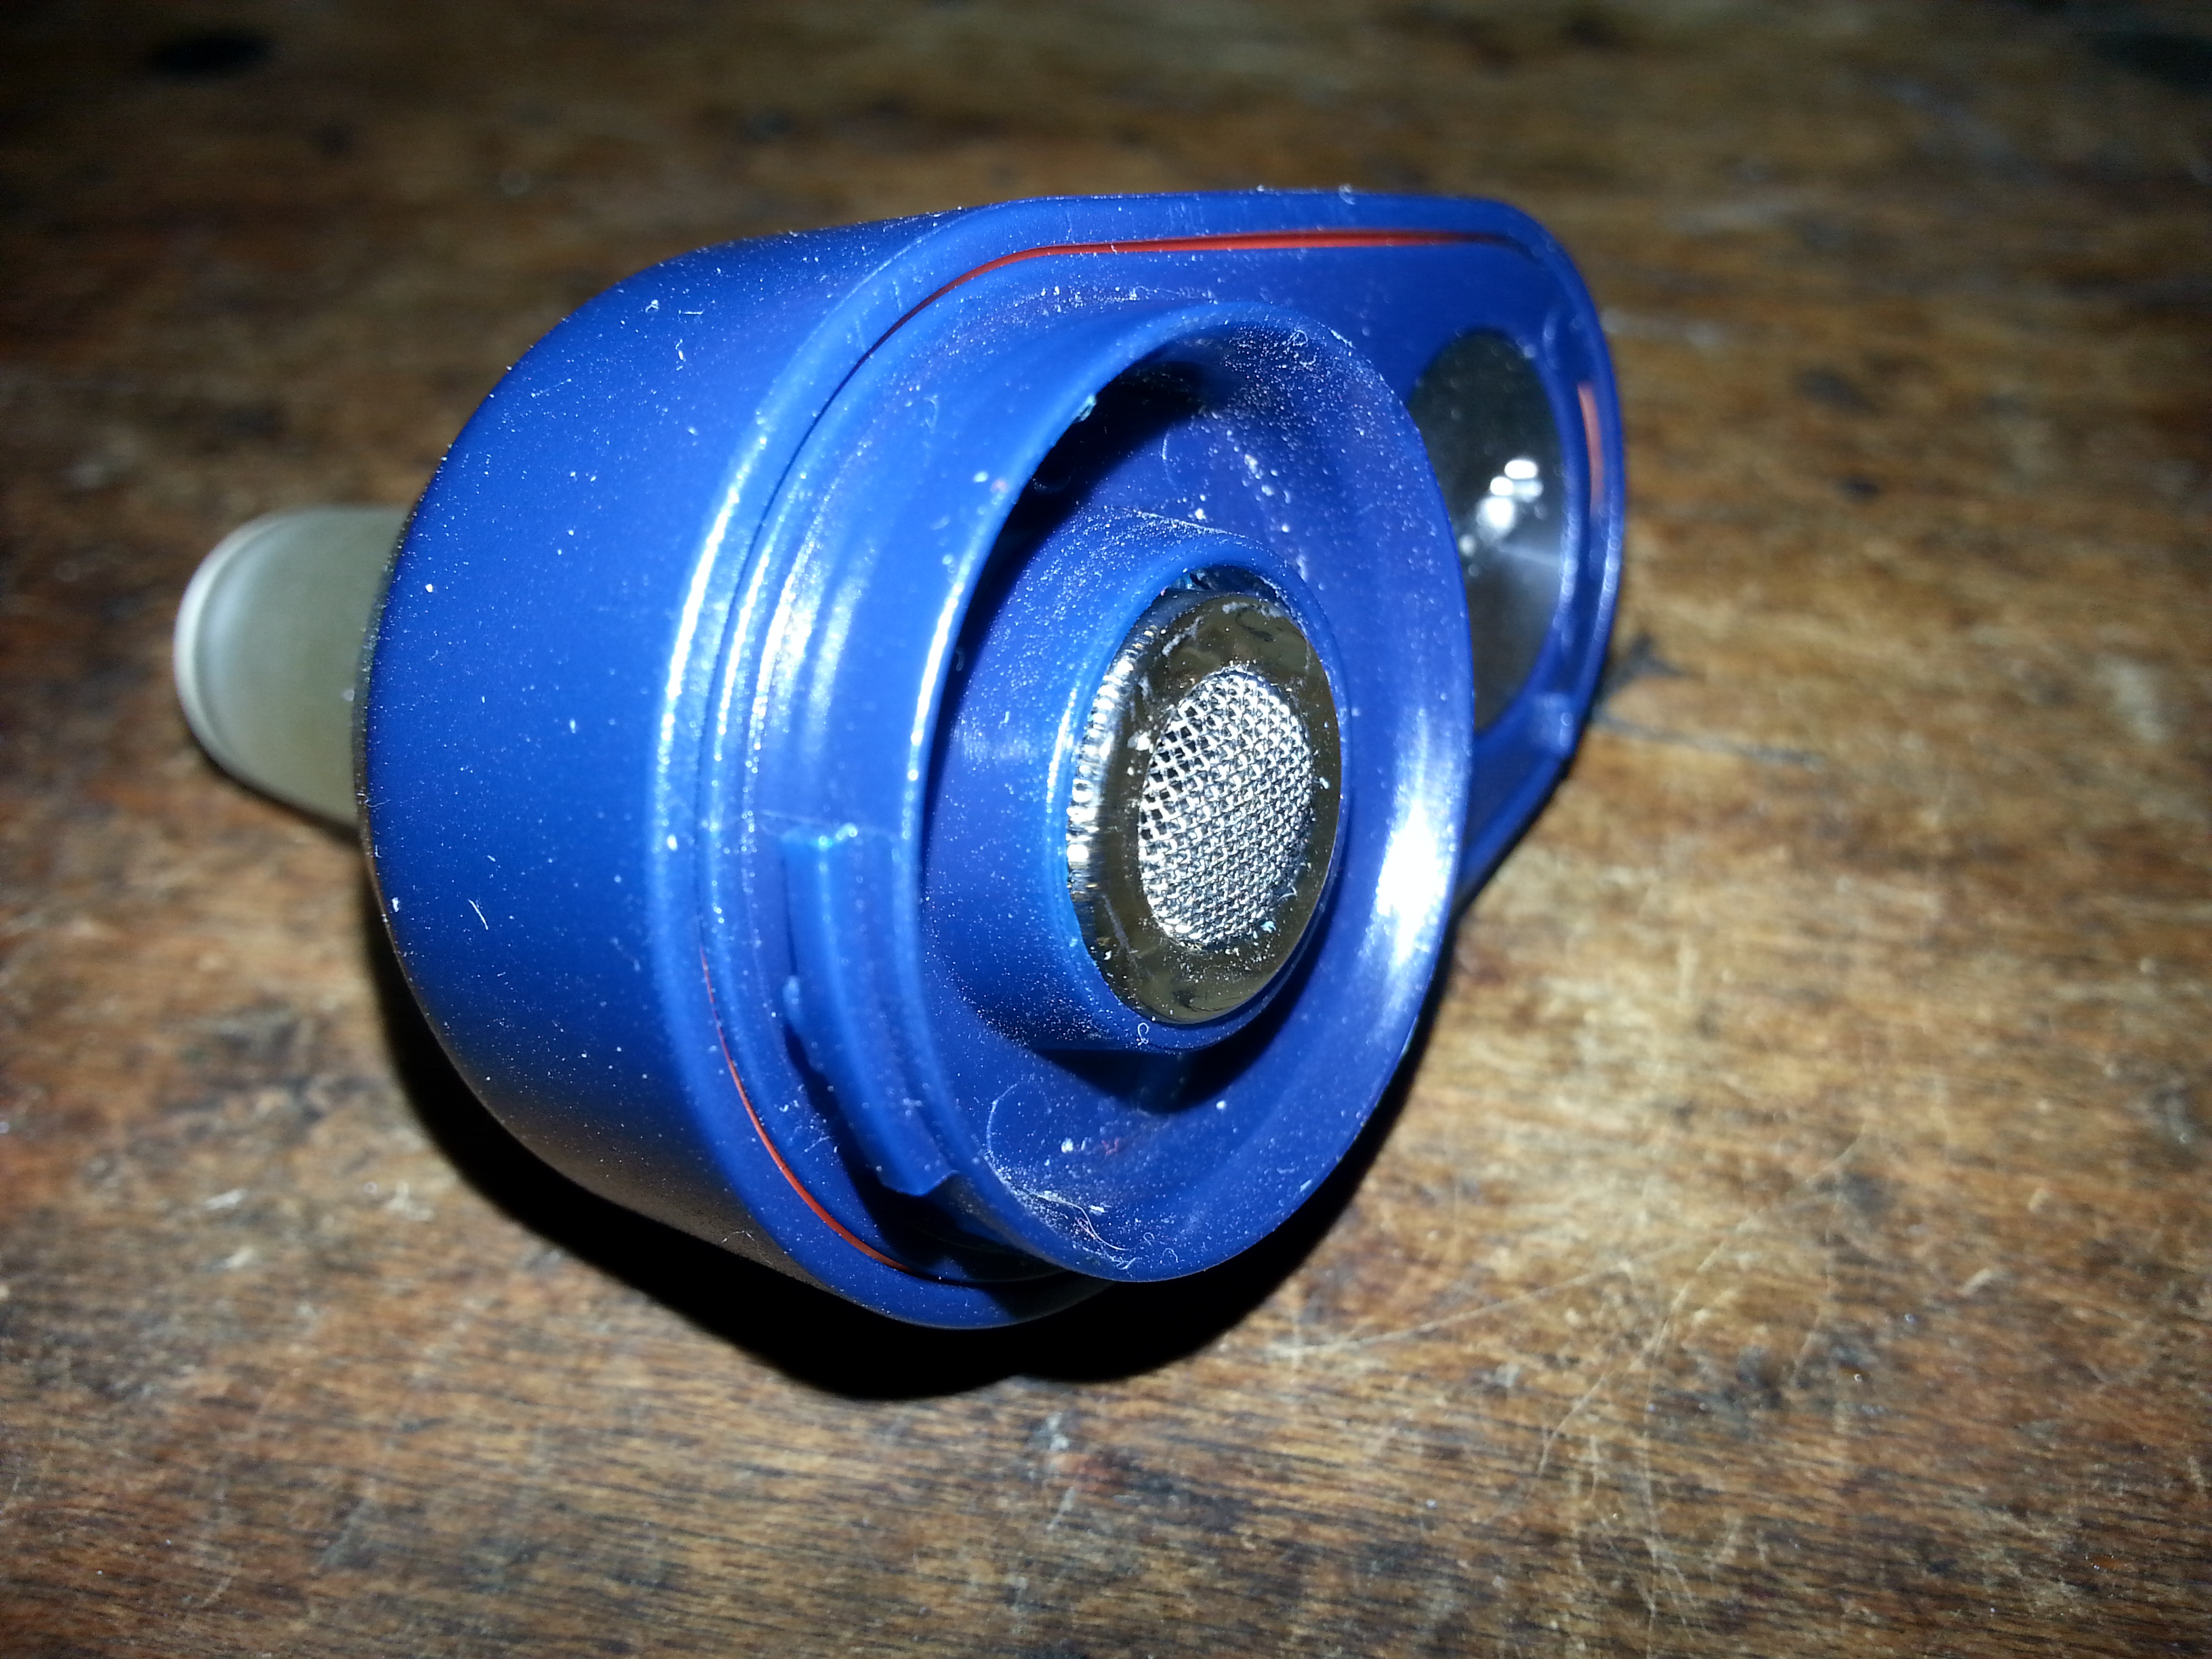
Top.
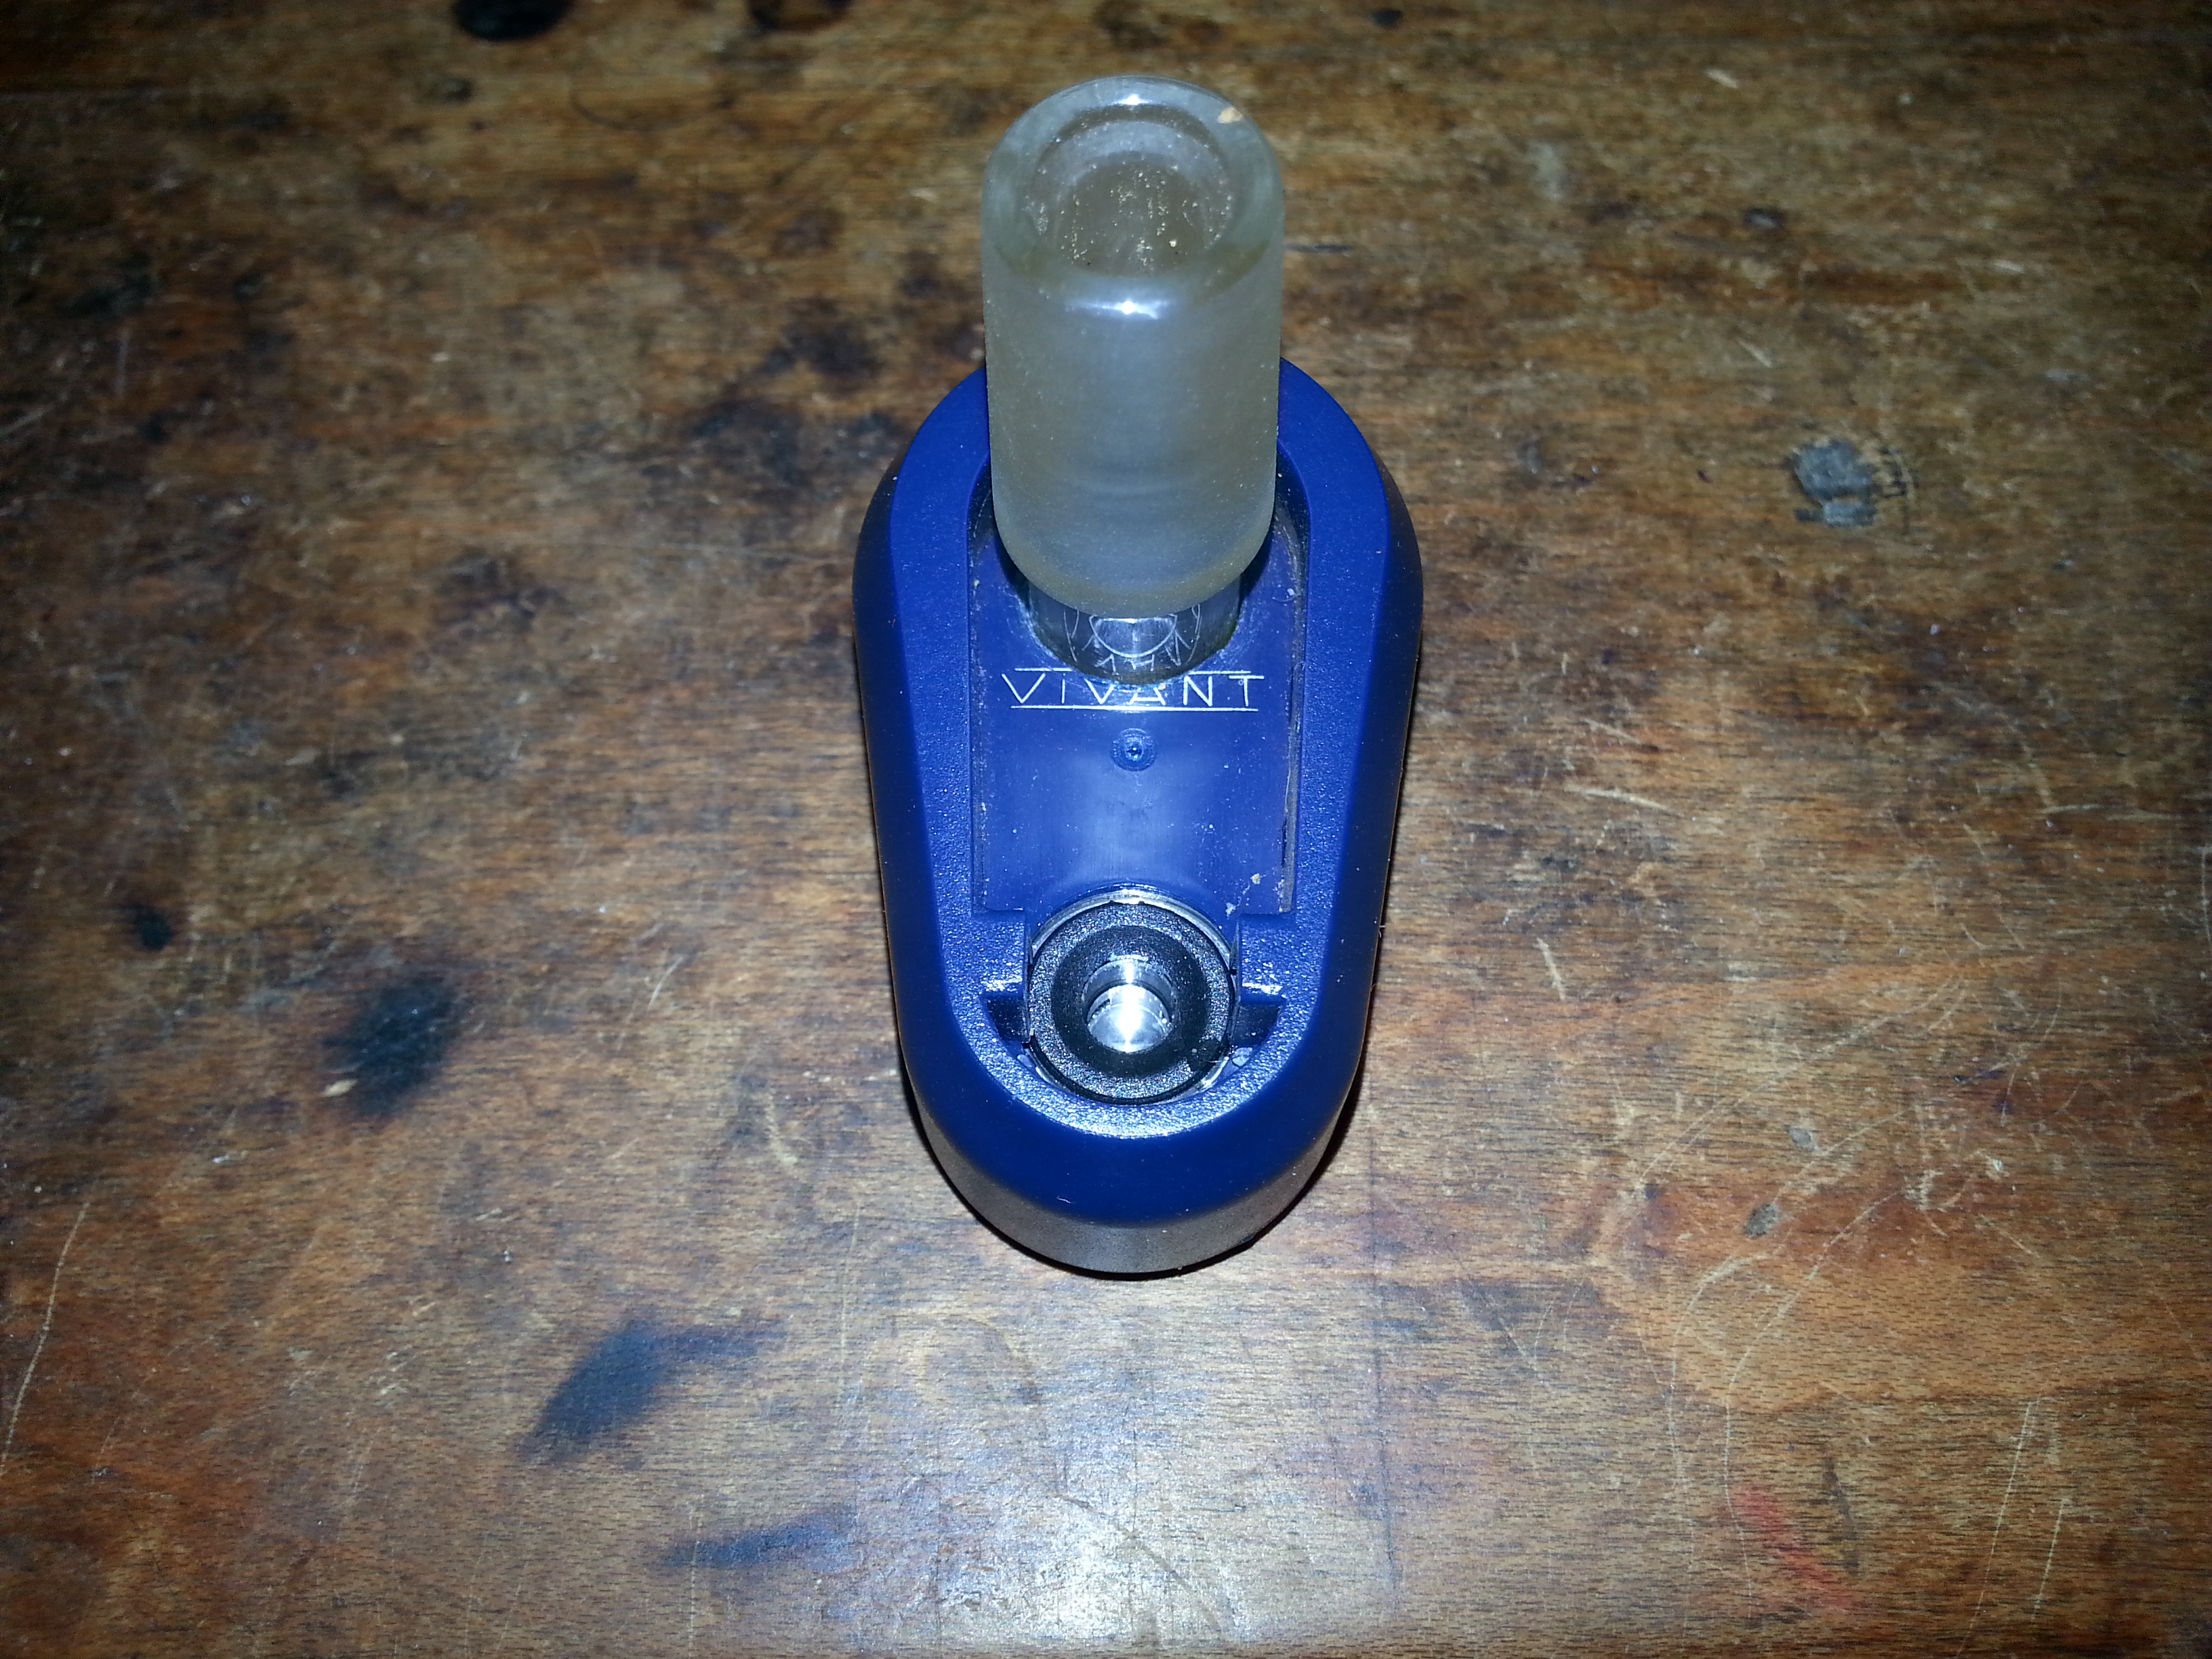
Side.
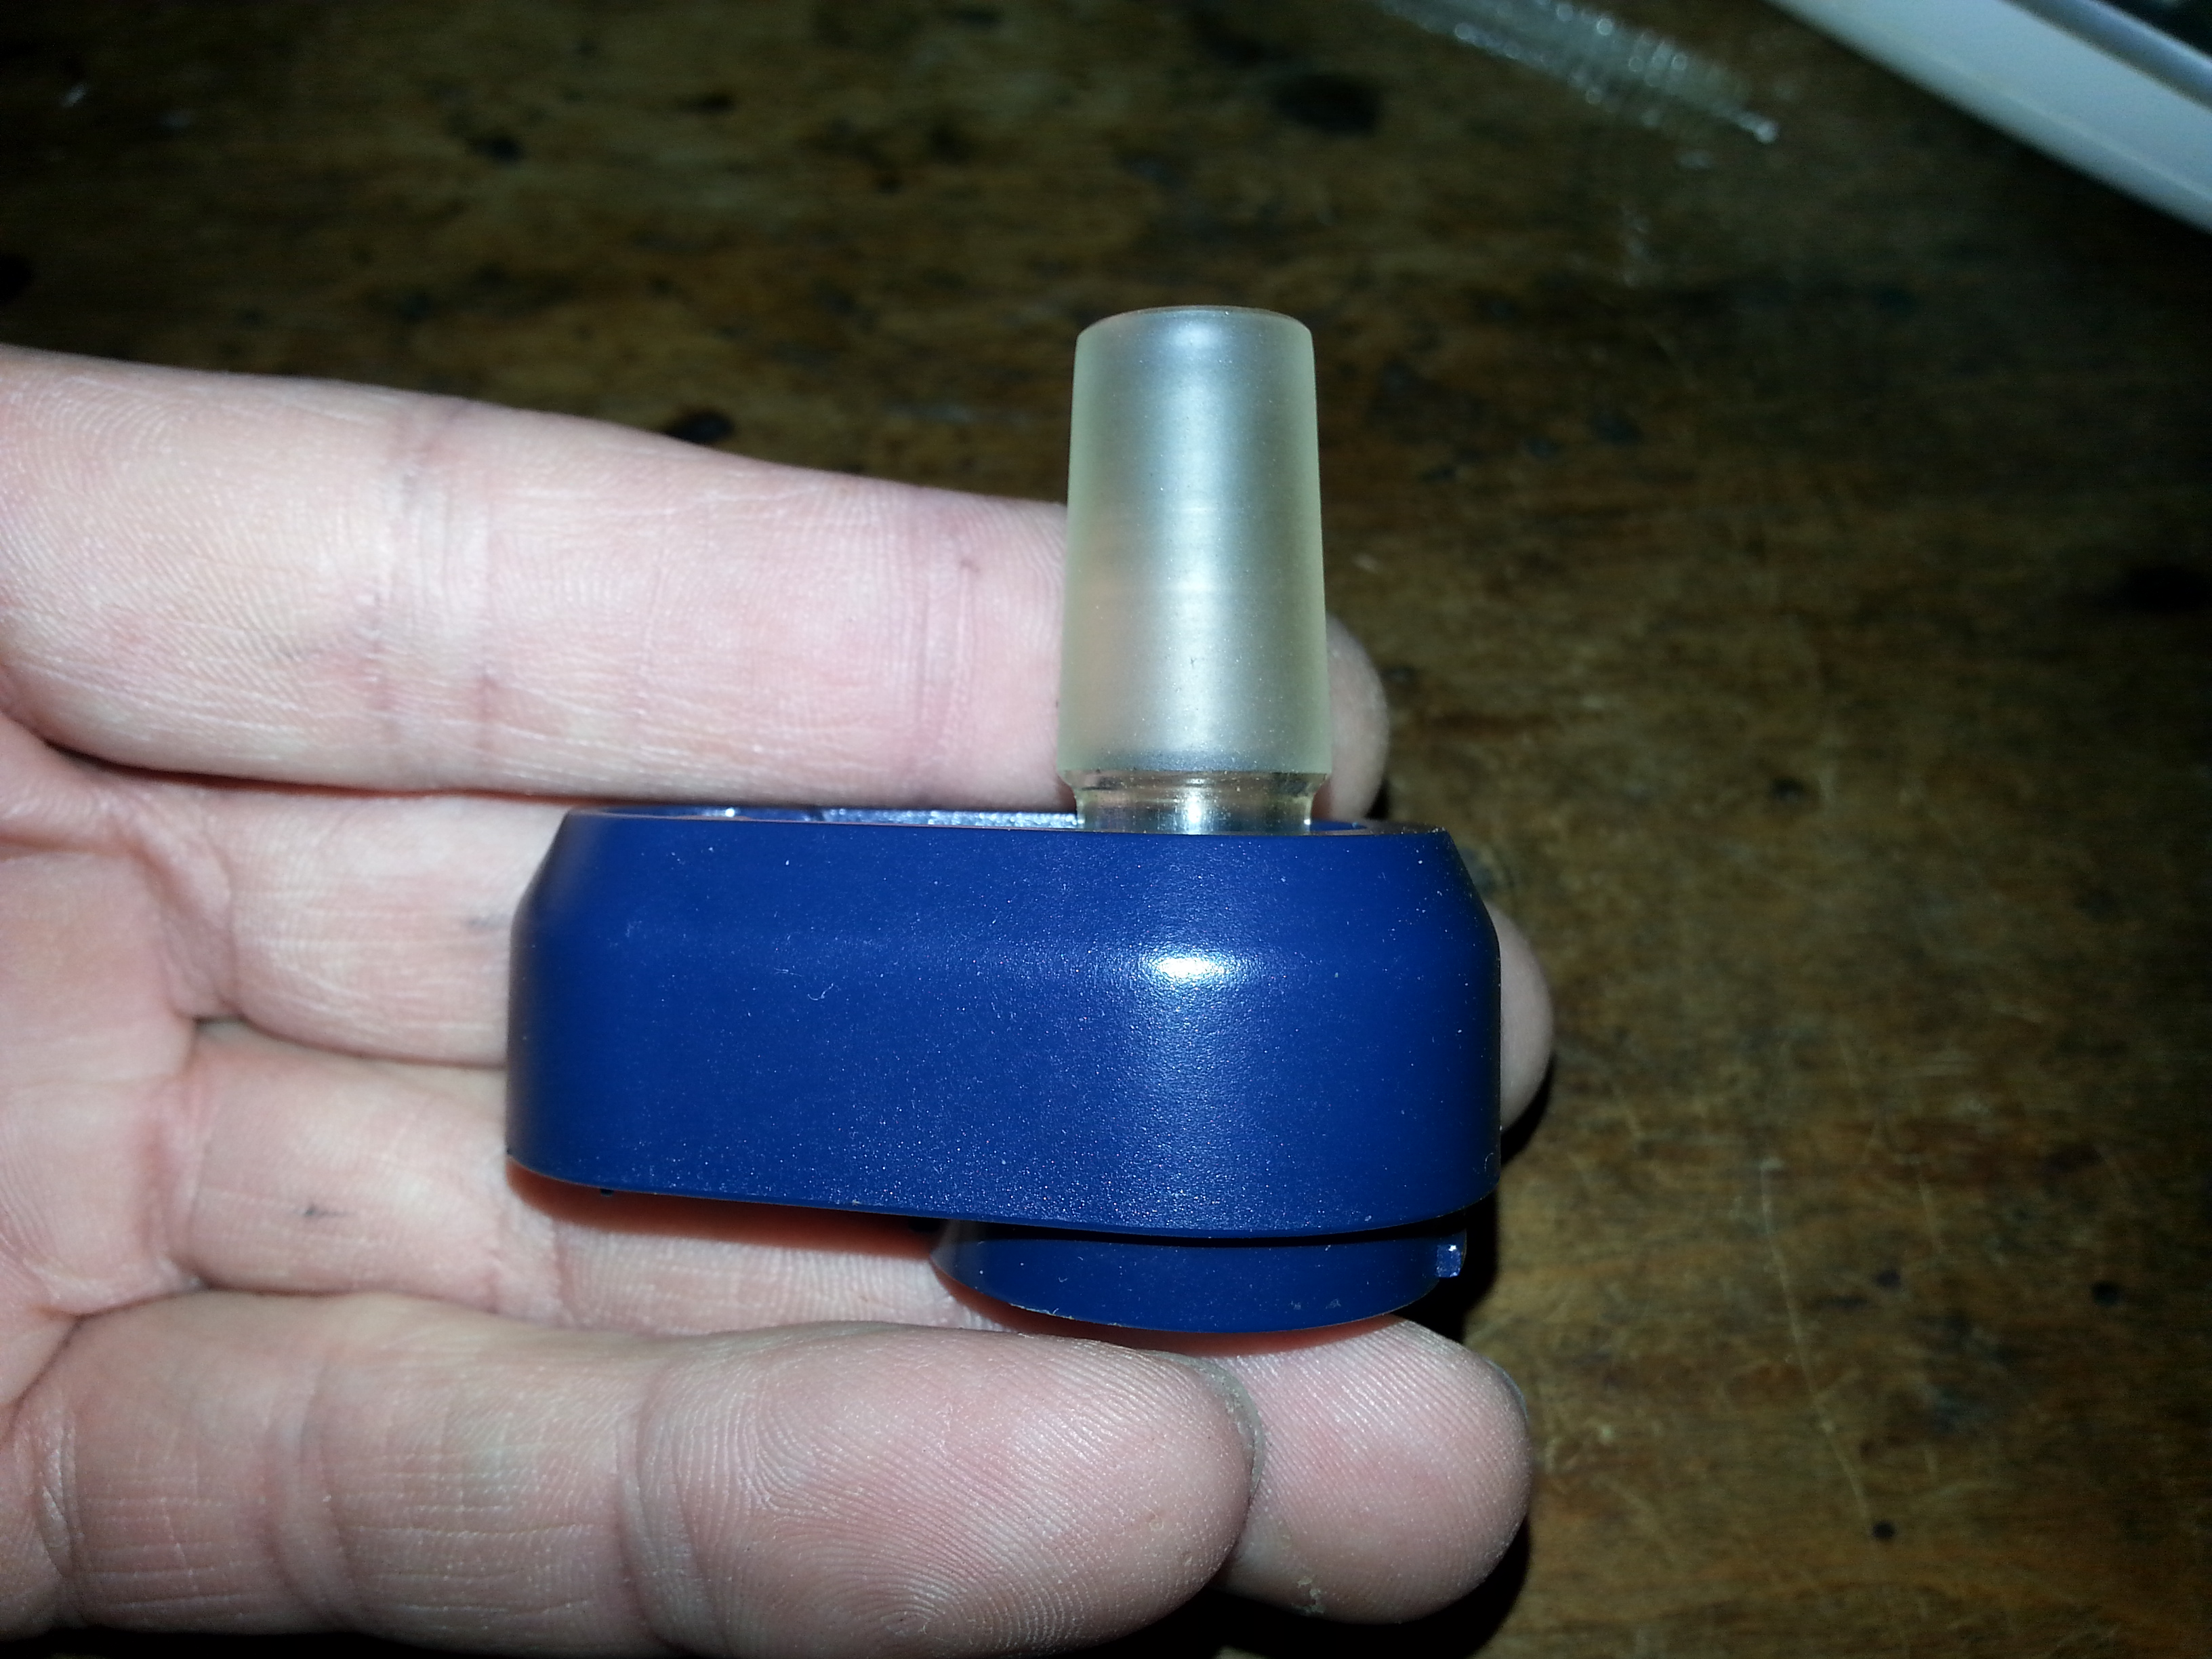
Installed.
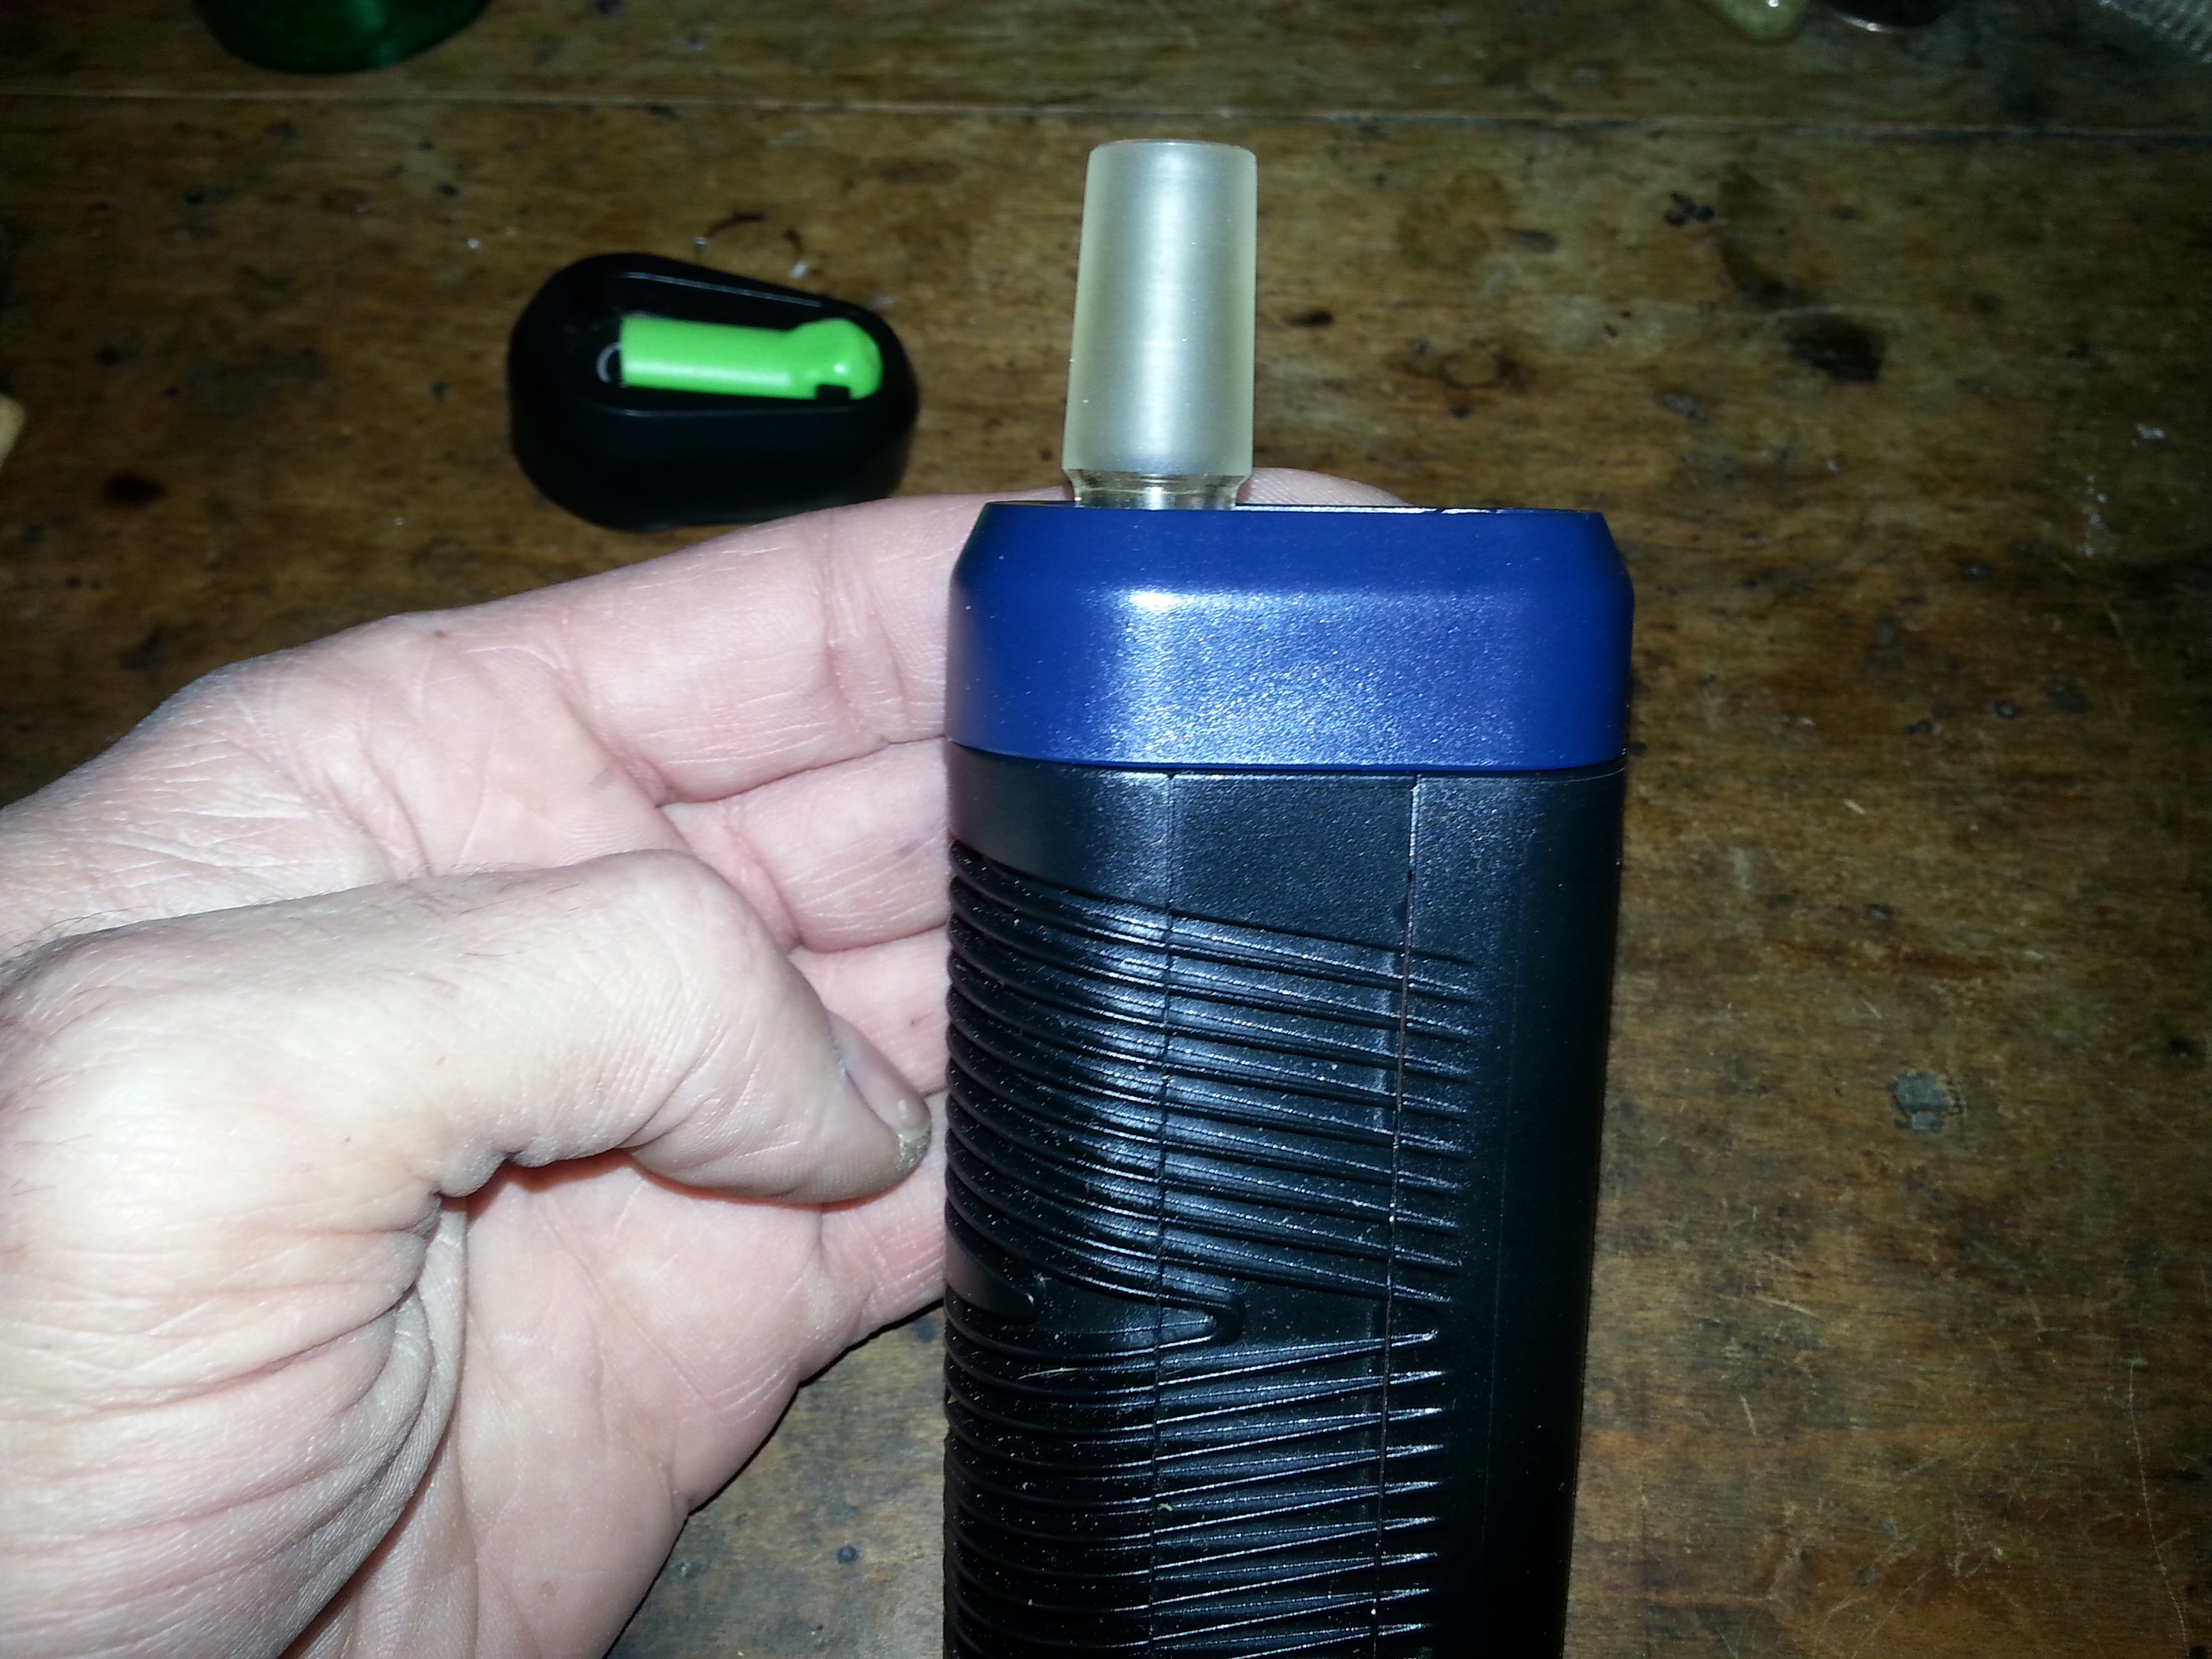
Super secure.
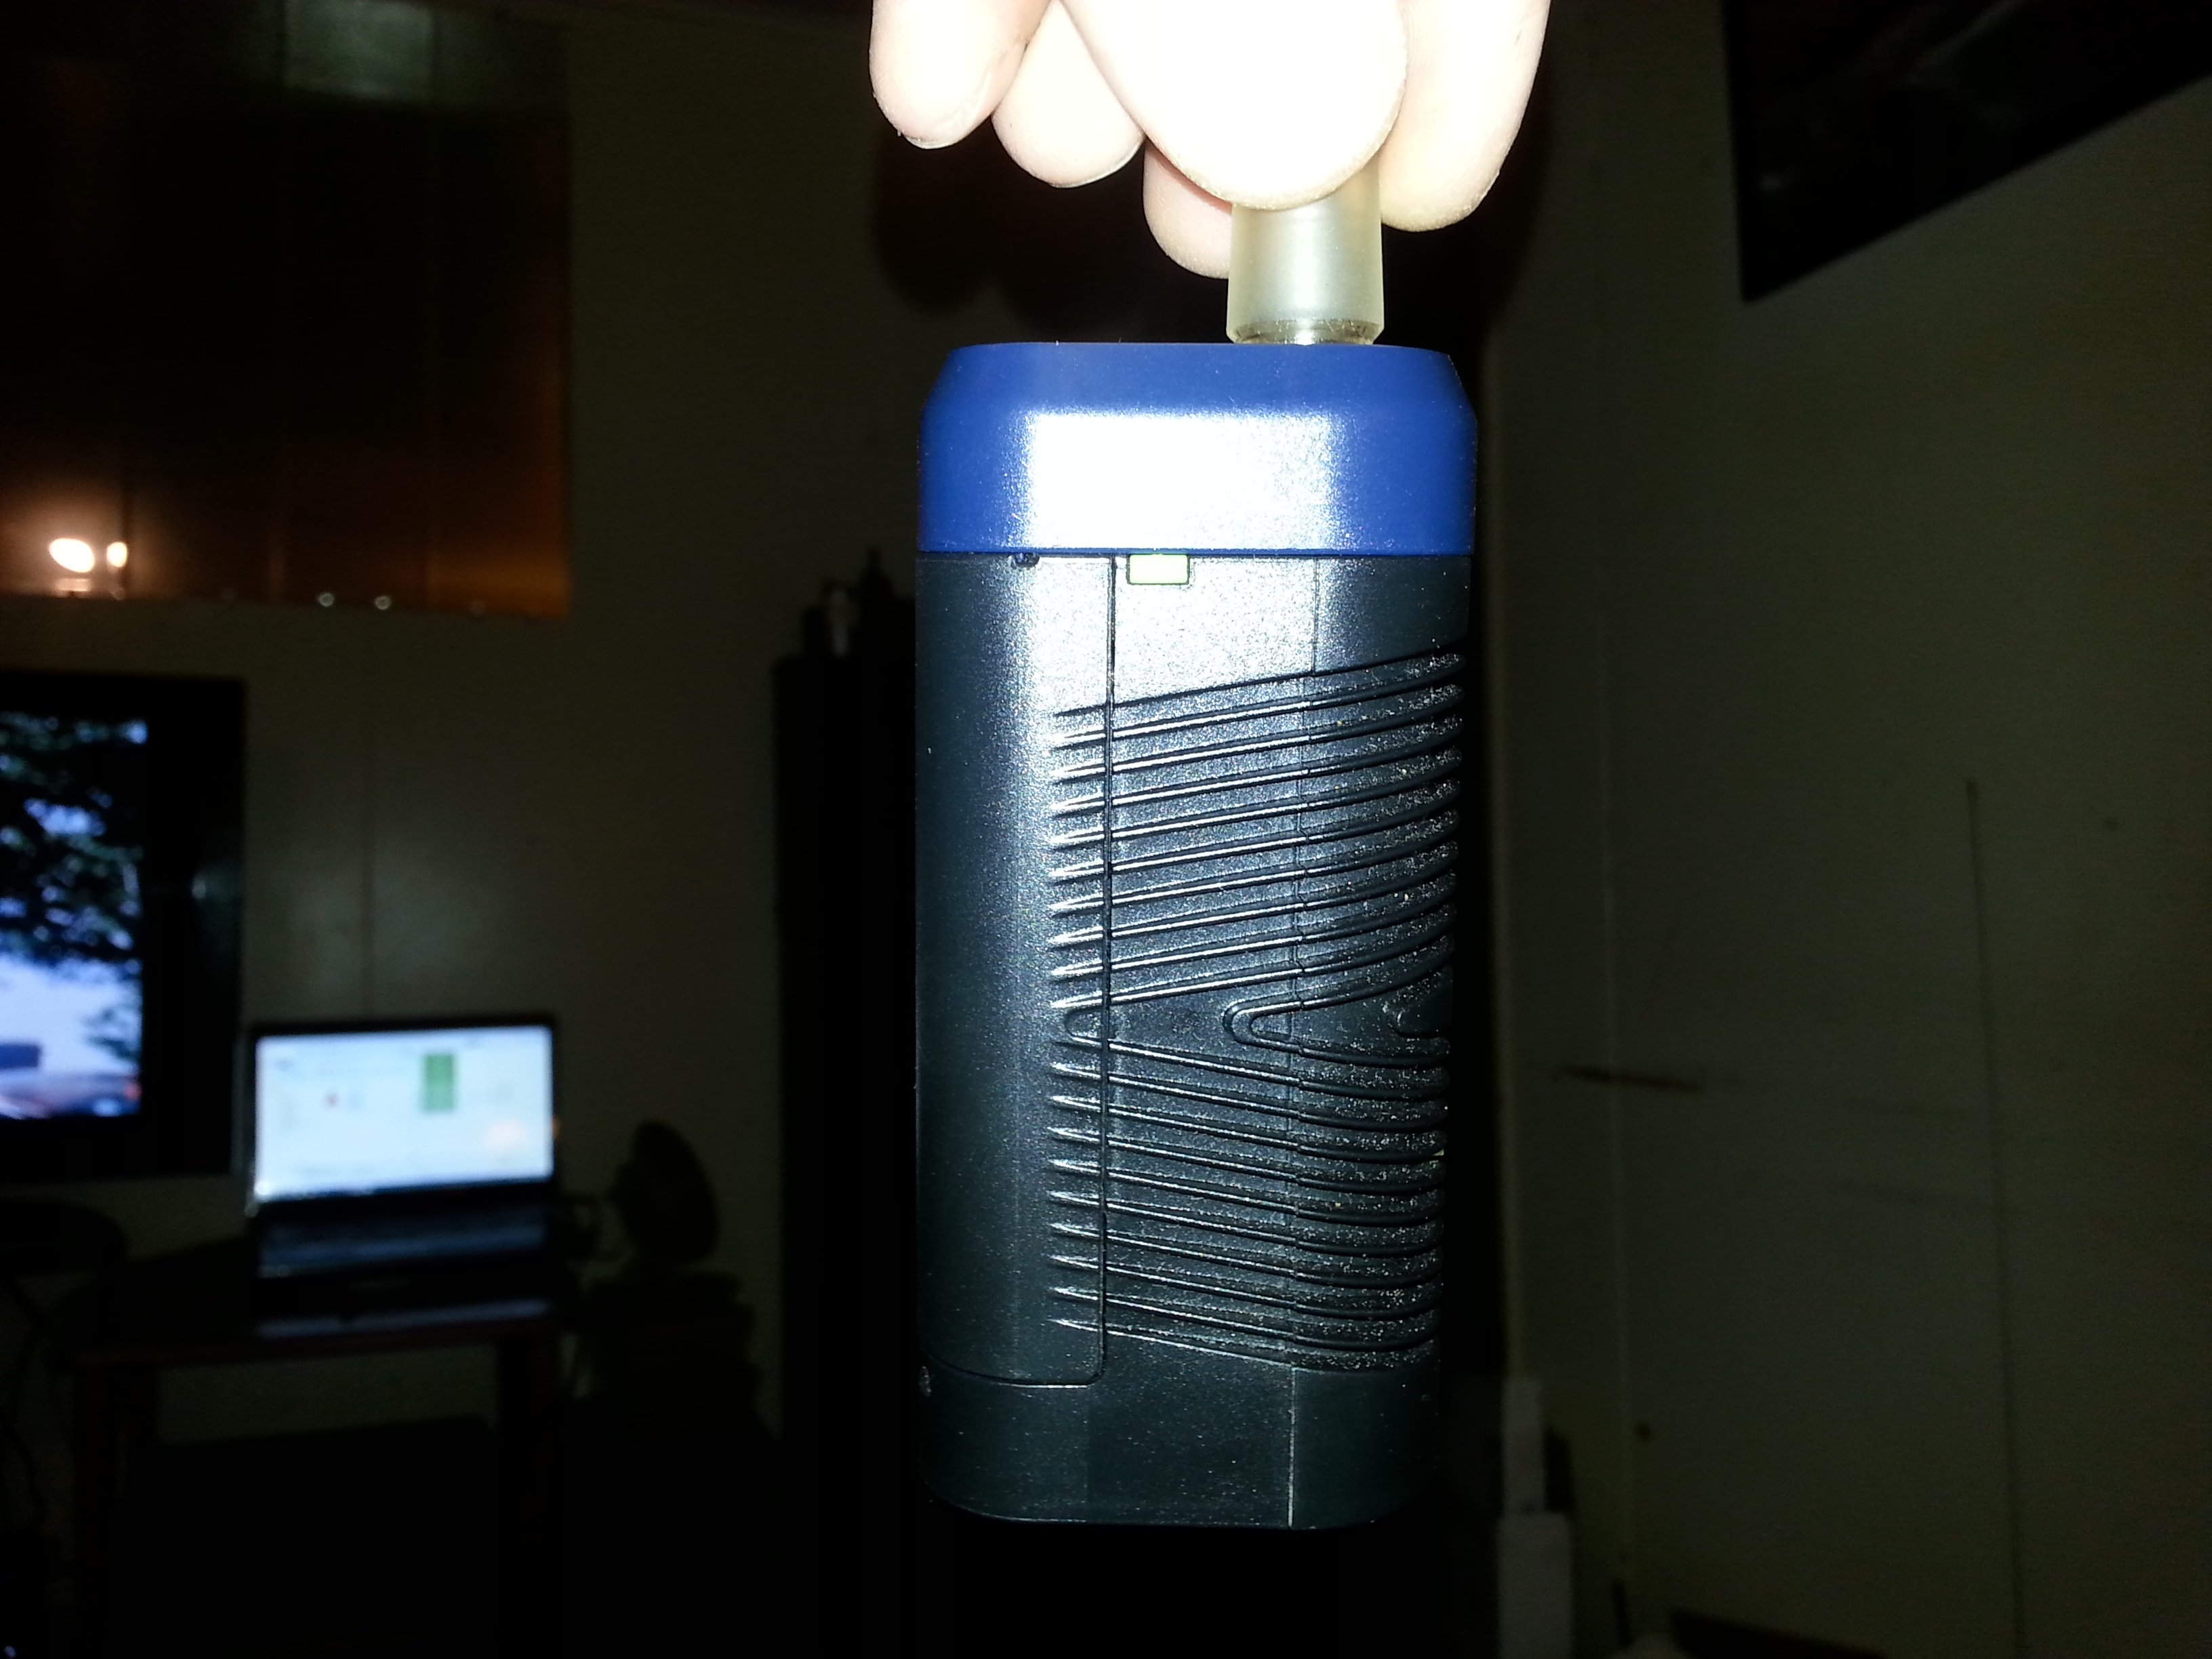
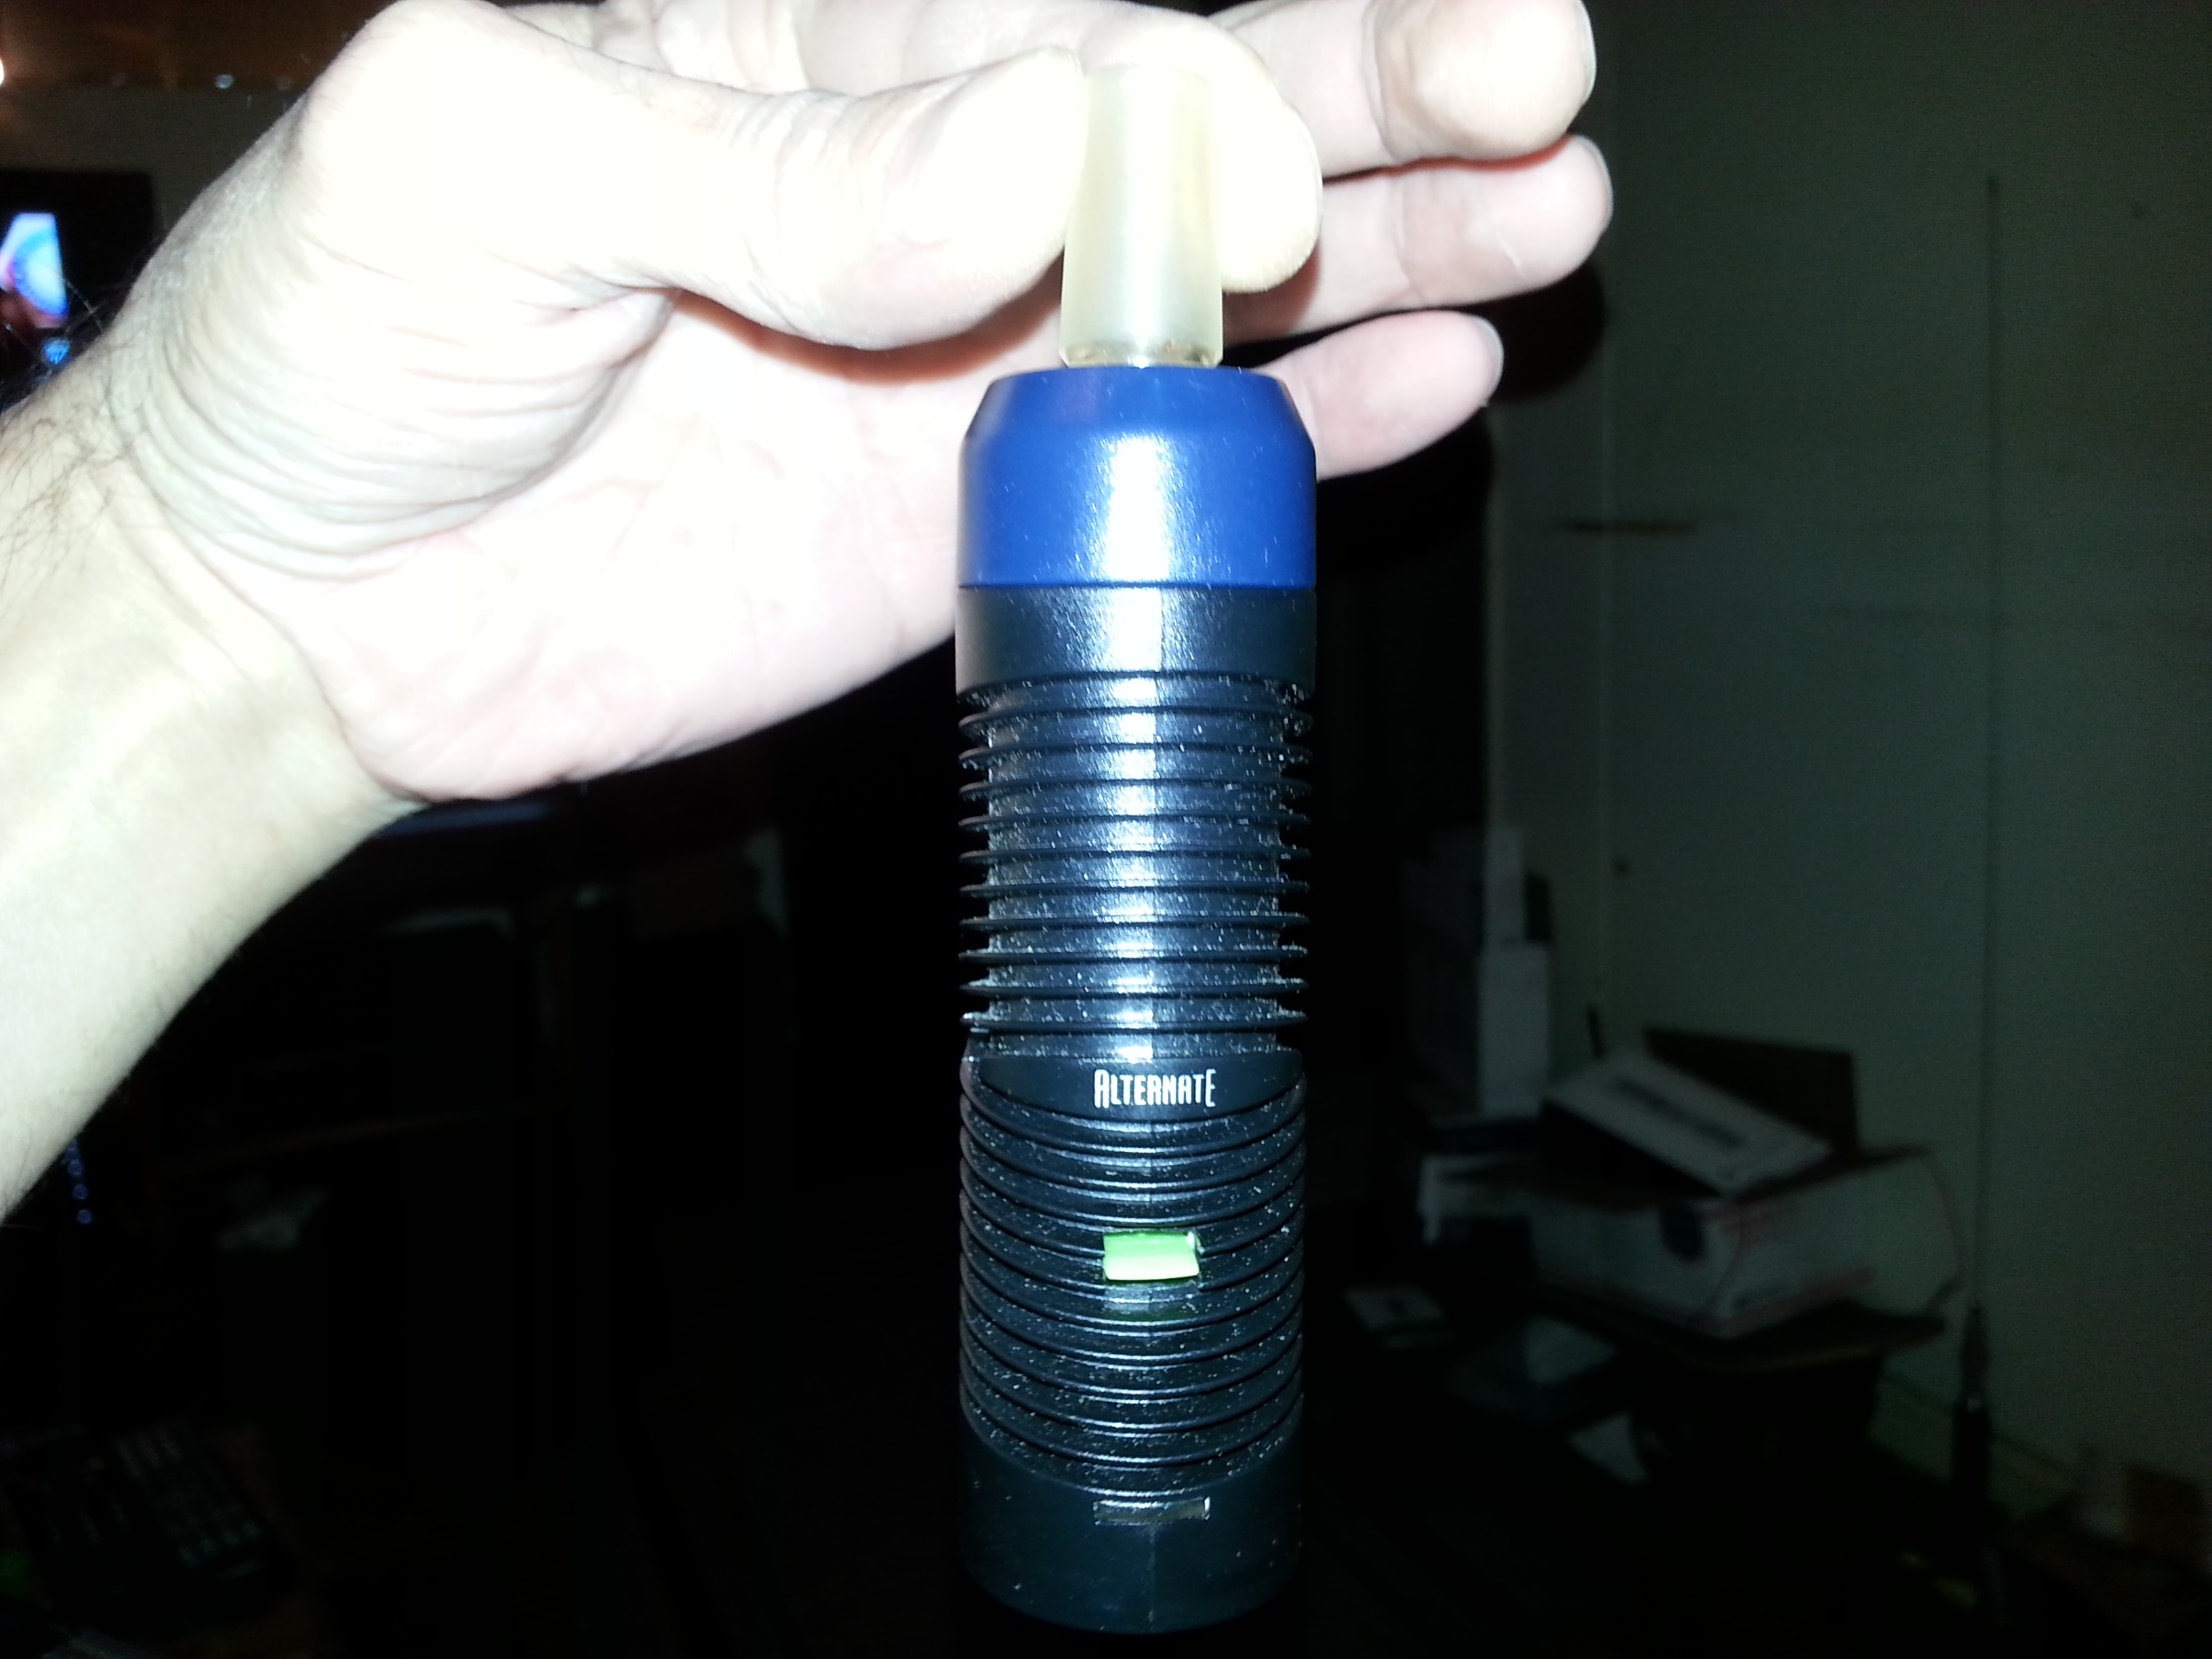
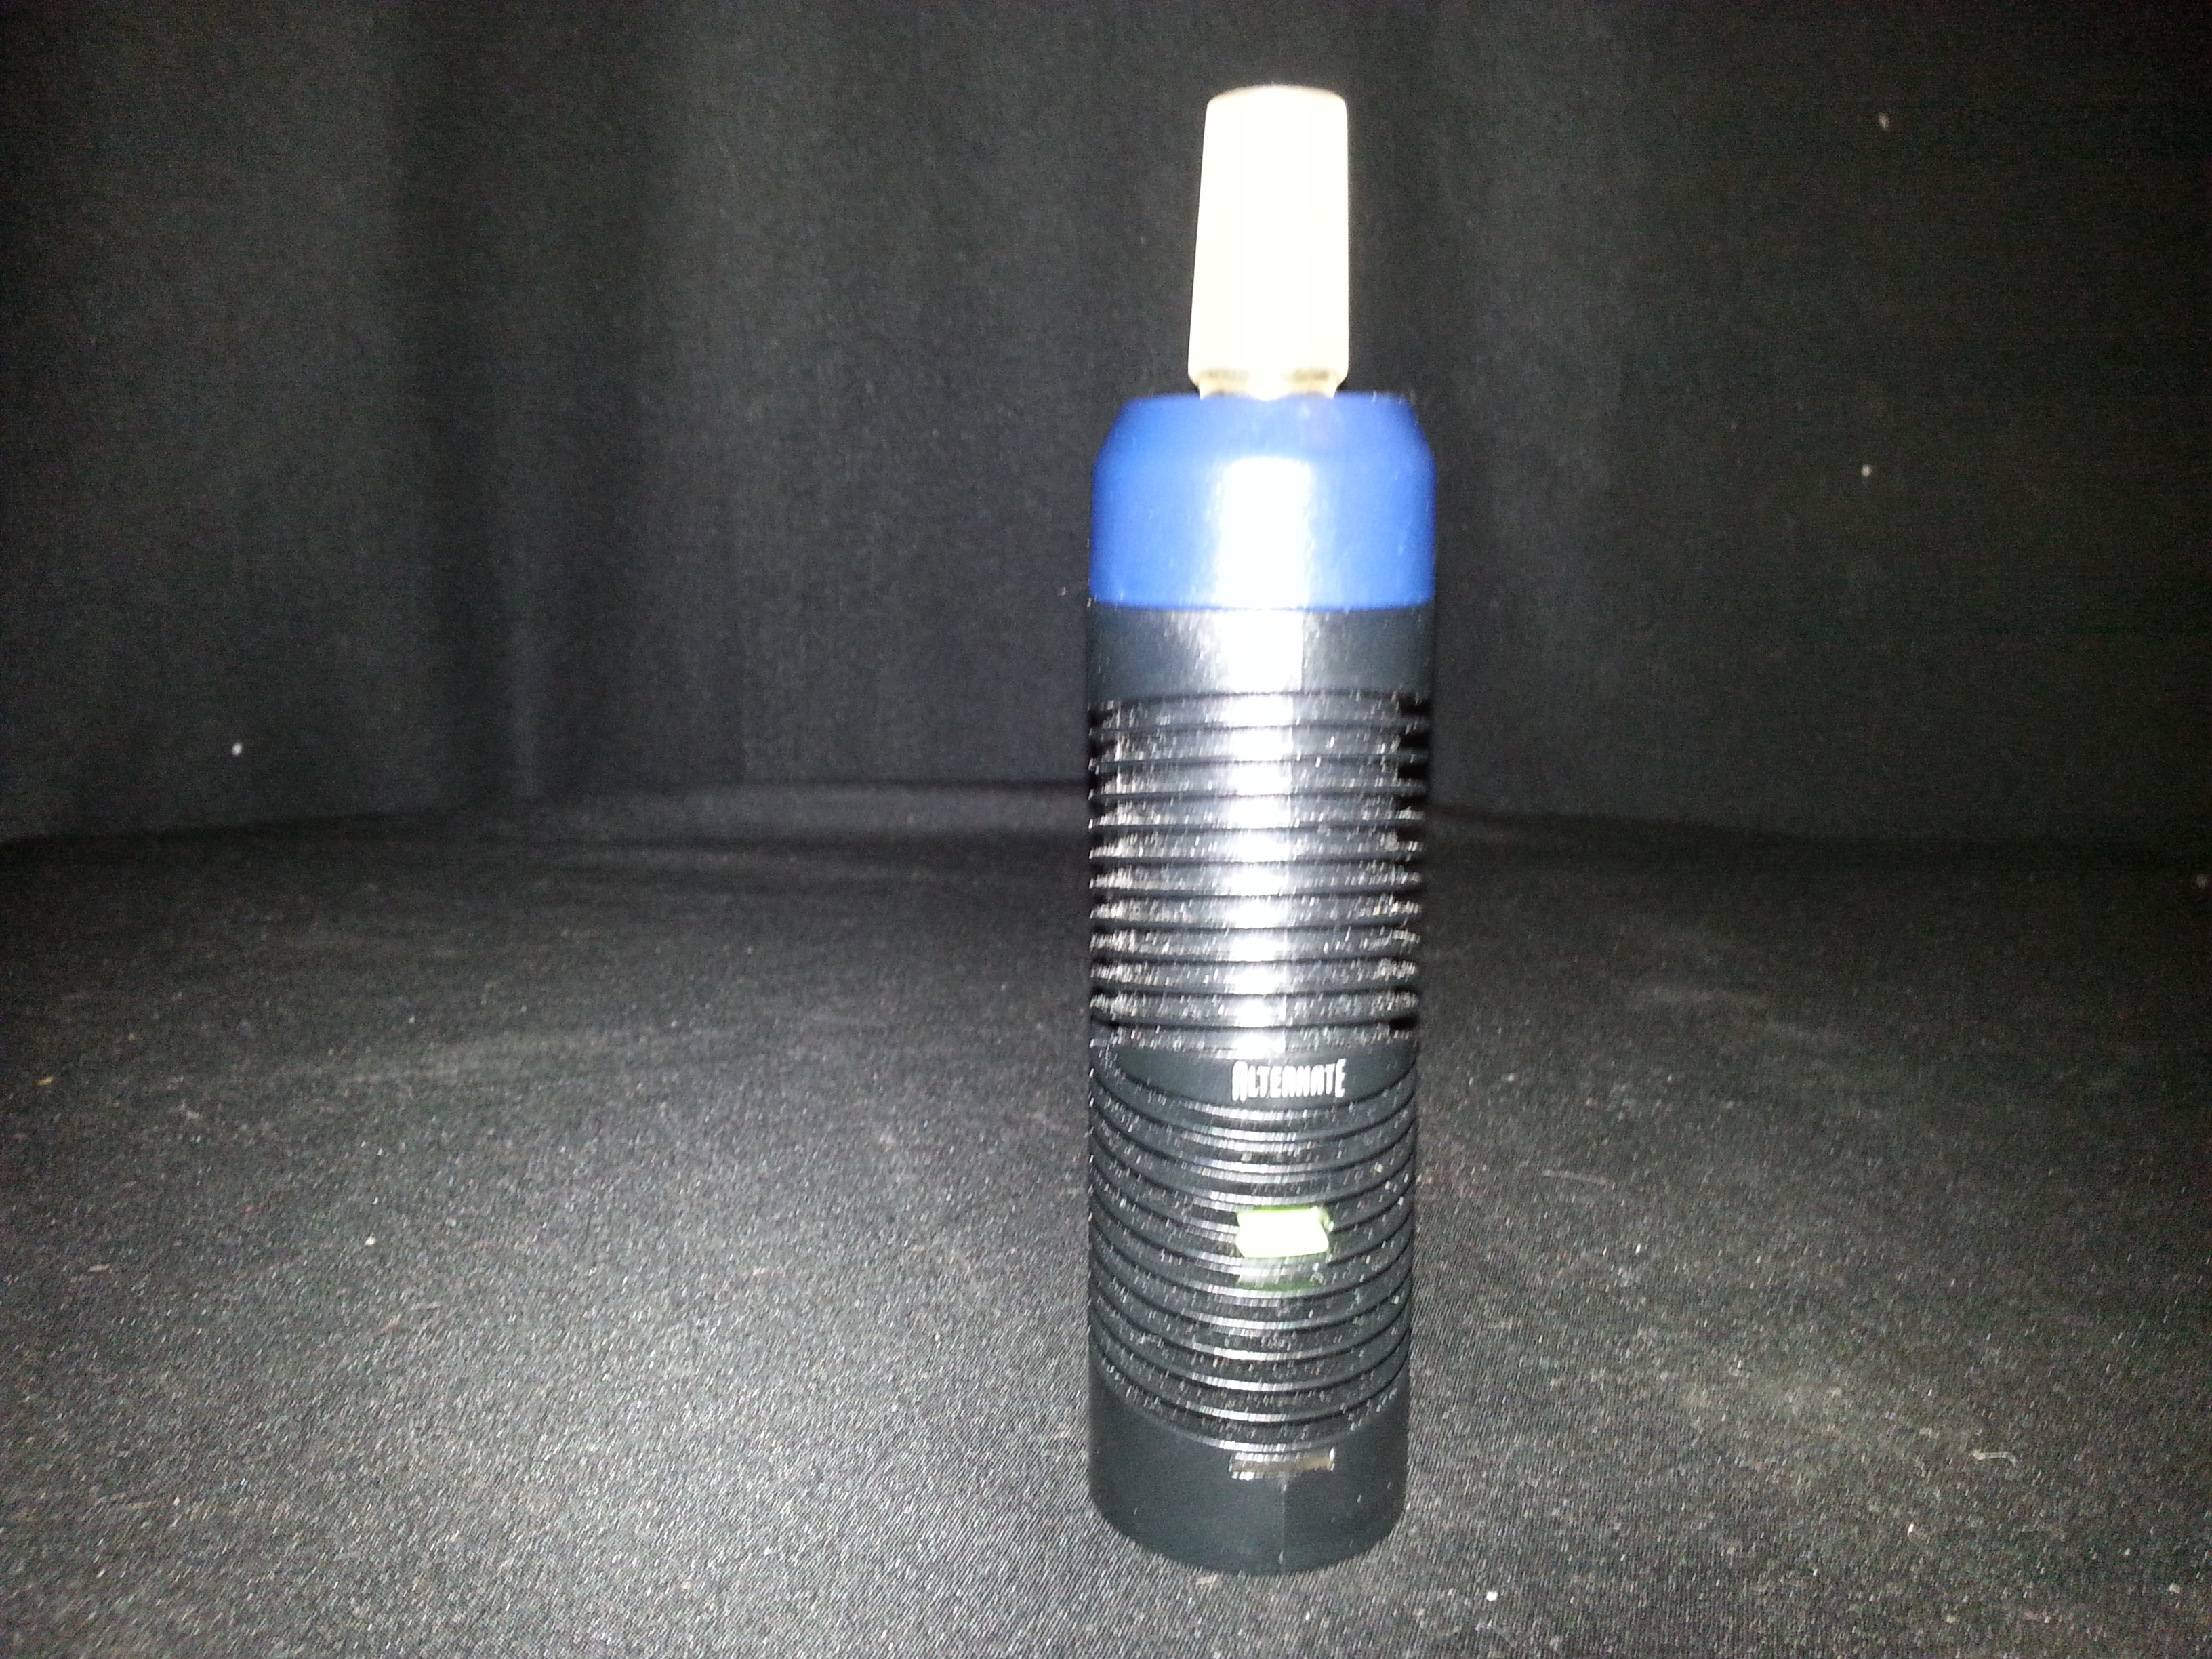
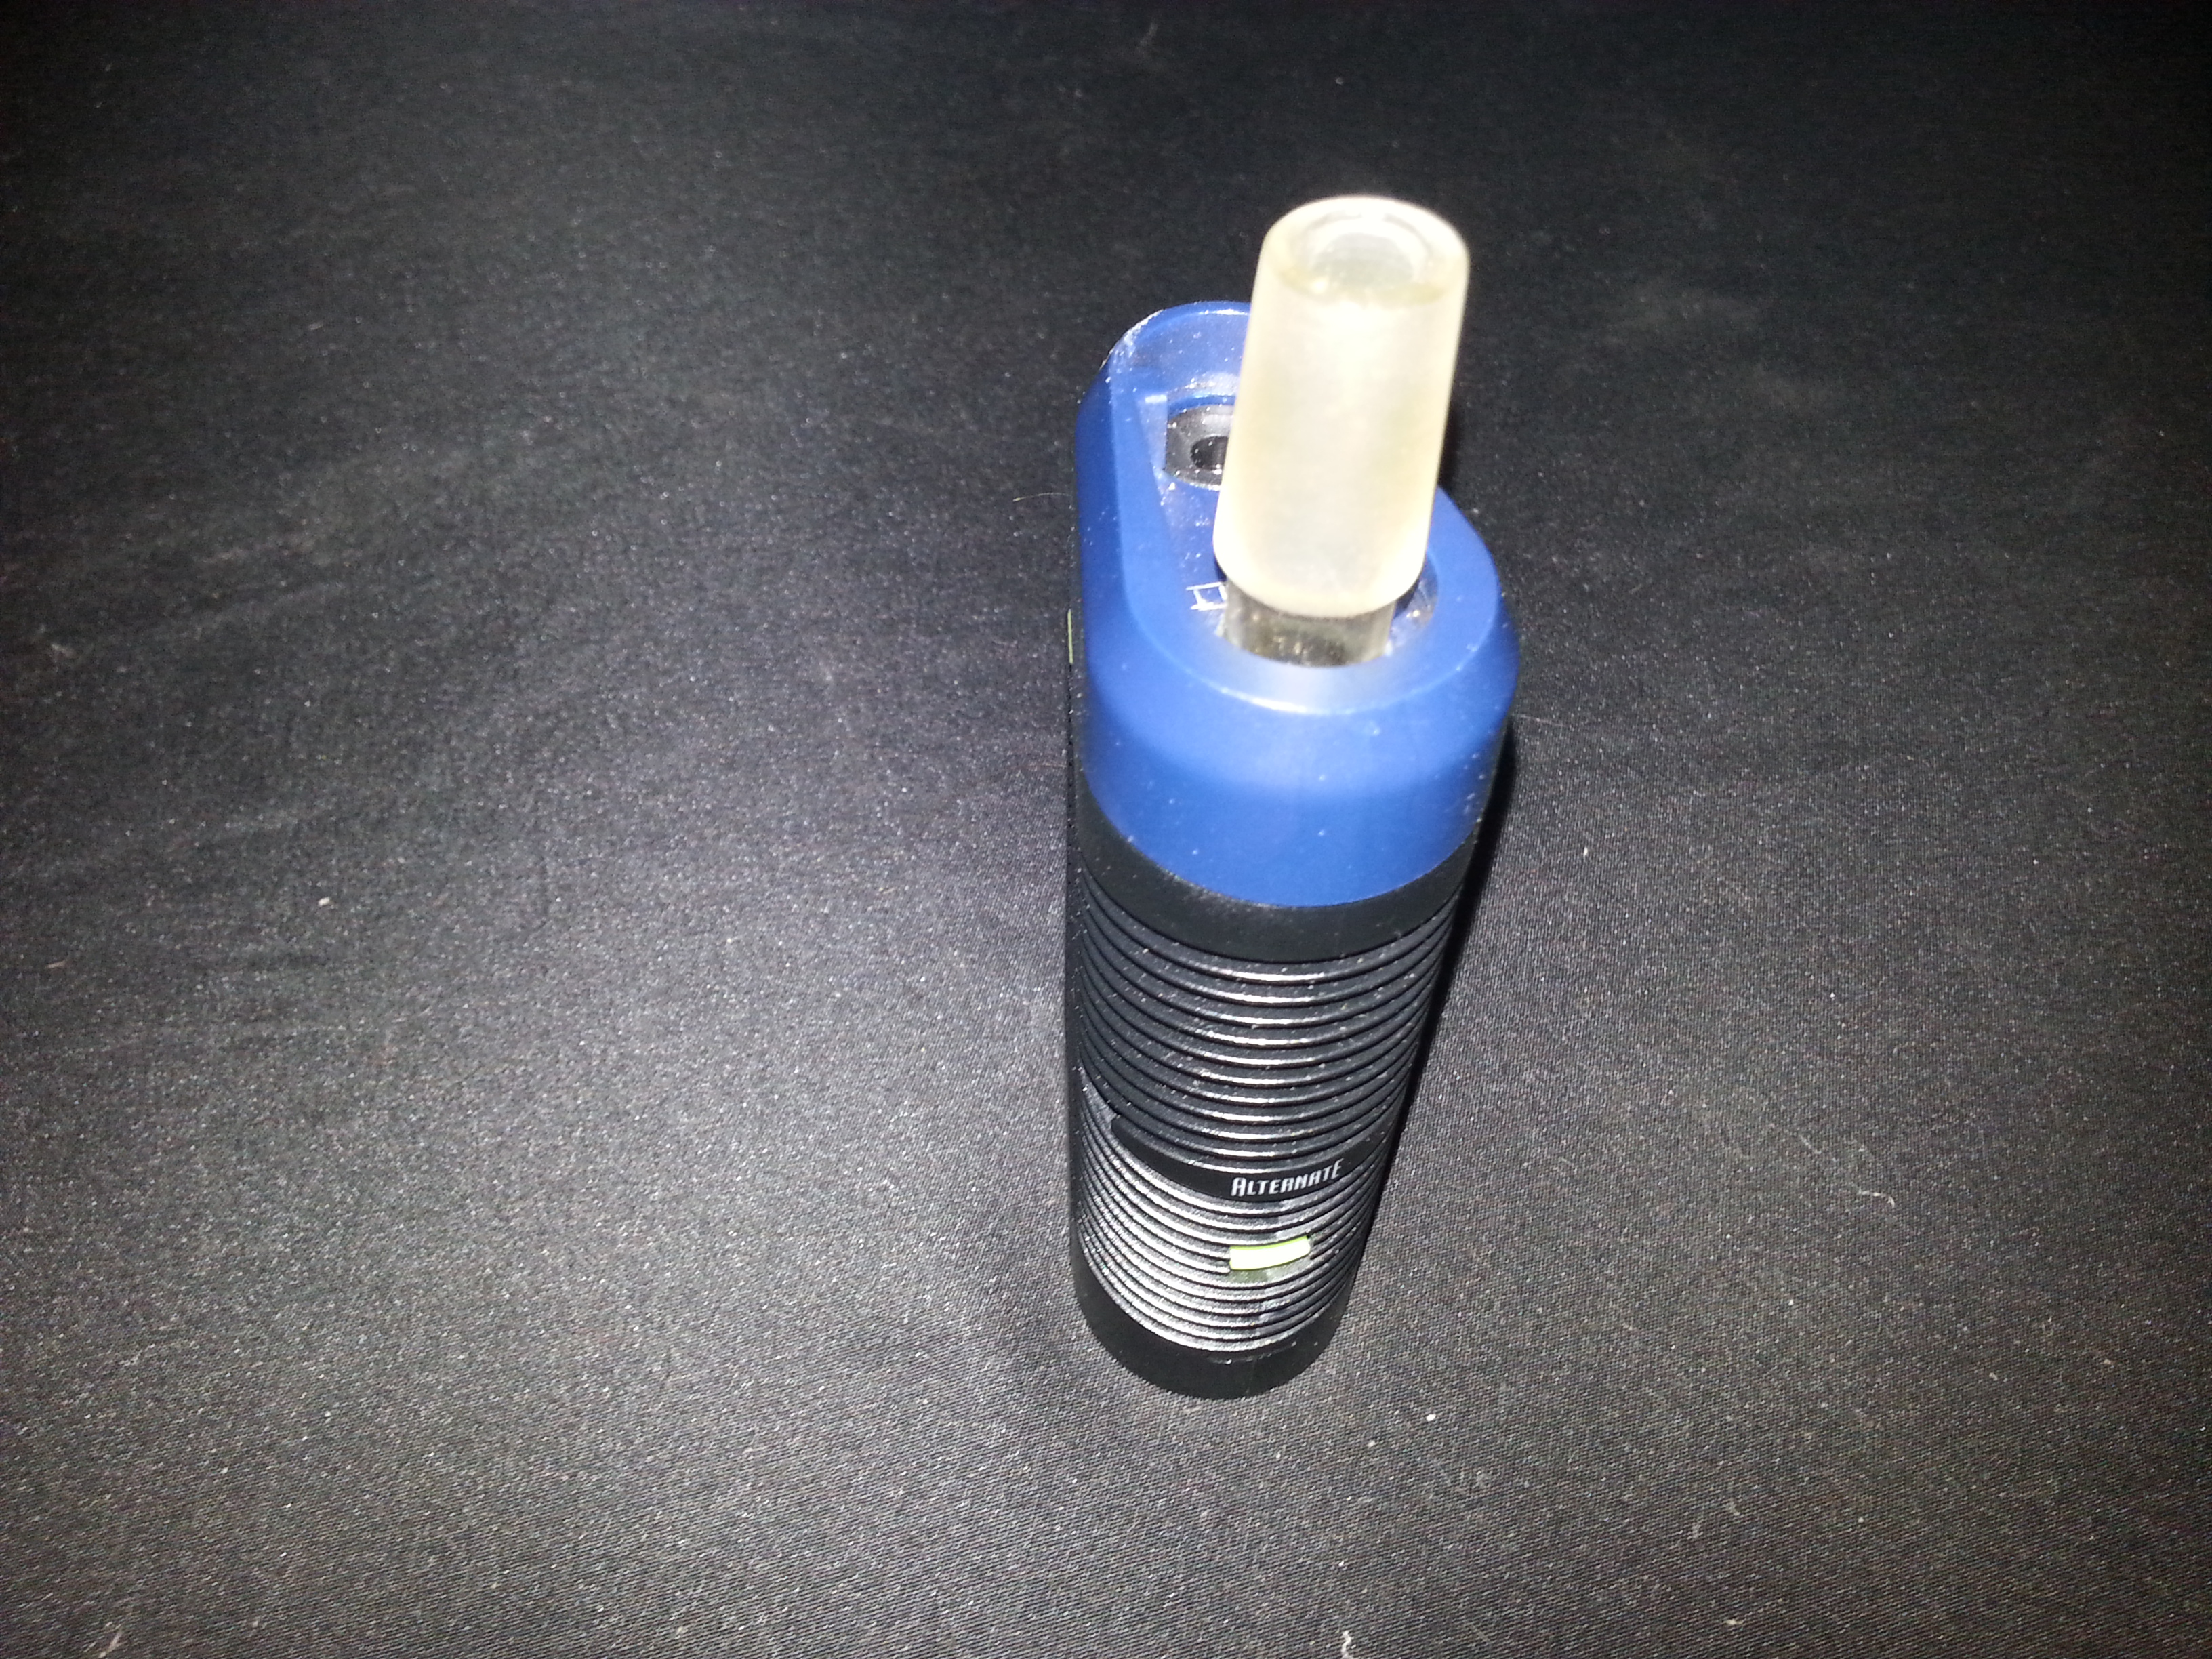
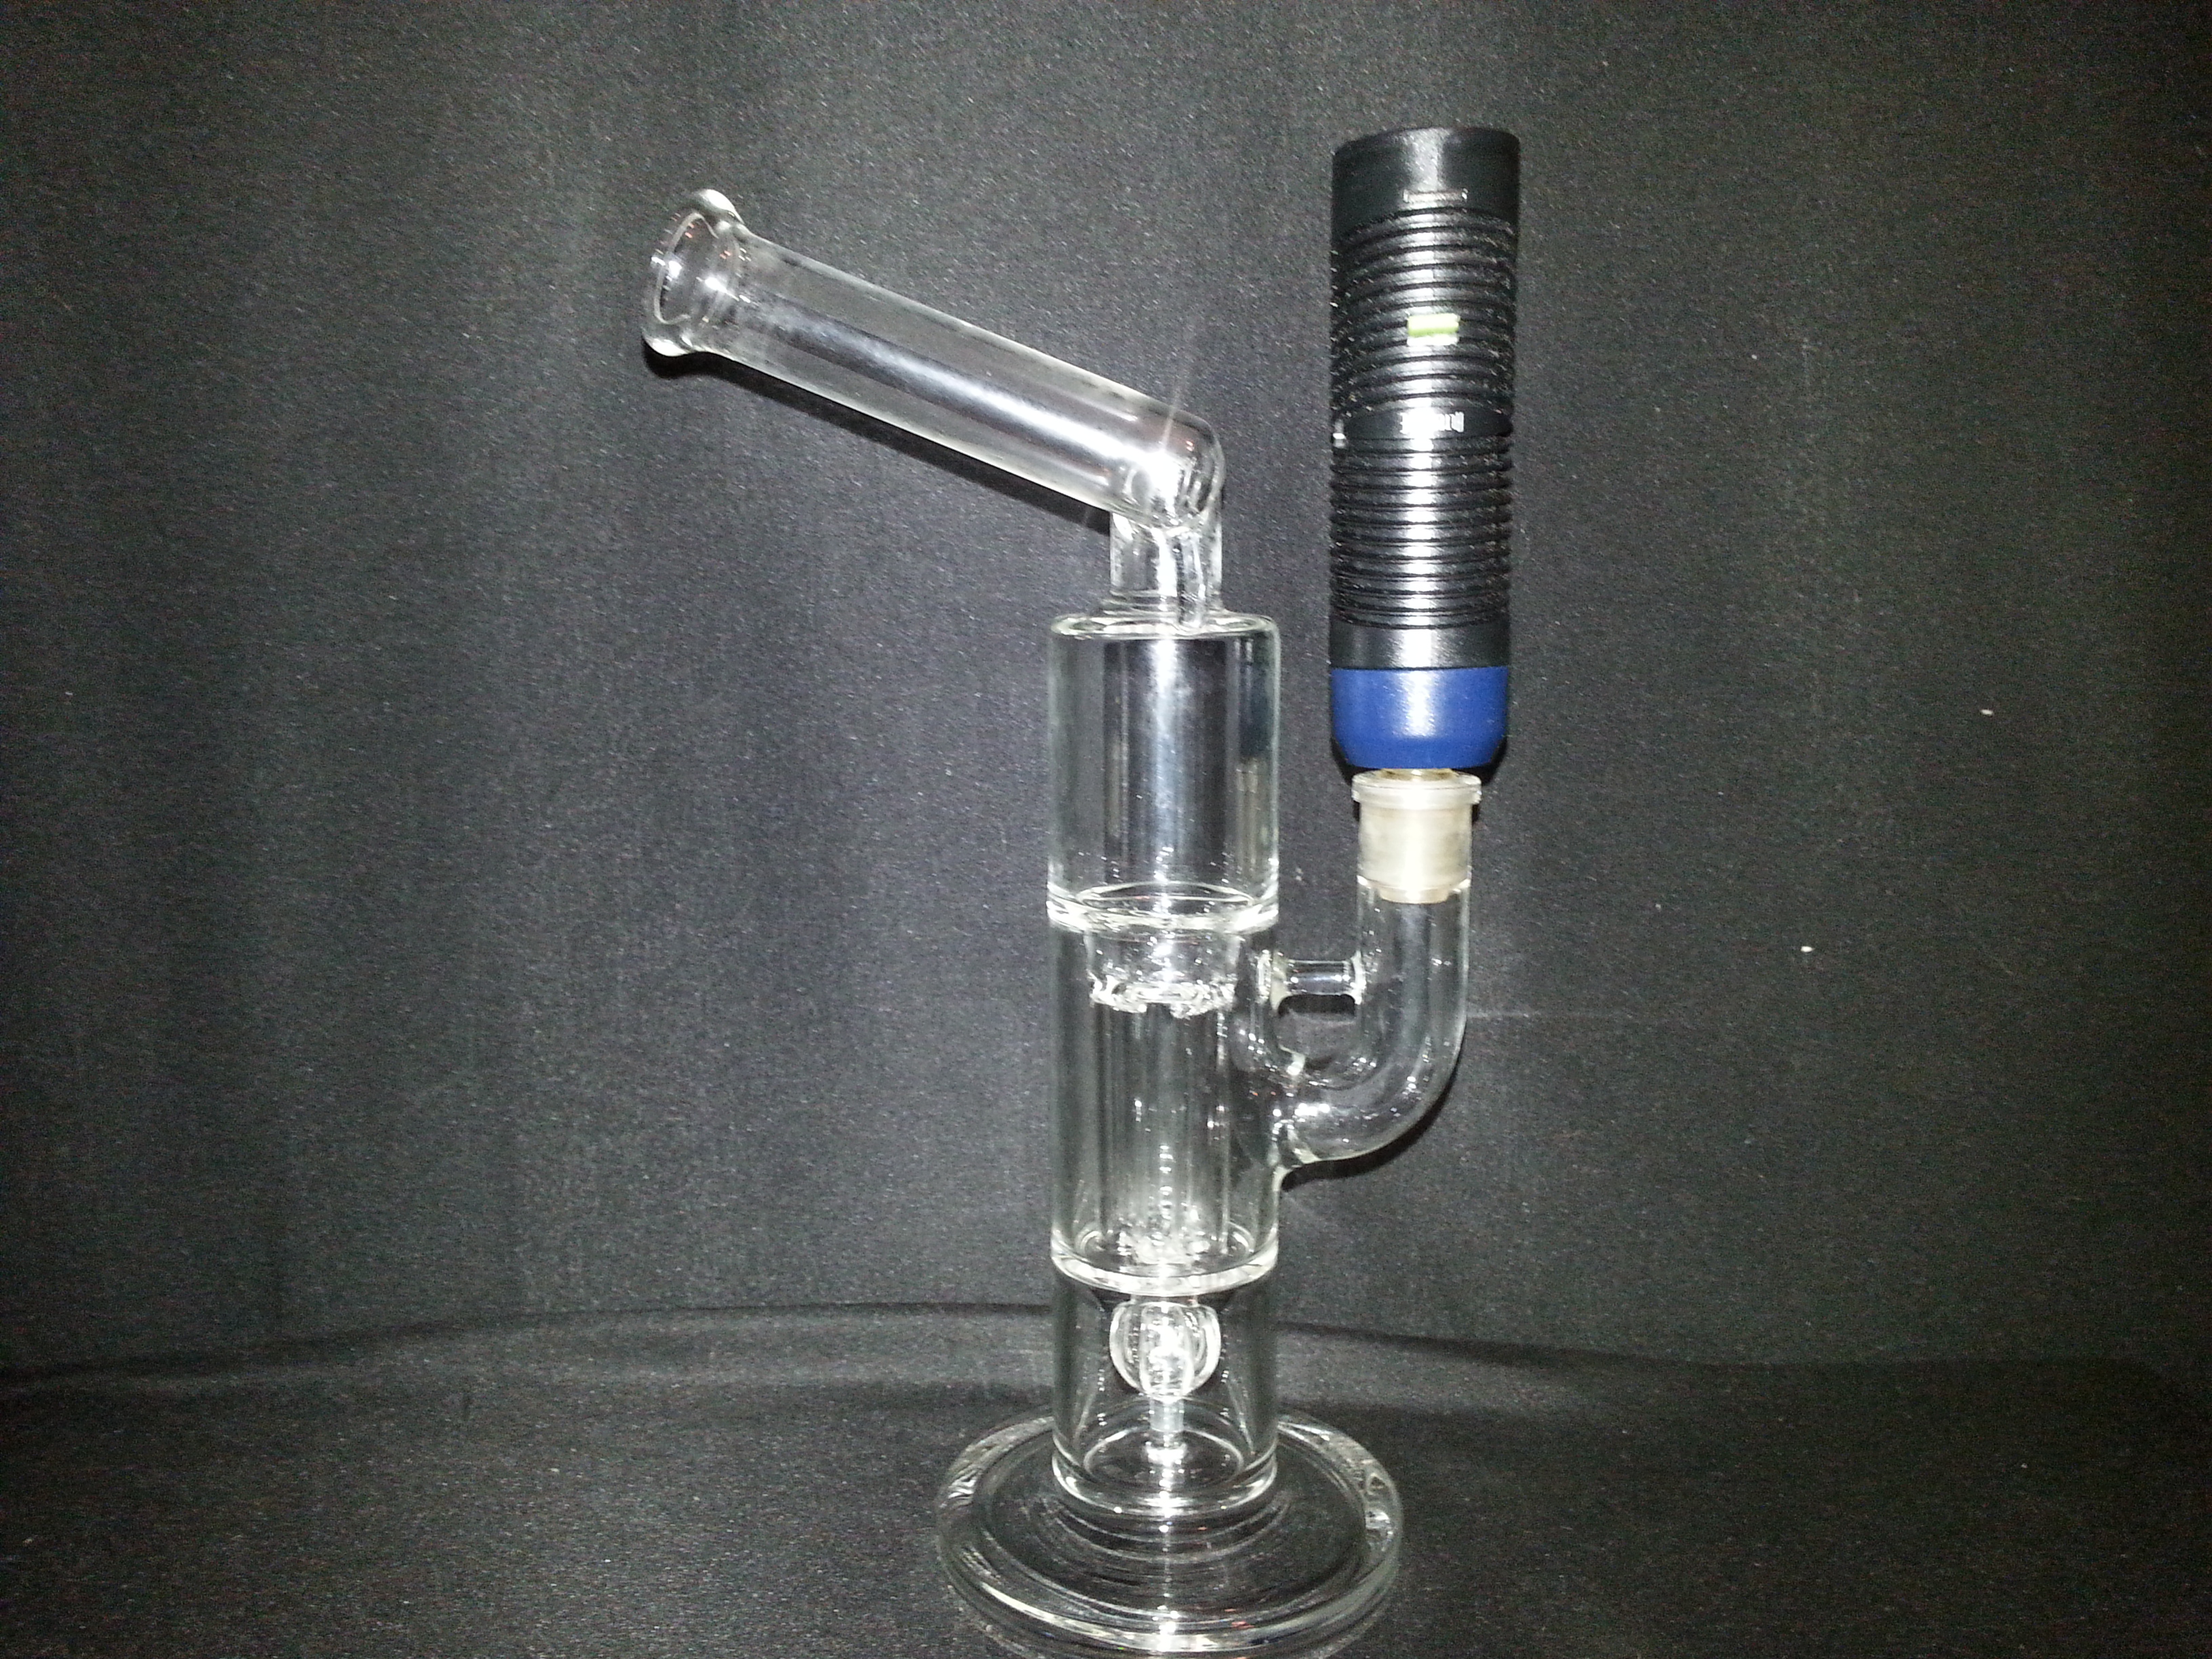
The WPA works fantastic! I used the blue cooling unit because it was a beta unit. The blue beta units have been upgraded internally and externally from the latest production black units.
Now that I know how easy it is I will make a matching black WPA. I wish I had a drill press!

Here are a couple videos for you all through a matrix and a peyote pillar at 365F. I am not a cloud chaser but the clouds are fantastic at low temps, but if you put this at 380F-390F.....WOW!
Enjoy!


