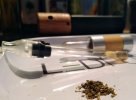
here’s some abv from the VH

Hi everybody,
I'm Daniel, the inventor of the Vaponic. Mistvaporizer sent me a Vaponic Heater (VH) and I've been testing it for about 10 days now. I bought a mod here in Spain which actually fits the VH very well aesthetically (next time I'll upload some pics) with a maximum power of 100W. The mod turns off automatically after 10 seconds of heating and what I normally do is to put the cold Vaponic into the VH and heat 3 x 10 seconds at 45W. That's actually it, it's giving me constant and excellent results. If you prefer less concentrated vapour then simply stop heating after e.g. 5 seconds during the last heating cycle. If you want to reheat then go for another 10 seconds at 45W. Needless to say that you can play around with the Watts and the seconds as you prefer, but what counts at the end of the day is that you can easily reproduce the same vaporizing experience (density & dosage) every single time. Congrats to Dave from Mistvaporizer! That said, I have added a small but in my opinion very useful improvement which makes it even better. As soon as I have talked about it with Mistvaporizer you'll find out. Stay safe!
I want to replicate your session and heating times with my Loxlux to compare!Hi everyone,
First of all, I apologize to Dave from Mistvaporizer ... I would have liked to post more messages here ...
In fact I did a lot of tests but I got lost a bit in the tests ... it was a bit tedious to transcribe ...
David's message from Vaponic helped me refocus!
Effectively using the mod cut function set to 10 seconds ... it makes the experience easier.
After several rather conclusive tests previously, I sacrificed myself and I tried again this morning!
Coil rated by the mod at 0.43 ohms. Setting at 45w.
I preheat the coil until it blushes. then I heat 3 X 10 seconds + about 5 seconds.
It fits my preferences perfectly!
With the base of 3 X 10, everyone can easily find their settings according to their preferences I think!
(Thanks David!). From that I did not have a single combustion anymore !!!
My difficulty remains rather on reheating the bowl. But today I had great results with 13 seconds ...
I'll wait a little (!!) and try again with these settings ! But i am really really happy for these results !
Honestly, i think that i didn't use my Tinymight since I have the VH... Or one session...
And i use my dynavap always less.
Sincerly, thanks a lot for your work gentlemen !!!!!
I'm so glad you finally join us here, I think you might have great success offering different Vaponics setups... I explain, why not to makes unbreakable units keeping the same heater idea using metal, wood+glass, ceramic, why not to add a air intake ring which permits to adjust airflow, why not to offer a concentrate dedicaced device (I know actual design works rather well but it's perfectible imho), a metal based unit (or metal outside and glass inside) might offer the possibility to use an induction heater which are very populars with the VapCap at the moment, I was thinking to a "big boy" unit for larger load with better heat retention (for group vaping... yes I know that's not something recommanded actuallyHi everybody,
I'm Daniel, the inventor of the Vaponic. Mistvaporizer sent me a Vaponic Heater (VH) and I've been testing it for about 10 days now. I bought a mod here in Spain which actually fits the VH very well aesthetically (next time I'll upload some pics) with a maximum power of 100W. The mod turns off automatically after 10 seconds of heating and what I normally do is to put the cold Vaponic into the VH and heat 3 x 10 seconds at 45W. That's actually it, it's giving me constant and excellent results. If you prefer less concentrated vapour then simply stop heating after e.g. 5 seconds during the last heating cycle. If you want to reheat then go for another 10 seconds at 45W. Needless to say that you can play around with the Watts and the seconds as you prefer, but what counts at the end of the day is that you can easily reproduce the same vaporizing experience (density & dosage) every single time. Congrats to Dave from Mistvaporizer! That said, I have added a small but in my opinion very useful improvement which makes it even better. As soon as I have talked about it with Mistvaporizer you'll find out. Stay safe!
 ), I think your vape is very good for that's sort of customizing. You made a great step forward with the Plus but it was only a nice Vaponic's box at the end... please we want to see Vaponic to improve!
Yes, that's would be nice but the glass isn't induction heat-able, that's why I suggested a stainless steel outer tube... or a sort of metal clip you place on the outer tube in order to heat it.The 510 mod adapter is a nice addition but imho it would be killer a wired up portable induction heater embracing the Vaponic and heating the tip, Evo's bamboo style. Just like Deluxe but with added heating element. It would be a truly portable Evo from a different company.
Thanks for all your ideas and suggestions! Let me try to answer:I'm so glad you finally join us here, I think you might have great success offering different Vaponics setups... I explain, why not to makes unbreakable units keeping the same heater idea using metal, wood+glass, ceramic, why not to add a air intake ring which permits to adjust airflow, why not to offer a concentrate dedicaced device (I know actual design works rather well but it's perfectible imho), a metal based unit (or metal outside and glass inside) might offer the possibility to use an induction heater which are very populars with the VapCap at the moment, I was thinking to a "big boy" unit for larger load with better heat retention (for group vaping... yes I know that's not something recommanded actually
About the @mistvaporizer ideas it's a great thing, I made something like that but it's very crude (and dangerous to use), just a base with a coil made of 2 wires in parallel with spires large enough to fit the Vaponic, used in power mode around 30w if I remenber well, initial heat up was in the 20s range but when it's hot just 7-8s are enough but I usually continue with pulse tek while hitting the Vaponic. Impressed how a tiny load can last long using that sort of heaters if you take care to not overheat. I think a TC mode would work better but it appears my parallel wires and TC aren't friendly (constantly jump back in power mode).
If it appears you release a new model I will be in first line to buy it!
") many users like myself just don't need it. The effect you can get out of one small Vaponic load is literally mind-blowing I believe. And you can always go for two or more if you feel like it. 4) As for your proposal to include an air intake ring which permits to adjust the airflow, you can already do so with the current version by adjusting the position of the inner tube. The closer the inner tube's upper end gets to the mouthpiece (eventually touching it if you choose), the less air will mix with the vapour. On the other hand you get the full additional airstream by pushing the inner tube inside the outer tube so that the heating chamber eventually touches the inside end of the outer tube. This is my preferred and recommended way of using the Vaponic because I find the air-vapour-ratio to be ideal. It's cools the vapour down and allows you to inhale directly and deeply to your lungs as if you were breathing fresh mountain air .-) Obviously this also depends on you preferred vaporizing temperature, if you enjoy heating up your Vaponic until close to combustion, then that mountain air will be pretty cloudy.
many users like myself just don't need it. The effect you can get out of one small Vaponic load is literally mind-blowing I believe. And you can always go for two or more if you feel like it. 4) As for your proposal to include an air intake ring which permits to adjust the airflow, you can already do so with the current version by adjusting the position of the inner tube. The closer the inner tube's upper end gets to the mouthpiece (eventually touching it if you choose), the less air will mix with the vapour. On the other hand you get the full additional airstream by pushing the inner tube inside the outer tube so that the heating chamber eventually touches the inside end of the outer tube. This is my preferred and recommended way of using the Vaponic because I find the air-vapour-ratio to be ideal. It's cools the vapour down and allows you to inhale directly and deeply to your lungs as if you were breathing fresh mountain air .-) Obviously this also depends on you preferred vaporizing temperature, if you enjoy heating up your Vaponic until close to combustion, then that mountain air will be pretty cloudy. Forgive me my curiosity, but I'm very curious about the small improvement. I'm also very curious if the heater will be available in the EU @mistvaporizer.That said, I have added a small but in my opinion very useful improvement which makes it even better. As soon as I have talked about it with Mistvaporizer you'll find out. Stay safe!
Hey the improvement is a silicone rubber seal in the wood so it is more user friendly. I'm getting some of the rings and will figure out how to install them. Then I'll post some pics.Forgive me my curiosity, but I'm very curious about the small improvement. I'm also very curious if the heater will be available in the EU @mistvaporizer.
Thanks to the activity in this thread I used my Vaponic quite a lot this week. It's the only vape I know of at that offers such smooth and tasty vapor without the need for extra accessories or water tools.
Also a big pro: it is so easy to clean with a alcohol wipe or some ISO and a Q-tip.


I purchased a Vaponic a little over a year ago, but it's only gotten occasional use. The learning curve on this one is a little steeper than others for me and as a result, I haven't spent the requisite time needed to achieve good results consistently. I think if the Vaponic were the only device I had, I would have kept trying with it ultimately aiming to master the technique required. The issue is that when I've got a half dozen or so other devices I'm more familiar with and can use successfully with less effort, it's easy to set this one aside and pick up something else to use when frustration arises. I did occasionally have a good session with it and when I did, the experience was very enjoyable. I think this is why I didn't completely set the device aside given the difficulty I had and also why I was interested in the Mistvape heater even back when it was a hypothetical point that came up during the Beast heater discussion.
I recently had a chance to acquire one, so I jumped on it. For me using the heater has changed this vape from one that I use once in a blue moon when the thought occurs to me, to one that I'm certain will be used regularly, if not daily going forward.
I posted a review and video earlier on Reddit, but there were a few clarifications and things that I wanted to expand on, so I decided to retool that and post here.
As expected, the heater takes a lot of the complication with technique out of the equation and provides a consistent experience that's easy to replicate. I had an expectation going in that the experience with the heater would be akin to a Vapman + station or a VapCap + induction heater. It's in the same ballpark, but naturally since it doesn't have passive indicators like the lights on the station or the click of the VapCap, a little more attention needs to be paid during heat up in order to get good results.
I have been loading the vape consistently with amounts in the 0.05g-0.09g range, and I am still finding it quite potent. Aside from the efficiency realized with smaller amounts, I found overfilling the chamber could sometimes lead to material spilling out into the outer tube, which often caused charring and affected taste significantly. I generally find I have to clean when this happens and this is mainly why I've been avoiding using ground up material by just tearing off small chunks to shove into the chamber. I believe the smaller chunks also yields better flavour, but more testing needs to be done in that regard.
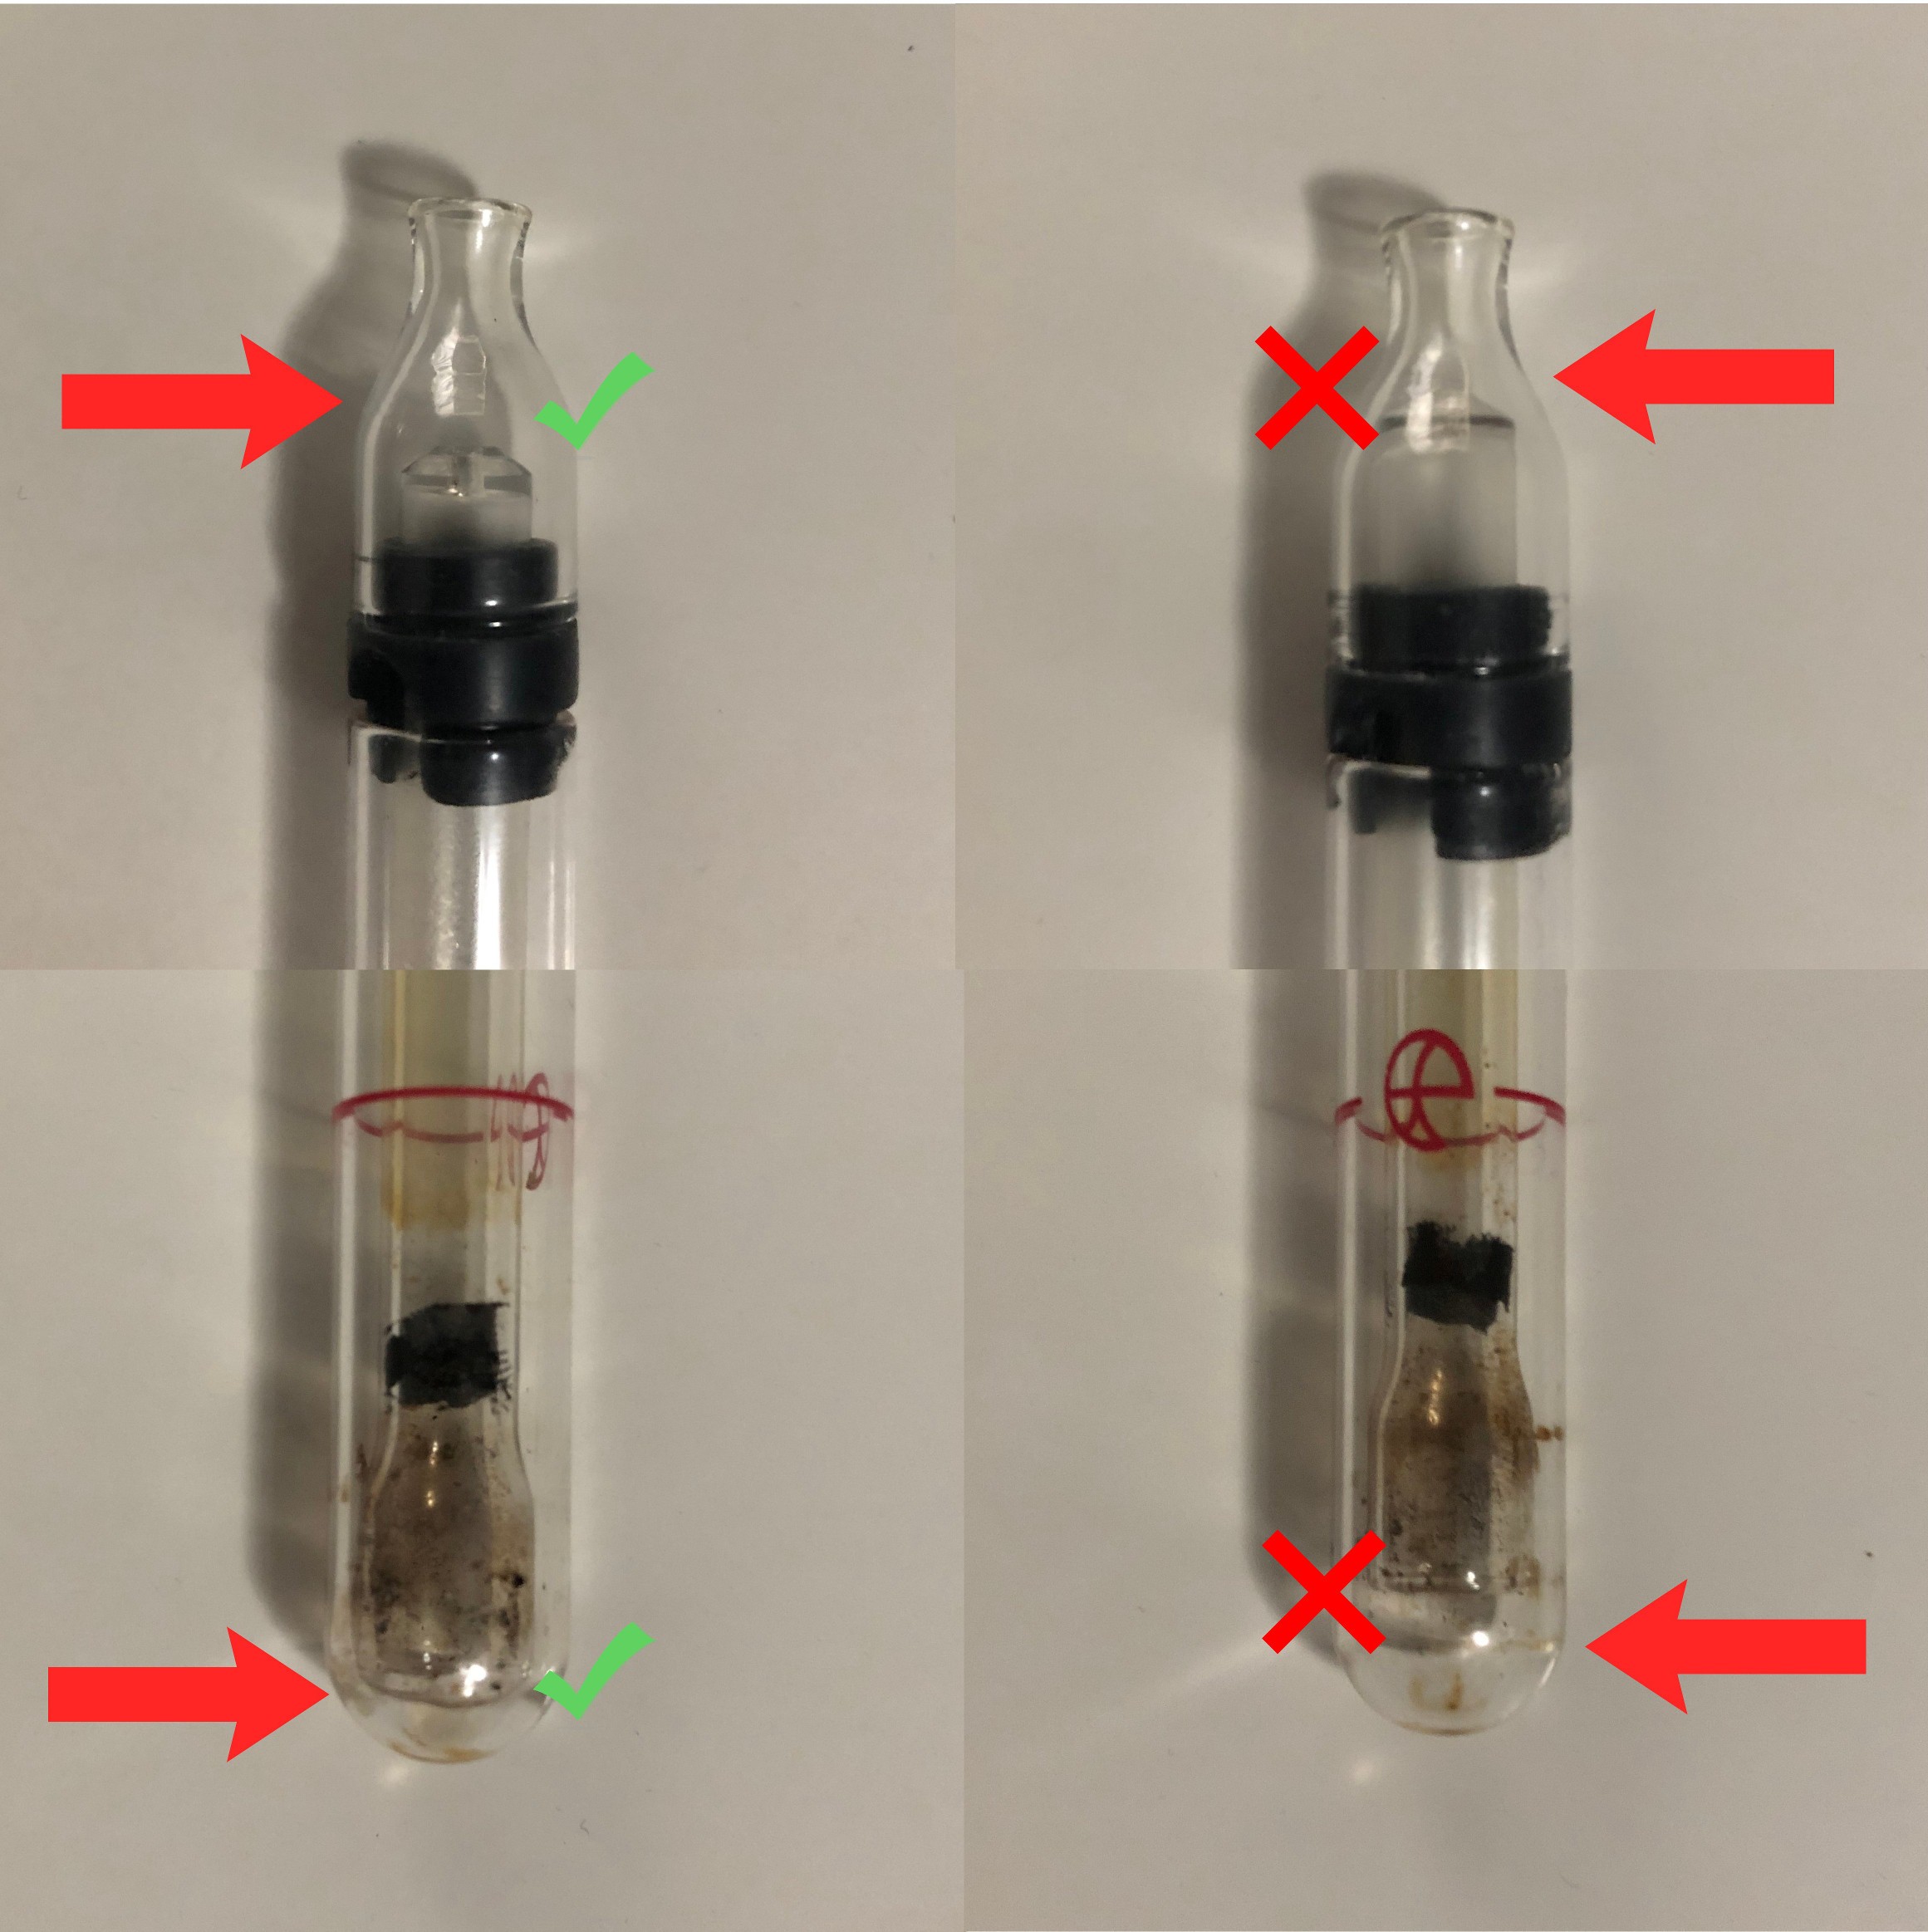
Another thing I happened to notice was that the positioning of the inner tube makes a significant difference on heat up due to the positioning of the coils. Placing the inner tube higher up will expose the chamber load directly to the heat, and I find more often than not, this gives a charred flavour right off the bat with the initial heat up. Placing the inner tube all the way down allows for the load to be heated indirectly and slower which seems to help avoid charring. Here is an image to illustrate the inner tube placement:
I assume when using a torch, issues with inner tube placement can be mitigated with your heating technique, but due to the fixed position of the heating element, it seems to me like the best placement for the tube is as illustrated above when using the heater, unless you use much shorter heating times or you enjoy the char.
Edit: It seems I ran into some copyright violations due to my bgm. I am uploading a video-only version now, the video link should correct itself shortly.
In the demo below, I wasn't paying attention and I set the inner tube in the upper position and this caused some charring on the first hit. I corrected off-camera after the 2nd heat cycle, but the flavour was already shot by that point.
The right mod box will also drastically alter the experience for the better. The main factor in selecting a mod for the purposes of the heater should be custom firmware compatibility, IMO. This is mainly due to the fact that custom firmware will allow you to set the firing timeout to up to 60 seconds or more. Without it, you will generally be limited to 10-15 seconds, which, while usable, is not as convenient. I have personally found a 35 second heat up from cold and 18-20 seconds for subsequent heatings with the mod set to 42w to suit my purposes. Having a custom firmware capable mod will allow you to set your timeout to your maximum cold start firing timing, (35 seconds in my case) which will completely automate your first heat cycle. Subsequent heat cycles you will need to keep an eye on and either stop the mod firing cycle or pull out the Vaponic at the appropriate moment. Without custom firmware, you will need to watch the mod constantly and re-engage the heater every 10-15 seconds as it times out for every single heat cycle.
I have been using both a Wismec Reuleaux RX GEN3 Dual and a Wismec Sinuous P80. I've noticed that the 2 battery unit seems to last much longer than the single. I had assumed that a 2 battery unit would last about twice as long, but that doesn't seem to be the case. From what I could tell, I was getting what felt like significantly more than double the amount of sessions as I had with the single, but it wasn't something I kept track of so I'm not 100% sure on this. Having a 2 or 3 battery unit, in addition to giving great battery life, also has the added benefit of providing a wider, more stable base that helps with one-handed insertion and removal for those who have the heater with the o-ring modification discussed earlier in the thread.
If any one is interested, I've uploaded my Arctic Fox configuration here. It's just a simple wattage profile, but it contains all of the settings I have been testing successfully with over the past few days.
For me, the Mistvape heater really elevates the Vaponic experience. As previously mentioned, much like an induction heater for VapCaps and the Station for the Vapman, it takes a lot of the technique required out of the equation and simplifies the experience. All the enjoyment of the vape, with only a fraction of the effort required. A+.
Thnx for the great write-up! This sparks my interest for the heater even more.
@Vaponic Team will there ever be an official heater for the Vaponic or a collab with @mistvaporizer to bring it to the EU?
 although I enjoy the torch ritual with the vaponic. But I agree that a Vaponic-Heater would be a nice addition and for some people a helpful approach to this great device like for others the IH for VC or the Station for the VM.

So would I. Just don't know how to heat the glass? Must be a simple solution.I really want to try one of these using an induction heater.

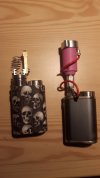
I have been enjoying my time with the Vaponic and MistVape heater so much, that I ordered two more on the weekend and they landed this morning:
I just felt compelled to complete the set.
To add a little to my write up above, one of the other things I'm noticing is that using small chunks works great, and a very clean, particle free honey develops in the stem very quickly. I can't say when for certain, but it definitely starts to become noticeable within a few uses from a clean device. Chunks also have the benefit of keeping the screen relatively clear and obstruction free. Reclaim builds up around the sides of the screen, but the air path stays pretty clear in general.
I've found that I've had to clean the device more because the mouthpiece had gotten too sticky more so than issues with diminished function. I probably could have just rinsed off the mouthpiece in ISO, but I just chose to clean the entire unit at that point.
Regarding the Vaponic Plus, I've found using it to be a little cumbersome to be honest. The threading is extremely short so it is about as convenient as possible, but after a while I found removing and screwing on the cap 3-4 times a session to be a little tiresome. I does feel like it helps to retain heat longer, but the Mistvape heater kind of reduces the urgency to maintain heat level on account of being so easy to get the unit back to vaping temp. I was thinking that maybe magnetic connections may make this a less frustrating experience and am currently looking into the possibility of a custom Plus casing.
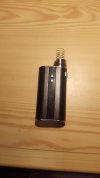
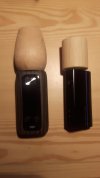
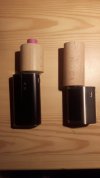
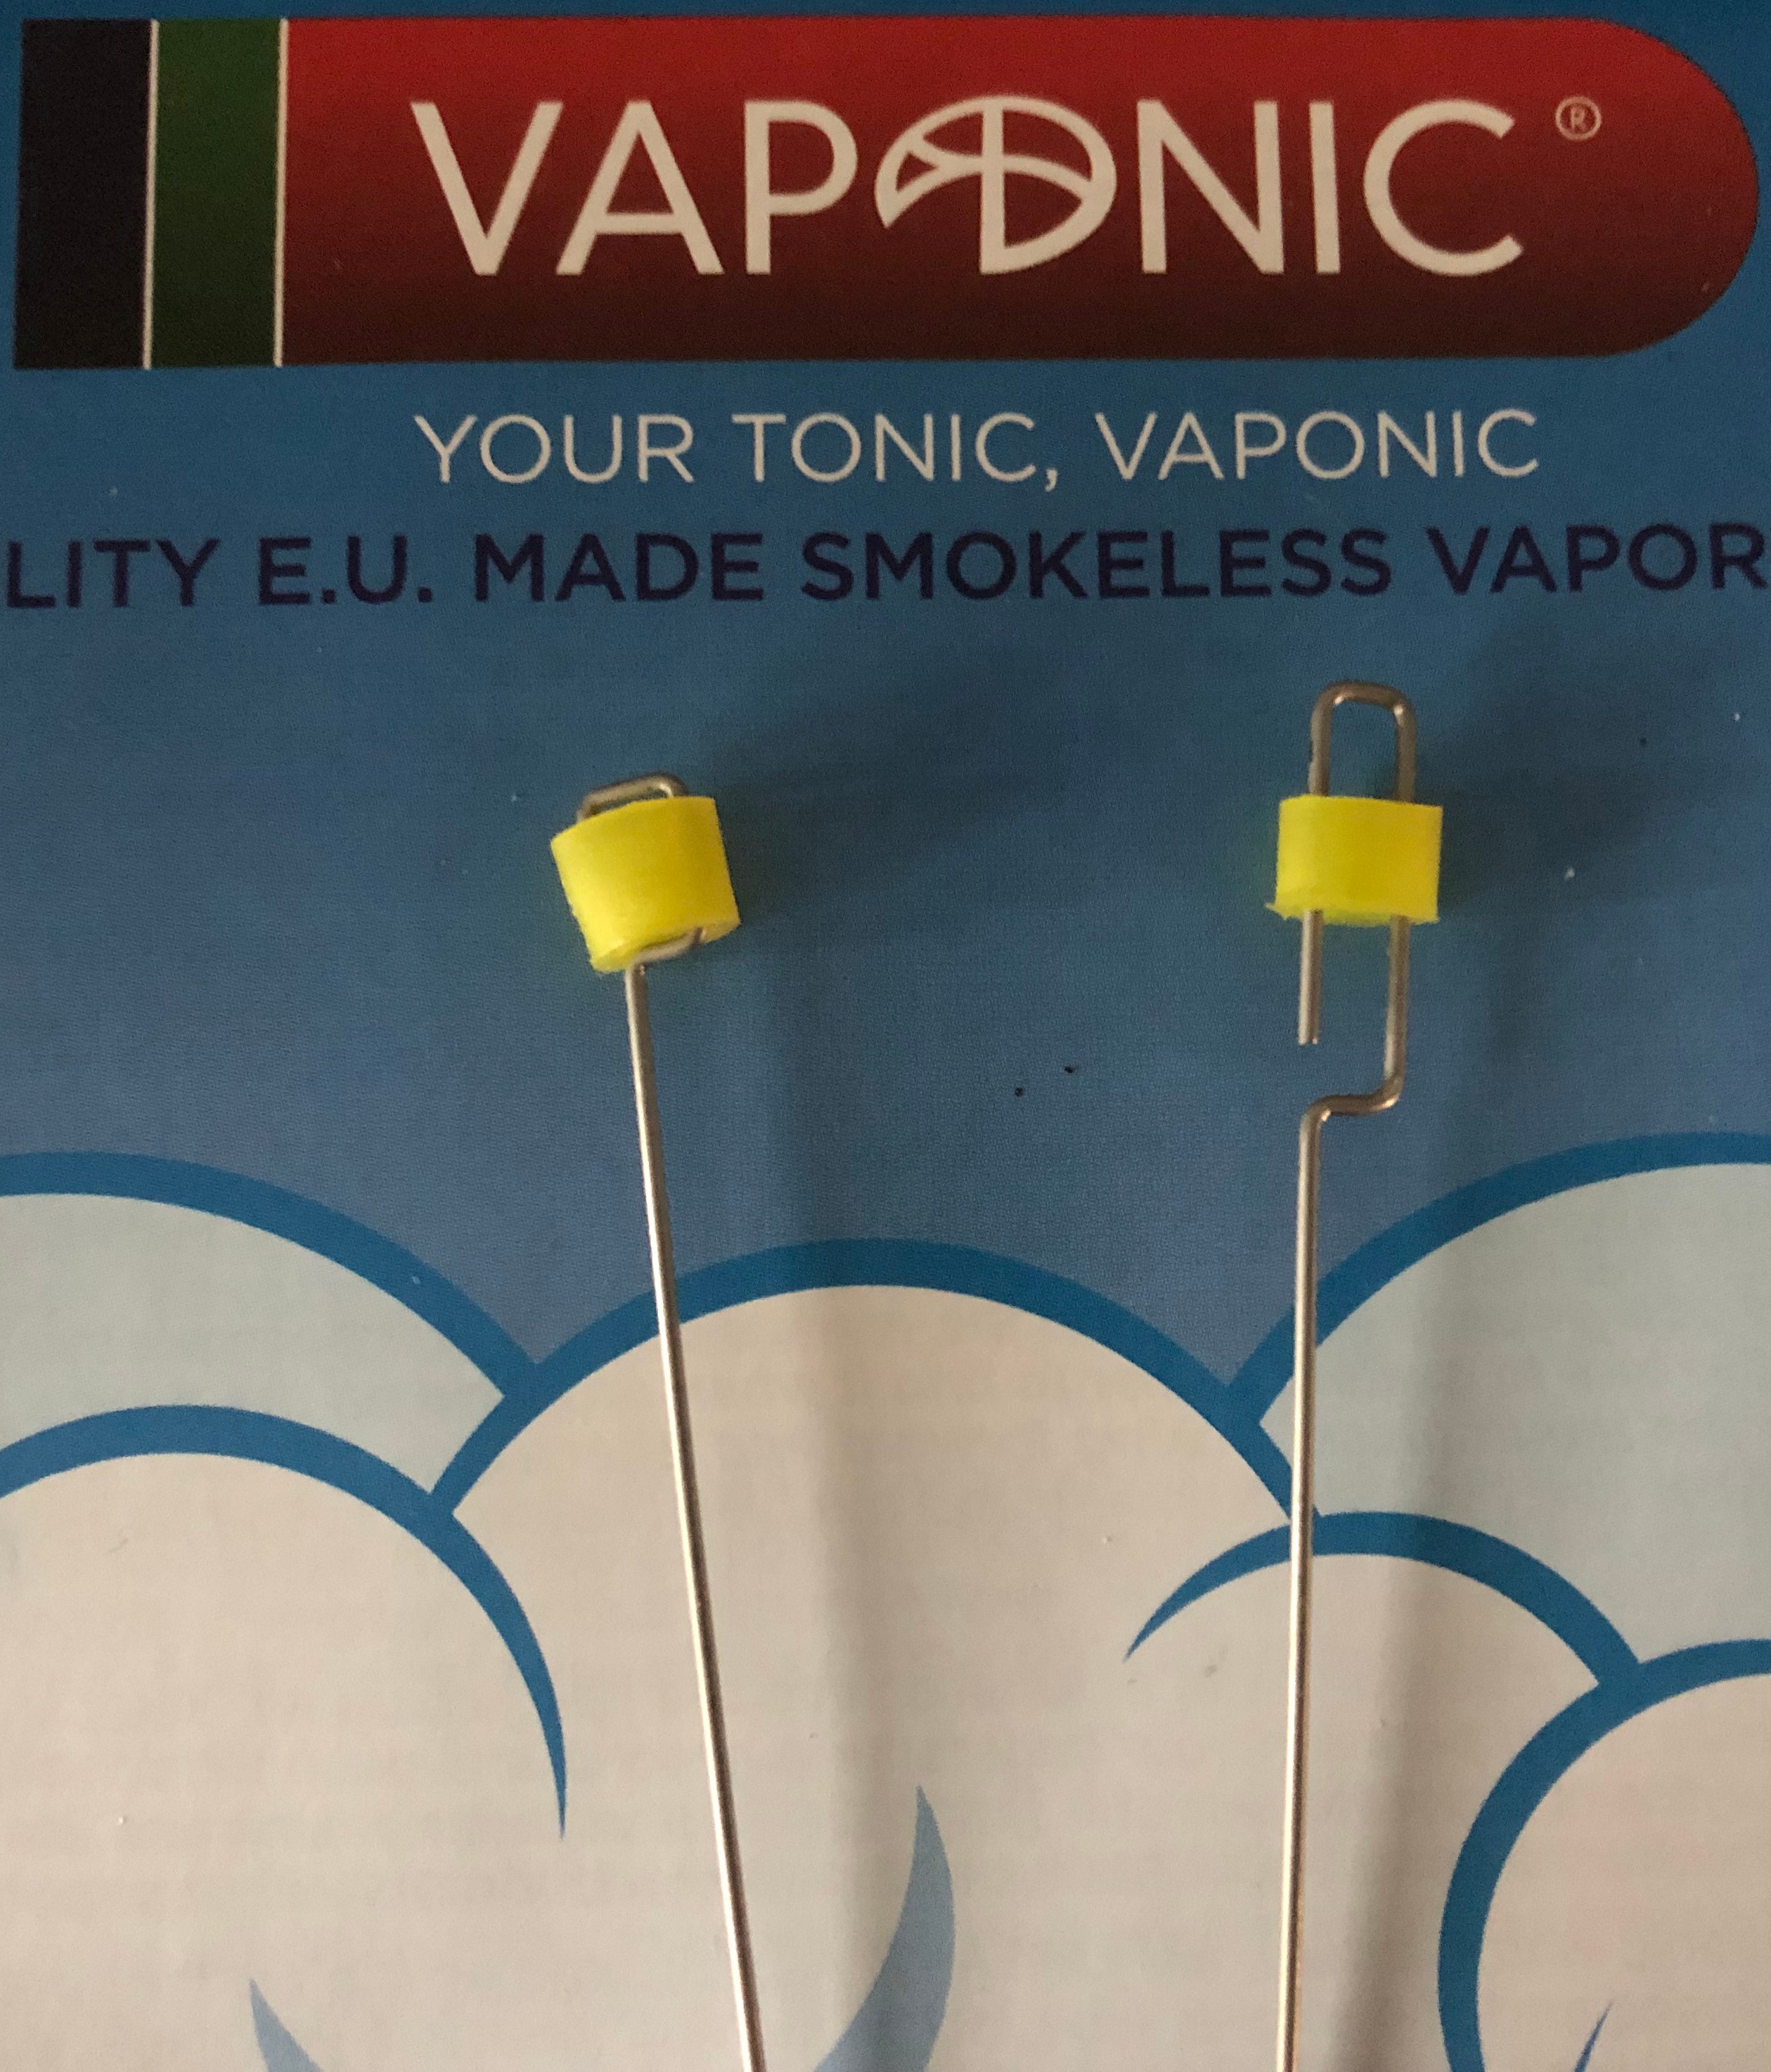
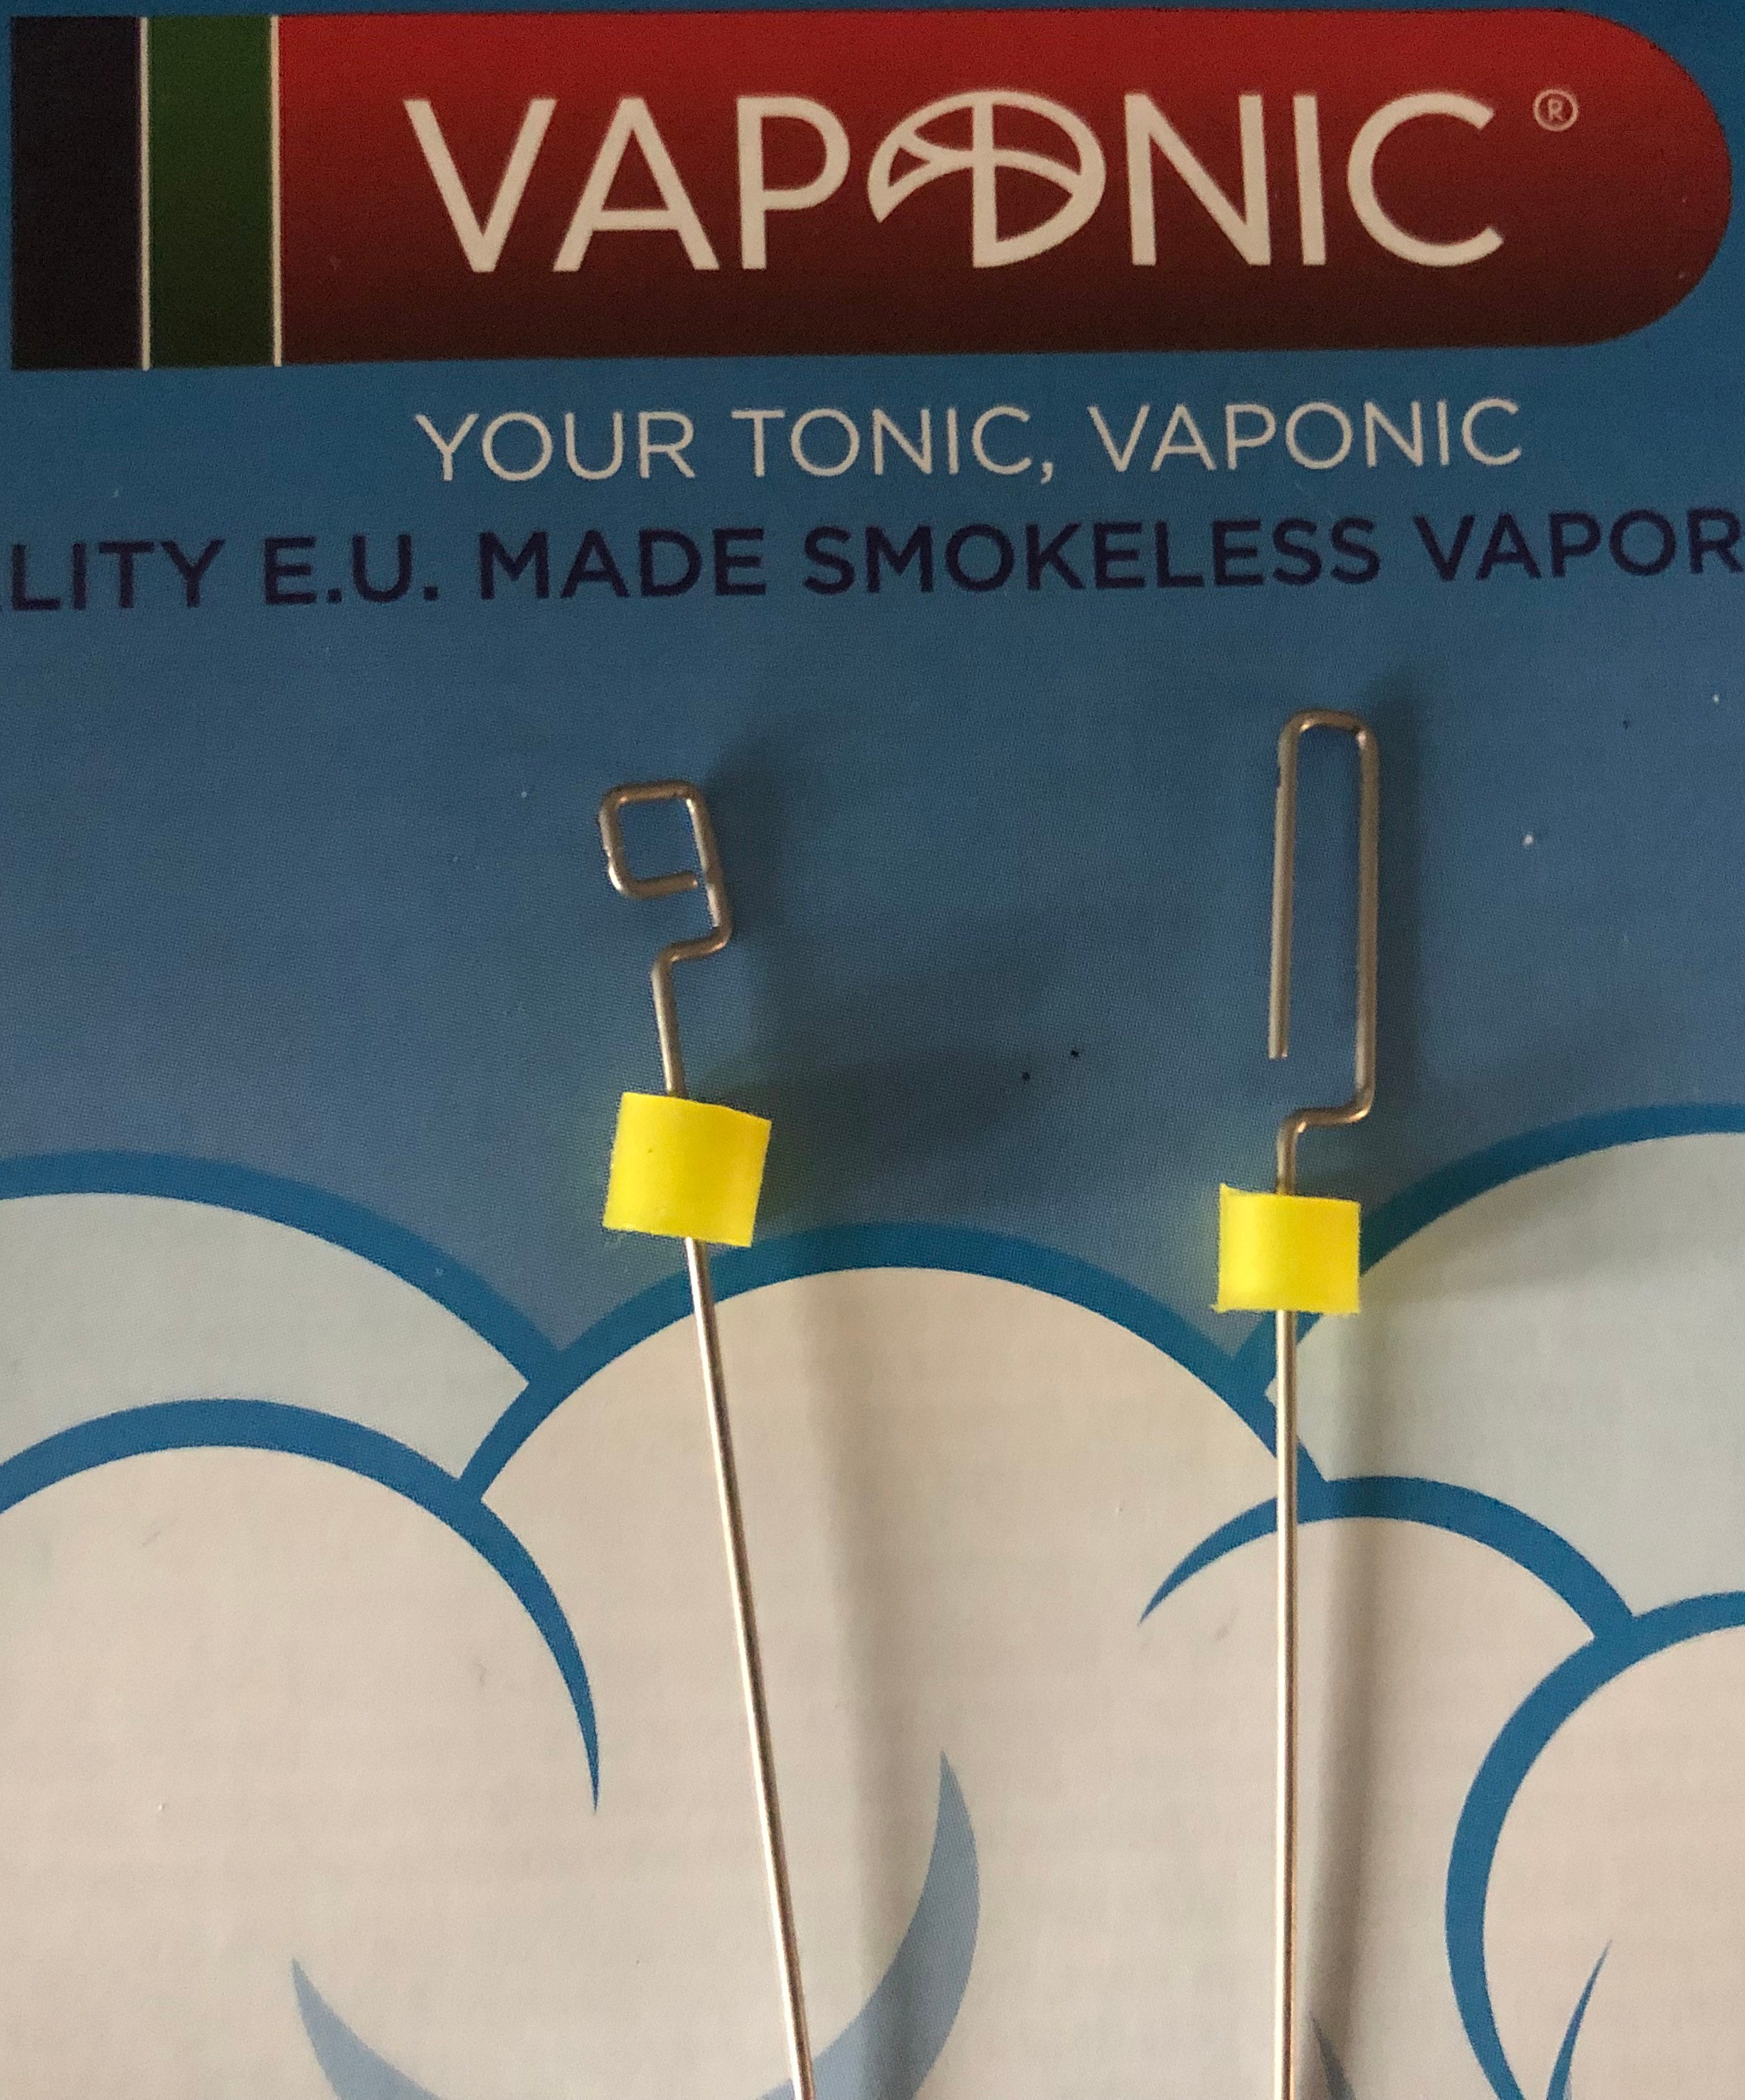
Another minor point of interest I noticed was that there seems to be two slightly different pokey tool designs:
Not sure which is the current, but the unit I purchased last year came with the longer head tool on the right. The new units I just received also have the same tool, but they were purchased at the same place I got my first and could have been from the same stock.
 !:
!: