The "Project" DIY Herbal Vaporizer

u bwade wunner

Well-Known Member
For the hotspot I'm sure load position, packing and other parameters enter into play, but we're down to the initial talks about turbulences, vortexes and what not, as well as coil geometry changes. I'm sure we'll find something.

Have You tried adding one or two more screens where the heater screen sits.

It may be effective in reducing hot spot...just a thought.
 

PPN

Volute of Vapor
I tried a mesh screen from my Prima and it works but you need a +10s hit to start to see vapor, now I'm experimenting only a Flowermate screen with better sucess (they are different, like a thin sheet of metal with holes).

Although I'm still not pleased at all with the performances I got, sometimes i get nice hits but most of the time I have difficulties to get both taste and clouds in the same time.

Actually I can't compare it to the E-nano, the closer vape i experienced is the Thermovape evolution but it was better...

I think it is possible to find the sweet spot but it seems very difficult and will still need a lot of stirs.

Any help appreciated...
 
PPN,
  • Like
Reactions: KeroZen

E0x

Well-Known Member
"This is Major Tom to Ground Control (...) I'm floating in a most peculiar way"

I received the Project and can already tell I'm much satisfyed. Excellent my good man @Pipes! It bloody works, to say the least!

It's close to be very good, spare three points we should try to improve in the future. I finished my second test bowl, initial report follows. This is not a review, and as it is a community project or at least meant to be, it would feel a bit out of place. I mean it's not presented as a commercial product, even if in practice it is @Pipe's creation and to date he is the only maker. So for some reason it would feel awkward to me to review it like your average chinese mass produced vape.

Furthermore it's way too soon to make any definitive judgment, and I need to improve my technique. But right now, with the Project still warm sitting next to me on the desk, there are already a lot of things to say!

1) Shipping was fast (Europe), packaging a bit light but it wasn't crushed. Maybe you could consider adding an extra folded piece of cardboard but no big deal if you don't.

2) Fit and finish very nice, lean, efficient. I wish the stem would have a slightly tighter fit in the o-rings, as it wobbles a bit (at first I thought there was a minute air leak here but apprently not) Again no big deal especially when users will use their other stem(s) of choice.

3) The linseed oil smell is really strong and clearly overwhelmed the taste of my first couple of sessions. This is the first of my 3 negative points. But I know it should fade away and it's absolutely not comparable to smelling silicone and/or plastics (aka robot fart aka new car smell) like in nearly all vapes from PRC. It's natural but disturbing, and I understand why @PPN said it smelled like paint. I don't know how to improve that part, but did you consider making raw/untreated wooden parts? If someone could make compatible rare wood bodies that would be great!

4) Initial coil reading at 0.5 ohm, locked in. I'm using an evic VTC Mini with 3.03 firmware. I bought it from fasttech but took care of selecting the version with "authentic" in the product name. Came with a genuine security code that worked on joyetech website. Setting was easy.

5) TCR set to 145, first session started at 250°C/480°F. Loaded with 0.06g approx, a tad more than half my usual load size. Sucked in the stem, then tamped with the FM5 tool to make a nice flat puck covering the screen fully. Hit the trigger, got first hit in 2 seconds, the thing is fast and works. Taste covered by linseed but nice small hit (I was so afraid of combusting during this run that I was overly cautious)

6) Tried to rotate the stem after each hit but got a very focused hot spot nonetheless, starting to spoil the taste. Got quite good hits then decided to stir, made a mess... Raised temp to 275°C/530°F but bowl screen wasn't fully covered anymore (due to the spilling...) and it was wispy. ABV was light brown and more uniform than expected anyways.

7) Second session, loaded with 0.1g approx, tamped good, almost filling the stem. This time I started at 230°C/445°F and spent most of the session there, nailing down the technique and modulating the preheating/drawing/clearing times (at the end it was 1sec preheat, 4 to 5 seconds drawing with trigger on, then 3 to 5 seconds drawing with trigger off to clear, similar to how I use the Zion but with less preheat as this one has way less inertia, it's a tiny coil!) Hot spot was more manageable but still there. I stirred twice then retamped during the session then ended at 250°C/480°F. ABV looked properly extracted but session was shorter than a Zion session with the same load.

I'm positively impressed so far. So the two problems we should try to improve are the hotspot(s) and the teflon component. For the latter it's simple, we just need to crowdsource the search of a replacement part. I know most of you guys are fine with it but I'd rather have some less controversial material in there, even if it's prolly safe. Let's say, just for the peace of mind.

For the hotspot I'm sure load position, packing and other parameters enter into play, but we're down to the initial talks about turbulences, vortexes and what not, as well as coil geometry changes. I'm sure we'll find something.

Now for those who wondered: no, it's not comparable to the Zion, but it's not meant to be. Zion heater tech has a drawback: it takes a lot of space. This one is tiny and portable. I don't have a Milaana for now but I have the intuition that the Project has some pros and cons that balance well with the Milaana ones. As usual my advice would be: buy them both! :tup:

PS: it's a bit weird at first that the box enters protection mode so fast then only pulses about 4A for very short bursts. In the Zi/Mi it's full-on 40-60W continuous. But in the end it works so it could mean that this is way more efficient battery-wise.

PS2: I was testing a Samsung 25R cell that I have some doubts about (could be a fake or a B-grade as it came from BangGood and was a bit too cheap) so as a safety measure I set the Watts limiter to 40W on the evic.


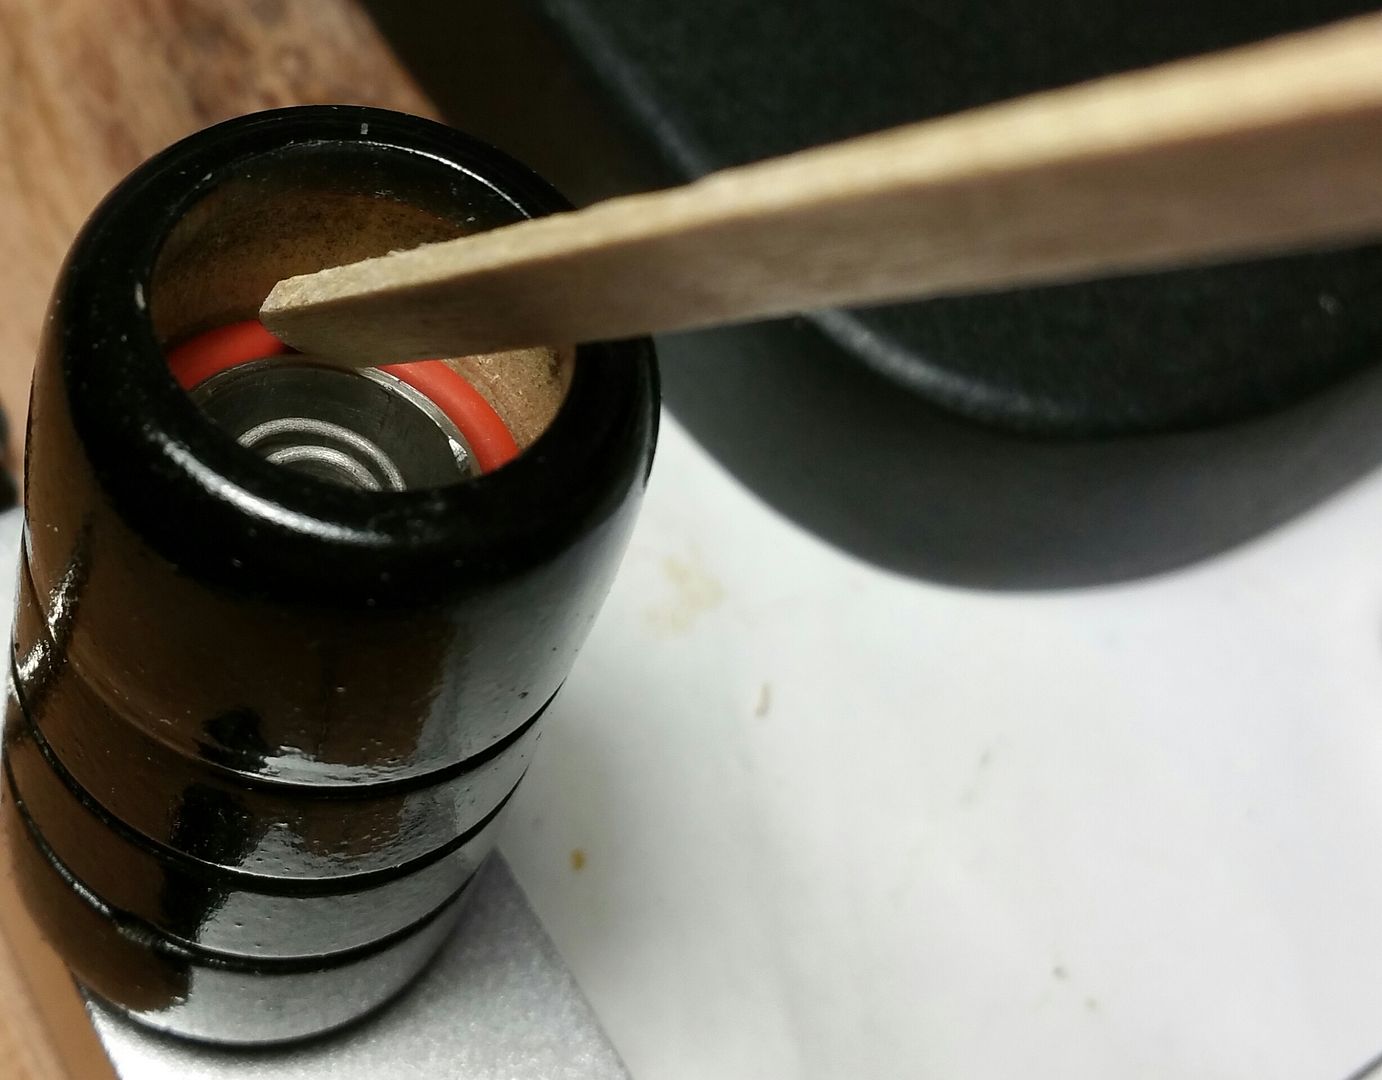
i find at amazon the same bushing of teflon but make of nylon , not sure the nylon properties .

http://amzn.com/B00XBGB68K
 
E0x,
  • Like
Reactions: KeroZen
For the hotspot I'm sure load position, packing and other parameters enter into play, but we're down to the initial talks about turbulences, vortexes and what not, as well as coil geometry changes. I'm sure we'll find something.

My current workaround has been increasing the distance from load and spinning the project body as I inhale. Moving the coil around just a little really helps with hotspots too, mine appears to favor one side ever so slightly but functions best that way. I also lowered the TCR to 125, I have to take longer slower draws but the hot spot decreased a fair bit. I usually finish at 580F, believe I'm still on 3.01 software though.

Glad to see you're so enthusiastic about it now that's its in hand, keep tinkering with the mod and scheming up ideas! Interested to see what all you come up with.

Actually I can't compare it to the E-nano
...
I think it is possible to find the sweet spot but it seems very difficult and will still need a lot of stirs.

Id adjust my expectations if I were you, going in and performing desktop performance from a $30 DIY Vape is going to leave you disappointed every time. I will say with practice and a little tinkering mine tastes every bit as good as my nano (that's been cold for weeks mind you) and is better for longer hits.

I overpower my nano pretty easily, while the project isn't the immediate voluminous producer the nano is its manner of heating means it can keep up longer leaving me able to extract more in single hits albeit long drawn out ones riding the button the whole time. Hope you get your mod dialed in and get better results soon man.

My buddy brought back a few strains of live resin from a recent trip, my first time using it. I'm no novice to BHO and QWISO or even terpenes but live resin is in a class of its own when it comes to taste. What I didn't dab away over the weekend I've been modestly using in the project on some degummed hemp, very conservative usage of what's pretty much a unicorn locally. If you can get it, do.
 

KeroZen

Chronic vapaholic
For the sake of science, this afternoon for the 3rd session I was about to start experimenting with a lower TCR value, but then I saw one of those FlowerMate "disc screens" laying around on my desk, and I chose to test that instead.

I tamped half a load, fully covering the stem screen, "puck technique". Then I took the small disc and placed it at the center of the load, firmly pressing it into place. Seen from above it made a small metal circle inside a larger green circle (it's smaller in diameter) This screen has more solid surface than your average mesh. It's really a metal plate with a matrix of micro holes, probably punched in.

The idea was to make some kind of heat deflector/shield right where the hotspot is. I got two really big rips, the second made me cough but was really impressive. I then looked under the disc and there was a brownish area way more diffuse than the very focused darker spot I had before. I decided to stir but it made a mess again and the disc didn't stay in place... End of experiment.

I then remembered that my hot spot was off-center and while inspecting the bare coil it became clear: seen exactly from above, the top "inner spiral" of the coil had a slight angle. I adjusted it by sight to make it really centered, using the inner post as a reference when looking from the top. I reloaded the partly vaped bowl then did two large hits to test, and indeed the hot spot was now perfectly centered. I also noticed that its diameter looks suspiciously similar to that inner spiral ID.

My theory is that given the current coil geometry, it creates some kind of focused heat beam, like a gun... Time to get creative and find a work-around!

To @PPN : don't despair, I'm confident this Project has A LOT of potential. It's already quite incredible considering the price we paid, isn't it? And everything can be tweaked and adapted. I find the way it works very similar to the Zion. It's important to focus on the 3 parts: pre-heat, draw with trigger on, draw with trigger off. I do count mentally to get consistent results and when I'm not distracted it works every-time. After a while it becomes a second nature, once you get all the parameters dialed down to your personal usage style and pattern.
 

Pipes

Addicted DIY Enthusiast
Accessory Maker
Very nice detailed report @KeroZen. Pretty much follows other users observations.
Regarding the Linseed smell/taste. I had pondered about leaving it natural, however there is a slight woody taste, not as distinctive as the Linseed oil but did seem to linger for a long time. OTOH, the Linseed smell is more potent but also more temporary. So my choice was a woody taste that might last forever, or a more pun-chant taste that will disperse relatively quickly. Never tried bees wax or other sealants as thought safest to go with what has been used in the past.
The dreaded hot spot. This has been a hard one to overcome. Pondered much on this. Might try having the inner coil come out to the larger coil on an angle rather than the straight vertical coil tube making it more of a V shape. Having no coil except for the outer one by the time it's at full height. Also, thinking about how to make an easy way the stir without removing the bowl. Using those SS pins I ordered, making one end into a screw coil to be able to go inside a stem or 510 tip. The other end down through a hole in the center of screen and bent at the end to function as a finger. Thus turning the upper portion of mouth piece will stir the load. Just thought right now.
I have also started to gear down my EVic to 60 watts and find I get much more life from my batteries. Can now use right until fully discharged.

Although I'm still not pleased at all with the performances I got, sometimes i get nice hits but most of the time I have difficulties to get both taste and clouds in the same time.
Double check this step. You may have an O ring letting some air pass which definitely
will whisp out your clouds.

i find at amazon the same bushing of teflon but make of nylon , not sure the nylon properties .

http://amzn.com/B00XBGB68K

I went back the Ali site I got mine to verify the material and noticed it no longer states it. I bet the description initially was bad translated English. Thinking the ones I'm using are actually nylon as well. Looked up the differences and beside the non-stick aspect, nylon sounds much the same. Also, searching for TO220 bushings did not find Teflon ones for me. Would be nicer for find some ceramic ones but don't seem to be out there.
So those on Amazon are likely the same material wise.
Find a ceramic or other material washer to do the job at the top end Is not really a problem. Having that collar for alignment and to keep the post from touching is a must in my books though. Good to keep in mind for a quick field repair if ever becomes necessary.

Great stuff guy. Now @KeroZen has brought up a good point about this being an open source project and me being the only supplier. I am hoping others will follow and realize it take 2-3 months to get really even started. But just wondering if there are any takers yet lingering in the back drop.
If so, come on in and let us know!!!!
:sherlock:
 

enjiatt

Well-Known Member
I then remembered that my hot spot was off-center and while inspecting the bare coil it became clear: seen exactly from above, the top "inner spiral" of the coil had a slight angle. I adjusted it by sight to make it really centered, using the inner post as a reference when looking from the top. I reloaded the partly vaped bowl then did two large hits to test, and indeed the hot spot was now perfectly centered. I also noticed that its diameter looks suspiciously similar to that inner spiral ID.

My theory is that given the current coil geometry, it creates some kind of focused heat beam, like a gun... Time to get creative and find a work-around!

this is why I stopped using an inner spiral. Its a good design but it was very difficult for me to aim the center well enough to have the perfect hotspot. So now I just use one big spiral all the way up the chamber. Downsides are that it is hard to get a lot of metal when you arent utilizing the center space. and if you have less metal then you have to get it hotter to work properly which starts to affect the taste IMHO. So more metal is needed which means more power needed. But in all honestly Any really good vape worth mentioning is probably pulling a good amount a power anyways.
 

PPN

Volute of Vapor
For the sake of science, this afternoon for the 3rd session I was about to start experimenting with a lower TCR value, but then I saw one of those FlowerMate "disc screens" laying around on my desk, and I chose to test that instead.
I'm happy this mod is working for you too, I experienced more with the FM screen this morning too and definitly got better results!
I half pack the stem with the FM screen on the top, set the temp at 510 and I got milk clouds with a 10s hit (I don't draw for the 1s and draw slowly for 2-3s and faster and faster until the end. And the good new is I can take 2 hits between each stir!

I'll post a pic after but I'm experimenting with the Dabstorm glass mp as a bowl, first tries was not nice cause flowers was too far of the heater, I'm actually testing it with a spacer, I'll report later with pics!

Happy to say I start to enjoy it!
 

enjiatt

Well-Known Member
To @PPN : I find the way it works very similar to the Zion. It's important to focus on the 3 parts: pre-heat, draw with trigger on, draw with trigger off. I do count mentally to get consistent results and when I'm not distracted it works every-time. After a while it becomes a second nature, once you get all the parameters dialed down to your personal usage style and pattern.

hmmm im curious why you do a draw with trigger off with the zion?? I know for our vapes it is to make the life of the teflon spacer last longer. But im not sure why you do on the zion? or is it so that it heats up correctly the next draw?
I love that we have complete temperature regulation (no guessing). One trick I like to is turn it up 15 to 20 degrees higher just on the first draw and only for a few seconds but doing it this way my first hit is very milky.. after that first draw i put it back to my vape temperature and I never combust
 
enjiatt,
  • Like
Reactions: KeroZen

PPN

Volute of Vapor
Project still in active testing, I noticed the Prima and mivape screens are similar to the flowermate's ones. Every aspects improved , taste, clouds and efficiency (now i use it at 520°F).

Any idea how to secure the atty on the top of my Evic?... it is not tight enough screwed and I get a lot of "no atty" message as well "low resistance" when I manipulate it. i was thinking about a sort of silicone joint to fill the gap and to tight screw the atty...

The Project for vapor bonging, the Orbiter, the ESV for dry hits and a variety of nice flowers and I'm thinking I'm the happier of all of us!

ps: now I understand better the Nano comparisons!
 

E0x

Well-Known Member
i have the same problem with my evic, is the pin , some have problem and look like other not , my case was the problematic one , i end up complete damage the pin with a heat sink , now buy a new heatsink and a rx200 , far better that the evic but is a big bulky
 

Pipes

Addicted DIY Enthusiast
Accessory Maker
Any idea how to secure the atty on the top of my Evic?... it is not tight enough screwed and I get a lot of "no atty" message as well "low resistance" when I manipulate it. i was thinking about a sort of silicone joint to fill the gap and to tight screw the atty...
There are a couple options here. One is to have the mod dedicated to the Project. In which case, tighten it with the tubes off and assemble after its securely tightened. Recommend removing the battery first. It tends to brand one quite quickly. Believe me, I know.....
Second is what @E0x pointed out. Get a heat sink and dedicate it to the project so you can remove the whole piece together.
Playing with different size O rings is also an option if you can find a better fit. To add a little thickness to the bottom O-ring(s), maybe some plumbers teflon tape? Never tried but could get as tight as you need I bet.
Do not twist the EVic center pin, it's spring loaded and you can easily twist the wire off on the other side. Clean only with Q-tip and ISO or contact cleaner.
Hope this helps some.
 
Last edited:

Pipes

Addicted DIY Enthusiast
Accessory Maker
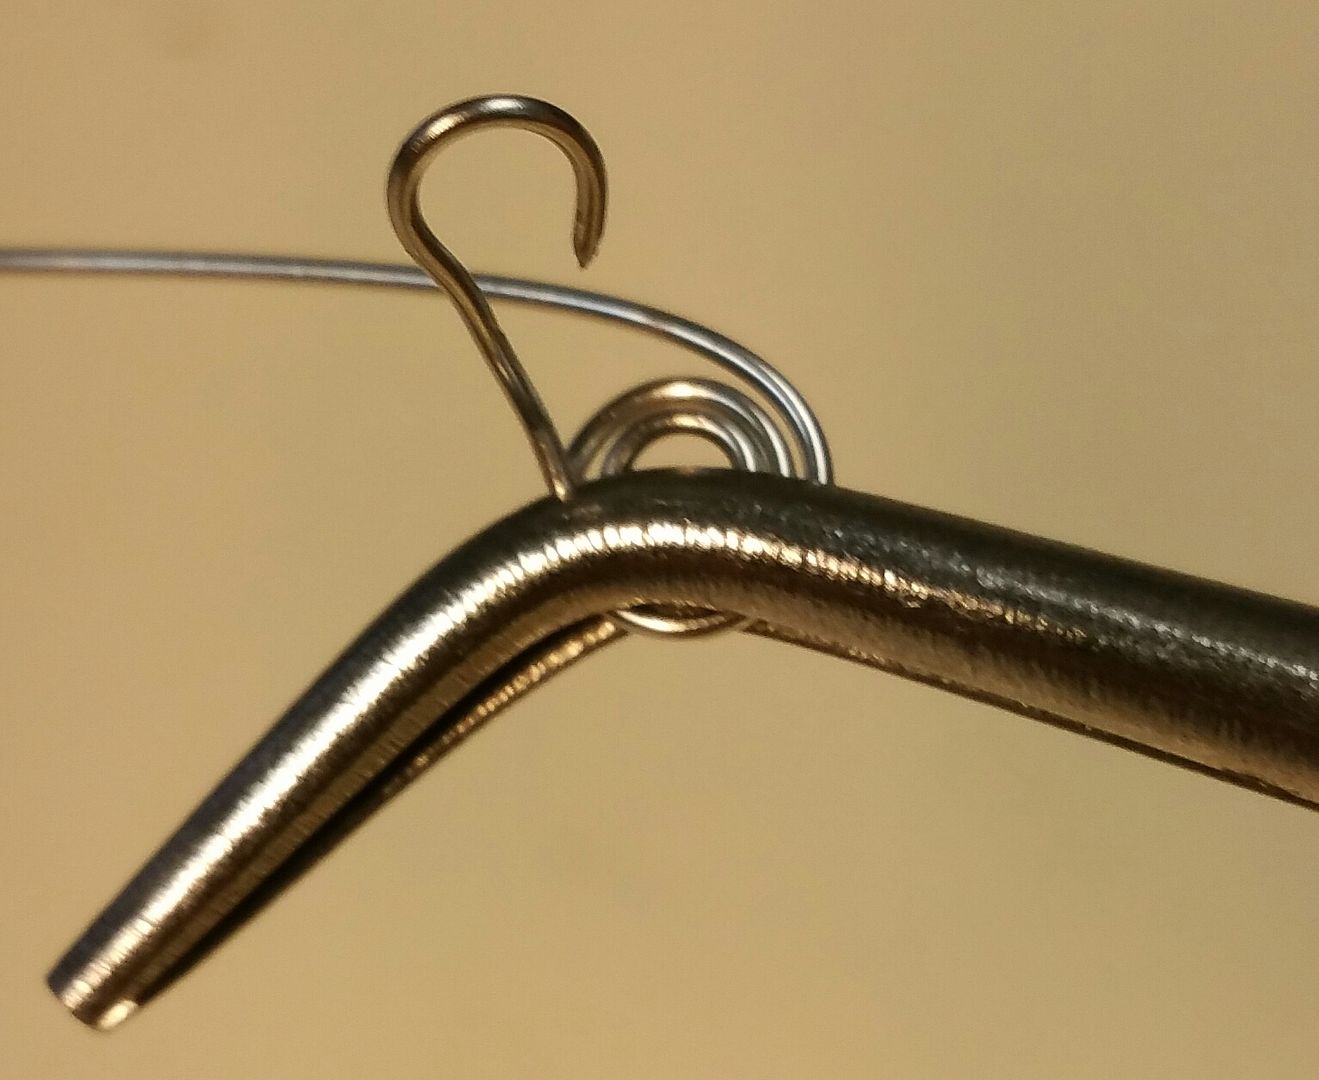
Coil mod alert!! In an effort to reduce the hot spot I am currently testing a new coil design which is so far working out quite nicely. I call it the V type, because as the center coil goes down it get smaller as it goes. Forming a V with an open center at the top. Making it is not all that hard as you just need to coil it as in a tight stone top coil. Start by wrapping a loop for the bolt and a second loop about the same size about 1cm from the end of first hoop to the middle of the second hoop. From there, I used pliers to hold while I made 1/2 loop winds then move in the pliers for another 1/2 turn. Continued until all the 9" length is done.


This next part is very important to get it sitting "just right". Preparation of correct loop length before putting on the post can save much frustration. Getting this part perfected is something I'm still working on as this was my first attempt for testing. But seemed to work out.


If you get it right, assembly is not hard at all.


Pull the center loop up over the bolt and center it up.


The next part is the fun but time consuming part for me. spreading out the loops using only 3 for going up. These will be wide spaced as need to make go narrower in diameter to fit inside the tube. Using the 4th loop for the top loop, you can now use a pin, util knife or whatever works to space out the inside coil making the V.

Thinking doing this before as part of the pre-prep before mounting might work easier. Next one.

Here is my old verses new. Note the old one has tons of mileage and besides cleaning, looks like it's holding up very well. The old coil is just dirty with burned pot dust.


It also sits slightly lower.


Please only perform this if confident and have all the proper materials and tools.
Just hoping not to :worms:.

But this is what the Project is really all about!

Enjoy!!
 
Last edited:

PPN

Volute of Vapor
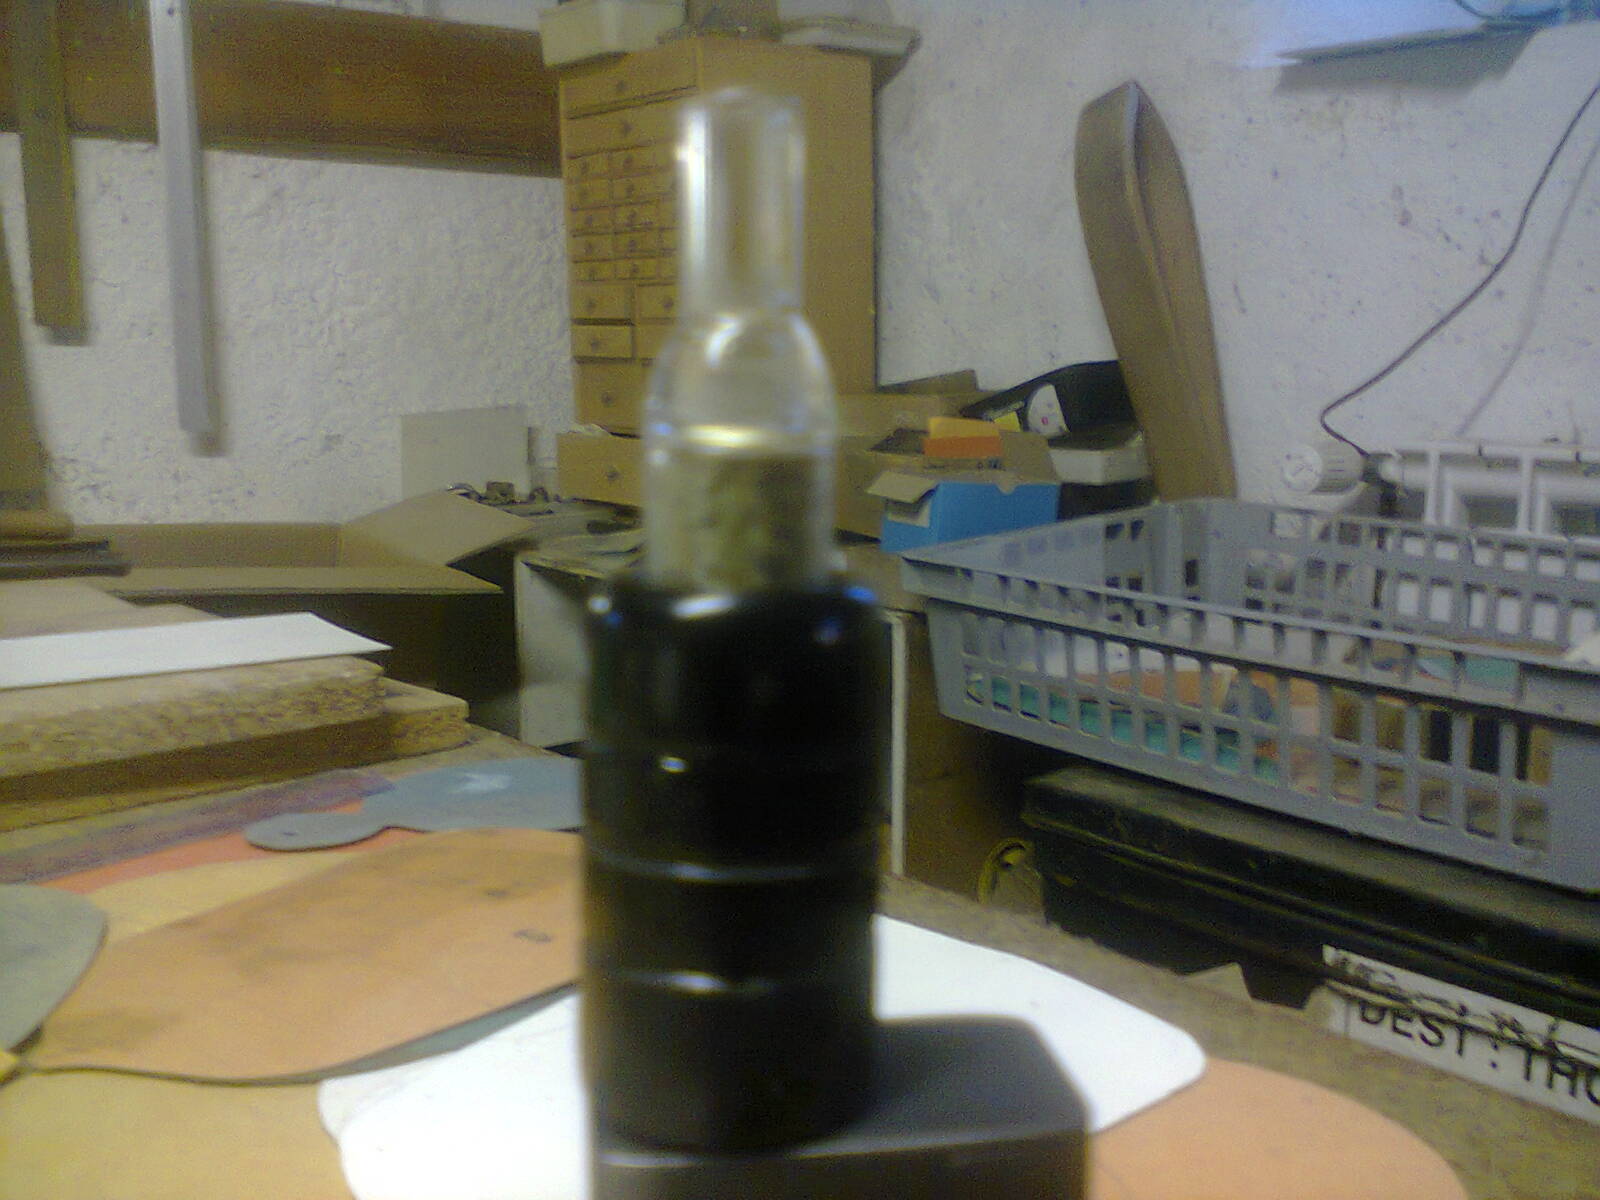
Here a bad pic of my actual Project setup for dry vaping (work well for water filtration as well...):
9KJg483.jpg

It is a Dabstorm glass mouthpiece (a wax pen from Vapefiend), on this pic I was used a simple flat bottom screen and a Vapir Prima mesh screen on the top, it was perfect for low temp lover and it needs one ot 2 stirs per load but vapor production was thin with a 10-15s draw (and glass mp very hot!). Now I use it with a domed screen to place the load closer of the heater with a FM screen on the top (so you can't see the load unlike the previous pic) and I can take 3-4 hits rotating the stem between hits but without stirring, after that I stir but it happens only 2-3 times per session, a great step forward and the mp is never too hot on my lips.

I tried an o-ring to secure my atty but it doesn't work cause no contact...I'll try again without the wood shield to tight it more.

Definitly something great , Pipes!

Thanks again...and again!
 

KeroZen

Chronic vapaholic
Where do you find the genuine security code and why do you need to go on Joyetecxh website? I bought mine from Fastech too but I used a link from Pipes.

Fasttech was known in the past to be a good source for clones, but they started selling real products too. Apparently any product that has the keyword "styled" in the name is a clone, any product having the word "authentic" is likely to be genuine. But in all cases the pictures are not a good indicator.

So I was careful to chose one with "authentic" in the name. For the Cuboid they said that the authenticode was removed from the package (on purpose) But for the evic VTC mini that I got, it was on some kind of scratchable sticker loose inside the box. You scratch the code then go to joyetech support area on their website and you can enter the code. It tells you if it's legit and if someone already entered it (usually a bad sign) Mine was legit and first time used, so all good.

Have You tried adding one or two more screens where the heater screen sits. It may be effective in reducing hot spot...just a thought.

Yeah I'll keep experimenting. I like the heat deflector idea, it's used on some HID grow lamps precisely to remove hot spots. I'm still trying to figure some ideas but haven't had the time to test anything yet.

My current workaround has been increasing the distance from load and spinning the project body as I inhale. Moving the coil around just a little really helps with hotspots too, mine appears to favor one side ever so slightly but functions best that way. I also lowered the TCR to 125, I have to take longer slower draws but the hot spot decreased a fair bit. I usually finish at 580F, believe I'm still on 3.01 software though.

Glad to see you're so enthusiastic about it now that's its in hand, keep tinkering with the mod and scheming up ideas! Interested to see what all you come up with.

I lowered TCR to 140 already. At 120 the coil was not even faintly glowing at max temperature but that's what we want no? I'll experiment with that parameter too.

hmmm im curious why you do a draw with trigger off with the zion?? I know for our vapes it is to make the life of the teflon spacer last longer. But im not sure why you do on the zion? or is it so that it heats up correctly the next draw?

The Zion heater has way more inertia. It needs more preheat to get going but it also retains heat longer. For some reason when you release the trigger you can continue drawing about 5 extra seconds and it keeps pouring vapor. So it's possible to keep the trigger on for the whole time but I have the impression it's less efficient battery wise (and residual heat is transferred to the mica insulator and wood body... it gives some heatsink effect but I think it's mostly lost energy)

In our case the preheat is way shorter, from cold my device enters protection mode in less than 2-3 seconds, so I preheat 2 seconds on first hit, then about 1 second for next hits. For the clearing part with trigger off, it's also shorter than the Zion (less heatsink effect) so maybe 3 seconds is enough? I'm still experimenting.

Also because in both these vapes I take large direct to lung inhalations, I like to keep drawing some fresh air after the hit to fill my lungs fully and cool the vapor a bit in the process, so it feels natural to keep inhaling after the release.

@Pipes : that linseed smell is really strong! It's spoiling the taste for now, I'm eager for it to dissipate and I'm getting good cloudage but it masks all the goodies.... My mouthpiece is also really wobbly in the top o-rings and I'm still wondering if there's not a small air leak here when I put some pressure on it. When I reverse the device and shake it slightly the MP falls down. Maybe it's due to your new SS tubing?

Btw, the MP seems hard to disassemble. I mean it requires a lot of force so I stopped trying, but it does come apart right? I'm not going to break it?

Awesome for the new coil geometry. I'm still too early in the honeymoon to dare to try implementing it, but I will do later. For now I'll focus on this heat deflector idea, even if not optimal.
 

E0x

Well-Known Member
@Pipes : that linseed smell is really strong! It's spoiling the taste for now, I'm eager for it to dissipate and I'm getting good cloudage but it masks all the goodies.... My mouthpiece is also really wobbly in the top o-rings and I'm still wondering if there's not a small air leak here when I put some pressure on it. When I reverse the device and shake it slightly the MP falls down. Maybe it's due to your new SS tubing?


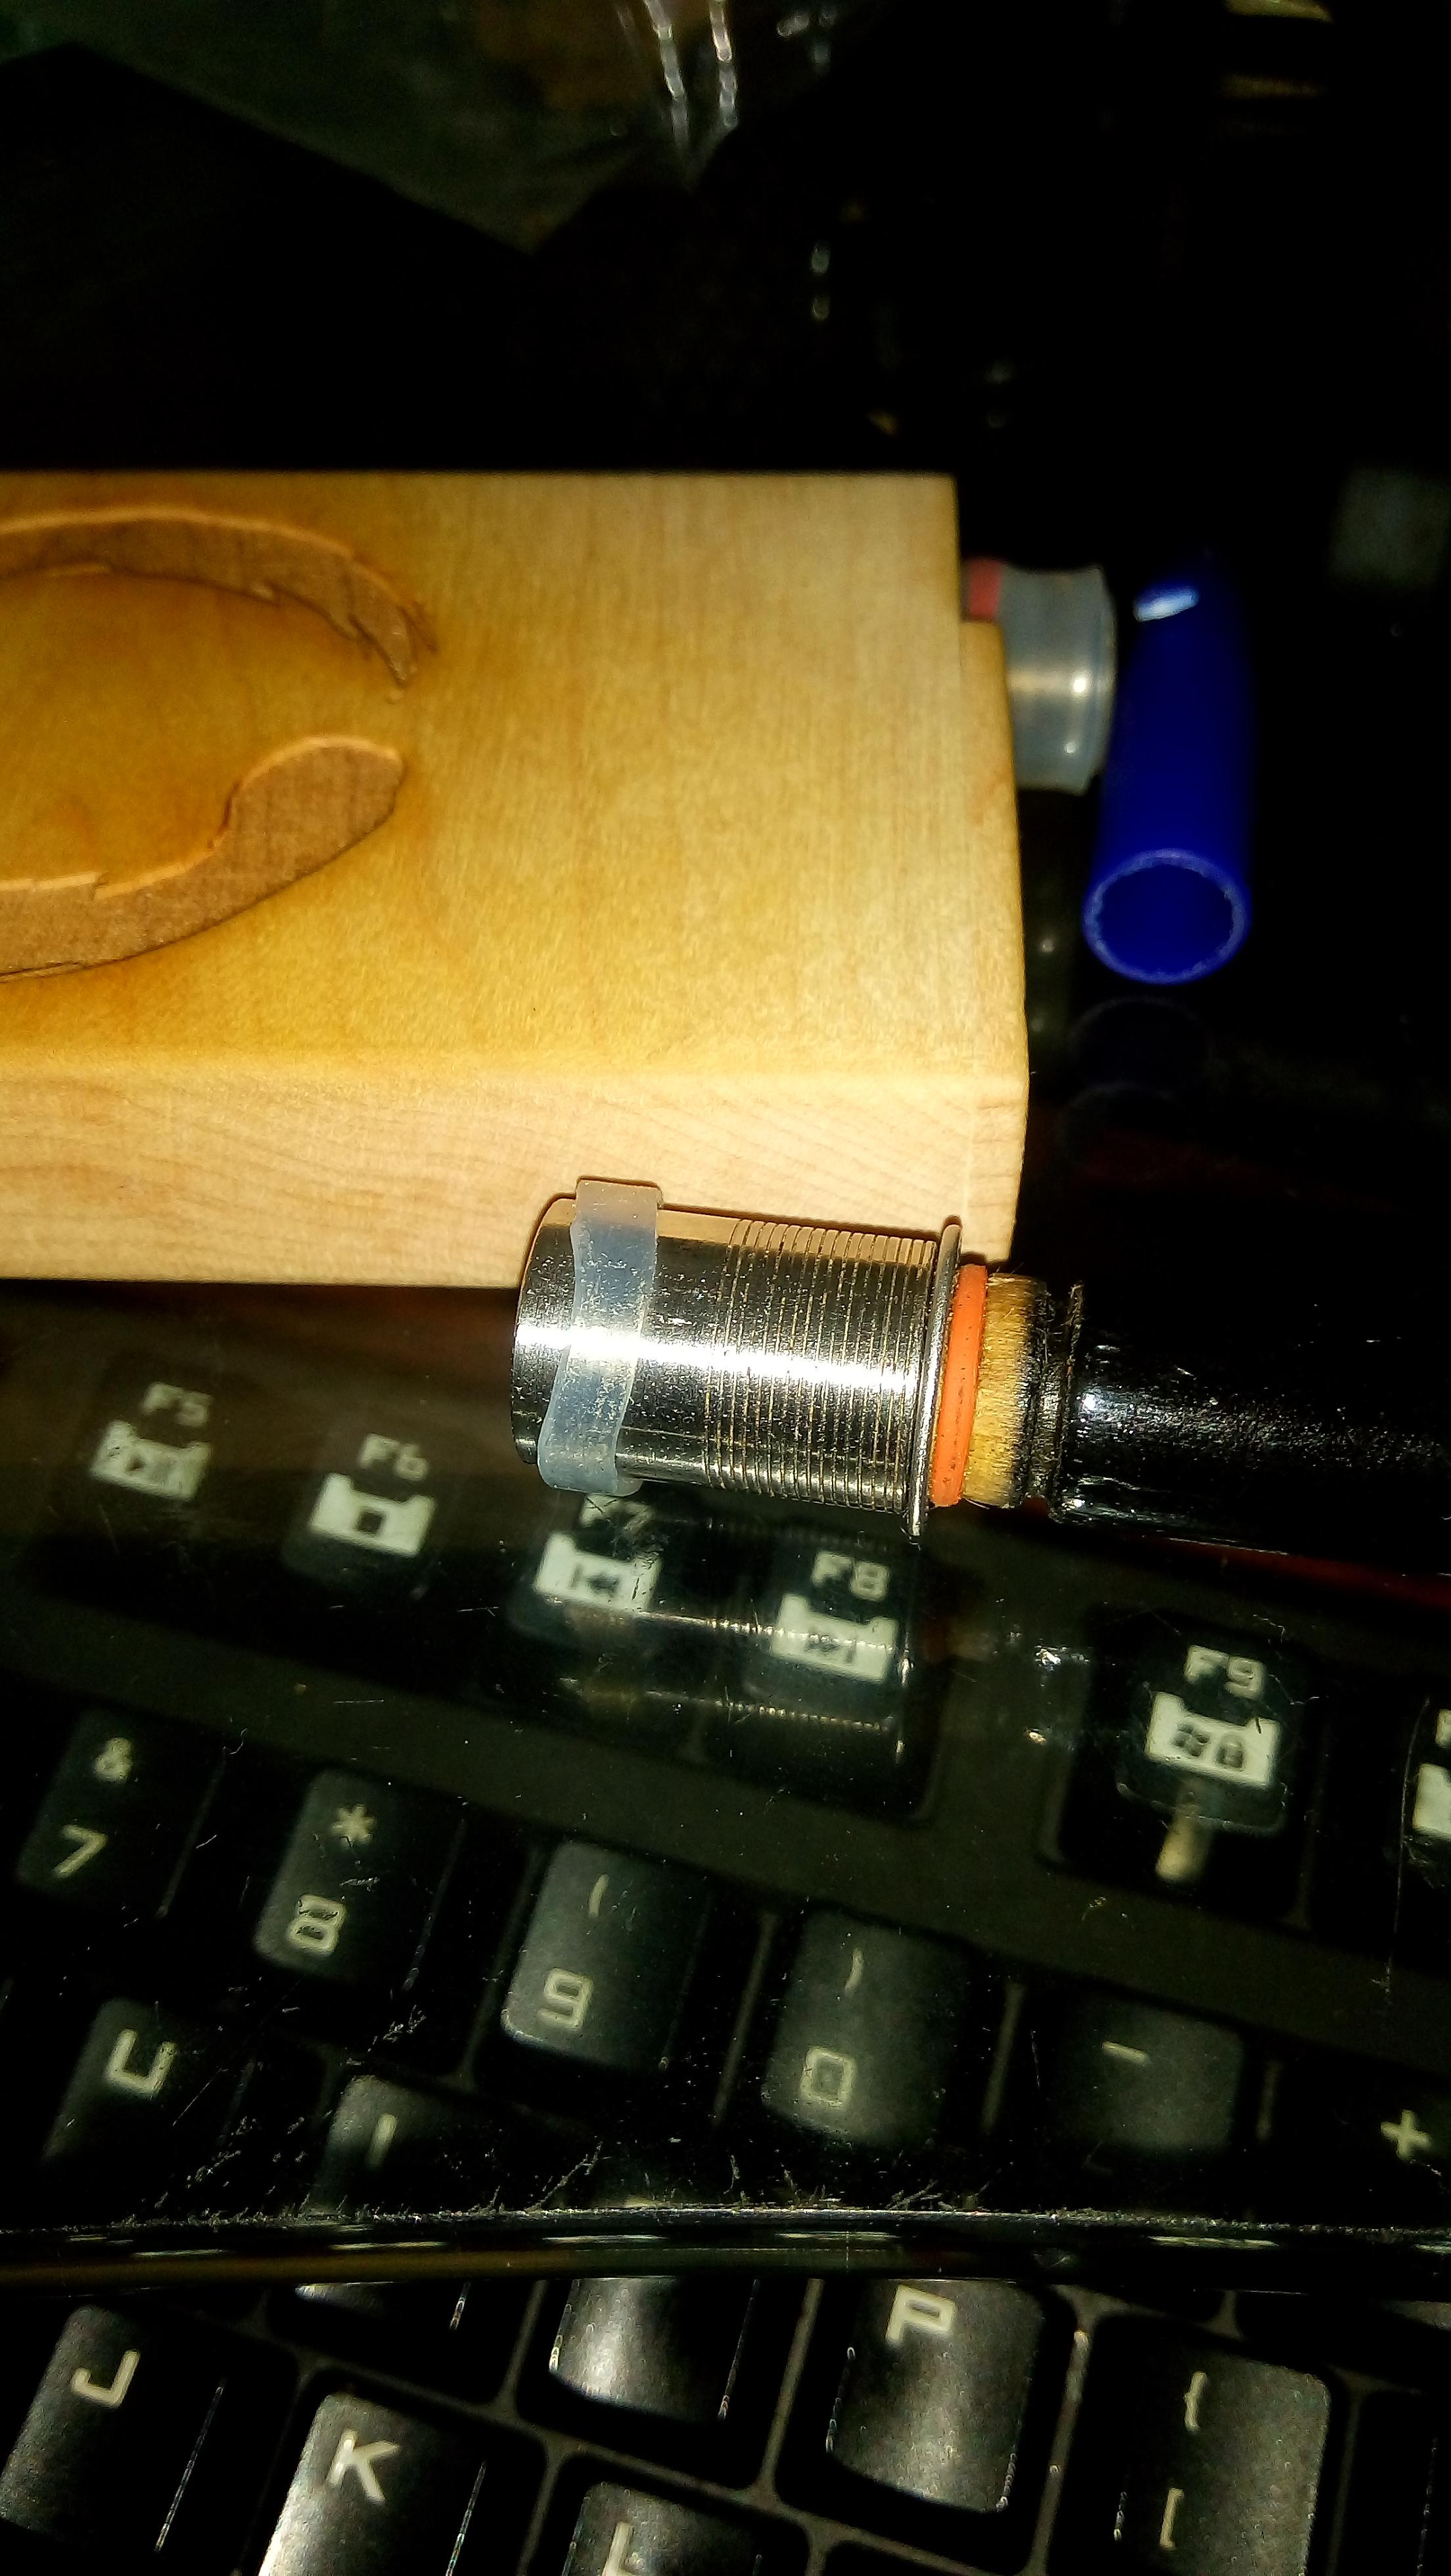
my solution for the mouthpiece wobbly problem:

gZJPE0J.jpg


pd: yes that is my firewood with a zen symbol that was make with a lasercutter and i wanna show off it :D
 

E0x

Well-Known Member
I have that tool and the center is to big to make a nice stove top and it is hard to leave a leg sticking down.

thx for the tip, 12 is a lot for that little tool , maybe we can come up with some better version of this that help us build the stove coil better , but the @Pipes technique is not hard neither , videos can be find at youtube that explain the same technique if picture is not enough
 

Dan Morrison

Well-Known Member
Manufacturer
A note about linseed oil. This stuff stinks the least of the linseed oils I've tried. But still stinks.

@Pipes , You could try walnut oil. Mineral oil has no smell and makes a fine wood finish. I use only mineral oil or mineral oil/beeswax blends for my wood finishes these days.

It's not a drying oil like linseed, so it won't harden over time, but for what we use these wood objects for, it doesn't really need wear protection like a floor/table top might.

The good thing is that heat will make linseed oil cure faster, so the smell should dissipate quickly!
 

Pipes

Addicted DIY Enthusiast
Accessory Maker
@Pipes : that linseed smell is really strong! It's spoiling the taste for now, I'm eager for it to dissipate and I'm getting good cloudage but it masks all the goodies.... My mouthpiece is also really wobbly in the top o-rings and I'm still wondering if there's not a small air leak here when I put some pressure on it. When I reverse the device and shake it slightly the MP falls down. Maybe it's due to your new SS tubing?

Btw, the MP seems hard to disassemble. I mean it requires a lot of force so I stopped trying, but it does come apart right? I'm not going to break it?

Awesome for the new coil geometry. I'm still too early in the honeymoon to dare to try implementing it, but I will do later. For now I'll focus on this heat deflector idea, even if not optimal.
Maybe I'll take @Dan Morrison's advise and switch to mineral oil. Thanks Dan! Likely easier to find and cheaper than the linseed oil. You might try a toothbrush with soap and warm water? It really should be dissipating.
You are correct in the mouthpiece being made from the new ss piping. Could have made it tighter but then you lose the compatibility for Air stems. The solution is in changing out the O rings for different stems.
The supplied O rings are #113 3/4" OD 9/16" ID 3/32" CS
To widen for a larger stem you would get some #016 3/4" OD 5/8" ID 1/16" CS
To fit a thinner stem as in your case some #206 3/4" OD 1/2" ID 1/8" CS.
If placing an order and make shipping worth while it's always good to stock up on a few different sizes. I find this chart useful to find the correct -XXX number to fit the size you need/want.
Temporary fixes can be done with plumbers Teflon tape to thicken up joints, until the rings are found or ordered.
I am ordering some of the thicker ones to provide this option as well.

The supplied stem may be a really tight fit but will come apart. Try twisting while you pull. Come on now, put your back into it...

The new coil design is working great so far. Hot spot is evened out. However, still getting the settings fine tuned. Seems to take more power with it. Might actually be a good sign if you think about it. Vapor from the whole front of the load rather then via a hot channel. Little early to jump for joy but find myself grinning quite a bit. Also, don't attempt yet as I have an idea that might make winding it a bit easier. Involves using a utility knife to separate the specific coil winding, making the forming the inner and out coil more precisely before mounting. Pulling the center and outer side while holding the top wind down with the knife. I'll post pics when I get a chance to play.
 
Last edited:

Dan Morrison

Well-Known Member
Manufacturer
@Pipes , Yep, mineral oil is super cheap!

I like the new coil design!

I've been looking at a lot of coil porn lately... all from the e-cig side of the pond.. And have some questions. Forgive me if they are redundant, or I forgot something that was already talked about earlier.

But has anyone experimented with coils that are braided, clapton, staple... etc. etc..

Wrapping a larger gauge with a fine gauge would give you a solid and durable coil with a textured surface with huge surface area.
 

u bwade wunner

Well-Known Member
I was looking at simple convection ovens today.the air fryer to be precise and thinking about how they work and the similarities to vape design.It was hotspot in convection vapes time again.;)


I especially like the idea of a ribbon coil much more surface could be utilised with less wire.

Here is a pic of an element design that might be of interest and easier to construct than a stovetop.You would just need a pin to do the curves

It might need ribbon or weaved to work.

2ilfxog.png
 
Top Bottom