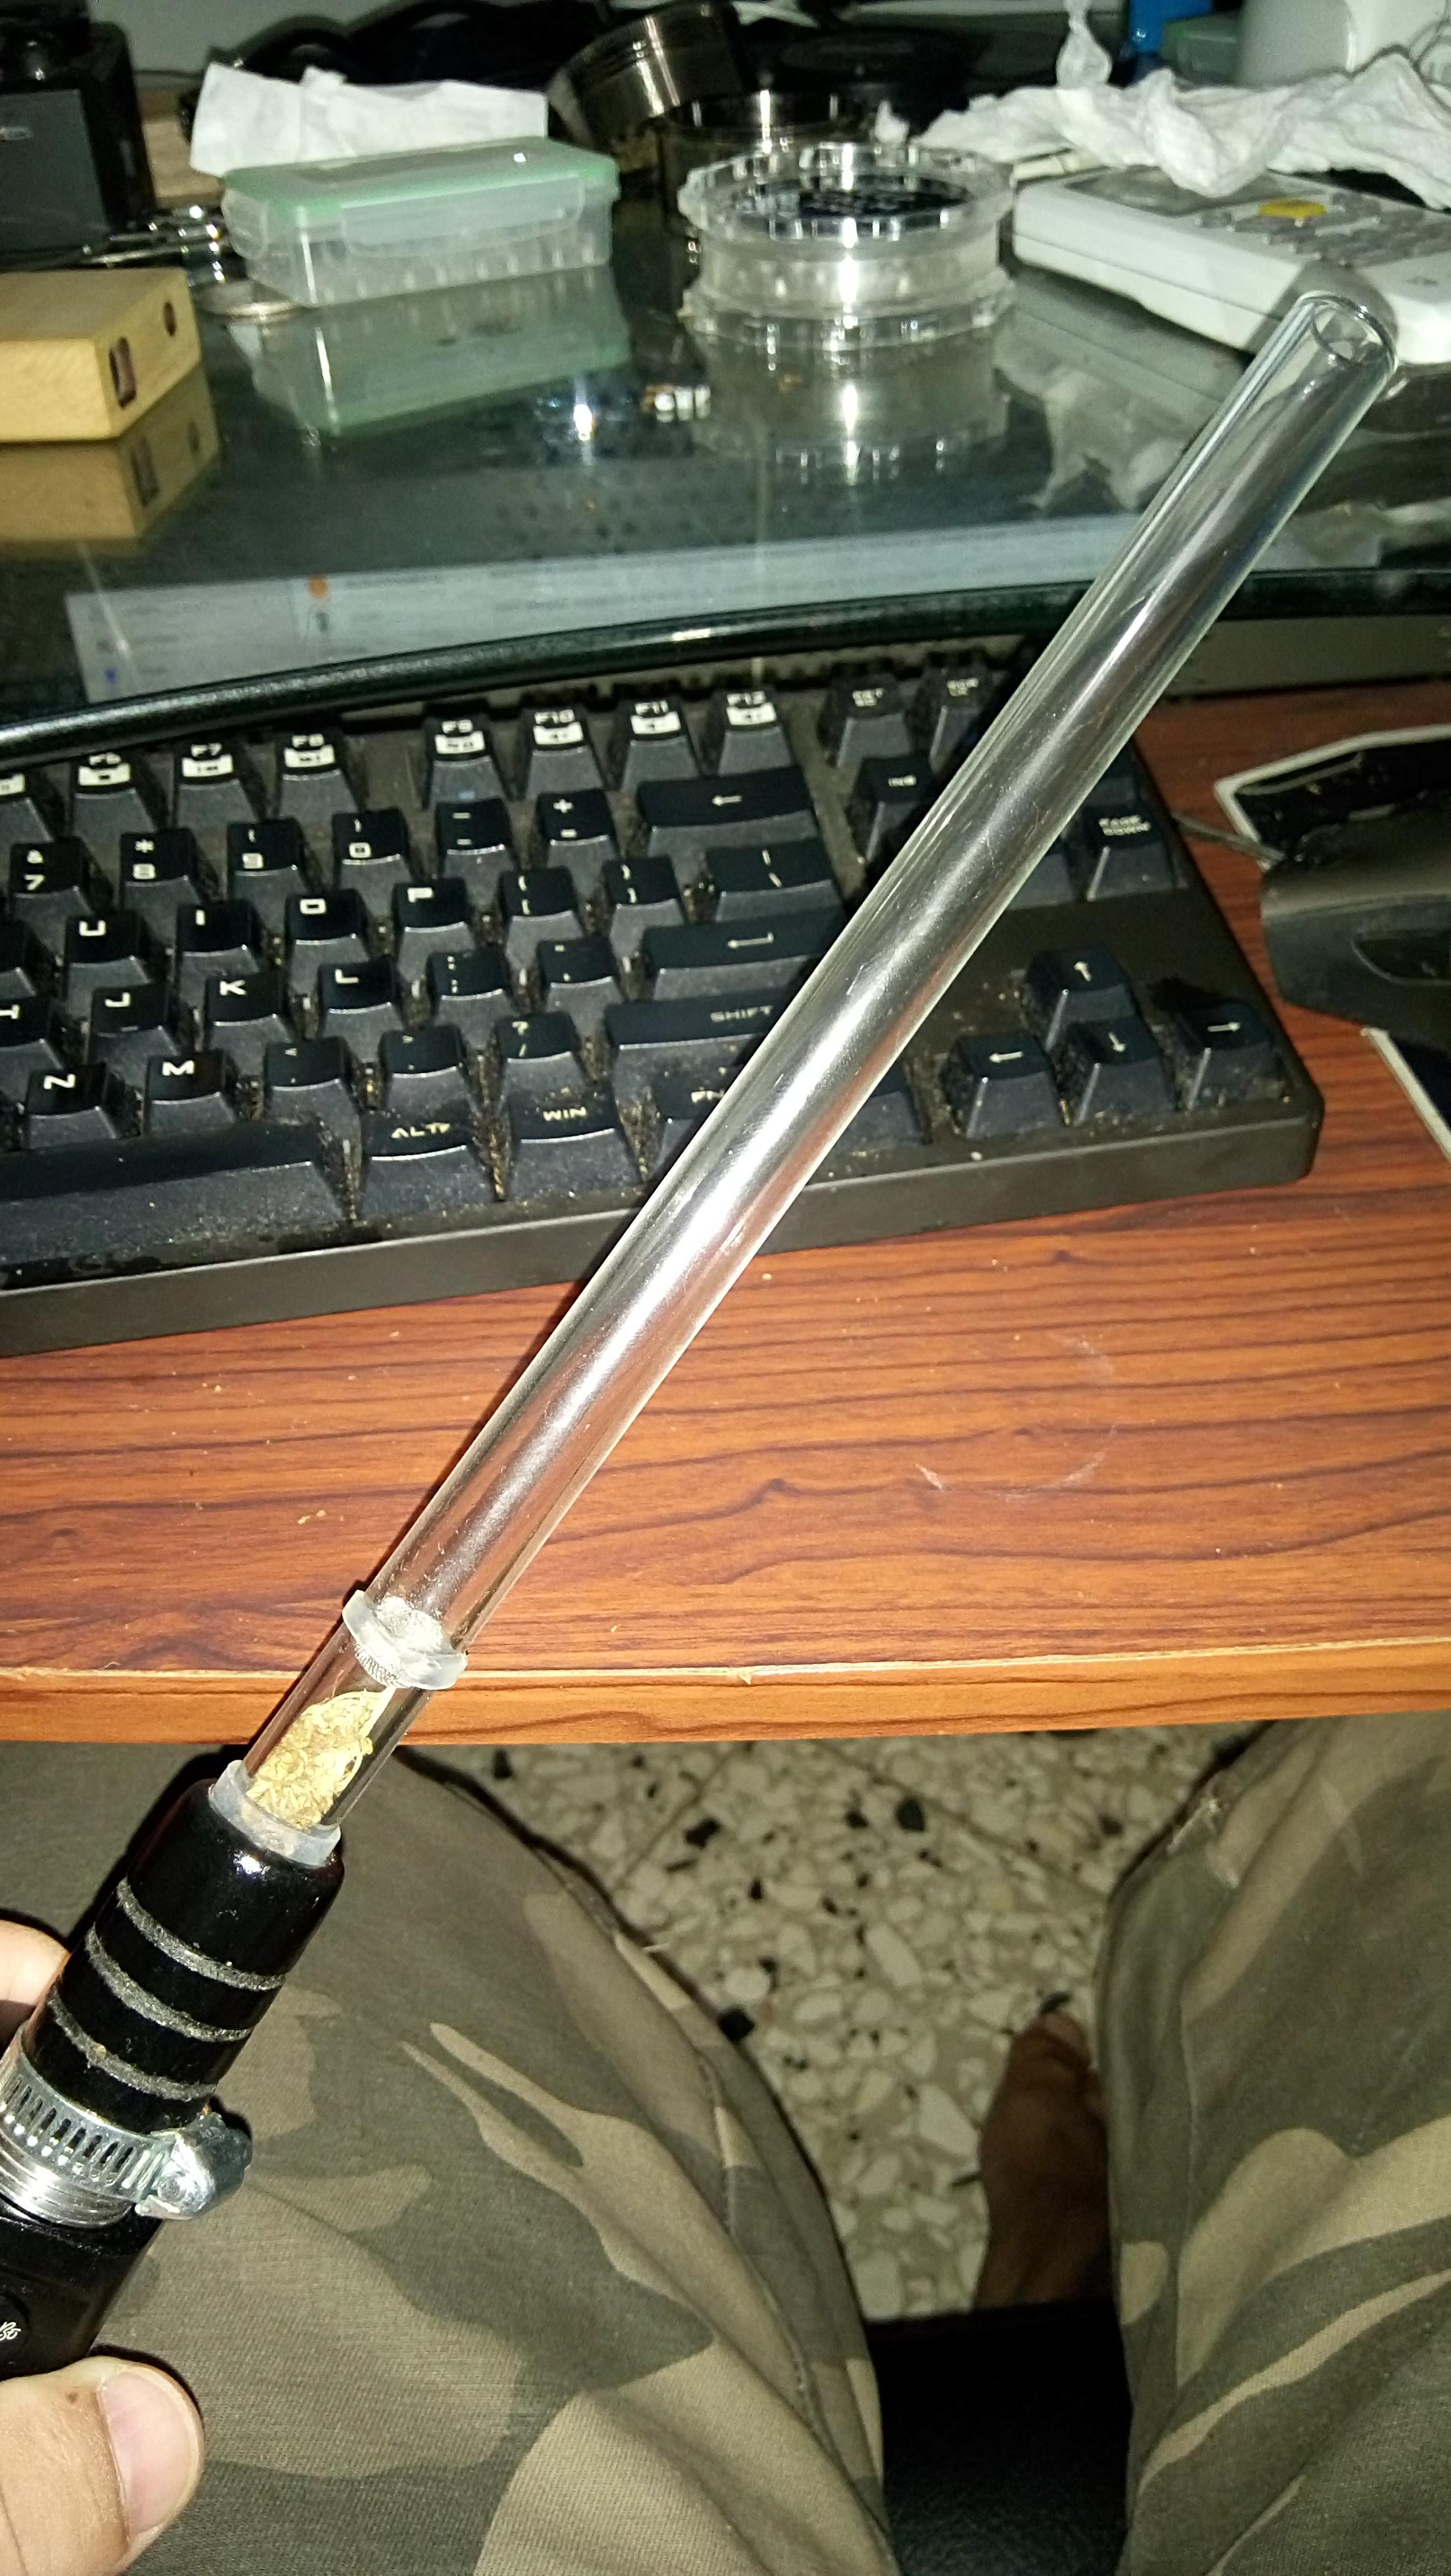
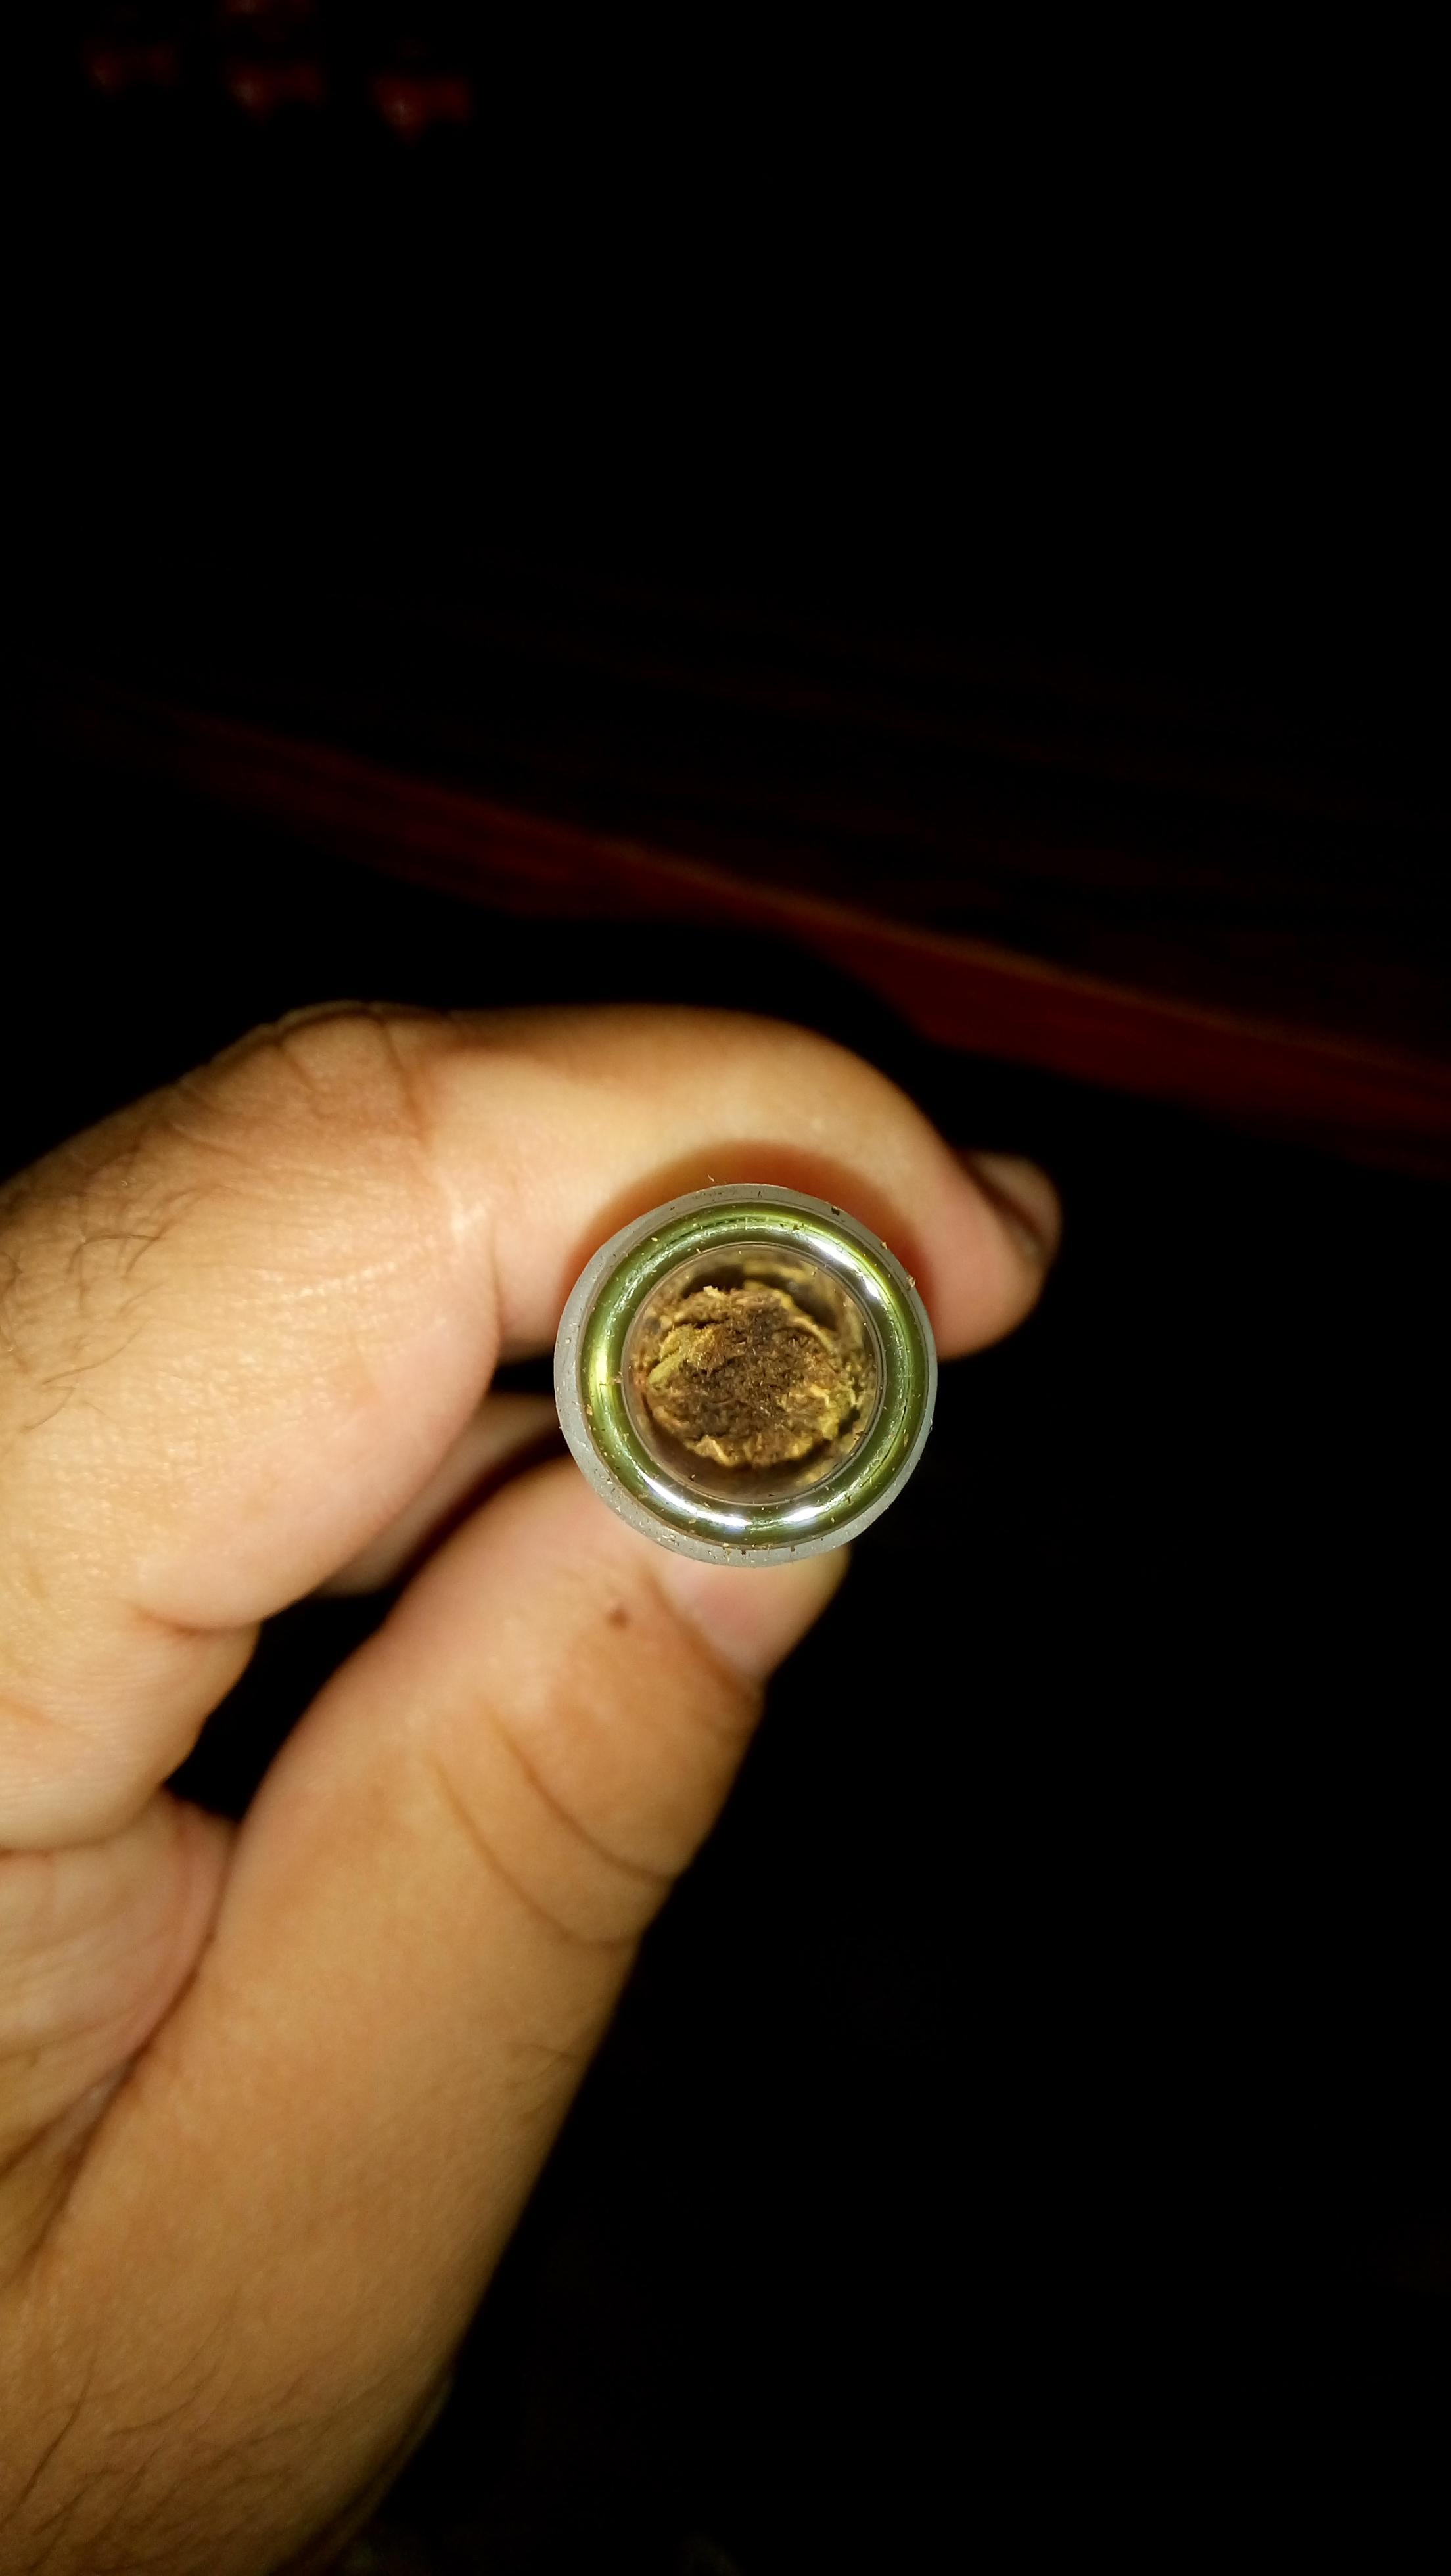
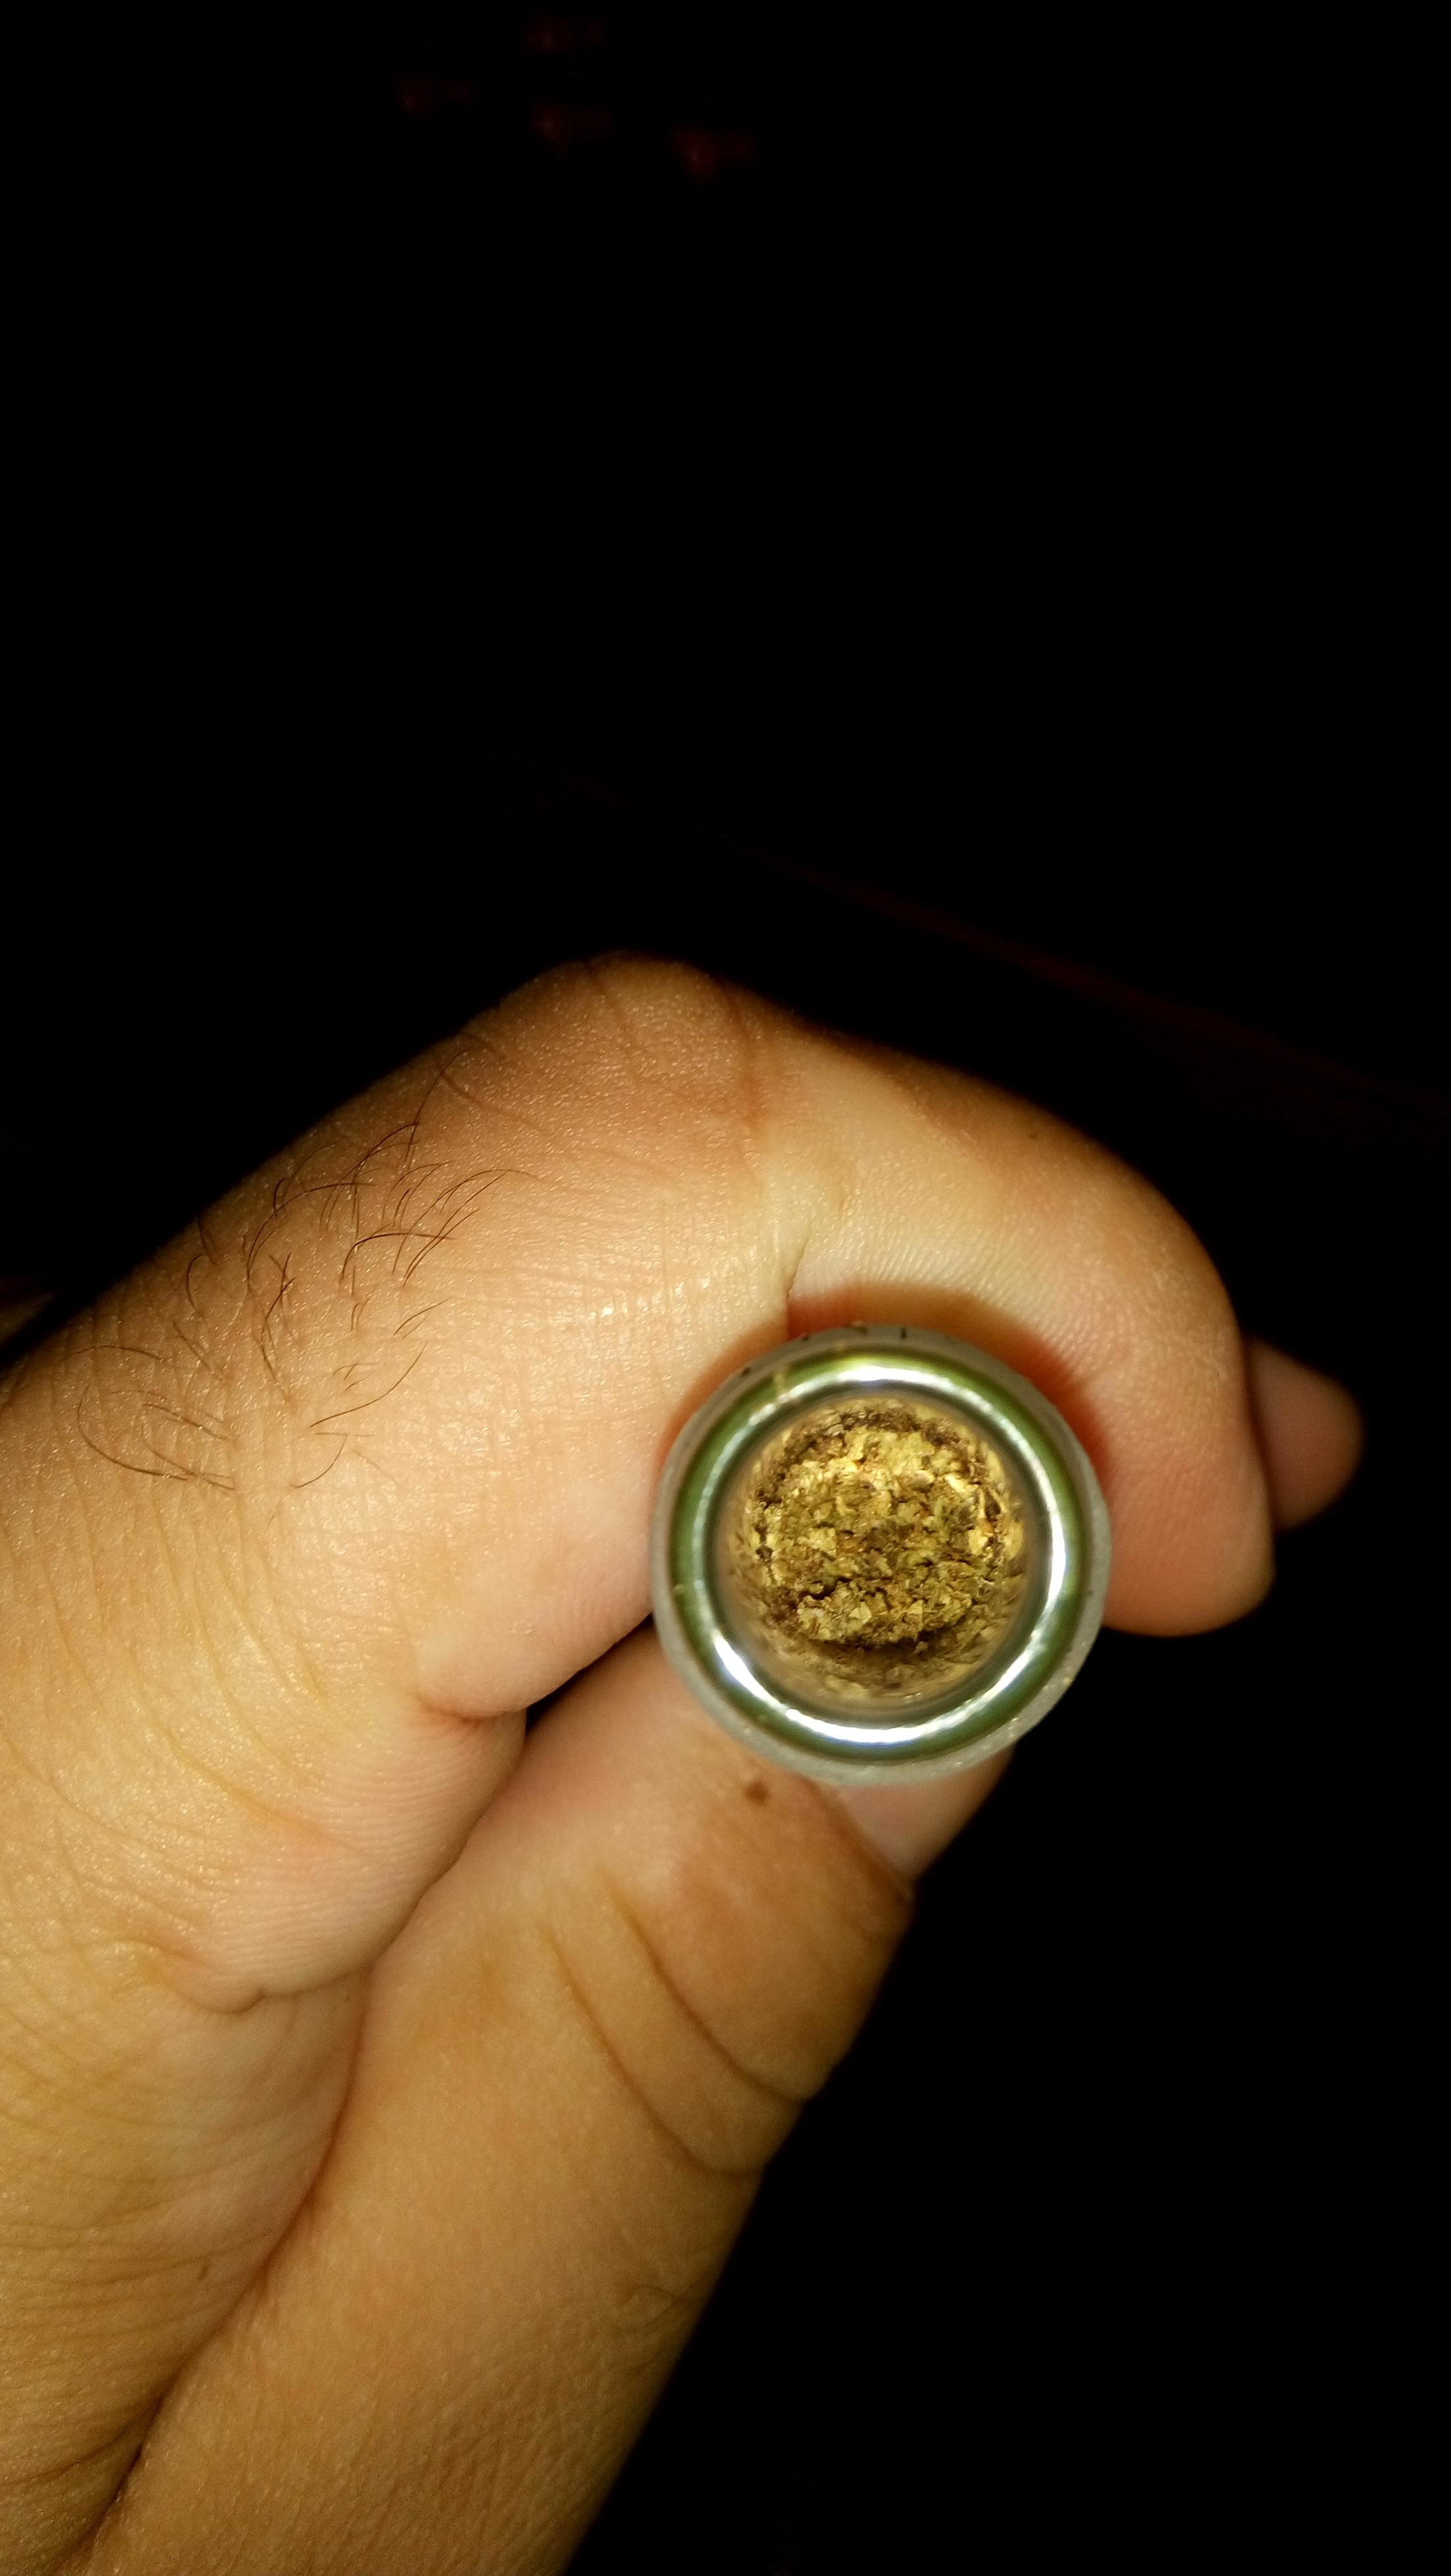
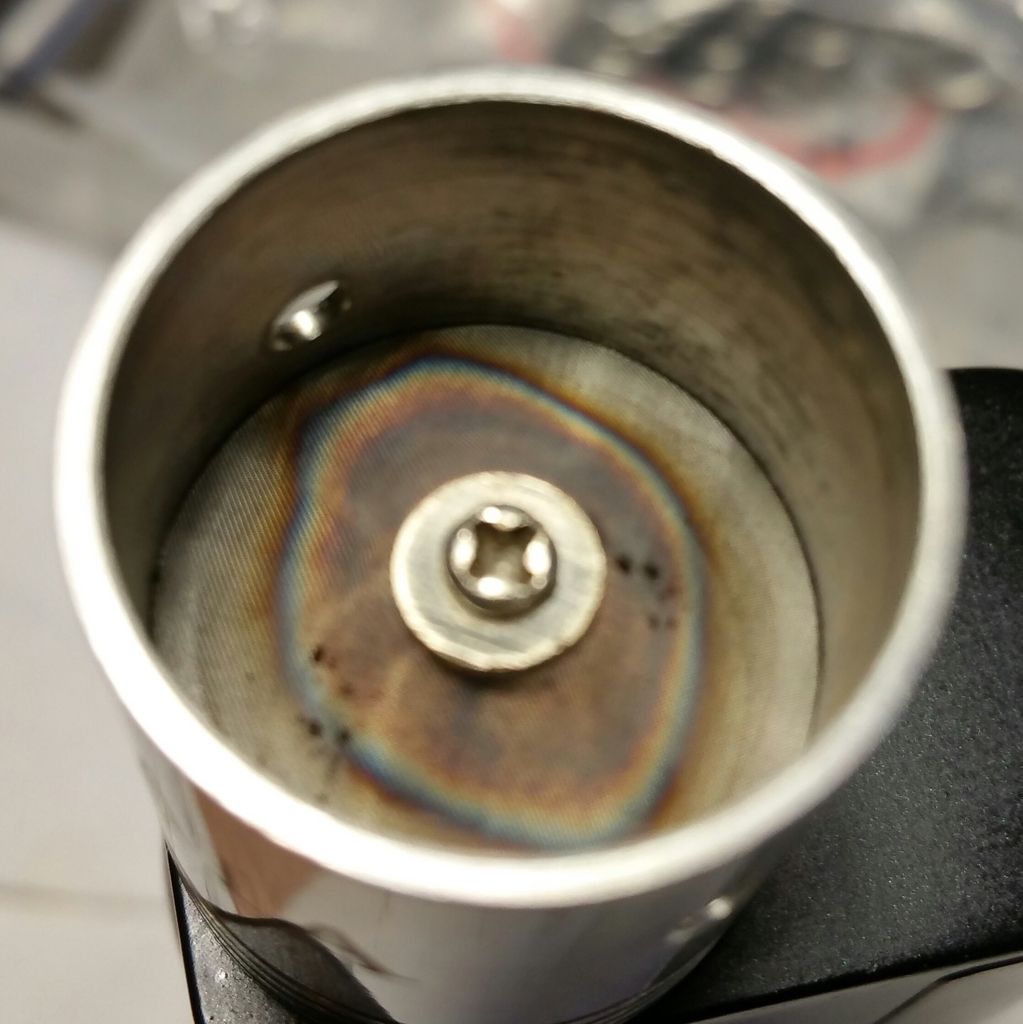
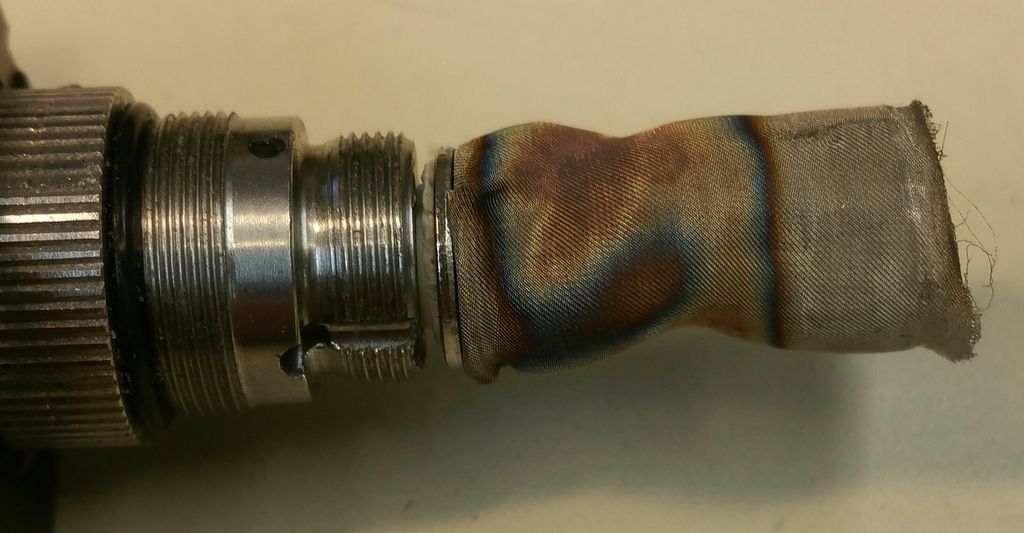
The "Project" DIY Herbal Vaporizer

dilvish

in hypno-vision
i moved my coil around a bit. i now have it so that the inner loops are compressed and almost touching, and the outer loops are stretched out a bit upwards, creating a sort of v-ish shape. when i fire it on wattage mode, it still gets way hotter in the middle first, but it's almost eliminated the hot spot in my load. it works even better now!
also, i've been using the lotus pipe as a stem for my project. looks funny, but works great!
 

KeroZen

Chronic vapaholic
I've kept experimenting since last time. In the end I didn't use the Project at all during the festival, too much of a hassle having to stir while dancing.

I tried several means to hold the deflector screen into place, including cutting a little strand of SS wire. It does work for a while but at some point if falls down and afterwards it tends to be hard to keep it in place. I'd rather have not to stir at all and not have to deal with the extra screen. As it currently is without the screen I need to stir every two hits or the taste is spoiled due to the hotspot.

I had no prior experience building coils as I withdrawed from nicotine a while ago and I'm not using e-cigs. I first tried to modify the original coil but failed. Using the provided spare SS wire, I managed to produce 3 coils, while learning the process.

I need to state that even if I have steady hands and I'm well used to do minutious work, it's a real PITA at first! There's no place to work as the ID of the SS tube is really small, there's not much height either otherwise it touches the upper screen. And ultimately, the absence of screw posts makes mounting the coil a real challenge. I cursed several times when the thing just flew away in the room as I was screwing the top nut. This pinching method to mount really requires a perfect geometry of the coil legs and they have a tendency to move outwards when you assemble.

I'm getting better at it now but place is really limited, it's not trivial at all. I ordered extra SS wire and a ton of other goodies from FT to keep learning and tweaking.

My first attempt ended in what I call the "banana coil". It was the easiest to make and ended as expected with a very focused off-centered hot spot. At least, by rotatiing the stem during the hits I was able to create a hot circle rather than a spot, but it was worse than original design:

JlhJj2u.png


I then tried to recreate the original coil but with a larger diameter for the inner coil. The result is not super pretty but it works. It creates once again as expected a larger and more diffuse centered hot spot. I've been using it these past days but it's still suboptimal:

Vy0IhXg.png


Rq0xu6A.png


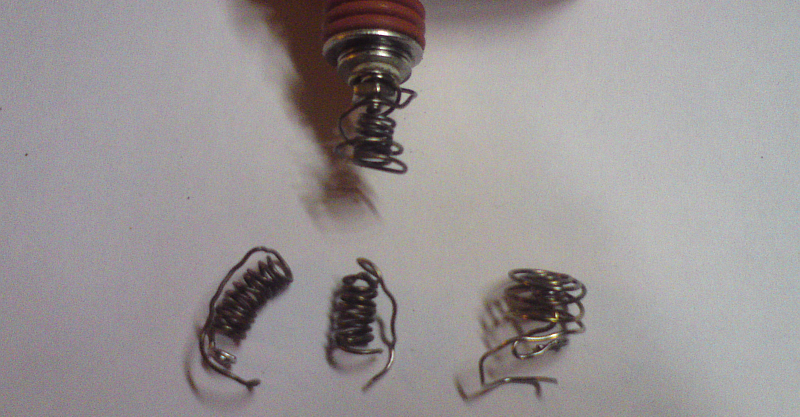
Finally here are all my coil attempts combined next to the original. I must wait for the SS wire to arrive before I can go further and try the stove top:

GIKA1WI.png
 

E0x

Well-Known Member
@KeroZen i do make a version of the original coil using a 3mm inner coil ( i think the original is 2mm ) and help to get the hot spot bigger and if i load very little herb don't need stir in any moment , that was using the wooded mouthpiece that have the SS chamber that i mod using the arizer elb.


what do you guys think about a stove coil ? i mean without pulling the center to form the V form ?
i see that the Elevape Smart Vaporizer use this kind of coil.
 

WakeAndVape

VapeLife X
My project says 'no atomizer' on my cuboid when attached...any suggestions? Didn't drop it or anything.
 
WakeAndVape,

Pipes

Addicted DIY Enthusiast
Accessory Maker
Had it being working previously with that Cuboid? Did you reset the mod (remove battery) and try again as well as look for broken/loose element etc.? Went through this a couple pages back and it ended up being just a mod reset.
 

WakeAndVape

VapeLife X
It was working before on the mod, I have been switching between 3 atomizers...but when I normally switch it asks on the screen in it want to use the new or old coil configuration...now it just doesn't register?

I'll try to do some digging when I'm off work...luckily the thread isn't super long yet!
 

Gator

Active Member
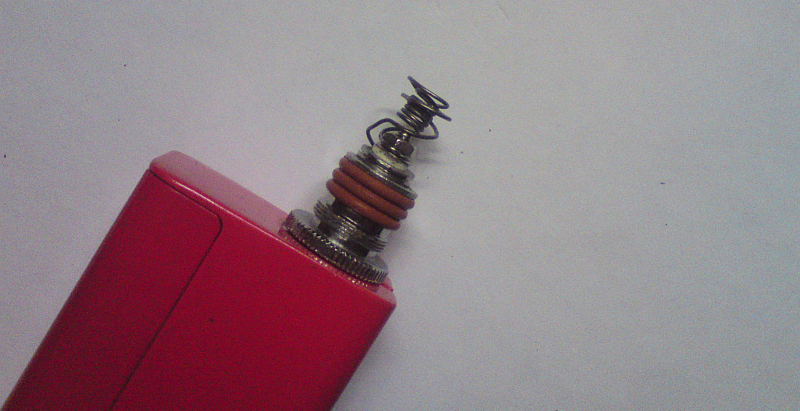
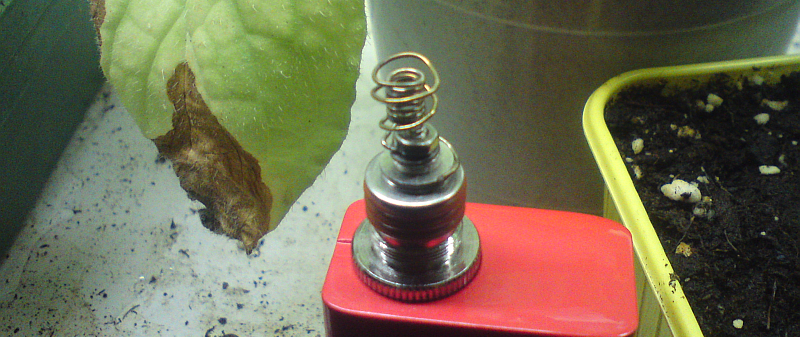
I too am having this problem, and to my great disappointment its joyetechs fault. The brass center pin, when fully pressed down, breaks the spring. If you look up "atomizer not found, Cuboid" its a common problem. Joyetech seemed to have redesigned the center pin for no apparent reason and only the cuboid has this problem. No idea why the center pin is square, any every single other model they carry is a circular brass pin.

My warranty was for 90 day and I just realised I'm a half a month outside of that. If you can, get it fixed quick.

I, personally, am not going back to the cuboid. However I might choose a joyetech mod again, other then this one flaw with this one mod, they make solid products.
 

WakeAndVape

VapeLife X
I too am having this problem, and to my great disappointment its joyetechs fault. The brass center pin, when fully pressed down, breaks the spring. If you look up "atomizer not found, Cuboid" its a common problem. Joyetech seemed to have redesigned the center pin for no apparent reason and only the cuboid has this problem. No idea why the center pin is square, any every single other model they carry is a circular brass pin.

My warranty was for 90 day and I just realised I'm a half a month outside of that. If you can, get it fixed quick.

I, personally, am not going back to the cuboid. However I might choose a joyetech mod again, other then this one flaw with this one mod, they make solid products.
Interesting...might buy a evic and let the project live there...it USED to work and the project is the only mod that doesn't work on the box...I'll check it on my friends mod later to see if it registers. I realize now after its not working...but I need my project vaporizer!!!
 
WakeAndVape,

KeroZen

Chronic vapaholic
Hey guys I need some help I think. Been two times in a row that my evic VTC mini crapped on me! At this point I don't know if this is user error or if something's wrong with the mod and/or my coil.

Yesterday I realized when starting up that my coil reading was 0.44omh instead of my usual 0.49ohm. I inspected the coil and nothing was bent, no apparent short-circuit. I started a session anyway and I could feel heat but got mostly blank hits. I wondered what was wrong and thought that the ohm difference was non negligible (close to 10%) so it required to boost my usual temperature.

I raised the temp 30°C, got a first nice hit. Then a second. And on the third bam! Thick hot smoke in my throat! I removed the stem and saw that the coil was glowing fully red!!!

And today same thing: session rather on the low temperature side, got a few back to back hits, working well, and for no reason, combusted again! Removed the stem and once again coil fully red. It's as if TC mode disengaged itself. I fired it dry just after and couldn't manage to get the coil red anymore, as it should be. It's very strange.

I recall that once during my first coil build tests, the device claimed it was in TC mode but clearly it wasn't working: whatever the TCR value and whatever the temperature (even on lowest possible temp) the coil got red hot.

Maybe I just need to reset the atomizer reading? Did someone get the same issue already?
 
KeroZen,

E0x

Well-Known Member
i have a a lot of problem with the vtc mini and his connector , i endup buying a rx200 but right now i am having a problem with it too , but not sure if is the mod or is that my coil are touching the SS inner tube , because i was trying the new V shape coil , i think i will come back to the old design with a bigger inner coil
 
E0x,
  • Like
Reactions: KeroZen

Pipes

Addicted DIY Enthusiast
Accessory Maker
@WakeAndVape, and others if the 510 connector is giving grief, for a couple bucks, grab a 510 heat sink and dedicate it to the project.
Moving forward I'm going to be using the round top screws for the center post rather than the flat top.This will give a little more depth with the center extrusion to make a deeper contact with the mod.
I tried using one mod for multiple atomizers and not a fan of this procedure. Two much fiddling with settings all the time. With the price of the mods these days, best to dedicate a mod to the project. Having a back up is also a good idea anyway.

@KeroZen, yes I've had these weird things happen well. One day the coil reads .02 one way or the other from the day before and have to compensate with temperature. Seems to have stopped though with one of the firmware updates. Can't remember which one. It seems that the firmware sometimes has other factors changed besides the advertised changes. Since I updated to the newest version, the one which includes a game, I found I had to lower the TCR to 120 and running at 450F. Now this all happened around the same time I changed my coil to the V types which may also have had some influence.
You stated the coil ran a muck and got red hot. I've also had my unit jump into power mode on it's own. Only way to get it to stay back in TC mode seems to reset the device and start again from cold. Remove battery and wait 5-10 seconds.
We are basically dealing with a computer here along with the bugs.
 

ataxian

PALE BLUE DOT
I think that's a good analogy, yes! After using this and the Bulli for a few months I'm sold. My bulli is the most efficient, best functioning vaporizer I have, or at least equal to the nano. I can pull very big clouds with the UFO and never scorch, (unless I choose to by increasing temp). Taste is excellent and it's truly on demand. Battery life is very good, and every stem from Epic and the air/solo have worked. It takes some time to tinker with settings and getting it just right, but once you find it, they work fantastically!

I hope you are doing well my friend, our paths haven't crossed lately.
How is the greatest wood worker know to the world since Sam Maloof?

I use the UFO so much!

My glass collection is so large I will need a dumpster to throw them away!
 
ataxian,

Zangano Cruel

IG zan.cru (code) zancru (5% NV checkout discount)
My theory is that 1 watt translates to X energy which in turn will be Y amount of heat. This should work out as a constant. If this is the case than the efforts to transfer the energy "evenly" without wasting it is the goal. Agreed, using a finer material will work as it covers up the open air flows better. But IMO, this is more to even out the distribution. Not necessarily surface area. Downfall is a more delicate, complex coil which will work fine. But, my belief is keeping it as simple as possibly getting away with the minimum requirements to get the desired results. ECig users are looking for direct contact with the EJuice which is where the surface area is more critical. Kind of goes hand and hand but for different reasons. We want the end result leaving the oven to be uniform which doesn't necessarily mean you need more surface area.
I have actually played with using a SS mesh for a heater. Here's a couple pics. One is using a 22mm drip atomizer and the second was a modified Kayfun Mini.

The first was a total fail as the resistance was not linear from the post to the outside. Thus, concentrated all the heat in the center.
The second was and is a good candidate to keep in mind. I stopped as never got around to figuring out how to easily secure the top potion of the mesh. I wedged it between the upper screw in cylinder which wants to cut the mesh. Lasted long enough to know the resistance was within limits of the mod output. (Barely @ .05ohm)
Also, the heat up is fairly even. Would run like a mini TC FlashVape.
This is getting really fun stuff now. We live in a great age!
Hi @Pipes
This last photo reminds me of Milaana heater ;)
What about adding a piece of mica and sandwich it at the end by just pressing it...
I'm too stoned now. I could be wrong.
Do you have the Project available for sale now??
Stay vaped...
 

Pipes

Addicted DIY Enthusiast
Accessory Maker
Finally have a couple feet of tubing and have got everything in place for another 9 units to be made up. I'm off for a couple week and will commit to completing these units. I do have another 8 feet on the way and may be able to do more then 9 if I get in time. Really streamlining my technique as I go and finding ways to improve the process.
Here is a list of the lucky adopters:
@radiant34
@Renthispace
@nosmoking
@pavolo.i
@Hdodd
@Zangano Cruel
@shadowrazor
@bloom
@grumpy
I will be in touch in a week or so.
The rest of you on my list will be in the next batch which all parts are at least on the way.

So I now have a Cuboid and love it! Yes, it's bigger, which is the reason I hesitated so long. But, with dual batteries, running at 100 watts I can run the batteries right down to near zero with no drop in batteries keeping up. Not to mention the extended life between changing batteries. I'm sold on it.

I'm also working on the new outer enclosure design which will make the enclosure all one piece without the need for O rings. Currently working on a master mold to be able to make the enclosure from this high heat silicon (Mold Max 60). This stuff is good up to 560 F. The ring seals will be part of the piece. Yes, it will be compatible with current units. Hopefully I can make this work as will further simplify the manufacturing process. Will post the techniques later....once I know. lol
Any thoughts about this material affecting air-path? I'm hoping for minimal to zero impact as is upstream on the cold side of things...?

:science:
 

Zangano Cruel

IG zan.cru (code) zancru (5% NV checkout discount)
Finally have a couple feet of tubing and have got everything in place for another 9 units to be made up. I'm off for a couple week and will commit to completing these units. I do have another 8 feet on the way and may be able to do more then 9 if I get in time. Really streamlining my technique as I go and finding ways to improve the process.
Here is a list of the lucky adopters:
@radiant34
@Renthispace
@nosmoking
@pavolo.i
@Hdodd
@Zangano Cruel
@shadowrazor
@bloom
@grumpy
I will be in touch in a week or so.
The rest of you on my list will be in the next batch which all parts are at least on the way.

So I now have a Cuboid and love it! Yes, it's bigger, which is the reason I hesitated so long. But, with dual batteries, running at 100 watts I can run the batteries right down to near zero with no drop in batteries keeping up. Not to mention the extended life between changing batteries. I'm sold on it.

I'm also working on the new outer enclosure design which will make the enclosure all one piece without the need for O rings. Currently working on a master mold to be able to make the enclosure from this high heat silicon (Mold Max 60). This stuff is good up to 560 F. The ring seals will be part of the piece. Yes, it will be compatible with current units. Hopefully I can make this work as will further simplify the manufacturing process. Will post the techniques later....once I know. lol
Any thoughts about this material affecting air-path? I'm hoping for minimal to zero impact as is upstream on the cold side of things...?
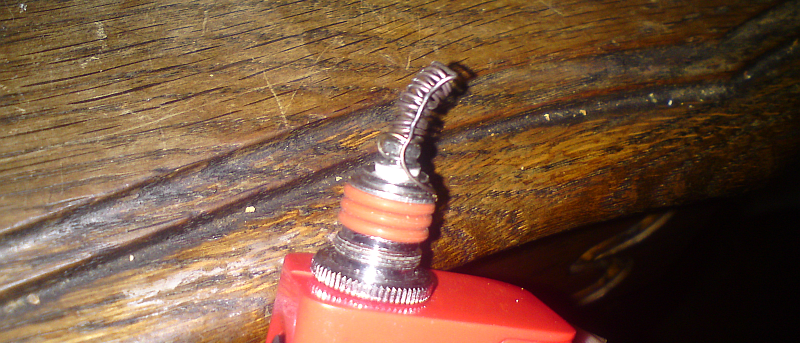
:science:
Support you all the way my friend...
Stay vaped...
Keep going and making all our lives better step by step. I really like and enjoy your creativeness and openness to all us.
Thanks in advance...
 

PPN

Volute of Vapor
Just a short post to tell you my Project is working consistently since I mastered the learning curve, I'm sorry to not experiment but my actual settings make the job so well I don't get any need for!

I use only the Pipes stem as a bowl, used the Pipes TCR and I set it at 510 for tastier hits and until 530 for thickers. I stir between hits but I only rotate the stem for the 2-3 first hits and I use a Flowermate screen (miVape and Vapir Prima screens are similar) as a shield to avoid hot spots.

I use mine as a log vape 95% paired with a small bubbler (D020 or Orbiter in my case).
 

Pipes

Addicted DIY Enthusiast
Accessory Maker
Hey guys. Have had a busy couple days off so far. Good news in the works.
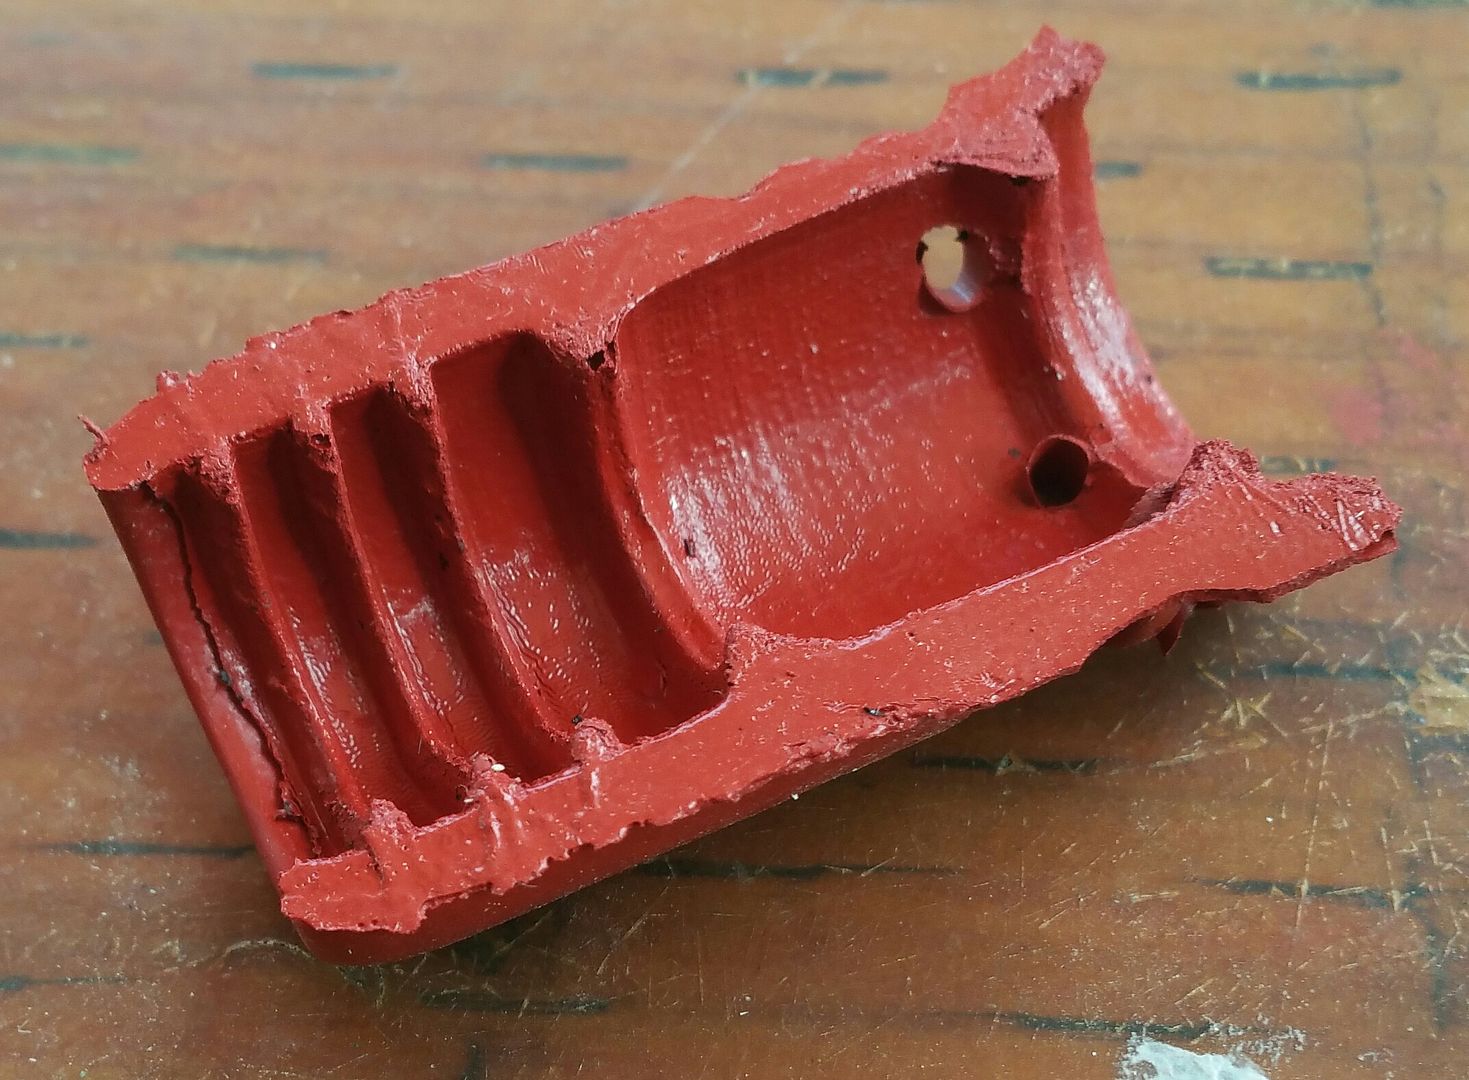
I have found a technique which is working for the new silicon rubber outer shell. Tried a couple ways to to make as a single piece but failed miserably. Mainly because of the inner ridges, a two piece solution was necessary. This is a pic of a unit fresh from being assembled together. Very crude as still need to tweak the sizes here and there as well as an alignment device when pairing them up. Regardless, the concept works and plan to start to use this for future shipments. If you are on the list, and would rather stick with the wooden piece, please let me know.


The ugly looking gunk inside seems to be from the curing process and will wipe off. The unit is still curing so never bothered yet. Stinks to high heaven while curing too but odourless the next day after curing is done.


There are more pictures on the technique in the photo gallery. Link in my signature.

Please speak up now about any concerns or ideas as will be tweaking tomorrow.

:tup:

 
Last edited:

bagelbanger

Well-Known Member
Hey @Pipes! That silicone cover looks cool especially since my wood cover cracked this week. Let's see how some glue holds up. Any tips on how to craft a new one? I believe you mentioned a dowel or broom stick in the past.
 

Pipes

Addicted DIY Enthusiast
Accessory Maker
@Pipes nice! , how do you put the two piece together ?
Just used a small amount of the same mix and apply a thin layer and use like a glue. Going to make a jig to keep the halves aligned perfectly. Eyeballed the first.

Silicone... :[##################

:shit:

Hope you didn't get any of that on you. lol
Please elaborate. Is there a safety issue here or is silicone just something you have a pet peeve with? Your input is appreciated.

Hey @Pipes! That silicone cover looks cool especially since my wood cover cracked this week. Let's see how some glue holds up. Any tips on how to craft a new one? I believe you mentioned a dowel or broom stick in the past.
Yes glue will work. Common Carpenters glue, and use some electrical tape wrapped to hold tight while drying. The tape will work as well by it'self if you can't find the proper glue right away.
 
Last edited:

nosmoking

Just so Dab HAppy!
Please elaborate. Is there a safety issue here or is silicone just something you have a pet peeve with? Your input is appreciated.
Silicone starts off-gassing at pretty low temps. People with sensitive throats will notice a taste and possibly a throat irriation from silicone that gets hot enough to release gases. I feel the way you are using this silicone is going to create issues for deterioration as well as off gassing.

Some people with really sensitive throat/senses can taste and smell silicone at room temperature regardless of how many times you run it through coconut oil or however you try to desensitize it. I am one of these people so I can understand. Glass or wood is good, but with silicone I must pick a bone!
 

Pipes

Addicted DIY Enthusiast
Accessory Maker
Never knew that, thanks. Does that include the high temp O rings as well? This is basically the same material.
:sherlock:
Guy's, this is what I need to know as better to stop my change before in "too" deep. Would be too bad though, as the silicone is fun stuff to work with.
This is, after all, our FC home grown vape.
:science:
 
Top Bottom