The "Project" DIY Herbal Vaporizer

ander

Well-Known Member
@ander sorry ,my english , a piece of wire that measure 8 inch will give you a reading of 0.5 something
pd: wire config must be: 22 gauge SS 316L
Thanks. No no, it's me. Didn't catch the inch symbol and gauge meaning... so, it's my english!

Btw, now that I've stopped touching my coil, ohms seem to slide down also here... from .575 to .560. I have arrived?
 

fluffhead

Recovering Idealist
From my understanding, the wires that pipes generally cuts are 8.5" and land with a resistance of approximately .54-.57 resistance, depending on exact length. I have found that if it is higher or lower, the center post might not be tight enough, or the bottom connection of the coil might be touching something that it shouldn't.

I have now done more extensive testing between the eraser and the shitfucker. Now that I have my pico, I have the eraser permanently on the cuboid with the sf on the pico. The current leader for daily driver status is the eraser/cuboid combination. I am enjoying the low and slow pace. I still use the sf multiple times a day, especially in the evening with kief and a bubbler.

One thing that I have noticed, at least with the way I use them, the eraser uses much more power than the sf. On the cuboid, sf will give up to 15 bowls per charge relative to the 10 or so that the eraser will give. More testing to be done for sure. Has anyone else received their project shitfuckers yet?
 

E0x

Well-Known Member
resistance reading don't drift like i say before , if is drifting/slicing something is wrong ( of course i am talking about when the coil is in room temp ) what i find in my experience is two thing can happen:

the coil is touching the inner tube (in the glass version of the project this is not a problem ) and the other reason i find is is not tight enough , that is why i recomend everybody get the socket drive 5mm .
 

Pipes

Addicted DIY Enthusiast
Accessory Maker
Also note, a brand spanking new coil does need breaking in. If only trying to get to vaping temp without breaking in, it will appear the resistance is coming down some each heat up. Because it is... I give the new coils a couple good burst of 30 watts power mode to get a good bright glow for 2-3 seconds. Do not continue to repeat more than 3 times in a roll as will the heat build up will damage the nylon insulator. The resistance will then be stabilized.
Good stuff guys!
 

ander

Well-Known Member
My adventure in search of the perfect extraction has begun... :D

IMG_3458.jpg


Smooth...
 
Last edited:

ander

Well-Known Member
"From wine stoppers in ancient Rome to anti-vibration joints in a space shuttle’s boosters, cork’s distinctive attributes have added to the quality of our lives."

Yes, cork update.
More infos for who is interested in playing with this material for creating a sleeve.

About composition Cork
"Composition cork is the most versatile form of cork.
It is produced by binding together smaller cork granules with the use of an adhesive binder. Glue, gelatin, phenolic or synthetic resins, can be used depending on the use of the final product."


Cork can have high amounts of resin and can be bound by a heat process; the product that comes out is called expanded cork and it's 100% natural. Not used for wine corks anyway, since what wine industry usually uses is food-grade polyurethane glue. These glues seem to have a medium resistance to temperature.
I'm using pieces of granulated cork these days, didn't experienced any issue... but we must say that the material involved in the airflow is nearly zero and the response to temperature really, really cool. No deformation or shape changes... It's stable. But since I'm not still been able to find precise infos on these glues and reaction to high temps (only info I found: food grade granulated polyurethane glue can resist for 24h at 180°C...), my final pieces will be of natural extruded cork anyway (I also have some pieces of cork bark and one should be thick enough to create something...). To avoid for sure? Pale corks. Natural cork is light brown. Pale corks could be bleached.

I've selected some nice used corks these days (hic!), and washed them in a mix of boiled water and vinegar. Works very well; cork regains his original shape, reveals eventual weaknesses and becomes perfect for the sleeve creation, it's only a little shorter (averagely 2mm?). This process also washes away most of the bad smell if present, and a dry treatment with Baking Soda (mild abrasive and disinfectant) will enhance the effect.
The workability of this material is excellent, you only need drill bits and sand paper. A column driller is anyway recommended to acquire straight results.

Resuming:

Pros:
Great insulator. Easy to work. Smooth, light, elastic and resilient. Impermeable. Hypoallergenic.

Cons:
Natural: none if you avoid the bleached ones.
Composition cork: as above and, possibly, the glue.

So..? Where are your cork projects..?! :argh:
 
Last edited:

KeroZen

Chronic vapaholic
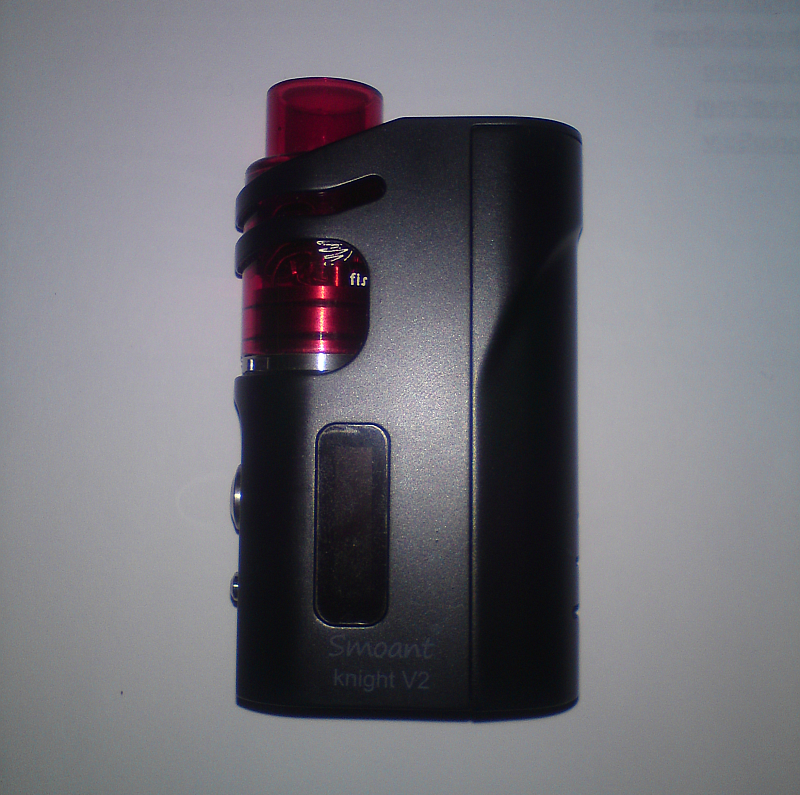
So... I received the Smoant Knight V2 mod! Here's the mandatory pack-shot:
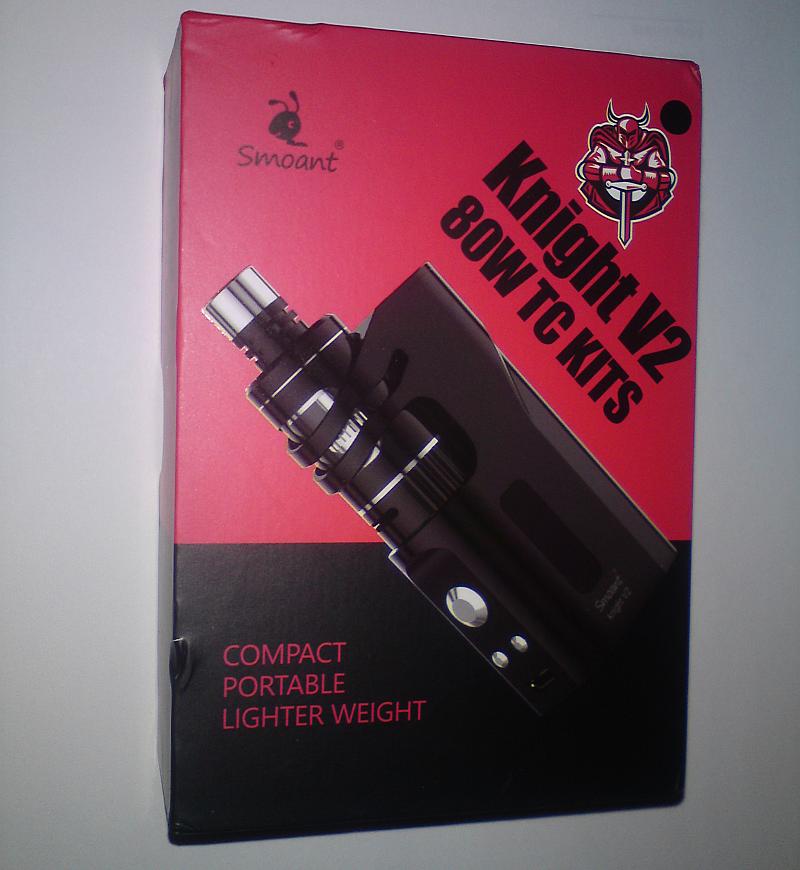
8jeAIhR.png


It comes with their Talos RTA, which unfortunately and like all RTA's I have, is of practically no use for us (what I mean is that we can't convert it easily to a dry herbs atty, those are really meant to be submerged in e-liquid and the coils are custom parts which you just throw away and replace, not something that you rebuild)

The only interesting accessory is the 510 extender, but since the Project is already quite tall with the stem, I don't think I would want to make it any longer...
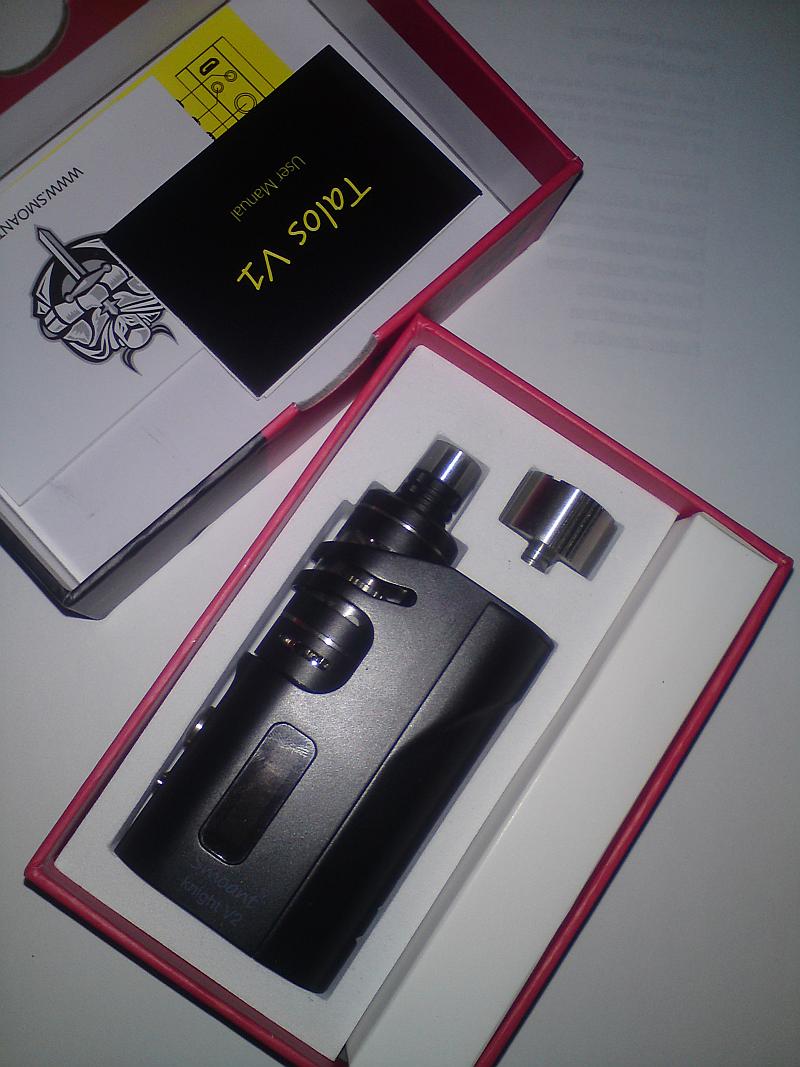
8CTlJYq.png


They claim it's light on the package but I find it bulkier and heavier than the evic VTC mini. In fact it would be really hard to go any smaller than the mini, it's awesome how they miniaturized everything and made it fit in such a small package.

The screen is super small and can't display much data, this is a negative point. It's located on the side, meaning if you are left-handed like me, you can't see it during operation (or you need to use your right hand to hold it) Anyways it got the same usability problem as the evic: you can't really read it when you are drawing.

The software is not as evolved as the joyetech one, but it has SS and TCR modes so we should be covered. Now for the bad news: the OG "woody" Project does not fit inside, sadly. The Eraser does fit but it rubs quite some when screwing it in. If you were to put it and remove it daily I imagine it could wear the exterior of the sleeve with time:
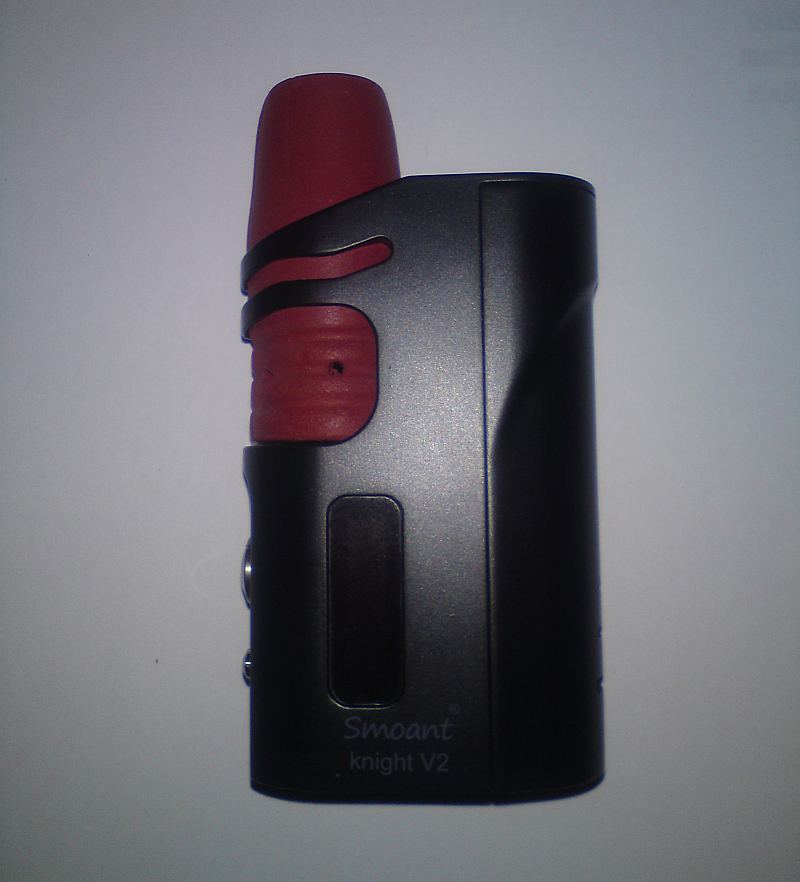
uT42ppY.png


Someone said elsewhere that it can accept attys up to 23mm or a tad more. It sure does fit my 22mm Fishbone RDA's but it doesn't fit my Kennedy24:
AX8ZvnI.png


I haven't tested it for now so I can't comment how the TC mode holds. I'll report back here later when it gets some Project usage.
 

b0

Cloudy...
So... I received the Smoant Knight V2 mod! Here's the mandatory pack-shot:

8jeAIhR.png


It comes with their Talos RTA, which unfortunately and like all RTA's I have, is of practically no use for us (what I mean is that we can't convert it easily to a dry herbs atty, those are really meant to be submerged in e-liquid and the coils are custom parts which you just throw away and replace, not something that you rebuild)

The only interesting accessory is the 510 extender, but since the Project is already quite tall with the stem, I don't think I would want to make it any longer...

8CTlJYq.png


They claim it's light on the package but I find it bulkier and heavier than the evic VTC mini. In fact it would be really hard to go any smaller than the mini, it's awesome how they miniaturized everything and made it fit in such a small package.

The screen is super small and can't display much data, this is a negative point. It's located on the side, meaning if you are left-handed like me, you can't see it during operation (or you need to use your right hand to hold it) Anyways it got the same usability problem as the evic: you can't really read it when you are drawing.

The software is not as evolved as the joyetech one, but it has SS and TCR modes so we should be covered. Now for the bad news: the OG "woody" Project does not fit inside, sadly. The Eraser does fit but it rubs quite some when screwing it in. If you were to put it and remove it daily I imagine it could wear the exterior of the sleeve with time:

uT42ppY.png


Someone said elsewhere that it can accept attys up to 23mm or a tad more. It sure does fit my 22mm Fishbone RDA's but it doesn't fit my Kennedy24:

AX8ZvnI.png


I haven't tested it for now so I can't comment how the TC mode holds. I'll report back here later when it gets some Project usage.

I'm waiting for my sf and was really interested in this mod, will be waiting more news from you!

Got interested as well in trying to build my own rda one hitter and with this mod I should be able to have a really small one hitter to take around, have you tried any wax rda coils?
 

KeroZen

Chronic vapaholic
Nope sorry apart from my own stem reclaim I don't have access to concentrates here (and the hash is laced, it's filthy!)
 
KeroZen,
  • Like
Reactions: P.A.M.

natural farmer

Well-Known Member
So... I received the Smoant Knight V2 mod! Here's the mandatory pack-shot:

8jeAIhR.png


It comes with their Talos RTA, which unfortunately and like all RTA's I have, is of practically no use for us (what I mean is that we can't convert it easily to a dry herbs atty, those are really meant to be submerged in e-liquid and the coils are custom parts which you just throw away and replace, not something that you rebuild)

The only interesting accessory is the 510 extender, but since the Project is already quite tall with the stem, I don't think I would want to make it any longer...

8CTlJYq.png


They claim it's light on the package but I find it bulkier and heavier than the evic VTC mini. In fact it would be really hard to go any smaller than the mini, it's awesome how they miniaturized everything and made it fit in such a small package.

The screen is super small and can't display much data, this is a negative point. It's located on the side, meaning if you are left-handed like me, you can't see it during operation (or you need to use your right hand to hold it) Anyways it got the same usability problem as the evic: you can't really read it when you are drawing.

The software is not as evolved as the joyetech one, but it has SS and TCR modes so we should be covered. Now for the bad news: the OG "woody" Project does not fit inside, sadly. The Eraser does fit but it rubs quite some when screwing it in. If you were to put it and remove it daily I imagine it could wear the exterior of the sleeve with time:

uT42ppY.png


Someone said elsewhere that it can accept attys up to 23mm or a tad more. It sure does fit my 22mm Fishbone RDA's but it doesn't fit my Kennedy24:

AX8ZvnI.png


I haven't tested it for now so I can't comment how the TC mode holds. I'll report back here later when it gets some Project usage.
You beat me to it buddy! :lol:

Looks great though, shaves a lot of height! :nod: Smoant says it accepts up to 23.5mm attys so a little rubbing with the Eraser was expected. Pico rubs as well actually. But I can see it fits good enough! Big relief so far! :lol: I hope its TC works good as well...
 

virtualpurple

Well-Known Member
@KeroZen i like the looks of that mod box. Definitely seems to cut the height down a bit, which I like. I didn't catch if it'll accommodate a good shitfucking, but I definitely like the looks!

@ander do you have a little tutorial on how we can replicate some of your designs with the cork? You may have posted and I missed it. If so, I apologize.

In theory folks, would a wood sleeve be able to slip over the part that screws into the modbox? Would that be safe or would the wood get too hot pressed against the metal?
 

KeroZen

Chronic vapaholic
In theory folks, would a wood sleeve be able to slip over the part that screws into the modbox? Would that be safe or would the wood get too hot pressed against the metal?

@virtualpurple : check page 1, the OG "Woody" Project is made of wood. I preferred it overall I think, way better looking and no plastic! You can still order this version, just have to ask the Man.

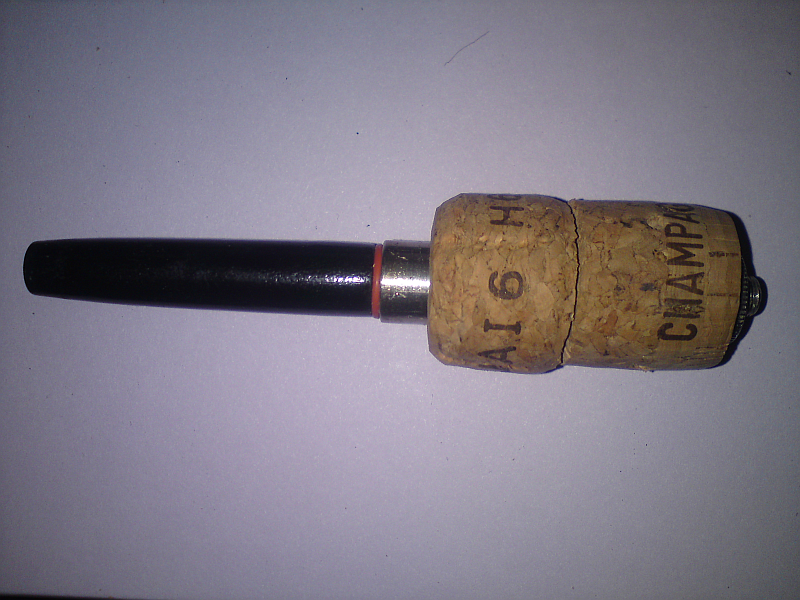
@ander : I don't want to side-track you or anything, but I happen to have toyed with your idea this weekend and I documented the process. I'm sure yours is more elaborate, I did mine mostly for fun while waiting for my "Pure" (wink wink! ahem!) and my "Eraser" replacement sleeve. But I'm also curious to know whether it will be really more efficient thermodynamically or not.

So I started with a Champagne cork, because... well, because Champagne hehe! :p I used that christmas tree shaped drill bit which I have absolutely no idea how it's called. I started by hand then eventually did the bulk with my electric drill:
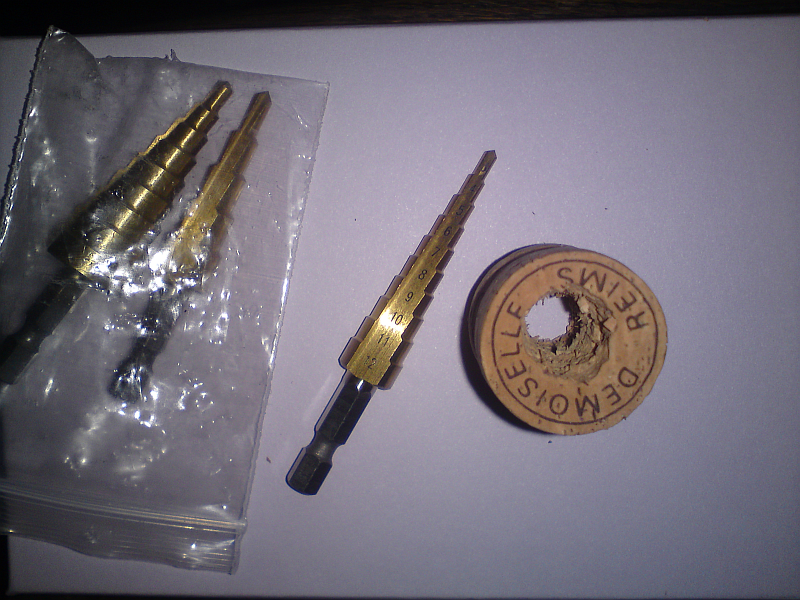
hFGqCAf.png


The max diameter of the bit I used was slightly under the outer diameter of the Project steel tube, so I drilled all the way through and had to attack by both sides. As you can see I went a bit off-center and the cut was a bit rough.

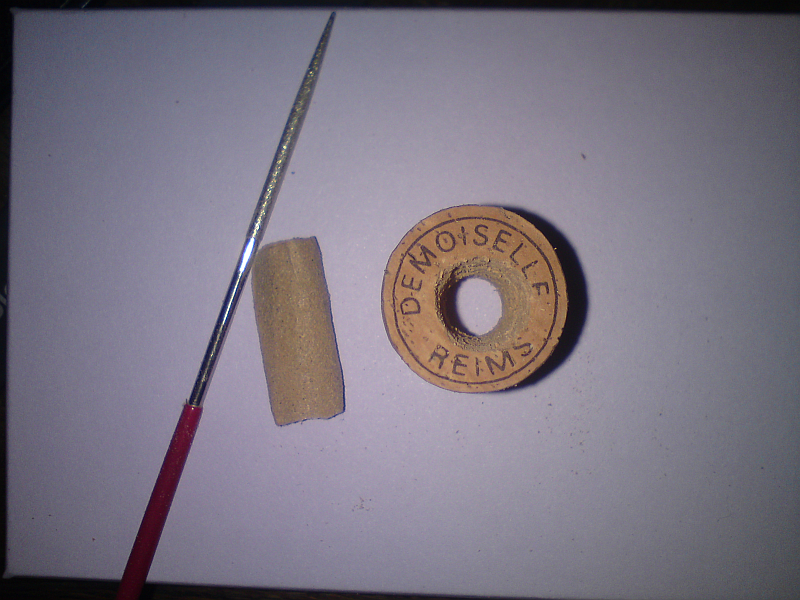
I then proceeded to sand the hole using a rolled strip of coarse grit paper and a pencil. I finished with a diamond file which was clearly not the best tool for the job, but that's what I had:

HwPS1kU.png


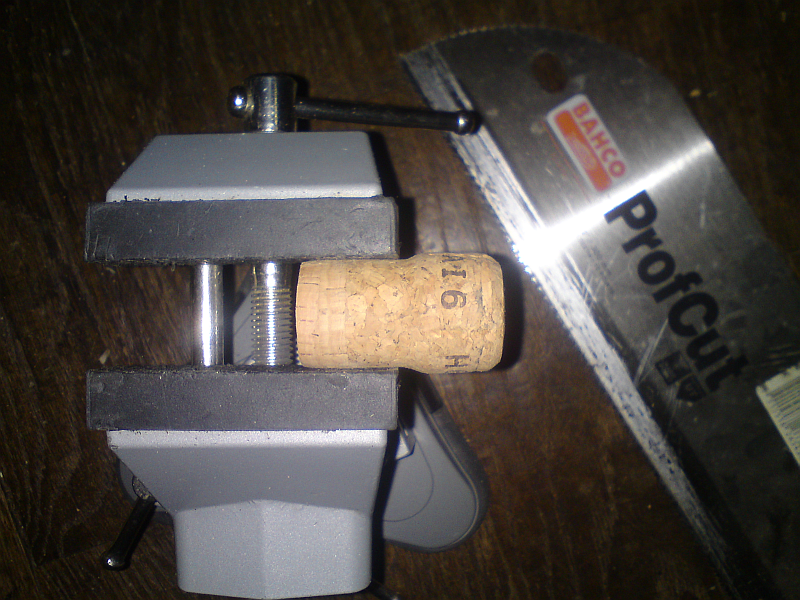
I had to keep sanding quite some during the rest of the build as it was all super tight at first. I then mounted the cork on a table vice and cut it using a wood saw just under the "cap" line:

CTetAKC.png


The two parts after even more sanding and filing:

Si45JxV.png


I then inserted the tube partly and made dots on the cork with a marker for the inlet holes drill locations (14mm from the bottom on mine):

LpPakvY.png


I did the three holes using a hand drill and a 1.6mm bit, then I enlarged the holes using the diamond file:

VE8Fa7E.png


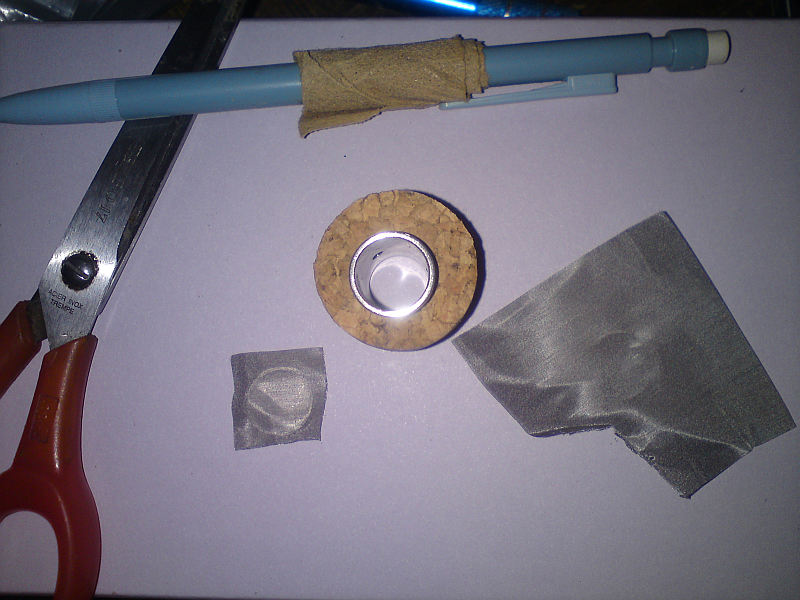
Then more sanding. Inserted the tube all the way into the bottom cork part, leaving the top protruding. I used the steel tube top to make an imprint on a square bit of 316L stainless steel 400 mesh (again because that's what I had laying around, other mesh sizes could work better?)

fVLFyW5.png


Leave enough extra material all around the imprinted circle as it will need to fold and if there's not enough it's just a pain. Then put the mesh on top of the tube and press-fit the second cork part on top, and voila! You got your own Alcoholics Anonymous version of the Project!

Z7RVDBt.png
 

ander

Well-Known Member
First, if this thing works all merits go to Mother Nature and this material. I'm discovering the world of cork and its many applications... it's fantastic.
Me? I've only had a fortunate intuition since I'm an alcoholic pyromaniac. I've popped many bottles... burned myself many times... and for what I knew corks burning bad! Then, I have merely copied Pipe's Eraser concept.

tools.jpg

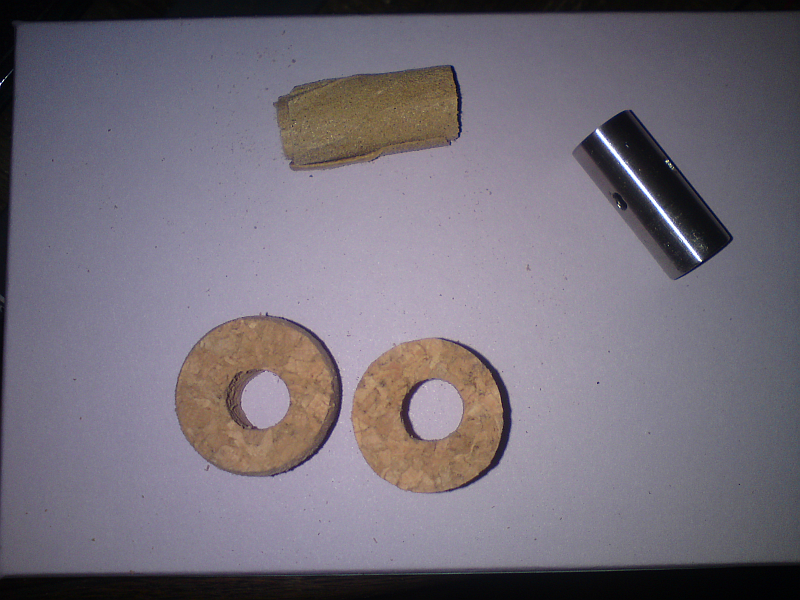
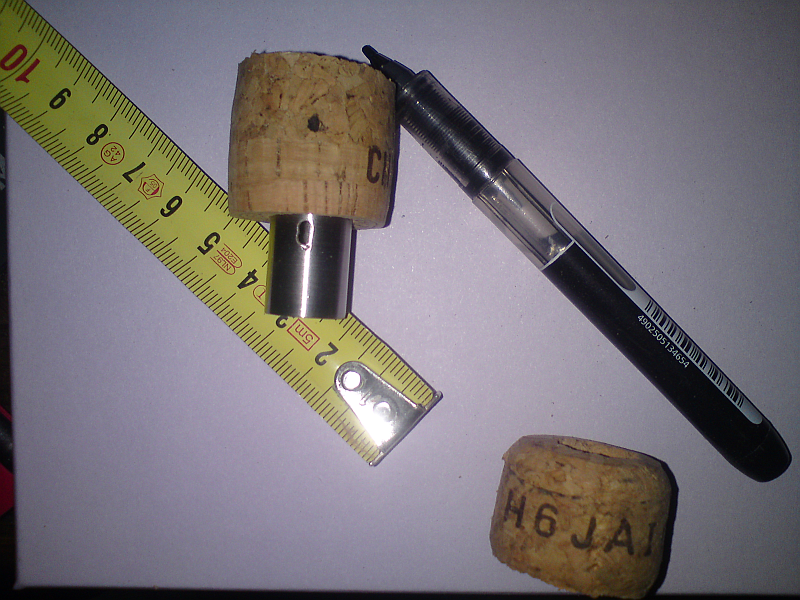
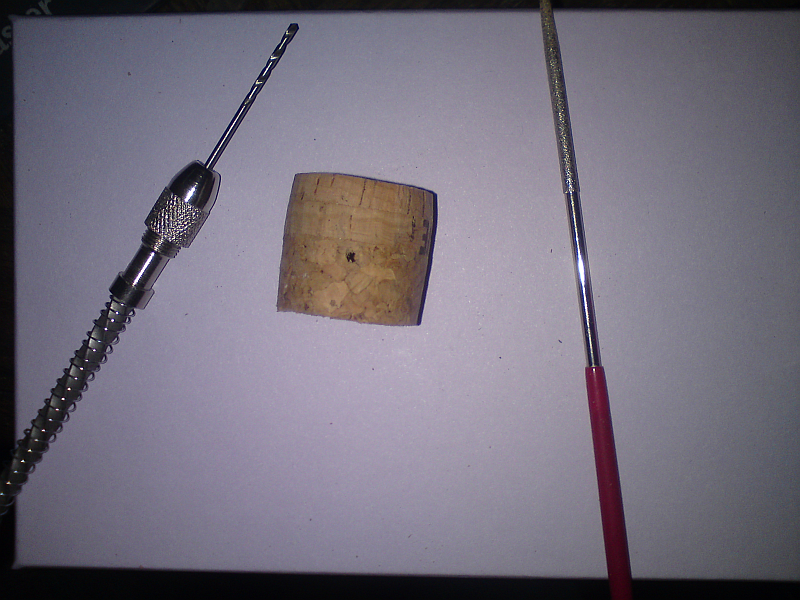
From left to right: drill bits 5-8-11-14mm for the body, and 4mm for the airflow holes. Rolled up sandpaper, a coarse and a fine one. Since the 14mm hole is very tight as said, slowly work and check with the SS sleve to acquire the right tightness. The wood piece is a 13,5mm wood pusher that aids me to put on and off the SS sleeve.
IMO, you need an electric driller and a column to acquire straight & smooth results... and sandpaper only for refining. I used an old driller and I have a pneumatic column where I can mount it (50$?). If you don't have it, you can easily ask a wood worker to drill your corks.

You can achieve almost perfect results. A nice-looking cork has its importance maybe..?
Still traces of the wonderful wine that was sealed by this cork... a spectacular sardinian red wine..!
drill.jpg


I have a more complex design in mind, with internal air paths... but I don't see reasons to proceed anymore. This works perfect. If I want to experiment the (maybe useless... but I want it!) airflow regulation option, I can do it simply by tapping on holes with my fingertips...


:ninja:
stealthon.jpg

Reuleaux silicone shirt is finally arrived and yes, you can paint your corks with non-toxic water based acrylic paint.
So, more than developing different concepts, maybe with cork would be more interesting working on different shapes (with rasps and sandpaper) and colors?

That's all for now folks..!
:haw:
 
Last edited:

fluffhead

Recovering Idealist
I got some wire to play with from lightningvapes and I am having some interesting results, but more testing is required. There is clearly something different about this wire than the one pipes has been getting because the 8.5" length of wire comes up with a consistent .493 cold resistance. Because it was consistent and everything was in order and not touching anything, I have been using it. It works well so far, but I have only had a couple of bowls through it. I will want to see if there are any further differences from the coil I had previously outside of a lower resistance.
 

natural farmer

Well-Known Member
First, if this thing works all merits go to Mother Nature and this material. I'm discovering the world of cork and its many applications... it's fantastic.
Me? I've only had a fortunate intuition since I'm an alcoholic pyromaniac. I've popped many bottles... burned myself many times... and for what I knew corks burning bad! Then, I have merely copied Pipe's Eraser concept.

tools.jpg

From left to right: drill bits 5-8-11-14mm for the body, and 4mm for the airflow holes. Rolled up sandpaper, a coarse and a fine one. Since the 14mm hole is very tight as said, slowly work and check with the SS sleve to acquire the right tightness. The wood piece is a 13,5mm wood pusher that aids me to put on and off the SS sleeve.
IMO, you need an electric driller and a column to acquire straight & smooth results... and sandpaper only for refining. I used an old driller and I have a pneumatic column where I can mount it (50$?). If you don't have it, you can easily ask a wood worker to drill your corks.

You can achieve almost perfect results. A nice-looking cork has its importance maybe..?
Still traces of the wonderful wine that was sealed by this cork... a spectacular sardinian red wine..!
drill.jpg


I have a more complex design in mind, with internal air paths... but I don't see reasons to proceed anymore. This works perfect. If I want to experiment the (maybe useless... but I want it!) airflow regulation option, I can do it simply by tapping on holes with my fingertips...


:ninja:
stealthon.jpg

Reuleaux silicone shirt is finally arrived and yes, you can paint your corks with non-toxic water based acrylic paint.
So, more than developing different concepts, maybe with cork would be more interesting working on different shapes (with rasps and sandpaper) and colors?

That's all for now folks..!
:haw:
It looks great @ander !!! Very glad it works!
 
natural farmer,

ander

Well-Known Member
@natural farmer thanks mate! Yes it seems to work veeery well. I'm loving the stem also. I've read somewhere, I can't remember, that if "something" (air, fluid?) changes volume loses temperature..? :hmm:

My coil slided again. from .560 now it is read at .551 after a battery swap. I locked it there anyway and raised TCR to 200. Got a GREAT session around 190-200°C with wonderful taste & infinite vapor production from a very small dose, with perfect avb without even turning the stem or mixing the bowl so all it's going fine. But I wonder why the read still changes. I've done the "power mode" treatment at 30w...

A question on coil readings:
High ohms value = short atomizer, right? Got it when it was loose or touching the SS sleeve...
Low ohms value = ?...I knew it but... :whoa:
 
Last edited:
Top Bottom