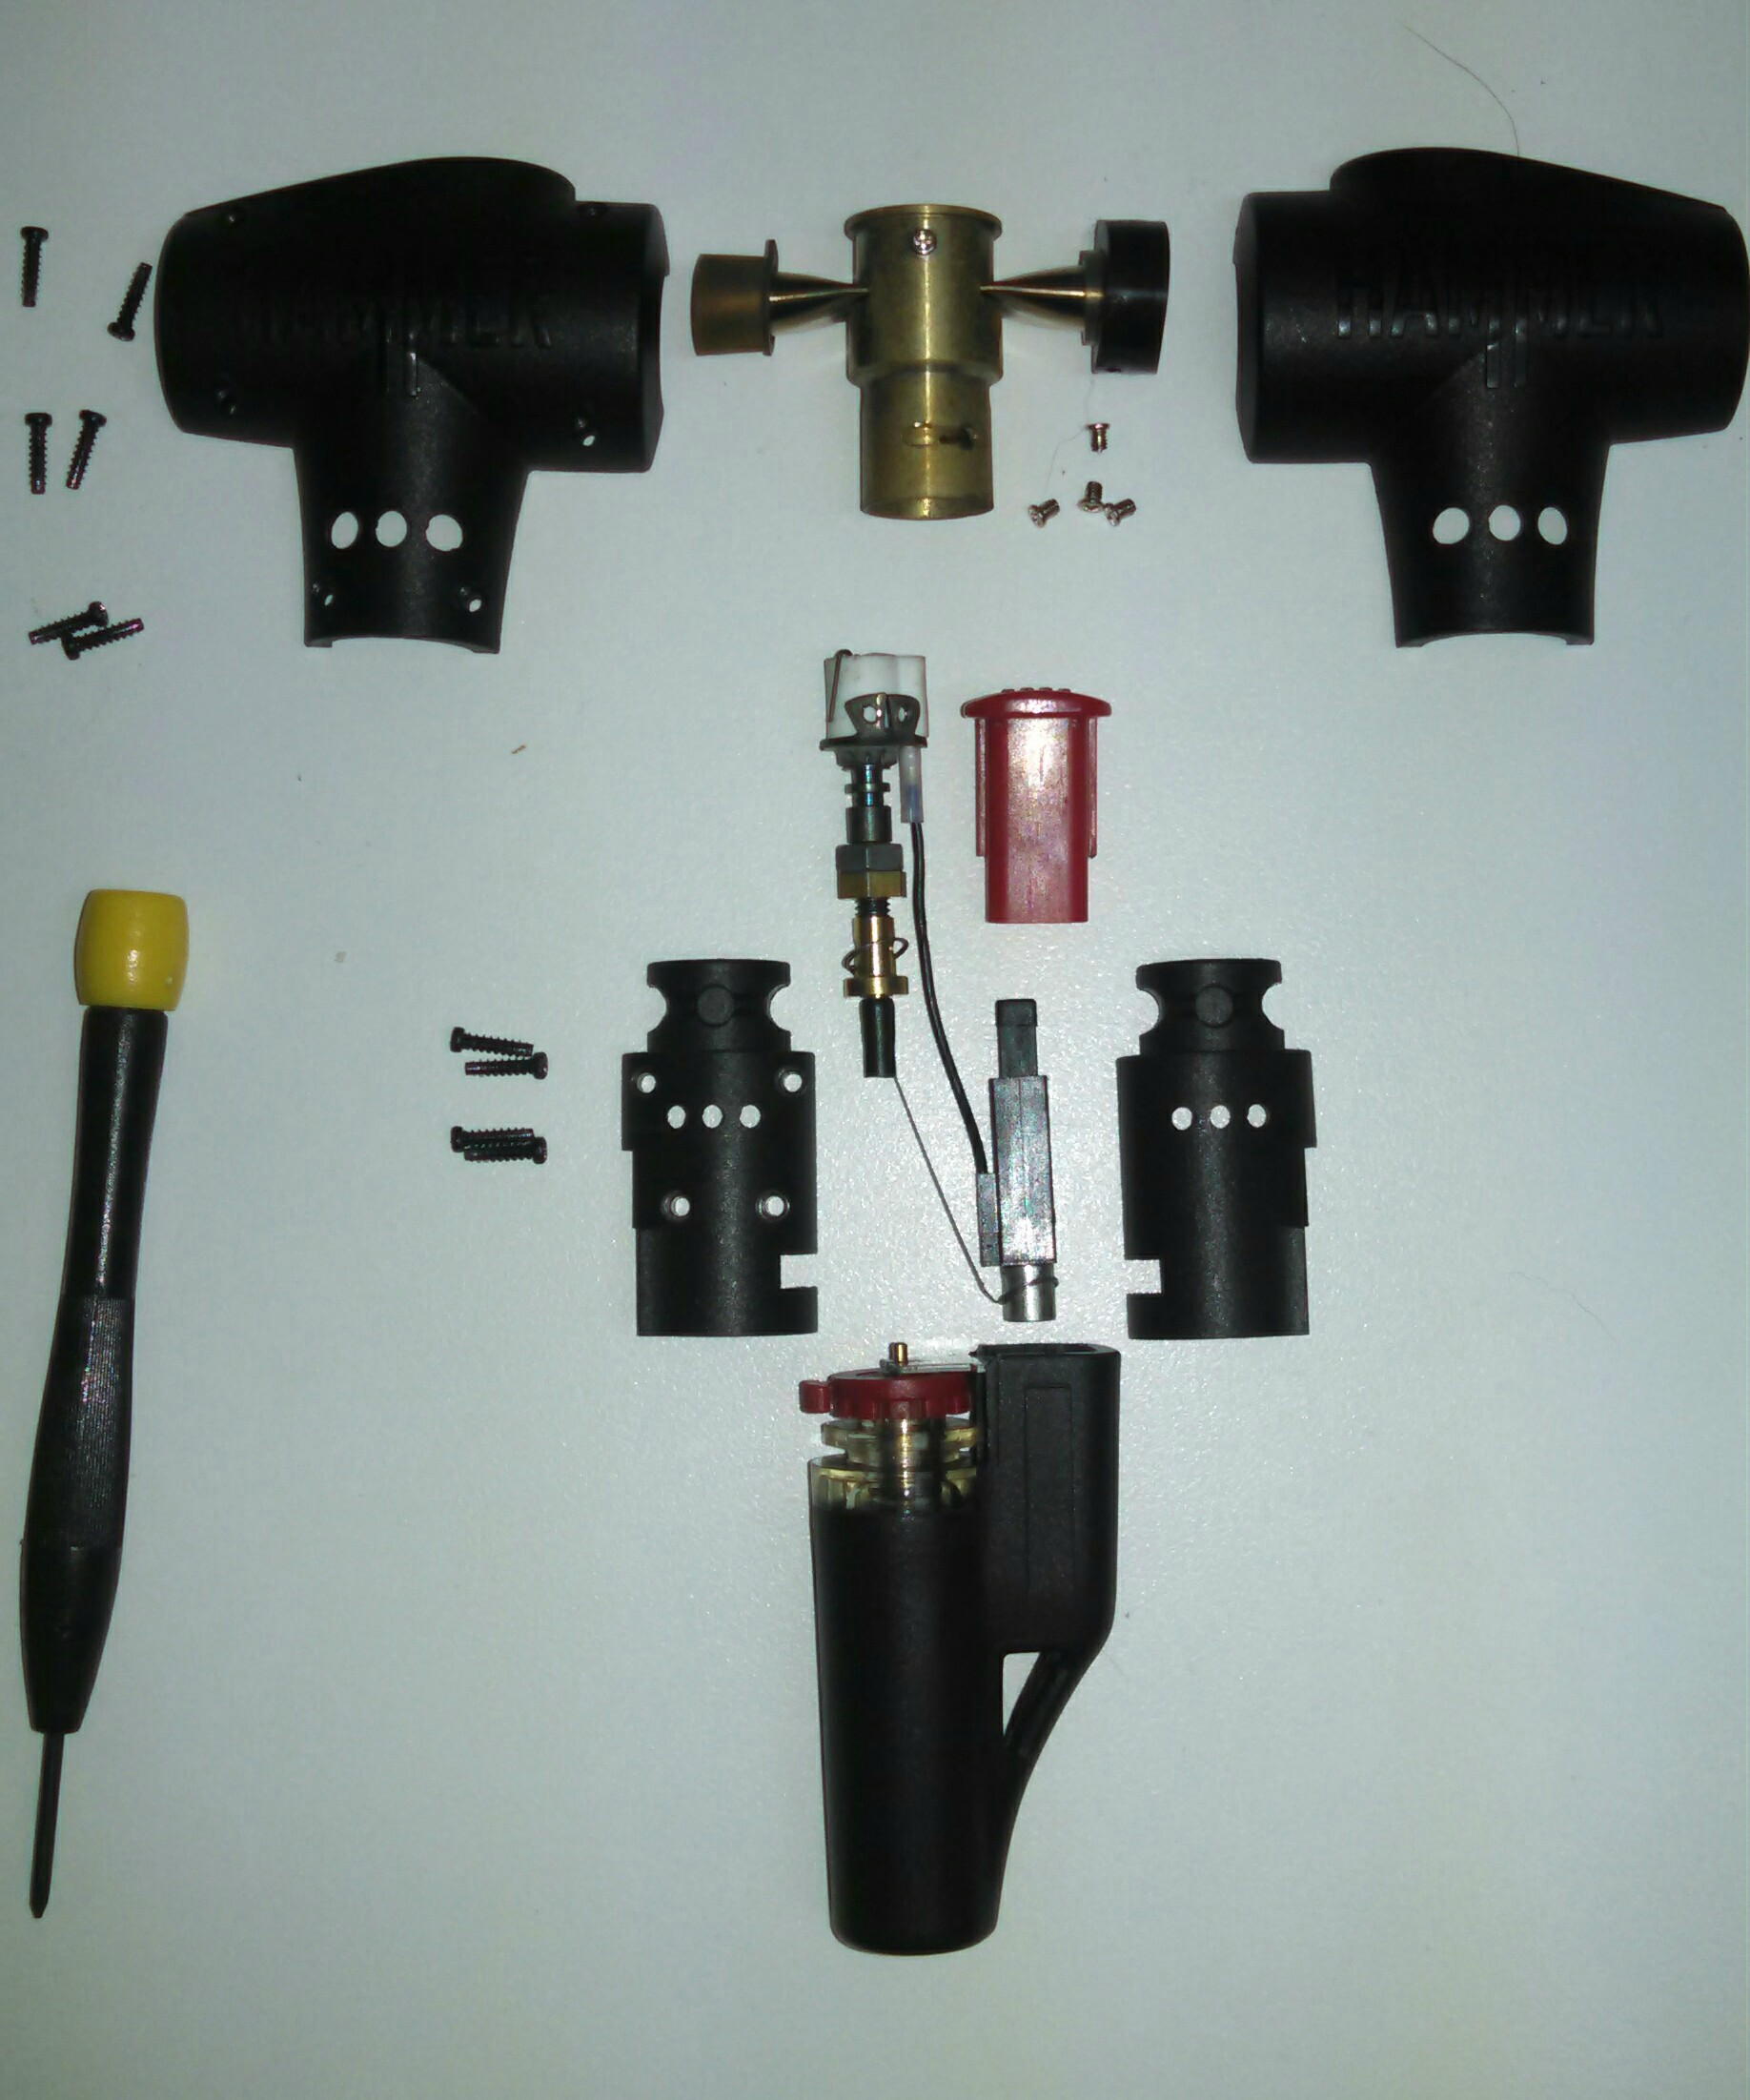
Any video or detailed pictures about how to replace the igniter on the hammer? My replacement one should be here when I get home this weekend so I'm trying to get a jump start on figuring out how to do it.
Hey
@Scott A , Sorry it took so long but here you go. Just take it one step at a time it's really not that hard.
Items you will need:
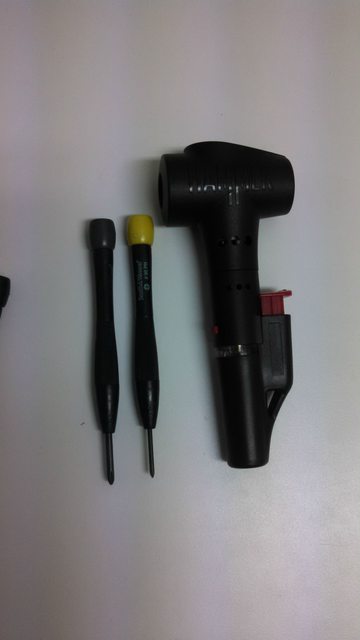
1. #1 or #0 screw driver (for 10 large screws)
2. #00 screw driver (for 4 small screws)
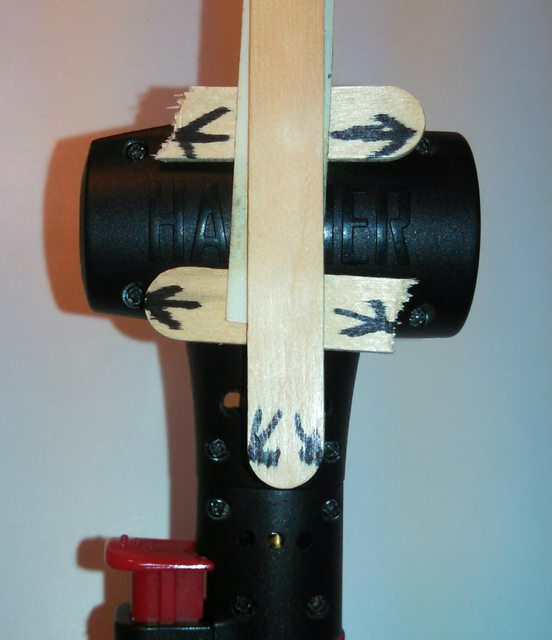
1.) Using your larger screw driver. Start by removing these six screws and take off the top portion. (How do you like my high tech. skills here?

)
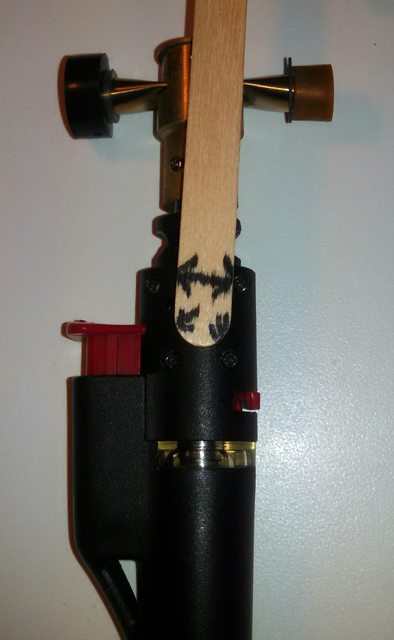
2.) Next the trigger can be removed by pulling up and out.
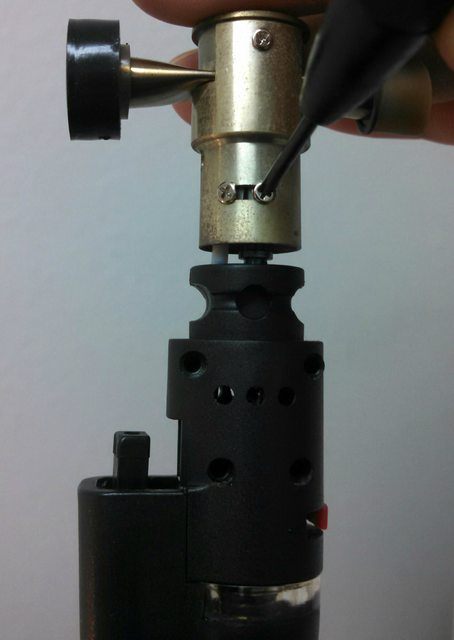
3.) Using your #00 screw driver take out the four screws holding the "heating chamber".
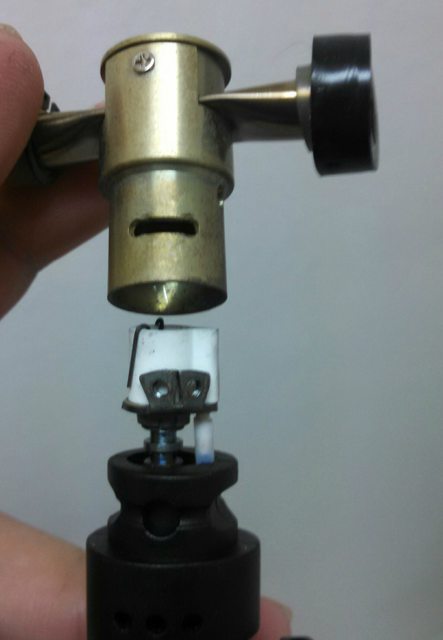
4.) Now you can remove the heating chamber by pulling up.
5.) Next remove these four screws
6.) Using your finger nail separate these two parts carefully.
7.) Here is where you want to take care not to lose any pieces.
Pull off the front.
8.) Next remove the back
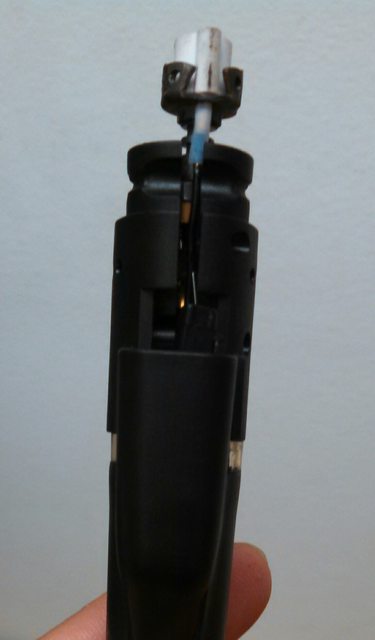
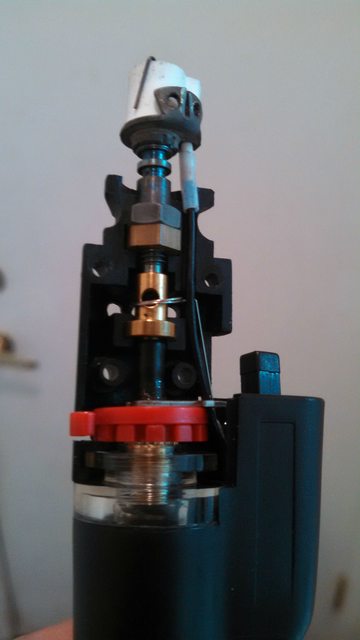
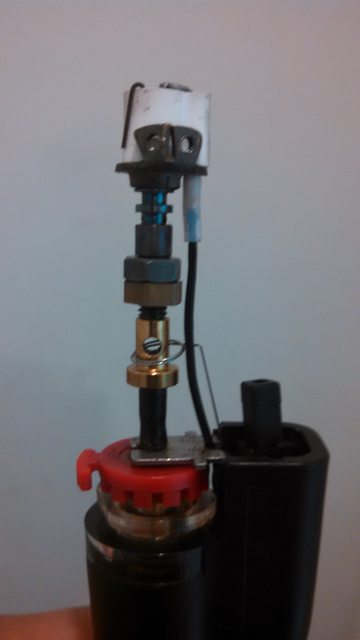
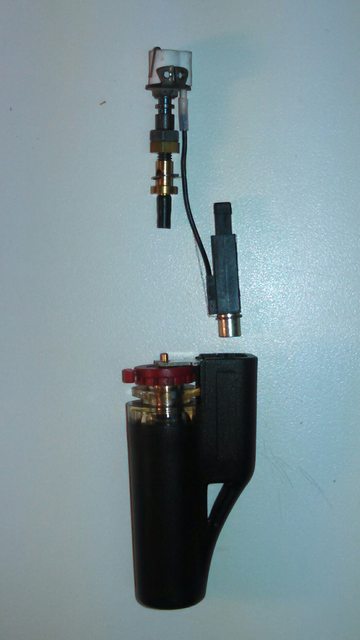
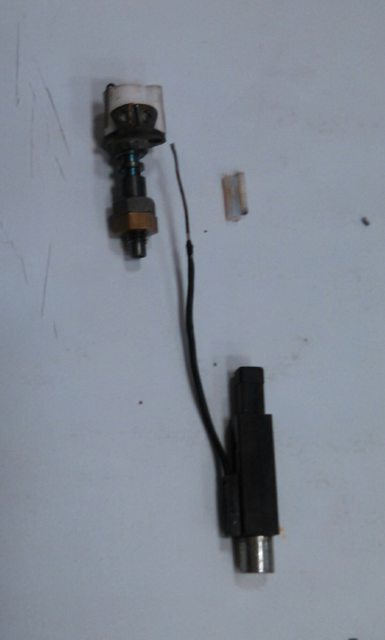
9.) You can now remove the igniter and "torch head" from the fuel tank.
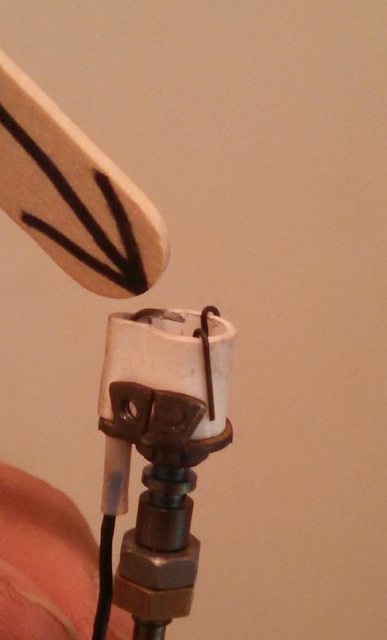
10.) Straighten the igniter so it can be slid out of the "torch head"
11.) Remove igniter
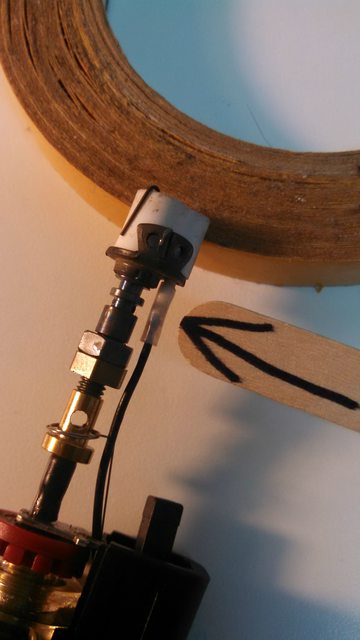
12.) I don't know if your new igniter will have these but if not you will want to swap these little "sleeves" before you re-install the igniter.
13.) With your igniter re-installed in the torch head you can now reverse the process and once again enjoy The Hammer.
Oh shit

! I just noticed I forgot an to include an important step for The Hammer igniter replacement.
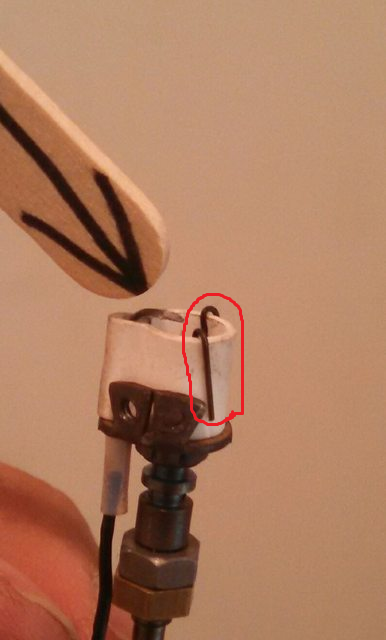
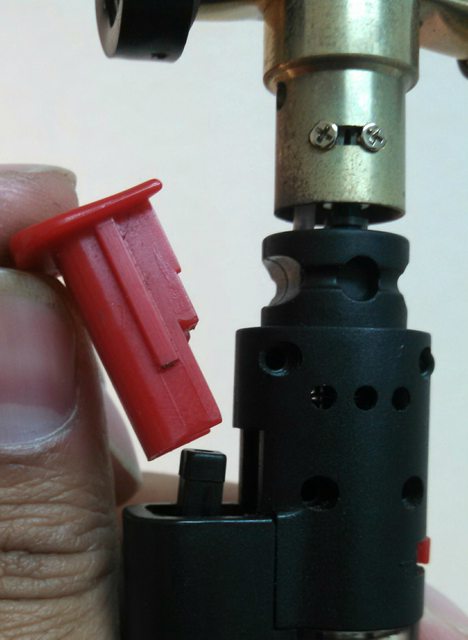
Upon re-assembly of The Hammer do not straighten the igniter (Image 1) until the "middle housing" with the four screws (Image 2) has been assembled.
Image1 - Igniter
Image 2 - middle housing
All parts
Sorry it took
15 17 photos but I didn't want to leave anything out even though I tried to simplify it the best I could.
Happy Vaping!!!
mod note: Omitted steps merged


 )
)
 ! I just noticed I forgot an to include an important step for The Hammer igniter replacement.