Log vape resistors - My DIY Log Vape

lazylathe

Almost there...
While i am waiting for my electrical supplies to arrive i have been keeping busy researching heating elements for log vapes.

So far there are:
Ceramic heating elements
Ceramic wirewound resistors


Does everyone use these ohmite 25j20re resistors?
And is there just one in the vape or numerous to reach the desired temp?
Or are there better options?

Looking at building one for a friend on disability that can be left on 24/7.
He has nerve damage from a serious car accident and cannot afford to buy one on his disability money.
I am hoping to be able to find out some info and put something together fro him that is functional and long lasting.

Building the enclosure is the easy part it is just the electronics i am having a hard time understanding.

I know the guys that make them here for sale will not divulge their secrets and that is cool by me!
Just looking for a good starting point.
 

momofthegoons

vapor accessory addict
I know the guys that make them here for sale will not divulge their secrets and that is cool by me!
Just looking for a good starting point.

You'd be surprised. Alan (of HI and TT) has helped several members here, including Cookie of the Wychwood vape and hazy from the Hot Pod. Shoot him a pm or an email. I'd bet the bank he'll help you. ;)
 

lazylathe

Almost there...
Thanks Mom!!
I will do!
I have been speaking to Alan about buying a HI from him already, almost done reading the Hi thread!!
Think it is time to bite the bullet and order one!
Maybe i can model it to a likeness of the HI, not nearly as professional but i will try!
 
lazylathe,

momofthegoons

vapor accessory addict
I'd get on that list if I were you.... it takes a while. ;)

If you already have a relationship with him; even better! His designs are always morphing and he loves to discuss. I think you'll find you learn more than you ever expected to. :lol:
 

lazylathe

Almost there...
I went over to my friends place last night for a visit and we discussed what we were going to do.
We decided to go with a resistor based vape with a stainless steel heat exchanger and a wood exterior.
At least this way i will be able to service it if anything happens, that way he will be out for a few hours only.

Then i checked my PM and Alan had responded!
I am on the wait list for the Hi, hoping for a nice end of winter surprise!!!
Alan was more than willing to share what he had learnt with me!
A fantastic amount of advice from a very nice guy!!
I know that Alan went way beyond with the info he shared!!
It is greatly appreciated!!!

I will update on the progress of this vape, should have all the hardware in about two weeks time.
While i wait i will be thinking about the heat exchanger design and looking for a nice bit of wood!

The forum members here never cease to amaze me!!
:rockon::tup::clap::bowdown:
 

lazylathe

Almost there...
His willingness to share information is proof of that!!!

I will be over the moon to make a fully functioning and safe vape for my friend!
And then i get my Nano back!!
And a Hi later!
 

vap999

Well-Known Member
I suggest considering resistors in the 7.5-8 ohm range. At 12-14 volts, this puts out up to 26 watts, giving you ample power for whatever heater/exchanger you design, while drawing up to 1.9 amps, no problem for a common brick-style 12-14 volt, 3-4 amp, regulated power supply/adapter or any decent variable power supply. This is more heating power than you will likely ever need with a log vape, but more power may give you more design options. But surely, you will be using a variable power supply with a log vape, giving you essentially full range temperature control.

Otherwise, there are no secrets to log vapes, or at least Eterra class ones. These are/were essentially resistors stuck in a tube with suitable mounting/venting. For a while the rather popular in its time Purple Days, a copy of Eterra, was even available as a kit. Wth log vapres, there need not be any electronics at all, not even a switch! Anything beyond real simple is likely just going to break.
 

lazylathe

Almost there...
I suggest considering resistors in the 7.5-8 ohm range. At 12-14 volts, this puts out up to 26 watts, giving you ample power for whatever heater/exchanger you design, while drawing up to 1.9 amps, no problem for a common brick-style 12-14 volt, 3-4 amp, regulated power supply/adapter or any decent variable power supply. This is more heating power than you will likely ever need with a log vape, but more power may give you more design options. But surely, you will be using a variable power supply with a log vape, giving you essentially full range temperature control.

Otherwise, there are no secrets to log vapes, or at least Eterra class ones. These are/were essentially resistors stuck in a tube with suitable mounting/venting. For a while the rather popular in its time Purple Days, a copy of Eterra, was even available as a kit. Wth log vapres, there need not be any electronics at all, not even a switch! Anything beyond real simple is likely just going to break.

Thanks for the Info vap999!
I am not very good at all with figuring out how many watts, volts, amps etc will give me the temp range i need!

We decided to go with proven technology that is going to be easy to maintain and repair and is reliable.
The resistors i went with are very common, cheap and easy to replace.
I am going to play with a simple heat exchanger design first, similar to what the Nano has.
If that design is not efficient enough for this type of resistor i will go for finned design with plates, so there will be vertical and horizontal plates.

I am also trying to keep costs down on my end and will be trying to design it as simple as possible so that if there are any issues my friend will be able to change the core very easily. Hoping for a simple tube that is threaded the same as the coaxial jack, easy to unscrew and replace.

I will also be fabbing up some type of roasting tube, still working that one out!
 

placetime

Well-Known Member
I suggest considering resistors in the 7.5-8 ohm range. At 12-14 volts, this puts out up to 26 watts, giving you ample power for whatever heater/exchanger you design, while drawing up to 1.9 amps, no problem for a common brick-style 12-14 volt, 3-4 amp, regulated power supply/adapter or any decent variable power supply. This is more heating power than you will likely ever need with a log vape, but more power may give you more design options. But surely, you will be using a variable power supply with a log vape, giving you essentially full range temperature control.

ime, most "common brick-style 12-14 volt" power supplies are usually rated at 1.5 amps or fewer. Also, the power supply will functionally only output as many amps as the device requires--it won't output it's maximum amps unless that's what the device needs (iirc, log vapes with a 25j20re resistor tend to pull less than 1 amp, regardless of how many amps the power supply can output). :2c:


Edit: A few other threads you might want to check out for more info/ideas:

http://fuckcombustion.com/threads/internal-charring-in-log-type-vapes.2575/
http://fuckcombustion.com/threads/regulated-vs-unregulated-power-supplies-for-log-vapes.4918/
http://fuckcombustion.com/threads/adhesives-insulation-and-vape-safety.6405/

And maybe someone could re-open this thread? :science:
http://fuckcombustion.com/threads/opensource-log-vape.4851/
 
Last edited:

lazylathe

Almost there...
Great links!!
I have read them all except for the discussion on unregulated VS regulated power supplies.
Will get to that one tonight!

As if i don't have enough on my plate i found a design using a fish tank heater.
I have a few of them kicking around from my shroom growing days....
One is disassembled and almost ready to test, just need to turn up a few parts and adapters!
Will start a new thread if it works out and is easy to do at home!
 
lazylathe,
  • Like
Reactions: placetime

lazylathe

Almost there...
All the parts for the resistor vape have arrived!
I rigged up a resistor and a jack last night to test and it works beautifully!

Now to start designing the insides!
 

lazylathe

Almost there...
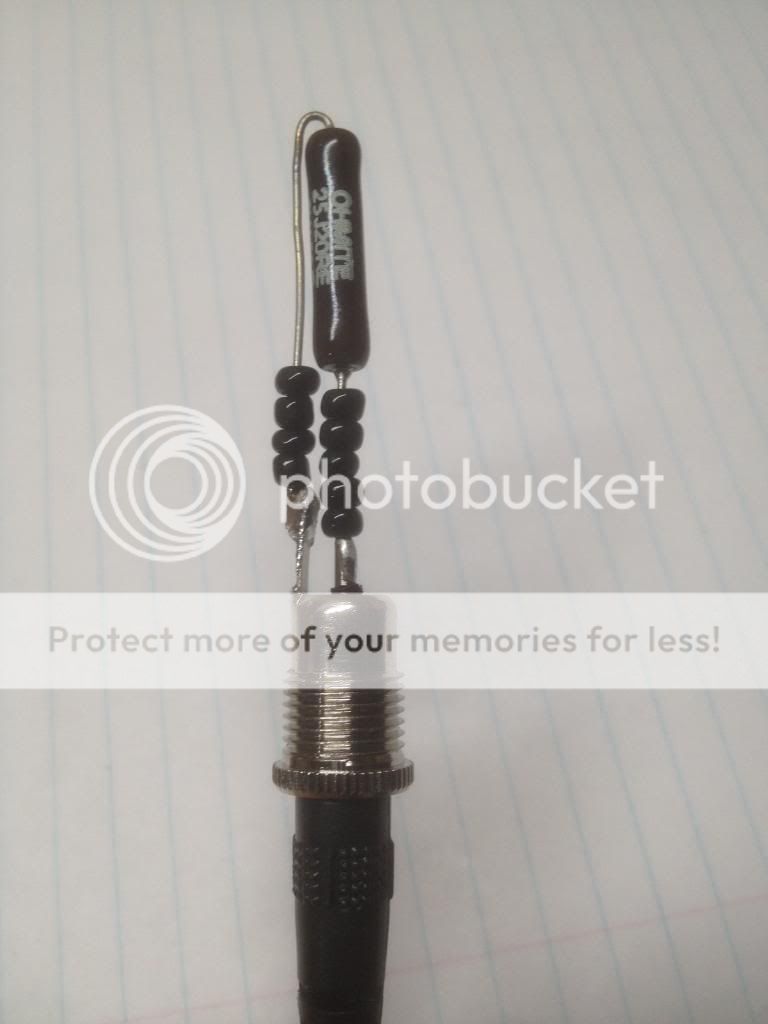
This is what my first attempt at the real setup looks like, just the resistor, glass beads and the jack.
Soldered together with lead free ROHS solder.

2013-10-05084655_zps914770d6.jpg


Starting to work on the base today which i am making out of Aluminum to act as a heat sink to try and keep the heat away from the plastic parts of the jack.
The idea is to have it slide into a wooden tube and then screw the aluminum parts to the wood.
Will see what happens in the basement today!
 

lazylathe

Almost there...
After the first attempt and failure, i now have version 2.0 of the base!
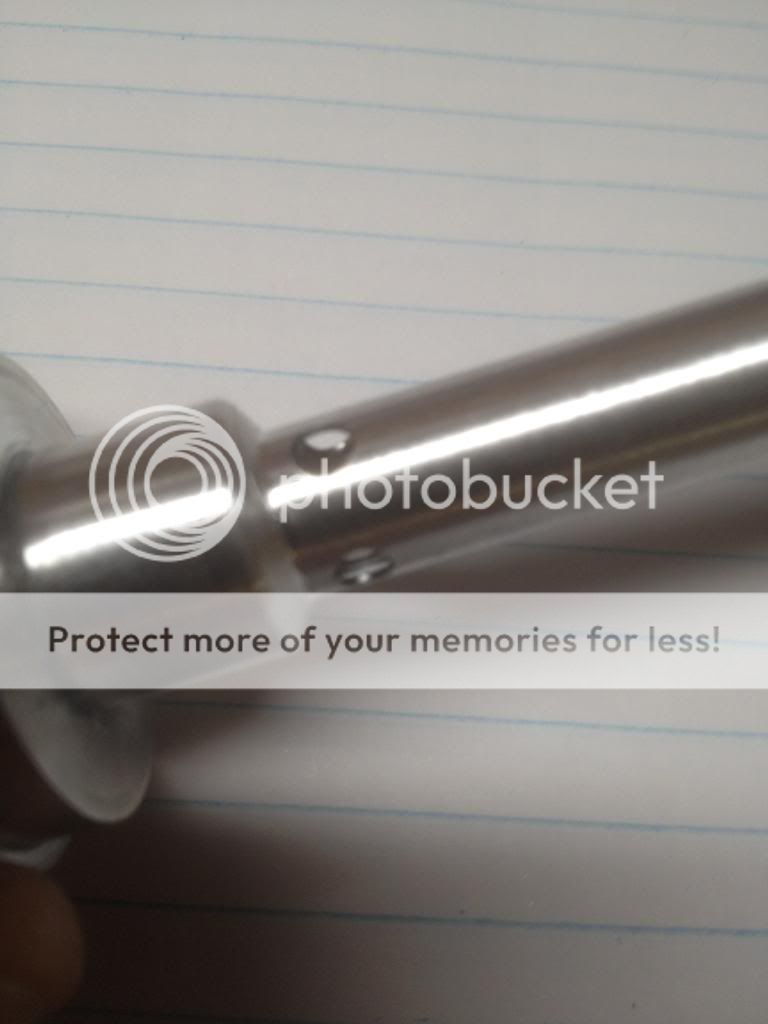
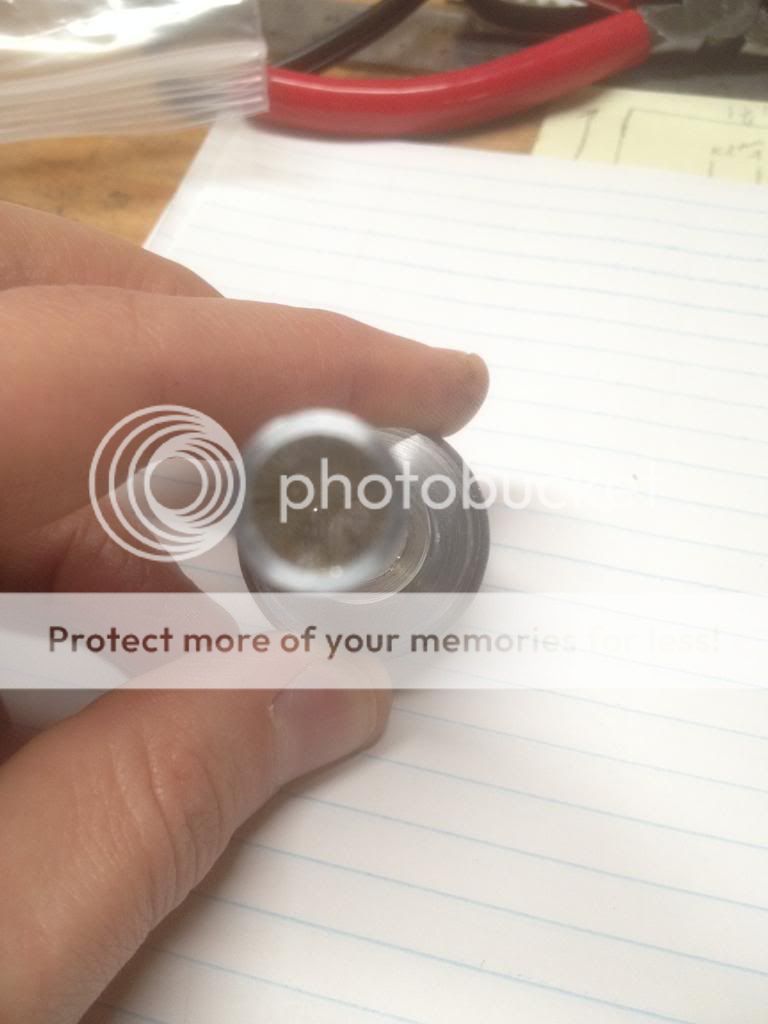
The heat tube is made and attached to the base with the air inlet holes and a screen is in place.
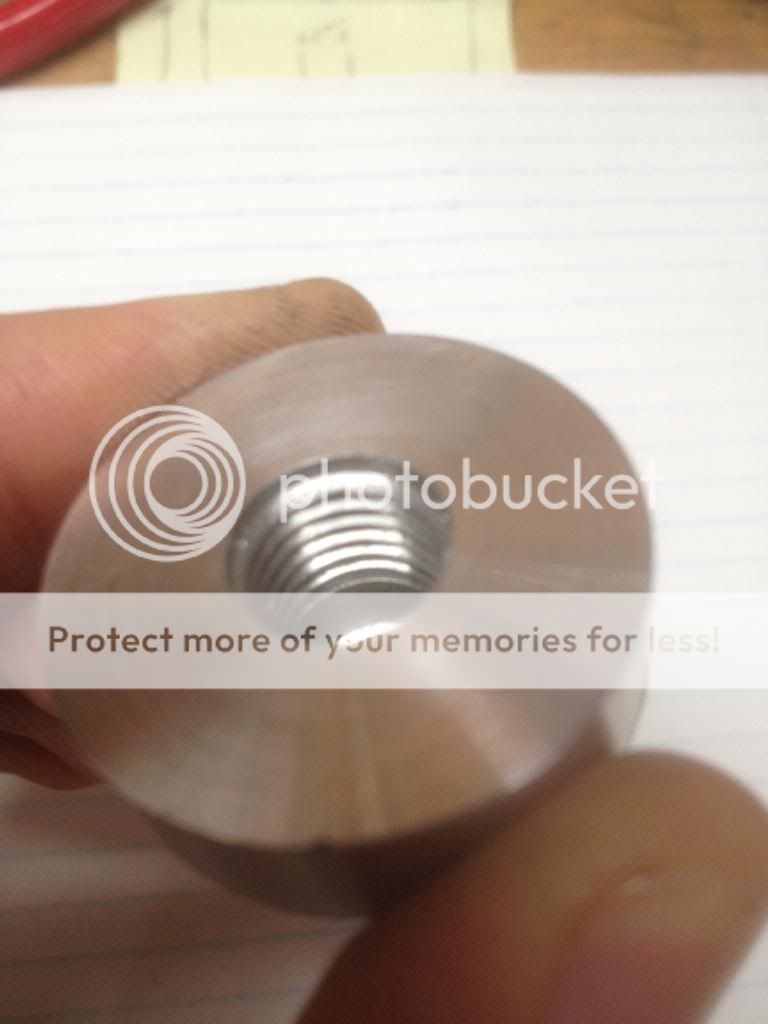
The base is tapped to accept the jack.

Going to work on some stems today.
I am thinking that the tip will most likely be metal and the shaft will be wood.
For the initial ones i will most likely just use metal till i find what works best!

I showed the progress to my friend and he is really excited!!!
There was also a wood show in the area the other day and i picked up some nice wood!!
A nice chunk of Bloodwood and one of Orange Agate, they should turn and finish very nicely!
Have to watch the dust when turning and finishing Bloodwood!!

Orange Agate: http://www.wood-database.com/lumber-identification/hardwoods/macacauba/

Bloodwood:
http://www.wood-database.com/lumber-identification/hardwoods/bloodwood/

The turned and threaded base
2013-10-06112516_zpsaa1e176b.jpg


The heat tube with air entry holes
2013-10-06112546_zpsbd912130.jpg


Screen in heat tube
2013-10-06112609_zps3eb566c1.jpg
 

lazylathe

Almost there...
So the first prototype is complete!
It has been running for about 6 hours now and the outer core temp is stable at 43 degrees C.
Not too hot to hold for extended periods of time, actually quite soothing on tired sore hands.

Need to redesign the heat tube and stem size, i went way too small!
It is a one hitter at the moment but it does the job and the herb is quite roasted.
Have to be careful as to how it is packed as well, too tight and it almost combusts.
Flavour is not too bad either, i need to make a proper stem as i dislike the vinyl tubing.

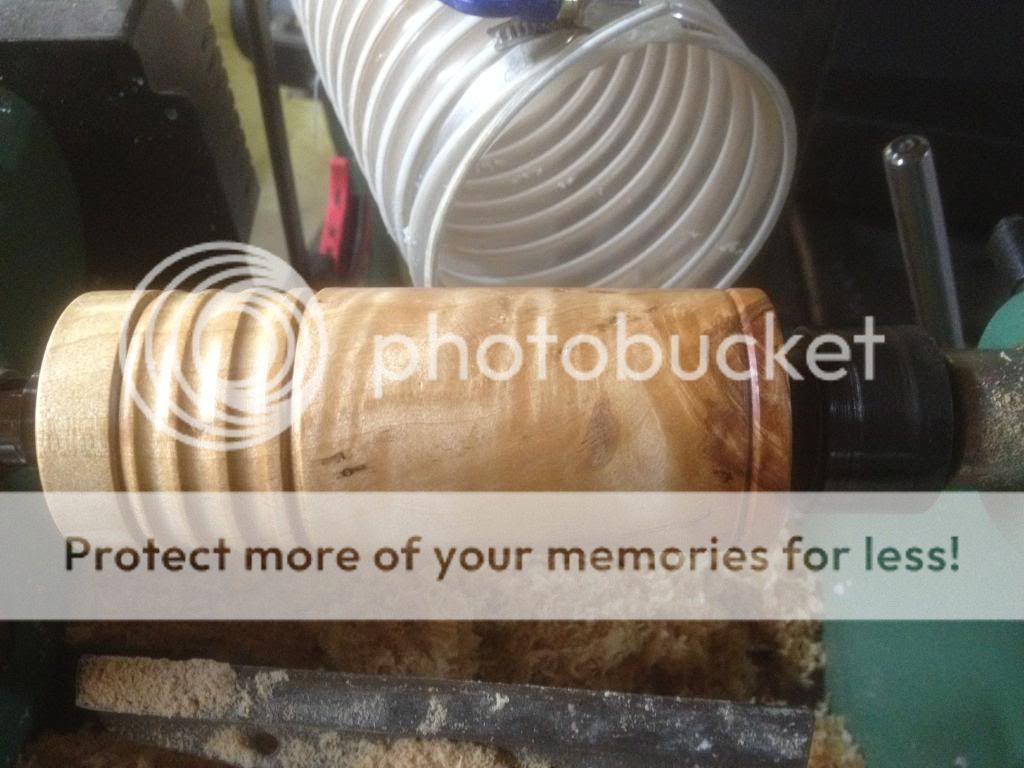
Found a bit of figured box elder, turned out quite nice!
2013-10-06140028_zpseaec5ced.jpg


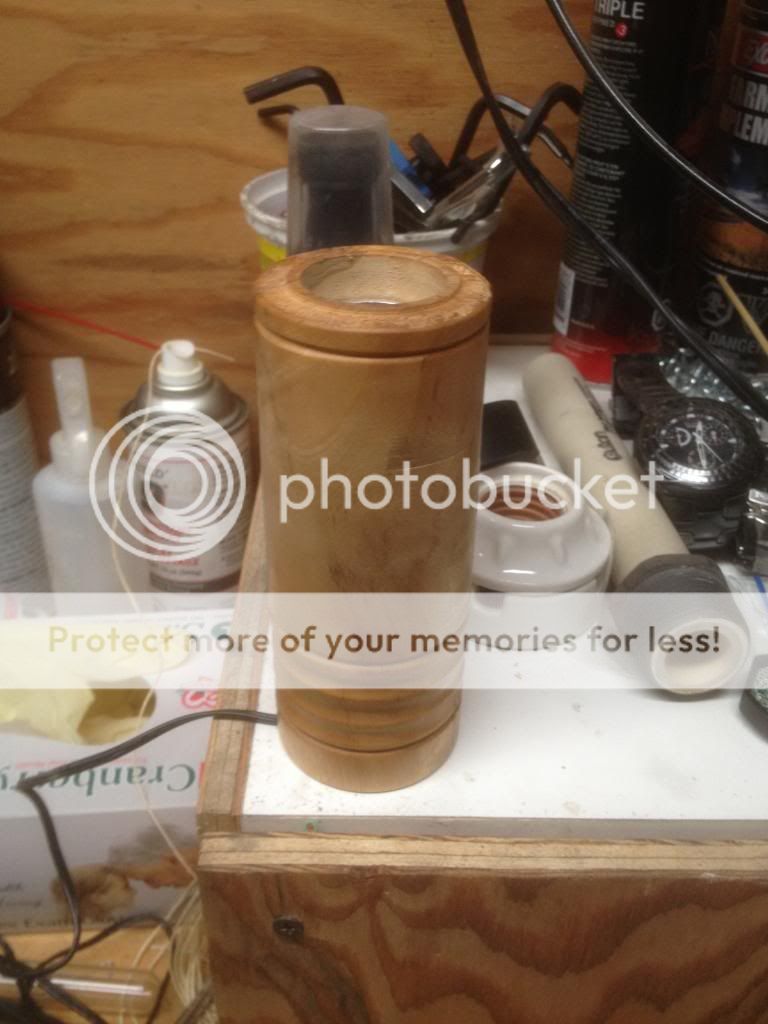
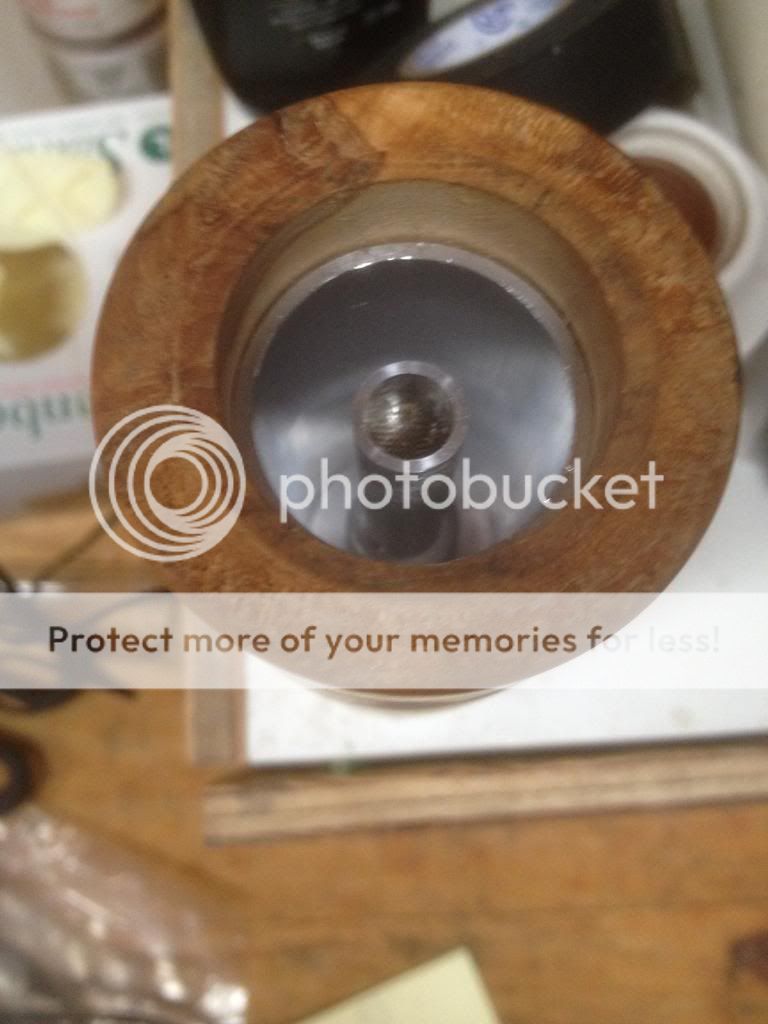
The completed vape
2013-10-06203220_zps7c4aae93.jpg


2013-10-06203226_zps004f25cc.jpg


Going to let it bake for a few days before i give it to my friend for testing!
He is very excited!!!
 

lazylathe

Almost there...
Thanks man!

Now that i can actually see the sizes, the next version should be a lot smaller and neater.
This one was a proof of concept and a test base.
The only issue i have is that there is a slight resistor smell to the vape, kind of electrical smell.
Hoping it burns off and is replaced by a more neutral smell.

It has been on all night and the temp has stayed very stable!
The outside is still t 43 degrees C.
 
lazylathe,
  • Like
Reactions: placetime

CentiZen

Evil Genius in Training
Accessory Maker
Wow your really motoring right along with this one aren't you? What kind of a wattage are you using on the resistor?
 

z9

Well-Known Member
^^^ Lazylathe really is moving quickly on this project and it looks damn good for being the first revision. Very impressive.

It looks like the spawn of an UD and an E-Nano... Definitely diggin it.
 

lazylathe

Almost there...
Wow your really motoring right along with this one aren't you? What kind of a wattage are you using on the resistor?

Thanks!!
I am using the same converter that the PD used, or so i was told...
It is the Jameco wall wart:
http://www.jameco.com/webapp/wcs/stores/servlet/Product_10001_10001_10081_-1

Will have a chance to test it out tonight.
I will also start revising the design to incorporate more stainless steel parts even though the temps it gets to will not affect the aluminium in any way. The stem also needs a redesign, version 2 will have it slip over the heat tube and not into it and if i remember to machine a stop for the screen that would be a bonus!

I really like working with wood and metal, so when i get started it usually goes pretty quick!
Also looking into options for the power cord. I would prefer it to plug into the side so it does not have to be so tall. This one may take me a while to figure out!
 

Hippie Dickie

The Herbal Cube
Manufacturer
@lazylathe - looks very nice. Also looks like your design would allow attaching a digital BBQ thermometer without the probe being in the vapor air path. i got the ones i use from Alibaba for about $5 each (10 quantity). it sure is nice to KNOW the temperature the heater is working at.
 
Top Bottom