grokit
well-worn member
If it worked, it would certainly eliminate the need for stirring between hitsHmmmmm............

If it worked, it would certainly eliminate the need for stirring between hitsHmmmmm............

If it worked, it would certainly eliminate the need for stirring between hits
Worthy. Yes. Upgrade. Yes. Amazing device ?you bet.Greetings, I am in the market for a new vape and considering the LSV. I currently own an Arizer Solo, and am curious if anyone has owned both and can compare? At first glance, the Solo and LSV seem very similar in concept, so I'm wondering if it will be a worthy upgrade?
I'll give that a shot tonight and report back.
I wonder how it would work if the heat was turned way up? What you describe is known in coffee-roasting circles as fluid-bed roasting, it's preferable to drum roasting because the beans are suspended in hot air.

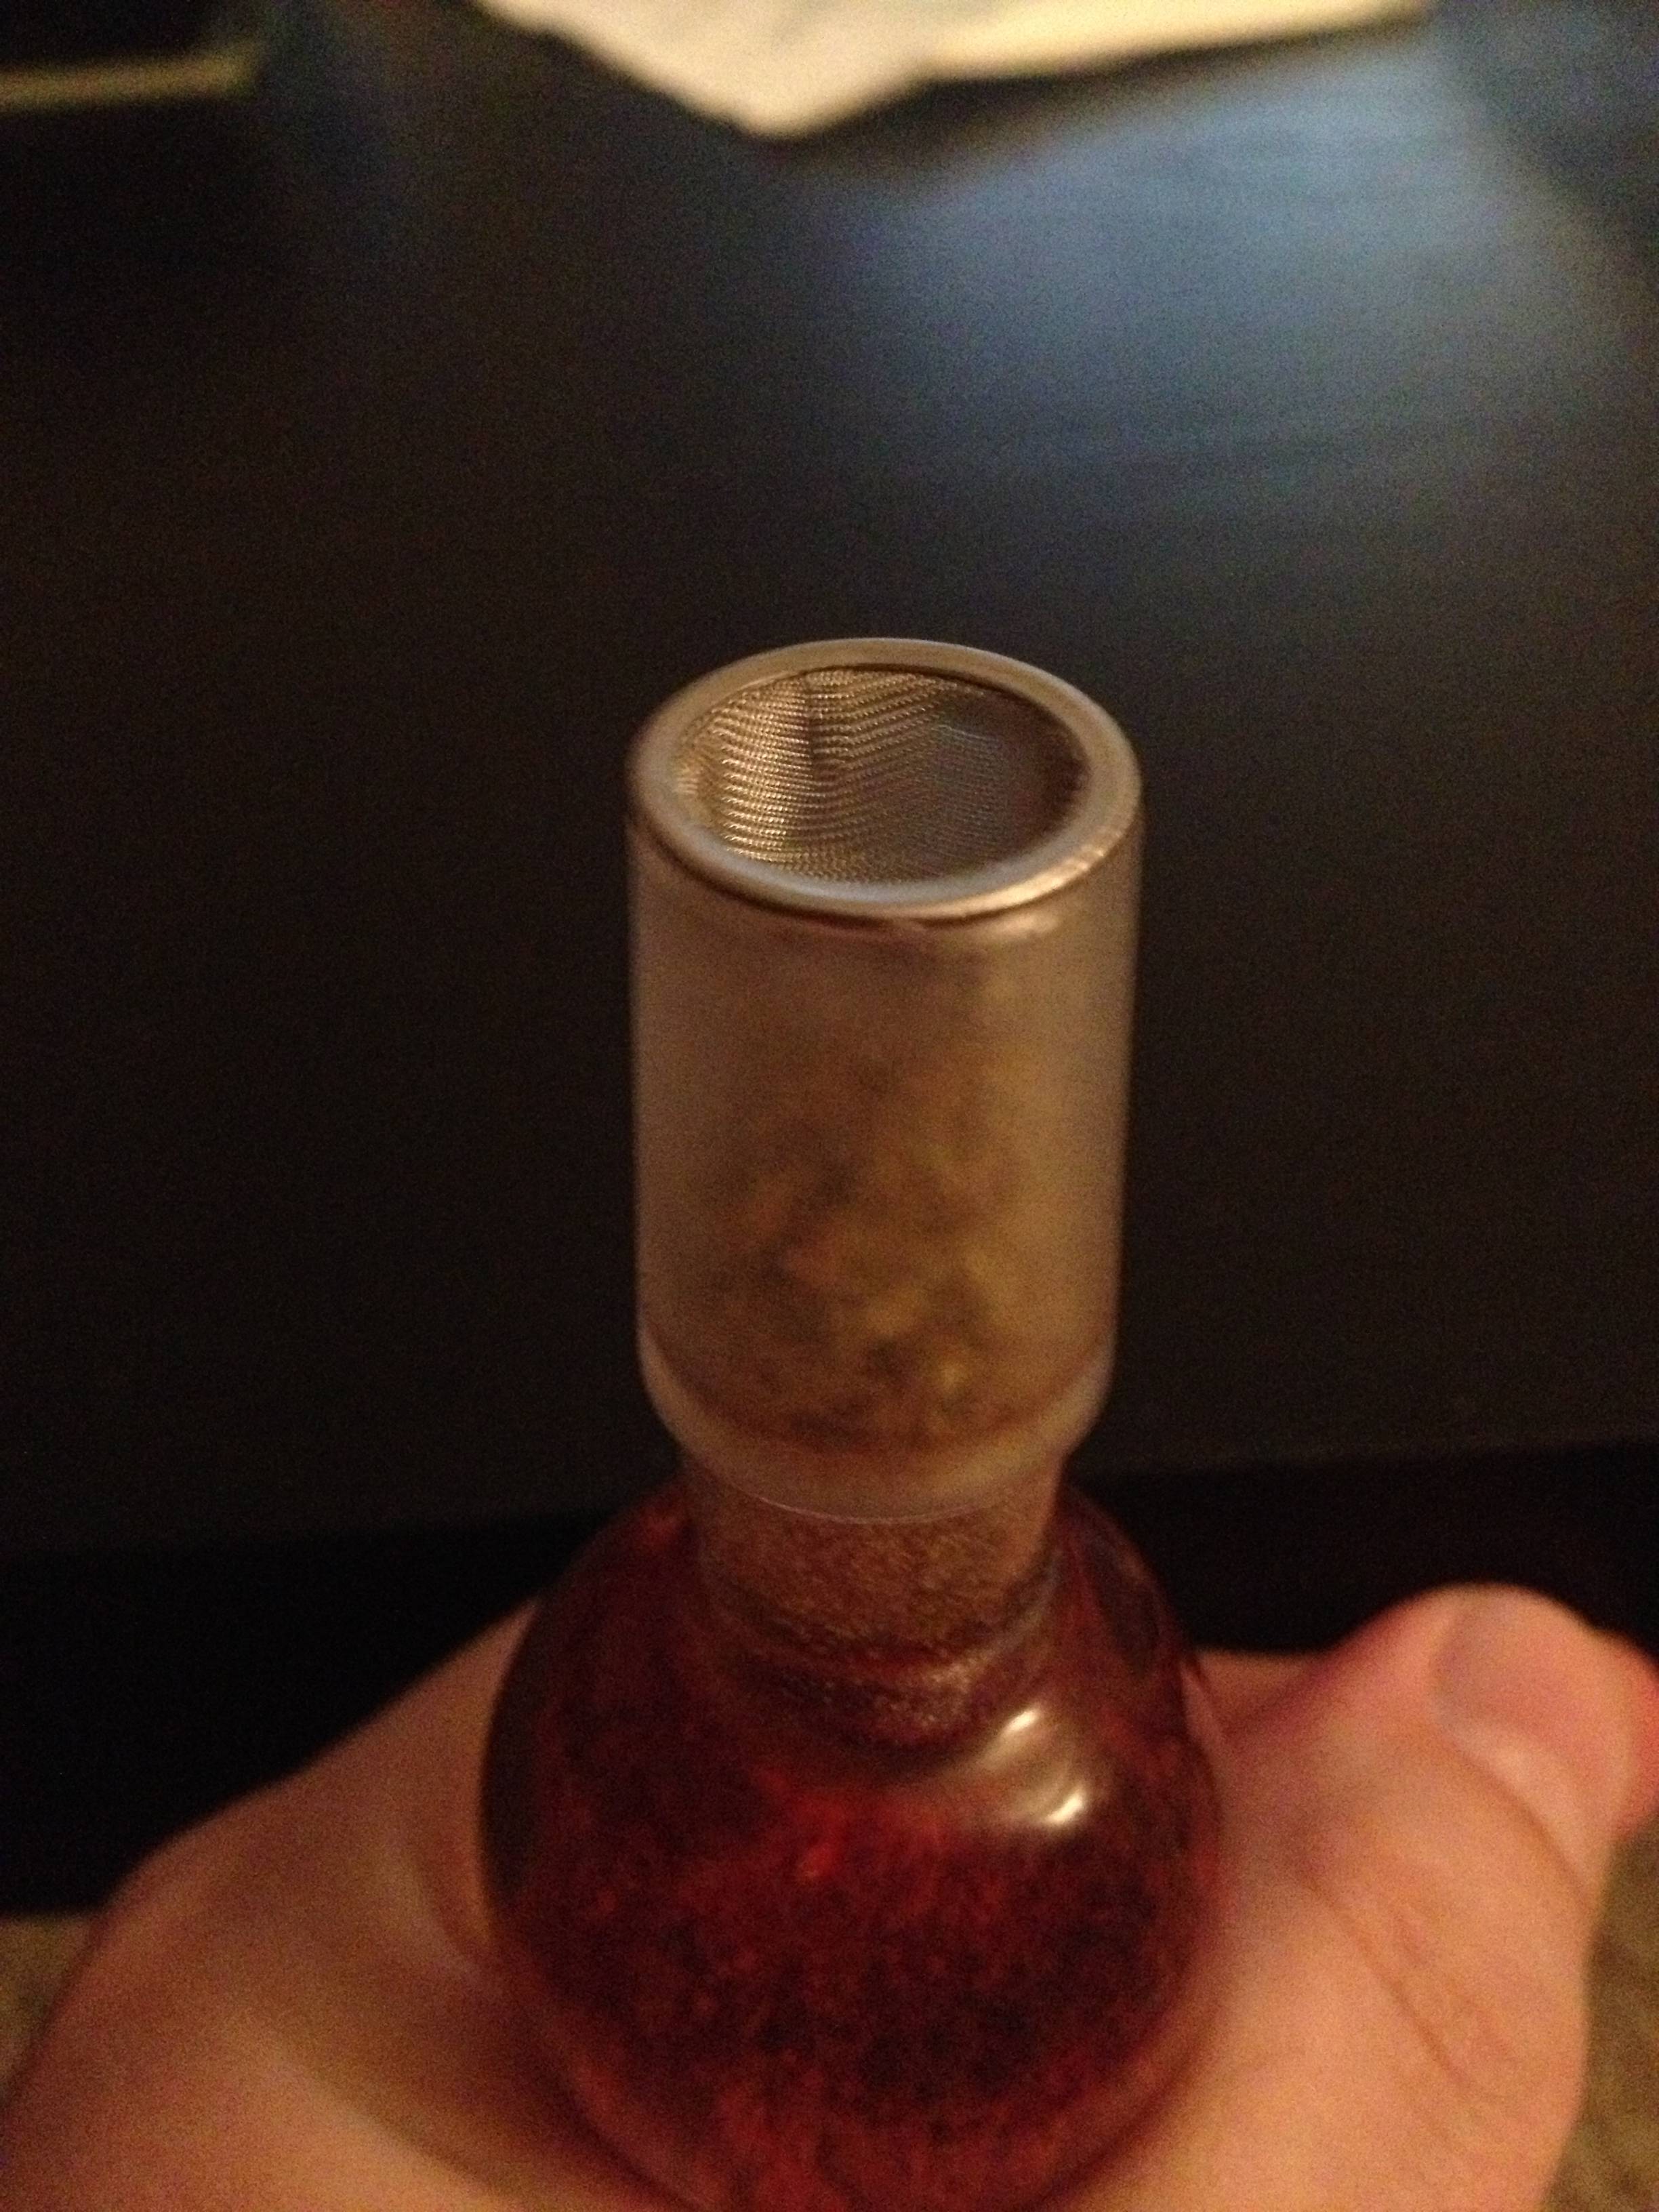
Some 50 pages back or more in this thread, someone posted a neat trick that I use everyday to improve quality of life while using my LSV. I too worried about herbs dropping into my heater while using the wand. This led to me constantly holding the LSV out in front of me while hitting it. Slap an EQ screen in your 1/2 wayish packed wand, and voila, no more worries.

I also find that I only need to actually stir once per wand using this method, as a couple of firm taps on my hand with the screen in place allows the herb to stir itself. Now I lay down on the couch or do whatever I want without fear of dropping herbs into my precious LSV.
nah its coupled with high air ratios as lwien said. fluid bed roasting is for roasting and not for concentrated vapor production.
imo to create the densest hit one would need a large surface, that heats fast and transmits the heat fast and without dilution of air to the plant matter, basically conduction on large surface areas. but this would also spend the green very fast and taste wise i dont think it would be superior to anything.
ok that is actually a very good input, maybe a little harder to accomplish but yes that could work well!I dont know about high air ratios but air turbulance in a sealed heating chamber with the product being tumbled at set temps would allow any cannaboids to be suspended in a vapor form until extracted by standard convection methods.

Some 50 pages back or more in this thread, someone posted a neat trick that I use everyday to improve quality of life while using my LSV. I too worried about herbs dropping into my heater while using the wand. This led to me constantly holding the LSV out in front of me while hitting it. Slap an EQ screen in your 1/2 wayish packed wand, and voila, no more worries.

I also find that I only need to actually stir once per wand using this method, as a couple of firm taps on my hand with the screen in place allows the herb to stir itself. Now I lay down on the couch or do whatever I want without fear of dropping herbs into my precious LSV.
For 48 hours now, I have been using my LSV in a new manner.
The method I speak of is a "low heat, slow vape, flavor explosion" for those flavor grabbers out there.
I am doing this with the shorty transfer wand, but of course the long wand can be used for those with sensitivity to hot air on the throat.
Instead of filling the wand 1/2 as I normally would, I fill the wand all the way, using suction to pack it (no tamping).
I then turn the heat down to half (noon), or a bit less, so that the element's glow is barely visible.
It requires a few long slow steady draws, before you start seeing the minimal vapor.
Once the visible vapor begins, the fun is just getting started.
I can inch the heat up or down... and draw low even low temp hits that do after a time begin making appreciable clouds.
The restriction of having the wand full, makes the slow draw easy to accomplish.
I never stir when using this slow technique.
The transfer wand does become pretty hot toward the LSV side... which helps in this slow flavorful method.
I have gotten over 30 flavorful hits from a wand.
they will send me a new wpa and they redirected me to 7thfloor site for the lsv they also told me there could be some fees due to the fact the unit has been broken by the incorrect voltege usage
Excellent tip..I am going to gave to order a pack of EQ screens so I can do this.
My original post had multiple pictures, I can find them and re-post if you like but it's really simple if you have the right tools. An electric drill is a must, and a dremmel-type tool makes it super easy to fine-tune it. If you don't have access to a dremmel you could do the job with some kind of small saw blade like a reciprocating coping sabre hacksaw whatever but it may suffer cosmetically. Mine almost came out perfect the first time out, so I think it would be pretty easy to get it just right if I was to make another.Sad thing is, I barely use it. If only it had a stand...
@grokit, could do a step by step pictorial for the one you made with that plumbing piece?
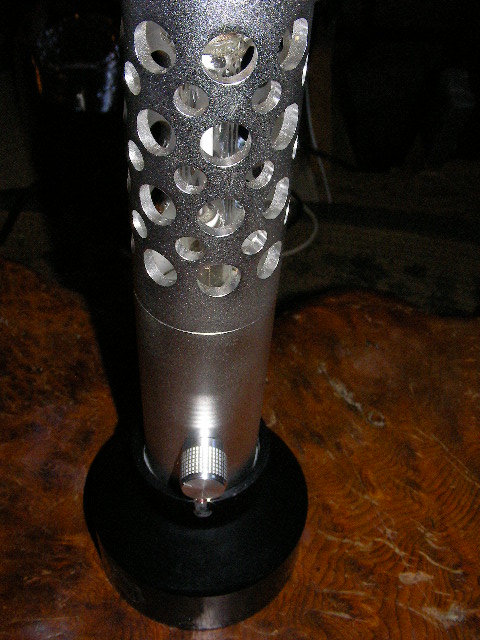
Speaking of this issue (it's not really an issue for everybody, but it has always bugged me that the lsv likes to be straight up if left on so the body stays cool to the touch), I finally got to test out a proof of concept that I've been considering for a while now. I have been wanting some kind of vertical stand for it, that's not as cumbersome as a mic stand or as involved as alan's even though I love his wooden lsv stand.
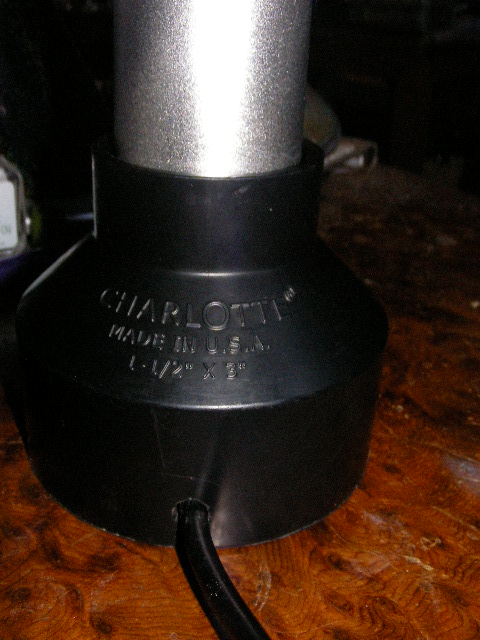
All I did was buy a $6 plumbing part ($7.50 at my overpriced local true value lol), and hacked away at it with my trusty old rotary tool and cordless drill and came up with this:


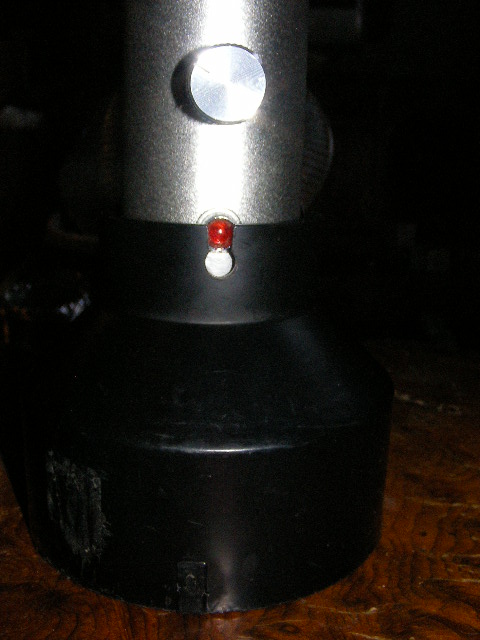
As you can see, I need to raise the hole I drilled for the indicator light, and remove the sticker residue lol. You can also see that the duct tape gasket right below the light that I'm using for for snugness matches pretty well, I also have some shiny metal foil tape that may give it a more finished look when removed.

The cord stays up in the hole by friction in the groove I cut leading up to it, and even though the lsv slips out of the stand very easily, the extra weight is quite minimal so it's no problem to use it the lsv with the stand attached. There's some room for cosmetic improvement here, but overall I'm pleased and will probably stick with this one. It's a lightweight, simple, stable, and cost-effective solution, highly recommended!

