I have been very interested in building my own atomizers of late and happened across this very elite device. Hard to find and only available from Germany.


Reviews found here: http://www.ecigarette-mods.com/a2-bulli-smoker/
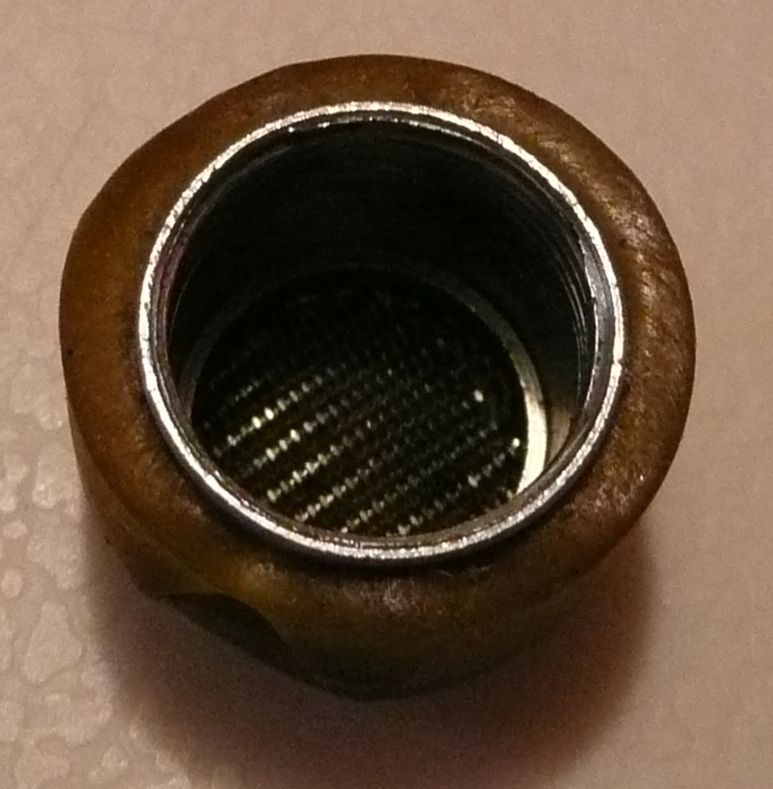
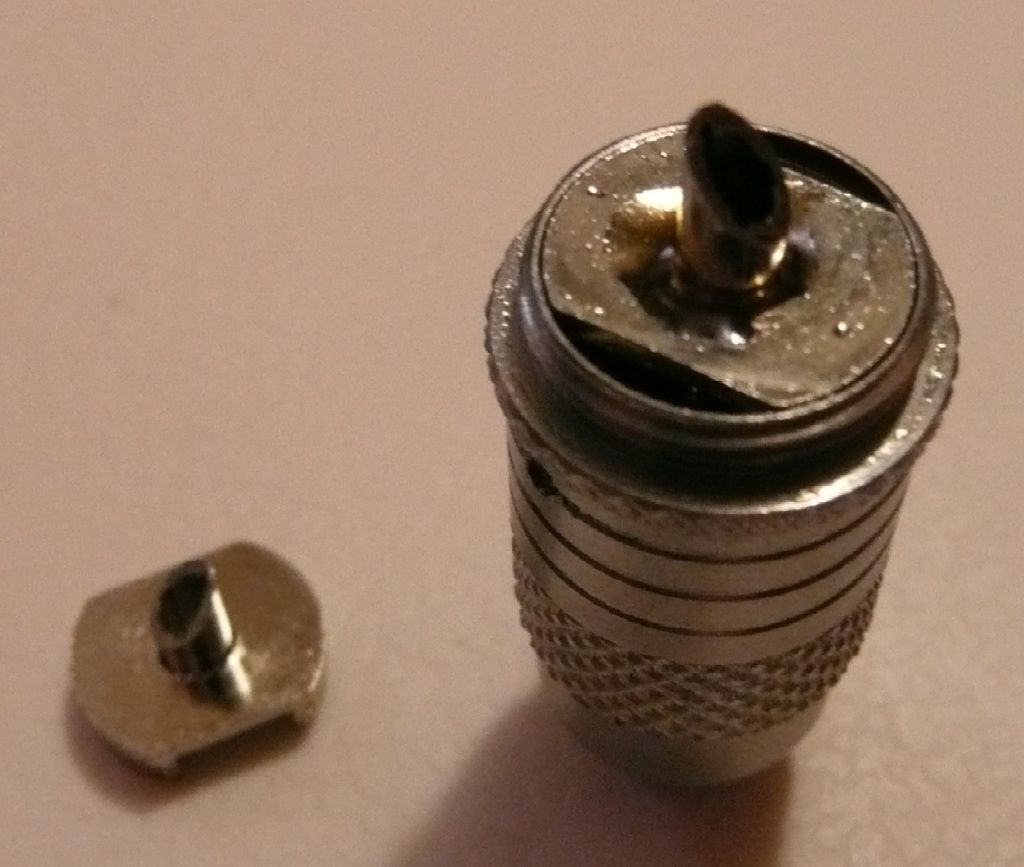
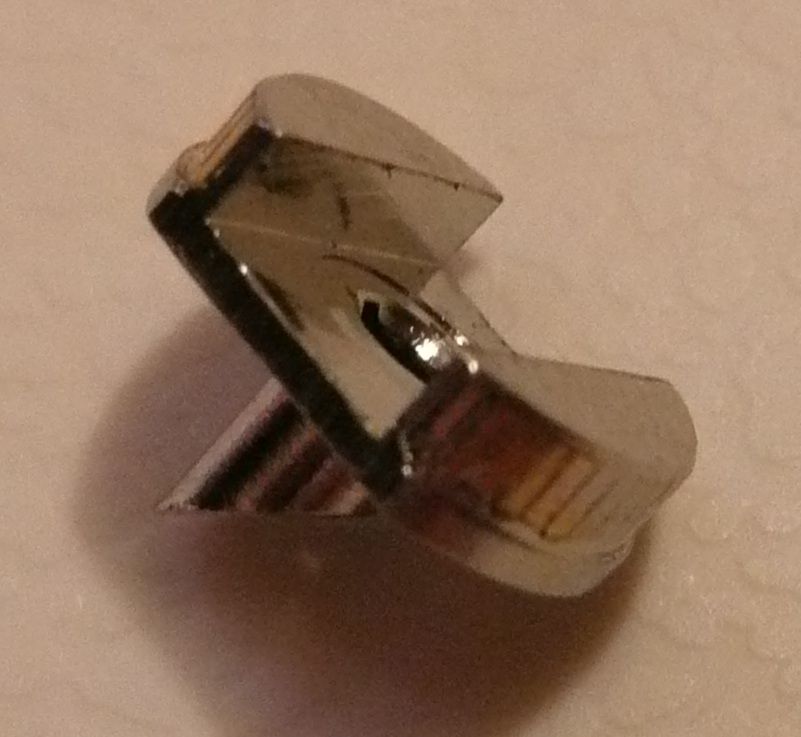
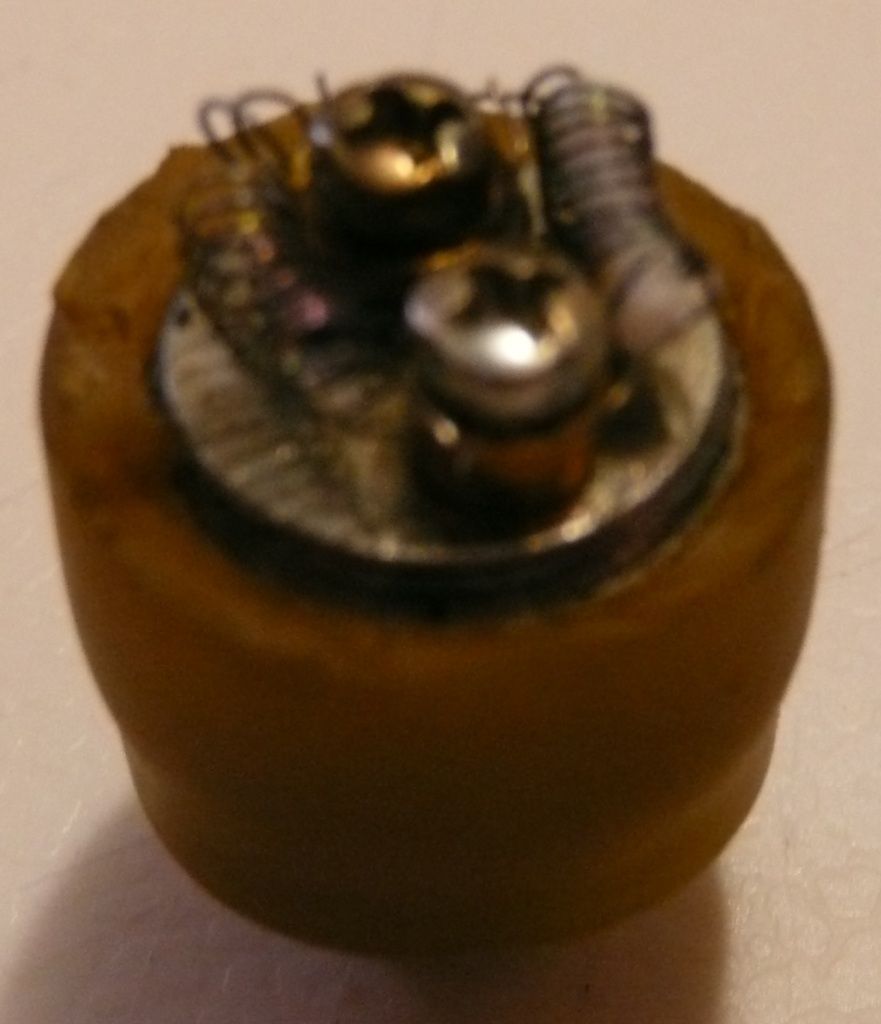
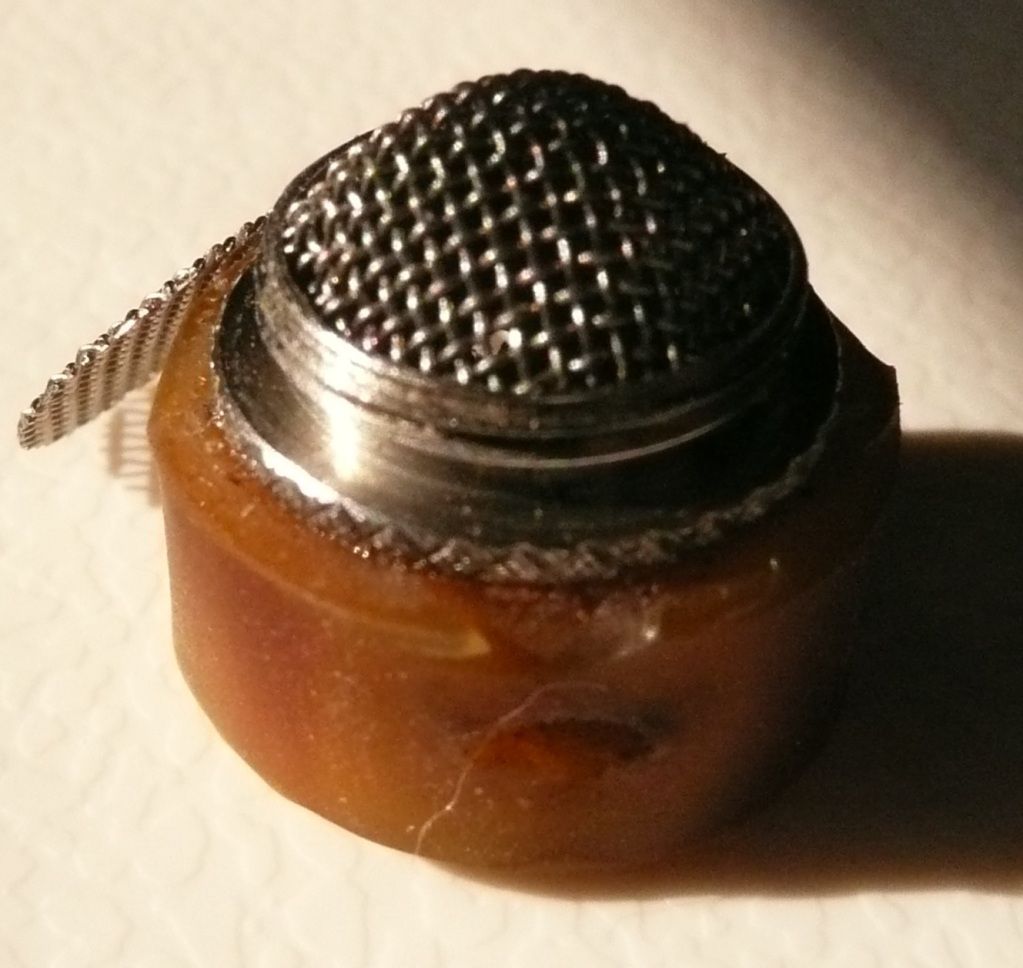
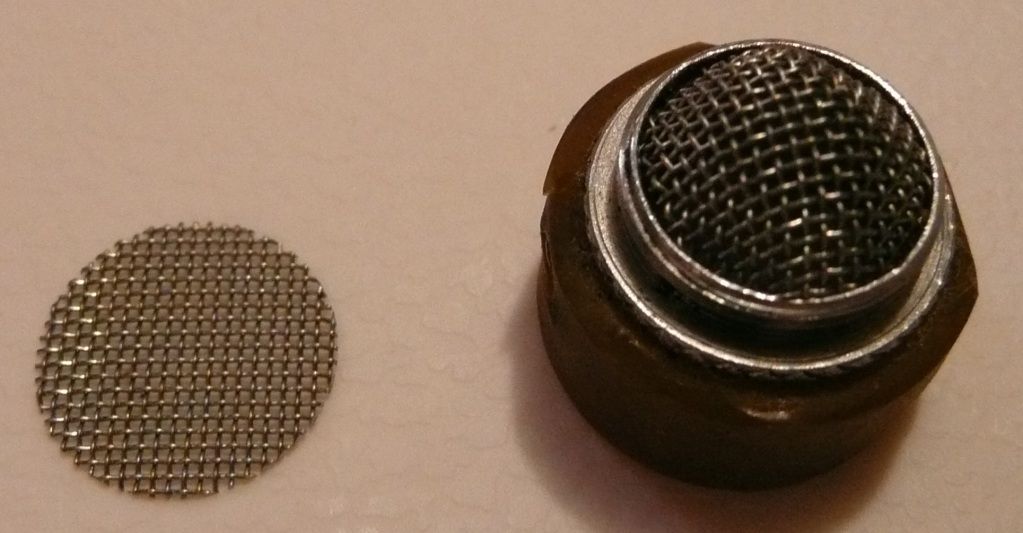
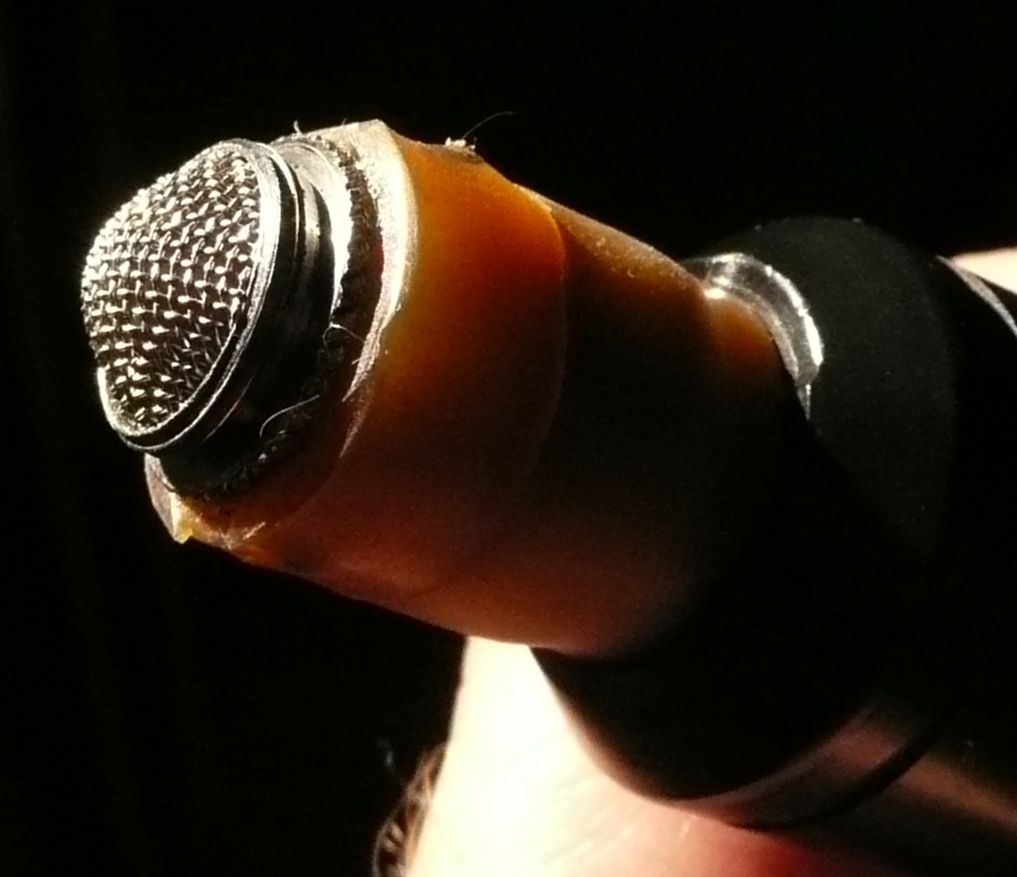
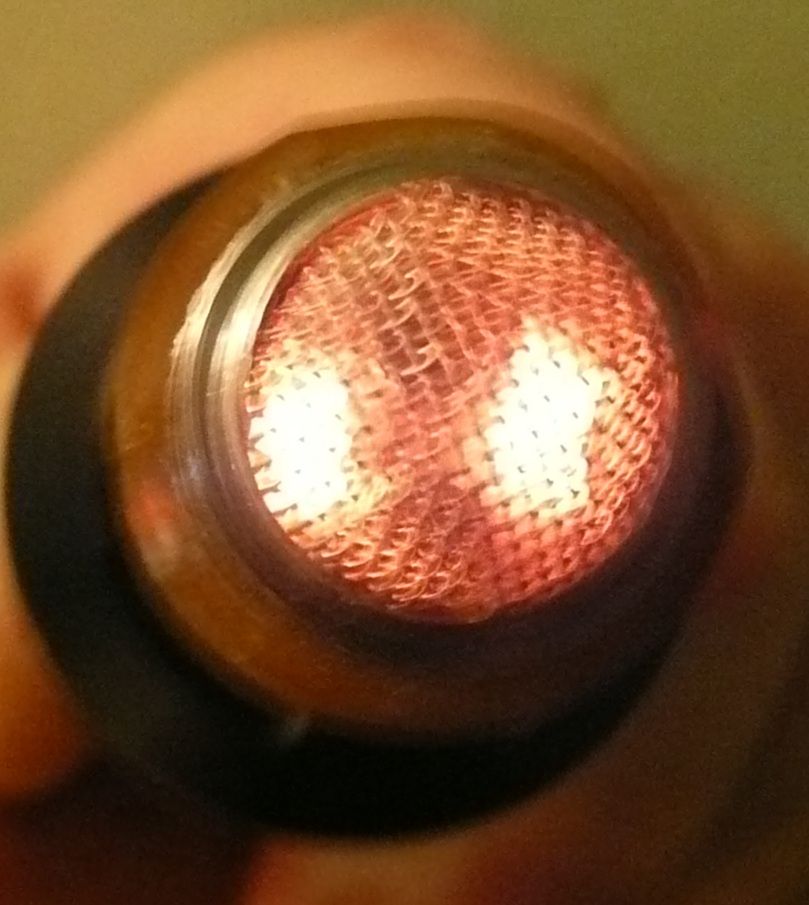
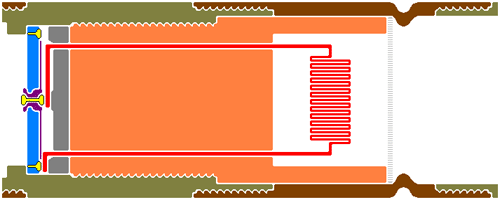
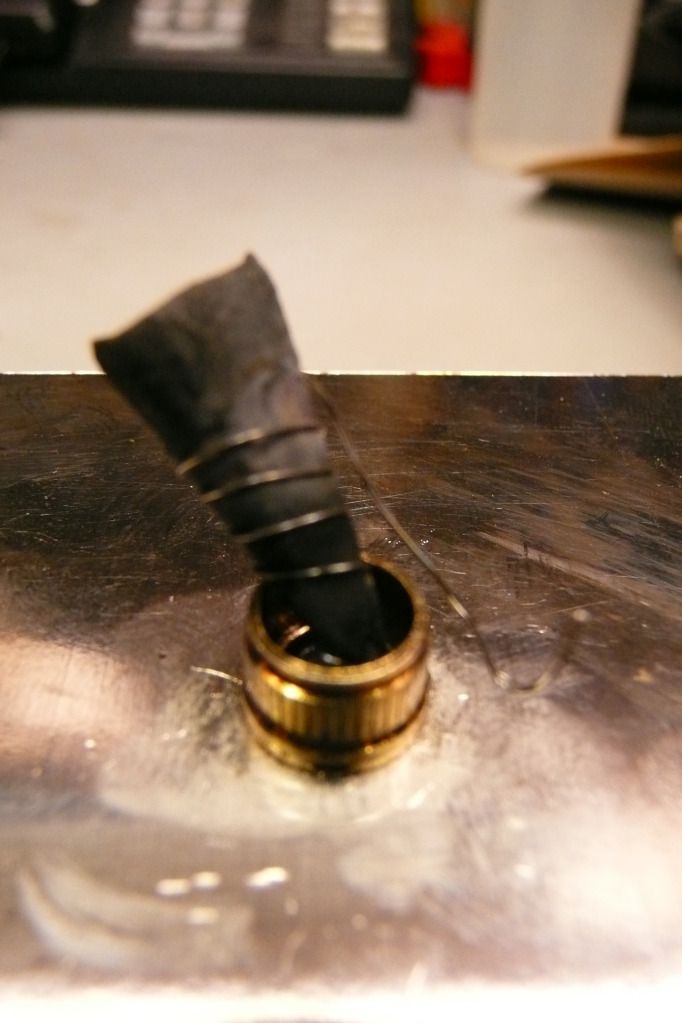
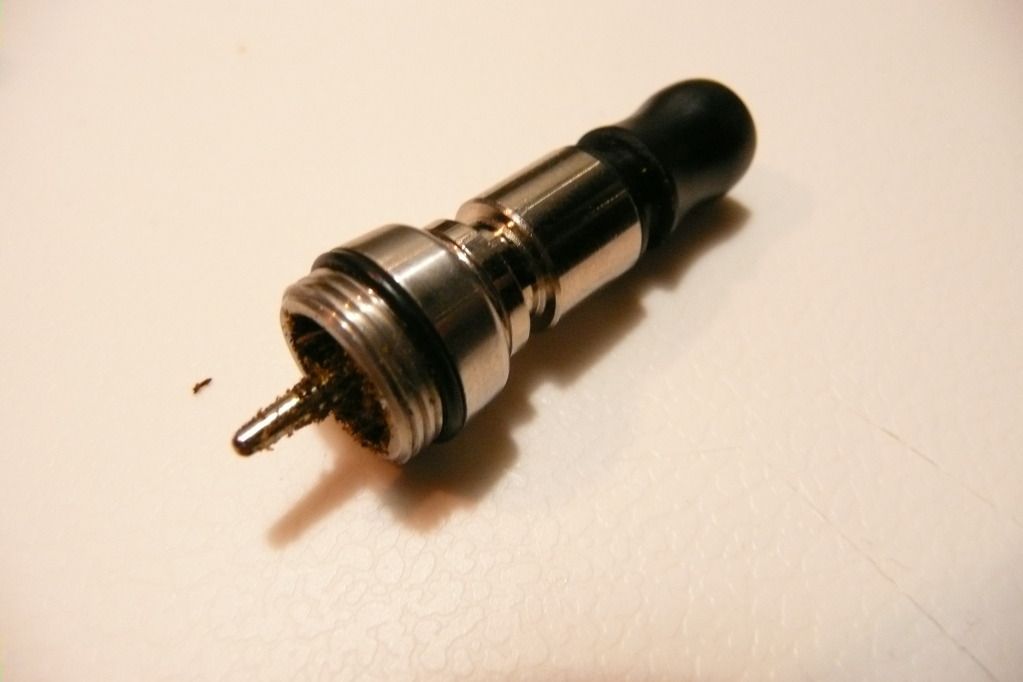
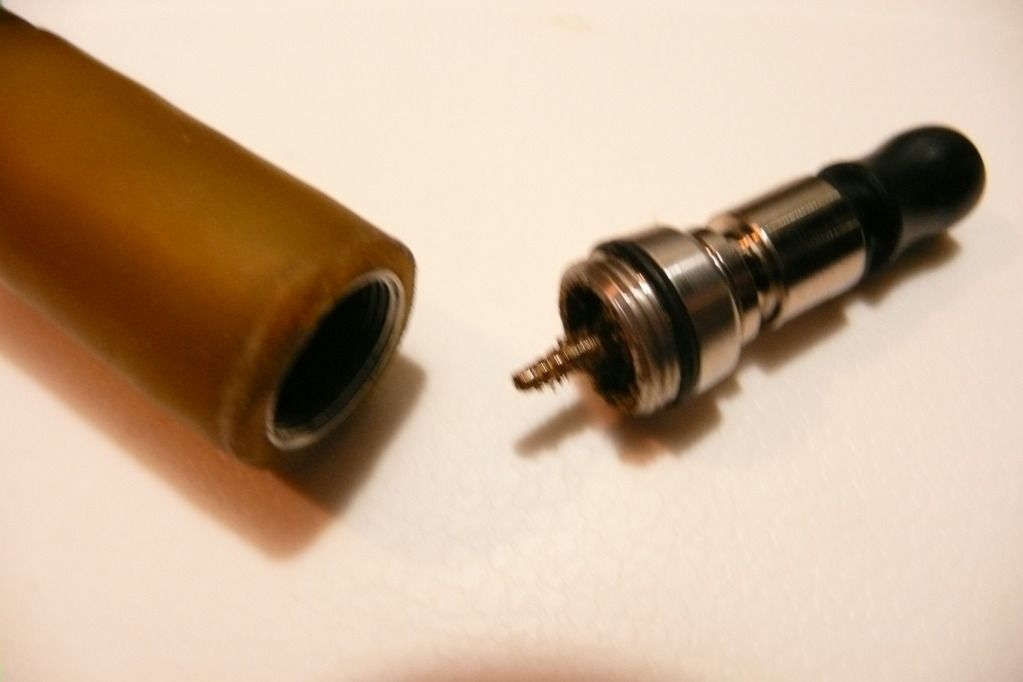
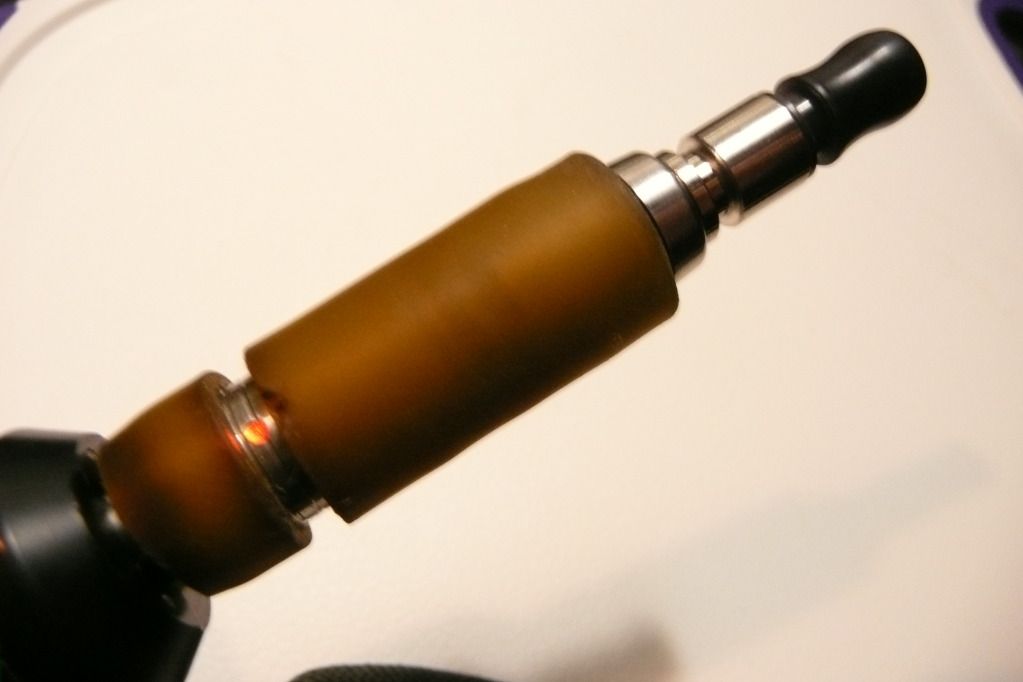
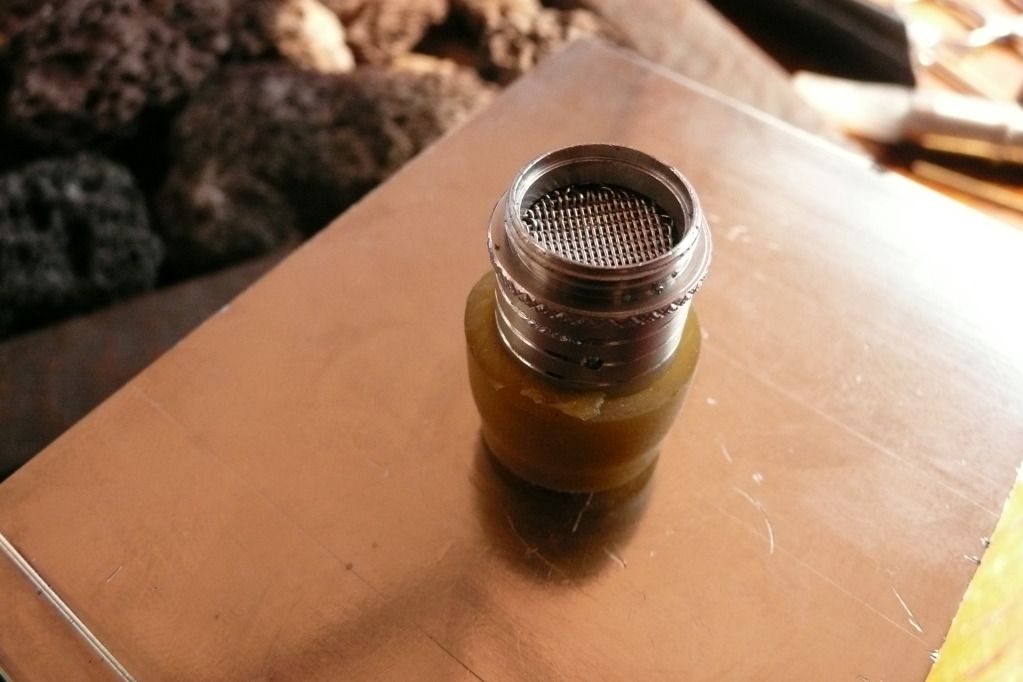
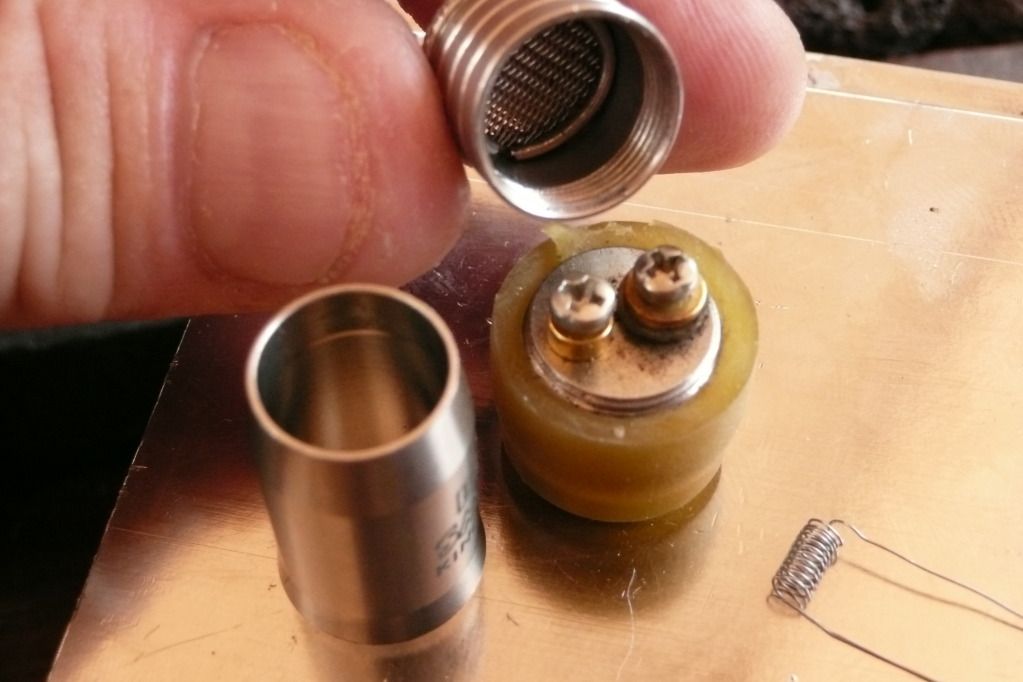
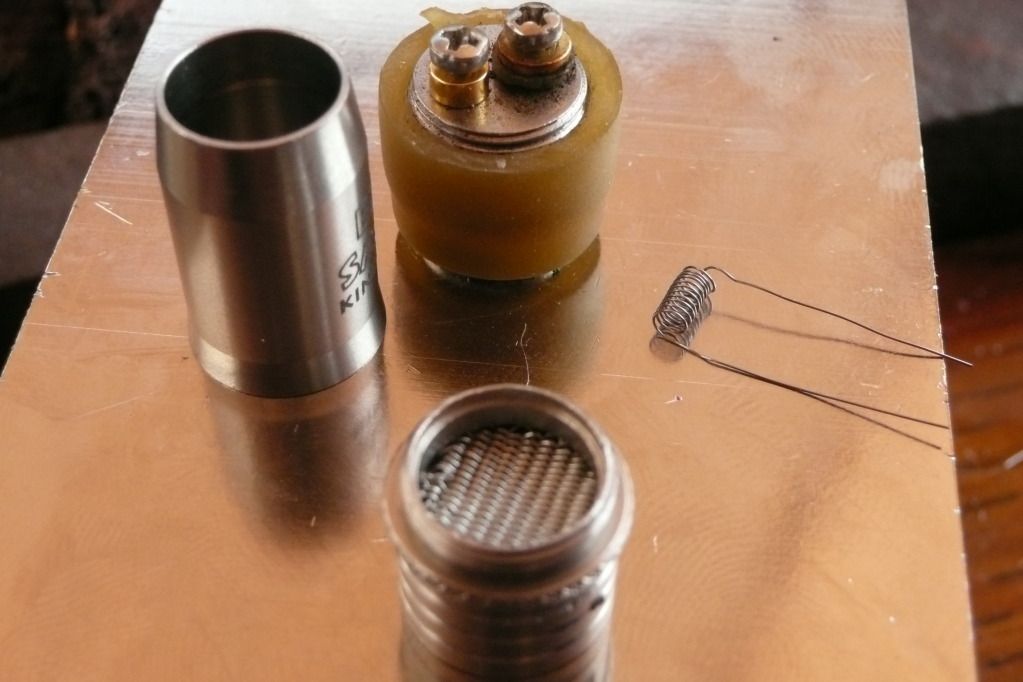
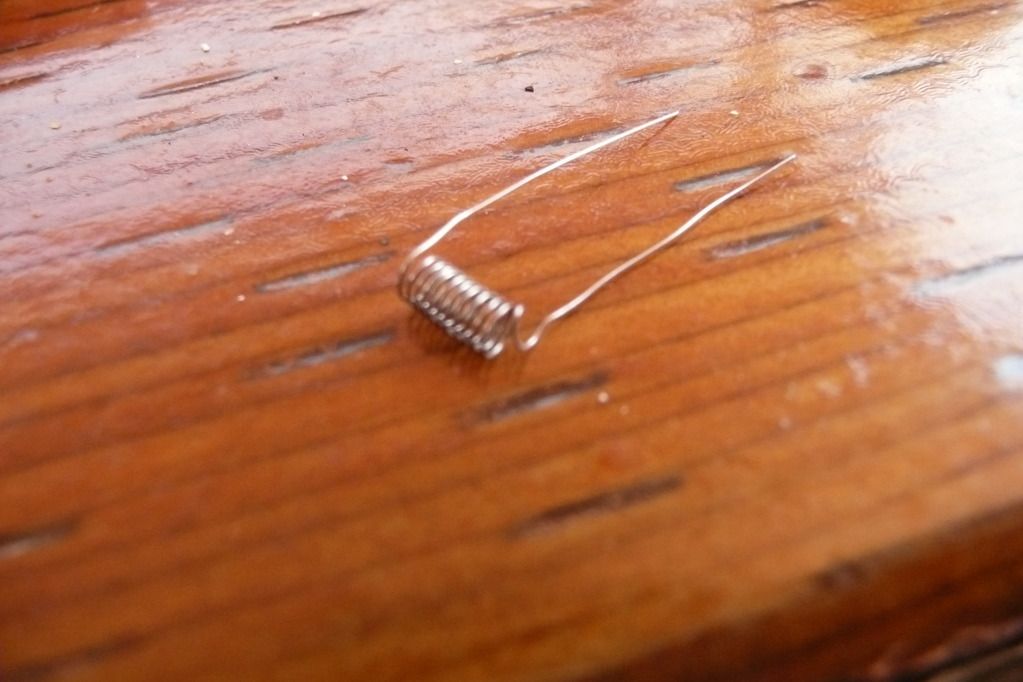
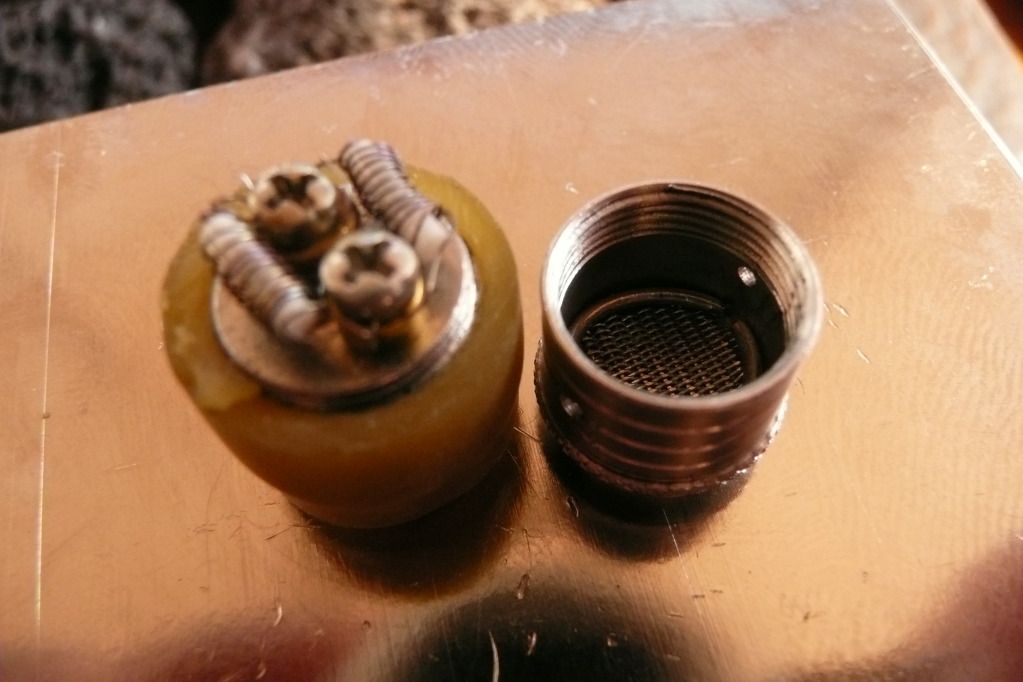
Have 2 on order plus an extra upper tube to play with. One is the tank version for my ecig habit. It has a standard 510 thread it can be used with many power handles. The element can be customized it meet the needs of whatever your trying to create. I do not see any reason why it cannot be modified with various types of supports or screens to deliver oils, waxes or hold herb to vape. The resistive wire is cheap and available on ebay. I bought some Kanthal 32, 34 and 38 AWG as well as some SSM for making different supports etc. I can see this as a fun project and hopefully will have some very cool results. The best part is that if I screw up (not uncommon), can just start over. The Kanthal is only a few cents per foot. I can afford to screw up a lot.
This could be one great device for many uses.
Cheers,
Pipes
Reviews found here: http://www.ecigarette-mods.com/a2-bulli-smoker/
Have 2 on order plus an extra upper tube to play with. One is the tank version for my ecig habit. It has a standard 510 thread it can be used with many power handles. The element can be customized it meet the needs of whatever your trying to create. I do not see any reason why it cannot be modified with various types of supports or screens to deliver oils, waxes or hold herb to vape. The resistive wire is cheap and available on ebay. I bought some Kanthal 32, 34 and 38 AWG as well as some SSM for making different supports etc. I can see this as a fun project and hopefully will have some very cool results. The best part is that if I screw up (not uncommon), can just start over. The Kanthal is only a few cents per foot. I can afford to screw up a lot.
This could be one great device for many uses.
Cheers,
Pipes


 Pipes
Pipes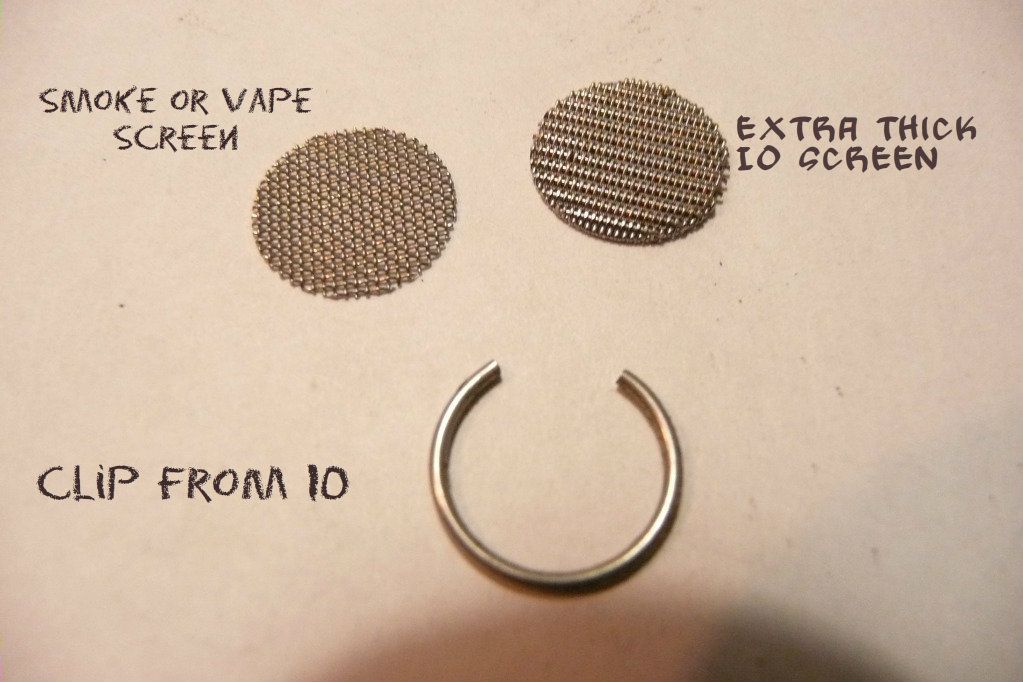


")


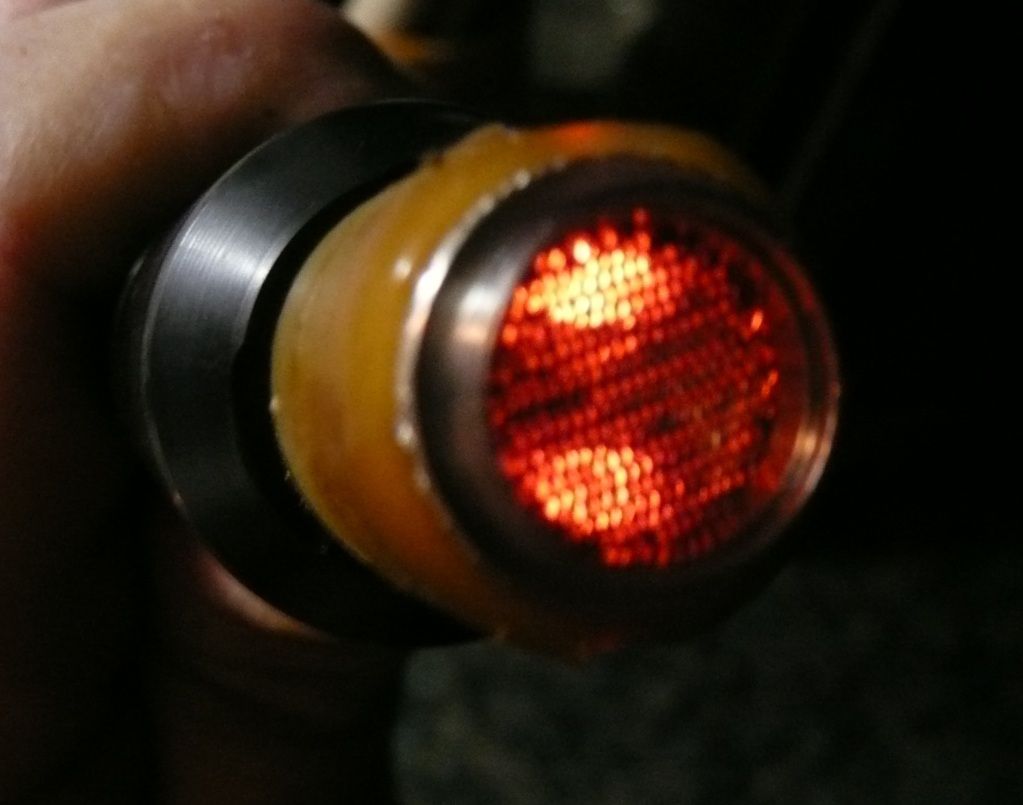
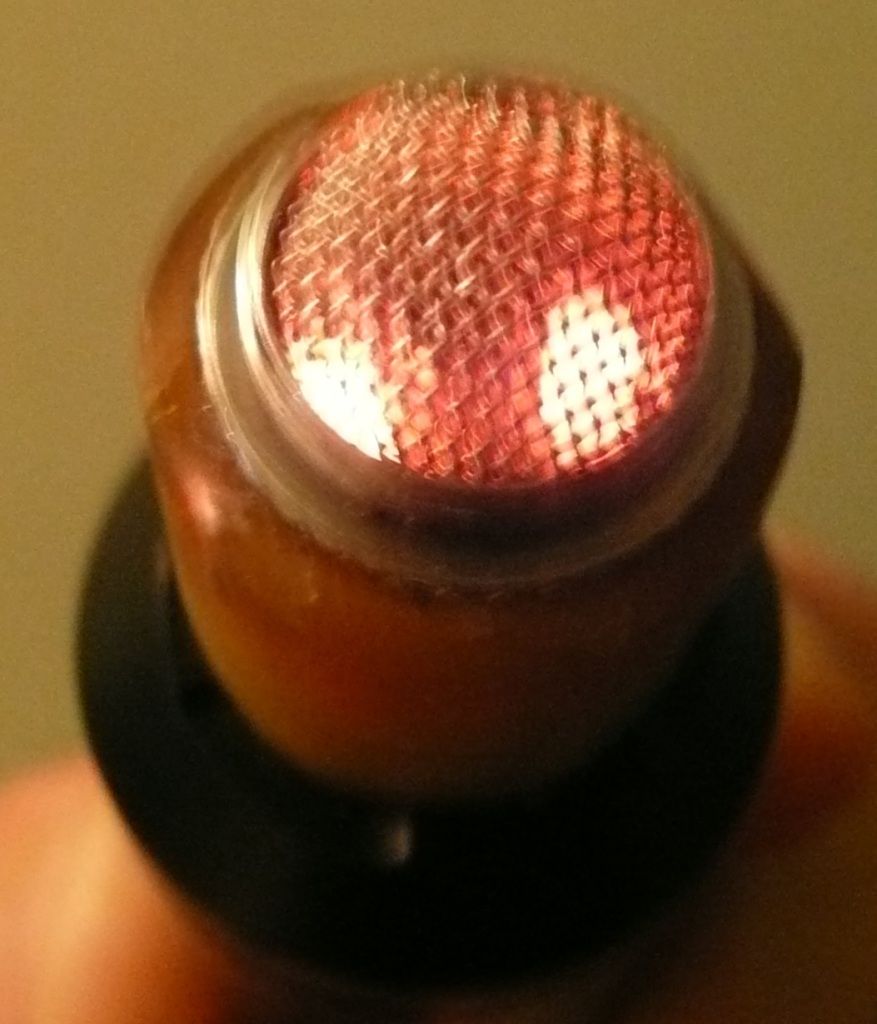
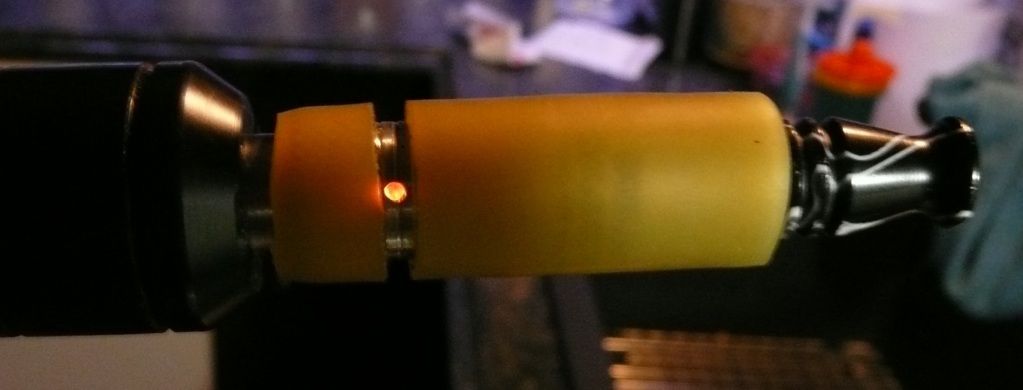
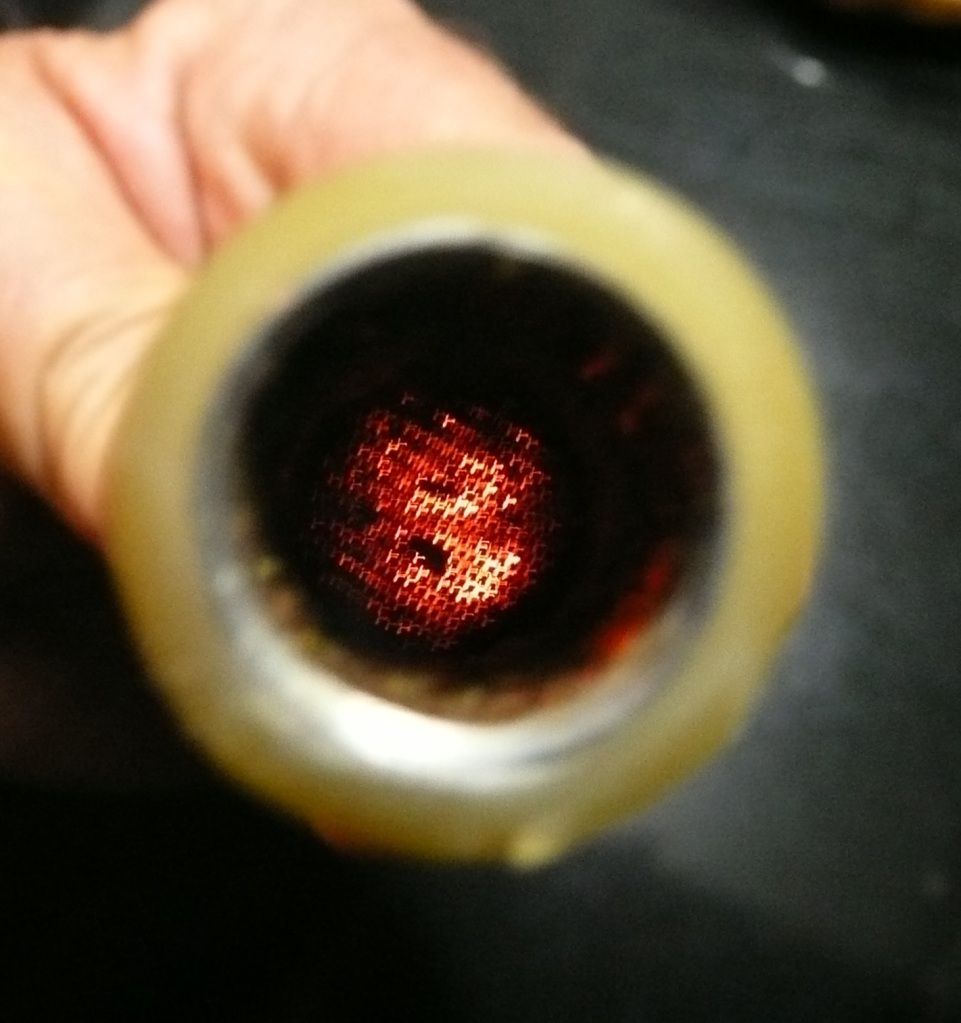
 But my preference is to have more visible clouds. Some like it with less I know. Going to take those ceramic bits out and try again under same circumstances.


")