DIY Bulli Vaporizer

Pipes

Addicted DIY Enthusiast
Accessory Maker
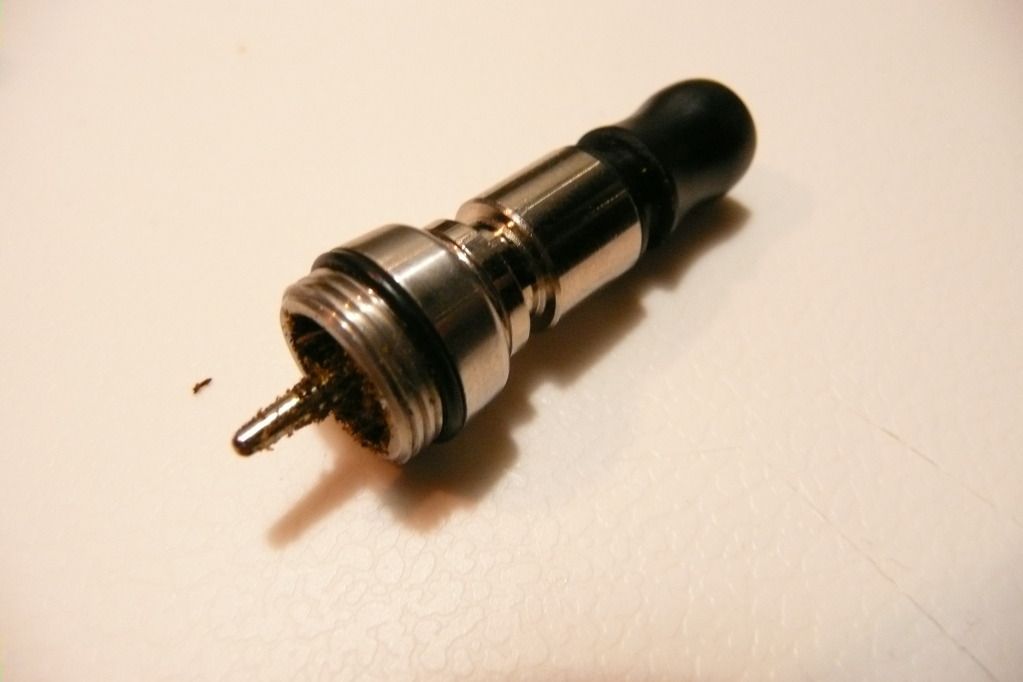
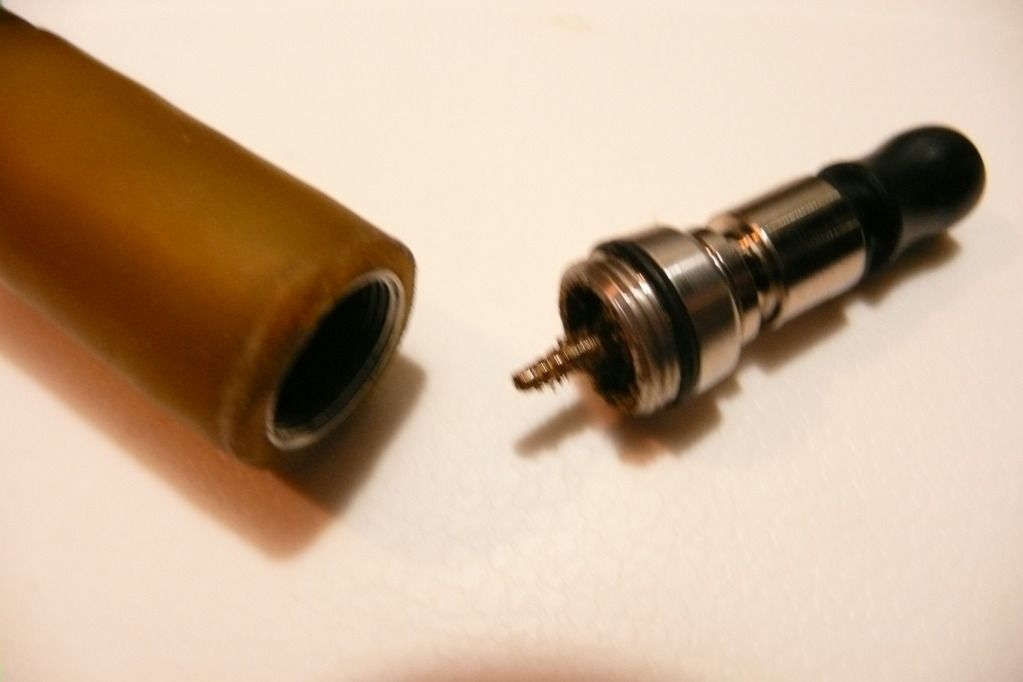
I have been very interested in building my own atomizers of late and happened across this very elite device. Hard to find and only available from Germany.
29qie05.jpg

bulli-smoker-a2.jpg


Reviews found here: http://www.ecigarette-mods.com/a2-bulli-smoker/
Have 2 on order plus an extra upper tube to play with. One is the tank version for my ecig habit. It has a standard 510 thread it can be used with many power handles. The element can be customized it meet the needs of whatever your trying to create. I do not see any reason why it cannot be modified with various types of supports or screens to deliver oils, waxes or hold herb to vape. The resistive wire is cheap and available on ebay. I bought some Kanthal 32, 34 and 38 AWG as well as some SSM for making different supports etc. I can see this as a fun project and hopefully will have some very cool results. The best part is that if I screw up (not uncommon), can just start over. The Kanthal is only a few cents per foot. I can afford to screw up a lot.:p
This could be one great device for many uses.
Cheers,
Pipes:smug:
 
Pipes,
  • Like
Reactions: sessnet

sal69

Member
Hi

I actually own two of these. One is Steel the other one is golden.
I no longer use them since i stopped with it completely.

They are very nice units, well Build. If you like Building your own atomizers this is Fun.
Definitly needs some practice to get nice results.

I only Used Mine to vape liquids. Never tried herb in there ...
 
sal69,

Pipes

Addicted DIY Enthusiast
Accessory Maker
That's great Sal, maybe you could give me any heads up on any unforeseen problems I might be overlooking. The way I see this device is an all in one vaporizer for the DIY perks.
Thinking the ground screw could be used for attachments of various delivery platforms. Could be a slant, spiral, funnel, reservoir or whatever for concentrates. And differences pending the viscosity of the goo. The length of one or both the contacts can most likely be extended as well to add more options to the element.
I bet just a screen type thing for herbal would work. Similar to how the IOLite does it for the top screen with a "C" clip. Still thinking on what the best meterial for bending, cutting of the attachments. Any ideas here? I know the SSM is easy to work with but missing the rigidness.
Also, I am assuming the mouth piece can have the bottom remove to use as an ordinary drip tip? And if wanting to use other drip tips, do you now the size to look for? I read somewhere is was a 701 size?
This is going to be fun.....
:brow:
 
Pipes,

weedemon

enthusiast
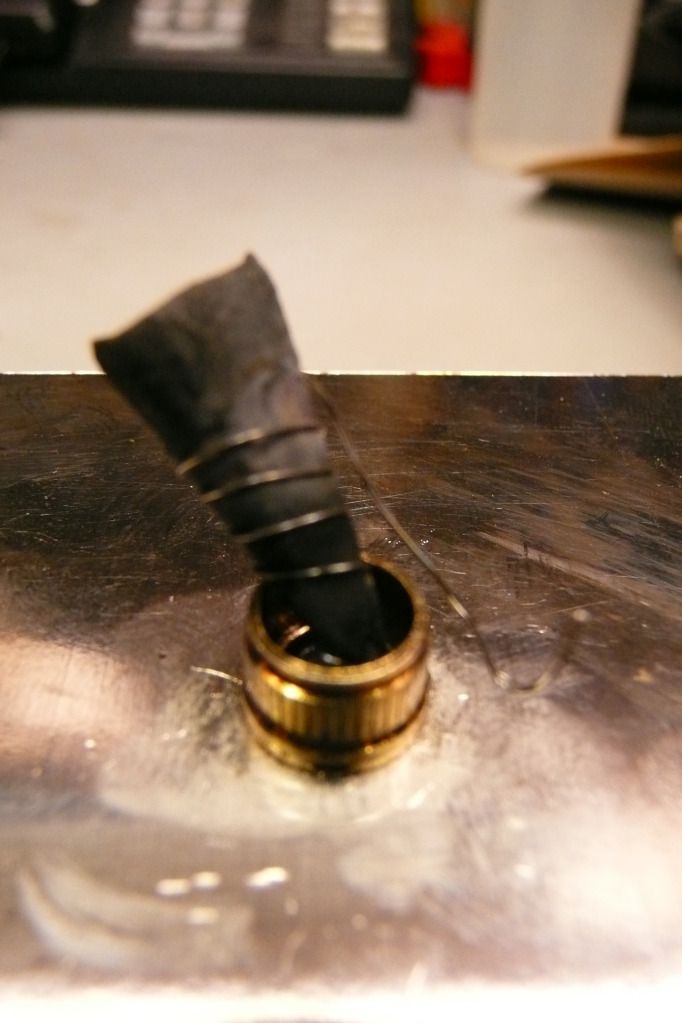
what's going on in that last pic there pipes? is the fabric with the coil what holds your concentrate?
 
weedemon,

Pipes

Addicted DIY Enthusiast
Accessory Maker
That's stainless steel mesh No 400 (SSM) carbonized to not conduct. Just playing.

Well finially got my Bulli's and first thing made a e-cig for myself. Wow, what a kick.
Made a Herb device next and holly crap. Made a couple videos. What the videos missed was the trials at home. Sweet mother of ... Got to ease that baby up. Filled it up over what a T1 holds and used an old broken Drip tip which screwed in for me. Little slow at the start but 20 seconds or so, watch out for that freight train. No ignition but sooo close. Got only about 5 really huge heaves and when checked sure enough it was all spent and very consistently brown. Now I was purposely givin it but have to test the limits. And this was running at 3.9 Amp or 1.8 ohms which is much less strain on those batteries. IMO it can be taken down to 3 amps @ 2 ohm and still get good vapor.
This first video I screwed it up but the beginning is OK.
The second had the better ending.....LOL


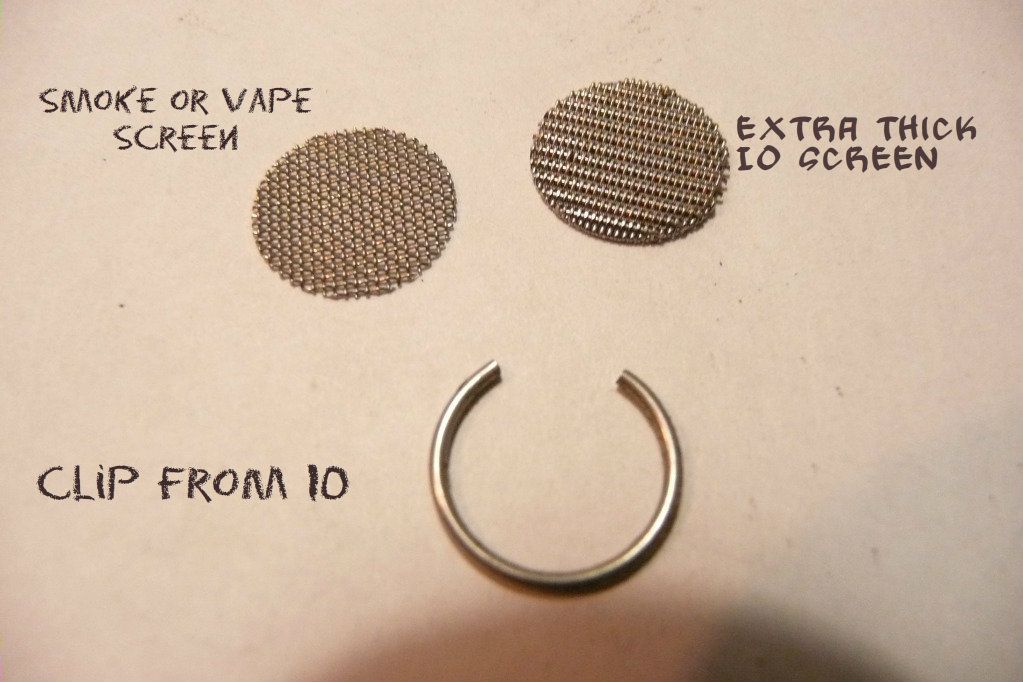
BTY, the cylinder is just a hair smaller then the IO in diameter but deeper. I used the "C" clip to hold the thick screen which also came in the IO kit. The top screen was a piece of that SSM just pushed in. Same idea as the EVO. Also the cyclinder appearantly is the same as the 701 device which is a e-cigar??
Let the fun rock on......Ideas folks and jump on the ride...
:popcorn: Pipes:popcorn:
 

Pipes

Addicted DIY Enthusiast
Accessory Maker
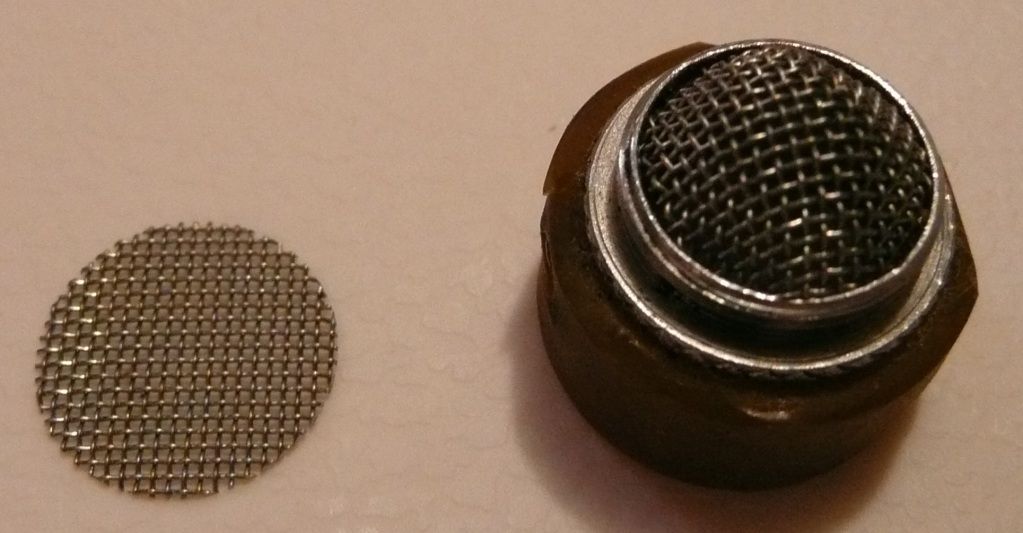
A better picture of the clip and screen I used.
Screens_and_clips.jpg


Pipes
 
Pipes,

Pipes

Addicted DIY Enthusiast
Accessory Maker
It's coming togather nicely. Found a 701 to 510 adapter here:
http://www.vapor-age.com/701-mouth-piece-to-510901-drip-tip-adapter-_p_51.html
If you look closely, it looks like there is a possible groove in it for a screen.

Finding this to be a very workable Herb vaporizer. Found that you can see the glow through the air intake hole from the heater as you inhale. Riding the line between bringing the glow down with air really heats it up and if not careful can combust. But training this beast is quit fun. Using this method makes it great for taking a couple and let it ride as the warm up time is cut right down. :lol:

Already getting ideas on concentrates. The tank unit A2T comes with a center stage which IMO can work as a base for a delivery system.

To only downfall so far is the unit gets very hot and you really need to wait a few minutes to take off the handle to switch over to ecig mode. A nice slide over cover similar to the EVO would be perfect.
Pipes
:cheers:
 
Pipes,

Pipes

Addicted DIY Enthusiast
Accessory Maker
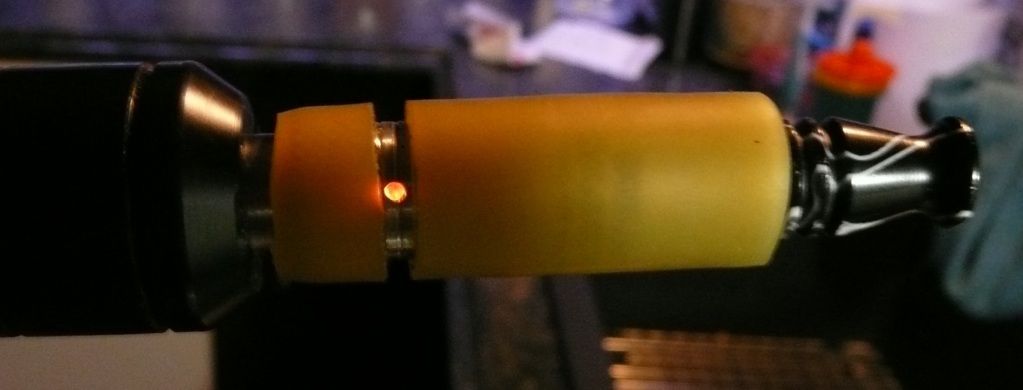
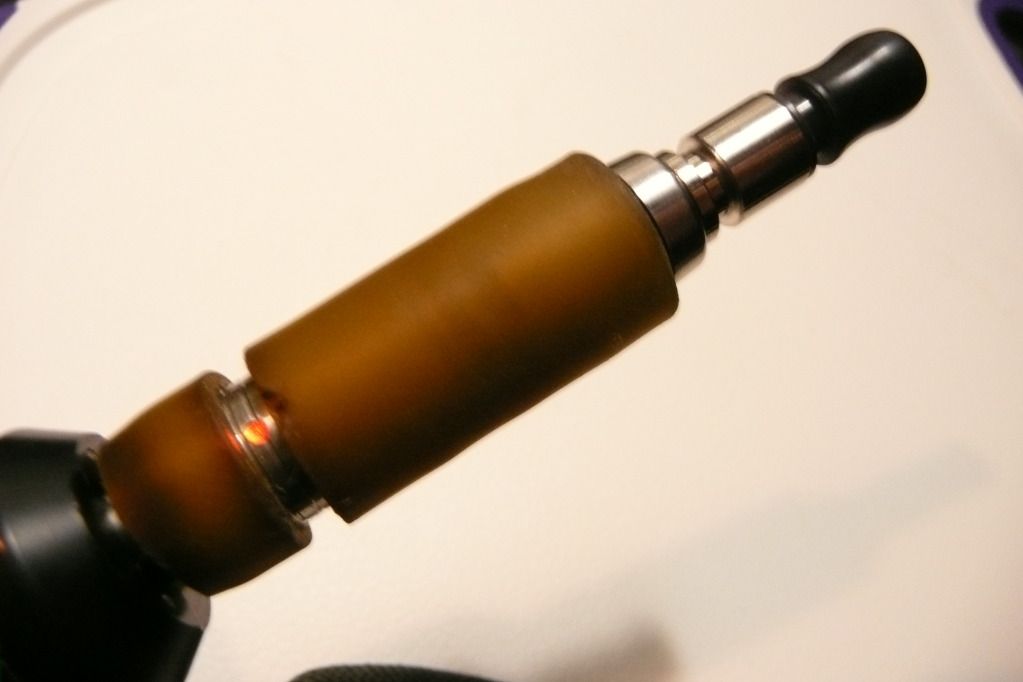
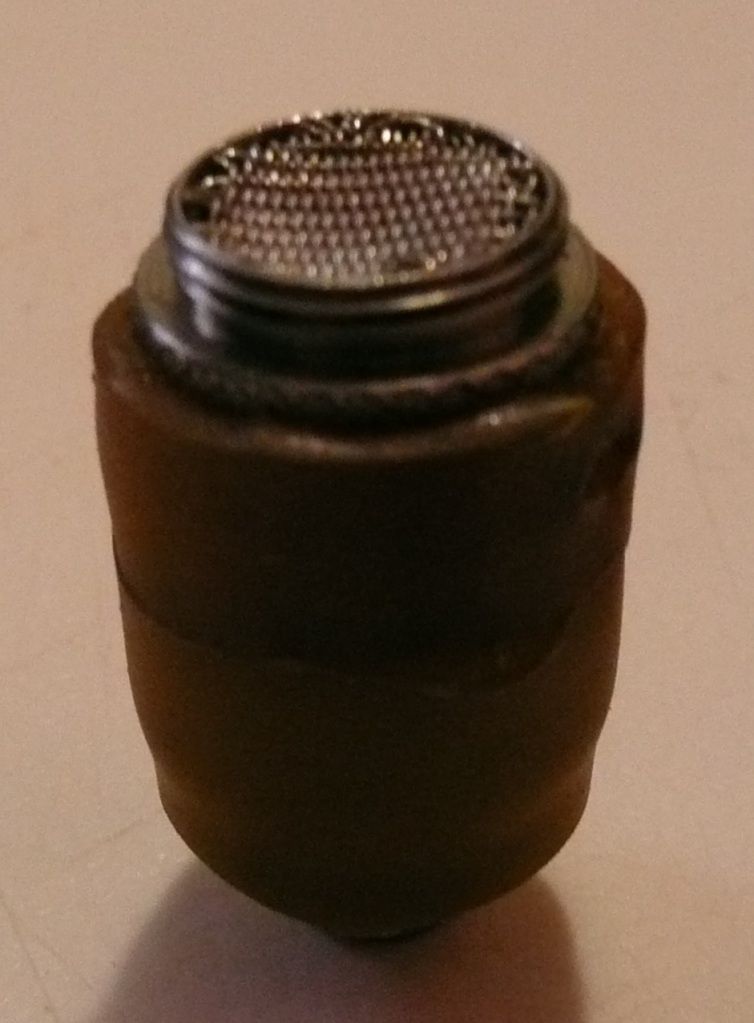
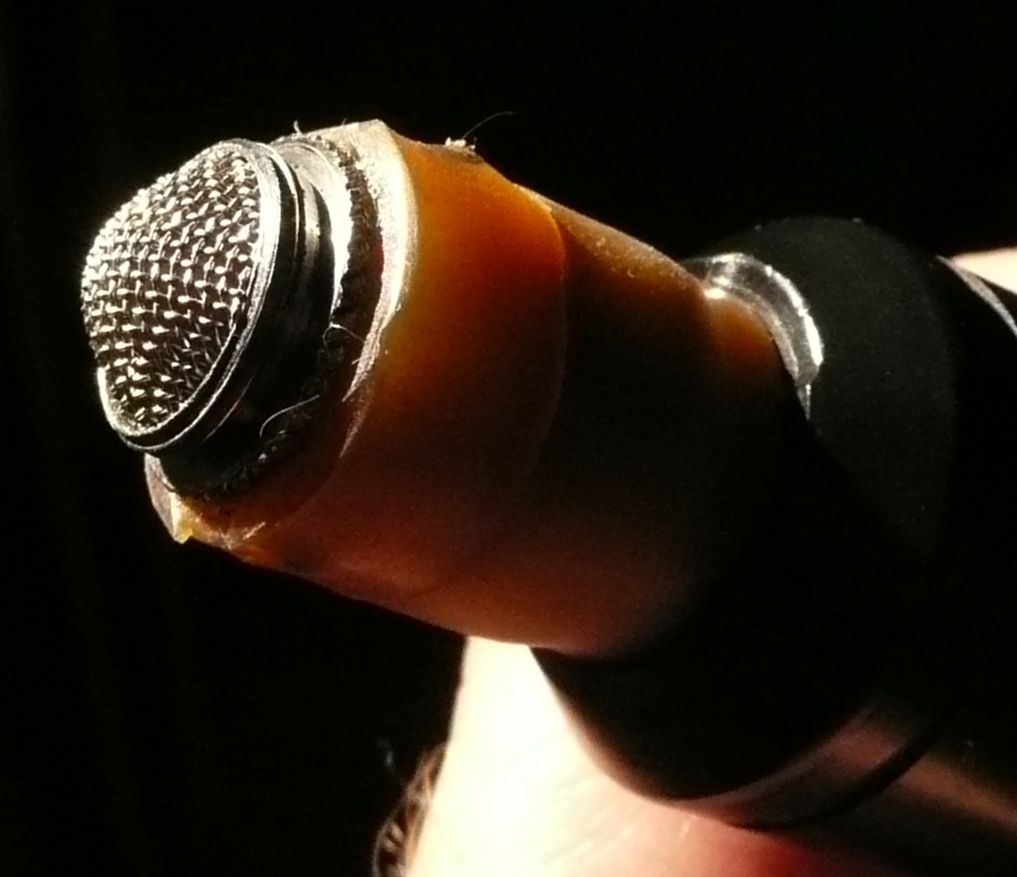
A quick update and a couple pics. Found a (temporary??) solution to the external heat. Yet another use for that medical rubber tubing.

Rubber_Isolator.jpg


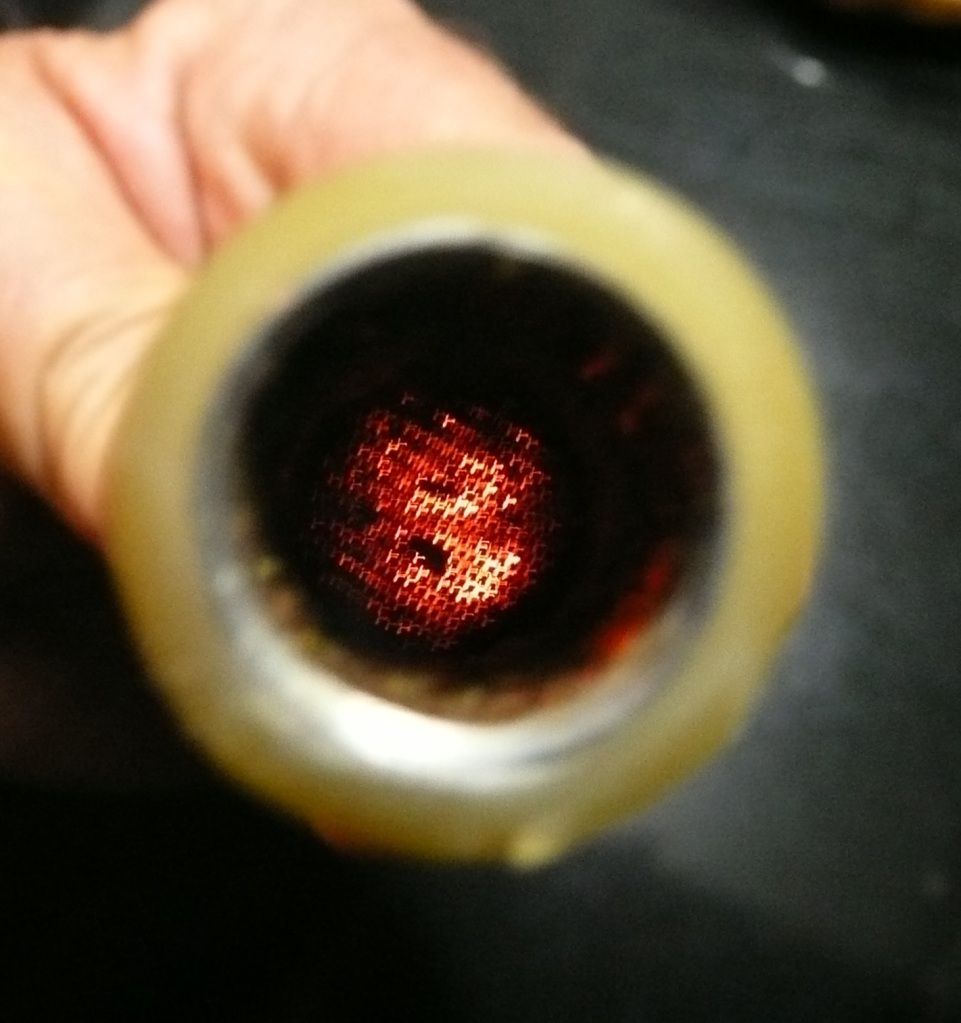
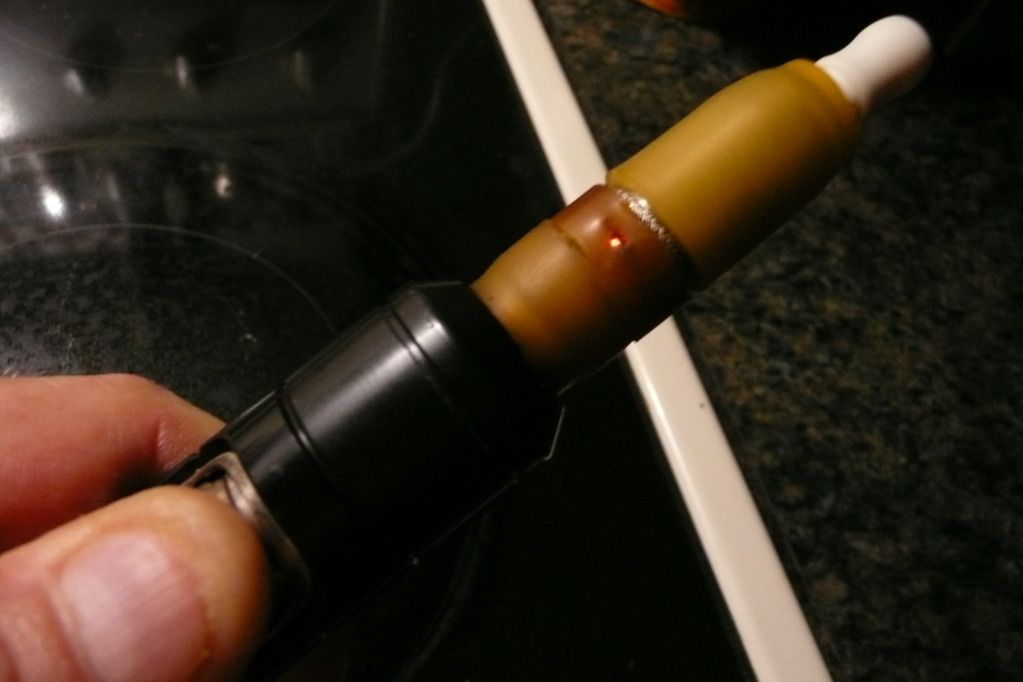
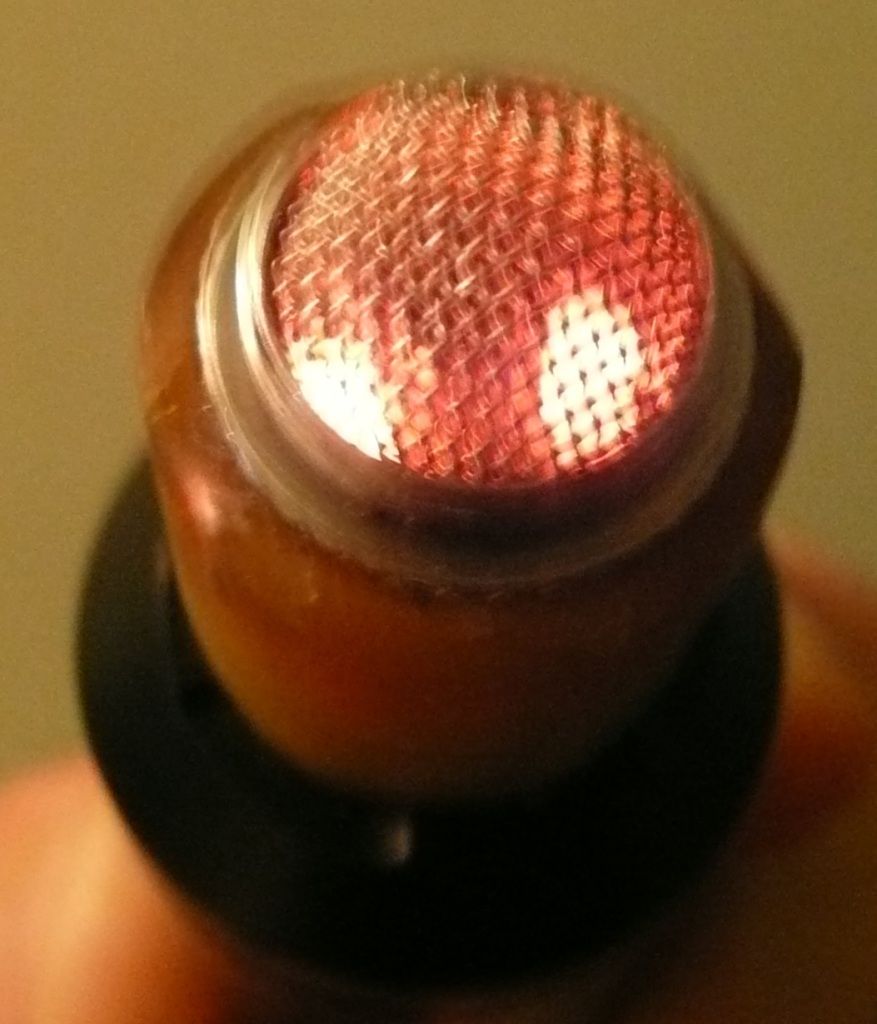
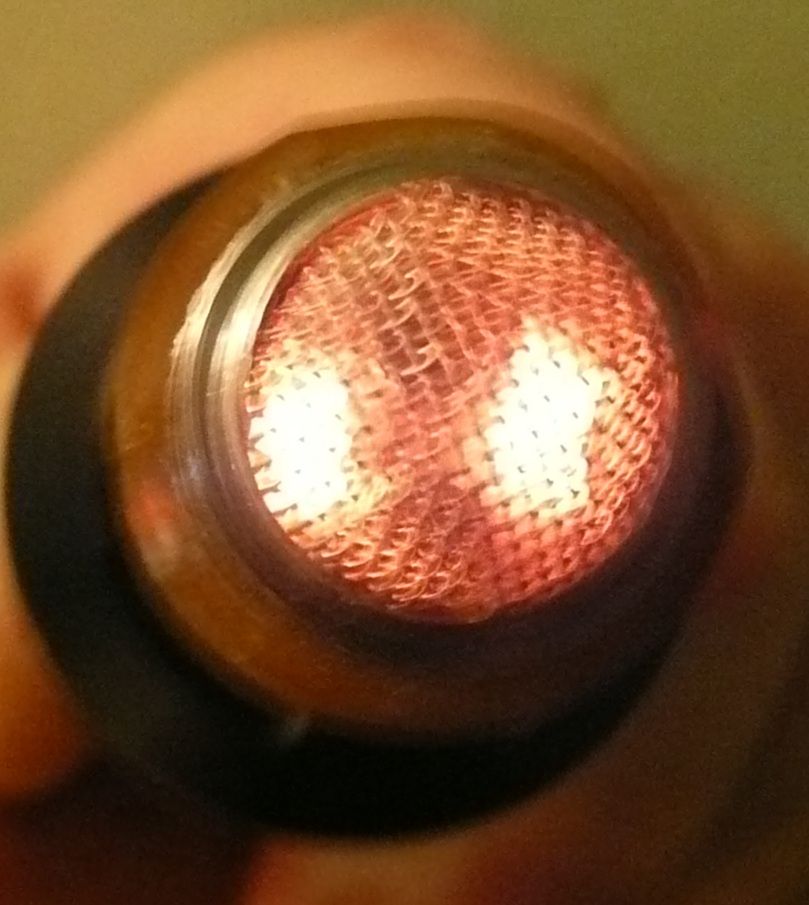
And the unit all fired up from the inside the tube. (excuse the residue)

Glow.jpg


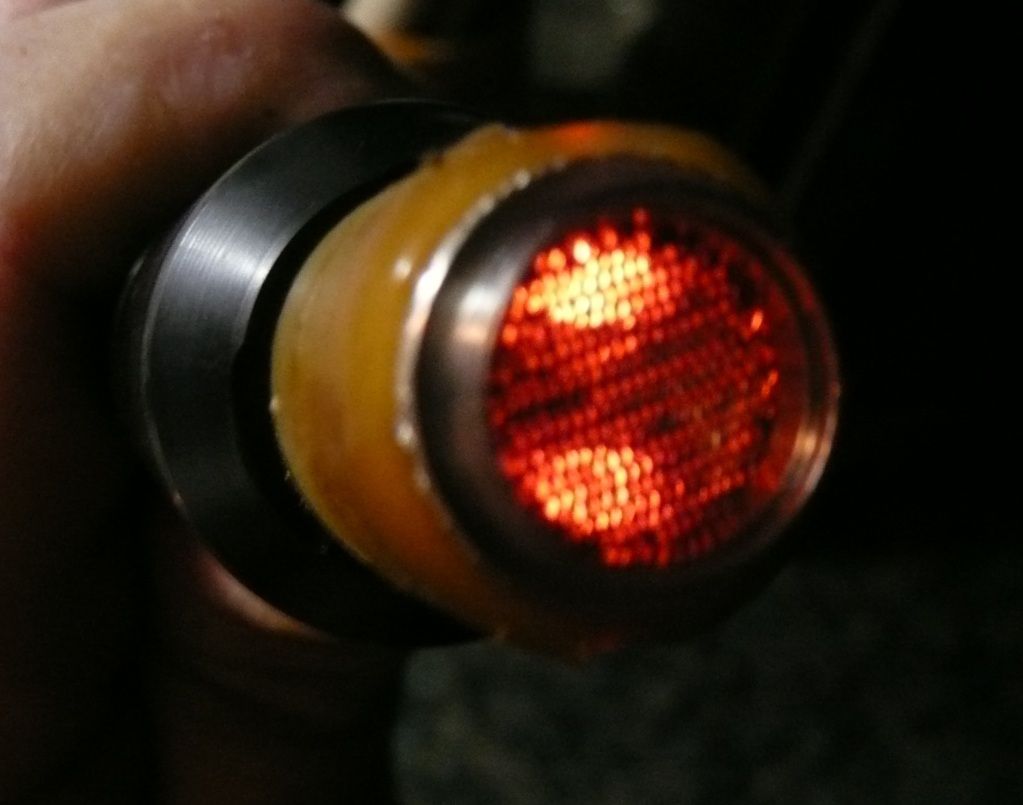
Have found you have to take it slow on the first couple pulls as it will combust. The screen can be moved up the tube a bit but what's the fun there. The side glow is just great for gauging what's happening in the chamber as well as a battery gauge.

Let the fun continue.
Pipes
 

Pipes

Addicted DIY Enthusiast
Accessory Maker
Been looking into changing over my batteries to a different technology rather then Lifepo4. The reason been I have gone through 20 batteries since January with the T1.
Now with lesser load would it not be logical to go to a more suitable technology?
Or stay with ordering new current type and hope with lesser load they will last?
My understanding that the reason TV picked the LifePo4 was because of the high drain capabilities??
Want to use my TV 510 handle for sure and preferable 6 volt but 7.4 volts works too.
Any battery recommendations? 15270 protected?
Thanks,
Pipes
 
Pipes,

THC SCIENTIFIC

To Boldly Go Where No One Has Gone Before
Manufacturer
Been looking into changing over my batteries to a different technology rather then Lifepo4. The reason been I have gone through 20 batteries since January with the T1.
Now with lesser load would it not be logical to go to a more suitable technology?
Or stay with ordering new current type and hope with lesser load they will last?
My understanding that the reason TV picked the LifePo4 was because of the high drain capabilities??
Want to use my TV 510 handle for sure and preferable 6 volt but 7.4 volts works too.
Any battery recommendations? 15270 protected?
Thanks,
Pipes

I would not do protected i would rather go with IMR safer just in case stuff wants to take a dump.
 

Pipes

Addicted DIY Enthusiast
Accessory Maker
Thanks for the info. Kept hearing IMR come up. Take it they are inherently safe like LifePo4?
Better then relying on electronics.
Cheers,
Pipes
 
Pipes,

THC SCIENTIFIC

To Boldly Go Where No One Has Gone Before
Manufacturer
Thanks for the info. Kept hearing IMR come up. Take it they are inherently safe like LifePo4?
Better then relying on electronics.
Cheers,
Pipes

I am not that much into the chemistry, i think OF will further explain it, but i know this IMR when they vent they dont go boom.
 
THC SCIENTIFIC,

Pipes

Addicted DIY Enthusiast
Accessory Maker
I found a very interesting spread sheet on another forum. Shows some numbers which give a good idea on a starting point for coil resistance. What this graph does not should is actual temperature as it changes with the wire gauge. Thinner = Hotter which is a critical area when you don't overly care about pushing the winding to the limit sparing the battery. Too thin and cannot create the heat fast enough to keep up with air flow. Also, think this would really show itself in colder weather. (time to rewind by then anyway)

http://www.e-cigarette-forum.com/fo...elp-w-ohms-plz-oh-hello-vaping-pwr-guide.xlsx

Herb Mod update: Moved the screen up about .5 mm and there is now zero combustion. First haul is next to nil vapour but nice taste. After that, well put it this way, keep losing count of hits but around 12 or so....:freak:
The medical rubber is holding up surprisingly well. Getting a bit darker but no melting or smelling. Also stays cool enough to not burn you and can remove right away.

And thanks THC, starting to maybe think of sticking with the LifePo4 but the next ones will never see under 1.8 ohms. I have brought some older batteries out that I deemed not usable with the T1 but can now get some life out of them. :)
Cheers,
Pipes
 

Pipes

Addicted DIY Enthusiast
Accessory Maker
Though I would wrap up my Bulli DYI modification and call it a success.
I found a solution for the mouthpiece by using the 510 adapter posted above in conjunction with a TV DART mouthpiece. The result is great.

Dart.jpg

Dart2.jpg


The metal part of the mouthpiece gets very hot though. I was using the broken 510 belly type in the pictures above with a small screen squeezed in the mothpeice hole. Worked OK but tended to fall out too easy. And here is a finial shot of this now well used device. See how much darker the rubber is now. :o

FinialBig.jpg


The unit holds 380 mg of herb which is quite a bit. In comparision:
Bulli- Large Mod: 380 mg
IO - 400 mg
T1 - 240 mg
EVO- 120 mg

What I like:
No stirring
Can stop and go later easiely with little warm up time.
Just under 2 Ohms so can get a full load with no problem on set of batteries.
Can see the element glow which can be used to gauge air draw as well as battery power.

What I don't like:
Hot......like the EVO's grandpa.
Start feeling the heat in the draw before the load is finished..?

As for the taste, well it's 100% SS except for the drip tip. So metallic taste is included. I assume as I don't seem to taste it like other folks do. Still get those nice couple initial sweet tasting pulls. :nod:
Overall a successful effort and very workable. Only thing to play with is tweeking the heat to see how low the power consumption can be pushed at the expense of coil longevity. Fun stuff. Also, playing with the height of the screen above the element could have some interesting results.

:smug:

Up next, I think I will try using the A2 T and make a smaller load version around the 250 mg mark. The T comes with a standard ego type upper tube which means it is tappard a bit. Also has a center section which I plan to use as a screen holder. (this peice could be used in the mod above but load size becomes rediculous, like 650 mg.

Also, if I can get some lube, .....hmmmm

Pipes
 

Pipes

Addicted DIY Enthusiast
Accessory Maker
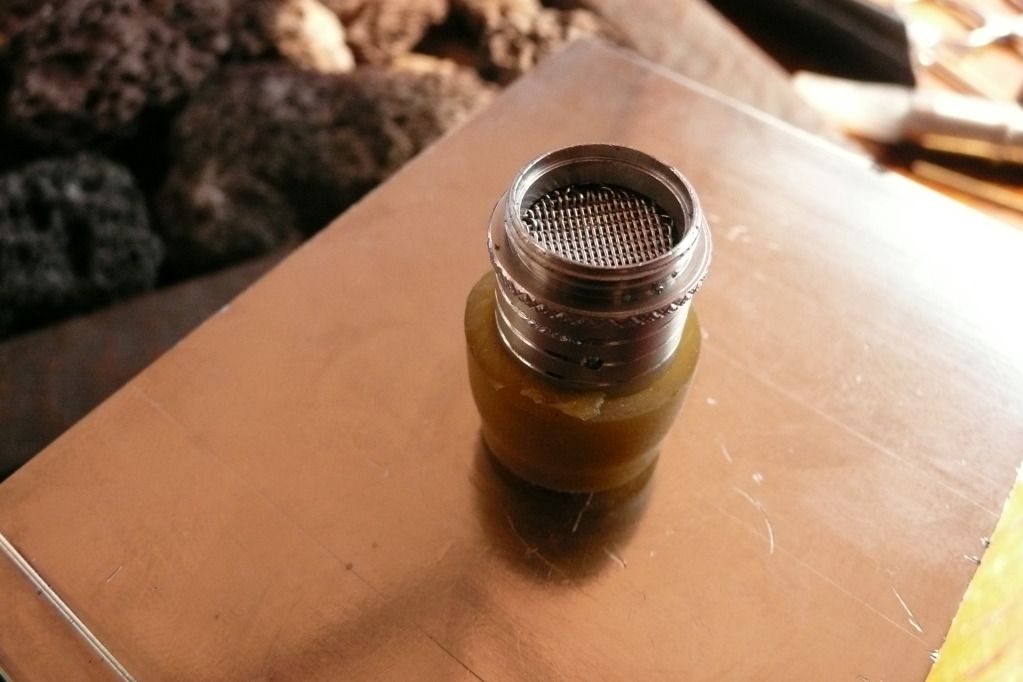
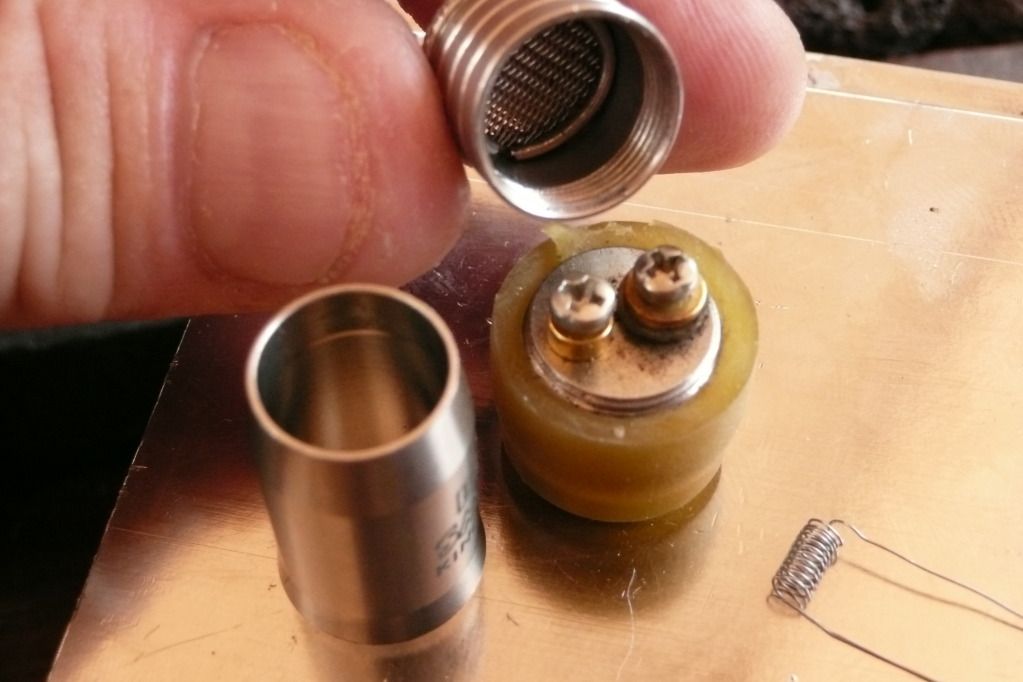
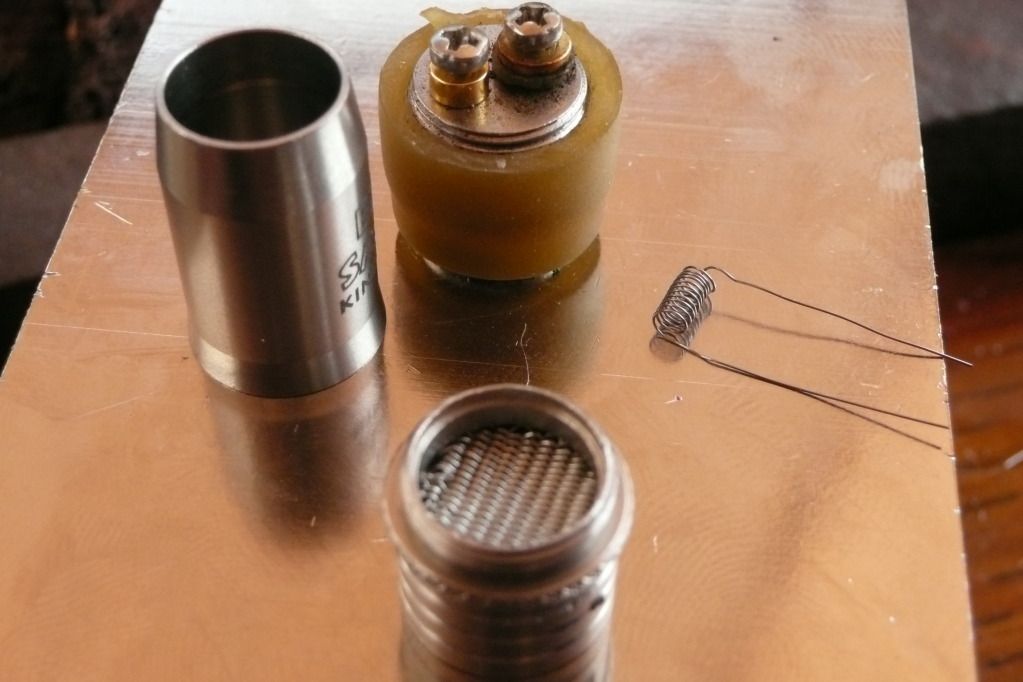
Hi all, just received a couple more parts for the Bulli-A2TM today so now I have the needed parts for my next project. I decided to use the middle piece as a screen holder and heater core enclosure. This is different from the previous Bulli mod as the screen was part of the A2 tube. With this it can accommodate either the A2 tube, A2T or even the A2TM. (the mega IMO would be the choice for concentrate modding.)

This is a picture with the mid section mounted on the base ready to take a chamber to be attached.
Tmod3.jpg


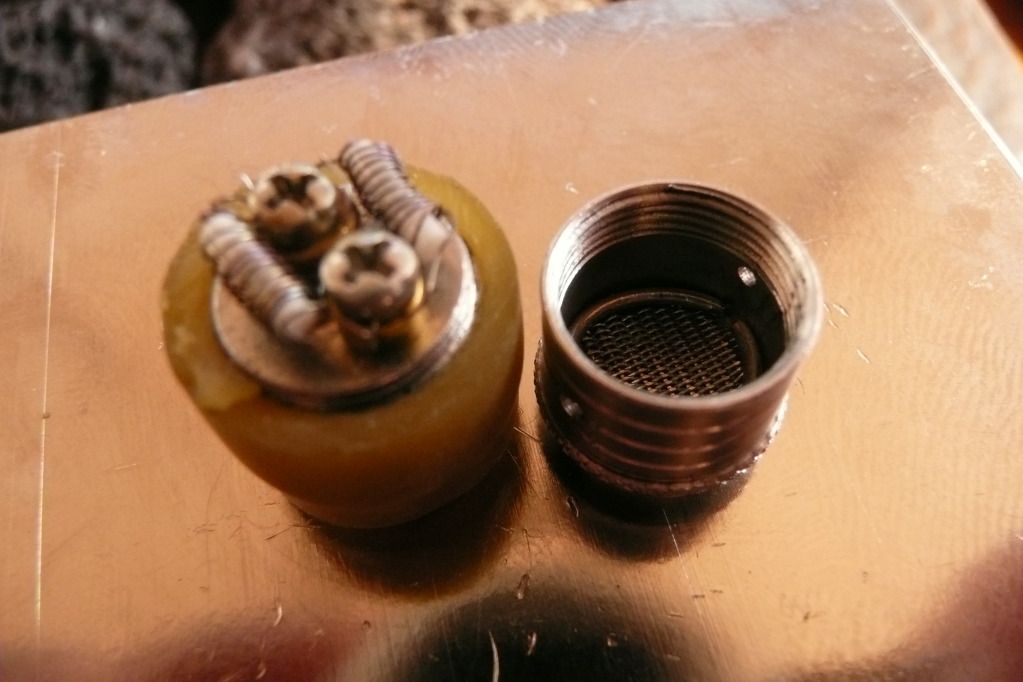
This is the under side. I used the same "C" clip and screen as in the earlier posts. Parts from an IOLite maintaince package.
Tmod2.jpg


Here it is again with a shot of the A2T upper part. I cannot test yet as I am still waiting on the Ego Type A drip tip which is the size needed for the A2T. But can still use with a A2 tube.
Tmod1.jpg


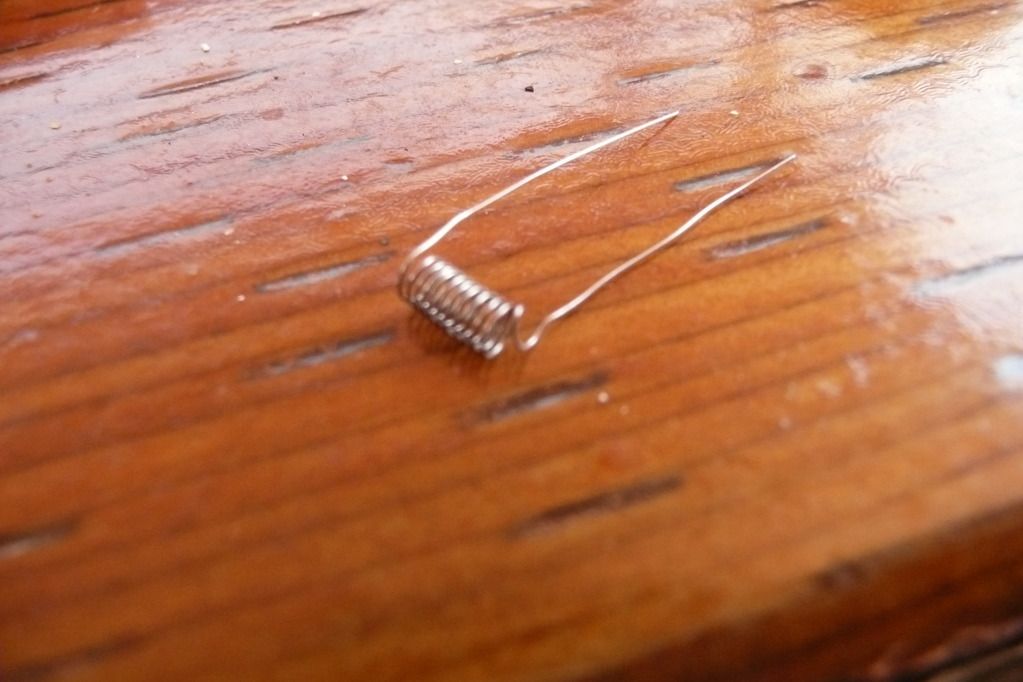
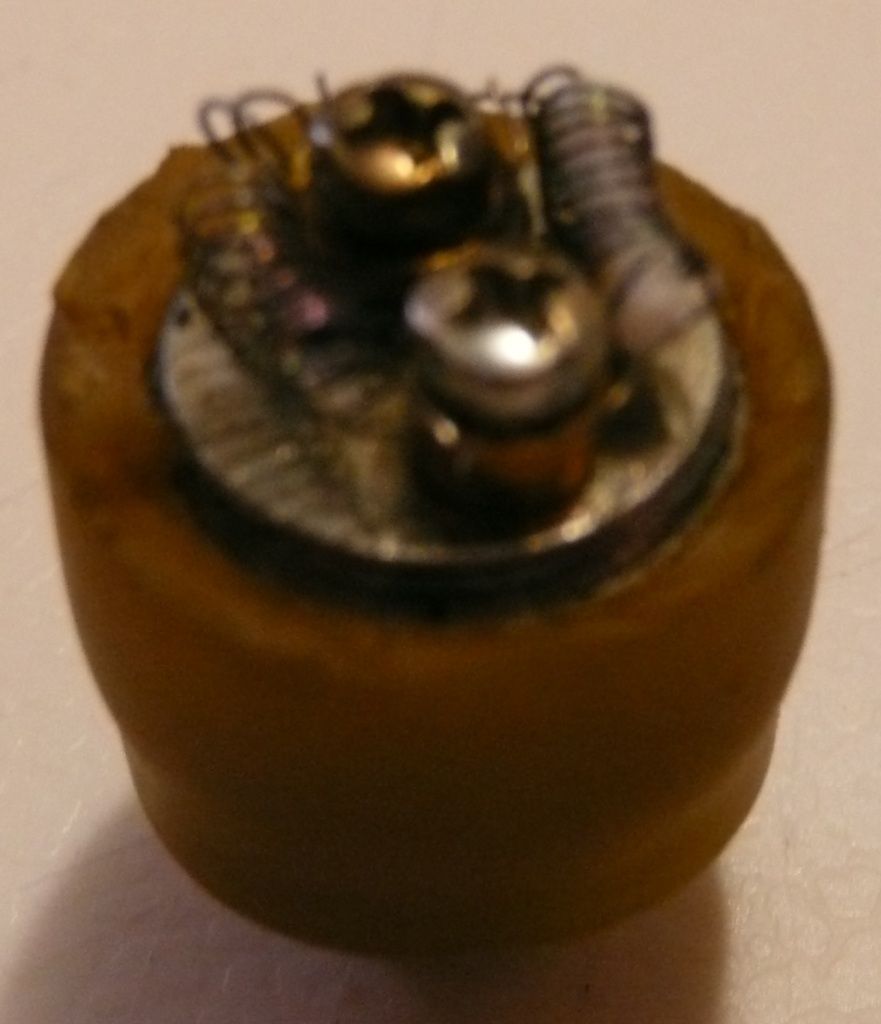
And a close up of one of the 4 ohm windings I made. Again, using 32 AWG Kanthal resistive wire. Seems to be a good performer.
42Ohm.jpg


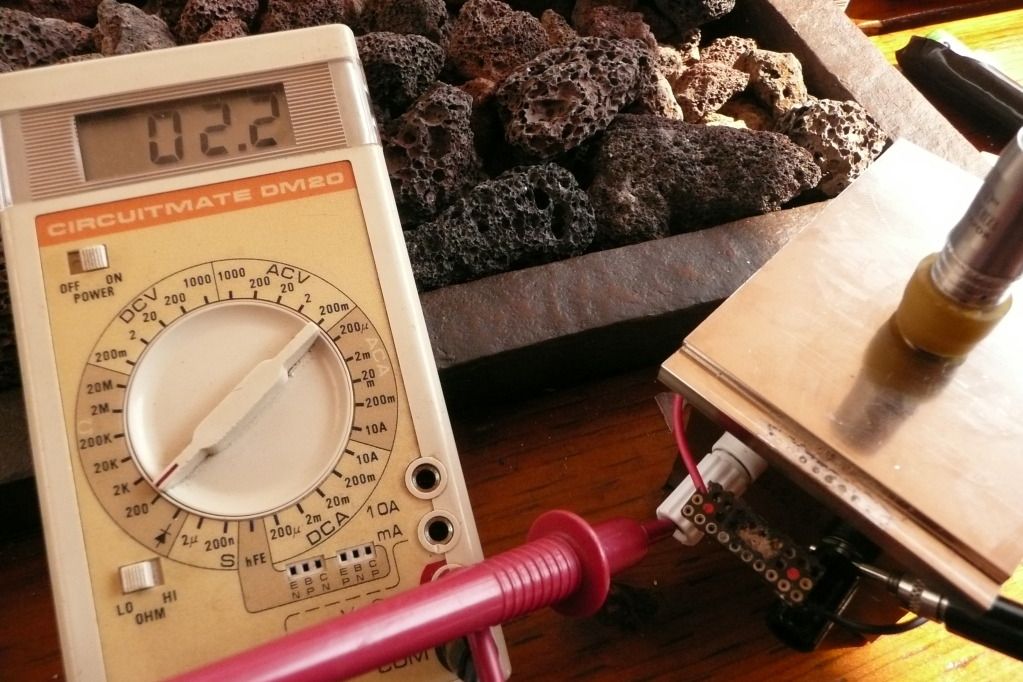
Once two are in parallel it measurezs 2.2 Ohms. I have found the resistance will be around 2 Ohms after a few uses.
22OhmDual.jpg


This time I have put two ceramic pieces in the coils. (an experiment) First thing I noticed is
The heat up time takes longer from start to good glow. Makes sense as more mass to get hot.
Also, the middle piece does not come pre-drilled when purchasing as a upgrade. This worked out fine as I drilled 2 holes, one in front of each element. So now the airflow can be increased as needed. Can also see both elements for visual reference.
Tmod4.jpg


So this is where I'm at with this fun project. Going to try the large A2 tube on this tonight.
I have the UFO piece from TV waiting for that type A monthpiece. Should be getting it any day.
Of course this will end up enclosed in medical tubing as I did with the earlier mod.

Happy Vaping,
Pipes
 

Pipes

Addicted DIY Enthusiast
Accessory Maker
I ended up using the medical tubing to hold the UFO piece. Just made it a bit too long so it pulls itself over the end. It will do till I get the proper tip.

510Tmod.jpg


And of course the porn shot. Which really shows all now, with barrel stipped off.

TheTGlow.jpg


So I loaded 'er up and gave it a shot. It sure holds more then I thought it would. Kind of different as have the choice to load from the top of via the bottom. Because of the temporary tubing holding the mouth piece, I used the bottom and found it very easy to fill and empty that way.
I found it took much longer to heat then previous mod. It did get quite hot but not that much vapour. It did do the trick but not what I'm use to from TV products or previous mod. I think this is likely do to the ceramic which I installed this round. Some folks might prefer it this way but I do like my vapour. Here is the ABV from that first round.

ABV-T.jpg


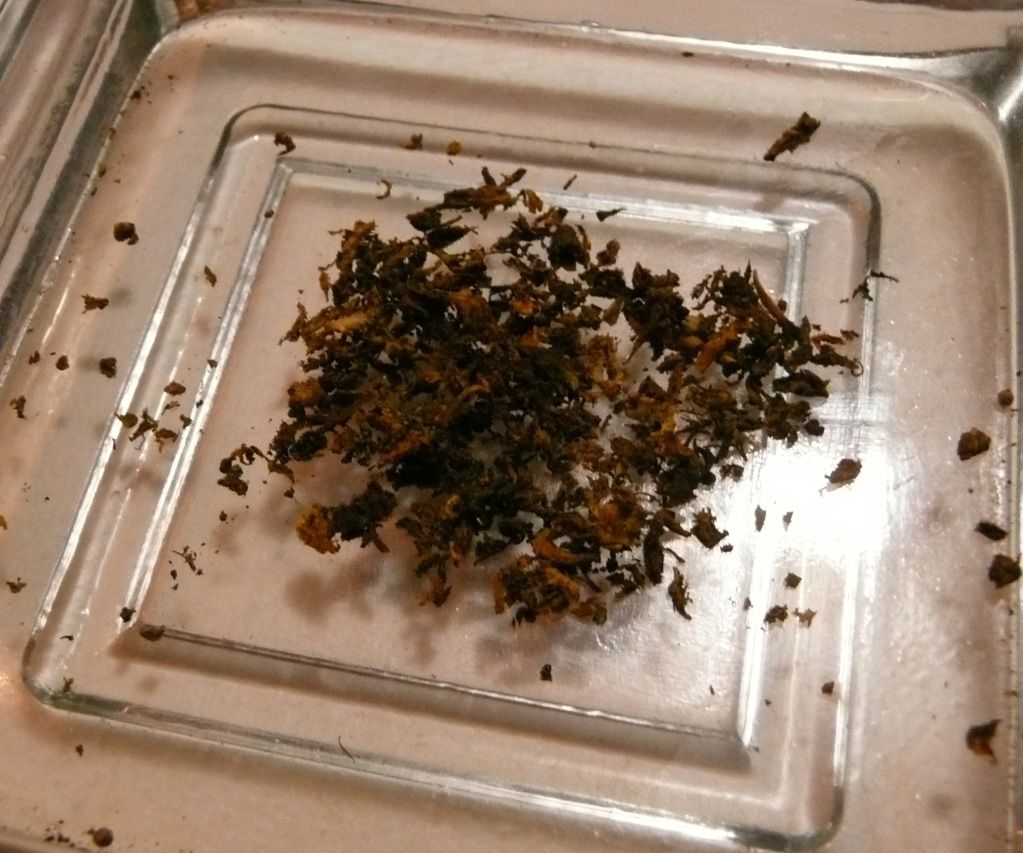
My thoughts were it looked like still too much green. Pulled out the T1 and gave the ABV a shot. Got 2 more vapour hits but taste was bad. Guess the good stuff was gone.
I am going to remove those ceramic pieces and repeat.

The full A2 type tube also fit on this heater mod and gave it a shot as well. This is the same as the original A2 tube used in the first mod but without the hole. I only used about 200 mg as it looks like it could hold an oz. Kept it vertical because of the low (right) load size. It actually gave me bigger clouds then above but still not big. The ABV was also much the same.
Concluding that IMO the temperature needs a boost somehow. Also, showed that the tube doesn't have to be full to work. Good news indeed.

Not sure where this is going but sure is fun. One thing that bothers me is the medical tubing, love it but hate it too. Anyone know of a possible sleeve that can just slip over the whole bulli? Delrin and cut-able for length is what I kind of in-vision. Any ideas, speak up or PM me.

Cheers,
Pipes
 

THC SCIENTIFIC

To Boldly Go Where No One Has Gone Before
Manufacturer
How much are you loading in it?

Remember that the lungs do absorb most of the vapor going in, so no visible vapor coming out does not mean its bad.

I ended up using the medical tubing to hold the UFO piece. Just made it a bit too long so it pulls itself over the end. It will do till I get the proper tip.

510Tmod.jpg


And of course the porn shot. Which really shows all now, with barrel stipped off.

TheTGlow.jpg


So I loaded 'er up and gave it a shot. It sure holds more then I thought it would. Kind of different as have the choice to load from the top of via the bottom. Because of the temporary tubing holding the mouth piece, I used the bottom and found it very easy to fill and empty that way.
I found it took much longer to heat then previous mod. It did get quite hot but not that much vapour. It did do the trick but not what I'm use to from TV products or previous mod. I think this is likely do to the ceramic which I installed this round. Some folks might prefer it this way but I do like my vapour. Here is the ABV from that first round.

ABV-T.jpg


My thoughts were it looked like still too much green. Pulled out the T1 and gave the ABV a shot. Got 2 more vapour hits but taste was bad. Guess the good stuff was gone.
I am going to remove those ceramic pieces and repeat.

The full A2 type tube also fit on this heater mod and gave it a shot as well. This is the same as the original A2 tube used in the first mod but without the hole. I only used about 200 mg as it looks like it could hold an oz. Kept it vertical because of the low (right) load size. It actually gave me bigger clouds then above but still not big. The ABV was also much the same.
Concluding that IMO the temperature needs a boost somehow. Also, showed that the tube doesn't have to be full to work. Good news indeed.

Not sure where this is going but sure is fun. One thing that bothers me is the medical tubing, love it but hate it too. Anyone know of a possible sleeve that can just slip over the whole bulli? Delrin and cut-able for length is what I kind of in-vision. Any ideas, speak up or PM me.

Cheers,
Pipes
 
THC SCIENTIFIC,

Pipes

Addicted DIY Enthusiast
Accessory Maker
How much are you loading in it?

Remember that the lungs do absorb most of the vapor going in, so no visible vapor coming out does not mean its bad.
In that trial run I guestimate around 350 mg which was very loosely packed and close to full. The second trial with larger barrel only half full but still around 275 mg??
Yeah, it works as I got to and when past where I wanted to be...:ko: But my preference is to have more visible clouds. Some like it with less I know. Going to take those ceramic bits out and try again under same circumstances. :\

Pipes
 
Pipes,

Egzoset

Banned
Salutations Pipes,

...porn shot. Which really shows all now, with barrel stipped off.

TheTGlow.jpg

You've certainly made me look and i liked having the ABV picture too!

Now, if i may, perhaps this was raised previously so i'm sorry if i missed it but, euh... Wouldn't it be more desirable to attach the wires on the opposite side, so that one can be confident thermal cycling won't risk to loosen contact at the screws level?

Also, i wonder: is this DIY concept compatible with the TV, for example?!...

:peace:
 
Egzoset,

Pipes

Addicted DIY Enthusiast
Accessory Maker
Salutations Pipes,

You've certainly made me look and i liked having the ABV picture too!

Now, if i may, perhaps this was raised previously so i'm sorry if i missed it but, euh... Wouldn't it be more desirable to attach the wires on the opposite side, so that one can be confident thermal cycling won't risk to loosen contact at the screws level?

Also, i wonder: is this DIY concept compatible with the TV, for example?!...

:peace:
Good catch there Egzoset!!
You are correct. And this was actually how the first coil blew. (The one used in the initial A2 mod)
The lip on the top side of the mid section will fit the screen but no room for the C clip. The screen is thick enough to hold it's own but can be knock out too easily. Thus I opted to go the bottom route. Fits quite snug and not overly concerned about it contacting the screws once installed. Visually give a glance each time when open. Also, use LifePo4 batteries which are inherently safe if shorted. I would prefer to have the elements more centralized but with the lower ceiling this was not possible. I did line up the 2 intake hole such that they are beside the coils. No idea on the effect but looks good..LOL.

Any ideas on how to attach the screen to the top side? Something more solid perhaps...
:shrug:

BTY, I use the TV handle with no problem at all. 6 volt version. Actually, the T1 was the device which inspired me to give this mod a go. Found the T1 was a real battery killer. So far I find if the batteries never are used for much under 2 ohms the performance stays good longer. As I have just started a new batch of batteries which have never seen the T1 1 ohm loads this statement has not yet been proven. But have high hopes.
Still love my T1, specially now that I have modded it as well to be 2 Ohms. I used a thinner gauge element pretty much the same as in this mod to achieve appropriately the same temperature. I believe some longevity of the device may be the trade off. But since I can just re-coil it, I am not overly concerned.
Just can't beat the taste from the T1. Just much fiddling involved.

Pipes
 
Pipes,

Egzoset

Banned
Hi again Pipes,

Any ideas on how to attach the screen to the top side? Something more solid perhaps...

Hummm...

These days i'm only following from a distance now that i've got a vaporizer setup which suits me fine, but i can try to loosen up and go wild, if you like!

;)

On various occasions i often think of materials like ceramic while on FC as it's "plastic" until cured... If the body of your device made use of ceramic then my guess is you could embed any attachment mechanism you may wish right into that piece of hardware itself. For example, a grid made of relatively thick wire might serve to support the actual screen, with the benefit that ceramic is an excellent electric insulator. Ceramic beads could also be used to garantee the element's wires pass through the supporting wall safely, etc.

Since ceramic is brittle, i wonder if it wouldn't be convenient to have an external metallic jacket outside while the internal structure would be made of ceramic, mainly... In my opinion future users wouldn't be opposed to having ceramic even directly in the vapour path!

Well, i warned you: sometimes i get wild and hence hardly make sense at all!... Sorry about that and thank you for caring to write a good explanation for me.

:cool:
 
Egzoset,

Pipes

Addicted DIY Enthusiast
Accessory Maker
Hi again Pipes,

Hummm...

These days i'm only following from a distance now that i've got a vaporizer setup which suits me fine, but i can try to loosen up and go wild, if you like!

:cool:
By all means go a little wild.
I'm not 100% on following you on the ceramic issue?? However, you got me thinking about the location of the screen. I knew it was going to keep bugging me. So I have made a couple changes and will test it out tonight.
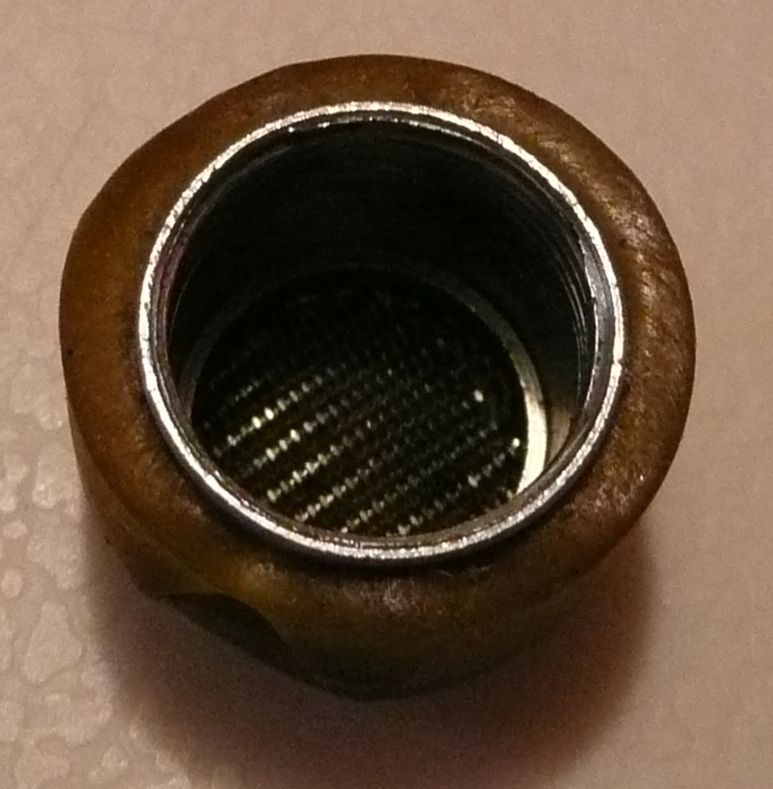
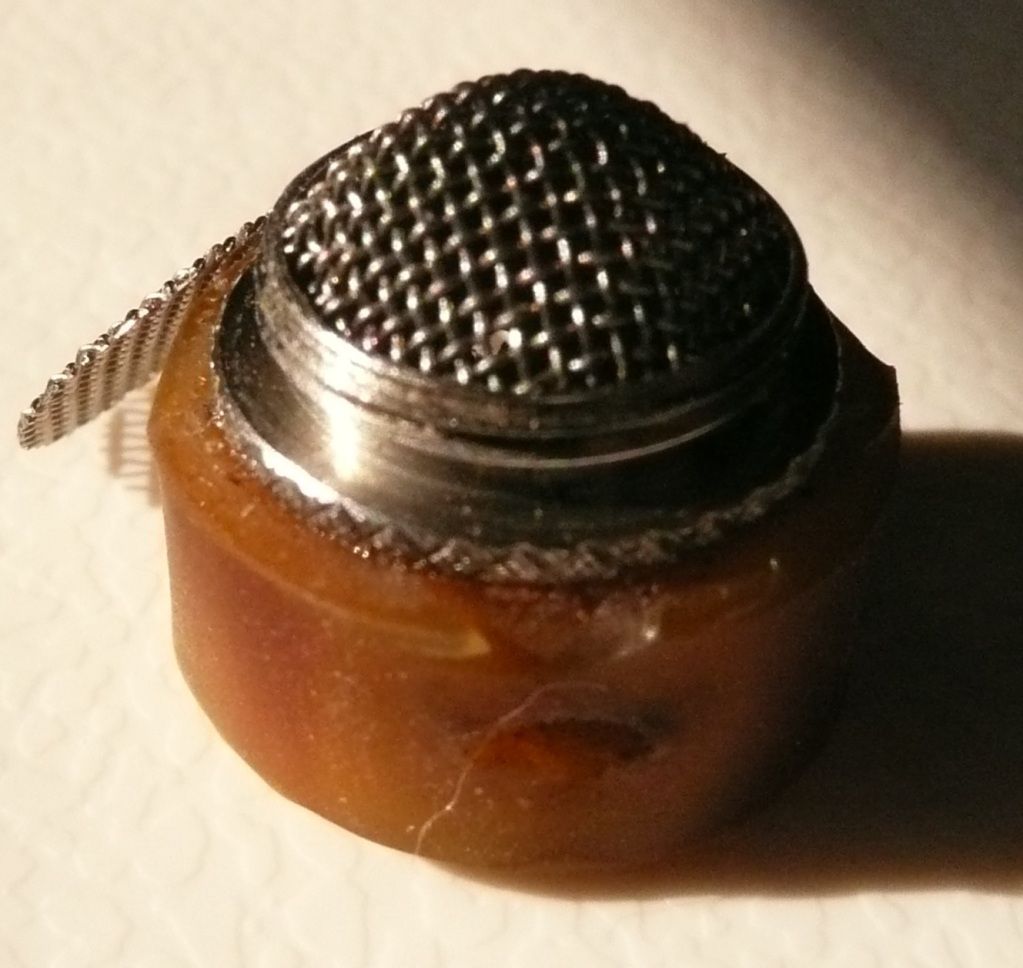
I took out the screen and C clip and relocated it back to the top as suggested. I carefully pushed it in all the way around ensuring no loose strands were lying over the top rim. Put it between a couple pieces of wood and smocked it a couple times to make an indent in the wood and pushing the screen down away from the rim top as much as possible.

TopScreenT-Mod.jpg


And this leaves more room underneath.

TopScreenUnder.jpg


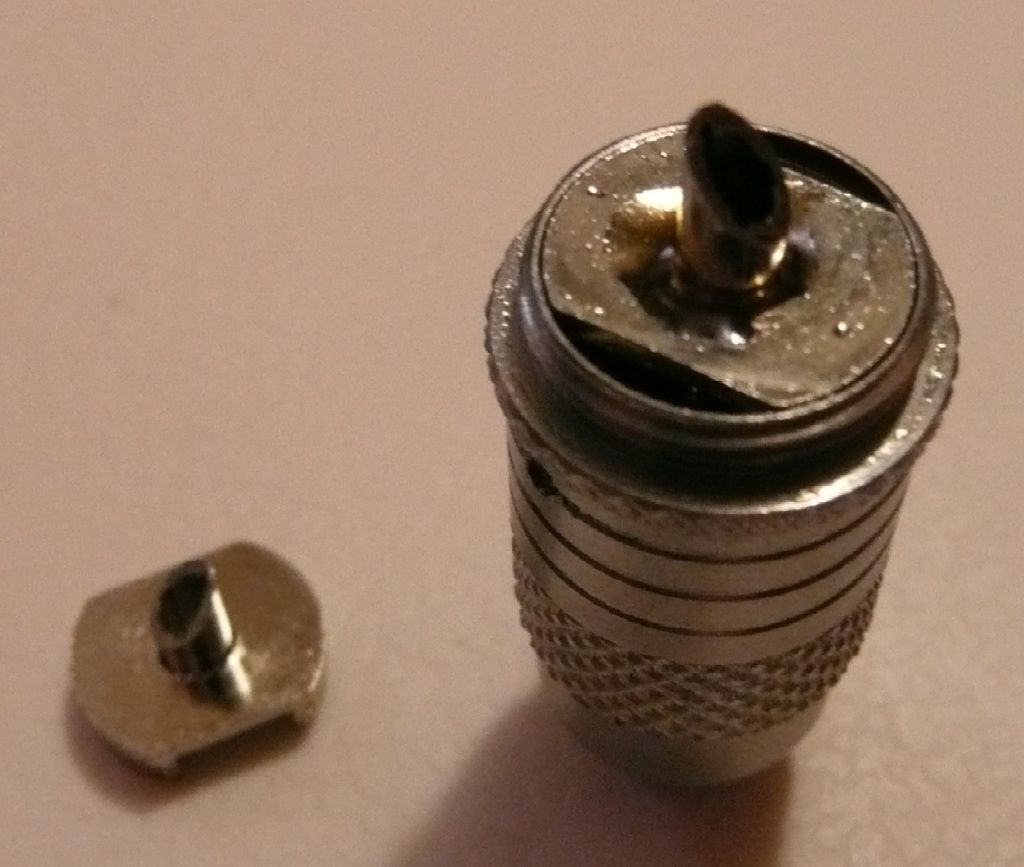
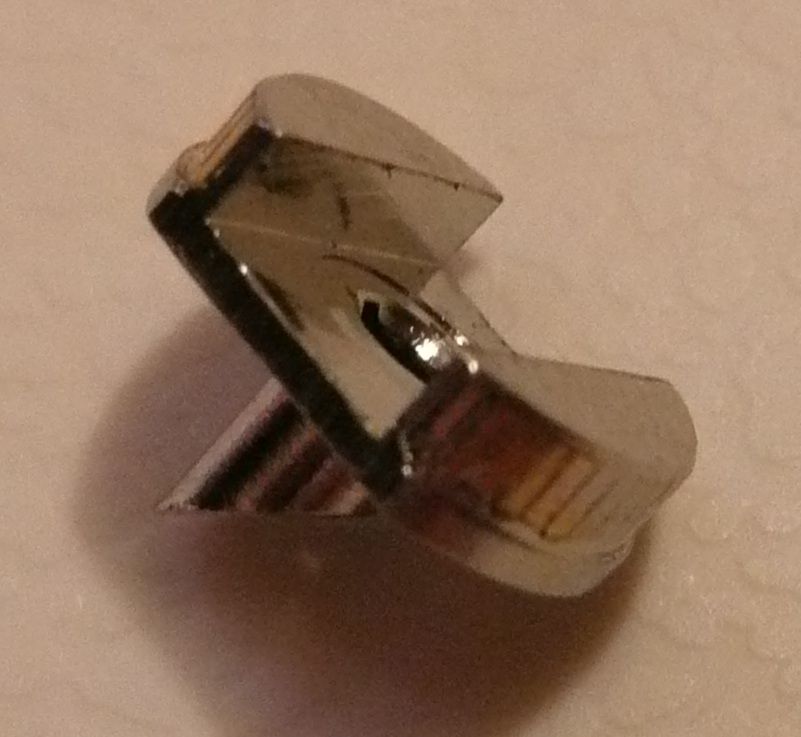
Seems fairly tight but not satisfied with it. This is the piece which was originally there.

NipplePlate1.jpg

NipplePlate.jpg


Ideally a piece of nice stainless steel with holes drilled in (similar to the T1) Pressure fit in would be best.

Egzoset, I am a little confused about "plastic until cured" I'm thinking you are talking about moulding and shaping custom ceramic shapes??

The other change I did was removed one of the ceramic inserts from a coil.

SingleCeramic.jpg


Though I'd start with just one as not to change too much at once. A good way to loose reference to what works best. So this should improve heat up time and the two might compliment each other. Can always remove the second if noticeable improvement is apparent. Now with the screen raised it leaves room for the option to move the coils closer to the centre, thus changing air flow characteristics. Gotta love those options.

Pipes

EDIT:
Was still not satisfied with the outcome. Looking at the picture just looked, well ugly...
So finially found a use for my Vape-or-Smoke. Comes with nice screens....LOL
The same size as the IOLite but not quite as thick. I managed to work it enough to get it to fit in with a hill protruding upwards.

NewTopScreen1.jpg

NewTopScreen2.jpg

NewTopScreen3.jpg


Much nicer and lots of room above. Also, increases the area space of screen contact slightly. Think this is going to work. It's funny how the camera sees light differently then the human eye. The picture below shows it fire up after the coil with the ceramic has caught up with the empty coil. Both look pretty much the same in photo but by eye the empty coil looks much brighter. Also, heat up is faster as expected.

NewTopScreenLite.jpg

NewTopScreenLite2.jpg


Should make cleaning easy this way as well.

Pipes
 

Egzoset

Banned
Salutations Pipes,

..."plastic until cured"...

Yes, you'd be correct to assume that i'm refering to custom moulding of ceramic paste before it is fired, as it's been done for ages in the industry i believe (lamp fixtures, for example)... Actually, i'm often surprized not to see more of that on FC.

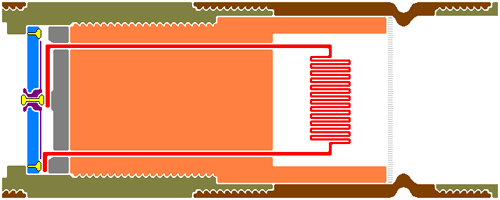
My appologies, i don't feel like the following image is going to be useful in the real word but i'm certainly capable of making you dream about future projects, if you don't mind for a short interlude:

qdxoB.gif

Euh... Is it really necessary to terminate the heating coil with screws when one could just bend its wires?...

;)

Please don't pay attention to the overall structure since i'm only trying to illustrate my impression that the connector system and screen placement could be managed differently. After i've seen what you're doing i'm ready to bet that someday some improvements over similar designs will emerge, eventually, so i wish you good fortune with this most stimulating project of yours! I mean it genuinely.

:tup:


Colour Legend:
Brown & Green: Metal Body
Orange: Ceramic Support
Red: Heating Coil
Dark Grey & Purple: Insulating Seals (Silicone, PTFE and/or a mix of both)
Yellow: Compression Contacts
Light Grey: Oven Protective Screen


The purpose would be to eliminate most of the mechanical stress put on screws and wires each time new gauge vs geometry combinations need to be experimented with... This would also effectively remove synthetics from the vapour path and relocate such materials away from the heater cavity where temperature is most intense - but it's only a dream! Maybe it will come true some day?... Sorry.

I hope at least you found this distraction entertaining somewhat!

:science:
 
Top Bottom