Arizer Solo

Quetzalcoatl

DEADY GUERRERO/DIRT COBAIN/GEORGE KUSH
They must be using a softer material? Mine is like 1/5 years old and still not chips

Where is @Dreamerr ??? Been awhile since I have seen her in this thread or others
She's lurking around occasionally. She took an FC vacation!

@Belgianvapor @OF regarding the reclaiming stem idea, I think the easiest route to go would be to get an 14mm GonG stem, a 14mm female-female adapter, and a stem thin enough to clear the glass and slip straight through to the glass screen. A small piece of silicone tubing could provide the seal. I've got one of those silicone ecig condoms, the bottom skirt piece might do the job. That should provide you with the GonG stem with the thin stem inside the bigger end of the Gong, and the silicone seal on top with the stem extending an inch or two above the female-female. Easy to take off, just pull the inner stem up. Just need to be careful about removing the female adapter with the glass stem inside, seems like it would be easy to snap it inside of the thicker ground joint part of the GonG stem. Seems much easier than getting custom stems, as we probably have some of these adapters around already, and if not they're obtainable online or at the shop. Rigged something like this up with my stuff, 18mm GonG stem, 18mm fem-fem, 18-14mm reducer. Should work in theory, anyone care to test it out? :science:


By the way guys, new tech I just tried tonight. It might be my tolerance, I don't know. I loaded about enough J-1, ground through my 4 piece SharpStone, to cover the screen and vaped it at 5 for 1 hit, 6 for 1, and 7 for one. Stirred it, then added the same amount that I originally put in, and vaped through that at 5 for a bit, then 6. I didn't bother with 7, I caught myself watching the reflections off my glass instead of the vapor filling it up :ko: That was about an hour ago... I've spent about 30 minutes on this whole post so far rewriting like half of it :lmao:


By the way, @fernand, about the serial numbers and model numbers we keep talking about, I'll have to refer all posts to my signature, where @ataxian so eloquently stated:

Doesn't anybody use the SOLO to VAPORIZE?

You can't vaporize serial numbers!

:D


Ah yeah, someone was asking about the chipping at the bottom plate... Here's some good info

http://fuckcombustion.com/threads/arizer-solo.3833/page-756#post-459108
 
Last edited:

fernand

Well-Known Member
@Dr. Soxhlet that's kinda raw.

@OF Looking at some of those screws, they look overtight. I wonder if it wouldn't help if people loosened them a hair when they got the unit, i sure did.

@Quetzalcoatl at this point nobody can even tell when people are joking about that miserable eternal serial number inquiry ;-)

For some reason I keep thinking about one of these as a whip ... I think i've seen too much late-night cable TV.

@OF, so who has a rough (at least) table o' temperatures for the current 7 levels of Solo (doesn't that sound promising?) Do you know what they are, I mean in the M1A model ;-)
 
Last edited:

olivianewtonjohn

Well-Known Member
She's lurking around occasionally. She took an FC vacation!

@Belgianvapor @OF regarding the reclaiming stem idea, I think the easiest route to go would be to get an 14mm GonG stem, a 14mm female-female adapter, and a stem thin enough to clear the glass and slip straight through to the glass screen. A small piece of silicone tubing could provide the seal. I've got one of those silicone ecig condoms, the bottom skirt piece might do the job. That should provide you with the GonG stem with the thin stem inside the bigger end of the Gong, and the silicone seal on top with the stem extending an inch or two above the female-female. Easy to take off, just pull the inner stem up. Just need to be careful about removing the female adapter with the glass stem inside, seems like it would be easy to snap it inside of the thicker ground joint part of the GonG stem. Seems much easier than getting custom stems, as we probably have some of these adapters around already, and if not they're obtainable online or at the shop. Rigged something like this up with my stuff, 18mm GonG stem, 18mm fem-fem, 18-14mm reducer. Should work in theory, anyone care to test it out? :science:


By the way guys, new tech I just tried tonight. It might be my tolerance, I don't know. I loaded about enough J-1, ground through my 4 piece SharpStone, to cover the screen and vaped it at 5 for 1 hit, 6 for 1, and 7 for one. Stirred it, then added the same amount that I originally put in, and vaped through that at 5 for a bit, then 6. I didn't bother with 7, I caught myself watching the reflections off my glass instead of the vapor filling it up :ko: That was about an hour ago... I've spent about 30 minutes on this whole post so far rewriting like half of it :lmao:


By the way, @fernand, about the serial numbers and model numbers we keep talking about, I'll have to refer all posts to my signature, where @ataxian so eloquently stated:


:D
Ahhhh I see......vvvvaaaacation. Wait this is work? I thought this was my vacation. Solo has got me :rofl:. Can I please call you the squidman for now on
 

OF

Well-Known Member
@OF Looking at some of those screws, they look overtight. I wonder if it wouldn't help if people loosened them a hair when they got the unit, i sure did.

I don't agree. Yes, you can definitely screw it down too tight, using the taper to wedge the ring open. But I think most of the problem comes from the other way. Being even a little loose lets all the force get concentrated on a single tab. Since the plastic flexes some this is very bad. I cracked one of the many tabs I've dealt with just this way, I tried to screw it down when the insert wasn't fully seated. Instead of the screw pulling it home, it broke the end of the tab.

I think it's pretty rare for guys who haven't messed with their screws to have a break? Since I got wise to the 'be sure the insert is solidly home before putting the screws in snugly (but not over tight) idea' I have not lost another tab.....although I mostly use a repaired one with washers and rubber cover on the base.

I'm not really fishing for a bunch of 'I never touched my screw and.....' posts, but suppose that will happen anyway? I just suspect if it was a problem with 'virgin units' Arizer would have tired of giving out free units some time ago?

@OF, so who has a rough (at least) table o' temperatures for the current 7 levels of Solo (doesn't that sound promising?) Do you know what they are, I mean in the M1A model ;-)

You do, if you read this thread.......I don't keep secrets as a rule:
http://fuckcombustion.com/threads/arizer-solo.3833/page-720#post-447266

Note 'reality' (whatever that turns out to be.....) and the factory claims seem to coincide at 400F or so? But the measured steps are 20F (not 9) apart? I smell some 'feels like' data here........

Anyway, some numbers (give or take) for your speculation, in parentheses is what I think the official temperature for that range is:

Step 2: 300 to 310F (365)

Step 4: 345 to 360F (383)
Step 5: 365 to 380F (392)
Step 6: 385 to 400F (401)
Step 7: 405 to 420F (410)

As Pilots say "trust your instruments".

Edit: BTW, there's some more fun observations on temperature here you might have missed:
http://fuckcombustion.com/threads/arizer-solo.3833/page-729#post-450224

Also BTW, I'm seriously thinking of a personal rule here like 'next guy that says Solo model XXX' (where the maker claims there's no such animal) gets ignored'. How are we ever going to convince the new guys that there is no such thing as looking at the number on the bottom and knowing for sure what version you have if we keep talking like there is? Guys have reported having nearly identical serial numbers (ie "the same model number") with radically different features. IMO it does us a great disservice if the information we put out isn't accurate.

Responding to a question about "the M1A model" when there is none really is not a good thing I'm thinking......... It might answer a question, but it also supports false information. New guys have enough trouble without our making it all the more confusing in the details.

OF
 
Last edited:

Quetzalcoatl

DEADY GUERRERO/DIRT COBAIN/GEORGE KUSH
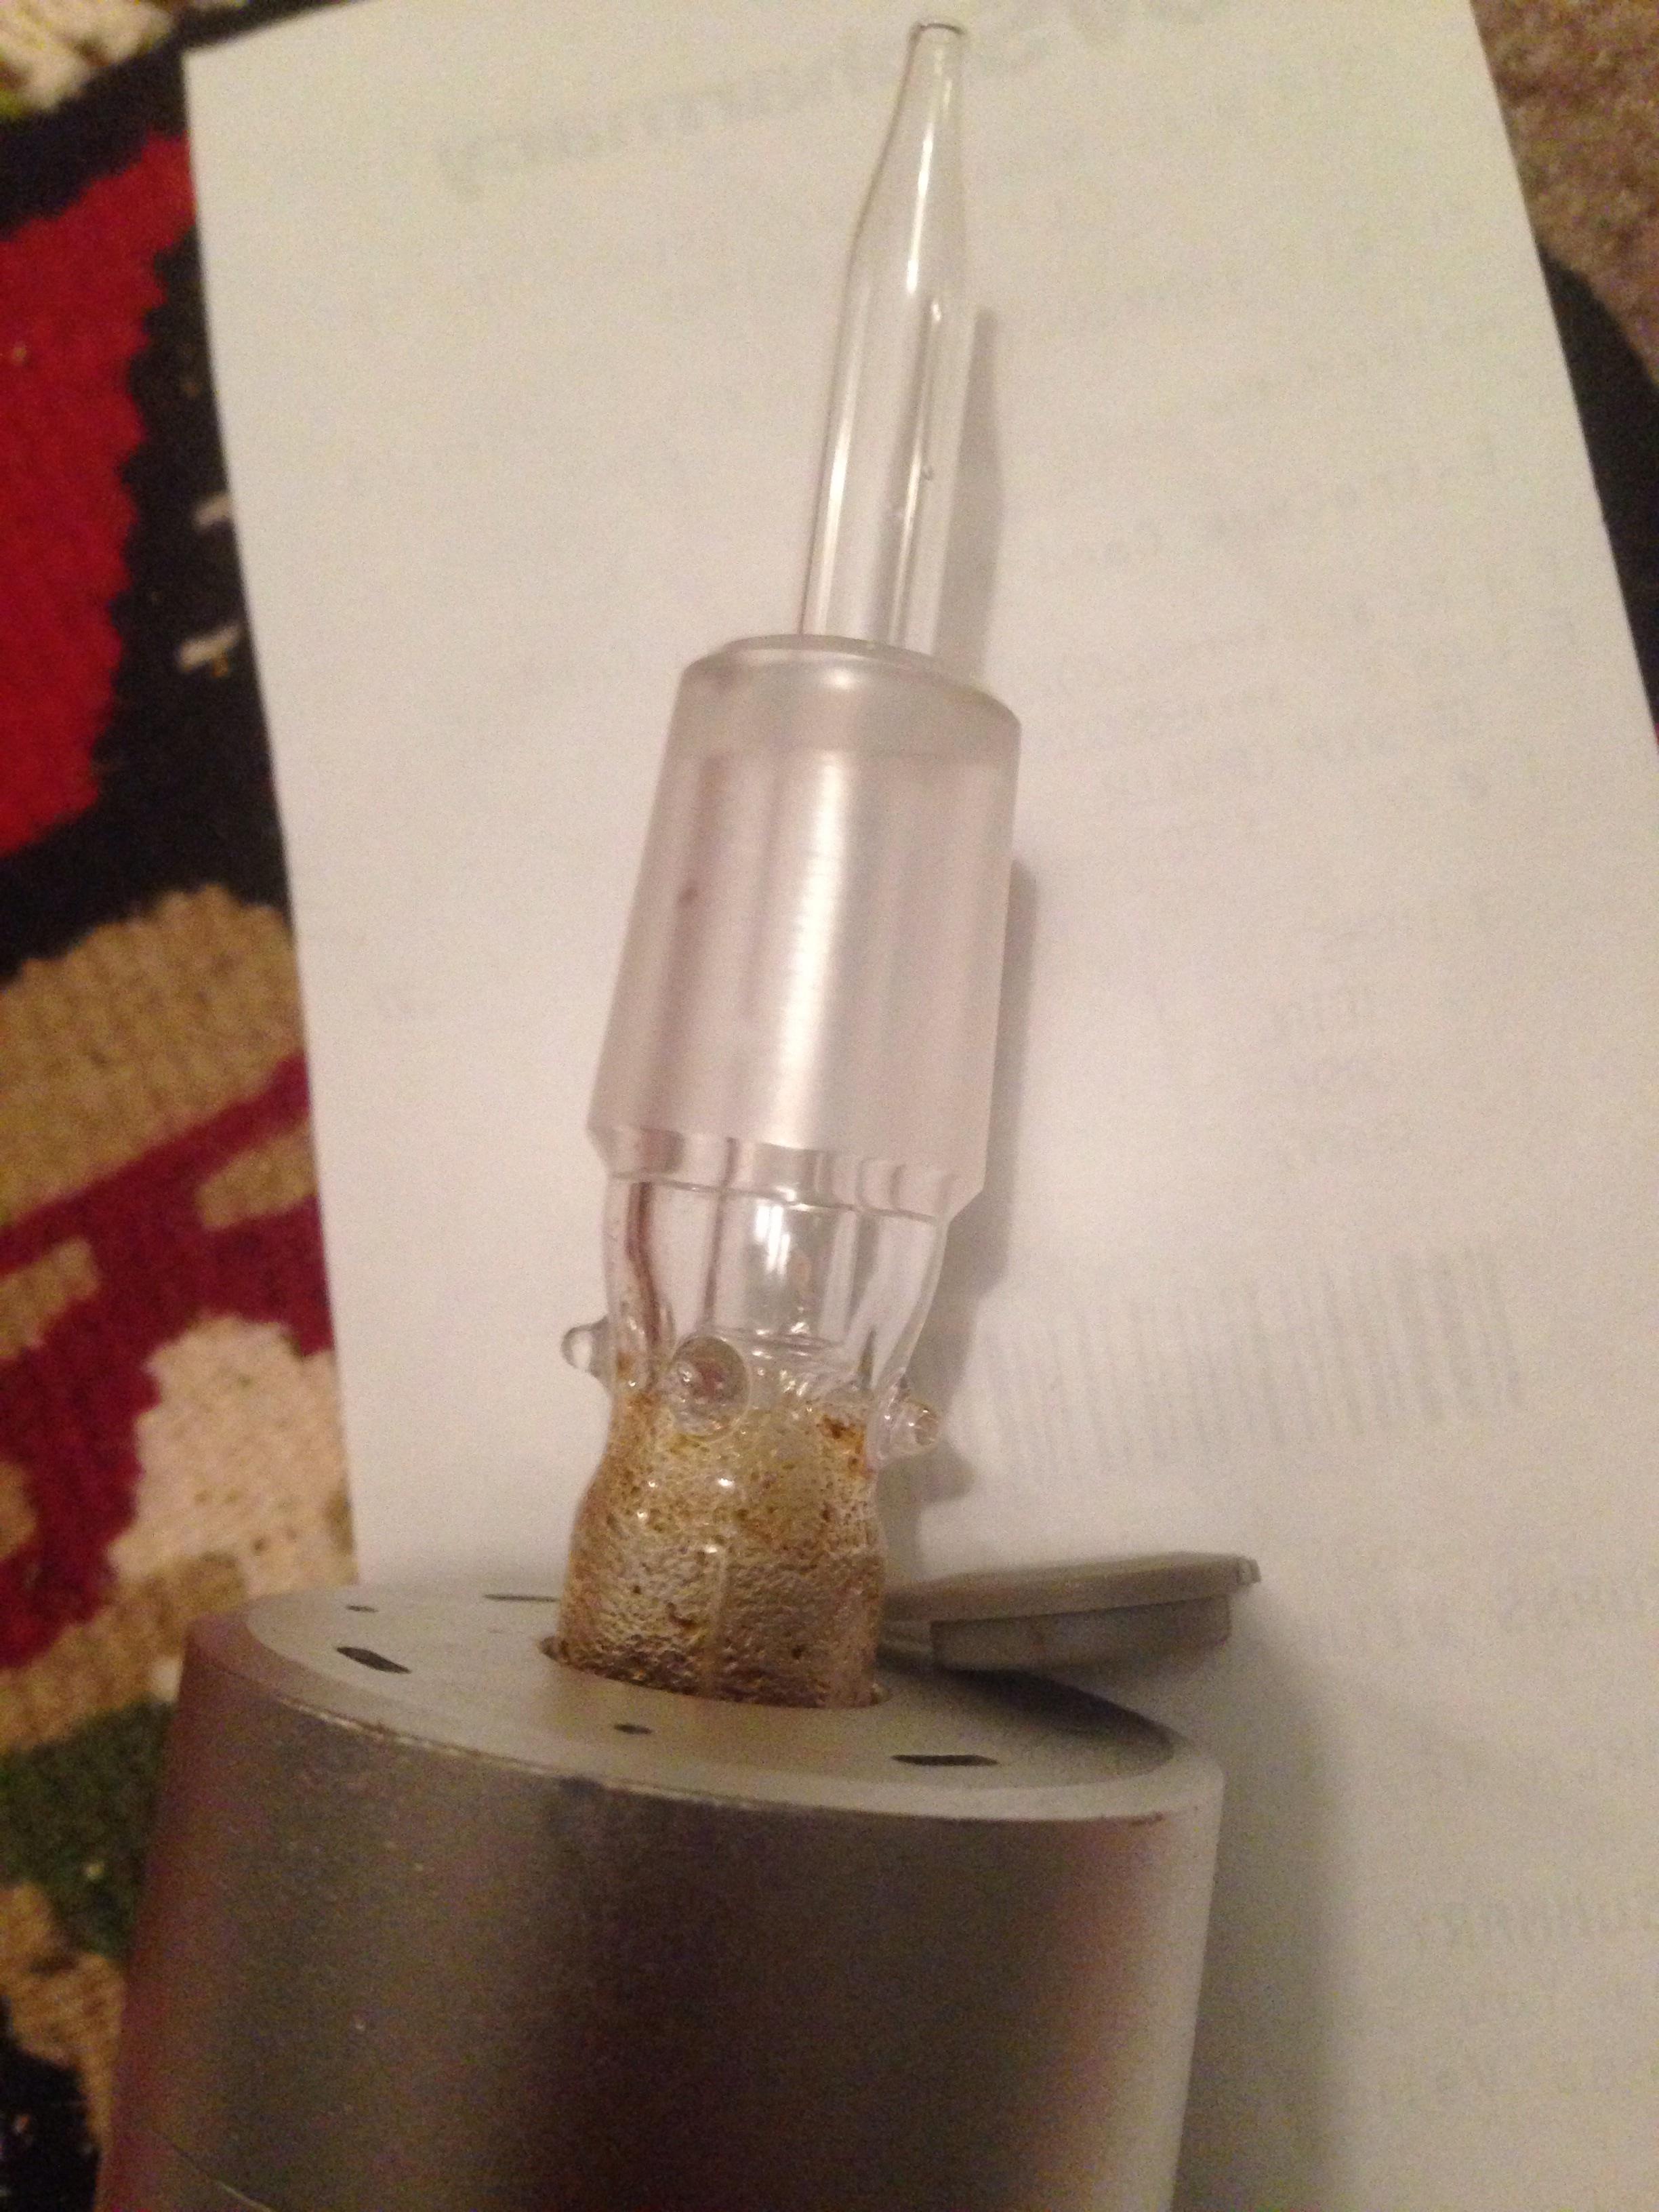
New breakthrough reporting live in use!!!

You will require a glass dropper stem, thin silicone, and a GonG piece.

Simply insert dropper backwards with some silicone to create a seal at the end of the GonG. SO DAMN SIMPLE!!

Restriction limited to the end of your dropper and stem.

JjLS0Wo.jpg
 

GenYHippie

Well-Known Member
Screens fit pretty well. I was expeting the hollow portion of the "hat" to be alot deeper. It took some poking to get it to seat inside the stem evenly but once i did no flying bits seeme to get through. They are finer than what i generally use but didnt seem to restrict airflow any that i noticed. I like that it reduces the load since i dont use much. I would expect to get more even browning this way.

BTW do clean them first pass with alcohol i got hazy charchol goo, then i flamed it an wiped with alcohol and i got brown and grey goo, after that i didnt get anymore. So the ret are going into an ISO bath when i get home from tests tomorow.
 

Dr. Soxhlet

SOLO Vaporized Cannabis is my Best Medicine
I don't agree. Yes, you can definitely screw it down too tight, using the taper to wedge the ring open. But I think most of the problem comes from the other way. Being even a little loose lets all the force get concentrated on a single tab.

I'm not really fishing for a bunch of 'I never touched my screw and.....' posts, but suppose that will happen anyway?
OF

I never touched my screw........

And I don't intend to unless it needs a new battery later. Like I said it's a minor defect, a retrofit could be easily done by Arizer or someone with the tools. Your idea using washers on those screws is a good backup plan in case it is needed though.
 
Last edited:

OF

Well-Known Member
I never touched my screw........

Like clockwork?

If you look carefully at the photo of yours you posted you'll see what I think is evidence of failure from the hole at 10 o'clock straight down? There's a similar one on the hole at seven o'clock running through it but not to an edge? I think that's evidence of the baseplate 'working', that is shifting back and forth so the total load can concentrate on a single point. Loose screws (as suggested by the OP) make this worse, not better. Right?

My 'fix' is to take the plastic out of tension (stop pulling on it around the walls of the countersinks of the screw holes), instead putting a bigger area under compression (pressing down on it with the washer). It looks to me like the material is much better in compression than tension (a very common trait of injection molded plastic parts). It's much harder to crush it than rip it apart.

So, in my scheme (the washers) the load is transferred to the ID of the washer (taper on the screw) and the washer then 'pinches' the plastic between the SS and Aluminum. The only thing left in tension is the screw, and that's it's primary design.

You can do solid repairs too, if you wish. Trust me, I've got lots of practice here......

I mask the Aluminum part with a piece of tape over the end (sticking out at right angles when the insert is home. I then wax coat the thread part of the screw so the epoxy doesn't stick to it and put it together with the washer.

Then mix up a bit of this stuff:
http://www.amazon.com/Devcon-22045-...97144096&sr=8-8&keywords=plastic+welder+epoxy

That exact epoxy works well, some 'plastic epoxies' do not (cue voice of bitter experience.....). It's also repackaged for Ace Hardware. It's cream colored when hard, you can use a Sharpie to darken it up but it wears off again. I use a tiny drop of epoxy pigment:
http://www.tapplastics.com/product/fiberglass/gel_coat/tap_premium_pigments/50

to each 'part' of the glue before mixing the two (and triggering the 5 minute working time). Use a very small amount (you can add a bit more if it's still gray) using separate toothpicks of course. Once mixed well, use a toothpick to pack it in the hole well. Leave some 'flash' (extra glue) sticking out and onto the tape.

Then watch the cure (easy to do with the unused glue on the mixing card), at about 3 minutes (when it's starting to get thicker but is still soft) gently shift the screw out and then back in half a turn or so to ensure it's not going to bind. Then, at about 5 minutes, when it's firm but still a bit tacky carefully slice the still soft flash off with a razor blade slid down the body and off the end (right through the tape).

Done carefully, it's nearly impossible to spot from the undamaged tabs (also with their washers).

The only downside I found is the screw heads sticking up. I found 1/16 inch neoprene gasket material (self adhesive) does a great job with notches cut in the corners and the similar felt product (for lamp bottoms and similar stuff) does well and you can run it right over the screw heads leaving four little felt feet. IMO both are 'a better feel' than the factory bottom.

BTW if you cover over the S/N either do like I did and lift off the label and stick it inside (I used the battery compartment) or as I did once just cover it with a piece of 'Post it' so the self adhesive glue doesn't stick to it.

OF
 

as

Well-Known Member
Just want to say my solo has bin opened a few times and I have abused it dropped it lots its fell down my stairs the lot my bottom is fine

The only thing I have broke is the clips that hold the heater together but its held together by screews any way so is no problem and a few dents and scratchs
 

Dr. Soxhlet

SOLO Vaporized Cannabis is my Best Medicine
Like clockwork?

If you look carefully at the photo of yours you posted you'll see what I think is evidence of failure from the hole at 10 o'clock straight down? There's a similar one on the hole at seven o'clock running through it but not to an edge? I think that's evidence of the baseplate 'working', that is shifting back and forth so the total load can concentrate on a single point. Loose screws (as suggested by the OP) make this worse, not better. Right?

My 'fix' is to take the plastic out of tension (stop pulling on it around the walls of the countersinks of the screw holes), instead putting a bigger area under compression (pressing down on it with the washer). It looks to me like the material is much better in compression than tension (a very common trait of injection molded plastic parts). It's much harder to crush it than rip it apart.

So, in my scheme (the washers) the load is transferred to the ID of the washer (taper on the screw) and the washer then 'pinches' the plastic between the SS and Aluminum. The only thing left in tension is the screw, and that's it's primary design.

You can do solid repairs too, if you wish. Trust me, I've got lots of practice here......

I mask the Aluminum part with a piece of tape over the end (sticking out at right angles when the insert is home. I then wax coat the thread part of the screw so the epoxy doesn't stick to it and put it together with the washer.

Then mix up a bit of this stuff:
http://www.amazon.com/Devcon-22045-Plastic-Welder-Dev-Tube/dp/B003NUGL9S/ref=sr_1_8?ie=UTF8&qid=1397144096&sr=8-8&keywords=plastic welder epoxy

That exact epoxy works well, some 'plastic epoxies' do not (cue voice of bitter experience.....). It's also repackaged for Ace Hardware. It's cream colored when hard, you can use a Sharpie to darken it up but it wears off again. I use a tiny drop of epoxy pigment:
http://www.tapplastics.com/product/fiberglass/gel_coat/tap_premium_pigments/50

to each 'part' of the glue before mixing the two (and triggering the 5 minute working time). Use a very small amount (you can add a bit more if it's still gray) using separate toothpicks of course. Once mixed well, use a toothpick to pack it in the hole well. Leave some 'flash' (extra glue) sticking out and onto the tape.

Then watch the cure (easy to do with the unused glue on the mixing card), at about 3 minutes (when it's starting to get thicker but is still soft) gently shift the screw out and then back in half a turn or so to ensure it's not going to bind. Then, at about 5 minutes, when it's firm but still a bit tacky carefully slice the still soft flash off with a razor blade slid down the body and off the end (right through the tape).

Done carefully, it's nearly impossible to spot from the undamaged tabs (also with their washers).

The only downside I found is the screw heads sticking up. I found 1/16 inch neoprene gasket material (self adhesive) does a great job with notches cut in the corners and the similar felt product (for lamp bottoms and similar stuff) does well and you can run it right over the screw heads leaving four little felt feet. IMO both are 'a better feel' than the factory bottom.

BTW if you cover over the S/N either do like I did and lift off the label and stick it inside (I used the battery compartment) or as I did once just cover it with a piece of 'Post it' so the self adhesive glue doesn't stick to it.

OF
I noticed one peculiar thing about my new Solo. The case never lined up well with the base. I never noticed that it moved or could move though. The edge of the plastic hung over the edge of the metal making it easier for the stress cracks to develop.
For me it's like the serial numbers: doesn't matter.
It works, I'm happy.:D

For someone with the tools, perhaps an aluminum plate could be cut to size with nice countersunk holes?
 
Last edited:

Snappo

Caveat Emptor - "A Billion People Can Be Wrong!"
Accessory Maker
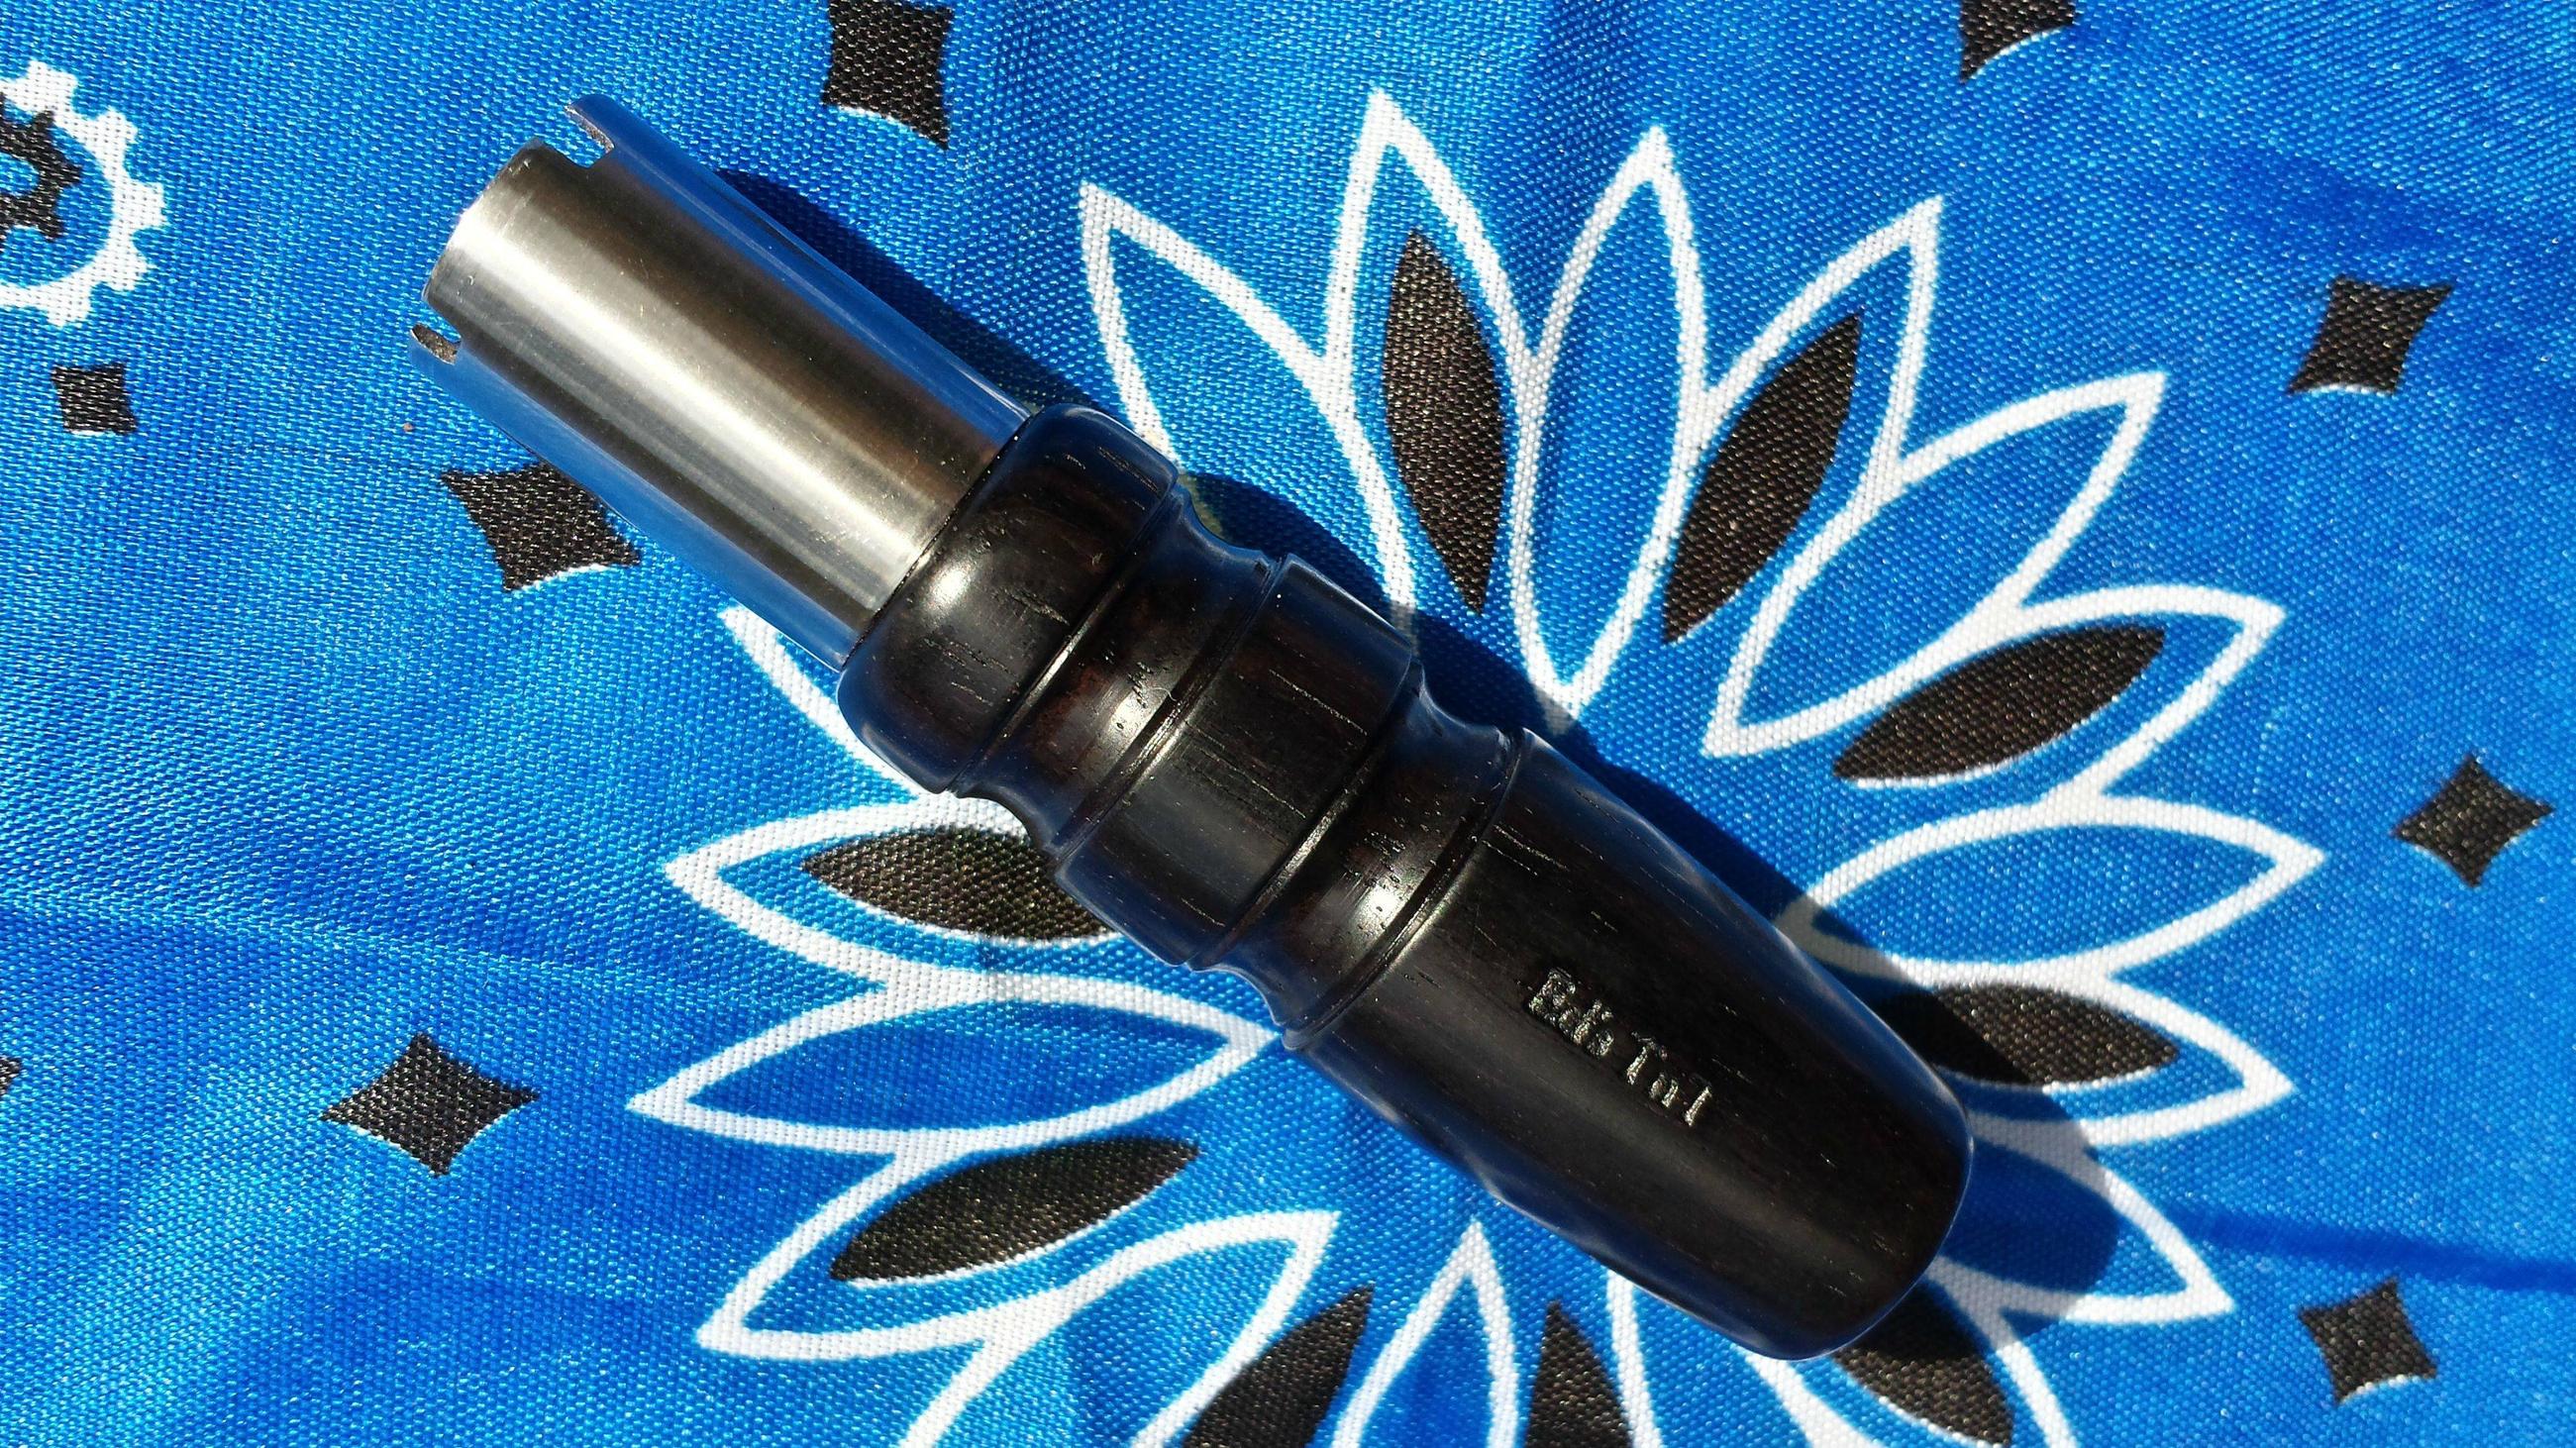
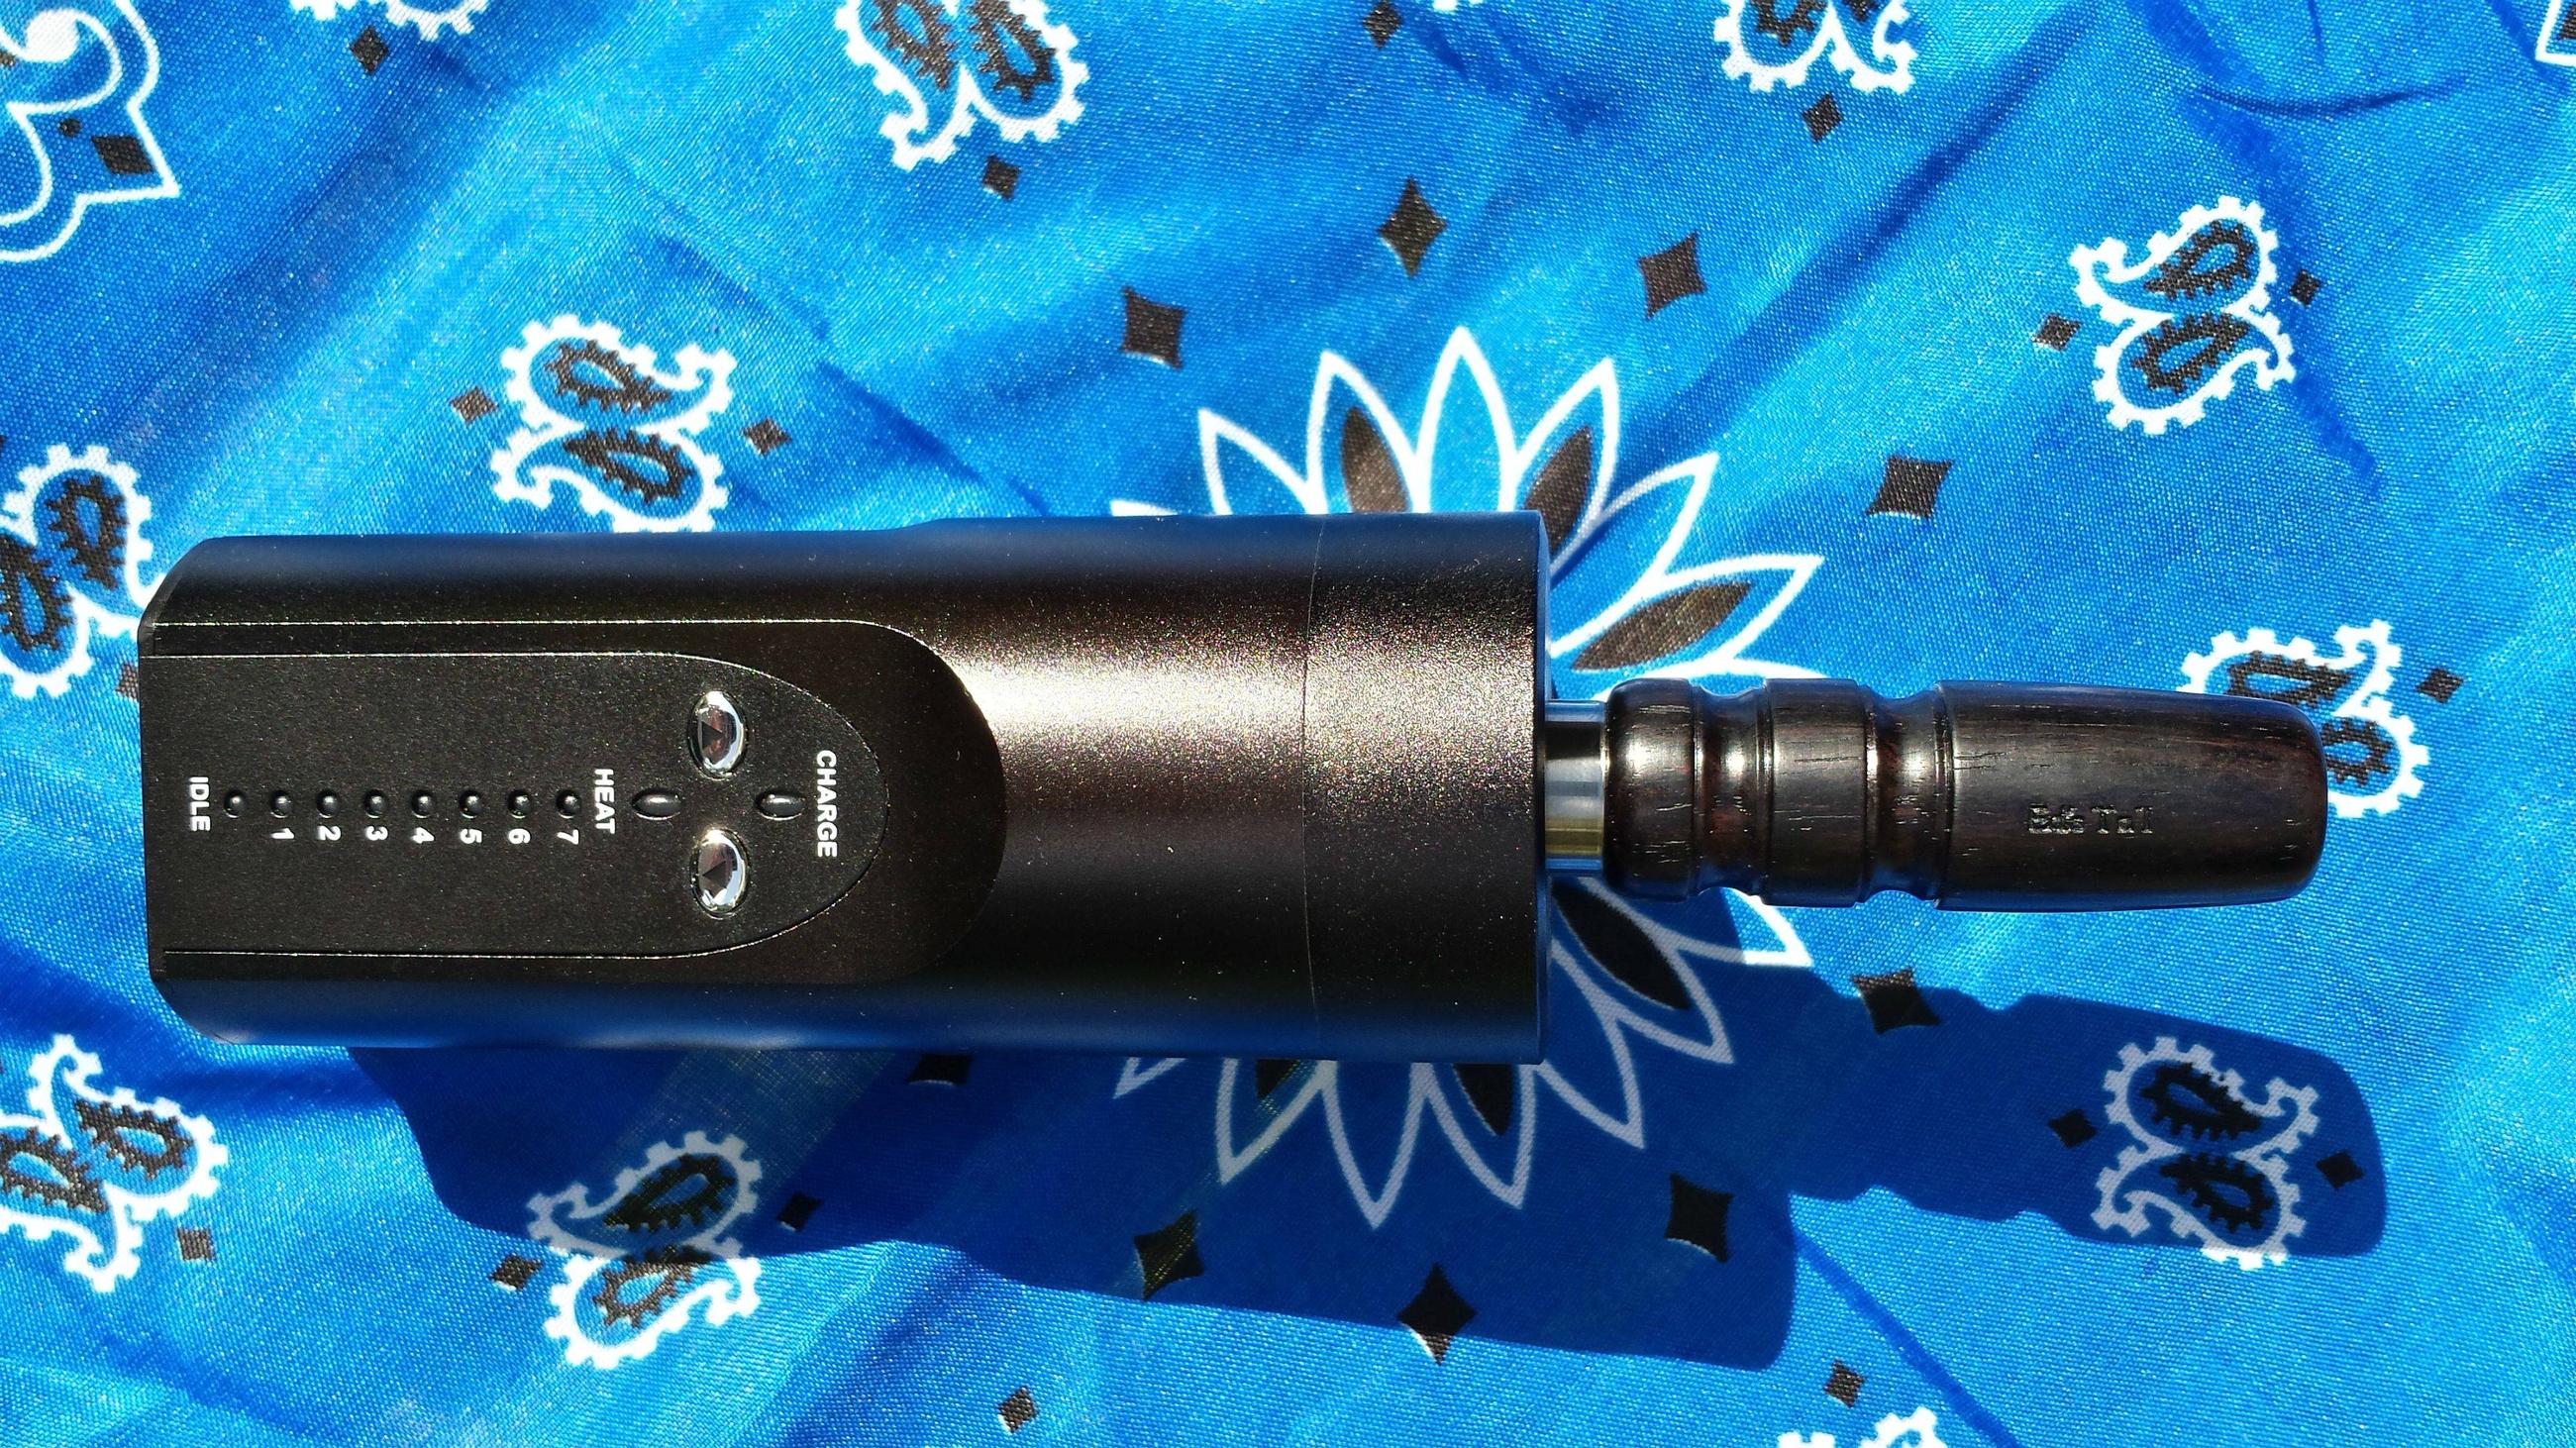
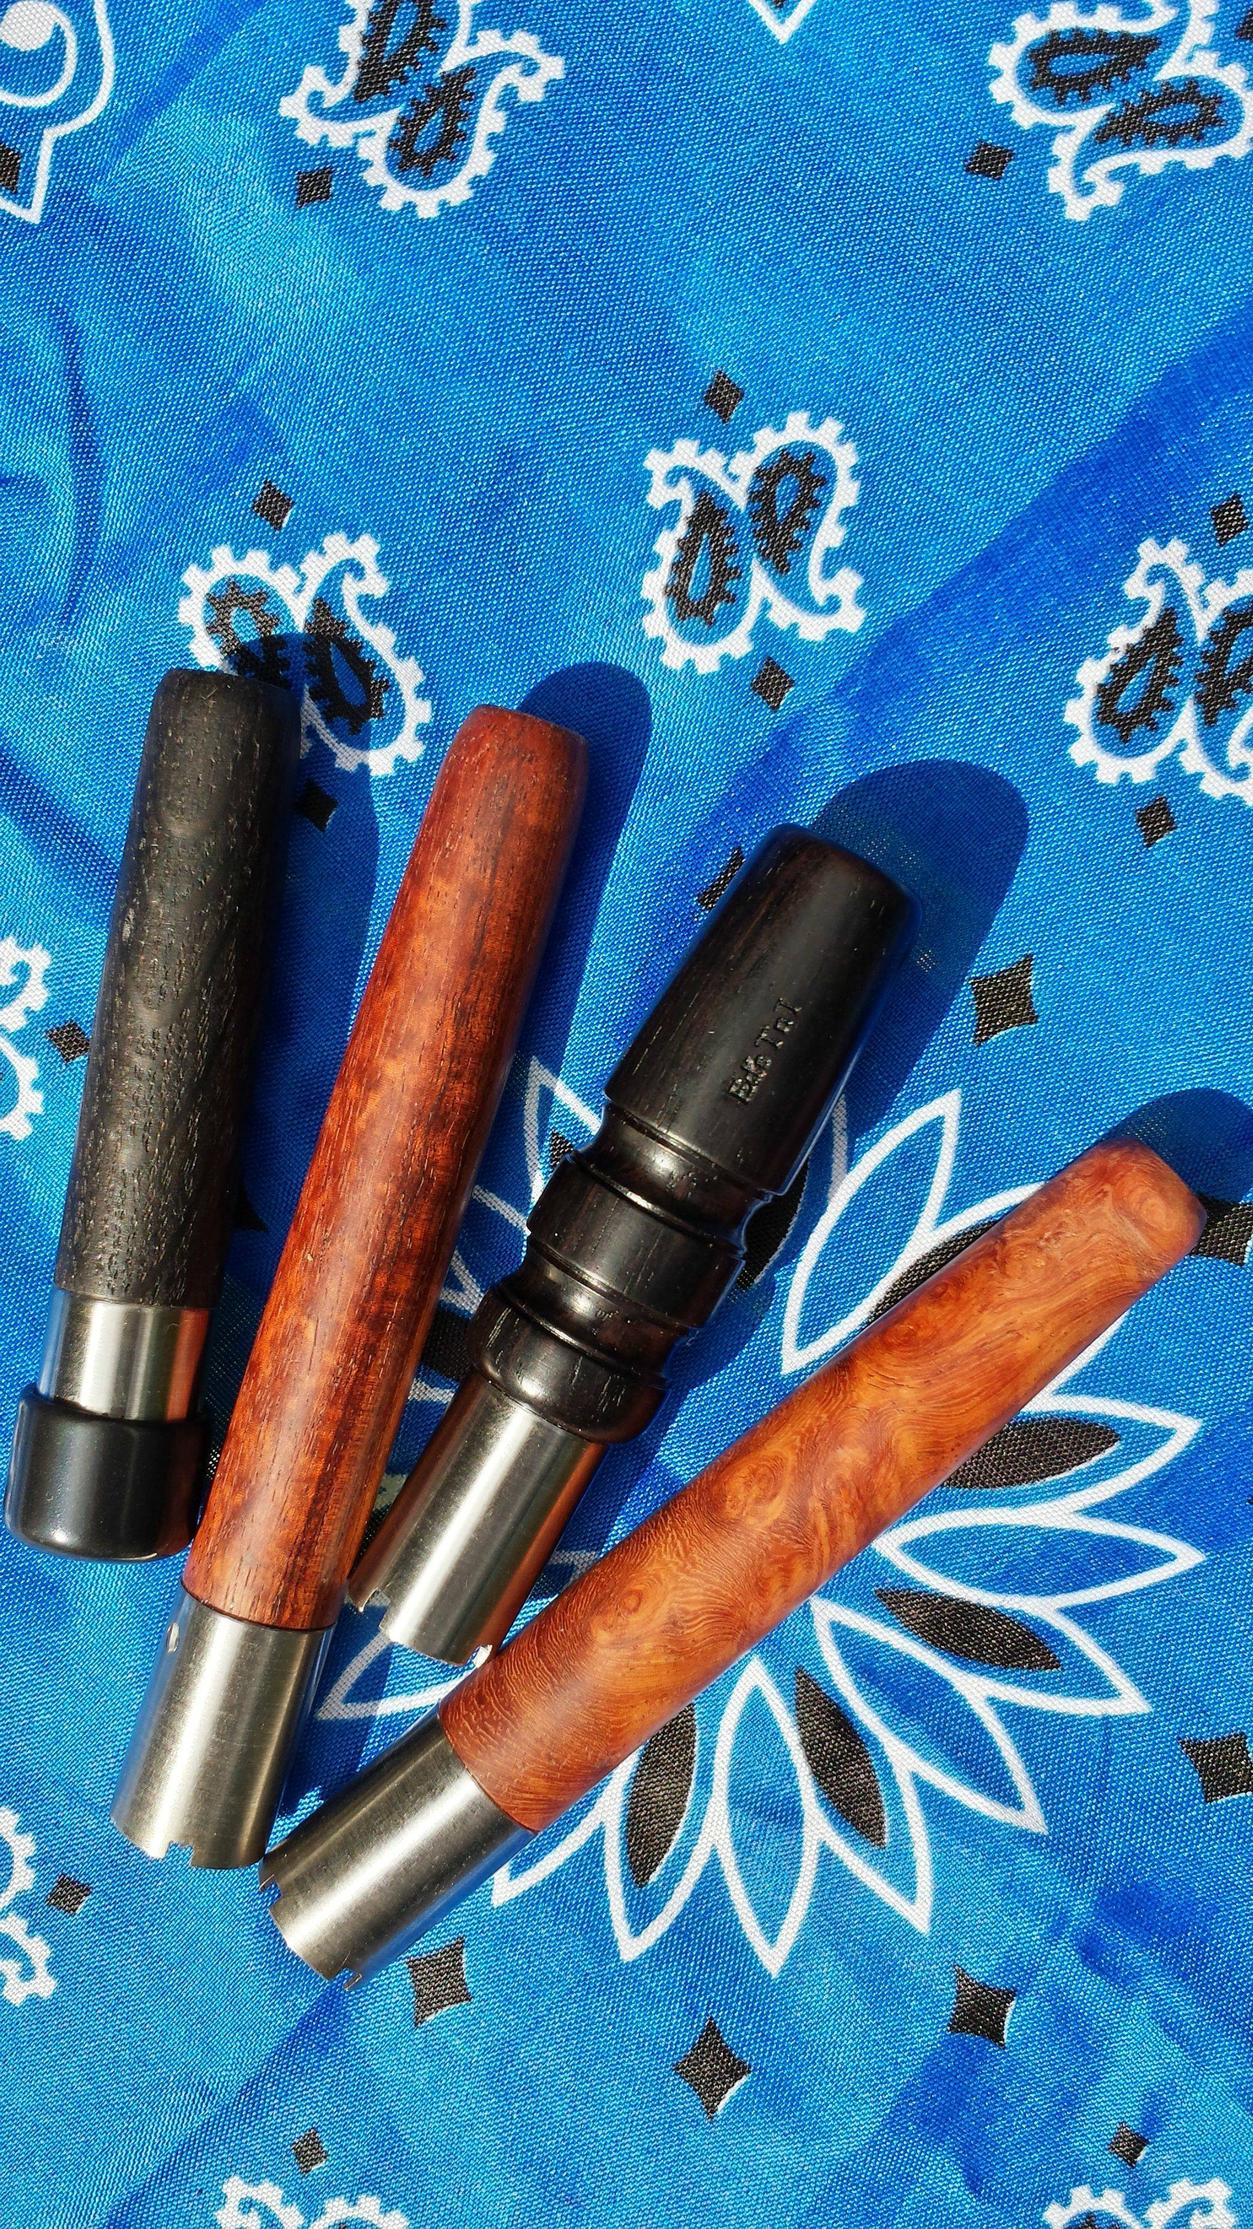
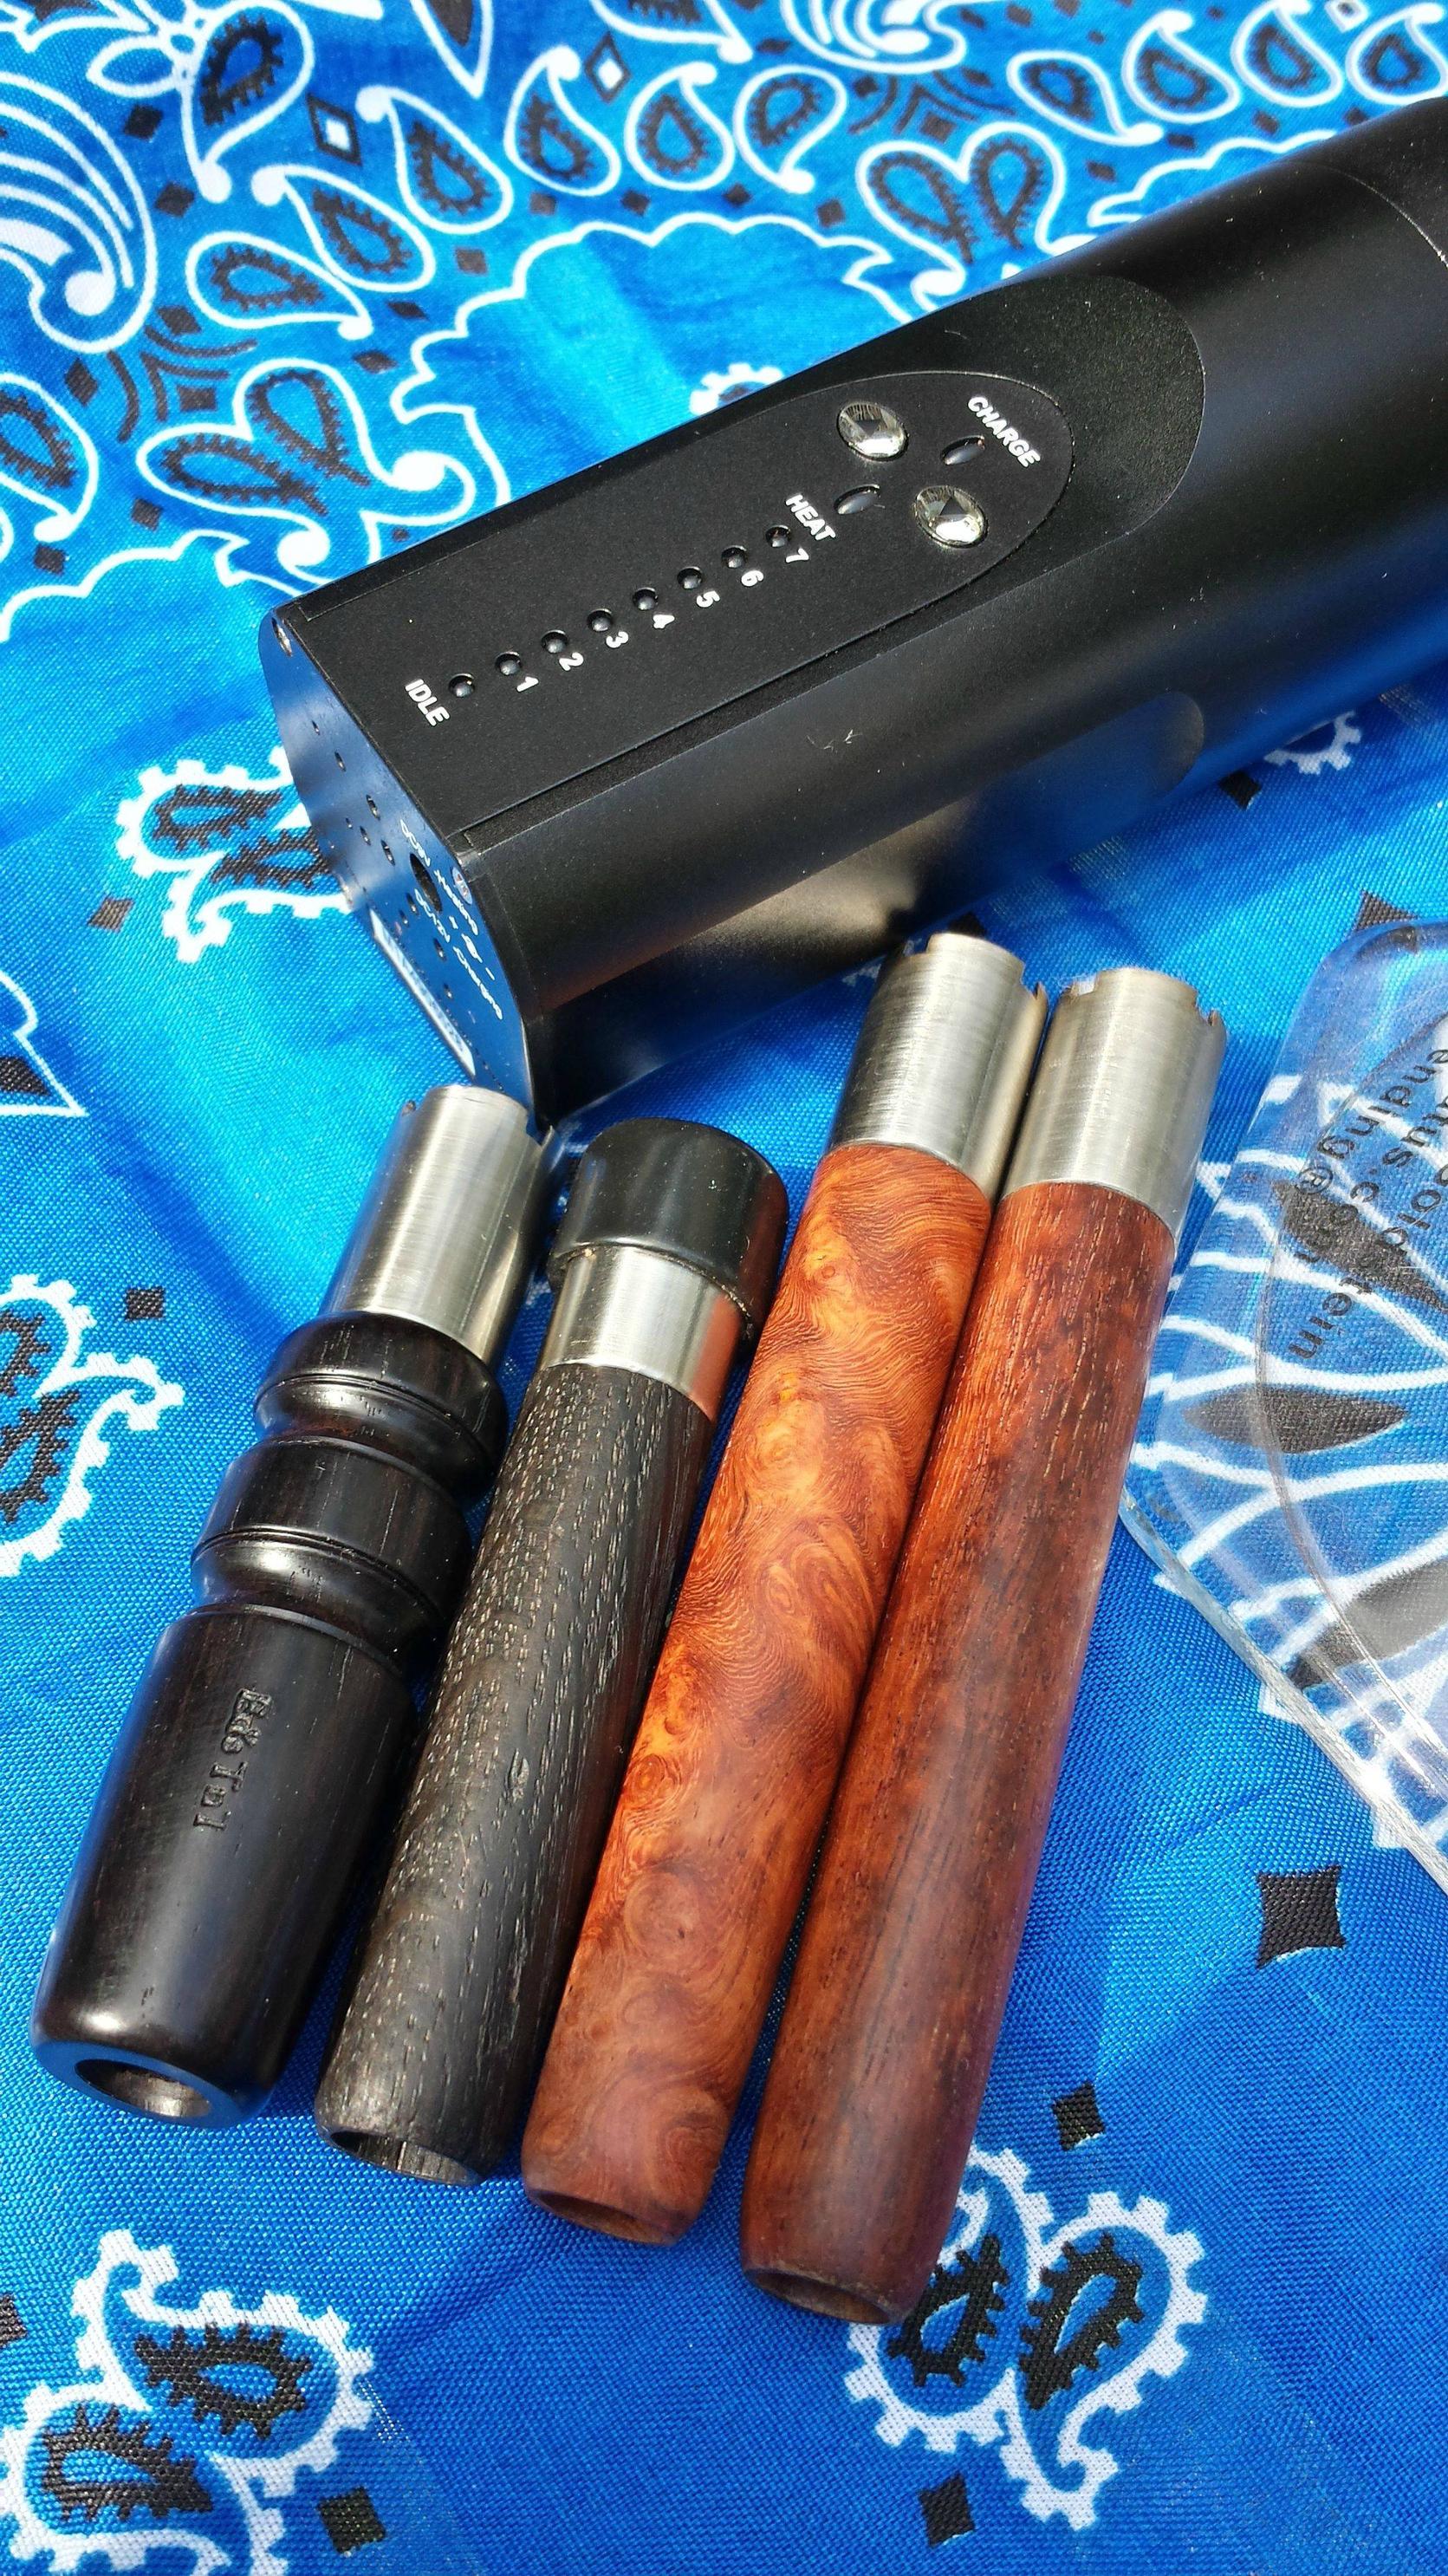
The NEW Ed's TnT 18mm Blackwood WonG!!! AMAZING CRAFTSMANSHIP!!! STUNNING!!! FORM & FUNCTION EXTRAORDINAIRE!!! PICTURES DON'T DO IT JUSTICE!!! THANKS ED!!!!! :rockon::bowdown::clap::tup::nod:
0cQ6njv.jpg

DgzSt1Z.jpg

2q1z0ya.jpg

xofol2.jpg


iPbXxf9.jpg
 
Last edited:

hd_rider

Well-Known Member
Like Snappo, I too just received an 18m wong from Ed.

I've been working with Ed for several weeks now in getting this thing fabricated. The first prototype did not fit in the 18mm joint very well. I had to wait a little longer for Ed to receive a glass 18mm adapter so that he could precisely measure the joint so that he could duplicate that in wood.

I could not be happier with this new wong. The mating between wood and glass is spot-on and provides a very positive seal. The additional height provided by the increased length of the wooden stem is perfect and the additional ridges / rings Ed put in the wood just make the gong all that much prettier.

I made a small modification to the metal edge of the stainless-steel bowl as I can never leave good-enough alone. I took a file to the edge and rounded it over a bit. I then polished the edge to smooth it out. I think doing this improves the airflow around the circumference of the bowl where it makes contact with the heating chamber of the Solo.

Like my regular Solo stem, I want to prevent the wood from drying out. Although I could use oils made for this purpose, I decided to use good old Chapstick Lip Balm. I simply rub the waxy balm into the wood and wipe off the excess with a cloth. Not only does this prevent the wood from drying out, it imparts a nice taste to the wood and also serves as an additional “seal” when inserting the wong into my bubbler. It also prevents the wong from sticking inside of the bubbler joint during /after use.

Although using my Solo with my regular Blackwood Stem is excellent, the use of this custom wong with my Bubbler is now my preferred method of medicating.

wqyb87.jpg


2ltplar.jpg


33a9xch.jpg
 

Snappo

Caveat Emptor - "A Billion People Can Be Wrong!"
Accessory Maker
hd_rider - Like you, I couldn't be happier with my new WonG! Coincidentally, I also applied Chapstick for the very reasons you mentioned - works perfectly! The edge you put onto the ring is an outstanding idea, and should provide the solid channel of airflow that you describe. I am using the new WonG both wet and dry - PERFECT!!! Enjoy!!!
 

ataxian

PALE BLUE DOT
Like Snappo, I too just received an 18m wong from Ed.

I've been working with Ed for several weeks now in getting this thing fabricated. The first prototype did not fit in the 18mm joint very well. I had to wait a little longer for Ed to receive a glass 18mm adapter so that he could precisely measure the joint so that he could duplicate that in wood.

I could not be happier with this new wong. The mating between wood and glass is spot-on and provides a very positive seal. The additional height provided by the increased length of the wooden stem is perfect and the additional ridges / rings Ed put in the wood just make the gong all that much prettier.

I made a small modification to the metal edge of the stainless-steel bowl as I can never leave good-enough alone. I took a file to the edge and rounded it over a bit. I then polished the edge to smooth it out. I think doing this improves the airflow around the circumference of the bowl where it makes contact with the heating chamber of the Solo.

Like my regular Solo stem, I want to prevent the wood from drying out. Although I could use oils made for this purpose, I decided to use good old Chapstick Lip Balm. I simply rub the waxy balm into the wood and wipe off the excess with a cloth. Not only does this prevent the wood from drying out, it imparts a nice taste to the wood and also serves as an additional “seal” when inserting the wong into my bubbler. It also prevents the wong from sticking inside of the bubbler joint during /after use.

Although using my Solo with my regular Blackwood Stem is excellent, the use of this custom wong with my Bubbler is now my preferred method of medicating.

wqyb87.jpg


2ltplar.jpg


33a9xch.jpg
This new "WONG" is something awesome!

Well Done "ED"!
 

equatorgringo

Well-Known Member
So the chamber on my 1.5 month old Solo is giving off a burnt smell (like something burned in the oven then sat for a while, the oven still stinks). I've cleaned it just as per their website but it still gives off the smell. No bad taste...just a smell...I'm not much taking apart electronics but I will if I have to! Love this thing and use it nightly I'm just pretty grossed out by the smell at this point!
 
equatorgringo,
  • Like
Reactions: GenYHippie

Quetzalcoatl

DEADY GUERRERO/DIRT COBAIN/GEORGE KUSH
So the chamber on my 1.5 month old Solo is giving off a burnt smell (like something burned in the oven then sat for a while, the oven still stinks). I've cleaned it just as per their website but it still gives off the smell. No bad taste...just a smell...I'm not much taking apart electronics but I will if I have to! Love this thing and use it nightly I'm just pretty grossed out by the smell at this point!
ABV falling through the holes perhaps? I like using medium grinds for when it's upright, water = finer if I care and it won't fall up through the holes!
 

GenYHippie

Well-Known Member
So the chamber on my 1.5 month old Solo is giving off a burnt smell (like something burned in the oven then sat for a while, the oven still stinks). I've cleaned it just as per their website but it still gives off the smell. No bad taste...just a smell...I'm not much taking apart electronics but I will if I have to! Love this thing and use it nightly I'm just pretty grossed out by the smell at this point!

When mine gets a scent to it i dont like (usuall the last strain i vaped leaving a taste in the current one that doesnt mix) i clean it with high proof alcohol an a q tip till the qtips comes out without residue then with the stem out run it on 7 till it auto shuts off. That usually does it for me.
 

rosetta

Long Time Lurker
Hi FC, this is my first post on the solo.
I've had the solo for more than a year now and its treated me very well. Through lurking on this forum I have purchased a Gong and a bubbler(d020). The solo has kept me satisfied as a cloud chaser.

I have found that the best way to get thick dense vapor that rivals desktops is to
1. Preheat the solo on 7 with the empty Gong inside for a shutoff period (12 minutes)
2. Remove gong and load material, usually .07g. Its important to tamp down slightly so the herb will not be touching the SS bowl as this negatively affects taste. Put it back up to 7 and wait for it to reach temp.
3. Take long hits out of your desired water pipe and enjoy the white walling.​
It goes without saying that there is a fine screen in the Gong. I prefer the vacuum method for loading since the bowl is super hot after it comes out.

Ill try to post a video of this later.
 

cawshook

Solod out.
Hi FC, this is my first post on the solo.
I've had the solo for more than a year now and its treated me very well. Through lurking on this forum I have purchased a Gong and a bubbler(d020). The solo has kept me satisfied as a cloud chaser.

I have found that the best way to get thick dense vapor that rivals desktops is to
1. Preheat the solo on 7 with the empty Gong inside for a shutoff period (12 minutes)
2. Remove gong and load material, usually .07g. Its important to tamp down slightly so the herb will not be touching the SS bowl as this negatively affects taste. Put it back up to 7 and wait for it to reach temp.
3. Take long hits out of your desired water pipe and enjoy the white walling.​
It goes without saying that there is a fine screen in the Gong. I prefer the vacuum method for loading since the bowl is super hot after it comes out.

Ill try to post a video of this later.
Full 12 min to heat up is overkill.
 
Top Bottom