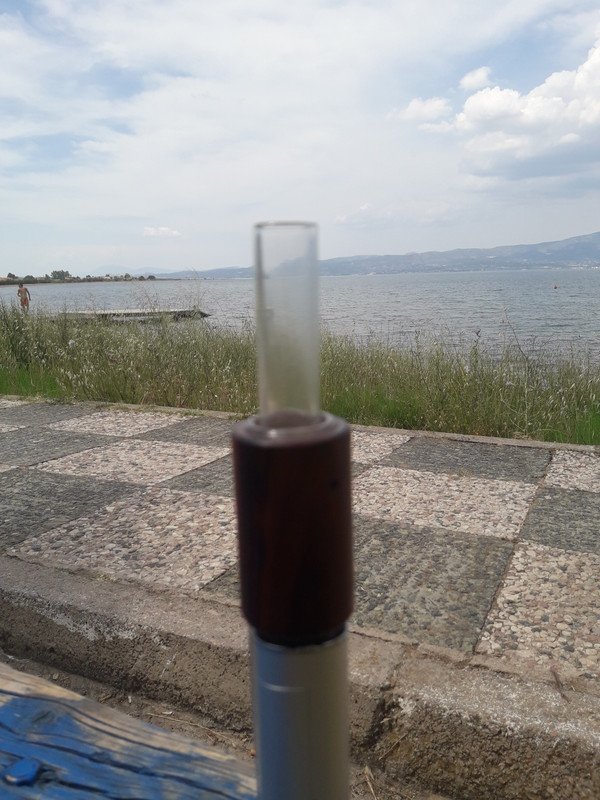
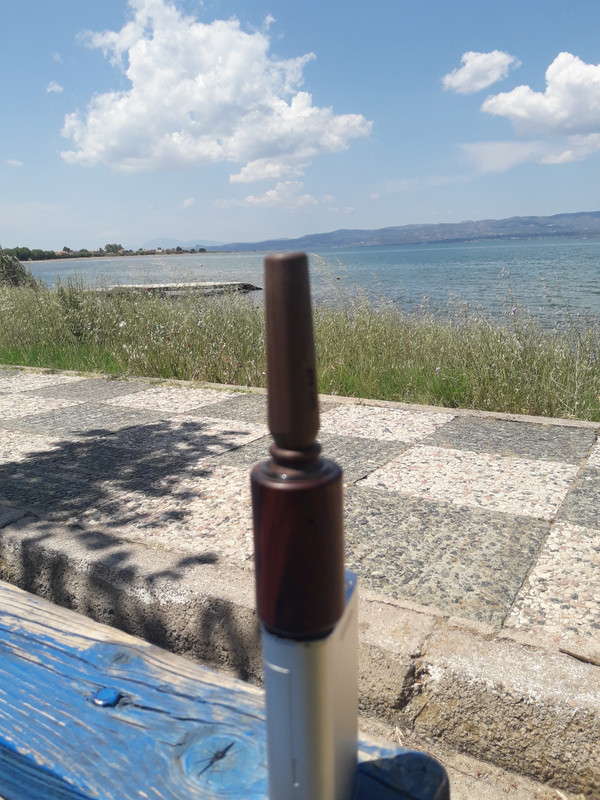
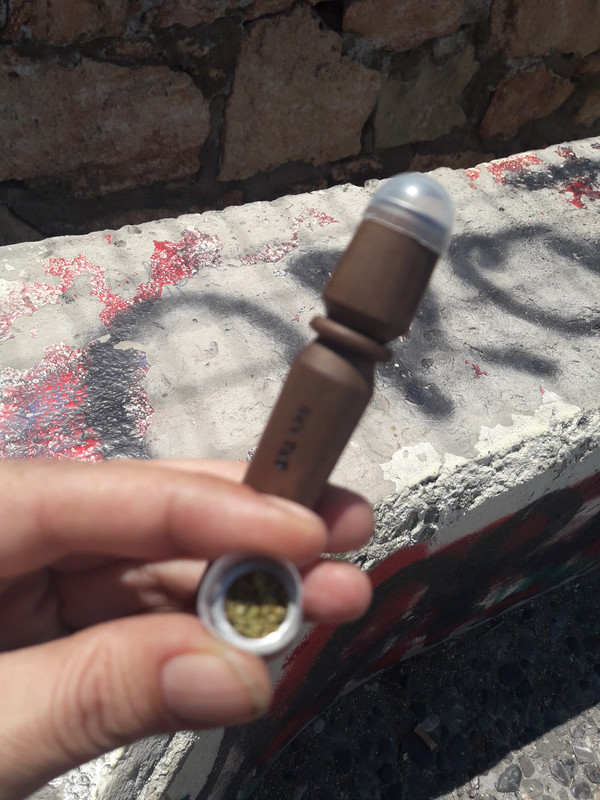
Discontinued The Splinter by RBT

Status
Not open for further replies.

gooroo

Well-Known Member
I always got hotspots using the basket screen. I switched to using a normal screen at the bottom of the joint and used the basket screen as a cap. Pack the joint so there is a space between the material and the bottom of the basket screen.

This is what I do also. Works great for me!
 
gooroo,

malkan

Member
Alright, thanks for your pro-tips, everyone! Very helpful.
Today I tried upping the resistance to 0.28 (mod measured at 0.25), set watts to 33.5, boost 0 and pre-heat off.
Packed into a basket screen. Decided to vape through water this time. Got really high!
I was trying to pulse the button so that I don't overheat, but the hotspots still appeared, so I had to stir after each hit.
But in the end the ABV was dark brown and more even than previously (though not ideal).
The flower and clouds on the 1st and 2nd hits were top notch. The next 3 hits were less amazing but still gave visible vapor.
I had a pretty nice head+body high, lasted a long time too.

Next time I'll try to pack the joint as Mynameismud and gooroo recommended.
 

malkan

Member
Experimented a bit more.
Packing the joint instead of basket screen did not impress me - same problem with hotspots. Wasn't worth the fuss for me.
However, I think I found the sweet spot. Resistance 0.27, 29 watts, boost 0 and pre-heat off. These settings got me great clouds and pretty even brown ABV. I also stirred after every 2 hits.
So my v2 begins to grow on me, thanks folks on this forum!
 

vapviking

Old & In the Way
Experimented a bit more.
Packing the joint instead of basket screen did not impress me - same problem with hotspots. Wasn't worth the fuss for me.
However, I think I found the sweet spot. Resistance 0.27, 29 watts, boost 0 and pre-heat off. These settings got me great clouds and pretty even brown ABV. I also stirred after every 2 hits.
So my v2 begins to grow on me, thanks folks on this forum!
Glad to hear you are dialing it in to your satisfaction. I think, for the hot spotting (and along with your other settings), that rotating the stem every couple of draws achieves, maybe, 80% as much as a stir, with much less effort.
I've also noticed that in general, I have to tweak power slightly with different strains of bud.
 
vapviking,

Hussan311

Well-Known Member
I just started using my splinter again after a year or so of just sitting on my shelf. It is reading .22 resistance (not sure if thats low or not) and i am running it at 29 watts on my voopoo drag and its giving me pretty even abv and nice clouds just ordered the king kong cooling kit from puffitup cant wait to try that
 

jbm

Not a Vapman “beta tester”
It is reading .22 resistance (not sure if thats low or not)
My Splinter reads 0.22 as well, so I think you’re fine. You must get great flavor at that wattage too.
 
Last edited:
jbm,

BlazeDis

Well-Known Member
Hi got my Ultimate Cooling Stem from DDave . OMG this thing is amazing , it cools the vapour about 20 x better than the XL8r stems . I’ve been taking some massive hits with it and could probably inhale for longer if my lungs were up to it . You can also use water in these but I don’t even think you need to . Absolutely the best vape accessory I’ve ever bought and I’ve got a few believe me . Big up to DDave from the UK . Legend
 

flammy

Well-Known Member
Hi got my Ultimate Cooling Stem from DDave . OMG this thing is amazing , it cools the vapour about 20 x better than the XL8r stems . I’ve been taking some massive hits with it and could probably inhale for longer if my lungs were up to it . You can also use water in these but I don’t even think you need to . Absolutely the best vape accessory I’ve ever bought and I’ve got a few believe me . Big up to DDave from the UK . Legend

I got one as well. Just started using mine. Definitely a very effective stem. I've lowered my wattage tremendously because I can draw for a bit longer on this stem. At around 28.5W.
 

flammy

Well-Known Member
@DDave, Can you tell us if this is sized to fit Splinter V1 (V1+, V2)? (shorter joint style)?
Is it a water tool (water optional)? It looks really, really nice.

I'm sure he will jump in to confirm but it has the shorter joint. I actually purchased the ultimate cooling for both the RBT and Tubo. RBT is shorter while Tubo is longer. The RBT stem fits perfectly in my splinter.
 

DDave

Vape Wizard
Accessory Maker
@DDave, Can you tell us if this is sized to fit Splinter V1 (V1+, V2)? (shorter joint style)?
Is it a water tool (water optional)? It looks really, really nice.
Greetings @vapviking That it is! The joint was designed specifically to accommodate handhelds and other applications that use the shorter female 18mm ground glass joints.

* Thanks for the kind words! *

I'm sure he will jump in to confirm but it has the shorter joint. I actually purchased the ultimate cooling for both the RBT and Tubo. RBT is shorter while Tubo is longer. The RBT stem fits perfectly in my splinter.

Confirmed on two things:
  • Shorter joint - absolutely
  • You guys wake up before DDave! ;)

Enjoy the weekend friends!
 

Consolidated 1

Unapproved commercial account.
My Splinter
20190612-150823.jpg

20190611-144621.jpg

20190609-141731.jpg

20190530-145833.jpg

I use this tube, with a small piece of paper towel at the bottom (for protection) to carry them outdoor.
But I prefer a flat screen deep in the joint and the rimmed one on top.

I find this way easier to stir to windy places.
 
Last edited by a moderator:

vapviking

Old & In the Way
Received my DDave Ultimate Cooling unit yesterday. Simply the value and obvious care that went into the package is really, really refreshing. Not only a beautifully made glass gem, but a large bag of screens, a simple screen insertion tool, a brush, some beeswax pellets (glass 'lube') and a small package with two smooth-tumbled stones -- nice touch (excuse the pun...)! All of this for twenty bucks. Oh, and page of directions about screens and a separate note from DDave saying thanks, etc.

I used it dry for one bowl and had a very pleasant experience of cool, flavorful draws, though this is not enough use for me to rave, yet. I would like to have a container for it, maybe a tube like @Consolidated 1 pictures ^.

I do have questions about water use with this piece. Before any flower use I tried slowly adding water from top and it soon was drippy all over. In my experience with in-line bubbler, water can come out the bottom until you dial in right level. At one point I was drawing and it seemed to be percolating nicely, but by then everything was so wet that I emptied it and set it aside to dry a couple of hours before that first dry use. Is it best to fill it, set it off to dry a while, then come back, load & enjoy?
@DDave (or others), my questions obviously are about filling and technique for proper use with water. Any link to previous discussion? A video would be really helpful, I believe.
 

jbm

Not a Vapman “beta tester”
I do have questions about water use with this piece. Before any flower use I tried slowly adding water from top and it soon was drippy all over. In my experience with in-line bubbler, water can come out the bottom until you dial in right level. At one point I was drawing and it seemed to be percolating nicely, but by then everything was so wet that I emptied it and set it aside to dry a couple of hours before that first dry use. Is it best to fill it, set it off to dry a while, then come back, load & enjoy?
@DDave (or others), my questions obviously are about filling and technique for proper use with water. Any link to previous discussion? A video would be really helpful, I believe.
I just got mine yesterday too. Beautiful piece, plus so much great extra stuff: screens, screen install tool, rocks, beeswax, grinder cleaning brush. Haven’t used it yet, getting over some congestion. But I don’t actually see any mention of water on the product page. I think it’s meant to be used dry. @DDave ?
 

chlorophyll_man

AVB Inspector
I think it’s meant to be used dry.
Hiya, yes that's right.
It's similar in design to the Vapefiend cooling stem which is also only to be used dry.
Although it looks like it could be used as a bubbler it's actually just a (very effective) cooling stem.

EDIT: I notice that DDave answers that it is a watertool:
'Is it a water tool (water optional)? It looks really, really nice.'
'Greetings @vapviking That it is!'

I'm very surprised and wouldn't recommend this at all with a Splinter (or Milaana) because the heater's below it, but apologies for interfering.
 
Last edited:

jbm

Not a Vapman “beta tester”
EDIT: I notice that DDave answers that it is a watertool:
'Is it a water tool (water optional)? It looks really, really nice.'
'Greetings @vapviking That it is!'

I'm very surprised and wouldn't recommend this at all with a Splinter (or Milaana) because the heater's below it, but apologies for interfering.

I think the "That it is" could be referring to the "really, really nice" and not the "Is it a water tool?"

In any case I agree with you, I wouldn't use it with water directly above the heater in an RBT vape. I think it's supposed to work something like @RogueGuy 's vapcap stem where the baffles act as additional surface area to cool the vapor. As soon as I feel a little better I'll be loading up mine for a test run in the Milaana 2. I have really come to love the Zen-like simplicity of that vape.
 

Mynameismud

Accessory Maker
Accessory Maker
I use this tube, with a small piece of paper towel at the bottom (for protection) to carry them outdoor.
But I prefer a flat screen deep in the joint and the rimmed one on top.

I find this way easier to stir to windy places.

I just leave a little space in between the basket screen so the herb can move around. I just shake the stem every now and then instead of stirring works just as well
 

blokenoname

DIY Log Dabbler 😁🪵💪💨💨💨
Got me a nice 2nd hand Splinter in perfect working order & condition and so started experimenting a bit :science:

Just have a plain older iStick100 for a box mod at hand, which provides vw/vv mode only. Tested with wattage settings between 35-40w and managed to get reasonable clouds with a very slow draw, feathering the button, though it took quite a while and some stirring, to kill the load (mildly brown). Also, seems like you've to move quite a lot of air through that wide bowl, till you're done! :p

As I build Log Vapes myself for a hobby, I'm also more used to the small size of a Log stem's stainless steel tip (d=8mm) and the coffee brown AVB they yield, after getting 3-4 nice, fat hits :D

o6llc4.jpg


So... I decided to do a little mod to reduce the Splinter's bowl size/vapor path to a) reduce air volume passing over the heater (yielding shorter, fatter hits) and b) conserve some material :)

19/14mm inline glass adapter, wich happens to be of 19mm length (bloody perfect!)

14/19mm male stem, bit shortened at the top end with a bucket screen in the tapered gg joint.

Set to 40w (the tip of the 14mm gg joint carrying the load is ~7mm away from the debris screen, covering the heater); preheat 5-7secs; take 4-5 nice fat hits (maybe rotate stem once or twice), hitting the button while you draw... get nice, even coffee brown and very dead AVB :D

Perfect :nod: :)
 
Last edited:

DDave

Vape Wizard
Accessory Maker
Received my DDave Ultimate Cooling unit yesterday. Simply the value and obvious care that went into the package is really, really refreshing. Not only a beautifully made glass gem, but a large bag of screens, a simple screen insertion tool, a brush, some beeswax pellets (glass 'lube') and a small package with two smooth-tumbled stones -- nice touch (excuse the pun...)! All of this for twenty bucks. Oh, and page of directions about screens and a separate note from DDave saying thanks, etc.

I used it dry for one bowl and had a very pleasant experience of cool, flavorful draws, though this is not enough use for me to rave, yet. I would like to have a container for it, maybe a tube like @Consolidated 1 pictures ^.

I do have questions about water use with this piece. Before any flower use I tried slowly adding water from top and it soon was drippy all over. In my experience with in-line bubbler, water can come out the bottom until you dial in right level. At one point I was drawing and it seemed to be percolating nicely, but by then everything was so wet that I emptied it and set it aside to dry a couple of hours before that first dry use. Is it best to fill it, set it off to dry a while, then come back, load & enjoy?
@DDave (or others), my questions obviously are about filling and technique for proper use with water. Any link to previous discussion? A video would be really helpful, I believe.
Greetings @vapviking While the primary use of the stem is dry, it's absolutely possible to easily load it with water. Apologies, I don't have a video, but imagine a small glass of water in front of a mirror. You take that stem and put the ground glass end into the water, then slowly draw it up till you reach the level desired. (HERE'S THE TRICK) Then without terminating the slow draw, lift the piece out of the water and let it bubble. You've now locked in the water. Enjoy! (You can lay it sideways and it doesn't spill.)

Thanks for the kind words as well! (I try to bring value to the kits or pieces I offer.)

I just got mine yesterday too. Beautiful piece, plus so much great extra stuff: screens, screen install tool, rocks, beeswax, grinder cleaning brush. Haven’t used it yet, getting over some congestion. But I don’t actually see any mention of water on the product page. I think it’s meant to be used dry. @DDave ?
Hey @jbm Get well soon so you can get to using that piece! Wishing a speedy recovery.

....we wait for DDave to wake up....
I think for some reason they sleep later on the West coast.

HAHAHAHA!

Now serving #2!

:rockon:


But on a serious note, save for a few small islands more west of us (I believe), we in California close off the day for the World. (I assume the final hour of the global day falls on the West Coast... Lots of work ensuring all is in place and ready for the next new day. (And I've not even started vaping for the day!)
 

vapviking

Old & In the Way
Greetings @vapviking While the primary use of the stem is dry, it's absolutely possible to easily load it with water. Apologies, I don't have a video, but imagine a small glass of water in front of a mirror. You take that stem and put the ground glass end into the water, then slowly draw it up till you reach the level desired. (HERE'S THE TRICK) Then without terminating the slow draw, lift the piece out of the water and let it bubble. You've now locked in the water. Enjoy! (You can lay it sideways and it doesn't spill.)

Thanks for the kind words as well! (I try to bring value to the kits or pieces I offer.)


Hey @jbm Get well soon so you can get to using that piece! Wishing a speedy recovery.


HAHAHAHA!

Now serving #2!

:rockon:


But on a serious note, save for a few small islands more west of us (I believe), we in California close off the day for the World. (I assume the final hour of the global day falls on the West Coast... Lots of work ensuring all is in place and ready for the next new day. (And I've not even started vaping for the day!)
Thanks! Very glad to confirm this and have clear instruction. I can see that caution is important, but that's often the case with in-line bubblers, as with a lot of other water use.
Very excited to try this!

EDIT; Okay, as a water tool it's really, really nice! A little extra effort, so, maybe just occasional as DDave said.
 
Last edited:
vapviking,
  • Like
Reactions: Summer
Status
Not open for further replies.
Top Bottom