-
SCAM WARNING! See how this scam works in Classifieds.
You are using an out of date browser. It may not display this or other websites correctly.
You should upgrade or use an alternative browser.
You should upgrade or use an alternative browser.
The "Project" DIY Herbal Vaporizer
- Thread starter Pipes
- Start date
It rough using needle nose pliers, if that's what your using. OK for a quick tighten up, but hard as hell for complete re-assemble. A 5 mm socket driver works much better and easier. Make sure you watch my video for technique I use. Tighten with coil off to the side.
So, I take it the initial problem was the upper insulator? And you have extra washers?
Take a deep breath, and stretch out some before you attempt again. Don't let frustration get the better of you, we're all pulling for ya!
So, I take it the initial problem was the upper insulator? And you have extra washers?
Take a deep breath, and stretch out some before you attempt again. Don't let frustration get the better of you, we're all pulling for ya!
i don't see any problem with the insulator but because i have a extra insulator that you add it ( thank you ) i try change the botton one ( because i saw it too deep but i don't much damage ) in the process like i say i lost a washer ( i am trying looking for it at amazon but without luck ) and i think i damage the new insulators so maybe i need get some but not luck with another supplier that is not alibaba.
i will check the video and try again , maybe a more long philis will help ?, this is the close i get at amazon:
http://amzn.com/B01D4R5HE4
this are the other parts i find at amazon that I THINK are OK replacement, in case somebody is like my and can't buy online in other sites easy:
http://amzn.com/B000NBIHEW
http://amzn.com/B00B3RJ6PY
Amazon does have the insulators here. And the small washers here. 5mm Nut driver here. The driver is also useful in making the coils. 
However, unless your planning to make up a few, don't sweat it, I'll make up a little package of coil, washers and more insulators.
Just promise me you'll start on a clean surface (and floor)...lol

However, unless your planning to make up a few, don't sweat it, I'll make up a little package of coil, washers and more insulators.
Just promise me you'll start on a clean surface (and floor)...lol
Last edited:
As you wish. The screw you had selected is a little long at 30 mm. Could nip a little off once tightened up I guess. OTOH, these are more like the ticket. The round top should not be a problem. Maybe even an improvement..? Actually, closer to what I was originally searching for while sourcing. These are the direct replacements at 25mm.
Your enthusiasm is great. I like the direction your heading and possibilities it could lead to.
Thanks.
Fun stuff.
Your enthusiasm is great. I like the direction your heading and possibilities it could lead to.
Thanks.
Fun stuff.
Last edited:
As you wish. The screw you had selected is a little long at 30 mm. Could nip a little off once tightened up I guess. OTOH, these are more like the ticket. The round top should not be a problem. Maybe even an improvement..? Actually, closer to what I was originally searching for while sourcing. These are the direct replacements at 25mm.
Your enthusiasm is great. I like the direction your heading and possibilities it could lead to.
Thanks.
Fun stuff.
about the long screw , i was thinking that maybe a little more long screw will help with the connection because you can use 2 nut hex instead just one , so you can first attach the bottom connector tight it then connect the upper connector and cut the excess of screw.
Sure, by all means give it a go. I start with the center part of the coil and mount in between the washers on the bolt first and wrap around the bolt so it holds itself in place while I work on the outside coil placing it between the washers. The upper wrap stays in place unless the nut comes off while poking around with the lower outside wrap. This is all done while the coil is sitting in a sideways position. Once tight than, I straiten up the coil and adjust the coil to my satisfaction.
Update on stuff.
Well I received the tubing from across the pond and it is definitely a little thicker making the inside diameter slightly smaller.

The new stuff is on the left. The outer diameter is also just a tad smaller. It is still usable, however, an extra step is needed to shave a little off the lower ego threading to have it clear it. What's good is that it fits tighter onto the ego base assembly. The rest is just adjusting the outer wooden sleeve slightly. Also, the 12mm washer no longer will go inside the pipe. So I ordered these to substitute. I also now need to doom the stem screen.
I had also placed an order with McMaster's but the bums cancelled it as I used a house address for delivery. They said they only sell to businesses as an excuse. I figure it's my fault for ordering a 6' length of the 9/16". Guessing they found shipping was an issue.
Anyway, some good news, the previous AliExpress seller has it again. I had to contact him again and he gave me a new link as he changed stores. Have a couple feet on order. (50 cm)
I also took a couple more pics while I was assembling one so people attempting to do their own re-coil can take note.
Let's start with the lower insulator. As I had said before, tight fit and needs some persuasion to go in. A vise is a great persuader.

It's so tight that some diameter may shave off. I just cut the excess with utility knife.
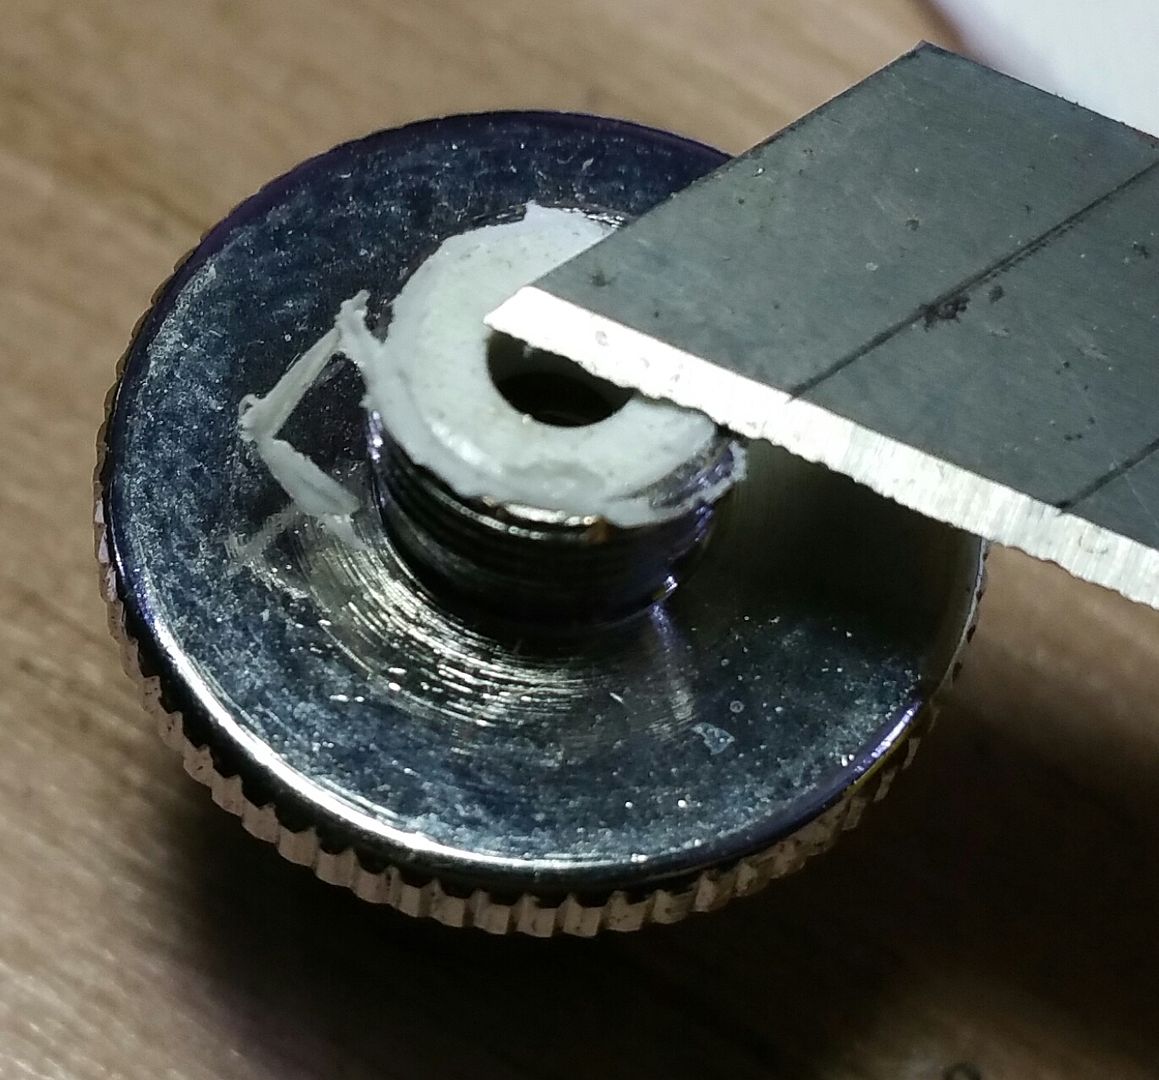
Moving to the upper insulator. Also a tight fit into M3 holes. Just crimp the rim inwards to get through the hole.
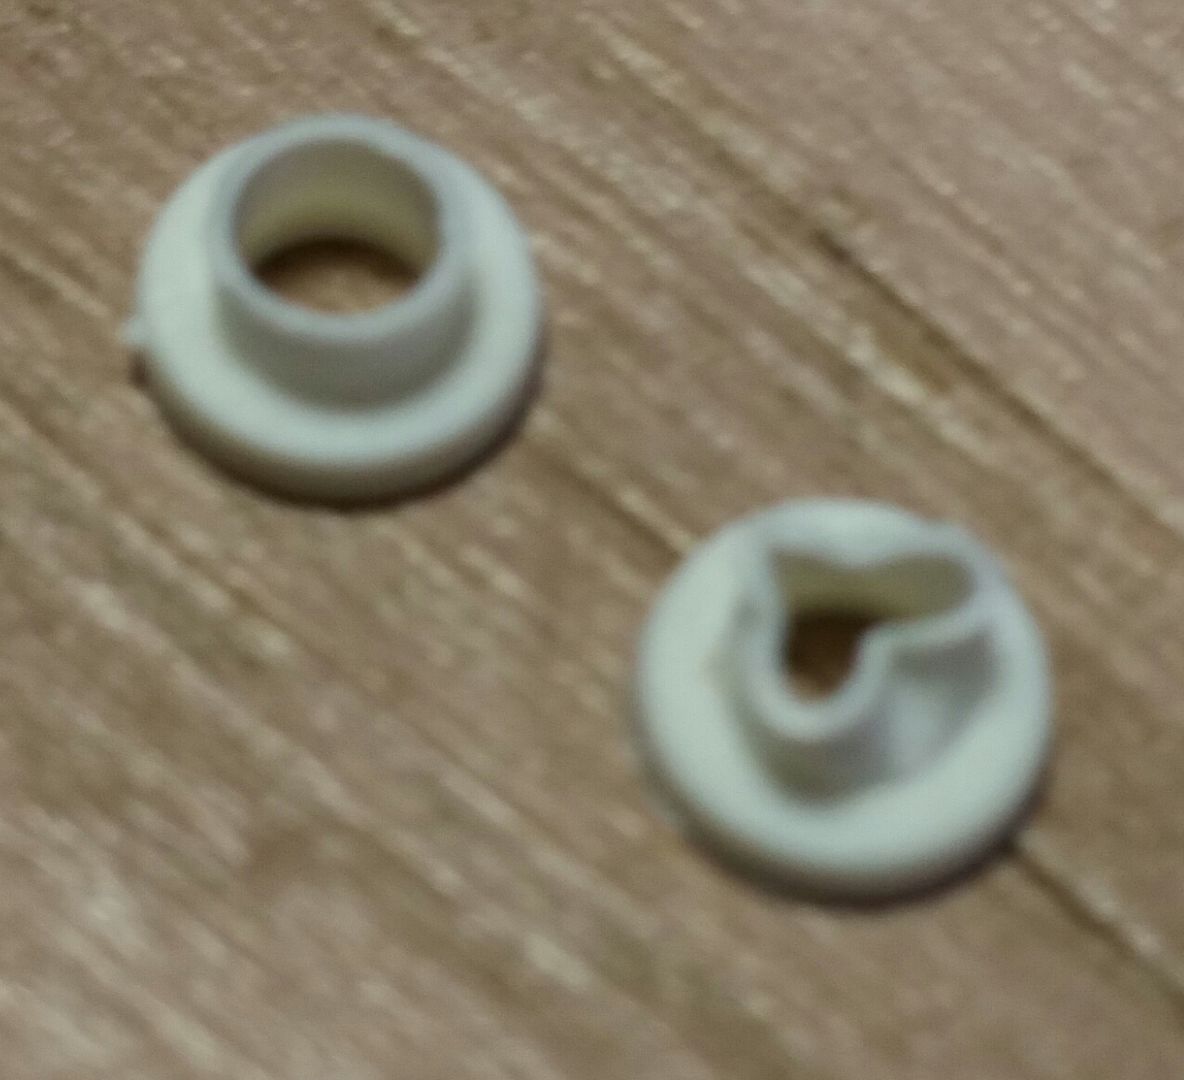
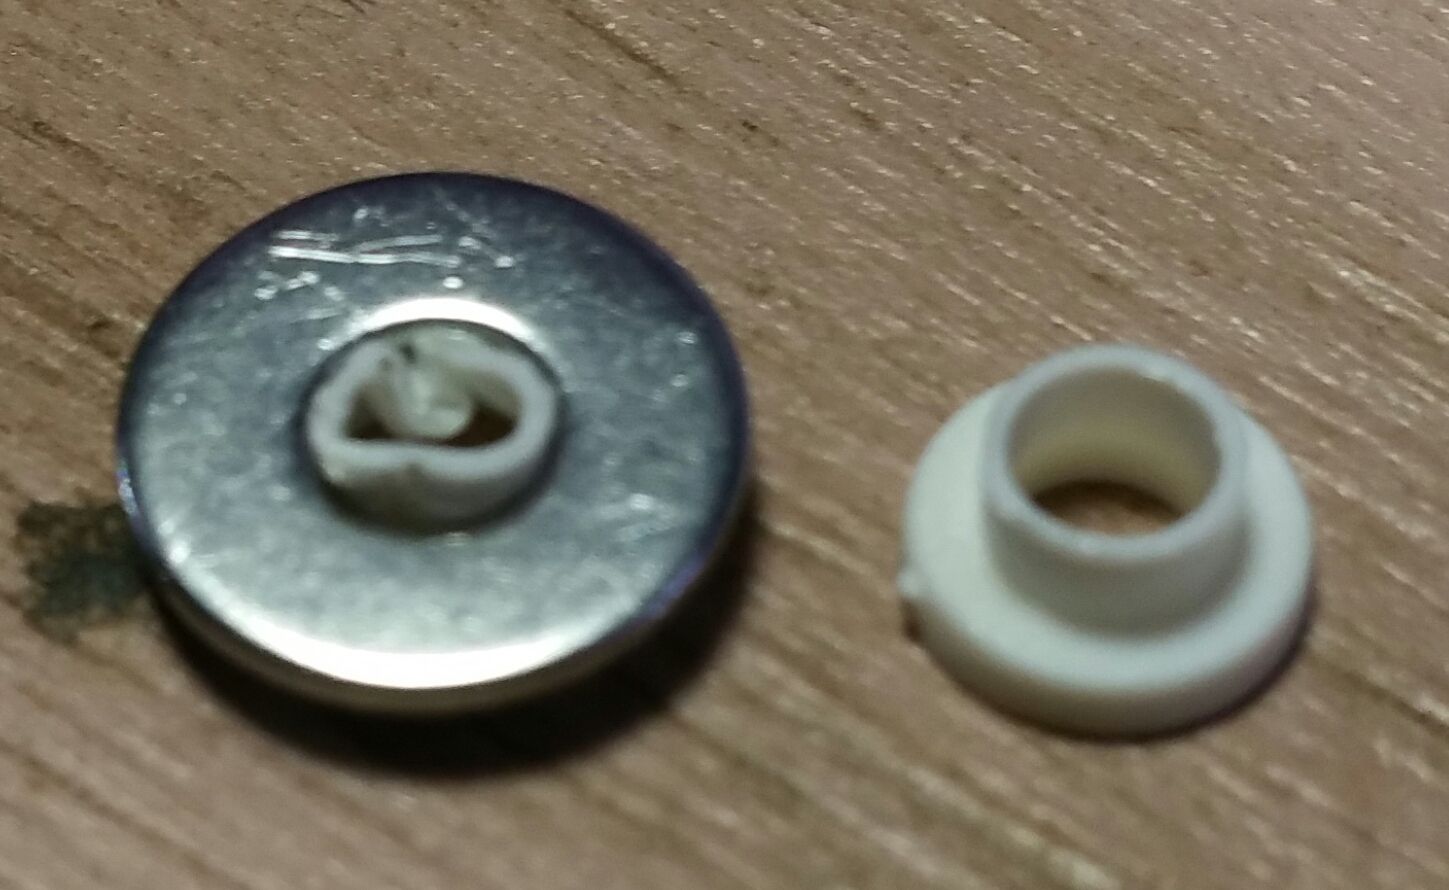
Once through, I use a the same post I use to wrap the inside coil, to push the rim back into position.

Now to get that coil mounted. Getting the coil pre-prepared correctly is key to saving a lot of time and frustration. First trick is to have the small coil pre-looped to mount on the post and not having worry about it falling off while getting the lower coil in place.
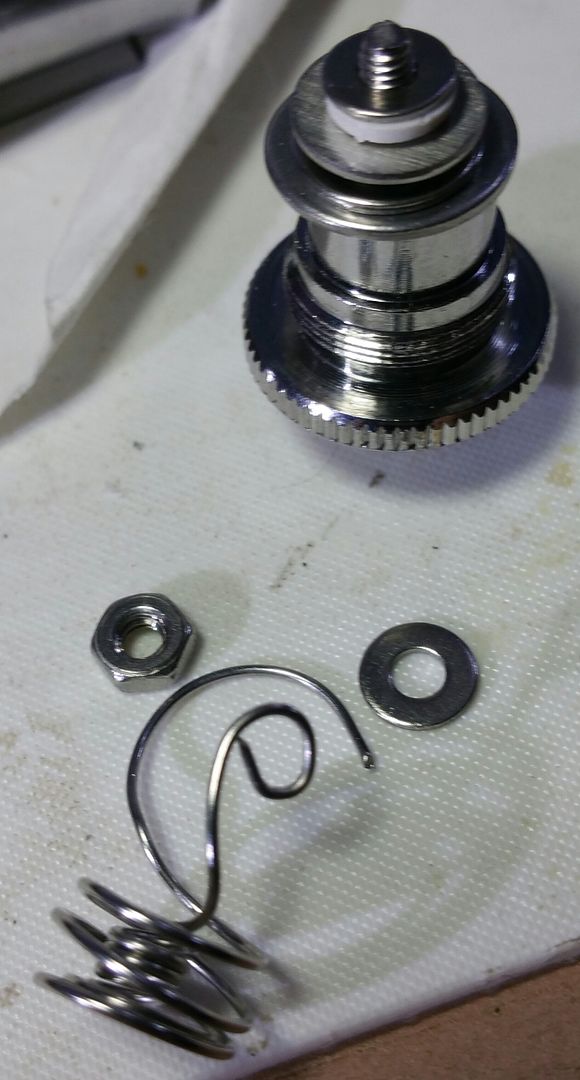
Once it's in place and the screw hand tightened, it's time to fiddle with the larger coil loop. Notice the lip of the insulator holds the washers open slightly to let you slip the coil between the washers. You will need to fiddle to get it in place and NOT touching the inside post and placed as far around the washer as possible so it tightens evenly.
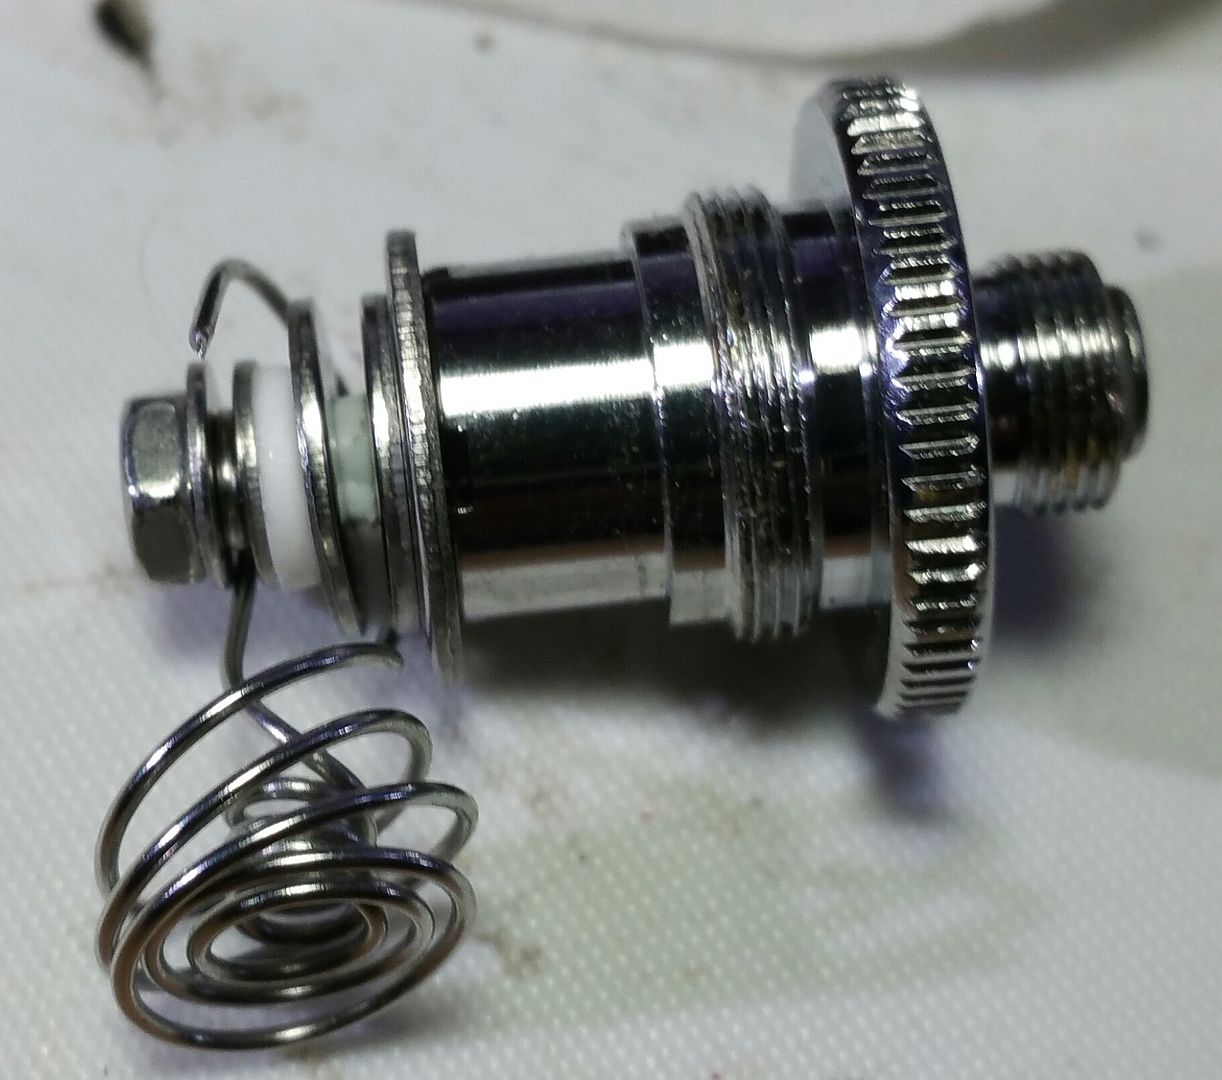
Almost ready to tighten up. Notice that everything is a little cockeyed?
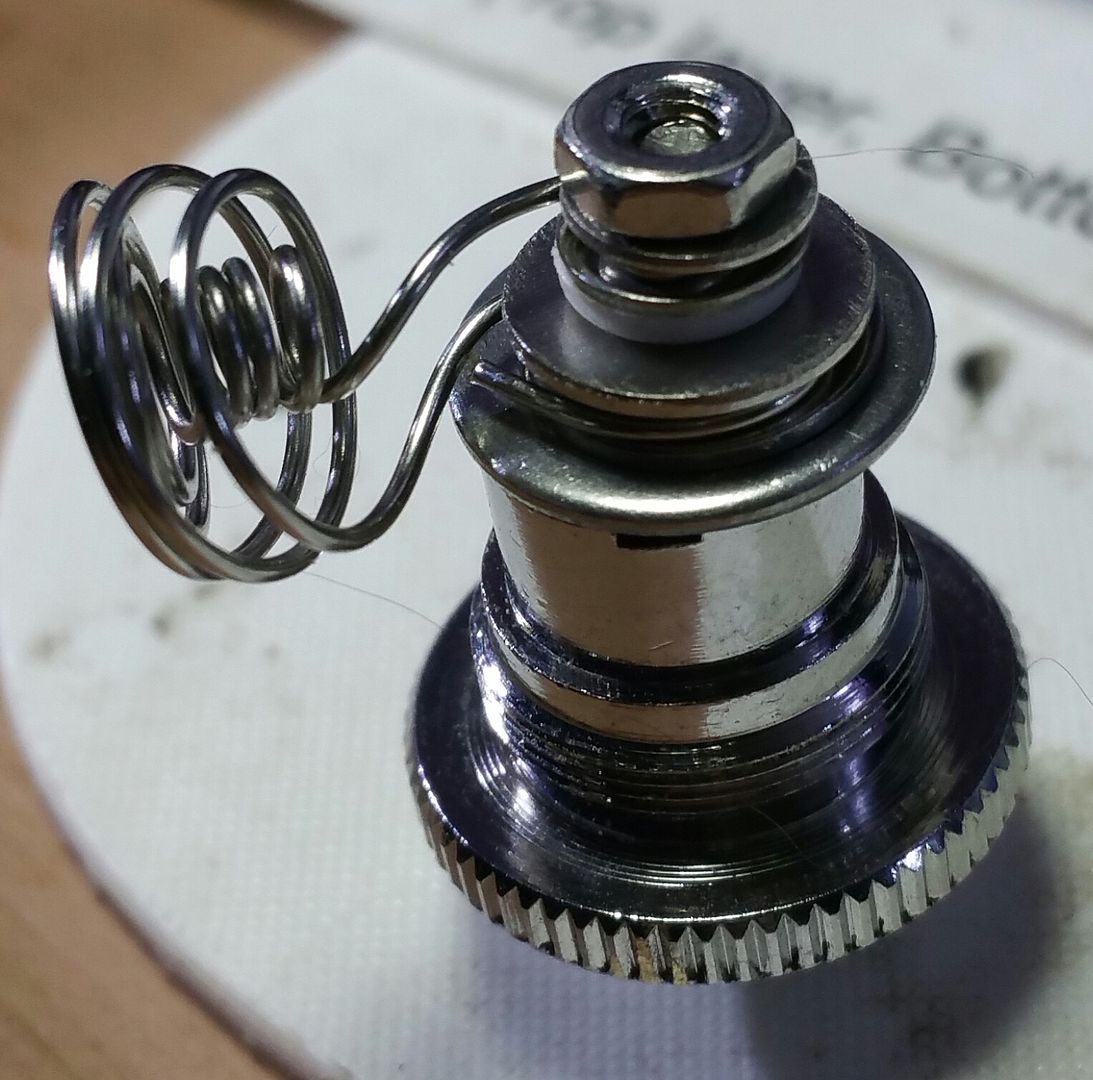
You need to look from the top and align everything up straight. Now it's ready for tightening.
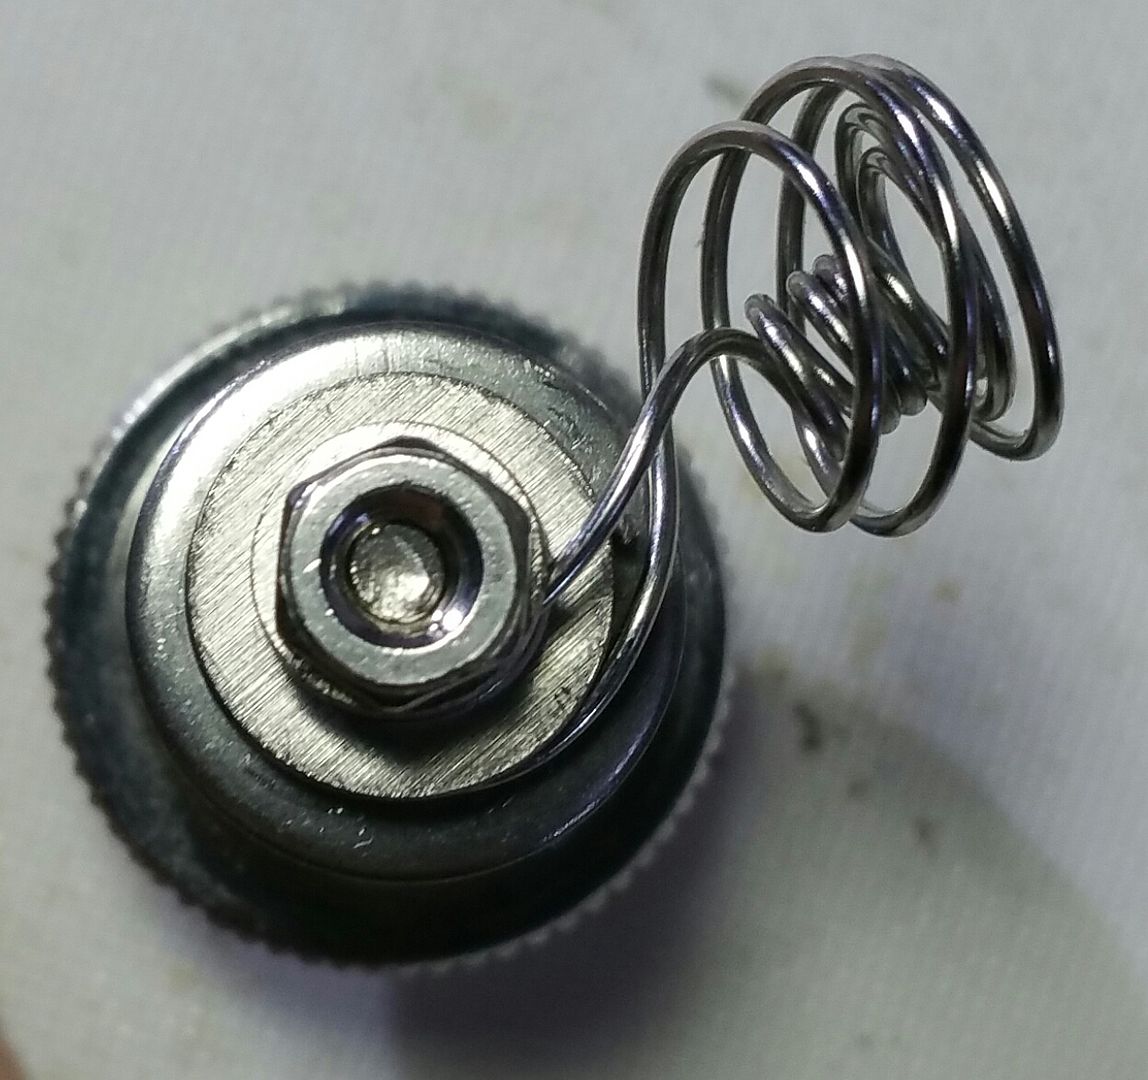
Now time to straiten it all up and adjust as you feel fit.
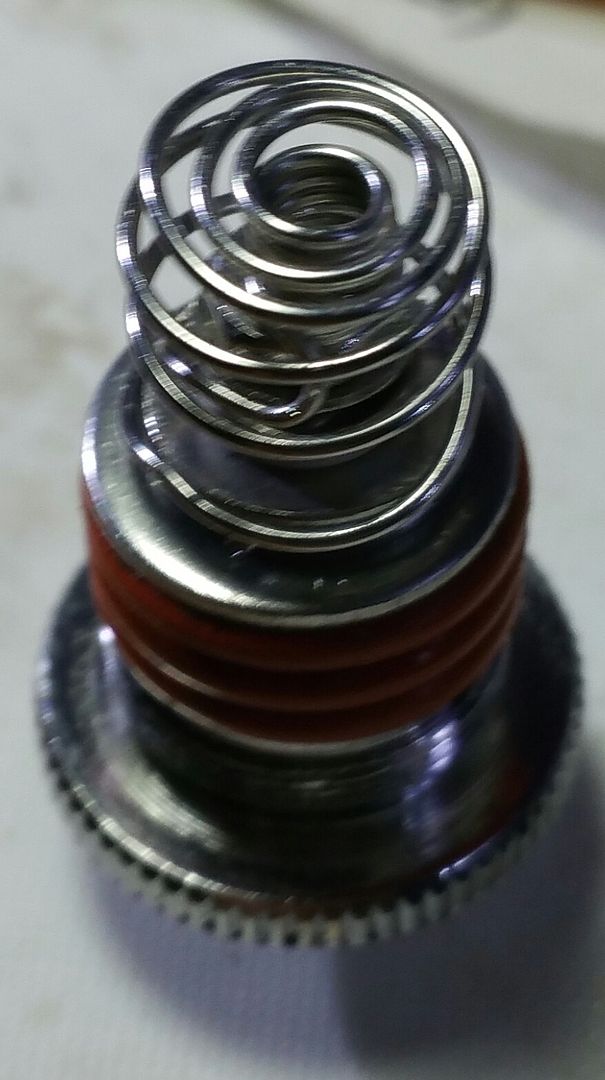
Cheers guys.
Well I received the tubing from across the pond and it is definitely a little thicker making the inside diameter slightly smaller.

The new stuff is on the left. The outer diameter is also just a tad smaller. It is still usable, however, an extra step is needed to shave a little off the lower ego threading to have it clear it. What's good is that it fits tighter onto the ego base assembly. The rest is just adjusting the outer wooden sleeve slightly. Also, the 12mm washer no longer will go inside the pipe. So I ordered these to substitute. I also now need to doom the stem screen.
I had also placed an order with McMaster's but the bums cancelled it as I used a house address for delivery. They said they only sell to businesses as an excuse. I figure it's my fault for ordering a 6' length of the 9/16". Guessing they found shipping was an issue.
Anyway, some good news, the previous AliExpress seller has it again. I had to contact him again and he gave me a new link as he changed stores. Have a couple feet on order. (50 cm)
I also took a couple more pics while I was assembling one so people attempting to do their own re-coil can take note.
Let's start with the lower insulator. As I had said before, tight fit and needs some persuasion to go in. A vise is a great persuader.

It's so tight that some diameter may shave off. I just cut the excess with utility knife.

Moving to the upper insulator. Also a tight fit into M3 holes. Just crimp the rim inwards to get through the hole.


Once through, I use a the same post I use to wrap the inside coil, to push the rim back into position.

Now to get that coil mounted. Getting the coil pre-prepared correctly is key to saving a lot of time and frustration. First trick is to have the small coil pre-looped to mount on the post and not having worry about it falling off while getting the lower coil in place.

Once it's in place and the screw hand tightened, it's time to fiddle with the larger coil loop. Notice the lip of the insulator holds the washers open slightly to let you slip the coil between the washers. You will need to fiddle to get it in place and NOT touching the inside post and placed as far around the washer as possible so it tightens evenly.

Almost ready to tighten up. Notice that everything is a little cockeyed?

You need to look from the top and align everything up straight. Now it's ready for tightening.

Now time to straiten it all up and adjust as you feel fit.

Cheers guys.
Last edited:
Update on stuff.
Well I received the tubing from across the pond and it is definitely a little thicker making the inside diameter slightly smaller.

The new stuff is on the left. The outer diameter is also just a tad smaller. It is still usable, however, an extra step is needed to shave a little off the lower ego threading to have it clear it. What's good is that it fits tighter onto the ego base assembly. The rest is just adjusting the outer wooden sleeve slightly. Also, the 12mm washer no longer will go inside the pipe. So I ordered these to substitute. I also now need to doom the stem screen.
I had also placed an order with McMaster's but the bums cancelled it as I used a house address for delivery. They said they only sell to businesses as an excuse. I figure it's my fault for ordering a 6' length of the 9/16". Guessing they found shipping was an issue.
Anyway, some good news, the previous AliExpress seller has it again. I had to contact him again and he gave me a new link as he changed stores. Have a couple feet on order. (50 cm)
I also took a couple more pics while I was assembling one so people attempting to do their own re-coil can take note.
Let's start with the lower insulator. As I had said before, tight fit and needs some persuasion to go in. A vise is a great persuader.

It's so tight that some diameter may shave off. I just cut the excess with utility knife.

Moving to the upper insulator. Also a tight fit into M3 holes. Just crimp the rim inwards to get through the hole.


Once through, I use a the same post I use to wrap the inside coil, to push the rim back into position.

Now to get that coil mounted. Getting the coil pre-prepared correctly is key to saving a lot of time and frustration. First trick is to have the small coil pre-looped to mount on the post and not having worry about it falling off while getting the lower coil in place.

Once it's in place and the screw hand tightened, it's time to fiddle with the larger coil loop. Notice the lip of the insulator holds the washers open slightly to let you slip the coil between the washers. You will need to fiddle to get it in place and NOT touching the inside post and placed as far around the washer as possible so it tightens evenly.

Almost ready to tighten up. Notice that everything is a little cockeyed?

You need to look from the top and align everything up straight. Now it's ready for tightening.

Now time to straiten it all up and adjust as you feel fit.

Cheers guys.
hello @Pipes , what about the perfomance ? is the same ? better ? worst ?
thanks
pd: still waiting for my parts, some are already here.
I've tested the stem portion in my original unit and couldn't detect any noticeable difference. The screen now is domed to fit because of the inner diameter. Made up a jig to do this a little cleaner. Posted the instructions here.hello @Pipes , what about the perfomance ? is the same ? better ? worst ?
Haven't made a base assembly yet because of the missing new washer I need. Shouldn't be long. The only need for this washer is to provide the lip needed to hold the lower O rings in place or I'd just double up on the middle washer.
Really don't think it will be a big change but may need to tighten up the outer coil a tad.
The new tubing being thicker makes it a real bitch to cut. Broke my new pipe cutter in two cuts. It's going back as just bought it. Made a justification to add a couple new pieces to my arsenal. Got a small drill press off Kijiji ($70) and have a holder press coming to mount my 4 1/2" grinder on along with a couple metal cutting disks.
Figure, WTF, already in it this far.... And no huge investments but getting a not bad home shop out of the deal. Poor shed is bustin at the seams.
Last edited:
u bwade wunner
Well-Known Member
hey guys,hope all is well in project land.Sending some feedback/thoughts to the community esp newbies to the project.It works well,good clouds and flavour.It outshines many of my vapes.especially my portables.
There are Two parts to the Vape.the project 510 atomizer and the 18650 battery mod to drive it.I picked up a cuboid mod.more on that later.
What You end up after You recieve Your atomizer from pipes inc. spares and your mod from China is a high powered convection portable.i picked up 4 X Sony vtc5 batteries for mine.the whole setup came to $120 or so.that and herb is all You need to get going.an adjustable convection temp controlled unit for $120 was too easy for me.
So I am using the cuboid mod with mine,which is a dual 18650 battery temp controlled mod.It uses the same firmware as the unit pipes has but has dual batteries for extended use.understanding the cuboid menus takes a few hours of research but becomes second nature after a week or so of use.the unit will work out of the box.Anyone who likes to mod and tinker like me will enjoy it especially.I have mine just the way I like it.full flow convection like my SSV.And that is the great thing about this setup .it can be set up just how You like it.Its perfect for around the house or to take out for a trip...I would probably not take mine out on a hike or bike ride though as the cuboid unit alone without batts weighs over 13 ozs (300g).Its a really solid unit though and well made.the casing feels like cast aluminium and the unit includes nice features like a stealth mode to turn off the display at night for sneaky vapes.its fully adjustable temp and power wise.
What else is there to say about the project atomizer......This is the first herb atomizer I've tried.I have been researching on and off for two years or so trying to find something I could use with ecig mods I've owned .most before this were combustion devices being sold as vaporizers.this one works.solid easy diy fix too, if anything goes wrong.Pipes included spares to get things going again.
Looking at ways to improve the atomizer...I couldn't find much to improve being honest.a lightweight SS body would be dope.pipes has done a great job though.I have the original coil still going ,pushed down into a beehive shape For good heat to air ratio.Ohms crept up a little in the first week or so but seem steady at 66ohm now.I also blocked two of the three air intakes in the wood with beeswax to allow less airflow,which has improved things for me.there was not enough flavour and too much airflow for me.
There is the issue of hotspot where the heater is placed in the centre of the heater core tube in a convection vape and this device is no different...it's no biggie.the centre of the load tans a little .Stirring is needed after the first hit to unglue the load and then I've found on subsequent hits as resins are extracted, air helps to move the load around similar to the cyclone on the EQ.
I wanted a shorter mouthpiece And also wanted to minimise hotspot so I thought opening up airflow after the load might help and ordered both Air stems to try out as they fit my project perfectly.the all air glass stem is nice and pretty short but the smaller stem with its black mouthpiece suited to the ecig look I am after.if anything I want a shorter mouthpiece.the four holes in the air stem might prevent full vapor flow through the mouthpiece too.
So I decided to cut the bowl off the smaller air stem completely and cut a groove 1/2 inch inside the stem with a sharp diamond file to fit an 11mm stainless screen in there.the screen is really solid and I like this method much better than a sliding basket screen setup.You can scrape and poke the screen and it won't budge.The mod shortens the mouthpiece and allows full airflow now.the cuboid can easily keep up heat wise and then some.i have mine running like my SSV now with full airflow and good clouds.flavour is not as good though as the SSV though as the heater in the SSV is further away from the load so evens out heat a little better.if I turn temps up too much even on full flow inhale the heater will run away and torch the load.The temp control on the cuboid works well to avoid this.I torched a bowl or two in the beginning getting used to settings etc,but that's a non issue now.im not noticing vapor to be too hot,but I like hot vapor and some throat hit too.Concentrates will be no issue .there is too much power as it is in this device.load into cotton and away You go.
My cuboid took a heavy fall after I intercepted a dogfight and it seems ok.I've had to turn temps down but it's regulating perfectly still.....lesson learnt. dogs will fight so never leave a vape in your lap in case You need to jump up quickly haha.They make a silicone sleeve for the cuboid and I've ordered one which should help with future drops.im usually very careful with my things.
Ease of use ,quick instant solid hits (3 seconds to vapor on higher wattage)and good battery life (easily a whole day hitting it constantly)will keep the project in my rotation.jump on board.solid community project.all good.
Anyone got a Zion and this?....how do they compare?..Do they both use a coil to heat?
Anyway quick pic see ya


Last edited:
KeroZen
Chronic vapaholic
Anyone got a Zion and this?....how do they compare?..Do they both use a coil to heat?
Comparison coming soon. But nope, the Zion is not really coil-based, it's something else...
nondarb
.
Just an update to show some love. I use my project daily, typically at work or on the go. No noticeable degradation on the coil.
With the cuboid I managed a whopping 15(!!!!!) stems worth before I got the mod down to 1/4 battery and I swapped batteries. I'm running at 55w these days 125 TCR. Kayfun mini body is still my go to stem.
I'd think Mi is the fairer device to compare the project to. I'm keen to have the two side by side (again) myself.
With the cuboid I managed a whopping 15(!!!!!) stems worth before I got the mod down to 1/4 battery and I swapped batteries. I'm running at 55w these days 125 TCR. Kayfun mini body is still my go to stem.
I can't wait till the air of mystery is gone and we all know what's going on in there.Comparison coming soon. But nope, the Zion is not really coil-based, it's something else...
I'd think Mi is the fairer device to compare the project to. I'm keen to have the two side by side (again) myself.
Great reviews and observations guys!
There is new firmware out for the EVics. V 3.02
Man, these updates just keep coming. It's good to know the manufacturer is supporting these units though.
This update let's one upload a small .bmp file (64X40 pixels) to display on the screen. Also, the TCR "M" modes show the selected TCR number.

Sooo, bet your USB port is actually fine.
There is new firmware out for the EVics. V 3.02
Man, these updates just keep coming. It's good to know the manufacturer is supporting these units though.
This update let's one upload a small .bmp file (64X40 pixels) to display on the screen. Also, the TCR "M" modes show the selected TCR number.

@Slow Draw McGraw , and anyone have updating trouble, I had trouble doing the update on one of mine as well. Found once it fails, you need to use a different USB port to try again before it get recognized correctly. Also, had a fright as the device turned off and would not turn back on with 5 clicks. Thought it got bricked. Held the down button and fire for a few seconds and it turned on. Whew. Anyway, took a couple back and forth between USB ports and it took it fine.Update to 3.01. Turns out one of my USB inputs is bad.
Sooo, bet your USB port is actually fine.
Last edited:
Renthispace
Member
So with the air stem you actually pack the stem? Nice mod to a mod. How much was the tip shipped? (And I'm guessing it's something from airizer? My only experience with a portable is the pax1)
That also happend to me.. Also, had a fright as the device turned off and would not turn back on with 5 clicks. Thought it got bricked. Held the down button and fire for a few seconds and it turned on. Whew.
u bwade wunner
Well-Known Member
So with the air stem you actually pack the stem? Nice mod to a mod. How much was the tip shipped? (And I'm guessing it's something from airizer? My only experience with a portable is the pax1)
Yes pack the stem and push it into the atomizer,snug fit.
Yes stems are by Arizer and most Vape shops stock Arizer products.
they cost $15 here in Oz..I paid $6 for shipping( same state)but also ordered a few other bits and pieces at the same time.
I think most US vape shops stock Air stems for $10 or thereabouts.
These are what You need to cut perfect screens .i have a whole bunch of sizes for different devices.
You also need A piece of wood to use like a soft anvil,some screens and a hammer.
one good punch and perfect sized screen every time.
Bonus.no angry wife because the scissors are blunt.
Last edited:
i was bored and do a pretty crappy reassembled without the drive socket and the missing washer and even with all this the project work fine !
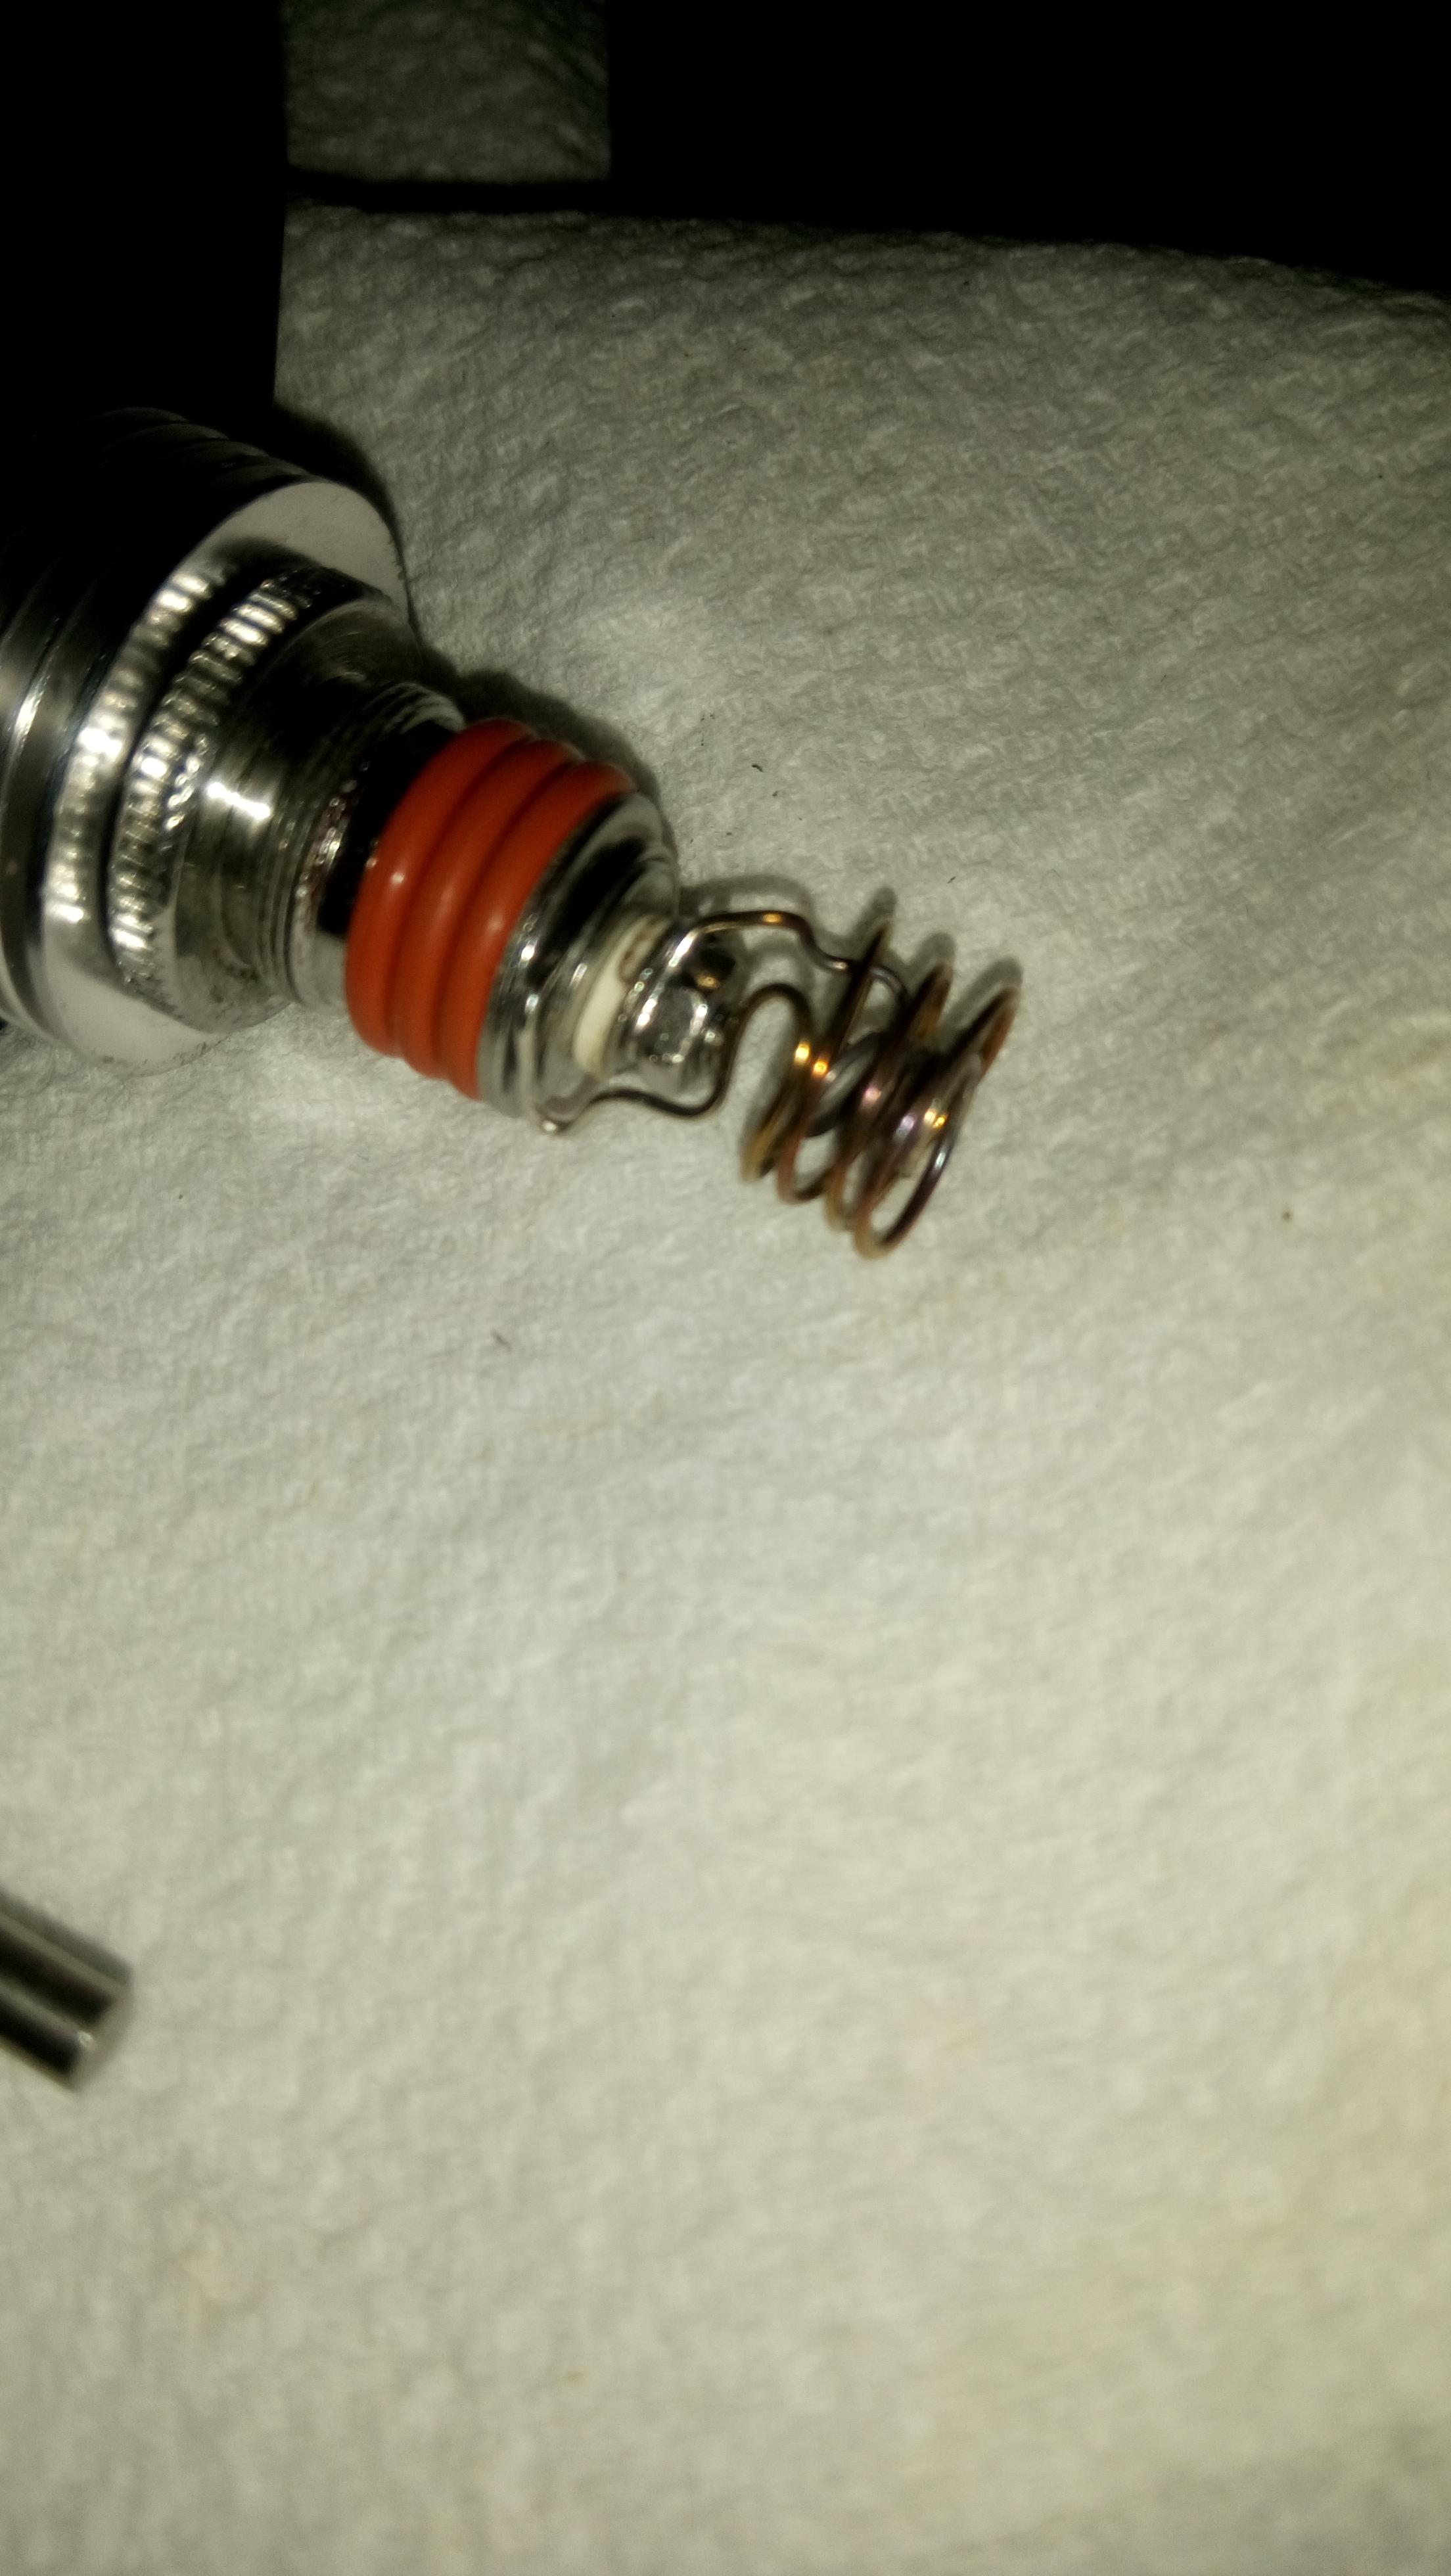
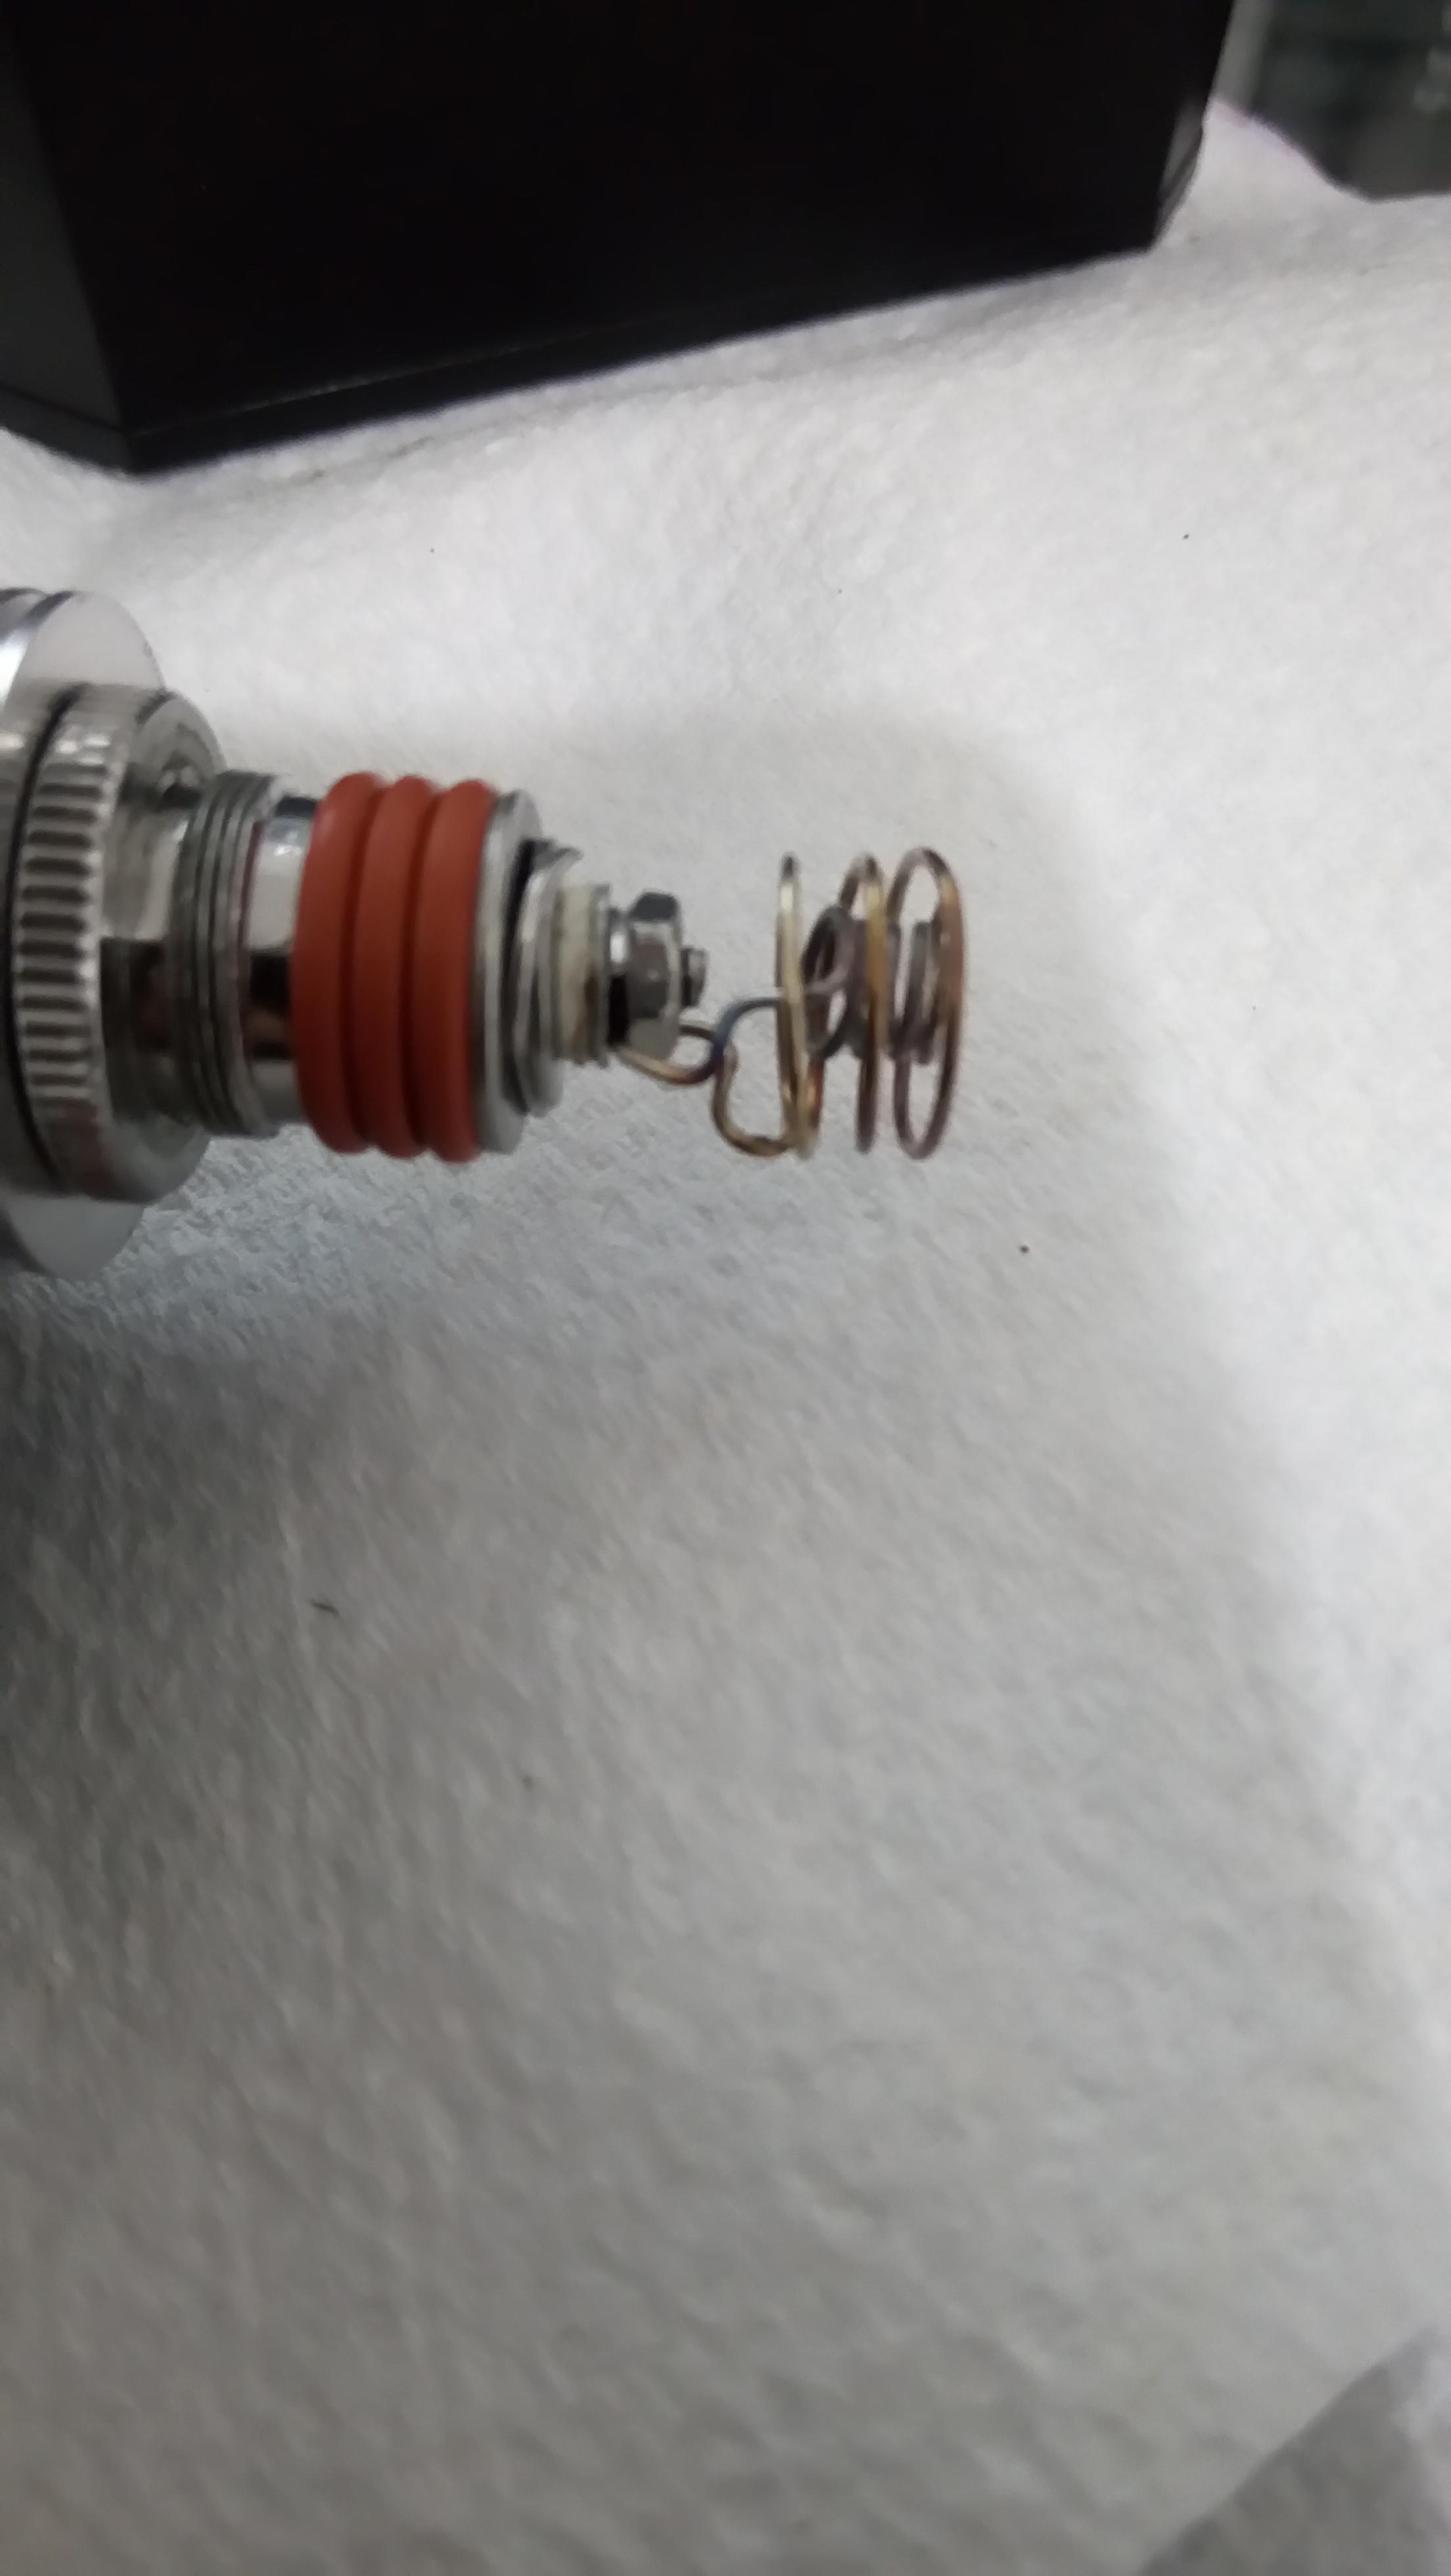
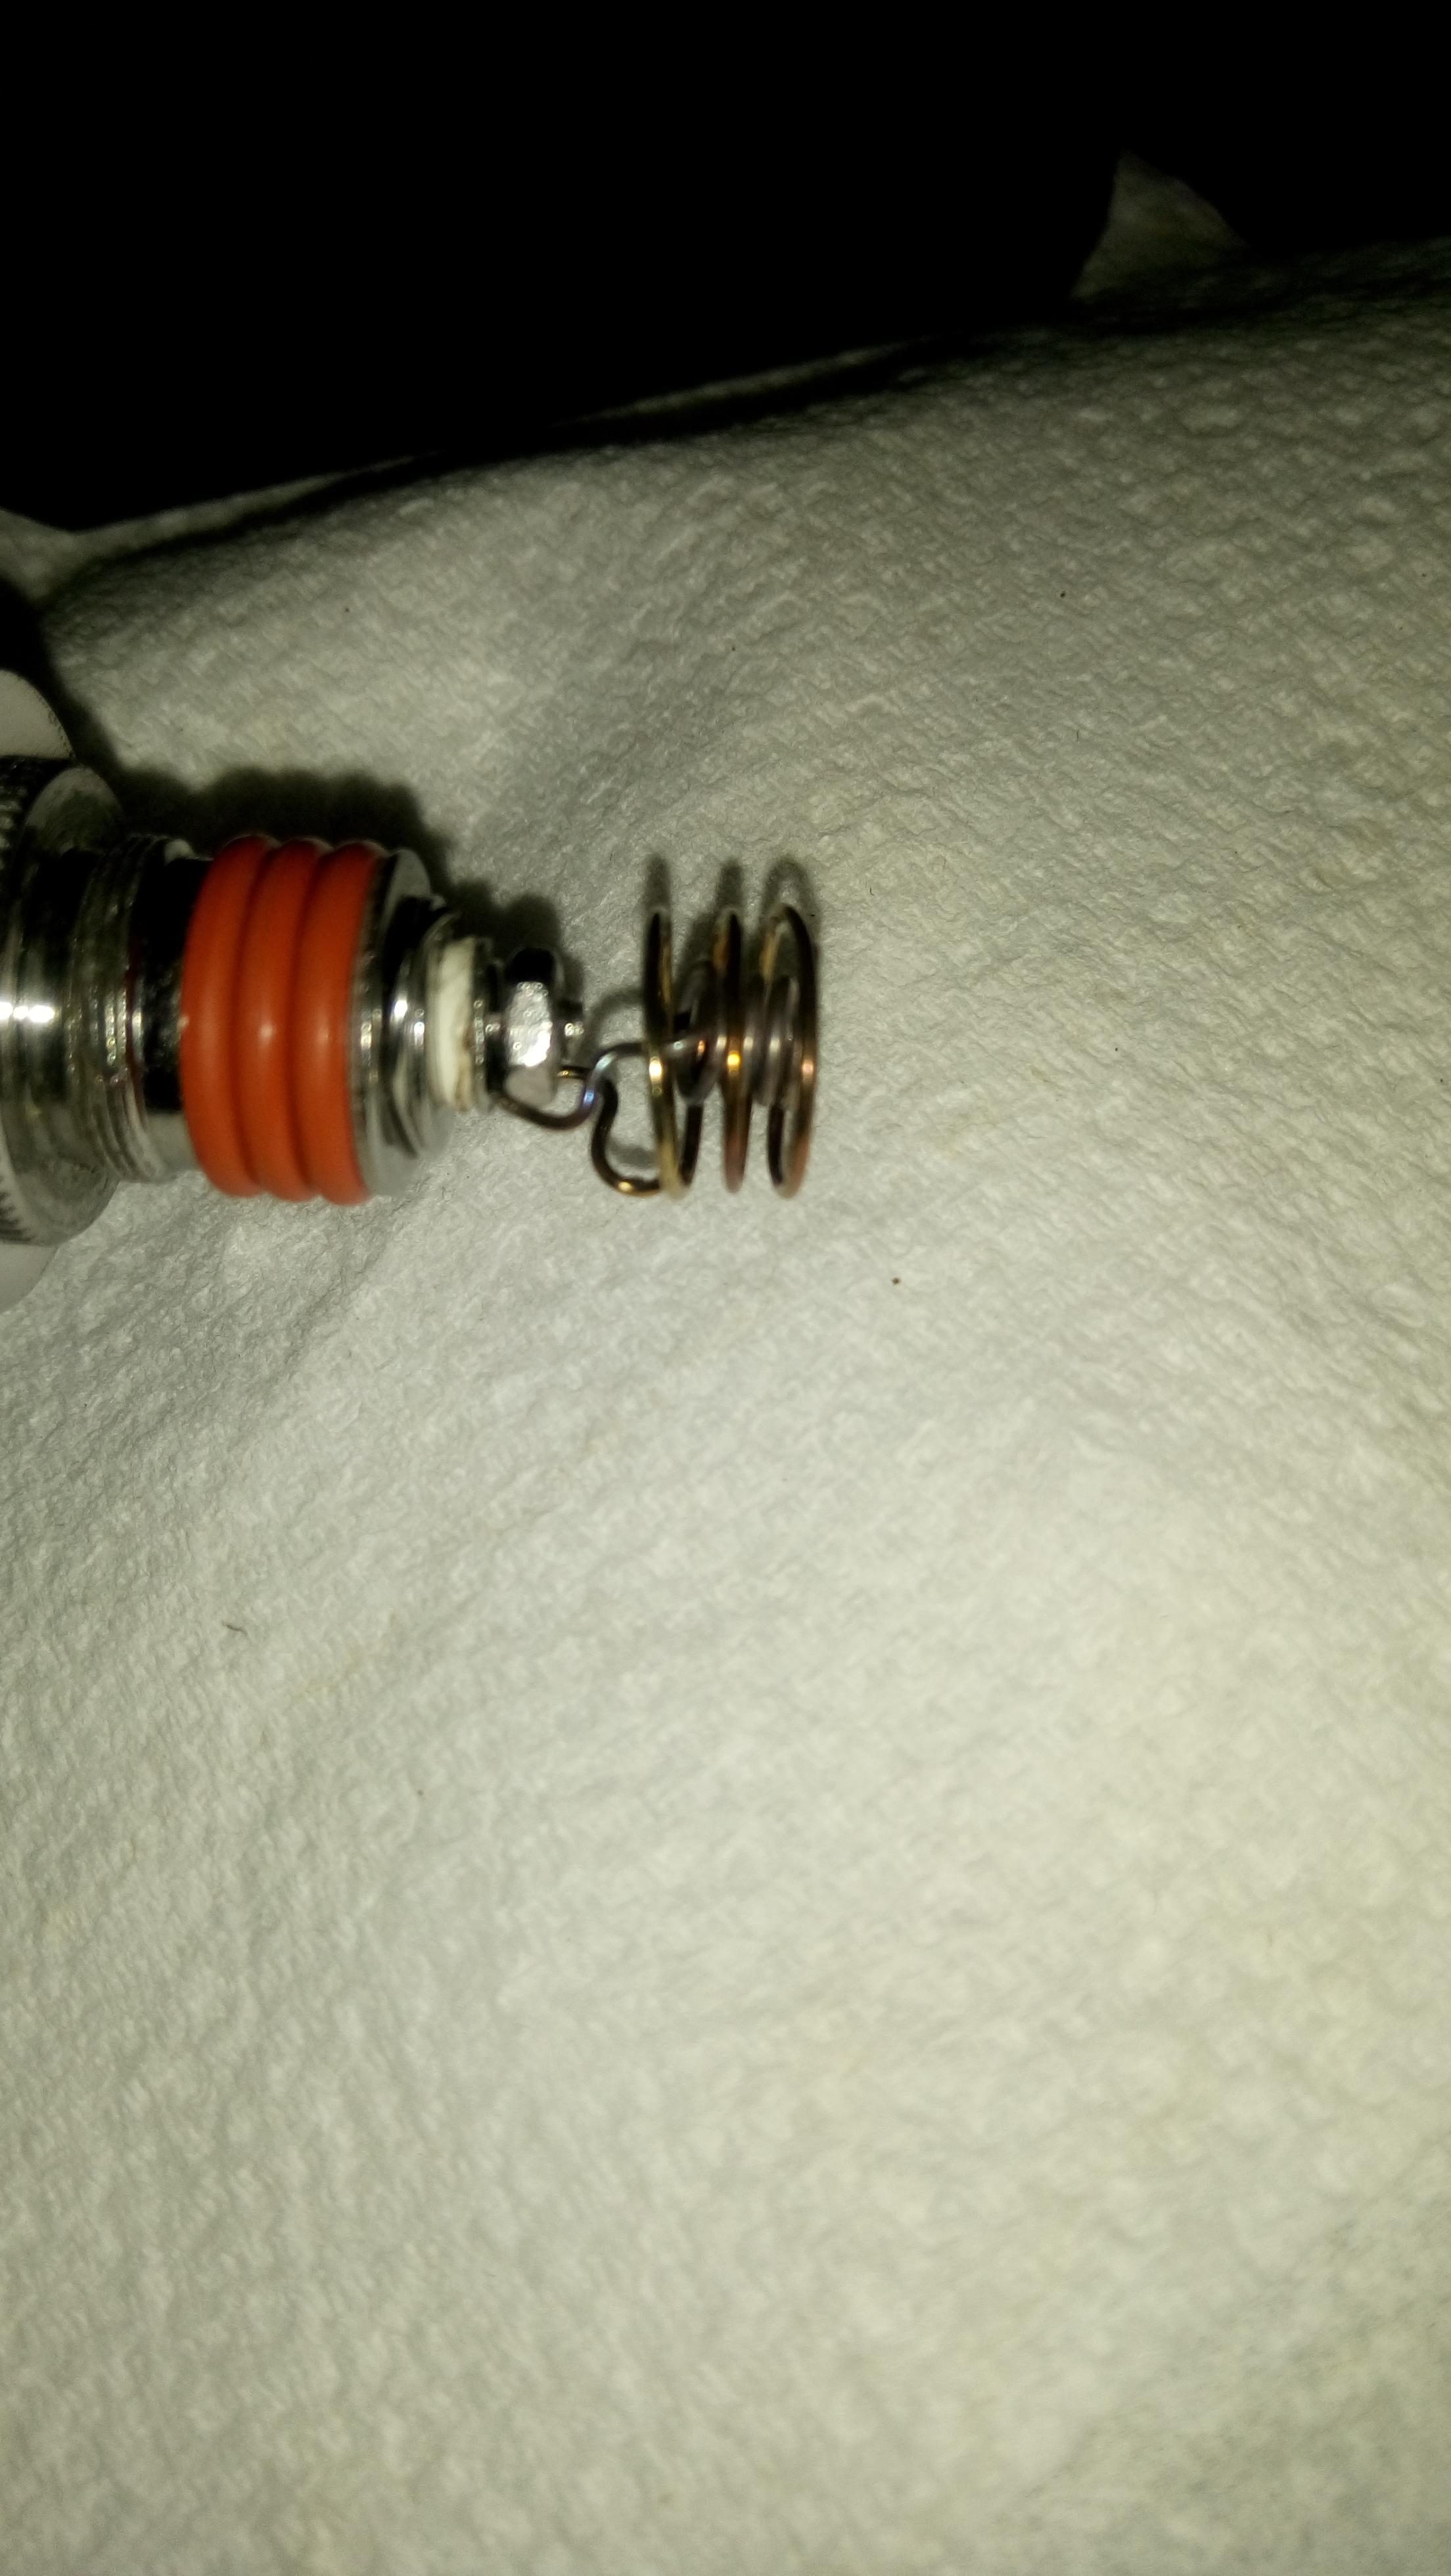
the coil is .53 and i am using now the rx200 and i am getting a litle glow at 220c , 45watts and tcr 145 , any other recomendation setting for the rx200 ?
thanks


the coil is .53 and i am using now the rx200 and i am getting a litle glow at 220c , 45watts and tcr 145 , any other recomendation setting for the rx200 ?
thanks
the coil is .53 and i am using now the rx200 and i am getting a litle glow at 220c , 45watts and tcr 145 , any other recomendation setting for the rx200 ?
thanks
Honestly my RX200 is probably my favorite mod (would be my DNA200 but need to FMA the device) Make sure you update it to the most recent update and you may want to see if ss mode is good enough for you.
I like to start my SS builds at a 120 TCR and move up from there. Honestly if you set the resistance correctly at m1 then you can go back and change the TCR value and the resistance should stay the same.
What batteries did you decide to you with the mod? I have LG4 and the 25rs and they both seem to work pretty well..
thanks for the info , i am testing tcr 125 and watt 55 right now , but not sure what i am looking for for make the right adjustment ( more heat in less temp ? , more vapor ? ) if you can help there.
when i buy the evic mini i buy 4 of this , now i need buy 2 more and another changer what can a least 1 battery so i can have a set of 3 charger all the time.
http://amzn.com/B00LL43I5S
Renthispace
Member
Thanks u bwade runner. Cool punches for screens, I usually go for the scissor option ha!
Is that the shorter airizer stem? I found it listed at http://arizer.com/store/en/arizer-air-parts-accessories/95-air-glass-aroma-tubes.html
I don't even have the project but I'm excited to play around. From your pics it looks like you cut the glass slit above the shoulder for the screen. How does that gap work with airflow? Seems like it would allow fresh air in and dillute the vapor stream?
i find this item at fasttech day maybe work as deck replacement for the project
https://www.fasttech.com/products/3028/10004860/1395707-rda-mini-rebuildable-dripping-atomizer-1-0ml
with this will more easy to install the coils and experiment more easy i think.
i will try to buy it next month because the money is tight right now ( i buy a firewood ).
https://www.fasttech.com/products/3028/10004860/1395707-rda-mini-rebuildable-dripping-atomizer-1-0ml
with this will more easy to install the coils and experiment more easy i think.
i will try to buy it next month because the money is tight right now ( i buy a firewood ).
u bwade wunner
Well-Known Member
Thanks u bwade runner. Cool punches for screens, I usually go for the scissor option ha!
Is that the shorter airizer stem? I found it listed at http://arizer.com/store/en/arizer-air-parts-accessories/95-air-glass-aroma-tubes.html
I don't even have the project but I'm excited to play around. From your pics it looks like you cut the glass slit above the shoulder for the screen. How does that gap work with airflow? Seems like it would allow fresh air in and dillute the vapor stream?
Thanks.Yes that's the one.the Arizer mouthpiece has a glass screen arrangement with 4 little holes to filter vapor through.i modded it for appearance mostly but also Replacing the glass screen with SS ncreases airflow through the vape and helps to create extra turbulence which helps to agitate and prevent hot spot in the bowl.
it works well but You still need to stir for the first few hits.
i find this item at fasttech day maybe work as deck replacement for the project
https://www.fasttech.com/products/3028/10004860/1395707-rda-mini-rebuildable-dripping-atomizer-1-0ml
with this will more easy to install the coils and experiment more easy i think.
i will try to buy it next month because the money is tight right now ( i buy a firewood ).
I have one.its really small.Im not sure it would be solid enough to take 75 watts continuously Also there is very little room for a coil,but I guess for the deck part it might work.its worth a try.we are building the wheel again here after all and having a go is what it's all about.

Last edited:

