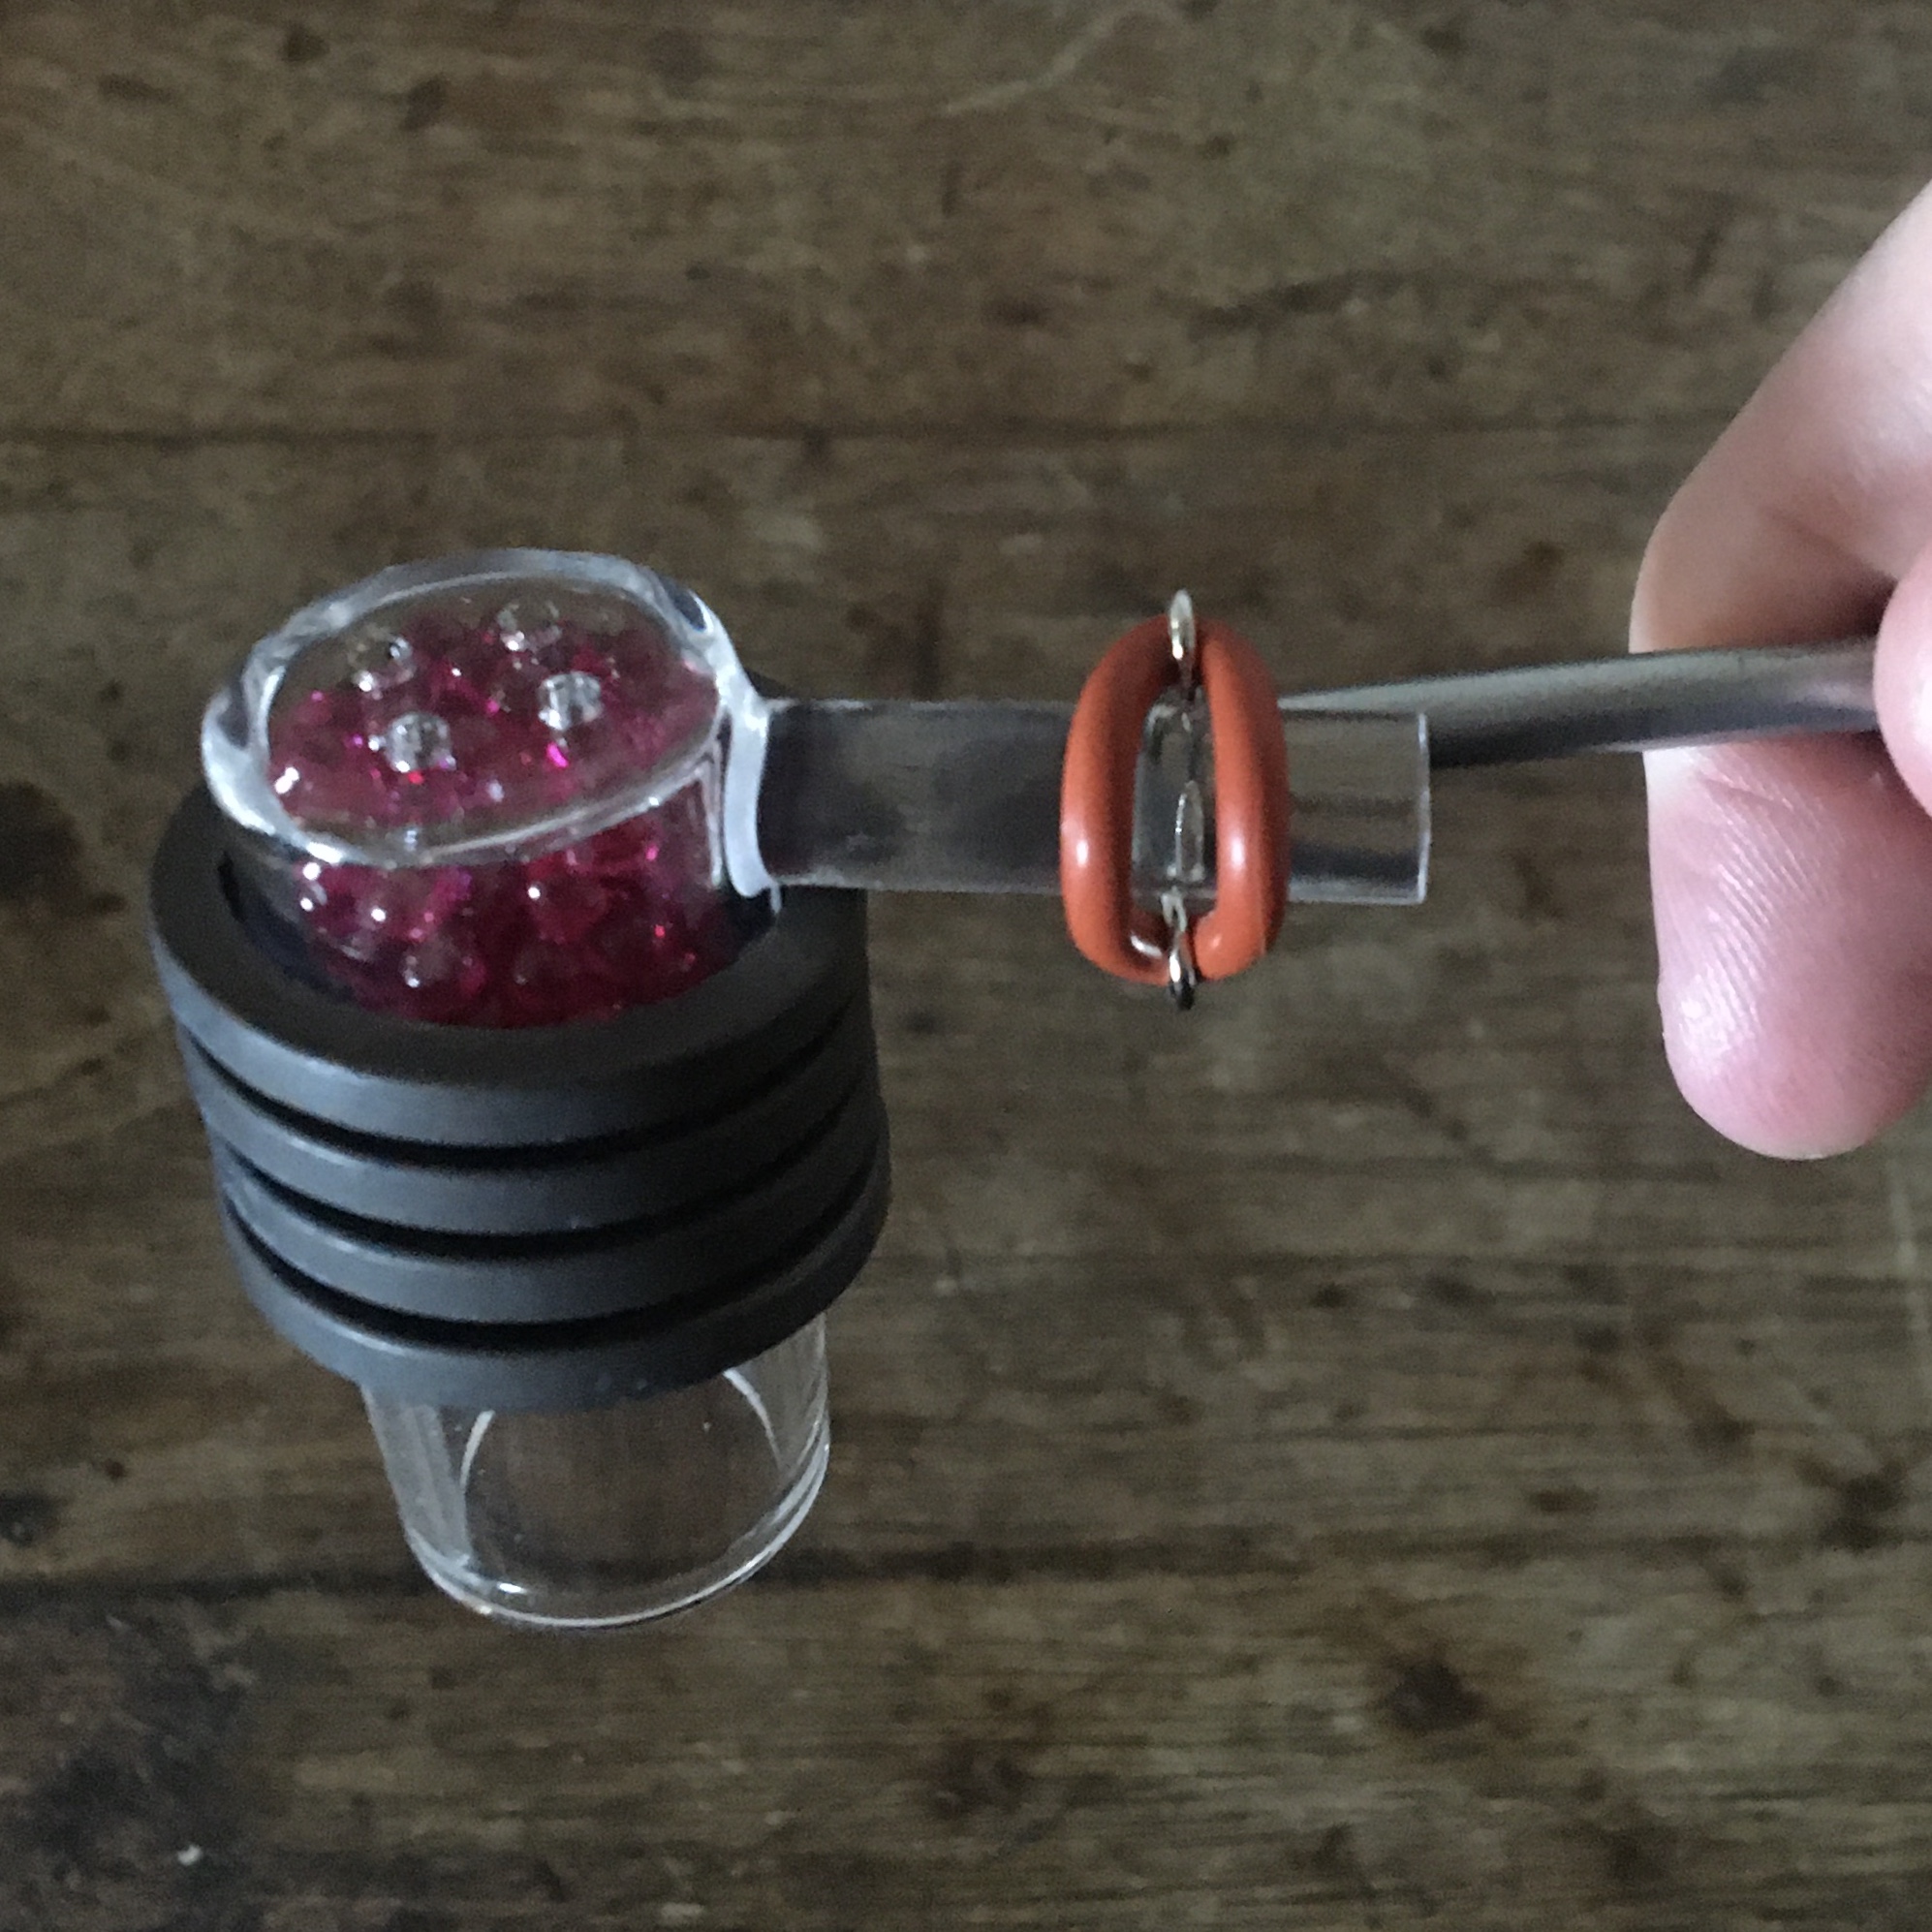
I could have accidentally mixed up the green crack with real crack at some point, but I’m 90% sure I’ve seen glass lids screwed onto glass candle jars (with a rubbery coating on the threaded area that we probably wouldn’t want). Unfortunately I can’t find one online or at home right now, so there is some chance I mixed other types of glass lids with the threaded plastic lids...

Either way, this doesn’t seem likely to be the best solution if they’re rarely produced for other purposes.
One simple thing that’s easy to find would be basically like a mason jar with a different lid. You’d just have holes in a simple flat glass top and screw down a metal ring that’s got a lip on the top but is empty in the middle. That would still leave hot metal near the air intake, but nothing directly in the air path.

With a shelf or even a little bump below the coil and a wide enough rim on the metal part you could even ditch the arm and clip.
I completely understand finishing this off as it’s already designed and just moving on in a little different direction though, especially if you have an idea you think will be better.

I really need to look into prototype manufacturing more so I can try some different things too...

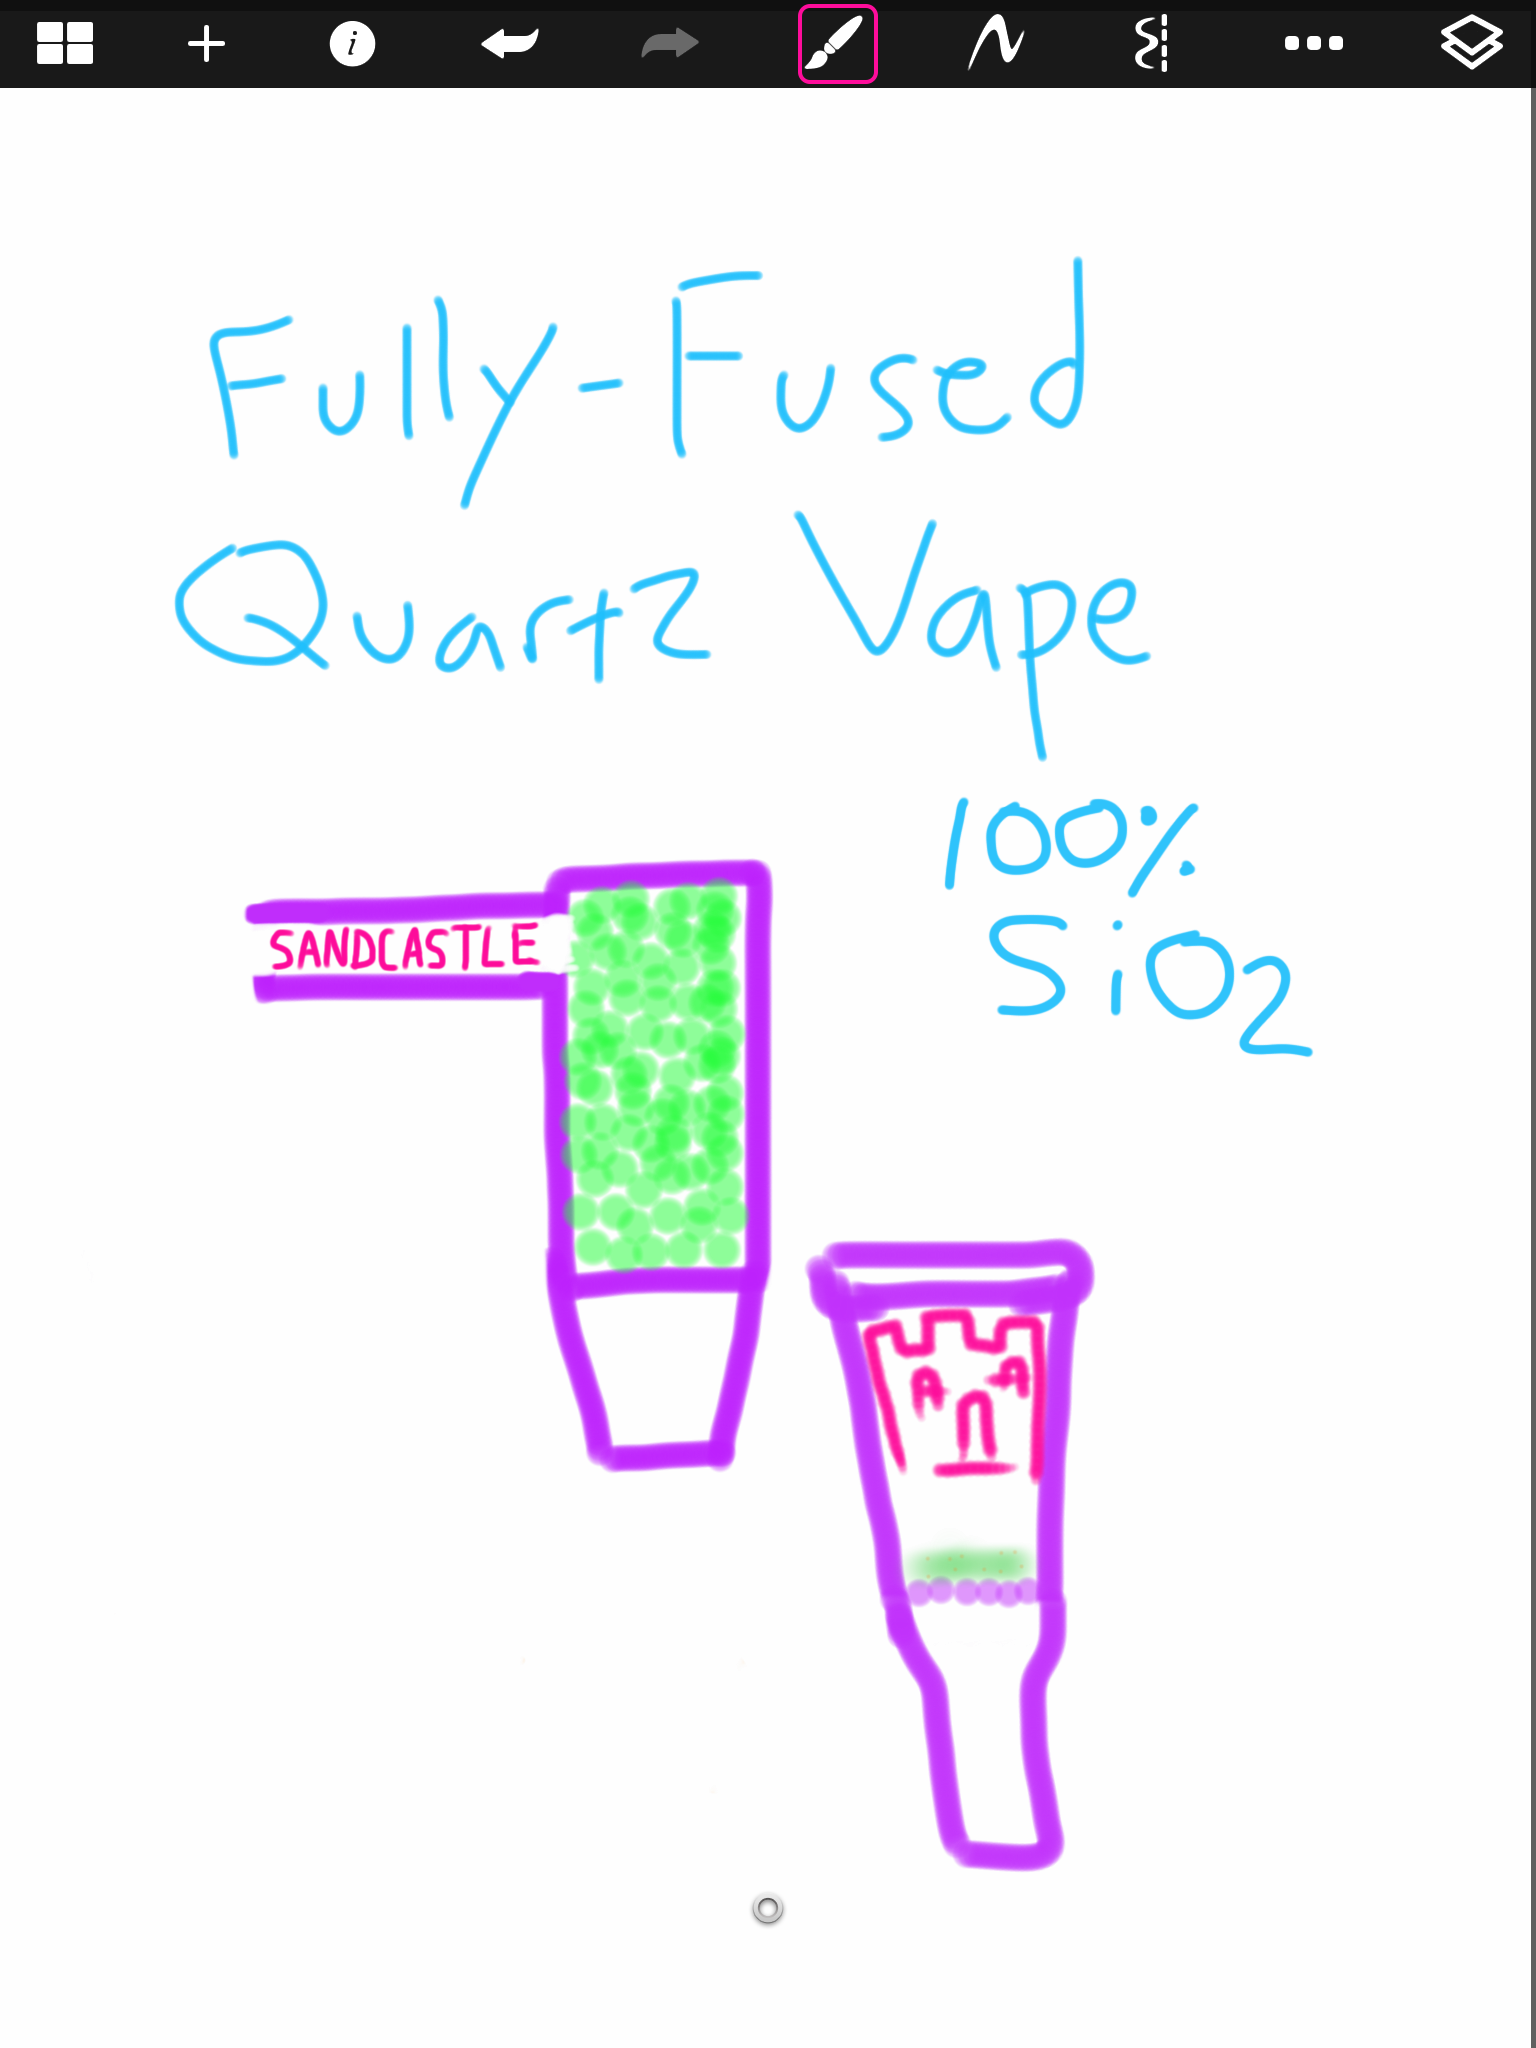
That's actually a pretty cool idea for a lid, my only reservation is since mason jars are cast, it might be harder to hit those tolerances with a hand worked part. You could machine the threads, but everything else would still need to be true, particularly the diameters. I have a feeling the machining could get expensive though. That's been the big revelation for me over the last year learning with this project, a great design that's cost prohibitive or too complicated to build is hard to get off the ground. Even this vape which looks very simple (IMO) has proven to be more complicated than I would have predicted. I think a lot of that comes from just not understanding glass design principals. Now that I have a better idea of what can be done it changes the landscape, so to speak. For example, now I can understand why the elev8r was a great design, it's done right out of stock tubing the joint is formed on, which makes it much more cost effective to build.
I focused so much on user benefits with my design - easily removable for cleaning, secure attachment, higher airflow,etc: but overlooked ease of manufacturability.
I think I also put a little too much faith in the "scientific glassblowing" - the guys are amazing and do the best they can, but it's just not capable of the ultra consistent, uber tight tolerances of a machined product, or even a handworked product like wood, where repeatability is easier to obtain. It's hard to even take a measurement when working with Quartz, if you watched the video I posted above, the woman is practically wearing a fire suit while working on her art.
Also the reality that I never really anticipated that people could just put beads in all these other vapes. I took too long and didn't rush to market and now it's not as unique as it was. Even people who mocked me for my decision to use rubies are using them now.
As far as prototyping, it runs the full spectrum. My very first design I was serious about building, which was basically a Quartz flowerpot, which is basically now the Deskpod, was around $3500 in setup and around $300 a piece. Which meant they would have likely needed to sell for around $700. The first glass prototype I posted in this thread I had built for around $40. That's when I really felt I could still compete with the elev8r. I don't think they had released the WPA only kit either yet. When I switched to Quartz everything got way more expensive.
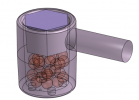
What if you moved the CNC'd holes to the bottom, and had a removable glass screen sitting on top?
Like this:
View attachment 5350
That's a pretty cool idea too!

I think the glass insert would have to be machined to fit well, the question would be if the diameters of the housing are still true enough after hot working to hold it. It seems like the easiest way to keep the tolerance is to not heat the part up at all, which was kind of my inspiration for InV2. It would lose some of the unique features of this vape for ease of manufacturing though, but maybe it would be more cost effective which would offset it, that was kind of the idea. With this vape, if the housing broke for whatever reason it would be disappointing, inV2 was based off a standard joint and the idea that if it broke, it would be a cheap and simple replacement. You can basically see that in the Herborizer Ti versus XL; Ti was designed to use super basic off the shelf glass where the XL is more complicated to build or replace.
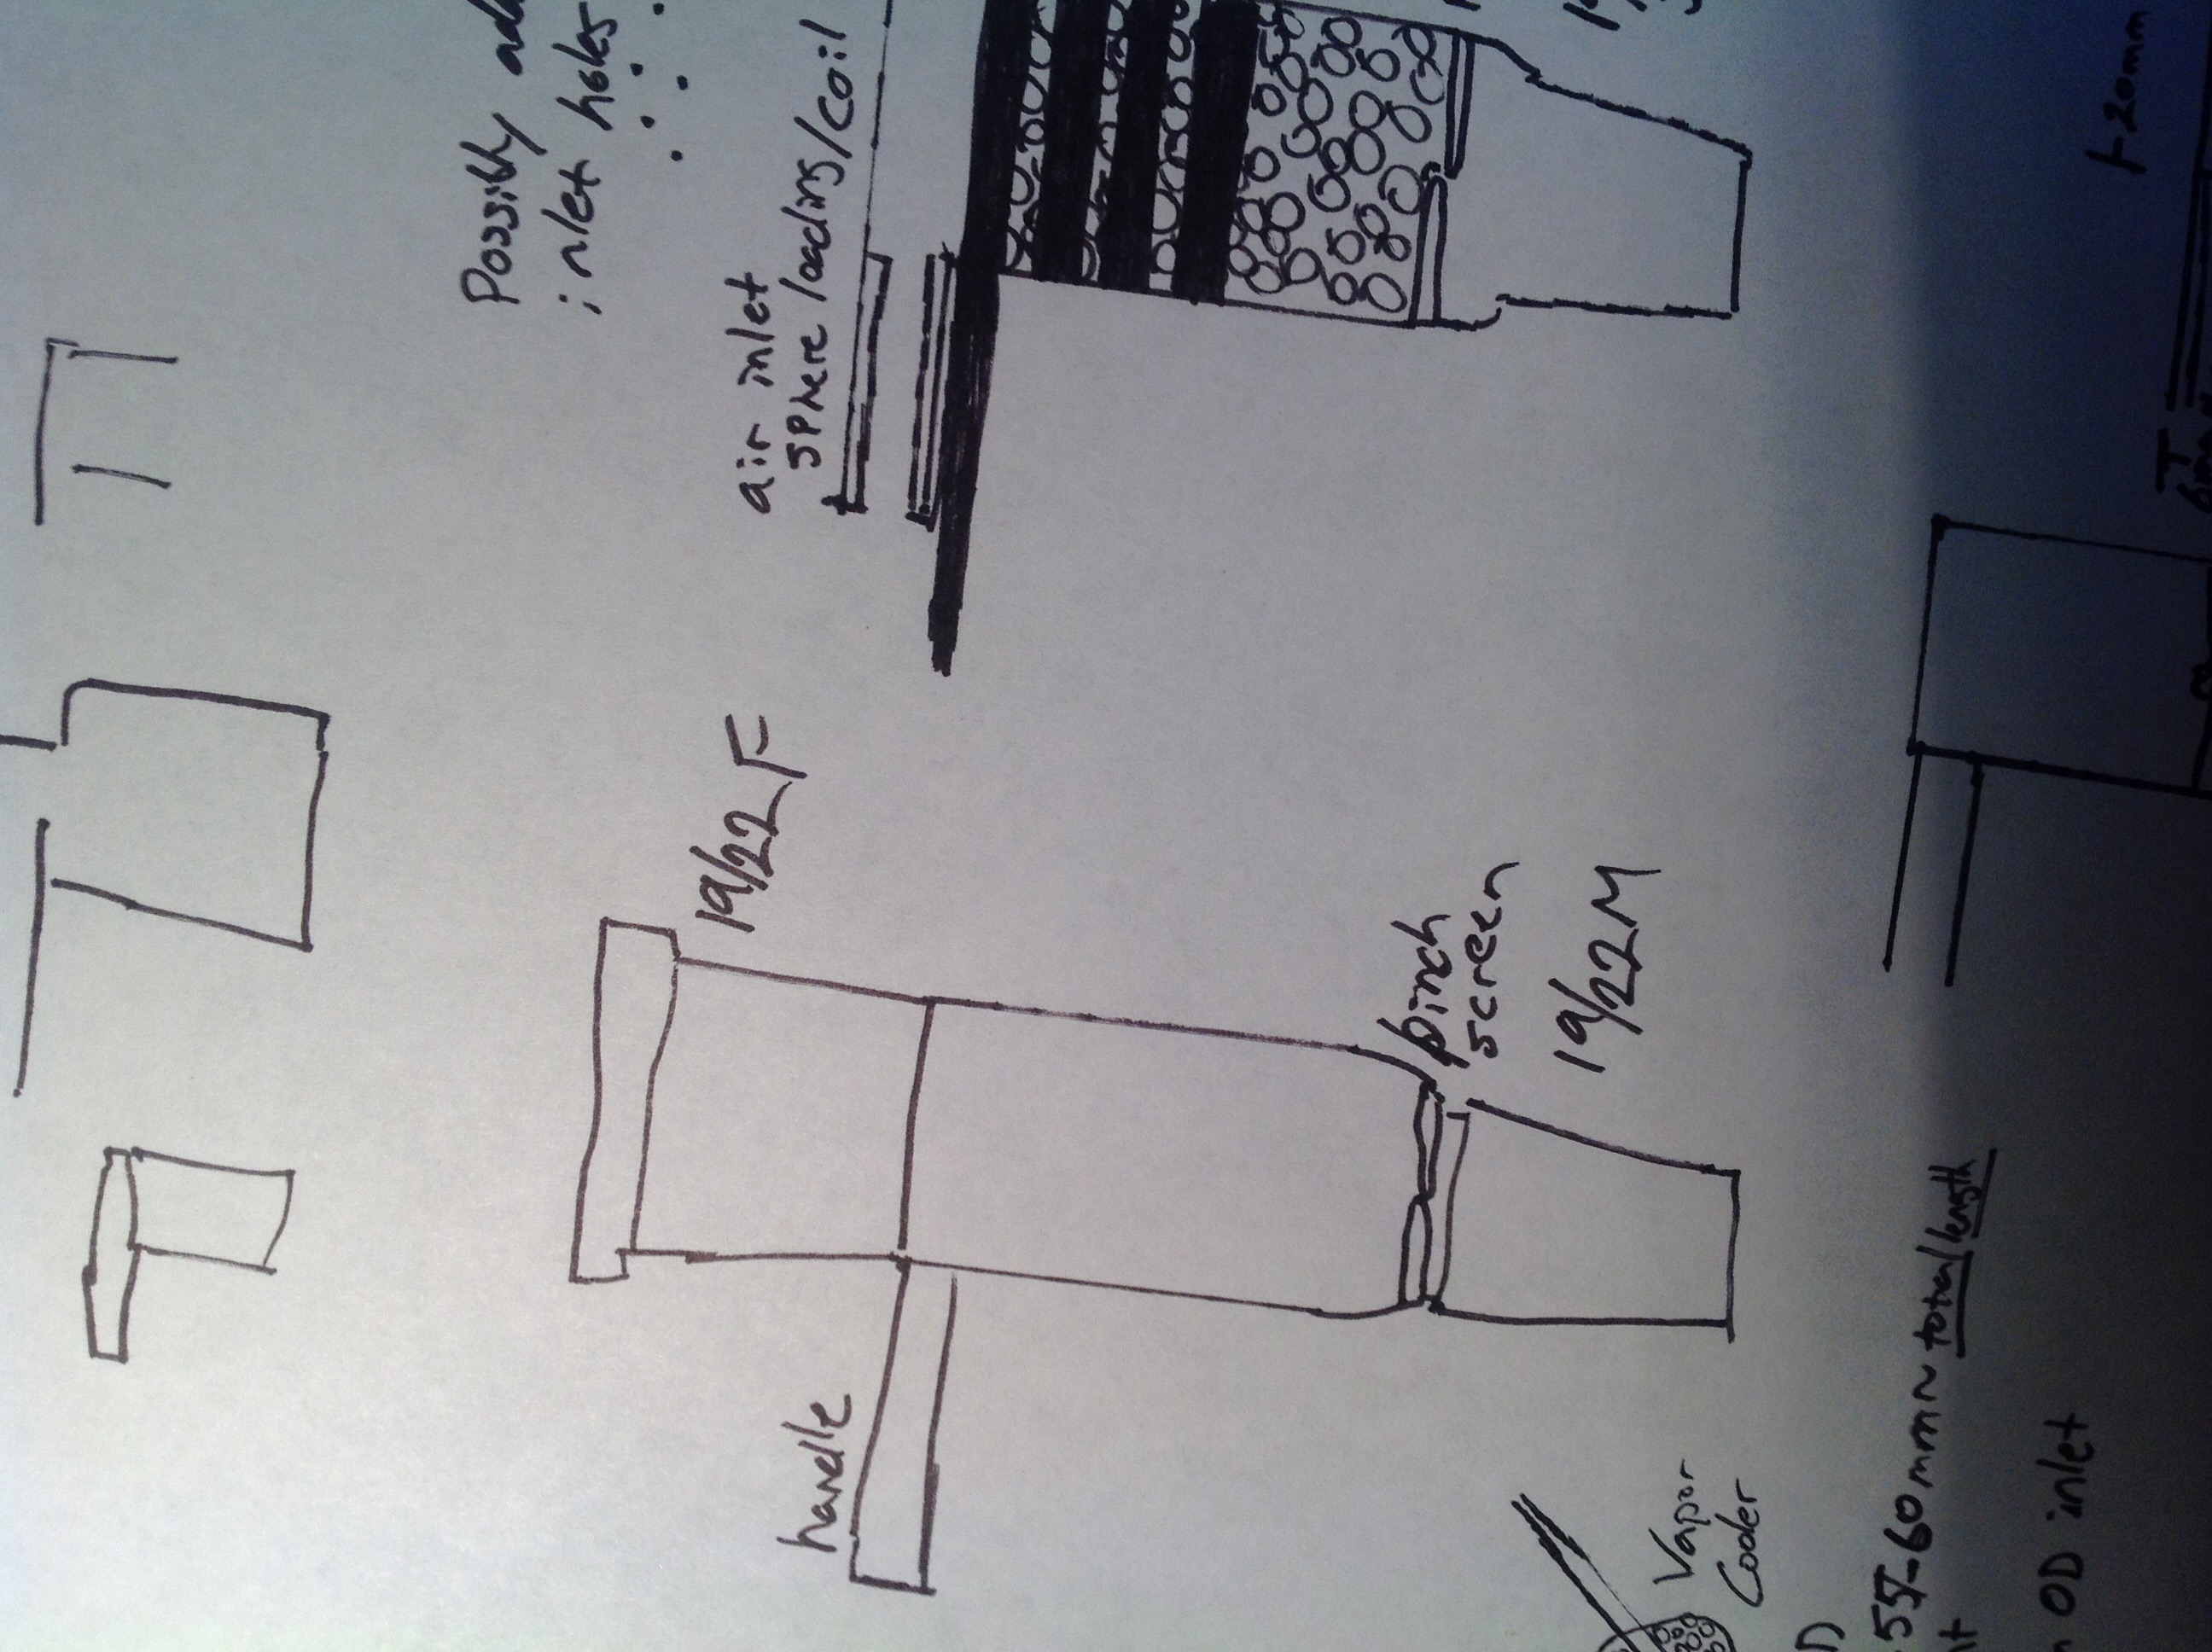
In an early, more "open source" design of this vape when I was going to use a carbon filter, the idea was the spikes would act as a screen, and the beads could be loaded from up top through the female joint, enclosed with a glass stopper with holes (Ddave sells a part like this)
and that would be secured with a Keck clip. I abandoned that idea when I figured I could reduce the footprint by over an inch and achieve the same functionality with a custom part, especially since I was looking at building a custom part anyway, since I couldn't find an off the shelf
carbon filter built to the dimensions I needed.
I can do it at that temp if I do a warm up hit and then hit it again really,really slowly.
I hate doing that so take a faster hit of around 20 seconds at 600.
No warm up draw just straight vapor,me likey.
Burned myself 3 times already and had to swap pids.
The disorderly conduction was fluctuating wildly so swapped it for the dabpress and problem solved.
No issues running another coil on the dc pid so using it for dabs.......had me scratching my head till I fingered out das issue.
Did you burn yourself on the coil? I would like to eventually drop the coil with this vape, got a few ideas but nothing set in stoned.
This one is ripping pretty easily as long as the screen is in the right spot. Since the joint doesnt quite sit in the bowl the vapor stream is still further away from the load then it would ideally be. I can push the screen damn near to the top like a basket screen though, as I did in my last video and that brings the vapor on pretty quickly.


