How to use a digital e-nail to vaporize dry herbs (convection)

Xymas_Snarlmo

New Member
Hello all!!! Brand new to FC as of today, and this is my first novel (lol)

So right down to it.

Tools needed;
--e-nail/d-nail (digital preferably)
--flat coil heater (for e-nail)
--Universal grade 2 Ti nail
--Snug fitting carb cap with removable dabber and limited airflow (preferably metallic/Gr2Ti)
--18mm male to 14mm female reducer adapter
--Bucket screens (from Arizer EQ)
--18mm male to male glass adapter
(Only one side has to be 18mm male)
--Cyclone bowl with screen
(from Arizer EQ)
--Medium~large water pipe
--Something stable and heat resistant with an applicable glass joint (to hold the hot nail when not in use)
----////----

Ok here goes nothing.

Basically it started out with a thought. Why do we use water pipes when vaping concentrates?? To cool the vapor down of course!! But why is it hot?? The red hot nail of course!!...so then even the air that passes through the nail is pretty hot...get it yet? Yeah well I wasn't getting it...not yet at least. Not until my dumb a$$ held my palm over my Arizer EQ on first fan power at 500f. Got a nice burn at a decent distance. At that point I knew everything I needed to know about convection lol I didn't even need to get near it or even touch it (conduction) to get burnt...So I figured why not put some dry herbs directly underneath the hot Ti nail.

And boom...clouds. Instantly (once I nailed the temp and configuration of the nail down of course)

Really wish I knew how to put pics in but alas...

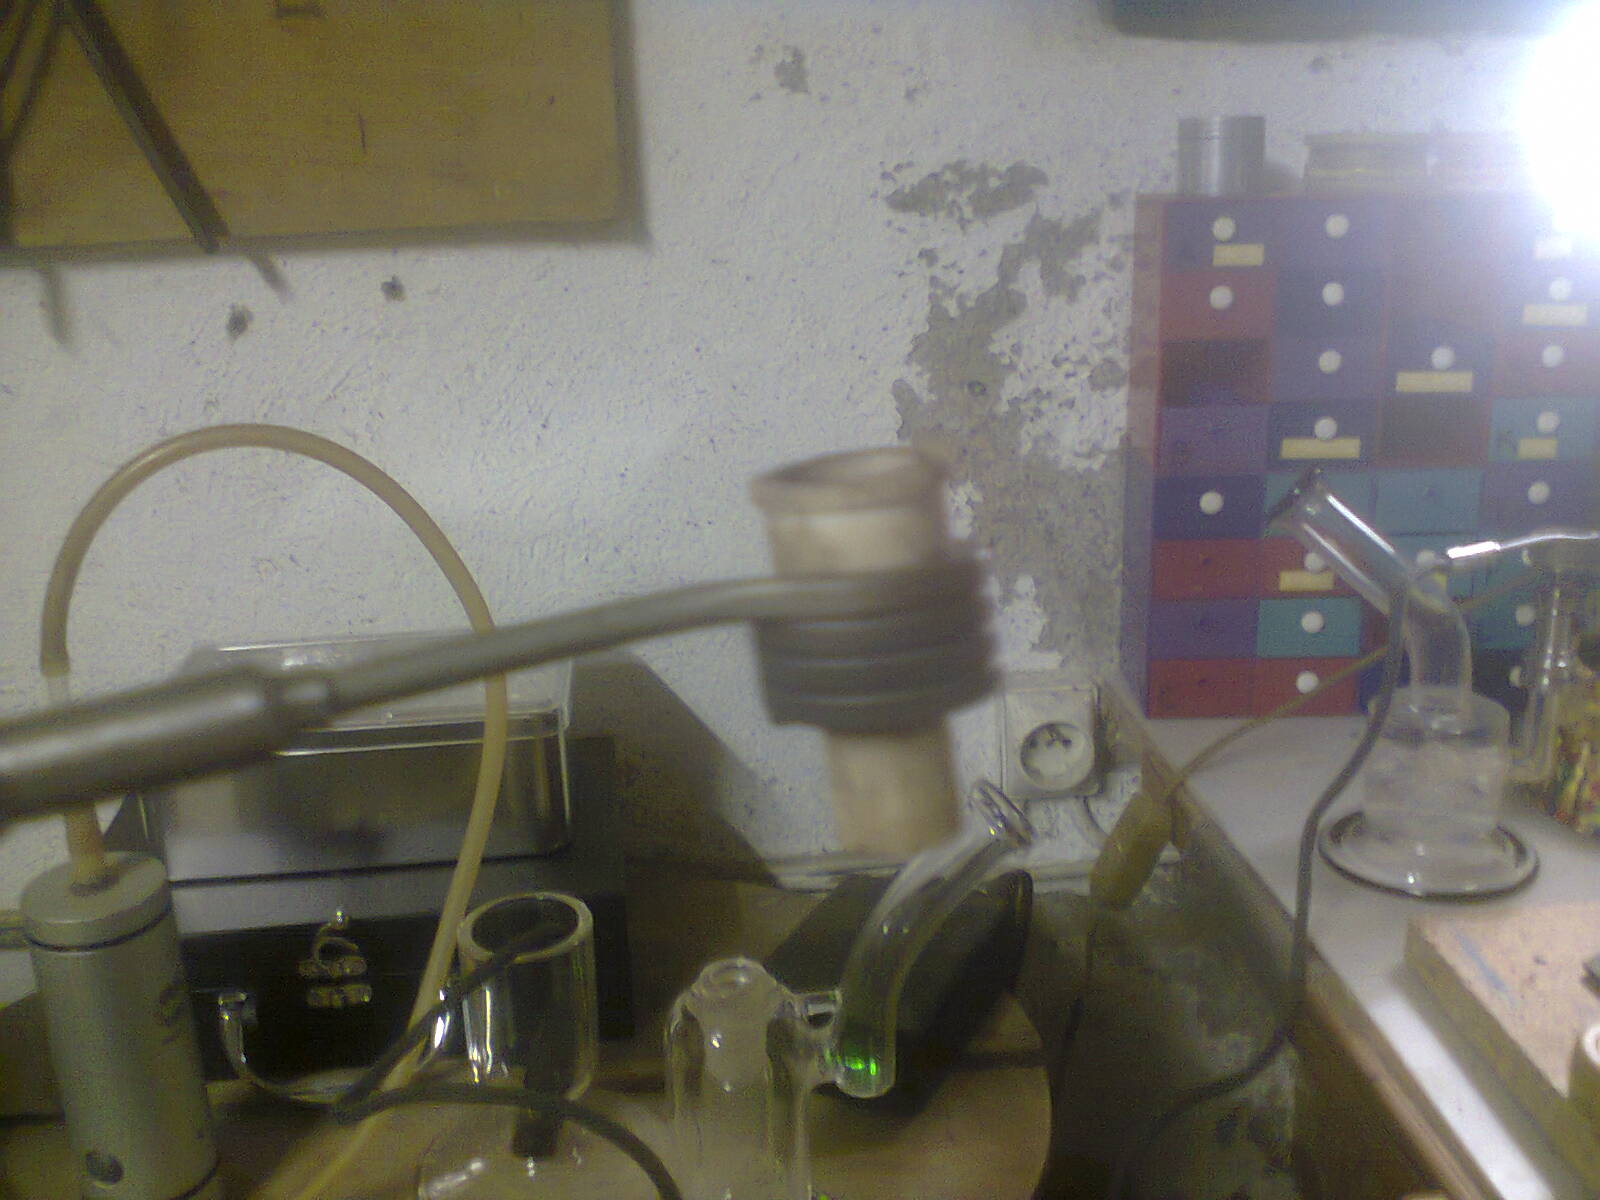
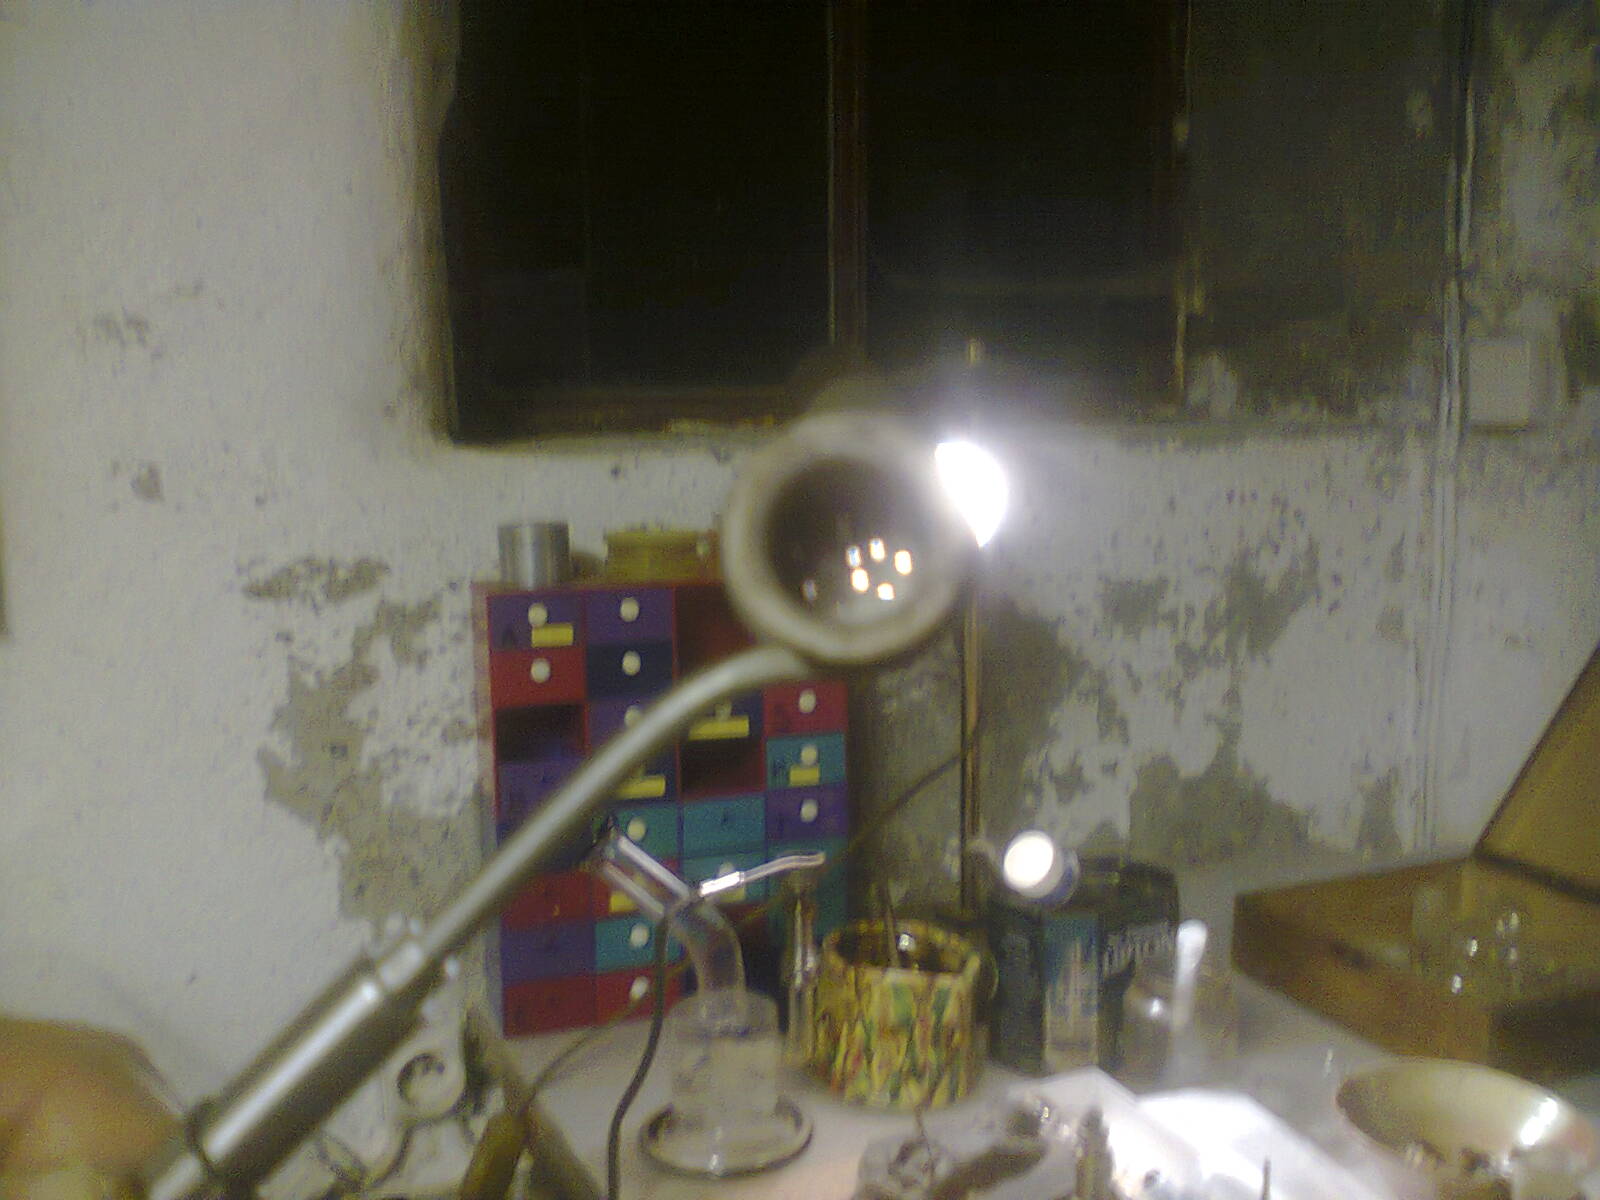
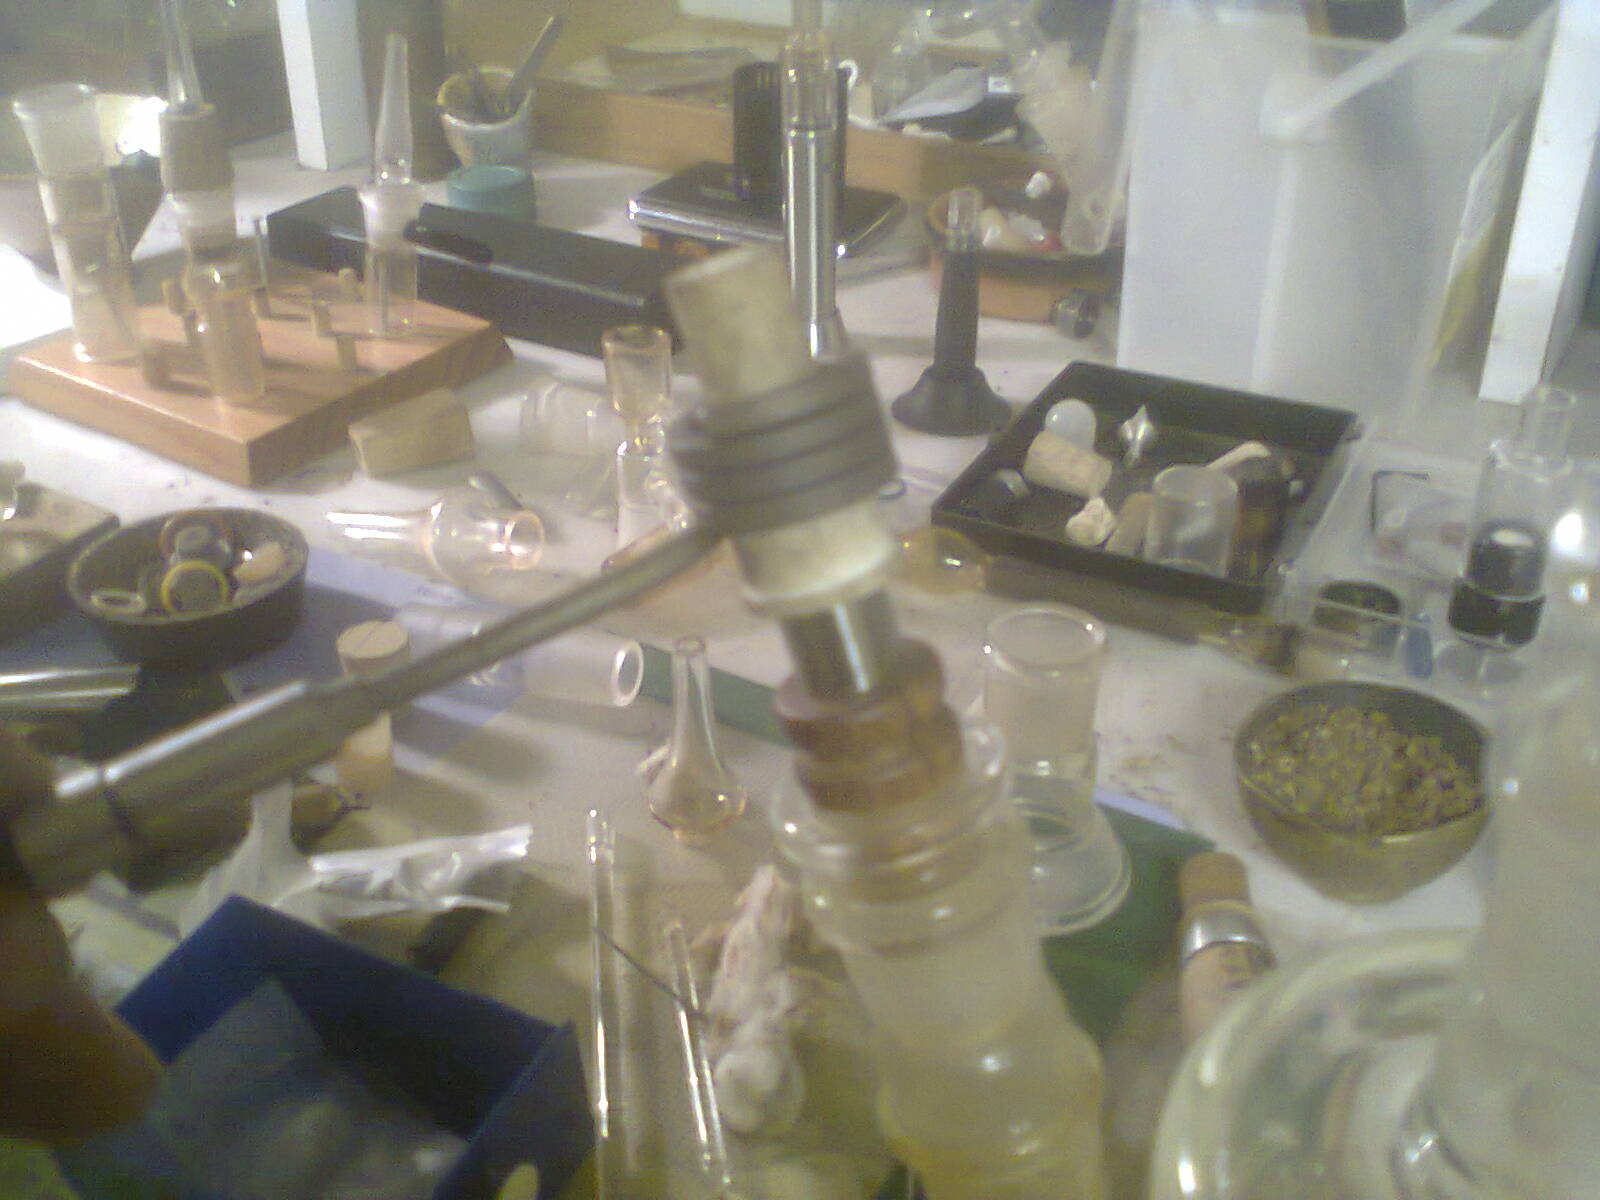
Firstly I've found the configuration of the nail/carb cap is pretty key. I have a 5 piece universal Ti nail and matching carb cap with threaded dabber. Starting with a fully disassembled nail, take the threaded center "stem" and screw on the largest dish to the center of the "stem". Now place the carb cap (with the dabber removed) on top of the "stem", and move that large dish (flat side pointing down) so that it's just flush with the carb cap. Now move that large dish up towards the carb cap like another 1/4~1/3 turn. Basically that center "stem" should sit just short of touching the inside of the carb cap while it rests on the large top dish. Next, underneath of the large dish goes the flat coil. Then, the smaller dish under the coil (flat side pointed down) then, the male adapter piece (14mm pointed down) now if done correctly you should be left with a tiny overhang on the bottom of the nail with just enough threading exposed to thread the female adapter onto the center "stem" on the bottom. The carb cap stays on at all times when using the nail to vape dry herbs. For both methods the carb cap must be at the same temp as the rest of the nail so just heat up the nail with the carb cap on.

It seems as though the tall center "stem" inside the carb cap and the carb cap itself act as a convection chamber (if that makes any sense) and the rest of the heated body of the nail that the air passes through further heats the air. (Convection!!!!!)


The 2 main ways I use the nail to vape dry herbs both utilize convection, but one of the 2 seems semi conductive as well. The other seems to be solely convection both however require slow initial draws to get going, then you can pull a lil harder to milk it up.

Semi conduction style vaping. (Keep carb cap on at all times)

Temps used
Starting at 600f. When flavor or overall quality of vapor tapers, stir, then step up to 630f~650f to finish it off.

I use the standard cyclone bowl that comes with the Arizer EQ, a stock screen, with the black plastic heat protection strip stripped off. I loosely fill the chamber up to the bottom of the glass joint, then I drop in a reducer adapter (18mm male to 14mm female) on top. Simply use the cyclone bowl as a slide for your favorite water pipe and insert the nail into the reducer adapter and start pulling. It takes about a lungful of pulling before the vapor appears, but if the heating element (nail) is left in contact with cyclone bowl, subsequent heat ups/clouds appear quicker, easier, and more dense...over time.


Mainly convection style vaping (so it would seem)
(Keep carb cap on at all times)

Temps used
500f~550f for some intense pure flavor. Or 585f~600f for a really tasty heady start, after 2nd full-lungful finish off at 630f, or start and finish on 630f for like 3 massive, really heady, and pretty tasty puffs. Or try starting out at 500f, take 2 full-lungful(s) of vapor, step up to 585f, take 2 full-lungful(s), and then step it up to 630f to finish it off.

So this one is my favorite. All around. It's basically elbow packing. I use a male to male glass adapter (business end must be 18mm male) use whatever, so long as it works. I push in a bucket/basket screen that came stock with my Arizer EQ into the 18mm male glass adapter. The screen gets lightly packed via sucking in a lil dry herb and then lightly tamping it down until it stays put. Use the glass adapter with packed screen as a slide for your water pipe (side with the bucket screen pointed out). Screw on the female adapter to your Ti nail and allow it to come to temp. Now all that you need to do is place the (now female) nail over the adapter with packed screen (now in extremely close proximity to the hot nail) and in the first pull you should begin to see and taste the first vapor...it's almost instant. With this method I prefer taking the nail off after every puff and put it onto another water pipe I have to keep it at the ready. No stirring is necessary although I suppose to ensure full and even vaporization perhaps dumping the dry herbs out and re-packing/tamping them should work and be easy enough.


And now the best part. If you can manage to extend the space between the dried herb and the nail, like a lot...then you'll be able to take a dab or 2 at a pleasant temp without vaping too much if any of your dry herbs. Instead you'll be using the dry herbs as a filter for the dabs so that when you go to vape the dry herbs they will last longer and be that much more potent!!!

Assemble this if you can/understand my ramblings and tell me what you think. All criticism within reason welcome. Any suggestions are encouraged, and please post any similar ideas or tweaks to mine that you may have. And lastly a disclaimer, a lot of this is heavily opinionated. Keep that in mind. I'm no college graduate or anything lol so I might not know what I'm talking about :D
 

herbivore21

Well-Known Member
Hello all!!! Brand new to FC as of today, and this is my first novel (lol)

So right down to it.

Tools needed;
--e-nail/d-nail (digital preferably)
--flat coil heater (for e-nail)
--Universal grade 2 Ti nail
--Snug fitting carb cap with removable dabber and limited airflow (preferably metallic/Gr2Ti)
--18mm male to 14mm female reducer adapter
--Bucket screens (from Arizer EQ)
--18mm male to male glass adapter
(Only one side has to be 18mm male)
--Cyclone bowl with screen
(from Arizer EQ)
--Medium~large water pipe
--Something stable and heat resistant with an applicable glass joint (to hold the hot nail when not in use)
----////----

Ok here goes nothing.

Basically it started out with a thought. Why do we use water pipes when vaping concentrates?? To cool the vapor down of course!! But why is it hot?? The red hot nail of course!!...so then even the air that passes through the nail is pretty hot...get it yet? Yeah well I wasn't getting it...not yet at least. Not until my dumb a$$ held my palm over my Arizer EQ on first fan power at 500f. Got a nice burn at a decent distance. At that point I knew everything I needed to know about convection lol I didn't even need to get near it or even touch it (conduction) to get burnt...So I figured why not put some dry herbs directly underneath the hot Ti nail.

And boom...clouds. Instantly (once I nailed the temp and configuration of the nail down of course)

Really wish I knew how to put pics in but alas...

Firstly I've found the configuration of the nail/carb cap is pretty key. I have a 5 piece universal Ti nail and matching carb cap with threaded dabber. Starting with a fully disassembled nail, take the threaded center "stem" and screw on the largest dish to the center of the "stem". Now place the carb cap (with the dabber removed) on top of the "stem", and move that large dish (flat side pointing down) so that it's just flush with the carb cap. Now move that large dish up towards the carb cap like another 1/4~1/3 turn. Basically that center "stem" should sit just short of touching the inside of the carb cap while it rests on the large top dish. Next, underneath of the large dish goes the flat coil. Then, the smaller dish under the coil (flat side pointed down) then, the male adapter piece (14mm pointed down) now if done correctly you should be left with a tiny overhang on the bottom of the nail with just enough threading exposed to thread the female adapter onto the center "stem" on the bottom. The carb cap stays on at all times when using the nail to vape dry herbs. For both methods the carb cap must be at the same temp as the rest of the nail so just heat up the nail with the carb cap on.

It seems as though the tall center "stem" inside the carb cap and the carb cap itself act as a convection chamber (if that makes any sense) and the rest of the heated body of the nail that the air passes through further heats the air. (Convection!!!!!)


The 2 main ways I use the nail to vape dry herbs both utilize convection, but one of the 2 seems semi conductive as well. The other seems to be solely convection both however require slow initial draws to get going, then you can pull a lil harder to milk it up.

Semi conduction style vaping. (Keep carb cap on at all times)

Temps used
Starting at 600f. When flavor or overall quality of vapor tapers, stir, then step up to 630f~650f to finish it off.

I use the standard cyclone bowl that comes with the Arizer EQ, a stock screen, with the black plastic heat protection strip stripped off. I loosely fill the chamber up to the bottom of the glass joint, then I drop in a reducer adapter (18mm male to 14mm female) on top. Simply use the cyclone bowl as a slide for your favorite water pipe and insert the nail into the reducer adapter and start pulling. It takes about a lungful of pulling before the vapor appears, but if the heating element (nail) is left in contact with cyclone bowl, subsequent heat ups/clouds appear quicker, easier, and more dense...over time.


Mainly convection style vaping (so it would seem)
(Keep carb cap on at all times)

Temps used
500f~550f for some intense pure flavor. Or 585f~600f for a really tasty heady start, after 2nd full-lungful finish off at 630f, or start and finish on 630f for like 3 massive, really heady, and pretty tasty puffs. Or try starting out at 500f, take 2 full-lungful(s) of vapor, step up to 585f, take 2 full-lungful(s), and then step it up to 630f to finish it off.

So this one is my favorite. All around. It's basically elbow packing. I use a male to male glass adapter (business end must be 18mm male) use whatever, so long as it works. I push in a bucket/basket screen that came stock with my Arizer EQ into the 18mm male glass adapter. The screen gets lightly packed via sucking in a lil dry herb and then lightly tamping it down until it stays put. Use the glass adapter with packed screen as a slide for your water pipe (side with the bucket screen pointed out). Screw on the female adapter to your Ti nail and allow it to come to temp. Now all that you need to do is place the (now female) nail over the adapter with packed screen (now in extremely close proximity to the hot nail) and in the first pull you should begin to see and taste the first vapor...it's almost instant. With this method I prefer taking the nail off after every puff and put it onto another water pipe I have to keep it at the ready. No stirring is necessary although I suppose to ensure full and even vaporization perhaps dumping the dry herbs out and re-packing/tamping them should work and be easy enough.


And now the best part. If you can manage to extend the space between the dried herb and the nail, like a lot...then you'll be able to take a dab or 2 at a pleasant temp without vaping too much if any of your dry herbs. Instead you'll be using the dry herbs as a filter for the dabs so that when you go to vape the dry herbs they will last longer and be that much more potent!!!

Assemble this if you can/understand my ramblings and tell me what you think. All criticism within reason welcome. Any suggestions are encouraged, and please post any similar ideas or tweaks to mine that you may have. And lastly a disclaimer, a lot of this is heavily opinionated. Keep that in mind. I'm no college graduate or anything lol so I might not know what I'm talking about :D
I've discovered very similar results using a SiC halo a few months back when the heater died on my main driver - it works very well. You can do this with a torch too!
 
herbivore21,

Xymas_Snarlmo

New Member
I've discovered very similar results using a SiC halo a few months back when the heater died on my main driver - it works very well. You can do this with a torch too!

That's awesome!! Yeah I first did it with a torch and ceramic domeless nail inside of the cyclone bowl. But, the first nail cracked (no biggie) and then the cyclone bowl cracked (major biggie) :/ got both too hot too fast (separate instances)
 
Xymas_Snarlmo,

Tommy10

Well-Known Member
Yea have loved playing around with glass and torch, haven't got a digital nail yet as concentrates are not an option here, looks like a good way to Vaporbong!
 
Tommy10,

Xymas_Snarlmo

New Member
:brow::brow:
Yea have loved playing around with glass and torch, haven't got a digital nail yet as concentrates are not an option here, looks like a good way to Vaporbong!

Cool!! When I was using a torch and nail at first to try this dry herb vape concept out I found that a decent amount of the time the dry herbs began to combust rather early on in the "session" so please keep me posted if you conquer that, and how!!
(My ceramic nail and glass cyclone bowl both cracked as well so don't use anything too expensive lol)

And just a heads up, i think almost any dry herbs with trichomes such as lavender, mint, and others :brow: can be sifted over screens or in an herb grinder with a screen to remove some of the trichomes and then just look up ROSIN and apply that method to said trichomes. You could even just use the dry herbs themselves and ROSIN them. Although I find that way,
way more wasteful and way less clean. However it is way more flavorful and in every way more full bodied. Way lower return as compared to trichome ROSIN should be expected. But yeah that's a really handy way to get almost any aromatic herbal material with trichomes, 'concentrated' but due to heat/pressure you wind up losing some of the more volatile/delicate aromatic qualities of the herbs used during extraction.
 
Xymas_Snarlmo,

PPN

Volute of Vapor
This way to use my enail interested me since a while but never took the time to proceed to a proper testing. Here my setup: a 16mm barrel coil and a ceramic part from a old butane portable vape called Dragon Vape, this ceramic part fit tightly in the coil. The bowl is Stainless steel with a WonG to connect to a water tool, the bowl slide in the ceramic heated part.

I used a 750°F setting first cause I read it is the setting used with the Eerlectric herb nail...but it was too hot for my setup but I didn't combusted, I actually lowered my temp to 725 and I whitewall my bubbler like crazy with still a bit too dark abv but a great taste, that's the only setup/vape I used able to vape a whole bowl in 1 hit!

here some pics, coil and ceramic part together:
FkdH9Yl.jpg

Here you can see the ceramic is a crucible, not only a ceramic screen but the whole part is drilled with long holes:
lCpuapA.jpg

And ready to hit!
xdBpHOg.jpg


I'll try a milky pic soon!
 

Xymas_Snarlmo

New Member
This way to use my enail interested me since a while but never took the time to proceed to a proper testing. Here my setup: a 16mm barrel coil and a ceramic part from a old butane portable vape called Dragon Vape, this ceramic part fit tightly in the coil. The bowl is Stainless steel with a WonG to connect to a water tool, the bowl slide in the ceramic heated part.

I used a 750°F setting first cause I read it is the setting used with the Eerlectric herb nail...but it was too hot for my setup but I didn't combusted, I actually lowered my temp to 725 and I whitewall my bubbler like crazy with still a bit too dark abv but a great taste, that's the only setup/vape I used able to vape a whole bowl in 1 hit!

here some pics, coil and ceramic part together:
FkdH9Yl.jpg

Here you can see the ceramic is a crucible, not only a ceramic screen but the whole part is drilled with long holes:
lCpuapA.jpg

And ready to hit!
xdBpHOg.jpg


I'll try a milky pic soon!

Now that's awesome!! I'm gonna have to see if I have any apppropriate spare parts to put this together cause I wanna try your way too! Never had it occurred to me to make a ceramic oven!

Now I have questions!

-Where do you pack it? Do you pack it inside the part facing your WonG? Or the side facing away from your WonG?

-Do you actually pack down or compress the material you put into the bowl? Or do you just lightly "sprinkle" your material into the bowl?

-Do you have to let the material you intend to vape heat up for any significant amount of time before you can actually get vapor production? Or is it able to milk up as soon as you pack the bowl?
 
Xymas_Snarlmo,
  • Like
Reactions: PPN

PPN

Volute of Vapor
Maybe a ceramic nail would work too...

About your questions:
- I pack in the WonG bowl and the stainless steel part (with the load inside) fit in the ceramic+coil
- I pack it slightly, around 0.05-0.1
- I don't have to do a heat soak, as soon as you put the ceramic on the bowl you can hit it and get great clouds!

I lowered my temp and use actually the (famous) 710°F setting with great sucess and without a black abv. I never felt so much medicated from a so small load!
 

Xymas_Snarlmo

New Member
Maybe a ceramic nail would work too...

About your questions:
- I pack in the WonG bowl and the stainless steel part (with the load inside) fit in the ceramic+coil
- I pack it slightly, around 0.05-0.1
- I don't have to do a heat soak, as soon as you put the ceramic on the bowl you can hit it and get great clouds!

I lowered my temp and use actually the (famous) 710°F setting with great sucess and without a black abv. I never felt so much medicated from a so small load!

Ooh that's exactly how I felt when I got my setup fine tuned! I couldn't believe the taste and efficiency especially considering it's a DIY, and I thought you had been packing directly into the ceramic piece and treating it like an "oven", (kinda like most of the higher end portable vapes) which now I'm gonna have to try too lol.

So do you save your abv? If so what do you do with it and how much do you use for whatever you'd make with it? I've got so much and I'm not really sure what I wanna do with it. Any suggestions?
 
Xymas_Snarlmo,

PPN

Volute of Vapor
Yes, in the original vape (Dragon Vape VP-...), this part was the bowl and the thinner part was heated by a torch. Actually I use it pretty in the same way...only heated with a coil in a place of a torch.

But since the WonG fit in the ceramic bowl it is pretty similar but the load is on the bottom of the Wong, not on the bottom of the inverted ceramic oven. Although it could be nice to test some conduction hits at lower temp packing directly in the ceramic oven... I'm thinking about to replace the WonG by a GonG who fit the ceramic oven...for a better taste (even if it is already very nice) or maybe to use the thinner part of the crucible inverted ("oven" up) since it fits some 18mm male GonG...

Here a link to a Dragon Vape youtube video, my setup works thousands time better than this, I got it as a gift with a cheapo desktop vape but I never used it:
 
Last edited:

Xymas_Snarlmo

New Member
Yes, in the original vape (Dragon Vape VP-...), this part was the bowl and the thinner part was heated by a torch. Actually I use it pretty in the same way...only heated with a coil in a place of a torch.

But since the WonG fit in the ceramic bowl it is pretty similar but the load is on the bottom of the Wong, not on the bottom of the inverted ceramic oven. Although it could be nice to test some conduction hits at lower temp packing directly in the ceramic oven... I'm thinking about to replace the WonG by a GonG who fit the ceramic oven...for a better taste (even if it is already very nice) or maybe to use the thinner part of the crucible inverted ("oven" up) since it fits some 18mm male GonG...

Here a link to a Dragon Vape youtube video, my setup works thousands time better than this, I got it as a gift with a cheapo desktop vape but I never used it:

Whoa that's a pretty nifty idea! It's a shame the dragon vape isn't more efficient cause it's kinda cool lookin!
And yeah the best way I've found for my setup is an 18mm male GonG (the other end can be whatever size it needs to be to fit your water tool) and then I use a "bucket screen" that fits perfectly in most standard 18mm male GonG ends. The "bucket screens" came with my Arizer extreme Q desktop vape and they sell the replacement "bucket screens" on many websites. I actually tamp down/compress rather tightly and then place my Titanium enail right on top of the GonG. The tamp is necessary for me to get "full" extractions in one rip because of my temps...which leads me to the next step I took...

You may want to try experimenting with limiting the airflow that comes through your heated ceramic piece. Think like you're carb capping. Then if you do that you may also be able to lower your temp significantly and experience a whole new flavor profile. At least that's what I did. And it's amazing. I use an enail and my temps used to be at 700F with no limitations on airflow...now with an actual carb cap left on the nail and allowed to heat up with the nail, I'm down to 630F and the flavor is incomparable to any other vape I own. But I must tamp my bowl-pack down to limit the speed and the flow of the hot air moving through it so as to ensure a more total extraction at lowers temps.
 
Xymas_Snarlmo,
  • Like
Reactions: PPN

PPN

Volute of Vapor
Still digging my DIY flower enail, it works so well I'm even dreaming to try to make it better for, eventually, sell it (only a dream I have a lot of others things to do and not enough knowledges) .

Here my last thoughts:

What about a vape using 2 coils.... 1 coil (+controller) attached around the bowl and another used on the top of the bowl. First coil would be call the conduction coil and second would be the convection coil, now you can adjust all the parameters between full conduction (convection coil off) to full convection (conduction coil off).
I was thinking about that cause on my actual setup when i place the heating coil+ceramic piece on my bowl (it is the SS wong from HGL) first the convection is slowly kicking the bowl until the stainless steal soak heat enough to add some conduction/radiation (I can even continue to milk my bubbler a few seconds after to take off the heater from the bowl).

So it would be nice to be able to set your conduction or convection coil in order to bump the temp of 10°C after a 8-10 seconds hit while hitting (comparable in some ways Hex-nails is doing with their high quality controllers).

Yes I know that's only a dream since the unit would be huge cause the 2 controllers+2 nails+all the cords and would need a high level of knowledges to concept the software (more than I have!) but it was a long time i was thinking about a vape with this sort of function: the ability to set the convection/conduction ratio as you want!
 

jl420

Well-Known Member
Still digging my DIY flower enail, it works so well I'm even dreaming to try to make it better for, eventually, sell it (only a dream I have a lot of others things to do and not enough knowledges) .

Here my last thoughts:

What about a vape using 2 coils.... 1 coil (+controller) attached around the bowl and another used on the top of the bowl. First coil would be call the conduction coil and second would be the convection coil, now you can adjust all the parameters between full conduction (convection coil off) to full convection (conduction coil off).
I was thinking about that cause on my actual setup when i place the heating coil+ceramic piece on my bowl (it is the SS wong from HGL) first the convection is slowly kicking the bowl until the stainless steal soak heat enough to add some conduction/radiation (I can even continue to milk my bubbler a few seconds after to take off the heater from the bowl).

So it would be nice to be able to set your conduction or convection coil in order to bump the temp of 10°C after a 8-10 seconds hit while hitting (comparable in some ways Hex-nails is doing with their high quality controllers).

Yes I know that's only a dream since the unit would be huge cause the 2 controllers+2 nails+all the cords and would need a high level of knowledges to concept the software (more than I have!) but it was a long time i was thinking about a vape with this sort of function: the ability to set the convection/conduction ratio as you want!

Nothing wrong with dreams and I like your idea good luck and don't forget to give us fellow FC'rs a nice discount when it does go up for sale :rockon::rockon::rockon:
 

jl420

Well-Known Member
Yes, in the original vape (Dragon Vape VP-...), this part was the bowl and the thinner part was heated by a torch. Actually I use it pretty in the same way...only heated with a coil in a place of a torch.

But since the WonG fit in the ceramic bowl it is pretty similar but the load is on the bottom of the Wong, not on the bottom of the inverted ceramic oven. Although it could be nice to test some conduction hits at lower temp packing directly in the ceramic oven... I'm thinking about to replace the WonG by a GonG who fit the ceramic oven...for a better taste (even if it is already very nice) or maybe to use the thinner part of the crucible inverted ("oven" up) since it fits some 18mm male GonG...

Here a link to a Dragon Vape youtube video, my setup works thousands time better than this, I got it as a gift with a cheapo desktop vape but I never used it:

Dude that's F'n awesome I'm totally diggin' that...
 
jl420,
  • Like
Reactions: PPN

Xymas_Snarlmo

New Member
Still digging my DIY flower enail, it works so well I'm even dreaming to try to make it better for, eventually, sell it (only a dream I have a lot of others things to do and not enough knowledges) .

Here my last thoughts:

What about a vape using 2 coils.... 1 coil (+controller) attached around the bowl and another used on the top of the bowl. First coil would be call the conduction coil and second would be the convection coil, now you can adjust all the parameters between full conduction (convection coil off) to full convection (conduction coil off).
I was thinking about that cause on my actual setup when i place the heating coil+ceramic piece on my bowl (it is the SS wong from HGL) first the convection is slowly kicking the bowl until the stainless steal soak heat enough to add some conduction/radiation (I can even continue to milk my bubbler a few seconds after to take off the heater from the bowl).

So it would be nice to be able to set your conduction or convection coil in order to bump the temp of 10°C after a 8-10 seconds hit while hitting (comparable in some ways Hex-nails is doing with their high quality controllers).

Yes I know that's only a dream since the unit would be huge cause the 2 controllers+2 nails+all the cords and would need a high level of knowledges to concept the software (more than I have!) but it was a long time i was thinking about a vape with this sort of function: the ability to set the convection/conduction ratio as you want!

Oh wow, that's a beautiful concept...it's almost like the SUBLIMATOR but I love the idea of dual control and your idea for a mid-pull/mid-puff boost in conduction! I really hope you try to build this, and post about it! I only have one digital e-nail control box so alas I only have the potential to operate a single coil at a time :(
- - - -
So since posting my initial post I have given up on the more "conduction" method in favor of the more "convection" method. It's so simple, quick/immediate vapor, and it's so freaking efficient..only have to use enough to be packed into a tiny bucket shaped screen (from my Arizer EQ) and totally cover the bottom. It's honestly the best set up I have. And it's cool to hear others are into this as well. Glad yours works so well for ya!
 
Xymas_Snarlmo,
  • Like
Reactions: PPN

PPN

Volute of Vapor
More I use it more I think that's one of the best vape I ever experienced!

I can use it 2 wavs now:

-the 'Duction way, like mentionned before, I use my HGL bowl which fits perfectly in the larger part of my ceramic element. The stainless steel from the HGL wong heat very quick and add a lot of conduction, nice for lung busters! and still tasty at 615F! No stirring required.

-the 'Vection way, I use the thinner part of the ceramic heater and a male 18mm GonG with a screen inside (as a bowl), here the thin part of the ceramic heayer fits the male glass gong (a bit less perfectly, it depends the ID), using it like that offers true convection hits, very flavorfull using 630F on my controller and bigger using 650F. Stirring required.

You can do "double decker" with both ways!

Now I need to work on a nice handle, find a way to secure the ceramic on the coil and find a sort of stand to offer the possibility to use it dry like a log (you will have only to invert it to get both 'Duction and 'Vection) and to protect the user from the very hot heating element (one of my main concern) at least when using it dry (I would like to keep the possibility to remove it from the stan to use it like I already done).

Thinking about titane, quartz, ceramic heating element in a possible futur!

One question about safety concerns: Is the air heated directly by the coil (kanthal I think) is something harmfull? I think noy since most e-nails use this sort of coil but maybe this is the reason for the flat coils....although I don't think a flat coil could work with my setup.

Thanks for looking.... more to come!
 

Xymas_Snarlmo

New Member
One question about safety concerns: Is the air heated directly by the coil (kanthal I think) is something harmfull? I think noy since most e-nails use this sort of coil but maybe this is the reason for the flat coils....although I don't think a flat coil could work with my setup.

Thanks for looking.... more to come!

So about kanthol, I know that a bunch of e-ciggarettes use kanthol wires/coils as their heat source and you would be directly inhaling air heated by it when you use an e-cigarette. People use kanthol a lot in home made builds I believe as well as prefab RDA/RTA type e-cigarette models.

About e-nail coils, I believe the metal used is called Nichrome...being an amalgum or maybe alloy of nickel and a type of stainless steel(chromium). While yes nickel is quite poisonous to inhale, most coils are made of that same material. Nichrome is pretty resistant to heat, so much so that it resists oxidative breakdown(rust/losing carbon) even during extended periods of time at high temps. If it resists oxidation it should stand to reason that it doesn't "offgas" much, if anything at all. Not totally sure though.

I am not saying either one of these materials are safe, I'm just saying they are what's used and that they are in use pretty generically across the board for most (vaping) products in production and at some-times interchangeable. (Excluding most dry herb vapes and most concentrate "pen" vapes)

There is a lot of info on these two metals and their uses in vaping-comparing, contrasting, and discussing potential health/safety hazards..especially Nichrome. We have been using it since it was discovered/created in 1905(I think) as heating elements. If you've got an electric stove-top and it uses metal coils, they're Nichrome most likely. At least mine are.

Worth the research if you're worried cause for the most part the knowledge is out there, excluding truly legitimate targeted scientific studies. They prolly haven't been done/completed yet. Although that's just my own opinion cause I haven't been able to find any specifically on this topic.
 

Xymas_Snarlmo

New Member
i found Nichrome60 (61% Ni, 15% Cr, 24% Fe) would corrode after a year of vape use ... Nichrome80 (80% Ni, 20% Cr) does not.


Now as far as prefabricated products such as e-nail coils sold on the open market, would there be any way to differentiate between "grades" of nichrome? Would NiCr60 be magnetic/more magnetic than NiCr80? Perhaps a scratch test?
 
Xymas_Snarlmo,
  • Like
Reactions: PPN

Xymas_Snarlmo

New Member
Also how bad was the corrosion
Has anyone tried a J red diamond knot nail as a heatsink? Insert that into a glass adaptor and put the herbs in that part....


No I personally haven't ever heard of that company/product, just looked em up though and I'm thinking that they are the perfect design for an oven/conduction approach. So long as you've got the e-nail version of the diamond knot you could prolly heat the nail to around 365*-400* Fahrenheit (based off of my conduction pocket vapes temps) and put your material right into the center of the nail. Looks like it'll work from the pics on aqualabs website but not having it in my hands I'm not totally sure. But I'm very interested. I would however suggest that you somehow install a screen somewhere below the nail to catch any material that flys through just to keep your water tools a bit cleaner and un-clogged. If it'll work please try it out and post about it for sure!
 
Xymas_Snarlmo,
  • Like
Reactions: SamuraiSam

Xymas_Snarlmo

New Member
And of course I think the diamond knots would work wonderfully with the more convective approach as well. Just as you described.
 
Xymas_Snarlmo,
Top Bottom