Hi all!
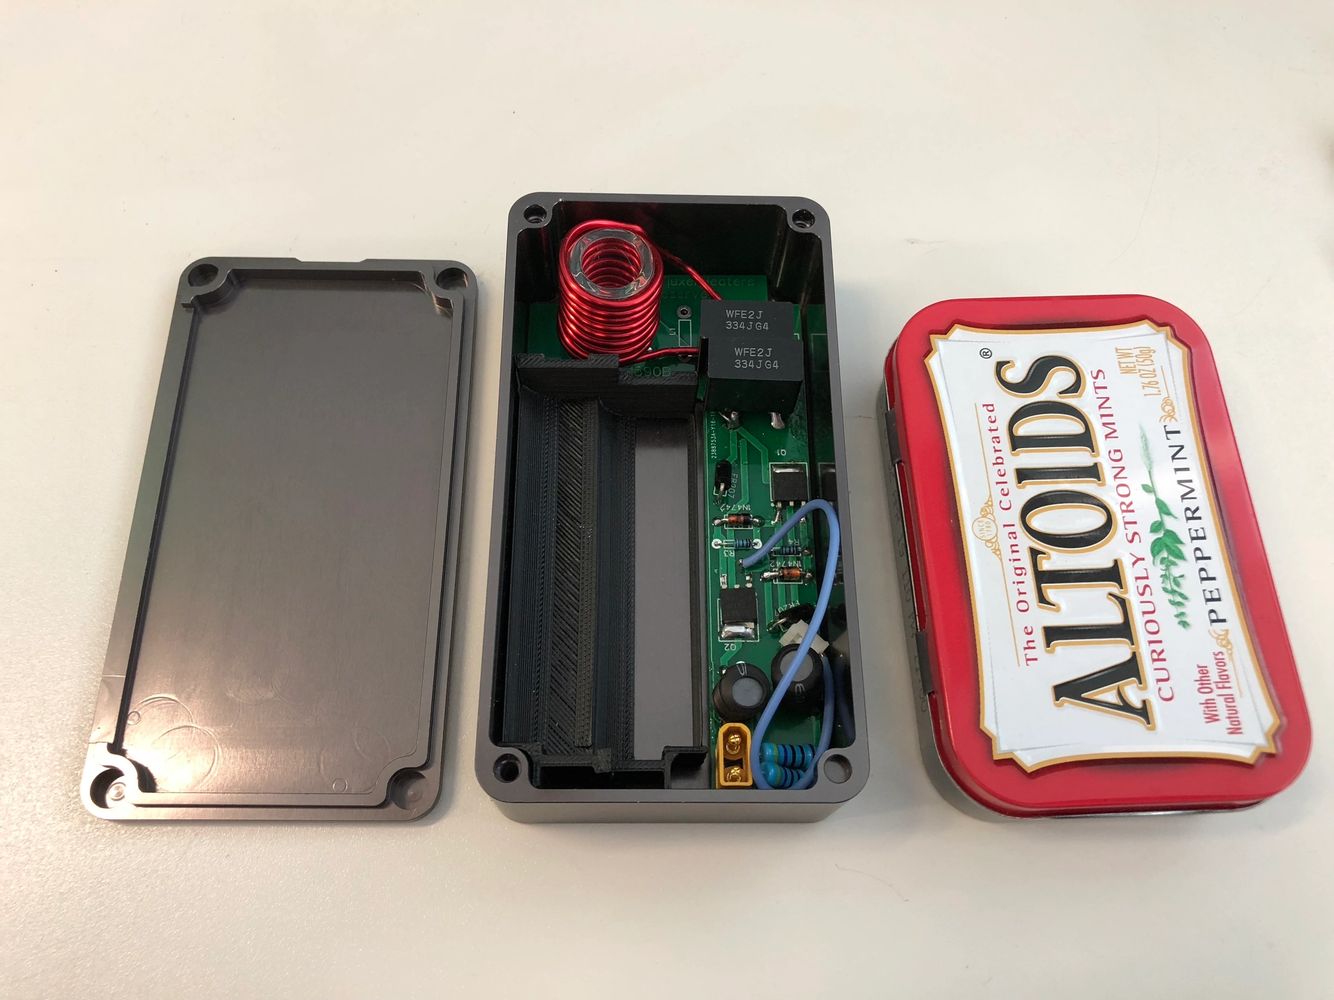
With all due respect to @Pipes and his line of Dynavap induction heaters, I am going to make and sell a few induction heaters of my own design.
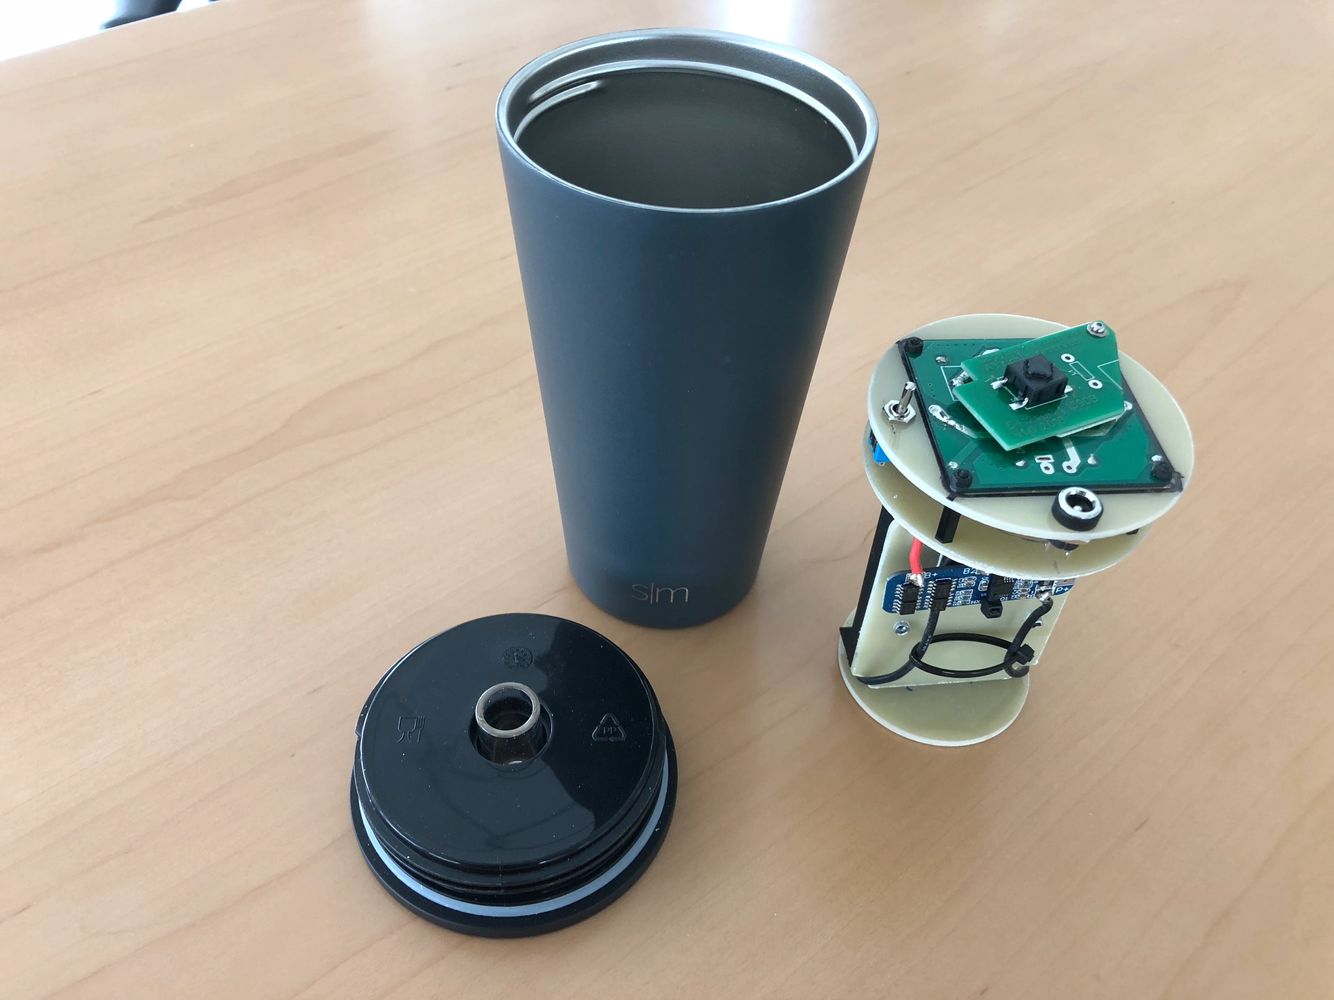
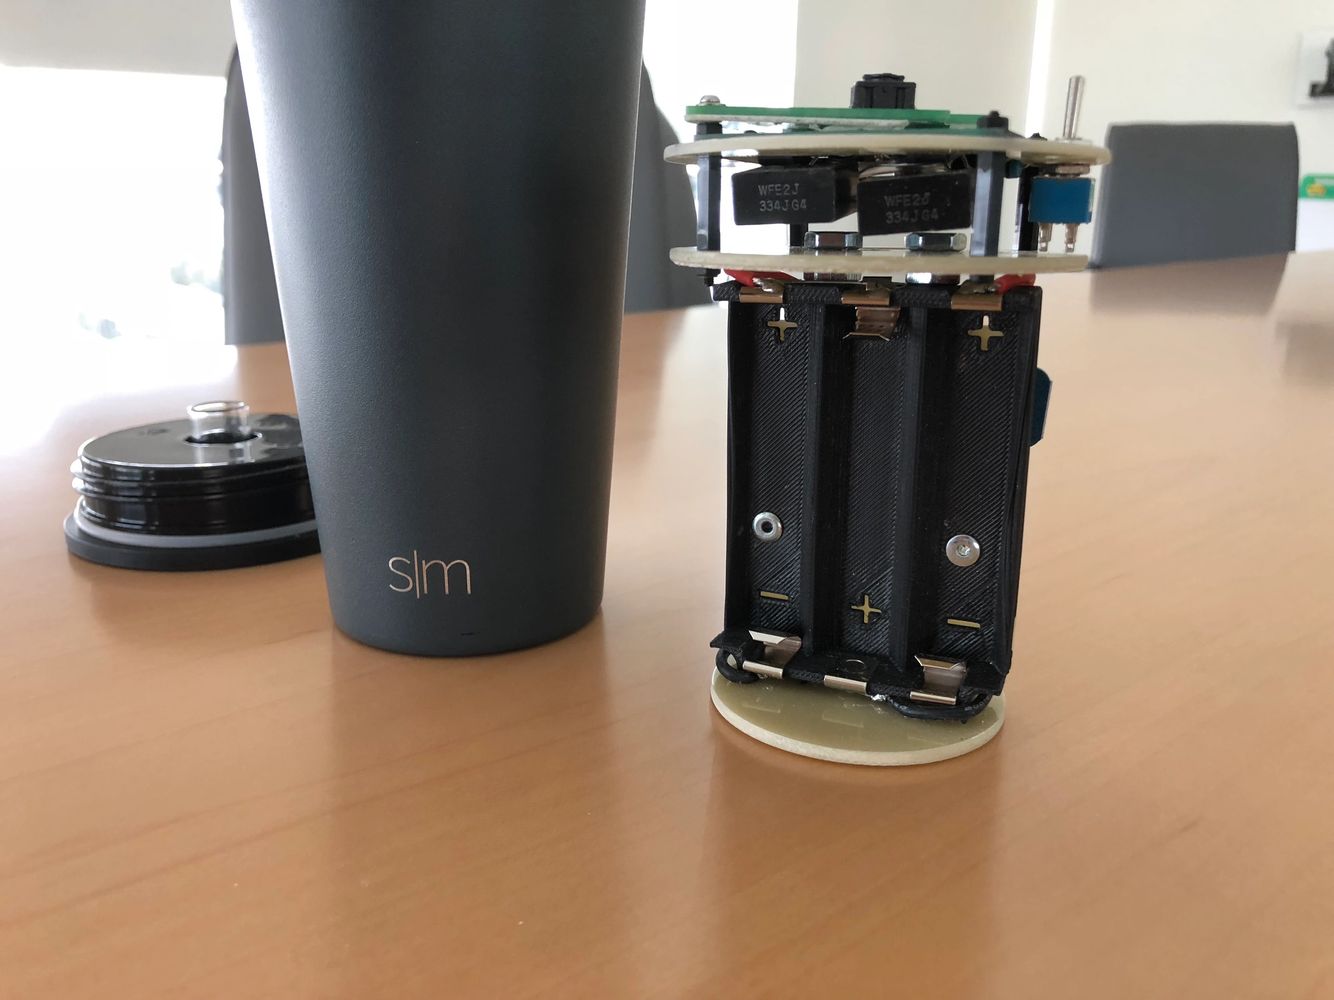
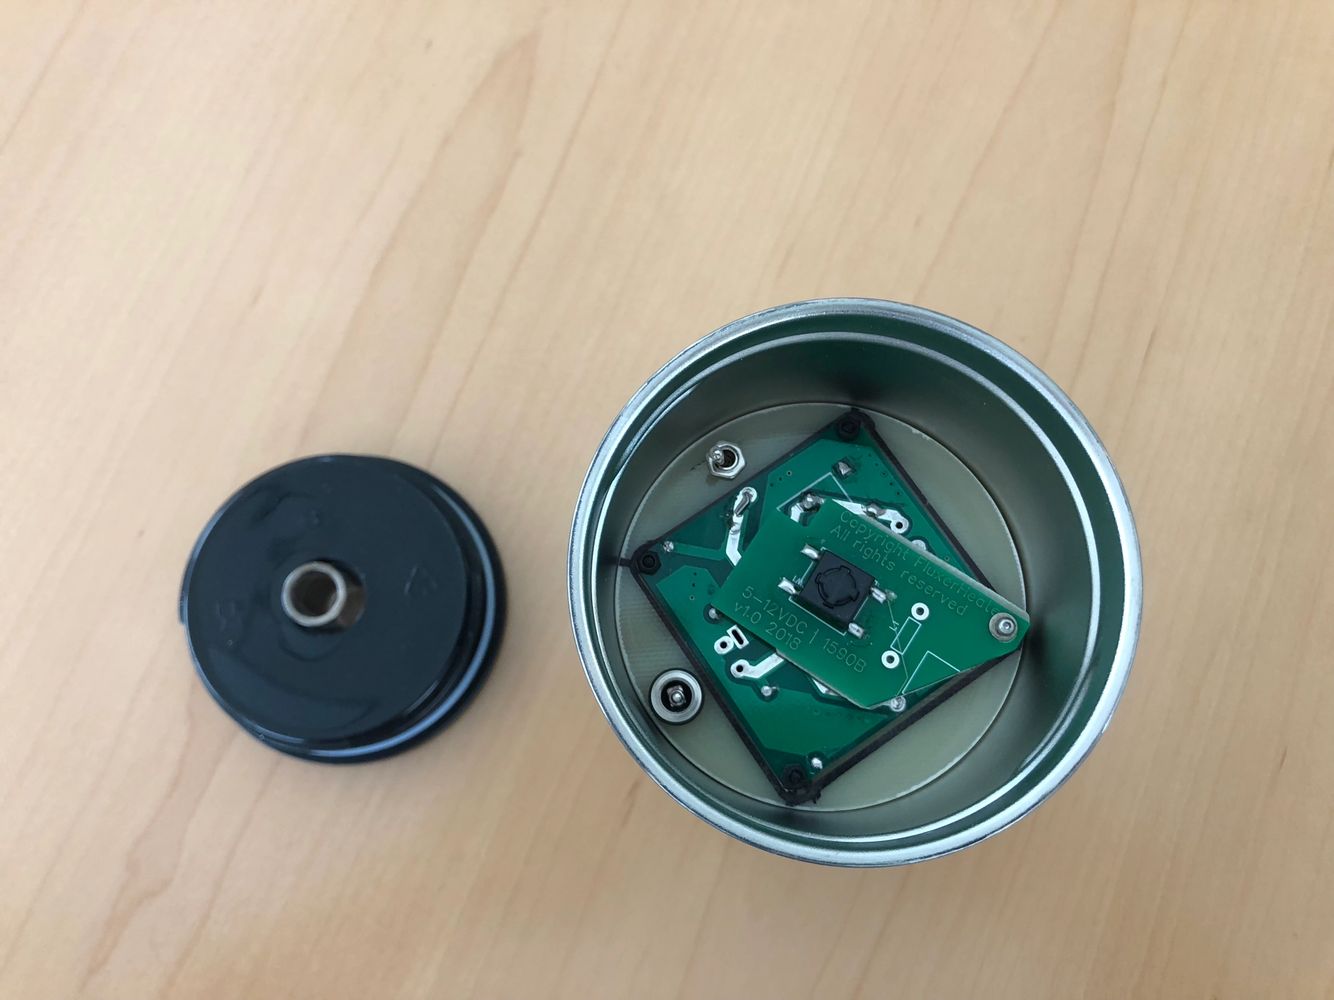
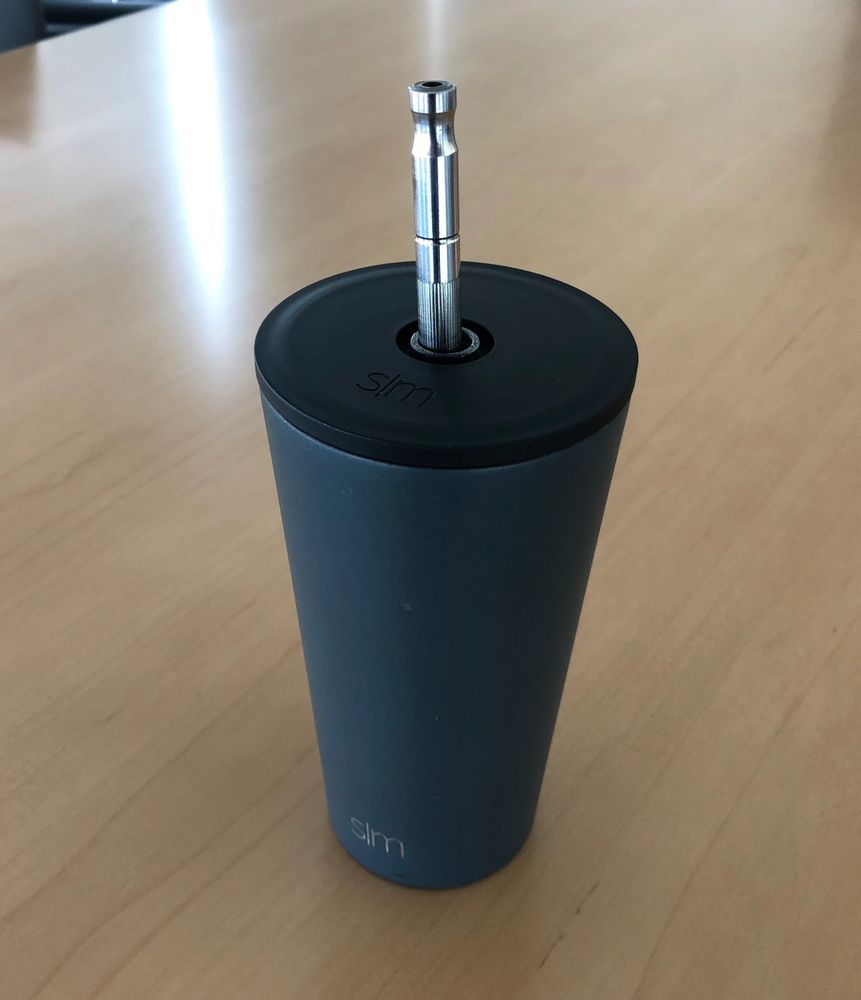
I'll start with my big news: I'm making and selling a Dynavap induction heater with pulse width modulated (PWM) temperature control! What is PWM temp control, and why do you want it? I'll get to the explanation in a minute, but you want it for three big reasons:
This may not be a very exciting video, but it looks like this:
The above video show's a ~30 second clip of my vapcap induction heater with PWM temp control at work. I think you guys are gonna like it a lot!
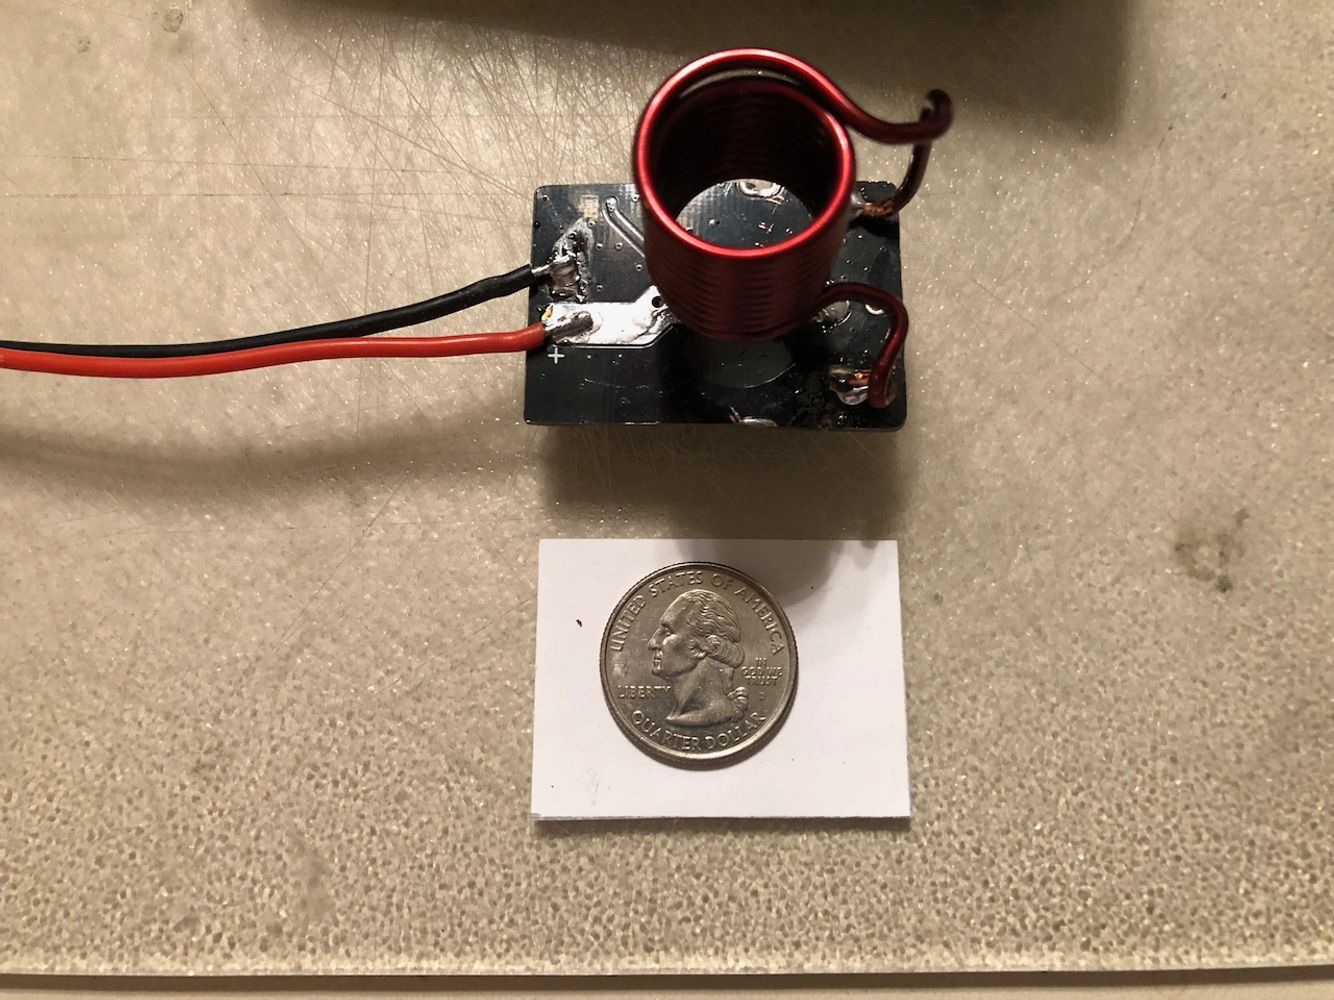
I'm selling the above heaters, as well as some other induction heaters of my own design, on this brand new web site I am also standing up: fluxerheaters.com . My initial products are desktops, but I have some very cool portables in the works as well. I'm actively developing those and hope to have more info on portables in another week or two.
If you're interested in getting one, please send me a PM, DM, or sign up for info on the fluxerheaters.com site, and I will add you to my list. I plan to begin making and shipping these this weekend.
Let's Talk About Pulse Width Modulation (PWM)
If you truly know nothing about PWM, take a few minutes and read up on it here:
https://learn.sparkfun.com/tutorials/pulse-width-modulation
The very short explanation is that PWM is a means of regulating electrical power (and thus controlling a device) by rapidly turning its power on and off (i.e., the frequency of its operation). Furthermore, each pulse is of a pre-determined amount of power, which is expressed as a percent of its time of operation within the frequency interval. This is also called the "duty cycle" of the pulse.
FREQUENCY is how often something happens. It is measured in CYCLES PER SECOND, and expressed in Hertz.
Hertz = 0Hz to 999Hz
KiloHertz = 1KHz...999KHz
MegaHertz - 1MHz...999MHz
In the USA, the standard household electrical current is 110V AC, and that operates at 50Hz, or 50 cycles per second. "AC" stands for "alternating current", and that's how fast it alternates.
DUTY CYCLE is the percentage of time a device is ON (and also OFF) within each CYCLE.
What can I do with PWM?
With PWM, you can vary both the frequency and duty cycle, so in theory you can both speed things up and slow things down (not simultaneously, obviously)
From my own experience, I've had much, much more success slowing down the Dynavap's heating process than I have speeding it up. To be honest, I think there's a lot of magic in slowing it down. But first:
How to Heat More Quickly with an Induction Heater
If you want to make the heater heat its load more quickly, get a power adapter that is capable of putting out 8A or more. 8A will have the Dynavap clicking within a 3-5 seconds.
The fastest vapcap clicks I ever experienced occurred when I used a marine battery to power my induction heater. It had so much amperage behind it it would click within 3 seconds.
That being said, I want to stress something: Faster isn't always better. Faster is just faster.
"Faster isn't always better"
When you roast meat or bake bread - to name just a couple of things in this category - you usually aren't trying to do it as quickly as possible. Instead, you're trying to produce the best tasting result.
Humanity spent many thousands of years cooking meat and other things directly over fire because that was our only option, but our diets and dishes improved greatly after people invented ovens and began to regulate the heat with which they cooked. Cooking food slowly gives it time to heat evenly, and the flavors in the food have time to express themselves and suturate throughout the dish. That's why soup and chili get better the longer they simmer on the stove.
Slow Roasting Your Dynavap
The Fluxer Heater with PWM Temperature Control™ brings this sort of control to your favorite vaping device. It gives you the ability to slow down the induction heating process. This gives the resin in the flower a nice, long time to heat up and change to a more "vapable" state. The result is an even more flavorful vape, at a lower overall temperature, with more complete vaporization of the contents of your Dynavap.
Furthermore, because it takes longer to reach the final temperature, and that temperature is lower overall, the vapor you inhale will also be a bit cooler and less harsh. It makes for a VERY pleasant sesh experience.
It pays similar dividends when one adds hash and other concentrates to the Dynavap oven - they also benefit greatly from the longer, slower heating cycle.
Slowing Things Waaaaaay Down
I have been playing with this prototypes of this PWM device since mid-June of this year. I do not claim to have tried everything, but I can tell you that a 16Hz frequency with a 30%-50% duty cycle makes for an outstanding vaping experience. That's pretty slow by the way - you will see the pulses in the device's LEDs, as you can in the above video - and it may take up to 30 seconds to heat a vapcap to temp at that PWM. But the flavor and overall experience of vaping at that temp are outstanding!
Recommended Temp Settings and Usage for a Freshly Packed Bowl
First heating: Max temp.
Second heating: 16Hz, set to 50% duty cycle
Third and and subsequent heatings: 16Hz, set to 30% duty cycle
TIPS:
I have found that I typically get better results using the above heat profile, as trying to heat a freshly packed, room temp Dynavap using a 16Hz/30% duty cycle (DC) profile takes a lot of time without providing much taste benefit over a shorter heating cycle. I think the greater benefits of PWM heat control reveal themselves once the Dynavap is already hot.
You can change PWM outputs on the fly - you can switch from Full Power to Custom, or vice versa, in the middle of a heating cycle. The IH and controller won't care.
You can try any values you'd like - up to 150KHz frequency and 100% DC - but be aware that higher values may not yield better results.
Standalone PWM Controller for Other Desktop IHs Coming Soon!
Oh, and one more thing - for desktop (i.e., mains-powered, not battery-powered) induction heaters, the PWM controller does not need to need integrated in the device itself, it just has to be inserted between the power adapter and the induction heater. I will be coming out with a standalone version of this PWM control pretty soon, and it should work with any non-battery powered IH.
(The battery management systems in the portable units prevent the external PWM controls from working. You can use PWM control with a portable, but it needs to be inserted between the battery and the solid-state PWM trigger/relay. Due to the longer heating time, it's also likely to be a battery killer for portable units. The investigation continues...)
OK. I'm done. Sorry for the wordiness, but I had a lot of material I wanted to share. Thanks for reading
With all due respect to @Pipes and his line of Dynavap induction heaters, I am going to make and sell a few induction heaters of my own design.
I'll start with my big news: I'm making and selling a Dynavap induction heater with pulse width modulated (PWM) temperature control! What is PWM temp control, and why do you want it? I'll get to the explanation in a minute, but you want it for three big reasons:
- the extra flavor the added heating time lets you extract from your material (!!!)
- the reduced risk of combustion, especially near the end of a bowl
- the ability to gain an additional 1-4 heating cycles from a typical Dynavap load (vs non-temp controlled Dynavap/IH sessions.)
This may not be a very exciting video, but it looks like this:
The above video show's a ~30 second clip of my vapcap induction heater with PWM temp control at work. I think you guys are gonna like it a lot!
I'm selling the above heaters, as well as some other induction heaters of my own design, on this brand new web site I am also standing up: fluxerheaters.com . My initial products are desktops, but I have some very cool portables in the works as well. I'm actively developing those and hope to have more info on portables in another week or two.
If you're interested in getting one, please send me a PM, DM, or sign up for info on the fluxerheaters.com site, and I will add you to my list. I plan to begin making and shipping these this weekend.
Let's Talk About Pulse Width Modulation (PWM)
If you truly know nothing about PWM, take a few minutes and read up on it here:
https://learn.sparkfun.com/tutorials/pulse-width-modulation
The very short explanation is that PWM is a means of regulating electrical power (and thus controlling a device) by rapidly turning its power on and off (i.e., the frequency of its operation). Furthermore, each pulse is of a pre-determined amount of power, which is expressed as a percent of its time of operation within the frequency interval. This is also called the "duty cycle" of the pulse.
FREQUENCY is how often something happens. It is measured in CYCLES PER SECOND, and expressed in Hertz.
Hertz = 0Hz to 999Hz
KiloHertz = 1KHz...999KHz
MegaHertz - 1MHz...999MHz
In the USA, the standard household electrical current is 110V AC, and that operates at 50Hz, or 50 cycles per second. "AC" stands for "alternating current", and that's how fast it alternates.
DUTY CYCLE is the percentage of time a device is ON (and also OFF) within each CYCLE.
What can I do with PWM?
With PWM, you can vary both the frequency and duty cycle, so in theory you can both speed things up and slow things down (not simultaneously, obviously)
From my own experience, I've had much, much more success slowing down the Dynavap's heating process than I have speeding it up. To be honest, I think there's a lot of magic in slowing it down. But first:
How to Heat More Quickly with an Induction Heater
If you want to make the heater heat its load more quickly, get a power adapter that is capable of putting out 8A or more. 8A will have the Dynavap clicking within a 3-5 seconds.
The fastest vapcap clicks I ever experienced occurred when I used a marine battery to power my induction heater. It had so much amperage behind it it would click within 3 seconds.
That being said, I want to stress something: Faster isn't always better. Faster is just faster.
"Faster isn't always better"
When you roast meat or bake bread - to name just a couple of things in this category - you usually aren't trying to do it as quickly as possible. Instead, you're trying to produce the best tasting result.
Humanity spent many thousands of years cooking meat and other things directly over fire because that was our only option, but our diets and dishes improved greatly after people invented ovens and began to regulate the heat with which they cooked. Cooking food slowly gives it time to heat evenly, and the flavors in the food have time to express themselves and suturate throughout the dish. That's why soup and chili get better the longer they simmer on the stove.
Slow Roasting Your Dynavap
The Fluxer Heater with PWM Temperature Control™ brings this sort of control to your favorite vaping device. It gives you the ability to slow down the induction heating process. This gives the resin in the flower a nice, long time to heat up and change to a more "vapable" state. The result is an even more flavorful vape, at a lower overall temperature, with more complete vaporization of the contents of your Dynavap.
Furthermore, because it takes longer to reach the final temperature, and that temperature is lower overall, the vapor you inhale will also be a bit cooler and less harsh. It makes for a VERY pleasant sesh experience.
It pays similar dividends when one adds hash and other concentrates to the Dynavap oven - they also benefit greatly from the longer, slower heating cycle.
Slowing Things Waaaaaay Down
I have been playing with this prototypes of this PWM device since mid-June of this year. I do not claim to have tried everything, but I can tell you that a 16Hz frequency with a 30%-50% duty cycle makes for an outstanding vaping experience. That's pretty slow by the way - you will see the pulses in the device's LEDs, as you can in the above video - and it may take up to 30 seconds to heat a vapcap to temp at that PWM. But the flavor and overall experience of vaping at that temp are outstanding!
Recommended Temp Settings and Usage for a Freshly Packed Bowl
First heating: Max temp.
Second heating: 16Hz, set to 50% duty cycle
Third and and subsequent heatings: 16Hz, set to 30% duty cycle
TIPS:
I have found that I typically get better results using the above heat profile, as trying to heat a freshly packed, room temp Dynavap using a 16Hz/30% duty cycle (DC) profile takes a lot of time without providing much taste benefit over a shorter heating cycle. I think the greater benefits of PWM heat control reveal themselves once the Dynavap is already hot.
You can change PWM outputs on the fly - you can switch from Full Power to Custom, or vice versa, in the middle of a heating cycle. The IH and controller won't care.
You can try any values you'd like - up to 150KHz frequency and 100% DC - but be aware that higher values may not yield better results.
Standalone PWM Controller for Other Desktop IHs Coming Soon!
Oh, and one more thing - for desktop (i.e., mains-powered, not battery-powered) induction heaters, the PWM controller does not need to need integrated in the device itself, it just has to be inserted between the power adapter and the induction heater. I will be coming out with a standalone version of this PWM control pretty soon, and it should work with any non-battery powered IH.
(The battery management systems in the portable units prevent the external PWM controls from working. You can use PWM control with a portable, but it needs to be inserted between the battery and the solid-state PWM trigger/relay. Due to the longer heating time, it's also likely to be a battery killer for portable units. The investigation continues...)
OK. I'm done. Sorry for the wordiness, but I had a lot of material I wanted to share. Thanks for reading


 Again, you've given me a lot to read and a lot to think about, and I am not in any position to dispute the technical details raised above.

")


")