Monsoon's QWISO Tek
I put this together as an easy, low cost step-by-step guide for people looking to start making oil/shatter using the QWISO tek. Constructive criticism and tips are welcome, I'm always looking to improve.
What you need:
- Up to 35g of weed
- Rectangular pyrex dish, the bigger it is, the faster the evaporation time.
- Colander that fits a basket coffee filter
- Unbleached basket coffee filters
- Fine mesh strainers
- Large bowl
- 500ml Pyrex measuring cup
- Weider shaker bottle or any other seal-able container that's safe to use with ISO (ie PP-5 plastic)
- 99% ISO
- Window scraper and .012" razor blades
- Parchment paper
- Infrared/laser temperature gun
- Heating plate that fits the pyrex dish
- Paper towels
- 1L containers, glass or PP-5 plastic, food containers work well.
- Timer
- cheesecloth or silkscreen
Optional:
Setup Notes
There are several ways to modify a cheap griddle/heating plate for an oil extraction. I found placing a silicone cooking mat from the grocery store on griddle and then a wire cooling rack helps to maintain a more consistent heating temp. A wire cooling rack is also useful to cover the Pyrex dish so that you can then drape a cheesecloth or silkscreen over it.
Cleanliness
To get a quality end product, you need to be careful to avoid getting outside contaminants in during the process. That includes water so make sure everything that comes in contact with the oil solution is as dry as possible. Wiping things down with ISO instead of water will help. Use fresh paper towels so as to avoid contaminates from crossing over via a cloth.
Prep
Weigh out up to 35g of flowers, break them up by hand into popcorn size buds, put them in the Weider shaker bottle and put in the freezer along with your ISO bottles and 500ml measuring cup. Wait at least 6-12 hours. I freeze 2 liters of ISO for up to 35g, but usually end up using closer to 1.5L.
Wash
Place your mesh screen strainer over your large bowl and then place the colander on top. The mesh screen catches a lot of larger particulates prior to filtering but could be skipped as long as you strain it right after. Just prior to starting, pour your ISO from the bottle into the cold Pyrex cup. This will allow you to dump it quickly into the shaker bottle and save you a few seconds of pouring.
Take your material from the freezer, start your the clock and start pouring the ISO into the shaker bottle with the frozen buds as quickly as possible. Make sure the buds are entirely covered with liquid. Then screw the lid on and start swirling and shaking. Pouring in the ISO should take 5-10 seconds and you should have it all poured out into the colander by around the 30 second mark, 40 at the latest.
Once in the colander press the bud down lightly with a spoon and then loosen up the buds and liberally pour some more ISO over it. This will wash out extra cannabinoids without exposing it to the ISO for very long at once and it helps with the yield a lot. Then press the bud down again and scoop it into the shaker bottle for wash number 2 and pop it back in the freezer to help keep it cold. The weed should be scooped out by T+2-3min at the latest, the sooner the better. Generally the longer you go, the more risk of undesirables leaching out, but I've found these timings to be safe.
Next pour the mixture through another fine mesh screen and into a clean/dry 1L container. This will help the filtering stage go faster since it reduces clogs and means the contaminants are not leeching into the solution.
Second wash is the same as the first but you'll need less ISO since the buds are already moist. When done, seal the containers and place in the freezer until you filter them, it helps to push the sediment to the bottom and hopefully reduce any leaching from particles until it's properly filtered.
Next clean your colander and mixing bowl with hot water and wipe them completely dry with paper towels. Alternatively you can wipe them down with ISO avoiding water entirely.
Place 2 unbleached coffee filters inside the colander and wet them completely with some ISO. Then place it over the mixing bowl and start pouring your ISO solution in. The filters can get clogged quickly if there's a lot of particulates so you may need to change them out a few times to process all your liquid. Start by filling it halfway and seeing how it goes. If it stops flowing, you can try lightly swirling the colander or worst case carefully pick up the filters and pour it back into the container to continue with fresh filters.
Once it's filtered put it into a clean/dry 1L container and then repeat the filtering process a second time. It should filter pretty quickly and this extra step will help to reduce contaminants in the final product.
Evaporation
Wipe down the Pyrex dish with ISO and place it on the griddle/heating plate. Pour in either one or both washes and then use a temperature gun to monitor the temperature of the solution itself. You should usually aim for 100F or below to be safe and in case of temperature spikes. Cover it with a cooling rack if you have one and then a silkscreen or cheesecloth and keep an eye on the temps periodically. Most cheap griddles suck at maintaining consistent temperatures so you may need to tweak the dial a lot to keep it at the desired setting. Also make sure to take temperature readings across the entire dish since it can vary. Should take about 24 hours using a large Pyrex dish and some heat.
For ventilation, open a window (yes, even if it's -30 outside), run the oven exhaust and air out your place /room every couple hours. The risk of an explosion is much smaller than with butane but it can still ignite if it concentrates too much in one place and it's not healthy to breathe in too many fumes. An organic vapors respirator mask will help to reduce what you breathe in.
When the ISO is nearly gone, pick up the dish and rock it back and forth to try to get it evenly spread out for purging. Eventually the oil solution will stop moving and it's then ready for the purge stage. If by chance it pools up first, you can pour in a tiny bit of ISO in and then rock it back and forth to even it out. You want it as thin as possible so that the remaining ISO has a chance to evaporate out.
Purge
Try to keep the temperature of the oil around 110F and no higher than 120F, if you have a shitty heating plate you have to get frequent temp readings to ensure it doesn't get too hot. Going much higher for too long will kill the flavor in the oil and you can literally smell the taste evaporating away. Make sure to take readings across the whole Pyrex since the temperature may vary. Probably aim for anywhere from 12 to 48 hours and make sure to keep it covered to prevent debris from getting in. When it's ready you should be able to glide a (clean) finger across the surface without it sticking and if any does then it should harden quickly at room temp.
Next scrape it up with razor blades using a window scraper (blade holder). Starting around 110F it should have a taffy/oil consistency and not powder up. Place the blades on parchment paper and put them in the freezer for 10 minutes. Then break the shatter off the razor blades onto the parchment, fold the paper over and press it out flat with your fingers on the heating plate until it's super thin and then back in the freezer.
Another 10 minutes later peel it off and put it on an OilSlick Duo pad for final purging at 110F to get any last bits of solvent out. Use the other pad to flip it over a few hours later. The bubbles probably won't pop but they'll be dimpled on the bottom when you flip so the gas will release then. You have to sort of guess when it's done, I usually stop when there's no more new bubbles and before it has a chance to budder up. White streaks are a sign of where it has started to turn to budder.
Should be good to dab right away but letting it sit in the open air for an extra day or two helps to harden it bit and makes it smoother to hit. If it sizzles at all, it needs more time. Any white streaks in the slab are moisture (correct me if I'm wrong) and will budder up first and spread to the clear parts. If possible, break up the slab around those white streaks. It should still be fine to dab, just isn't as pretty as clear shatter. Worse case it's great for edibles.
Final Results:
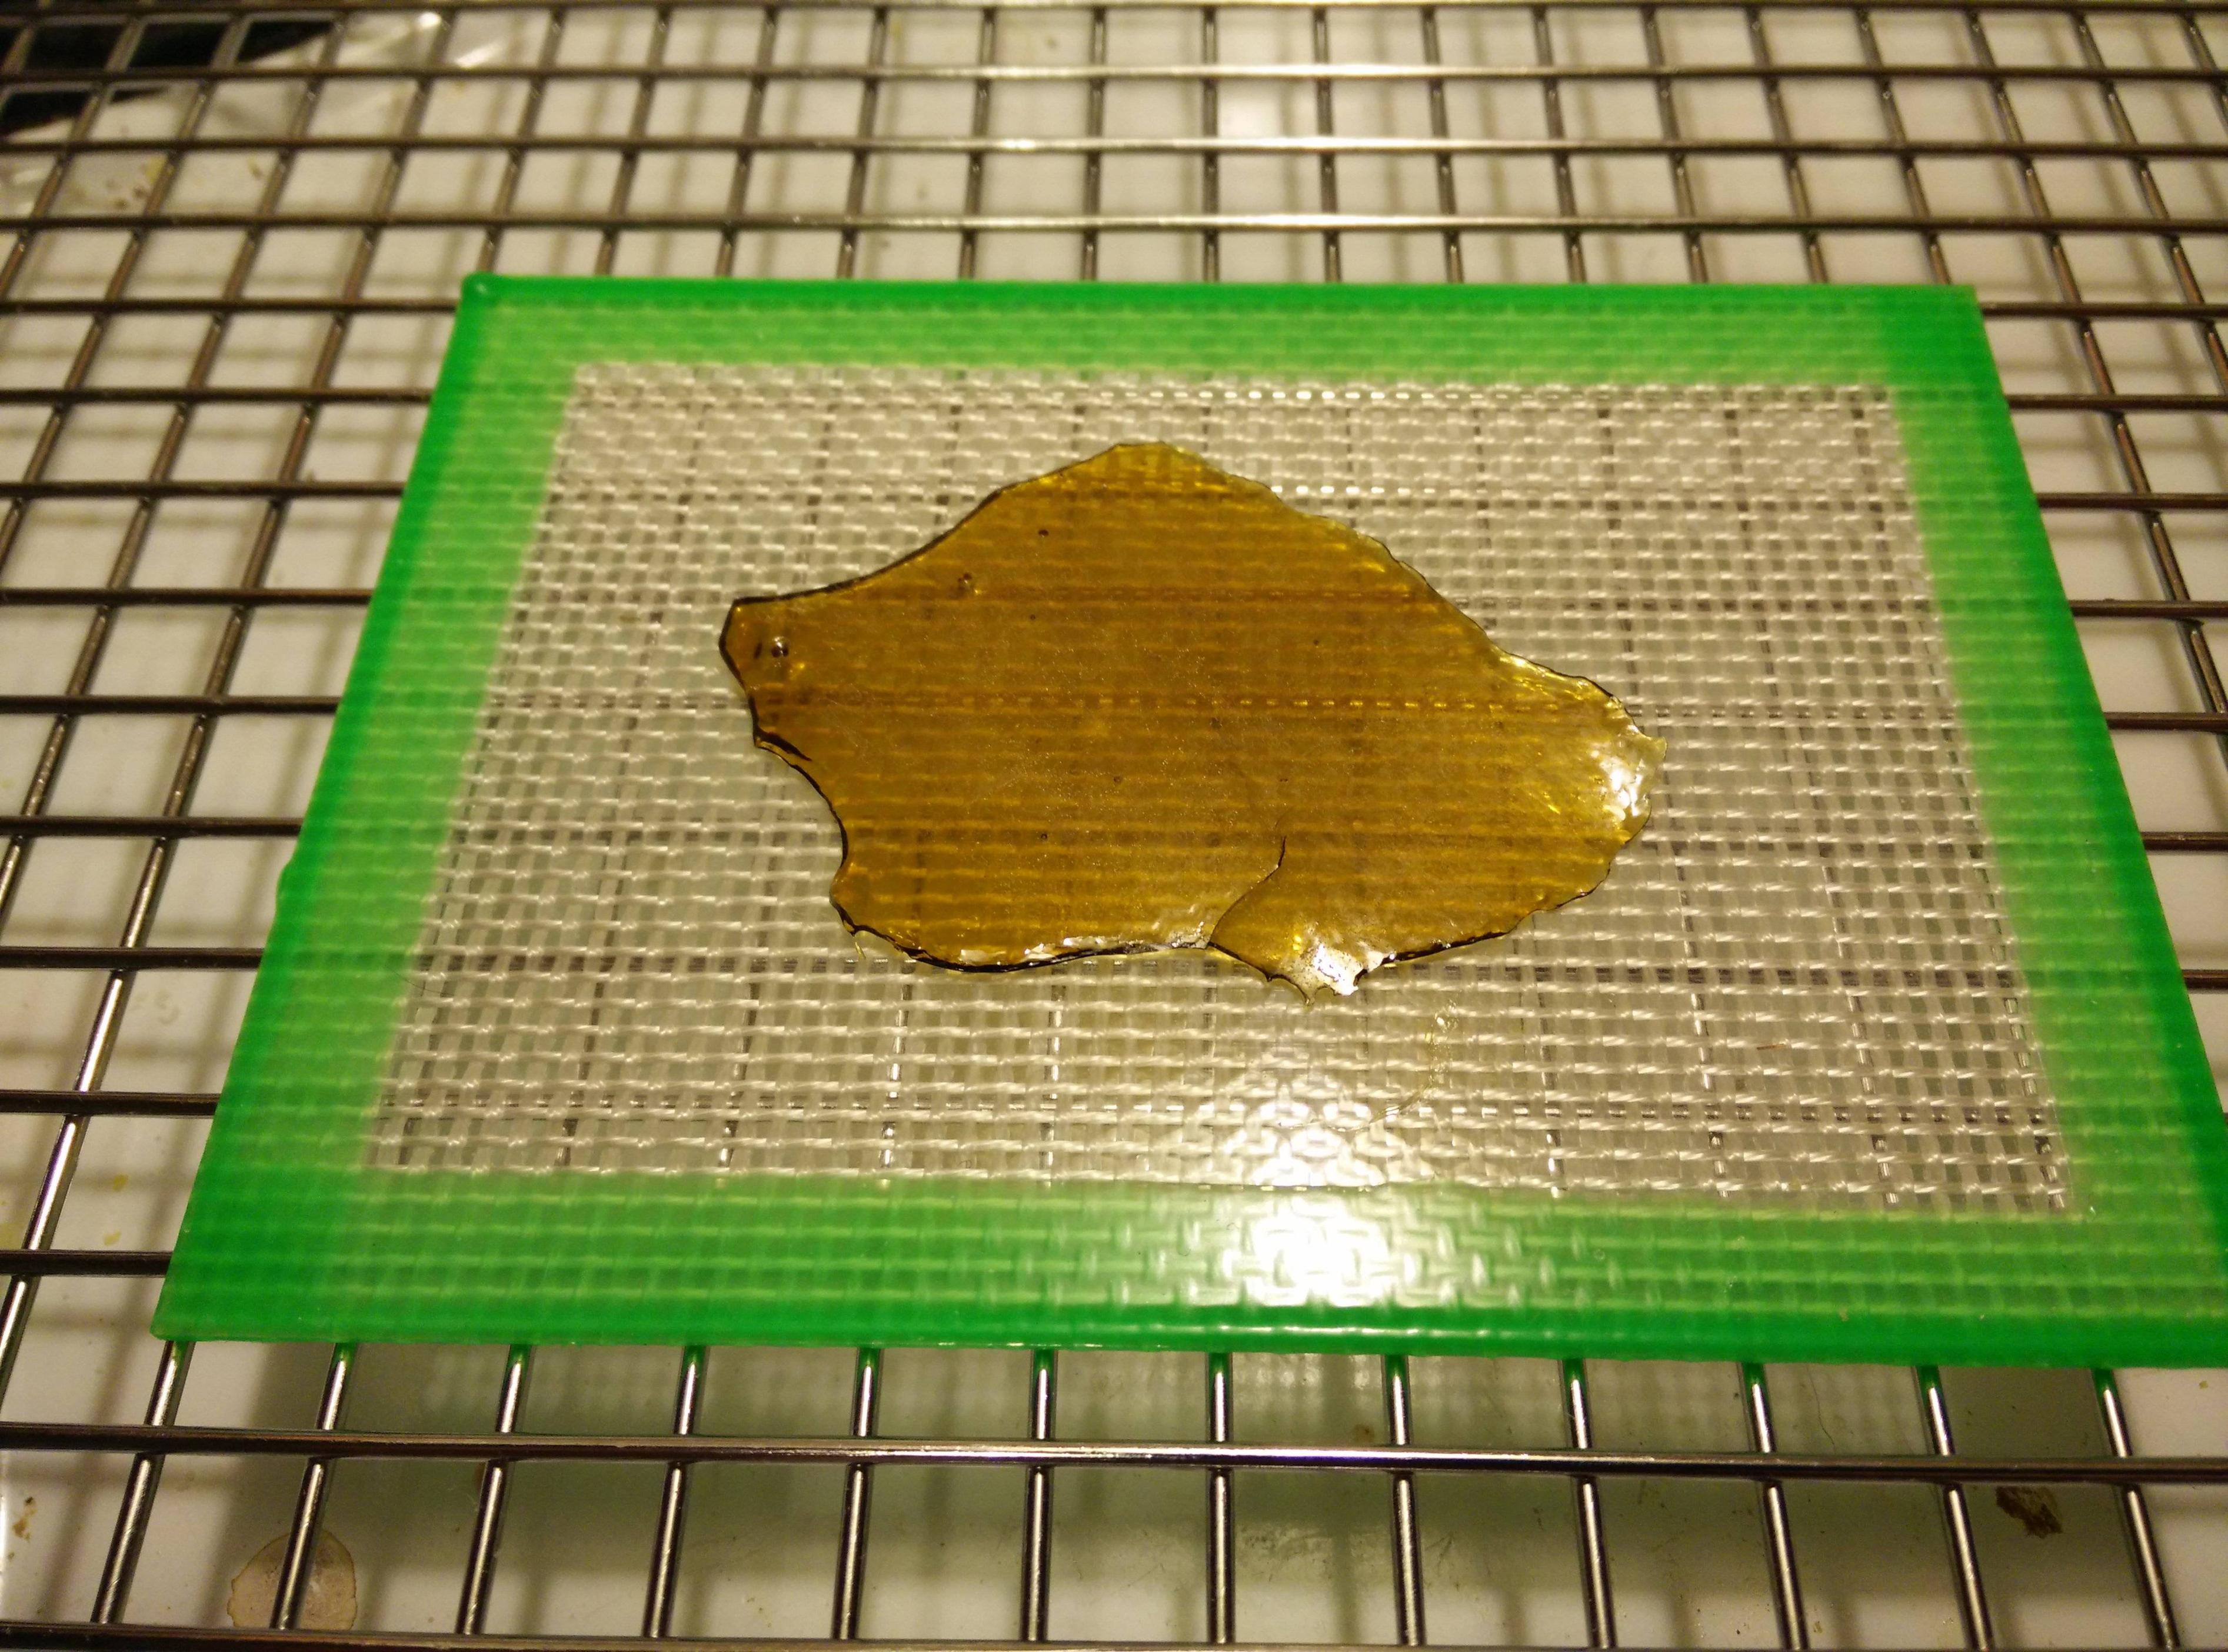
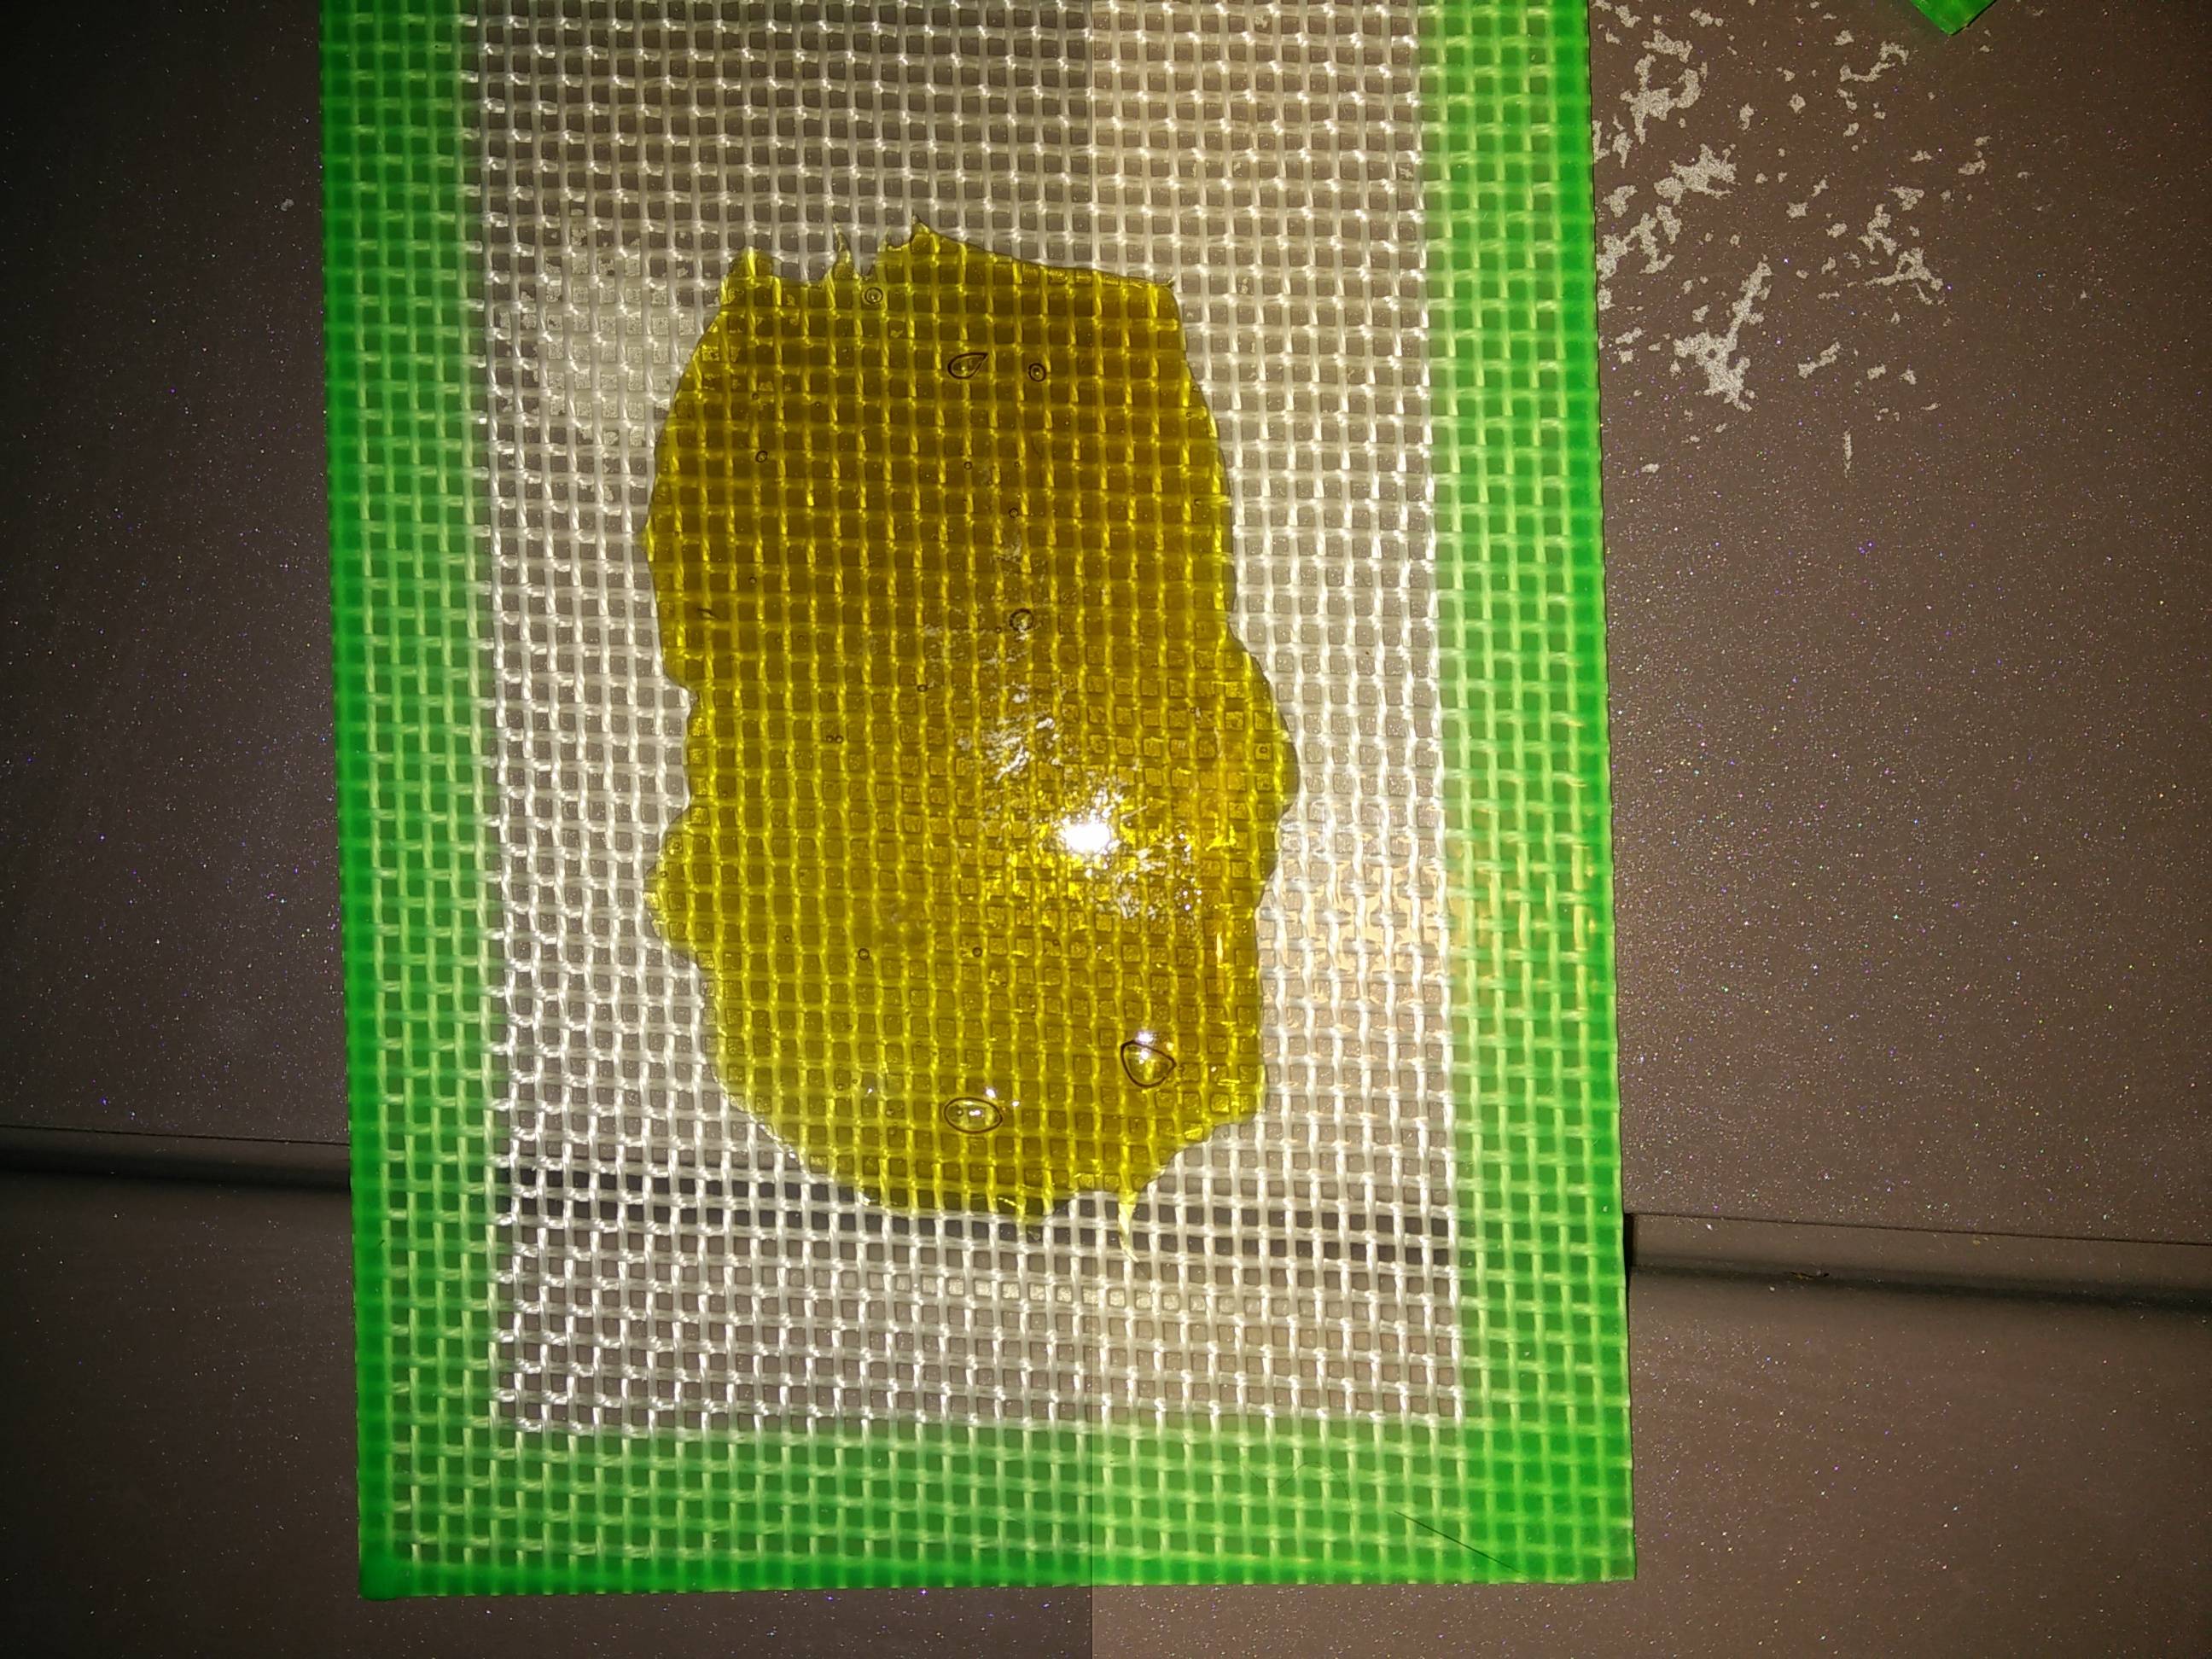
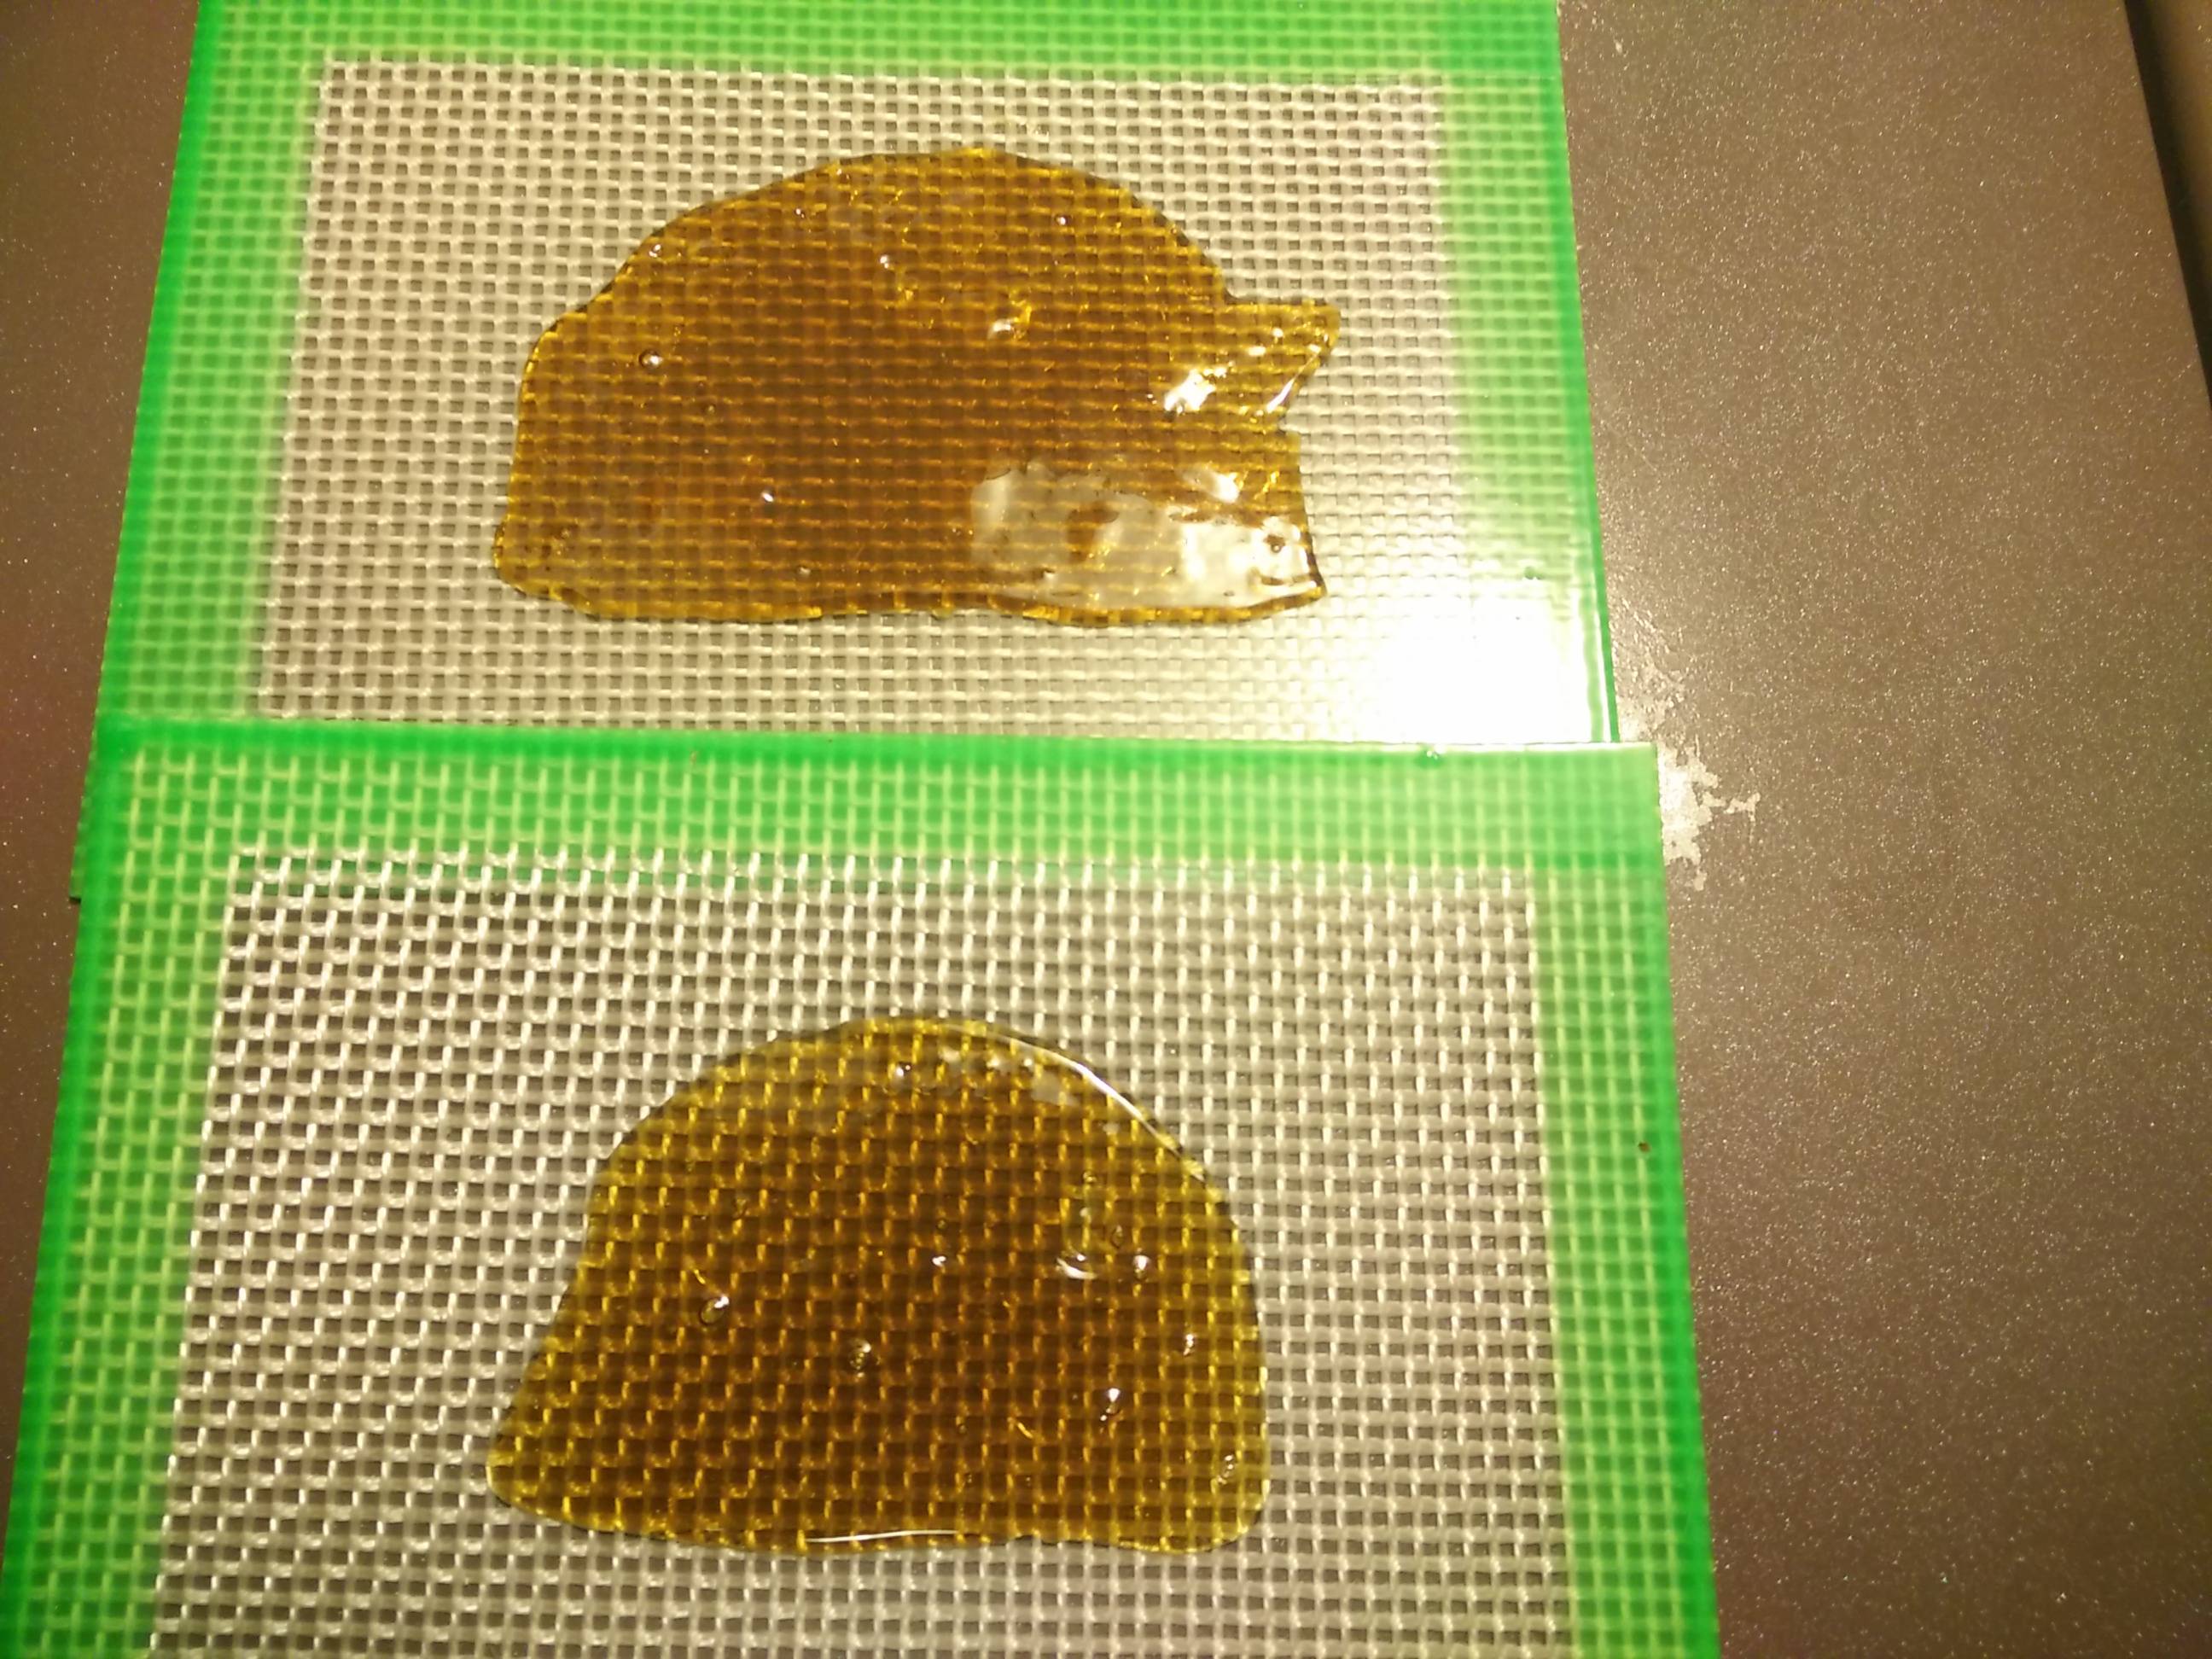
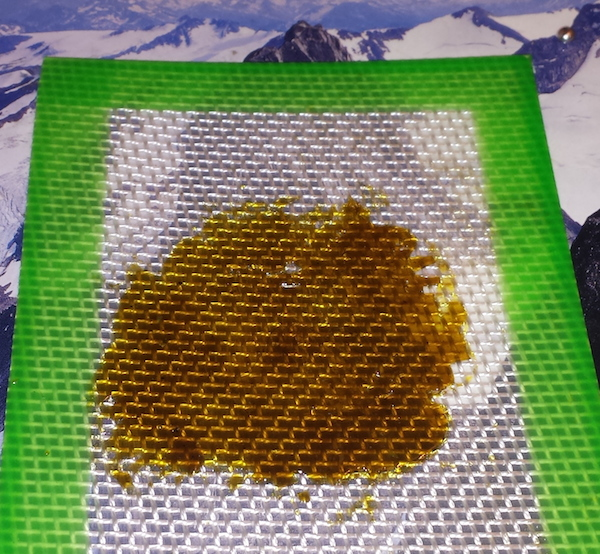
If you followed all steps you should get something similar to the photos below.
This is some week old Jack Herer I made using the tek:
This is from a different batch that shows the clarity better:
Some outdoor I processed recently, photo taken during final purge:


