-
SCAM WARNING! See how this scam works in Classifieds.
You are using an out of date browser. It may not display this or other websites correctly.
You should upgrade or use an alternative browser.
You should upgrade or use an alternative browser.
DIY Bulli Vaporizer
- Thread starter Pipes
- Start date
nondarb
.
My current tubes are 5/16" and 7/16". It was just scrap stuff laying around. I've got a metal bodied pen I'm thinking of killing for its tube, its 1/2" OD. I'm on the lookout for an old antenna as well lol. Tons of stuff to potentially use before going to the store.
 This newer coil has 4 inner wraps with a 3/16" ID and 7 outer wraps, .82 coil running at ~76w with a TCR of 175. Haven't messed with it too much yet, probably need to up wattage. I think I need more air holes, its not preforming through water very well but dry with a slow deliberate draw yields lots of vapor.
I'm pretty sure I'm being a puss about temps as well, I really don't like a glowing coil but it seems a very dull orange glow is necessary.. Input? Excited to get back home, didn't get to mess with this one much.

I'm pretty sure I'm being a puss about temps as well, I really don't like a glowing coil but it seems a very dull orange glow is necessary.. Input? Excited to get back home, didn't get to mess with this one much.
This newer coil has 4 inner wraps with a 3/16" ID and 7 outer wraps, .82 coil running at ~76w with a TCR of 175. Haven't messed with it too much yet, probably need to up wattage. I think I need more air holes, its not preforming through water very well but dry with a slow deliberate draw yields lots of vapor.
I'm pretty sure I'm being a puss about temps as well, I really don't like a glowing coil but it seems a very dull orange glow is necessary.. Input? Excited to get back home, didn't get to mess with this one much.
love the coil BTW That thing is pretty. Are you not using the chimney to store your heating element?? are you just using the entire 22mm??
Honestly when I opened up airholes my setup got significantly hotter so I think it can help a bunch. Personally I make my airflow wide open and limit draw speed my changing out the drip tip to one with a tighter draw. (this is also because my dremel sucks at making holes lol)
@nondarb you have a lot of surface area with that coil. you should be able to see some decent results.
StonerSloth
cui bono?
@nondarb - it looks like you've got enough coil, enough TCR, and enough power... But not enough air flow! Running a big hot coil like that with little air flow can lead to the vape body/deck getting really hot, which can eventually cause the post insulation materials to melt.
For these larger diameter coils, I find that I don't even need to cut a slit in the outside tubing - I just wrap the inner coil and then bend the positive leg down so the whole coil fits inside the tubing and wrap from there.
@enjiatt - the coil wrapping jig I am using says it works with 18 to 32 gauge wire. It cranks out perfect inner coils in about five seconds. http://www.ebay.com/itm/Coil-Master-V3-6-in-1-Coiling-Kit-Jig-Killer-Nano-Micro-Marco-/262347377165 I've never used it with 18 gauge but it works perfectly for 20awg.
nondarb
.
love the coil BTW That thing is pretty. Are you not using the chimney to store your heating element?? are you just using the entire 22mm??
Thank you, I used the chimney on my smaller coils but thought this one was way too big.. I got home and realized it was barely too big I replicated it best I could (.81ohm) and pulled the wire a little tighter. With some finagling the new coil doesn't short with chimney in placd, it wasn't fun but I've certainly maxed out my space in there! It channels the heat perfectly for the nano stems. Was able to bump my TCR and wattage down a bit.
Bored out all my holes from 1/16" to 5/32" and added another in the side, getting much much better results.
Running a big hot coil like that with little air flow can lead to the vape body/deck getting really hot
The deck gets very warm after 3-4 consecutive hits. Any suggestions? I've got a heatsink on the way, but along with all my other stuff its taking forever from china. More holes?!
StonerSloth
cui bono?
Thank you, I used the chimney on my smaller coils but thought this one was way too big.. I got home and realized it was barely too big I replicated it best I could (.81ohm) and pulled the wire a little tighter. With some finagling the new coil doesn't short with chimney in placd, it wasn't fun but I've certainly maxed out my space in there! It channels the heat perfectly for the nano stems. Was able to bump my TCR and wattage down a bit.
Bored out all my holes from 1/16" to 5/32" and added another in the side, getting much much better results.
The deck gets very warm after 3-4 consecutive hits. Any suggestions? I've got a heatsink on the way, but along with all my other stuff its taking forever from china. More holes?!
I didn't realize you had any air flow holes when I wrote that - I didn't see any in your pics! Thought you were running that huge ass coil with just the air flow hole in the deck! How many holes did you drill?? Are they really 5/32"??? Or 5/64"?
I think 3 or 4 x 5/64" holes at the base of the coil would be my best guess for that setup, but I usually drill one at a time (clean and test in between) while I'm figuring out a new build.
Don't worry TOO much about the deck - just be aware that if you keep your coil at 550 or 600 deg F in a sealed off chamber for long enough, you can definitely melt the post insulation materials.
If you continue your draw after the battery shutoff timer, it will help cool your coil/deck/vape/load/glass
In other news, I have upgraded my beautiful coil from page 20 to a 20awg version of the same..... Why? I have no idea, but it is a beast and a battery destroyer! Also - I am loving the convenience of adjustable air flow. You can almost literally adjust the vapor density.
Last edited:
If you continue your draw after the battery shutoff timer, it will help cool your coil/deck/vape/load/glass
In other news, I have upgraded my beautiful coil from page 20 to a 20awg version of the same..... Why? I have no idea, but it is a beast and a battery destroyer! Also - I am loving the convenience of adjustable air flow. You can almost literally adjust the vapor density.
@StonerSloth Thats exactly what I like to do especially with this larger gauge wire is continue drawing after I am done inhaling.
Wow you made that thing 20AWG!!! according to steam with 22 AWG wire at .72 ohms you were at surface area of 633.25mm^2
That same comparable wire in 20AWG surface area would be 797.18mm^2 at .453 ohms
Am I close???
the coil I am using now is ss316L 18 gauge .245 OHM surface area is 865.37mm^2.
I think we probably pretty comparable performance when you use your cuboid and I use the RX 200. If I am using the rx200 I stay 90w or above. But When im using the DNA200 I am at 50w with a 170w preheat for 3 seconds.
@StonerSloth Question can you get through bowls like super quick right now?? I can blow through bowls now so its really nice which makes me not use as much battery.
Im thinking of starting to temp step since it extracts so quick. Ill try today. low mid and high.
!
Gator
Active Member
I would like to treat/finish my wood piece, I have been looking for days on the best method to use. Also searching this thread. @Pipes you have painted your project black and used linseed oil on the inside. Is linseed oil the best for this application? Googling Danish oil and mineral oil come up as alternatives. I don't want to paint my wood and I want a dark stain.
Watco Danish oil and Skydd mineral oil seem to be my final choices but I would like to know if they are safe around heat. They are used for finishing pipes, so I assume so, just wanted some feedback.
I have made another coil .43 this time. still 3, 24awg twisted. I am still getting a .12 change and 450f vape temp. I assume that twisted and not twisted have something to do with the ohm change rate?
@enjiatt tried in 2 builds i tried to add foil around my glass but it seemed to rob heat for some reason. Thanks for the advice though.
I am having really good results adding more distance from the coil. I thought being closer to the coil made things more efficient but a minimum of 1cm is necessary. Also finding the hot spots on the coil and acomidating a bit by pushing them down a bit further really helps.
StonerSloth
cui bono?
@StonerSloth Thats exactly what I like to do especially with this larger gauge wire is continue drawing after I am done inhaling.
Wow you made that thing 20AWG!!! according to steam with 22 AWG wire at .72 ohms you were at surface area of 633.25mm^2
That same comparable wire in 20AWG surface area would be 797.18mm^2 at .453 ohms
Am I close???
the coil I am using now is ss316L 18 gauge .245 OHM surface area is 865.37mm^2.
I think we probably pretty comparable performance when you use your cuboid and I use the RX 200. If I am using the rx200 I stay 90w or above. But When im using the DNA200 I am at 50w with a 170w preheat for 3 seconds.
@StonerSloth Question can you get through bowls like super quick right now?? I can blow through bowls now so its really nice which makes me not use as much battery.
Im thinking of starting to temp step since it extracts so quick. Ill try today. low mid and high.
!

Very close - I guess the 20awg coil is not quite as long as the 22awg - it is reading 0.44 ohm - so 780 mm2. I have this beast set at TCR=145 and P=100.0W with airflow on the Aromamizer V2 WIDE OPEN and
 It can destroy a typical underdog load in two draws.
I think that more air flow leads to destroying bowls faster... as long as you've got the coil to handle the air flow.
I never considered the battery life benefit of going through bowls super quick though!!! hahah
Gator
Active Member
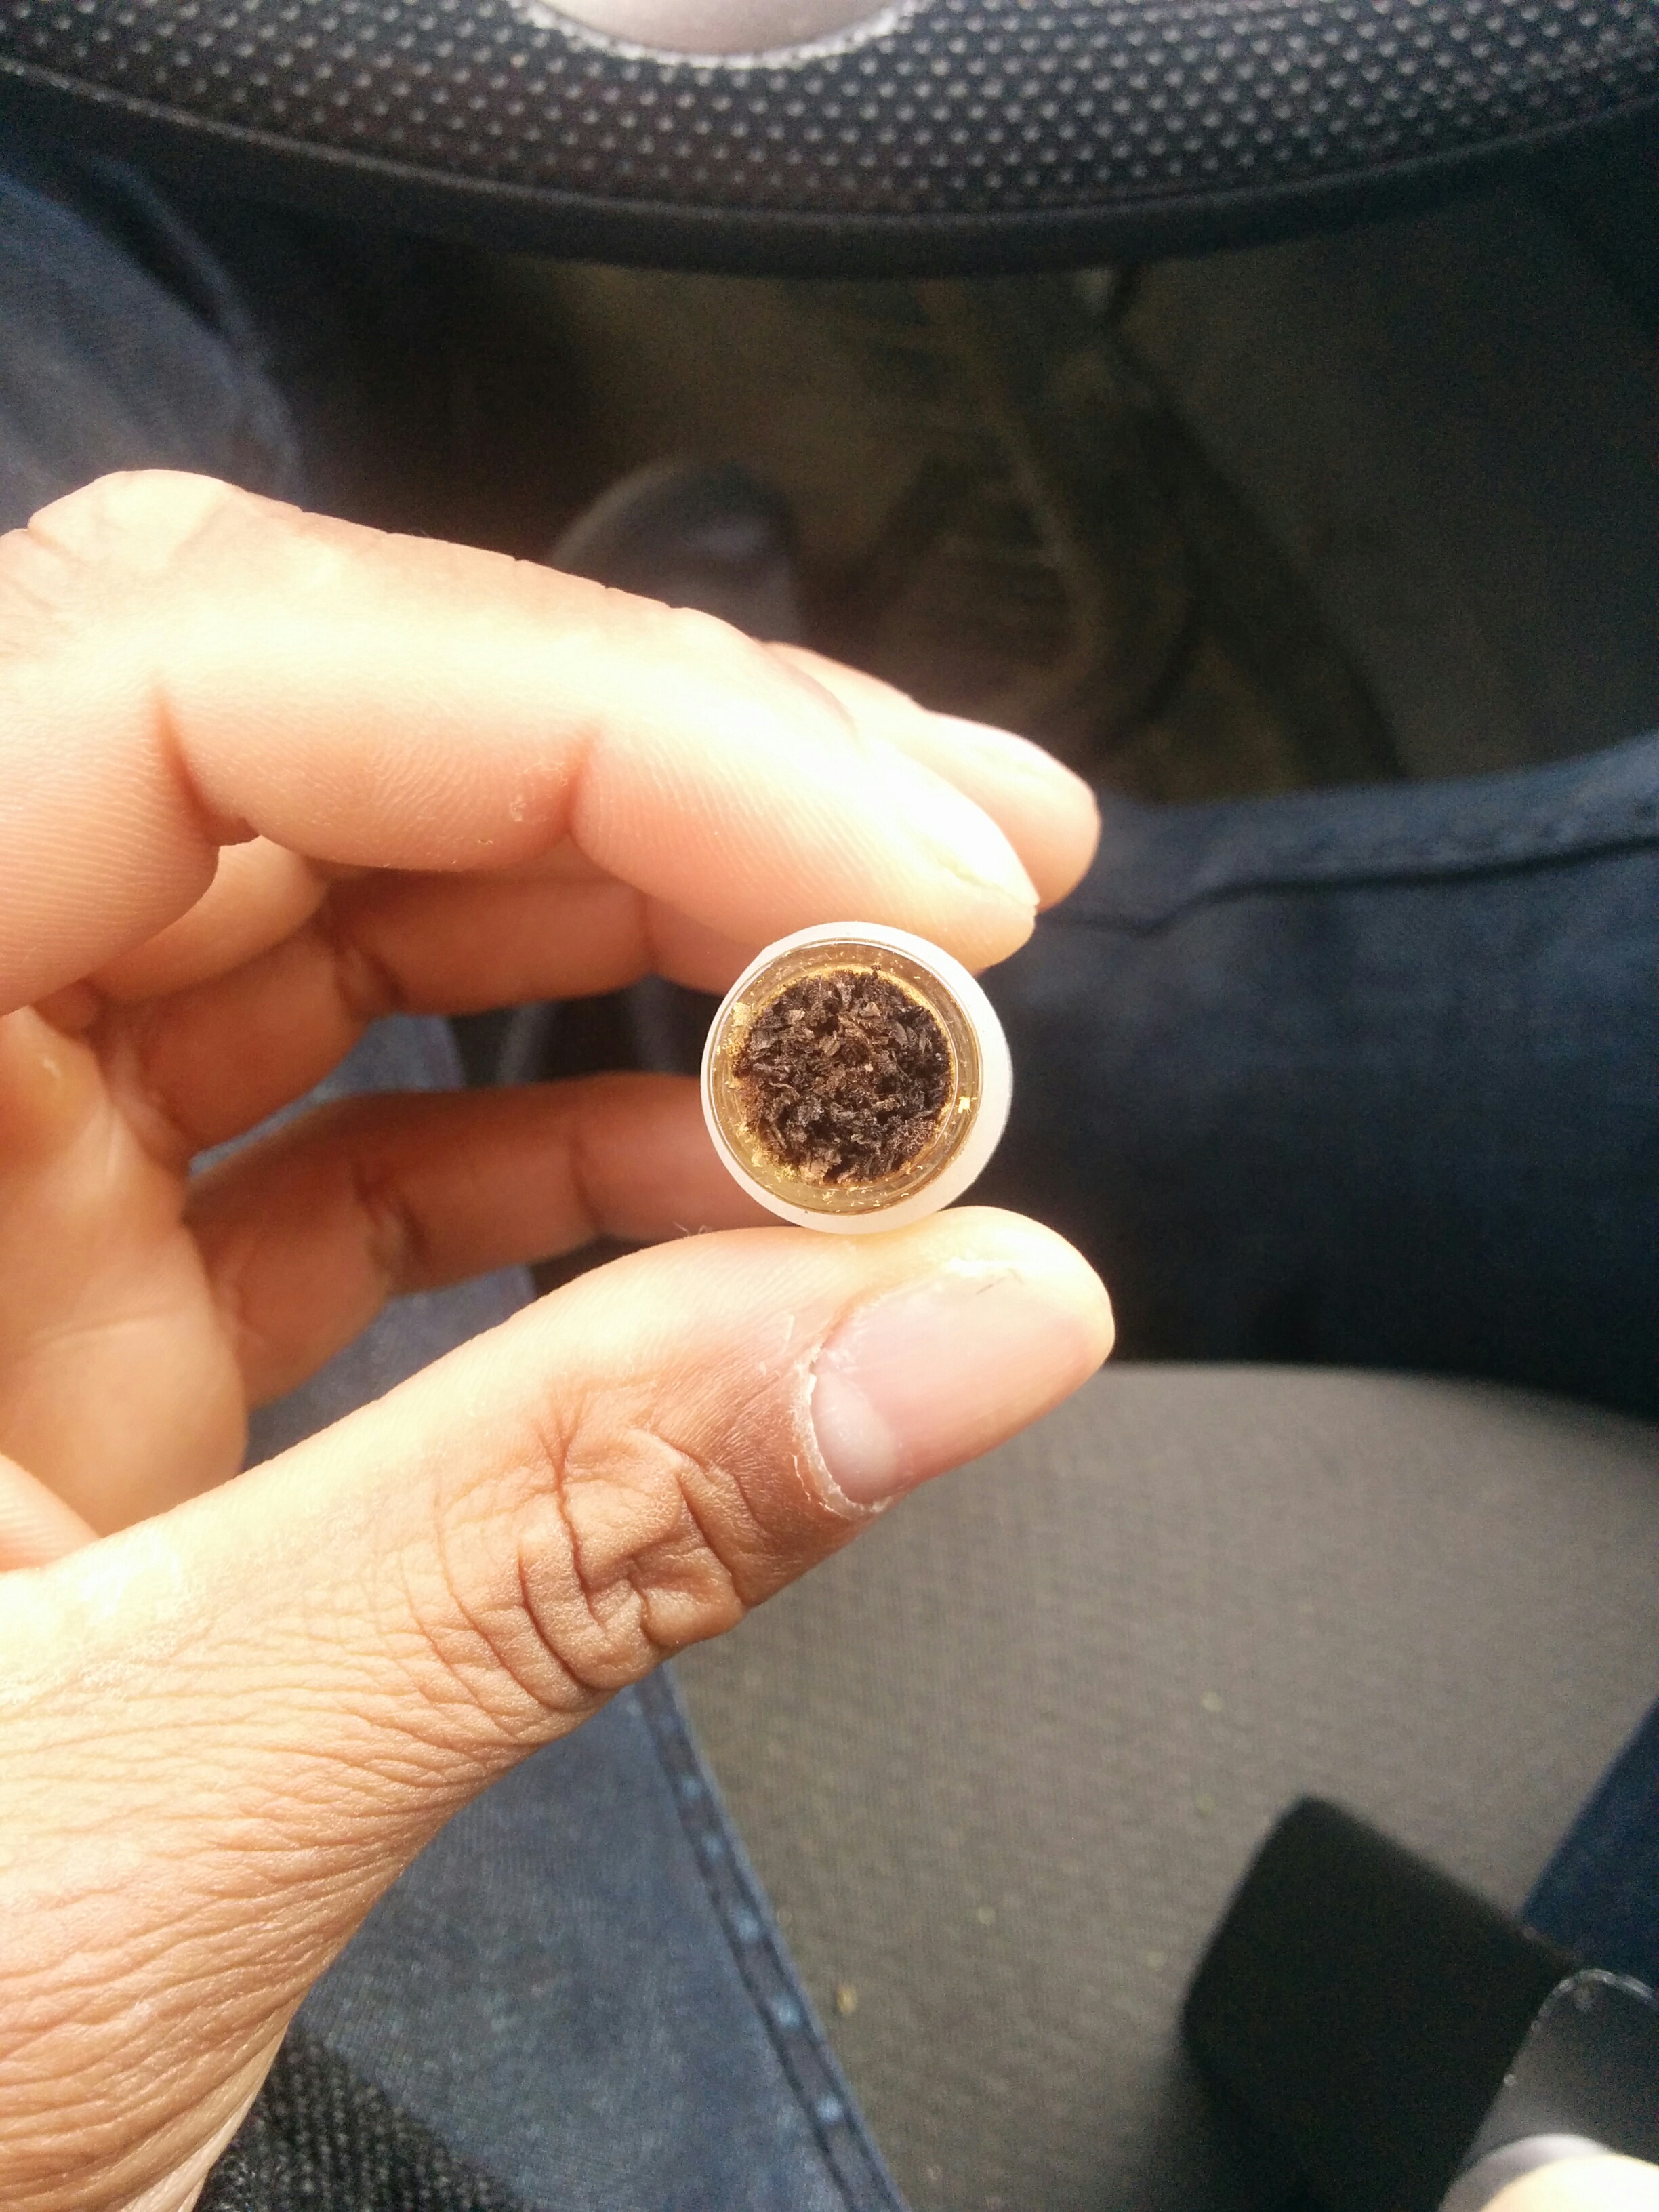
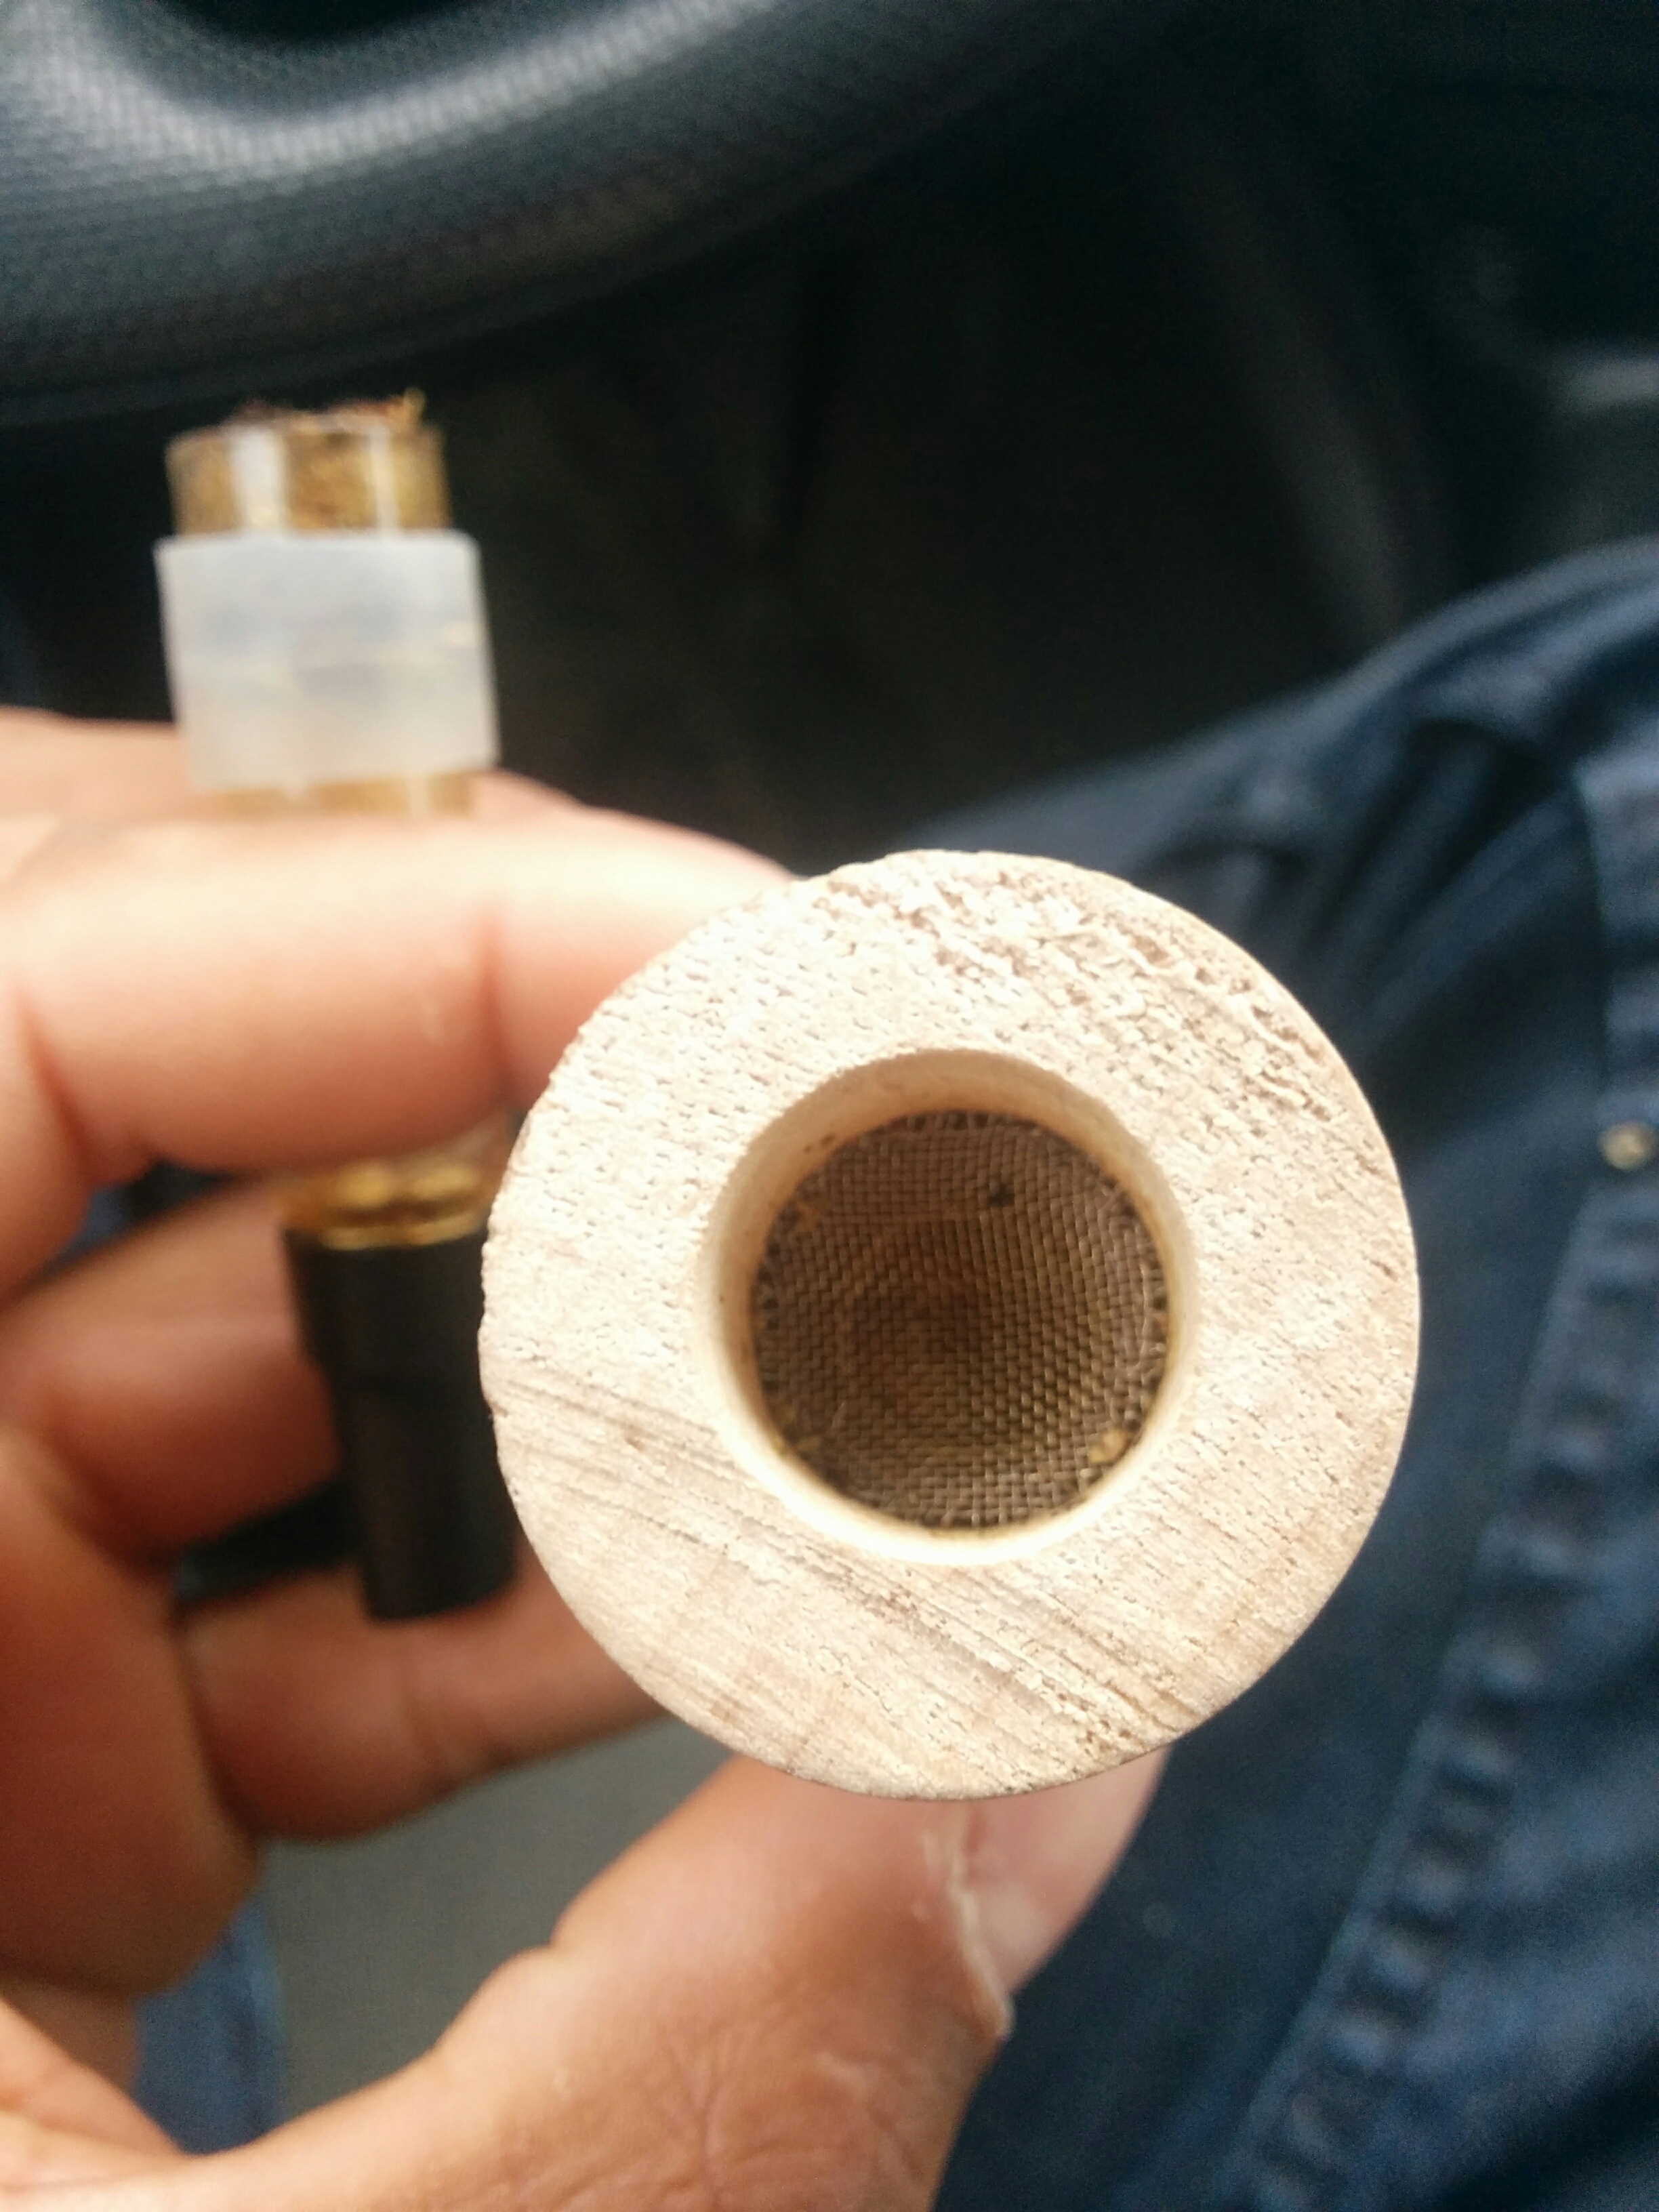
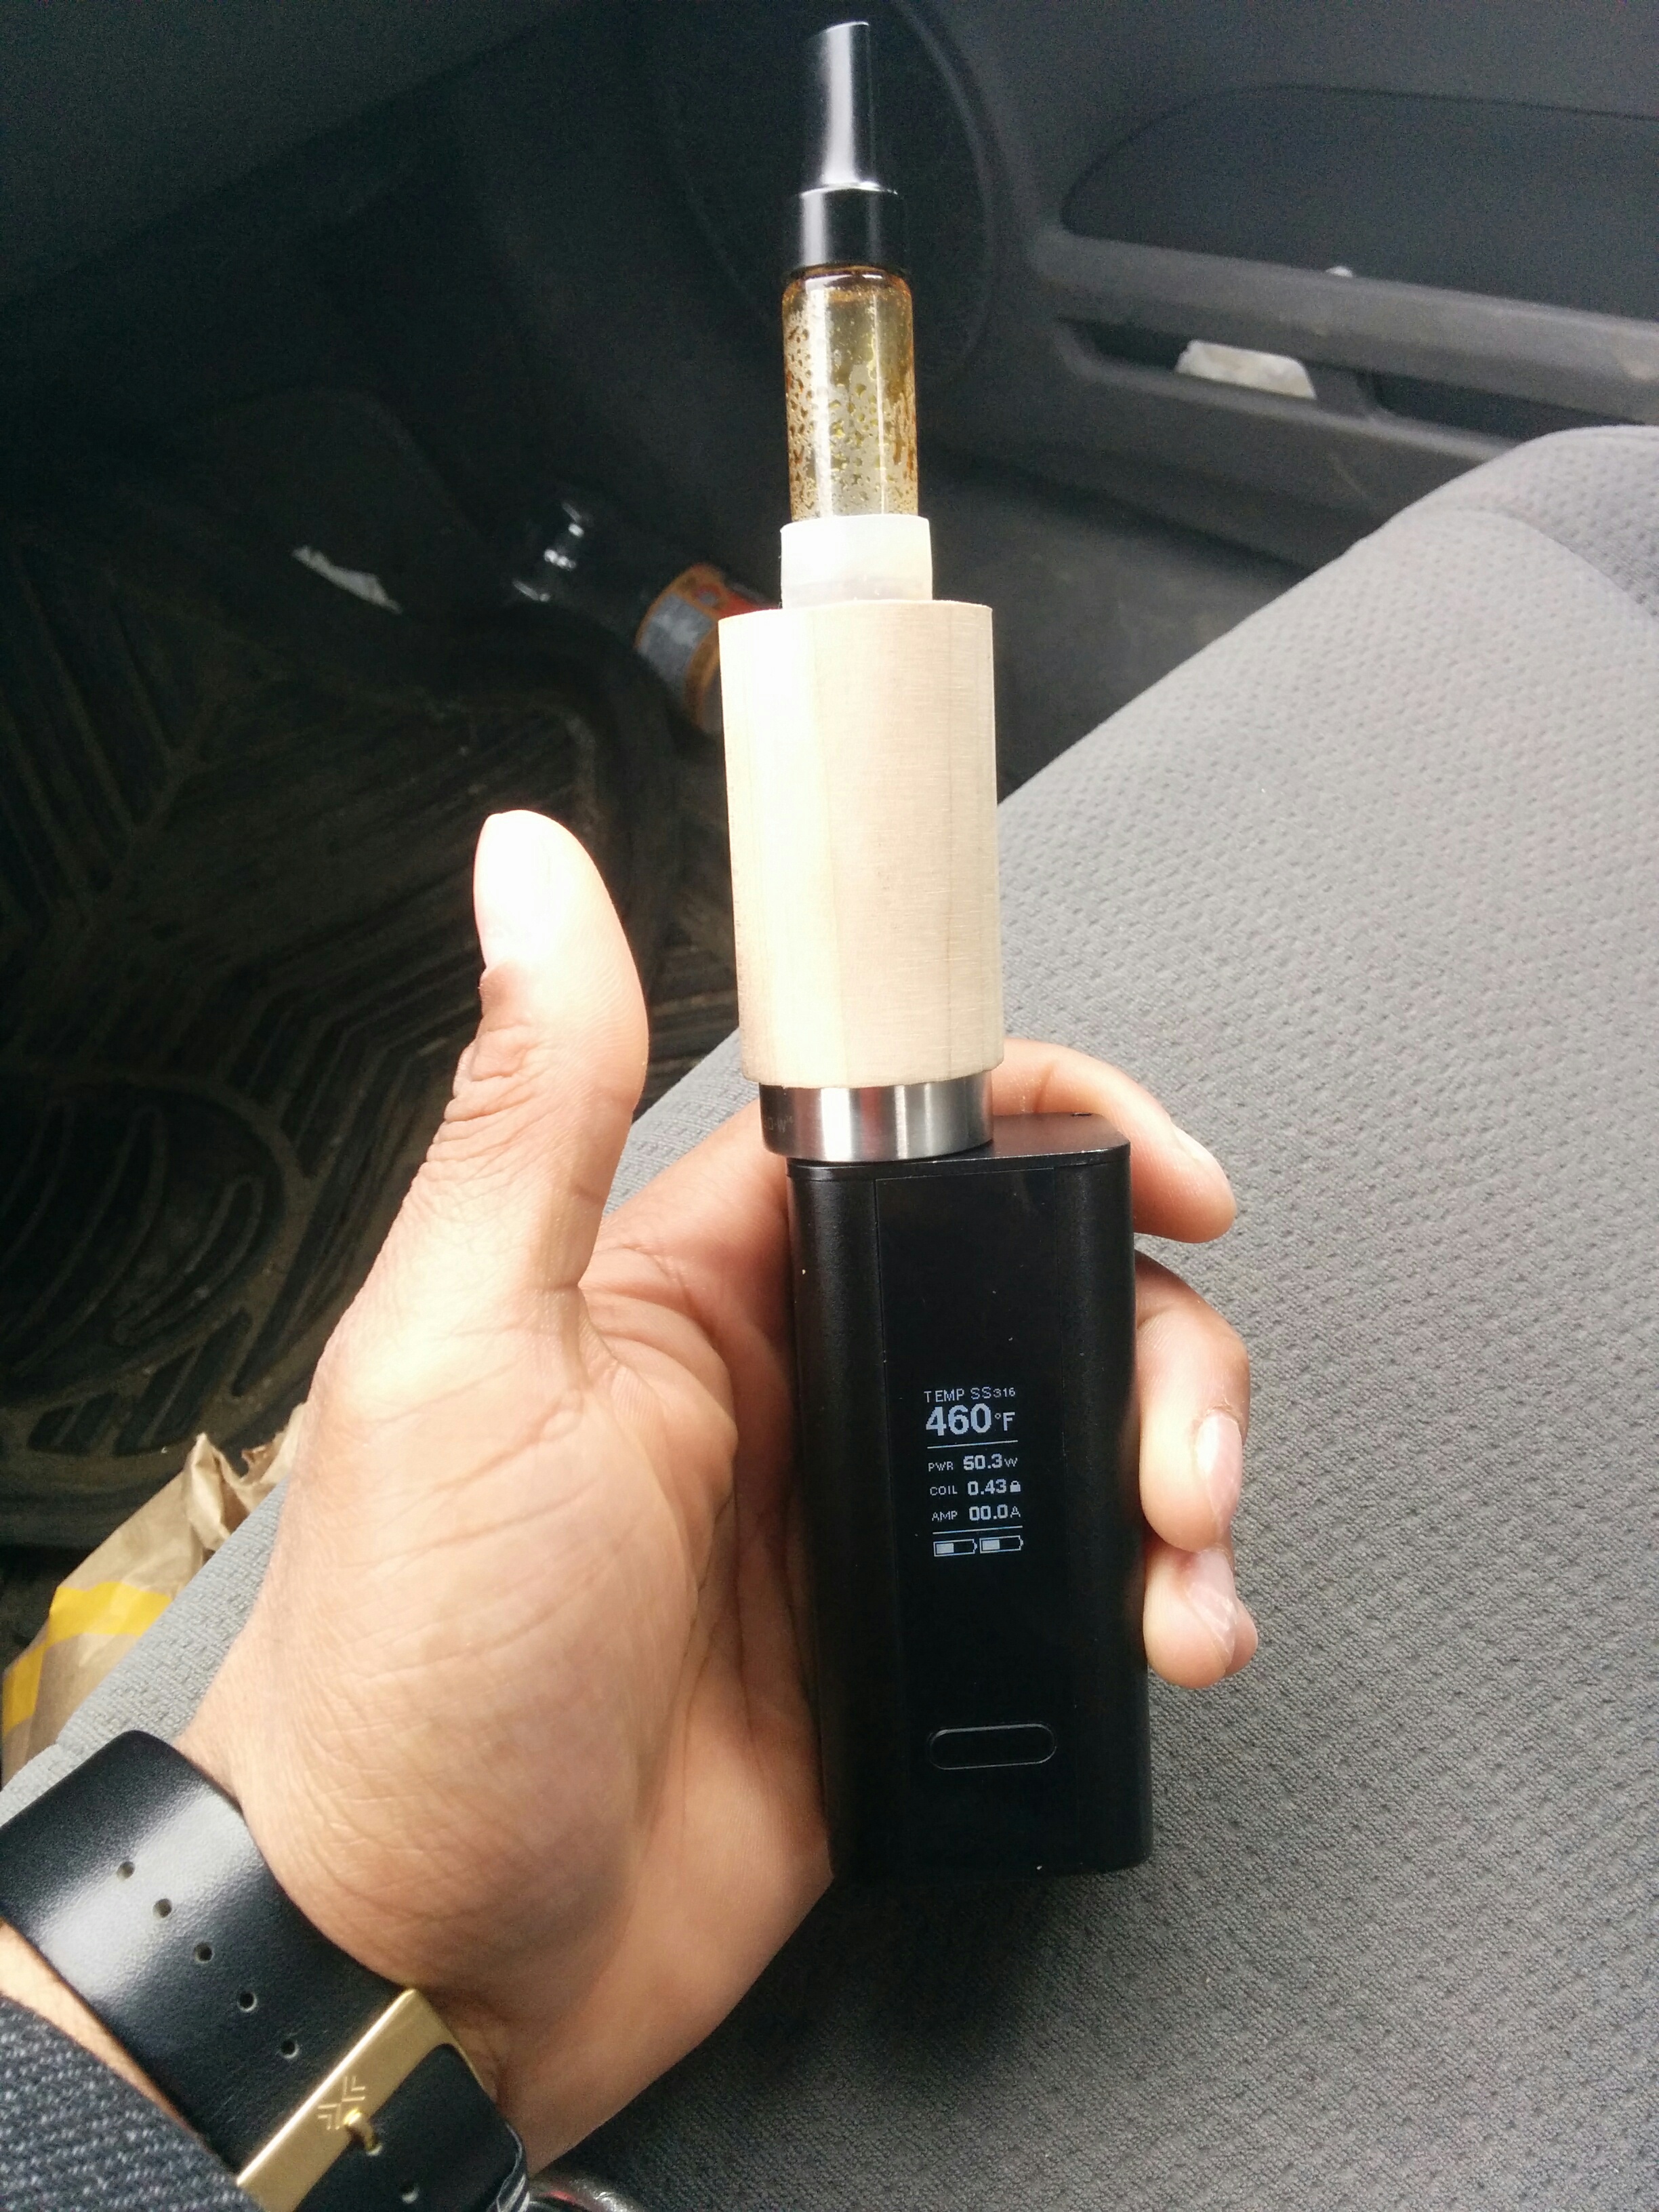
Just some pics of the revised version. Its a bit shorter then my last version, the glass is a cloutank m3 tank instead of a m4 it's more narrow and a bit shorter and the top hole is 5/8" instead on 3/4" od. Much nicer fit, and easy to keep the arizer stem a bit back. I have the rda really tight in the wood so i hate taking it apart lol. But I'll post some picks of the coil soon. I made the coil a bit different, to even out the air a bit. I made a stove top style on top of the tornado style I had before.


Last edited:
I HAVE FOUND THE PERFECT SETUP (For Me)
May be able to work with glass also
ELBOW PACK METHOD
Pros
You need two arizer bowl screens. Load a bowl with how much you would like and then put the other bowl on top of it. Then insert it in directly in the heat chamber and close as you feel is optimal for your burn pattern. Thats it...............
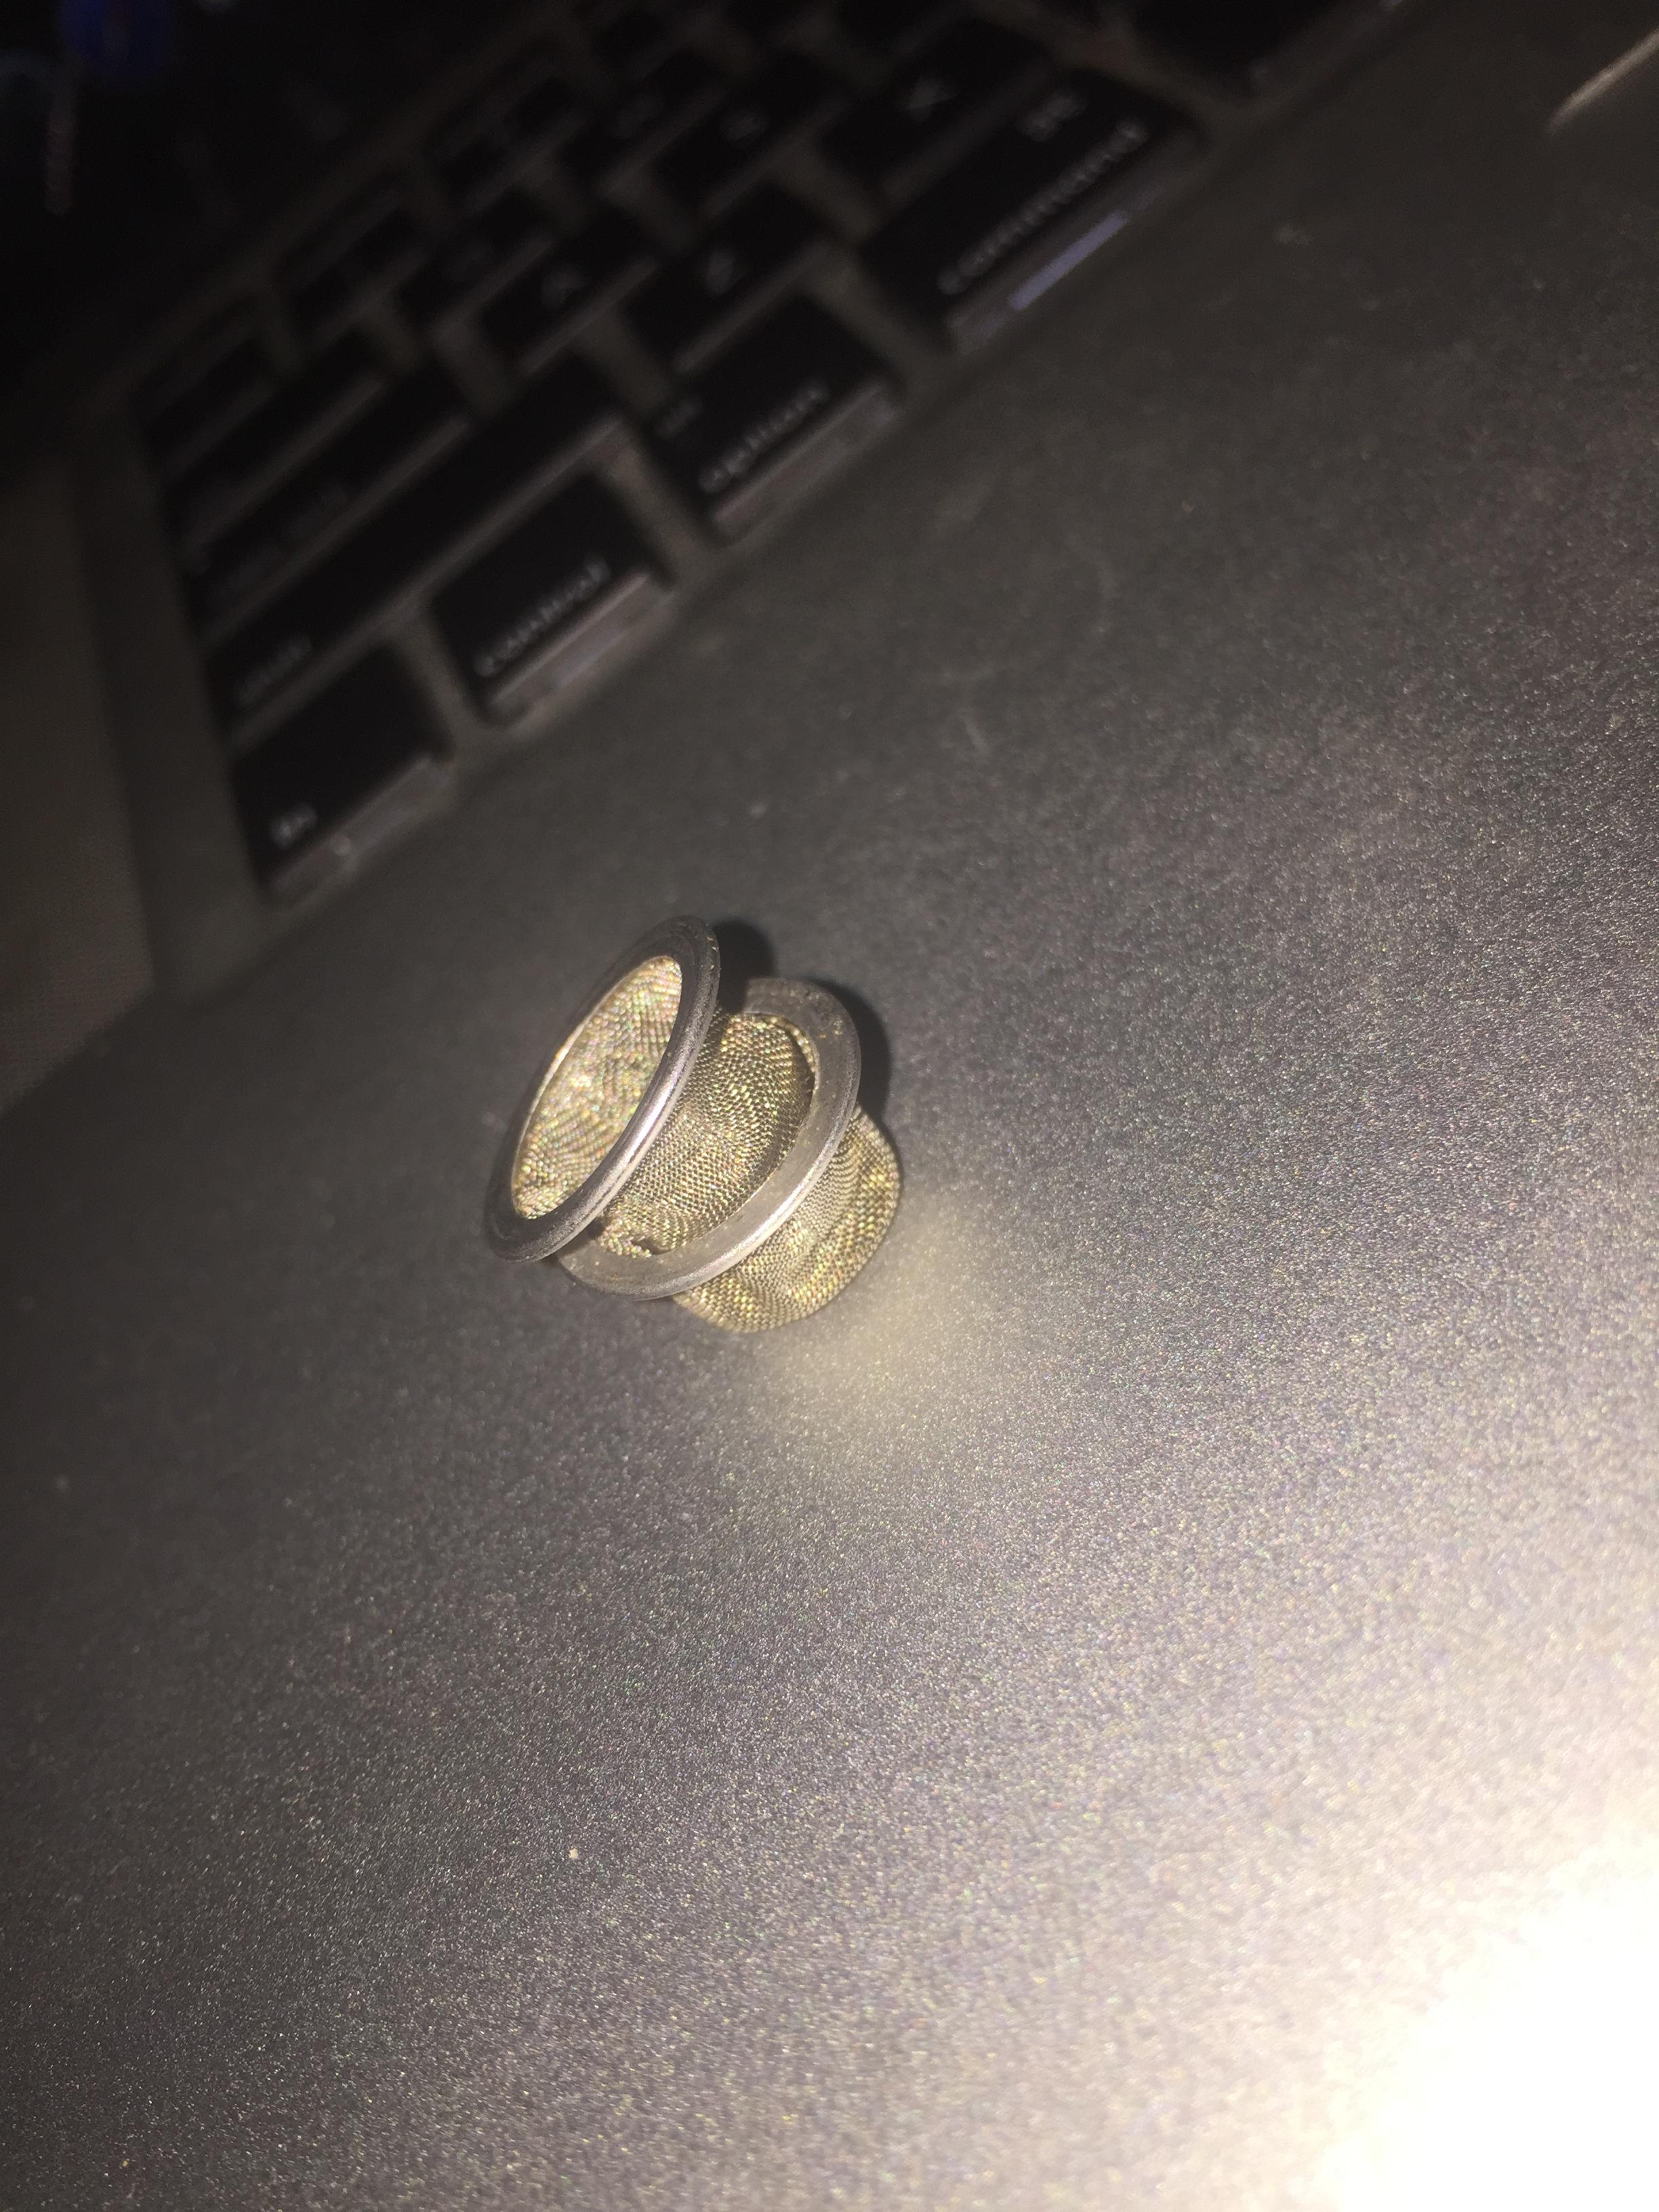
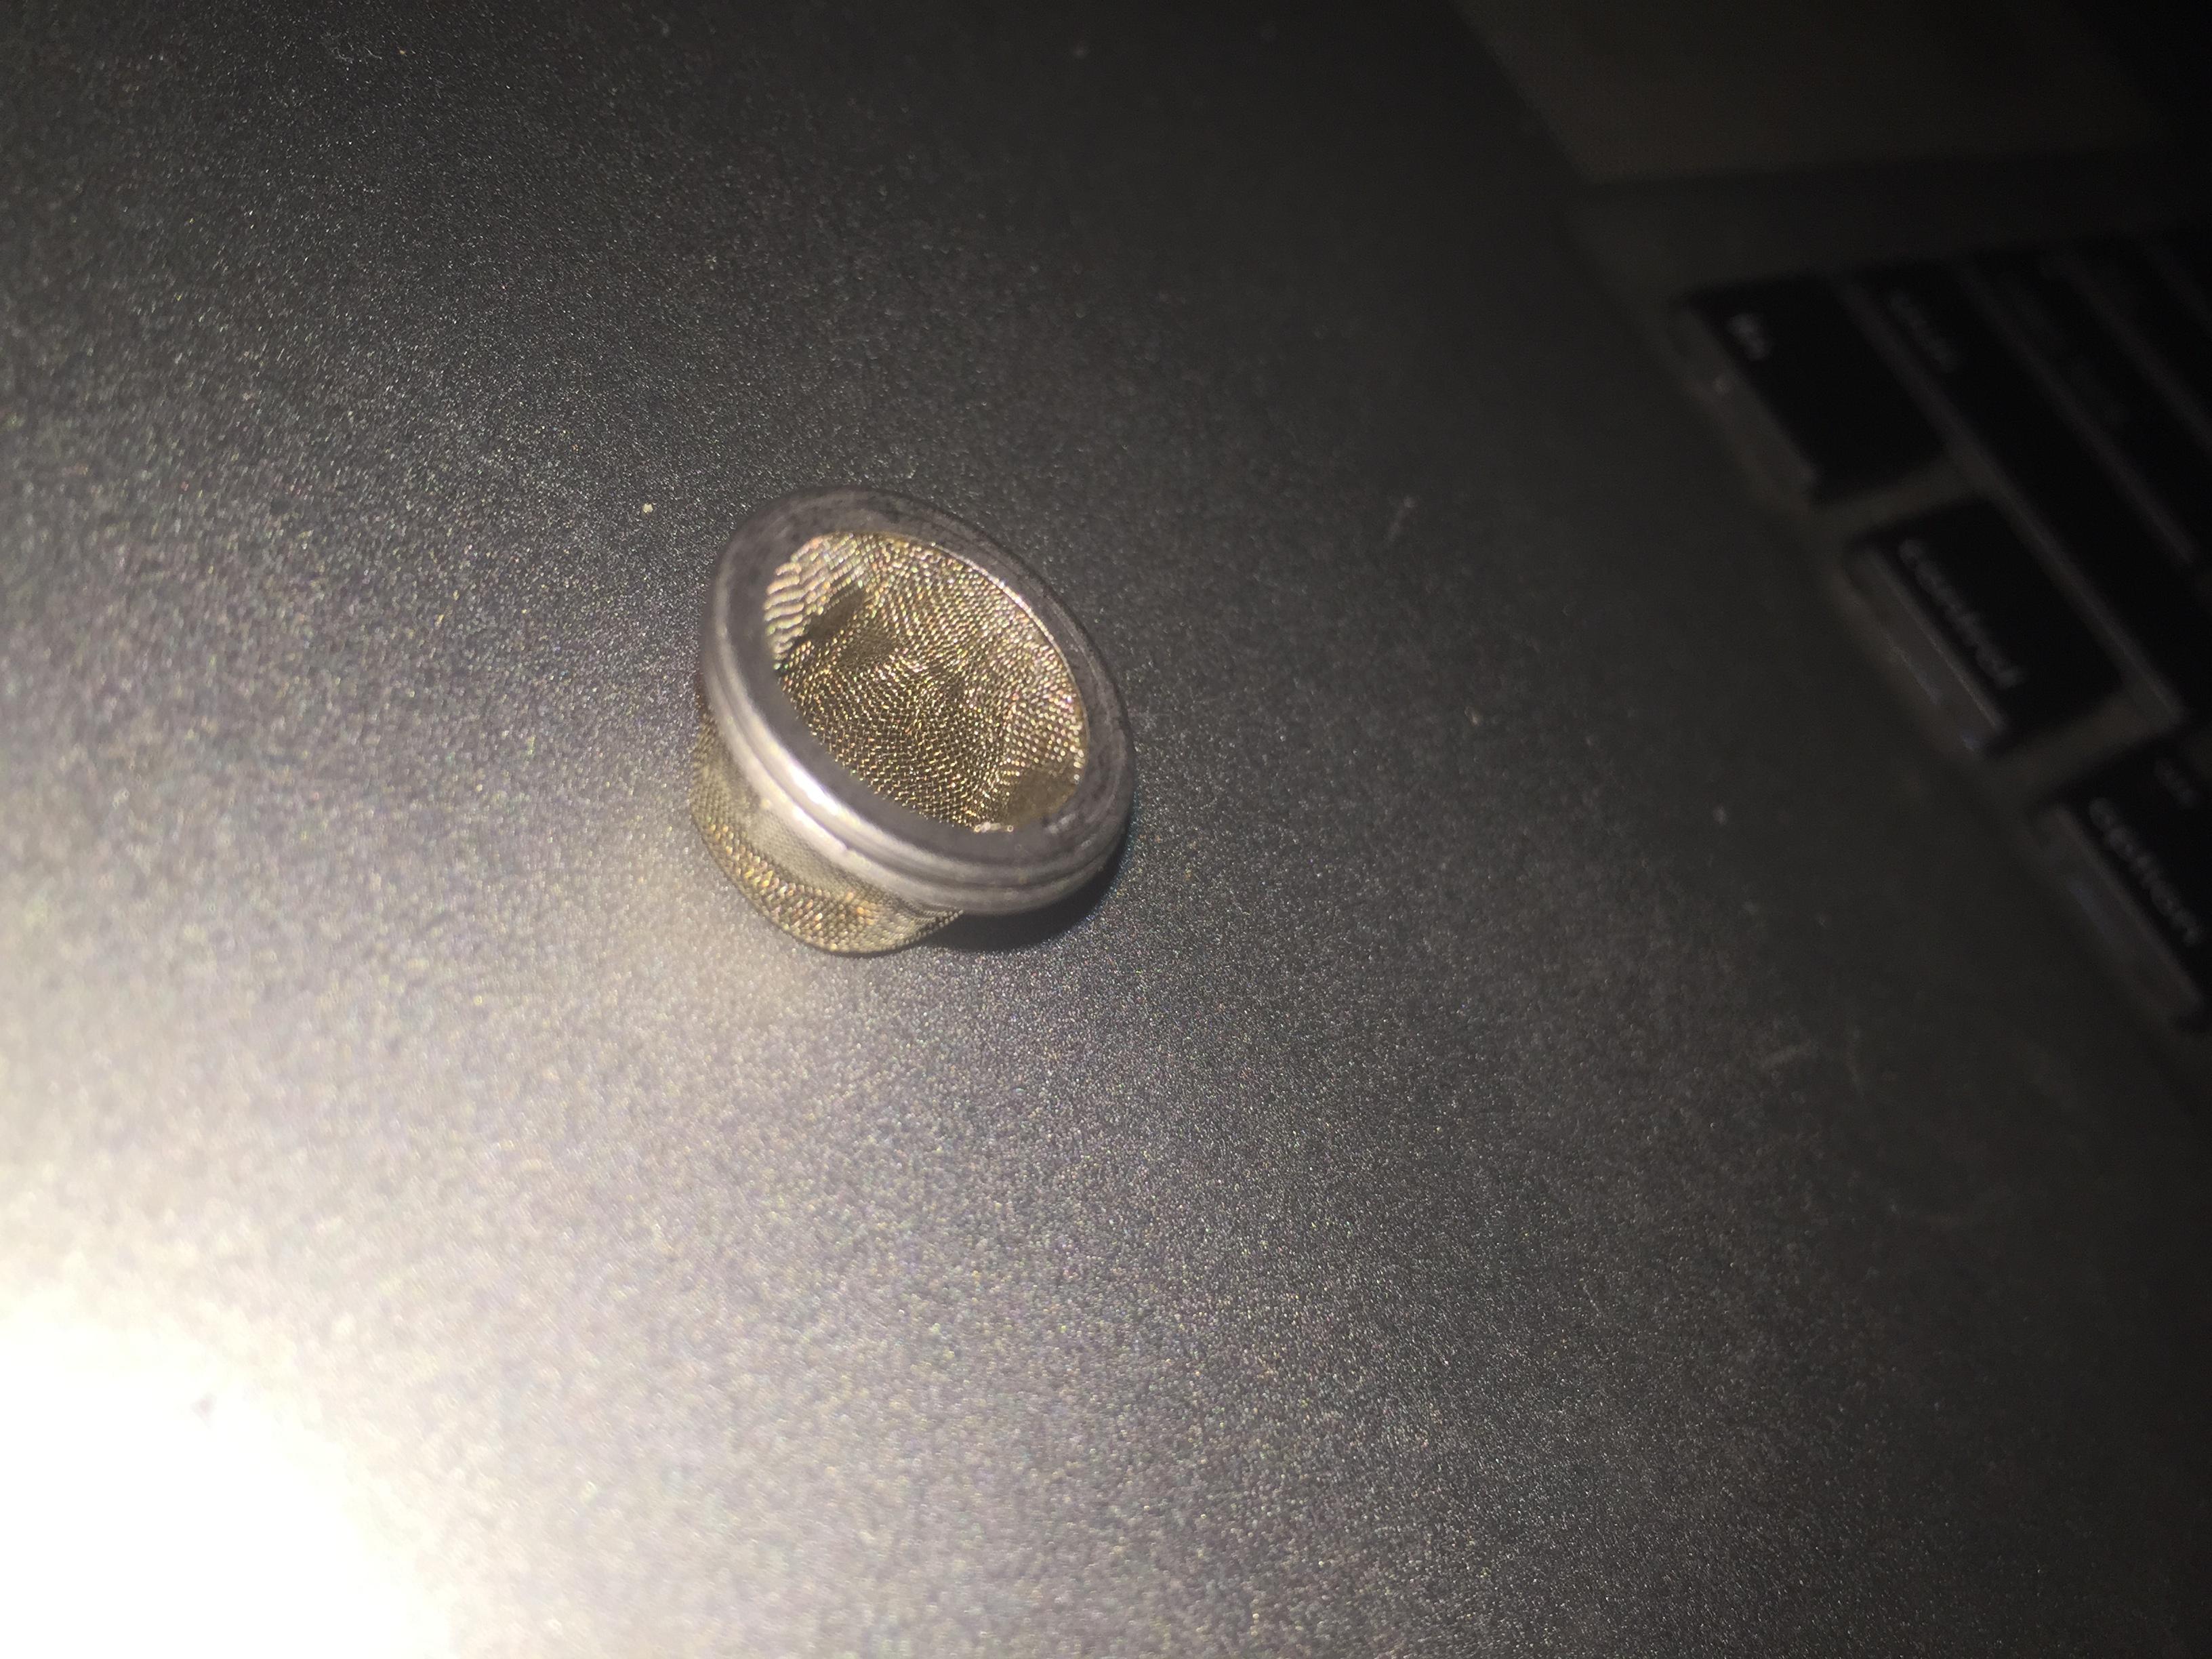
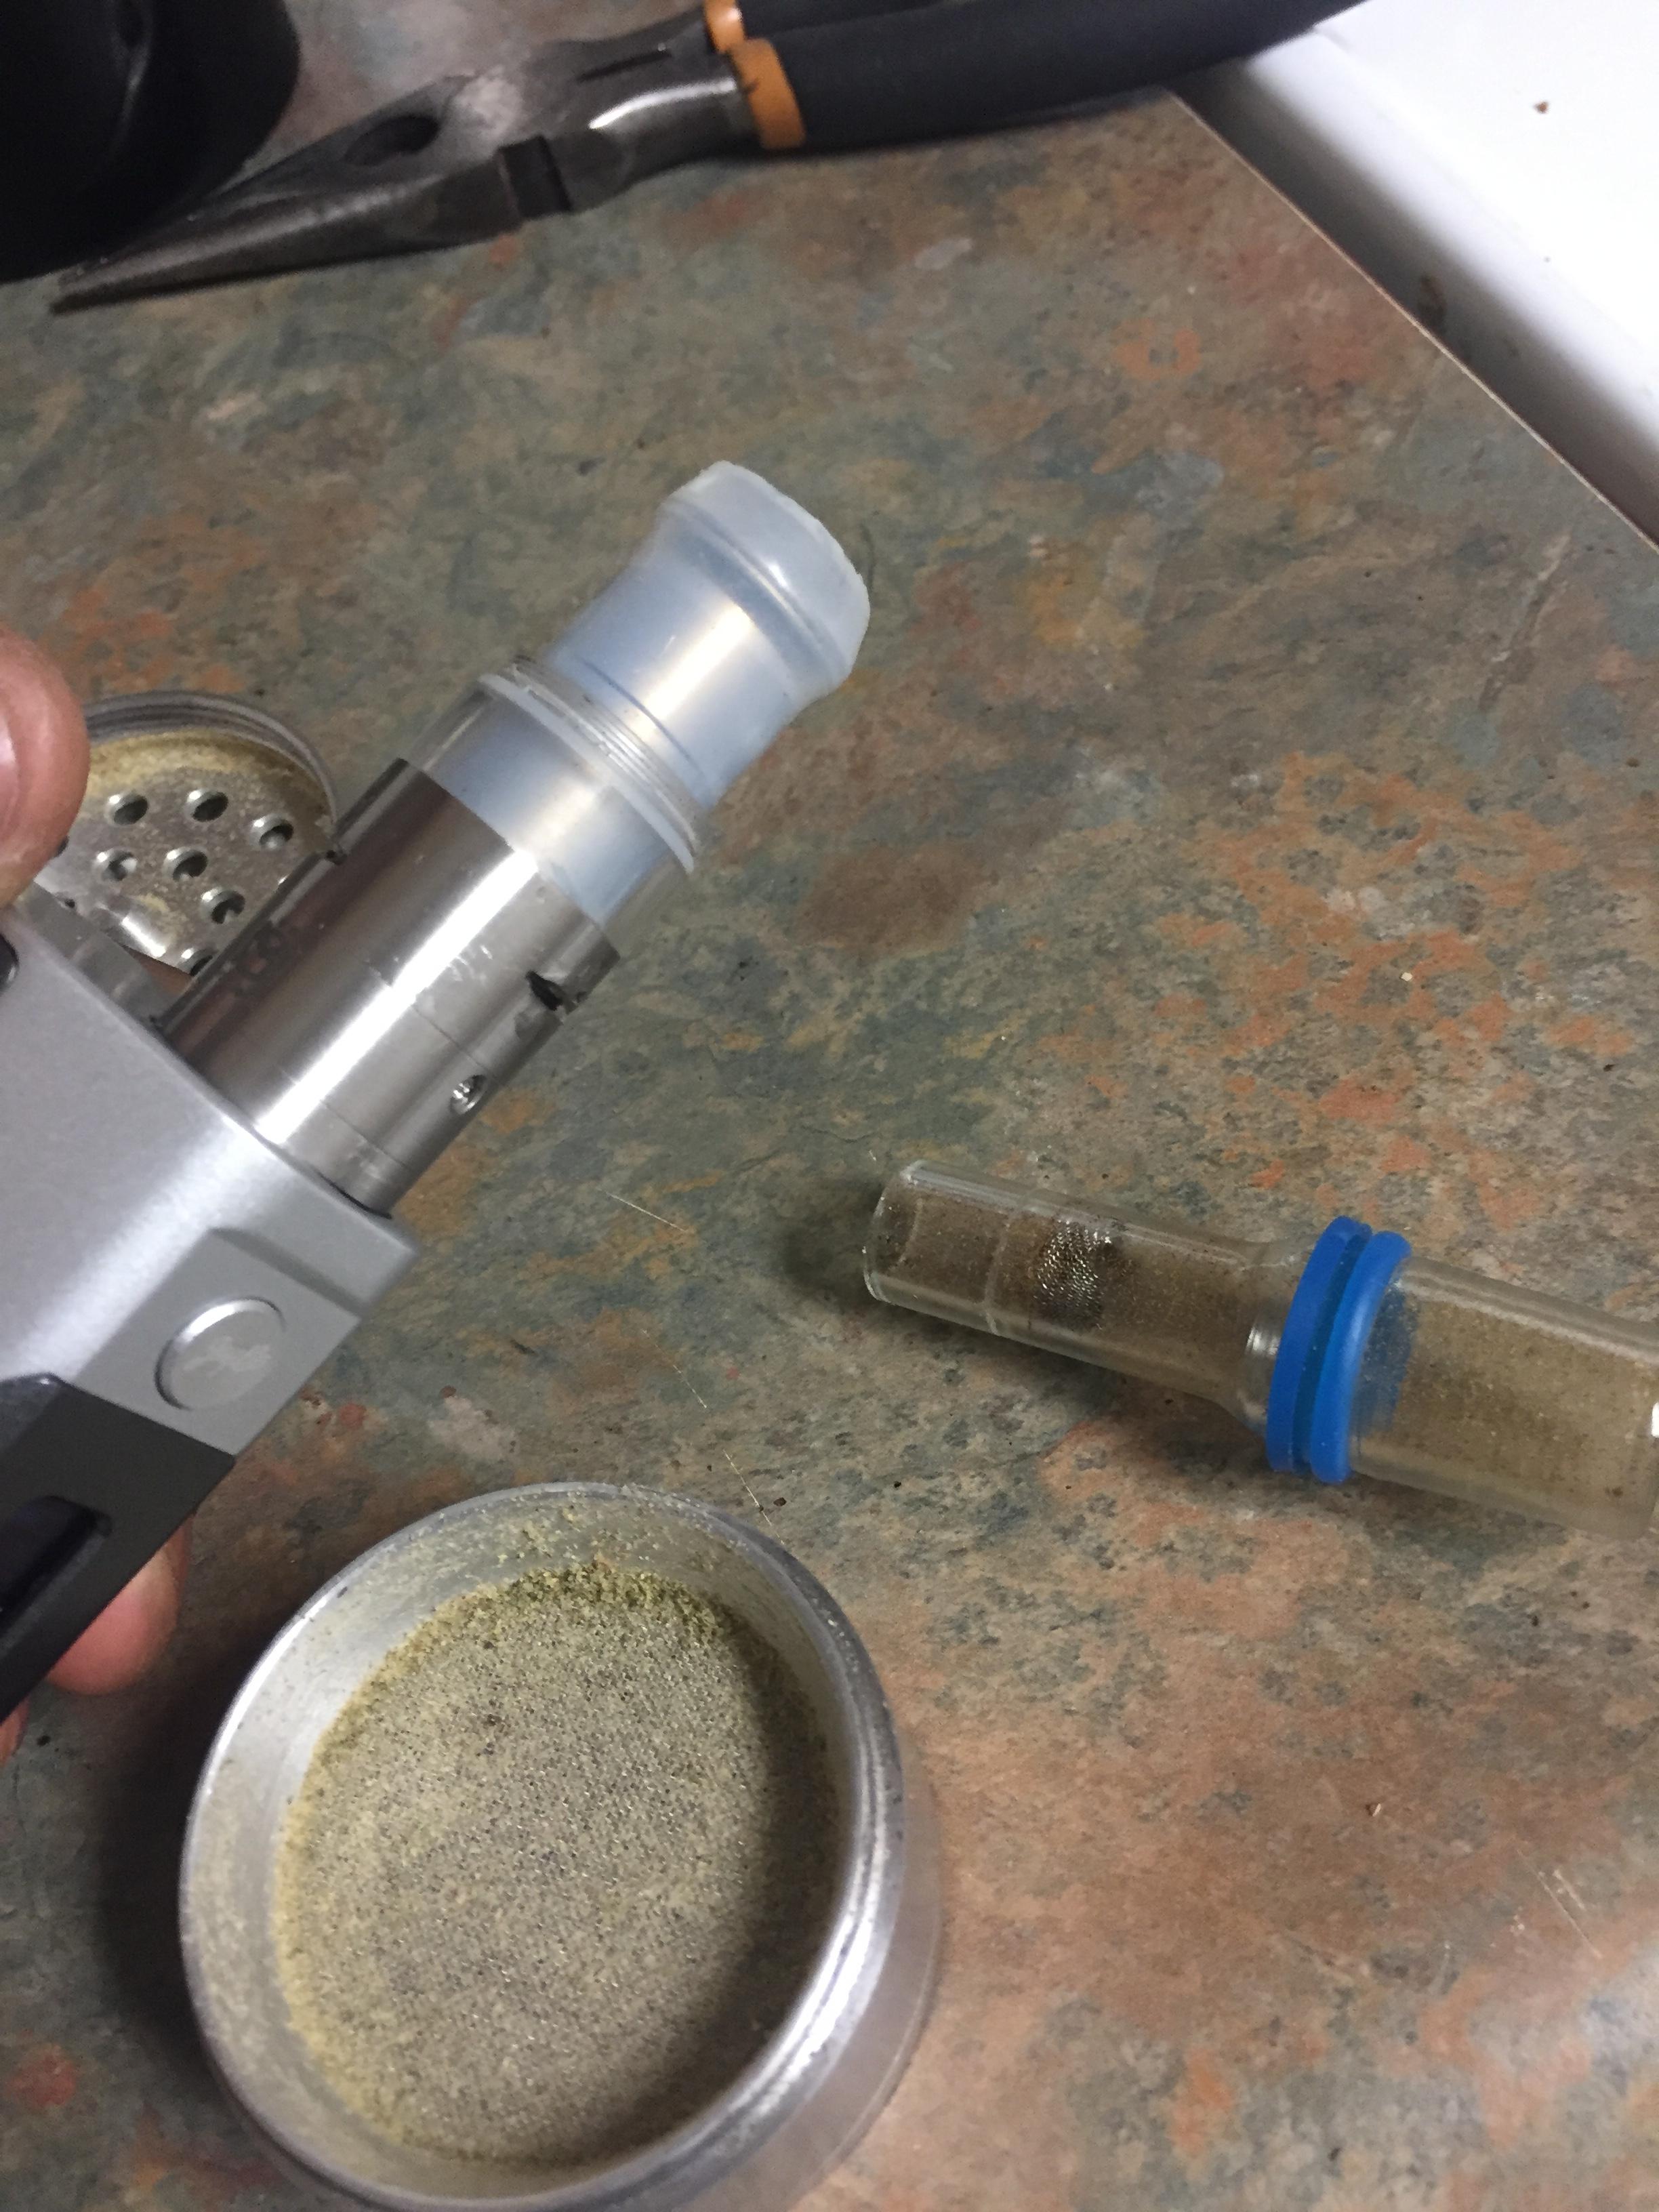
Different style setups (beware lots of talk of airflow) (If you are well versed in TC for ECIG Vaping its very similar)
1. Everyday vaping through light bong (D-020) and regular draw (various airflow speeds) (any temp really)
Im going to use my bulli setup for an example. (AGAIN PLEASE ASUME THIS IS WITH THE SAME EXACT SETUP AND WITH THE SAME AIRFLOW CHARACTERISTICS AND SAME HERB CHAMBER)
wire:SS316L 18 gauge
resistance: 0.212 Ohm
Heat Capacity: 765.9 MJ/K
Surface Area: 747.95mm^2
Here are my DNA 200 Settings (my preheat is 150w for 4 seconds for all profiles)
Regular setting for everyday vaping and D020
watts: 51w, Temperature 410F
1 Hitter setting
Watts: 100w, Temperature 550F
Thick bong setting
Watts:80w, Temperature 445
Basically the more airflow you feel that you need the more heat that this will take. This is were different opinions can come into. There are many many ways to provide extra heat.
Heat Chamber wall thickness, Distance, Herb chamber, Mod Type, Airflow are all determining factors on how your setup can be altered to make the heat the most efficient which is the ultimate goal in the end.
In terms of coil only you can always use the same type of coil shape and either twist the wire or add to the gauge. I feel that the absolute best chamber would be just small enough to fill whatever tubes we need but big enough to fit a lot of metal coil into.
The more metal you have to heat the lower you can have the actual temperature of the entire heating element but this doesn't change the vaping temperature at all. More heating element only matters when high surface area or more heat capacity is needed. But honestly the bigger the coil the more sturdy it is.
Now honestly how much you glow your coil is really up to how safe you feel your coil can handle. This area is very opinion based. GO take a look at a metal temperature chart and notice that we are vaping pretty low so should we even really worry about the glow. I usually will be at a max of a decent glow. I feel i can safetly run at this temp. (This is based on nothing really lol)
Look at the firefly vape, it keeps the wire glowing the entire time. Same with the firewood. So lets see who will push the limits. lol.
Im sure a lot of these things you guys already do so I hope i was able to help at least 1 person with something. Im going to give you guys a dense one hitter video soon. Thanks for everything guys. This project has been really fun.
@Gator That is beautiful!!!! Did you have to stir to get that heat pattern or was that just straight through. Wow how did you get it so even!!!
May be able to work with glass also
ELBOW PACK METHOD
Pros
- ZERO Stirring required (i bake the bowl completely)
- Max extraction for specific airflow No Combustion (Some methods can combust)
- Extraction levels based on users airflow (greater airflow = less dense, Less Air flow = more dense)
- Keeps Setup Small
- No Need to Find a Screen Method
- Easy to pack multiple sizes for multiple situations (More on this later)
- Need more heat (only problem with low guages) (More surface area in comparison to your specific heat chamber!!!) bulli>kayfun 3.1
- So far Course grind is required
- More heat means more metal and more complicated coils
- Its an all SS setup really.... so if you are glass only then you should stay away from this method
- Cant have fast airflow extraction AND moderate airflow extraction at same temperature (Its either have one or the other or a mix of both but not BOTH)
- At high temps must draw for an extra few seconds or conduction will occur if you use top screen
You need two arizer bowl screens. Load a bowl with how much you would like and then put the other bowl on top of it. Then insert it in directly in the heat chamber and close as you feel is optimal for your burn pattern. Thats it...............


Different style setups (beware lots of talk of airflow) (If you are well versed in TC for ECIG Vaping its very similar)
1. Everyday vaping through light bong (D-020) and regular draw (various airflow speeds) (any temp really)
- Use your LIGHT bong and find the maximum level that you will realistically draw with your bong. find your maximum temperature that you allow for your ABV at that MAXIMUM airflow speed. Once you have this temperature then your vape is set.
- Wattage will depend on how fast you draw on your vape and how much it needs to keep it at the vaping temperature that you want. You will have to look at your vape and figure this one out. But usuall MORE SURFACE AREA = MORE WATTAGE NEEDED FOR THE INITIAL HEATUP AND SPIKES
- Very good heat
- Get out your HEAVY bong and find the maximum airflow you can take for around 6-9 seconds (this will vary on bong honestly)
- once you have found this area (this will be a long process because you will get really high) then just note what that temperature and wattage is.
- Now load up a fresh bowl and go straight up to that temp.
- If you pack more in bowl you will get super dense clouds which really make it a 1 hitter that you can use twice. lol. At least thats how I like to do it.
- Warm up your coil and take your draws at that maximum speed or you will combust. must stay at max speed
- WARNING YOU CAN COMBUST IF NOT CONSISTENT
- You must have consistent airflow for it to work or you will combust
- You need to have a coil with a lot of heat capacity!!! Heat capacity is not surface area!!!!! If you do not have enough heat capacity then your coil will glow a hot red. I think heat capacity is the amount of energy the coil can take before it changes temperature. The more heat capacity usually the greater surface area (depending on the wire) According to STEAM ss321 would be the best wire but just use ss316L Greater resistances to read and an awesome heat capacity
- You will end up needing surface area unless your build has a superior chamber. I think @Pipes It either right where he needs it to be or very very close.. It sure it small and compact


- Take out the heavy bong and find a moderate regular draw speed that you enjoy having and find the maximum extraction point again.
- never draw too slowly but it is usually easy to go at regular bong speed
- can be hard to pass if other user doesnt have similar draw speed.
- My favorite method. Can get me medicated quickly.
- Please dont think any of these methods are like set in stone methods. There are literally so many ways to do this. Sometimes I like to pack a lot in the bowl and squeeze it down and set it to a temperature that will only cook all the way through if your draw is really low. After this inhale at a regular or accelerated speed. The faster the airflow and the lower denser. YOU CAN TEMP STEP WITH YOUR AIRFLOW!!!! TOO EASY
Im going to use my bulli setup for an example. (AGAIN PLEASE ASUME THIS IS WITH THE SAME EXACT SETUP AND WITH THE SAME AIRFLOW CHARACTERISTICS AND SAME HERB CHAMBER)
wire:SS316L 18 gauge
resistance: 0.212 Ohm
Heat Capacity: 765.9 MJ/K
Surface Area: 747.95mm^2
Here are my DNA 200 Settings (my preheat is 150w for 4 seconds for all profiles)
Regular setting for everyday vaping and D020
watts: 51w, Temperature 410F
1 Hitter setting
Watts: 100w, Temperature 550F
Thick bong setting
Watts:80w, Temperature 445
Basically the more airflow you feel that you need the more heat that this will take. This is were different opinions can come into. There are many many ways to provide extra heat.
Heat Chamber wall thickness, Distance, Herb chamber, Mod Type, Airflow are all determining factors on how your setup can be altered to make the heat the most efficient which is the ultimate goal in the end.
In terms of coil only you can always use the same type of coil shape and either twist the wire or add to the gauge. I feel that the absolute best chamber would be just small enough to fill whatever tubes we need but big enough to fit a lot of metal coil into.
The more metal you have to heat the lower you can have the actual temperature of the entire heating element but this doesn't change the vaping temperature at all. More heating element only matters when high surface area or more heat capacity is needed. But honestly the bigger the coil the more sturdy it is.
Now honestly how much you glow your coil is really up to how safe you feel your coil can handle. This area is very opinion based. GO take a look at a metal temperature chart and notice that we are vaping pretty low so should we even really worry about the glow. I usually will be at a max of a decent glow. I feel i can safetly run at this temp. (This is based on nothing really lol)
Look at the firefly vape, it keeps the wire glowing the entire time. Same with the firewood. So lets see who will push the limits. lol.
Im sure a lot of these things you guys already do so I hope i was able to help at least 1 person with something. Im going to give you guys a dense one hitter video soon. Thanks for everything guys. This project has been really fun.
@Gator That is beautiful!!!! Did you have to stir to get that heat pattern or was that just straight through. Wow how did you get it so even!!!
I like using as much of my product as much as i can lol. I have put my settings to get my abv as dark as possible. This bong is a really crappy one lol. Thin and 14mm eww. I need a new one asap!!!!
This method I filled an arizer cap and pressed it down with another arizer cap and smashed it. So there was a good amount of herb in this chamber.
This setup can get you high really really quick lol.
This method I filled an arizer cap and pressed it down with another arizer cap and smashed it. So there was a good amount of herb in this chamber.
This setup can get you high really really quick lol.
StonerSloth
cui bono?
I like using as much of my product as much as i can lol. I have put my settings to get my abv as dark as possible. This bong is a really crappy one lol. Thin and 14mm eww. I need a new one asap!!!!
This method I filled an arizer cap and pressed it down with another arizer cap and smashed it. So there was a good amount of herb in this chamber.
This setup can get you high really really quick lol.
Nothing left in that ABV - that's for damn sure!!!!
My coil doesn't usually glow at all during normal operation. Maybe a very very faint glow if I crank the temp to finish a bowl.
=======
I was just trying to one-hit a 0.05 Underdog load using my new 20awg coil at 500F and TCR=145 with airflow wiiiiiide open and I SEE FIRE ahhhhhhhh
Gross. Time to break out the iso.
I was just trying to one-hit a 0.05 Underdog load using my new 20awg coil at 500F and TCR=145 with airflow wiiiiiide open and I SEE FIRE ahhhhhhhh
Gross. Time to break out the iso.
Yeah it took me a few tries to find the right temp for it to work without combustion. I found out if you just wash your glass a little more consistently in hot water it keeps it pretty clean.(just dont be in a rush to throw cold water back in lol)
I rarely have to ISO anymore with my bong but almost every time with my smaller glass pieces
@Pipes how many millimeters is you SS tubing that you are using for the project?
This thread is great, been watching it for a while. Have you guys seen this paper?
http://wumrc.engin.umich.edu/wp-con...toftheMetalFoamElectricalResistanceHeater.pdf
It's on the development of a metal foam (nichrome) heating element. I think you'll get some good info out of it.
I think that there is lots of room to improve the heater design with these porous metal foams.. and I'd love to investigate it further for a future vaporizer project.
I love the modular designs of these box mods.
Quetzalcoatl
DEADY GUERRERO/DIRT COBAIN/GEORGE KUSH
Check out "the project" thread for a little different but very similar concept from Pipes. Very interested to see about these porous metal foams.....This thread is great, been watching it for a while. Have you guys seen this paper?
http://wumrc.engin.umich.edu/wp-con...toftheMetalFoamElectricalResistanceHeater.pdf
It's on the development of a metal foam (nichrome) heating element. I think you'll get some good info out of it.
I think that there is lots of room to improve the heater design with these porous metal foams.. and I'd love to investigate it further for a future vaporizer project.
I love the modular designs of these box mods.
14mm OD. supplier I was getting from is currently out of stock. Looking for a new source. I emailed the current supplier and he said he will be getting more down the road.@Pipes how many millimeters is you SS tubing that you are using for the project?
Very interesting. Any idea on if available for sale? The disc design could easily be adopted into the Project.http://wumrc.engin.umich.edu/wp-con...toftheMetalFoamElectricalResistanceHeater.pdf
It's on the development of a metal foam (nichrome) heating element. I think you'll get some good info out of it.
Cool stuff!
@Quetzalcoatl , Checked it out, thanks! So cool!
Has anyone tried a flat wire coil sort of like the element use in an air intake heater design?

Perhaps also going for a coil that looks like....
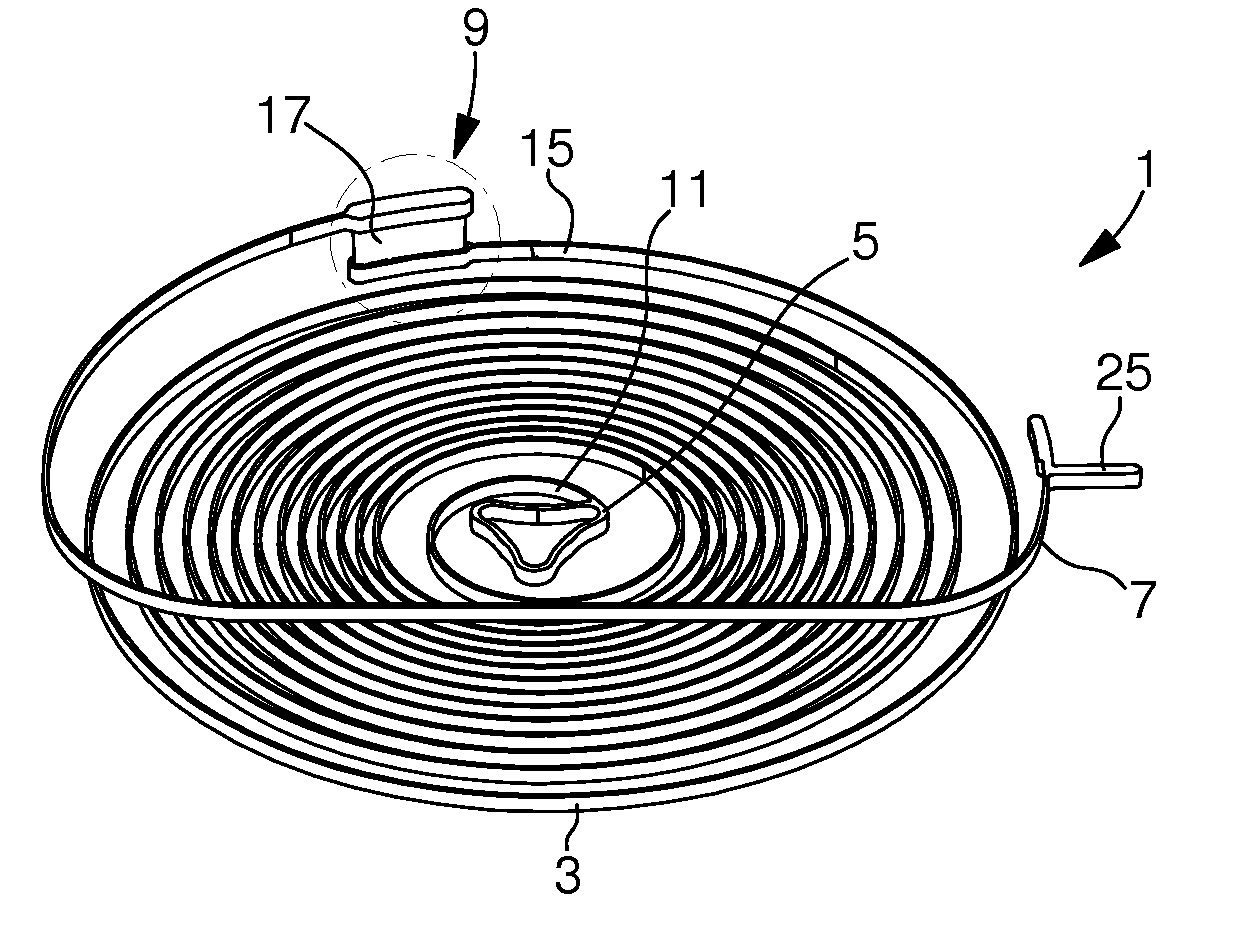
The methods for making clock spring coils is already out there, and you could probably get the coil even tighter...
@Pipes , As far as I know there are not any sellers of that specific heating element, it was custom made for the project, but the paper does give an overview of the manufacturing. And you can special order metal foam in all different sizes I assume. But it's probably not cheap, especially not in small order quantities. You can get the stuff in sheets and get them cut to your exact size, but even the sheets are pricey.
It's no wonder that the tech isn't more widely written about or used in consumer products, because for most things the efficiency increases would justify the material costs... But where we are, on the bleeding edge, where we need tiny heaters, operating at peak battery efficiency, to evenly heat an air flow....using safe-to-inhale materials... well, that could really be a case where the use could be justified.
It may be cheaper these days to get something 3D printed, or "sintered". You could pack in some complex geometry into a small space.
And check out what's going on here.. with these tiny tube heaters.
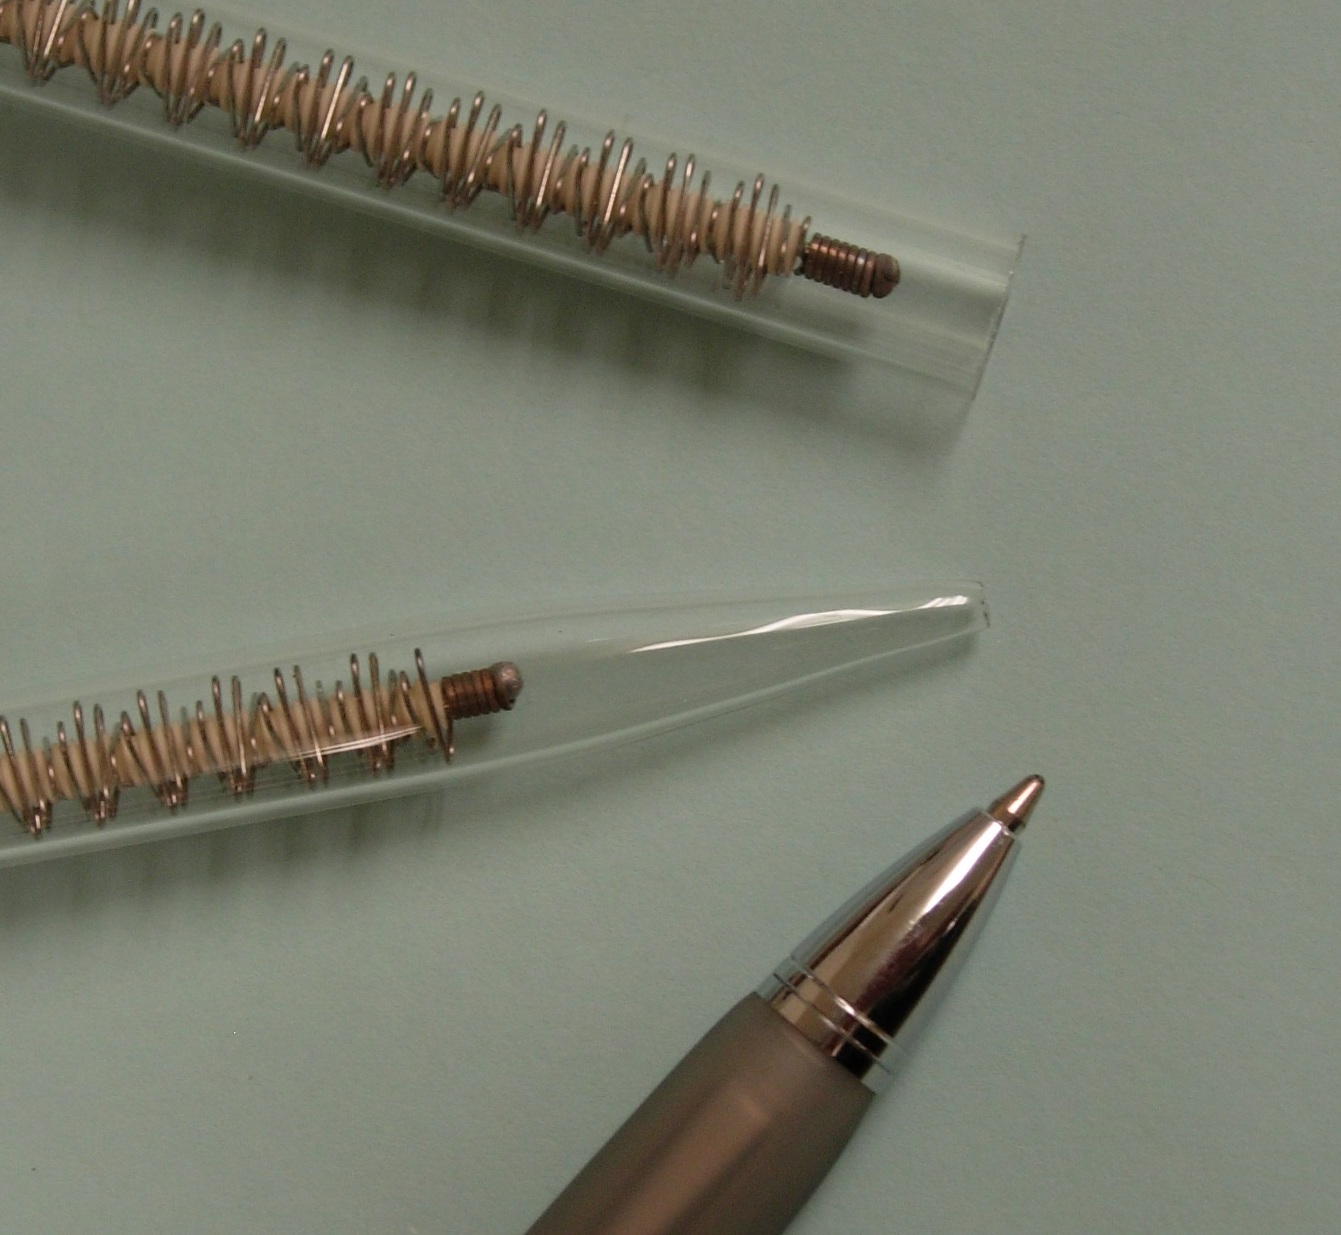
Has anyone tried a flat wire coil sort of like the element use in an air intake heater design?

Perhaps also going for a coil that looks like....

The methods for making clock spring coils is already out there, and you could probably get the coil even tighter...
@Pipes , As far as I know there are not any sellers of that specific heating element, it was custom made for the project, but the paper does give an overview of the manufacturing. And you can special order metal foam in all different sizes I assume. But it's probably not cheap, especially not in small order quantities. You can get the stuff in sheets and get them cut to your exact size, but even the sheets are pricey.
It's no wonder that the tech isn't more widely written about or used in consumer products, because for most things the efficiency increases would justify the material costs... But where we are, on the bleeding edge, where we need tiny heaters, operating at peak battery efficiency, to evenly heat an air flow....using safe-to-inhale materials... well, that could really be a case where the use could be justified.
It may be cheaper these days to get something 3D printed, or "sintered". You could pack in some complex geometry into a small space.
And check out what's going on here.. with these tiny tube heaters.

Last edited:
Gator
Active Member
This coil design is working really well for me. its taken some time to get the hot spots as even as possible. The more distance the better for me too.
@enjiatt no stirring to get those results . Just more distance and slower pulls. In the arizer stem, a screen that reduced the bowl size helps too.
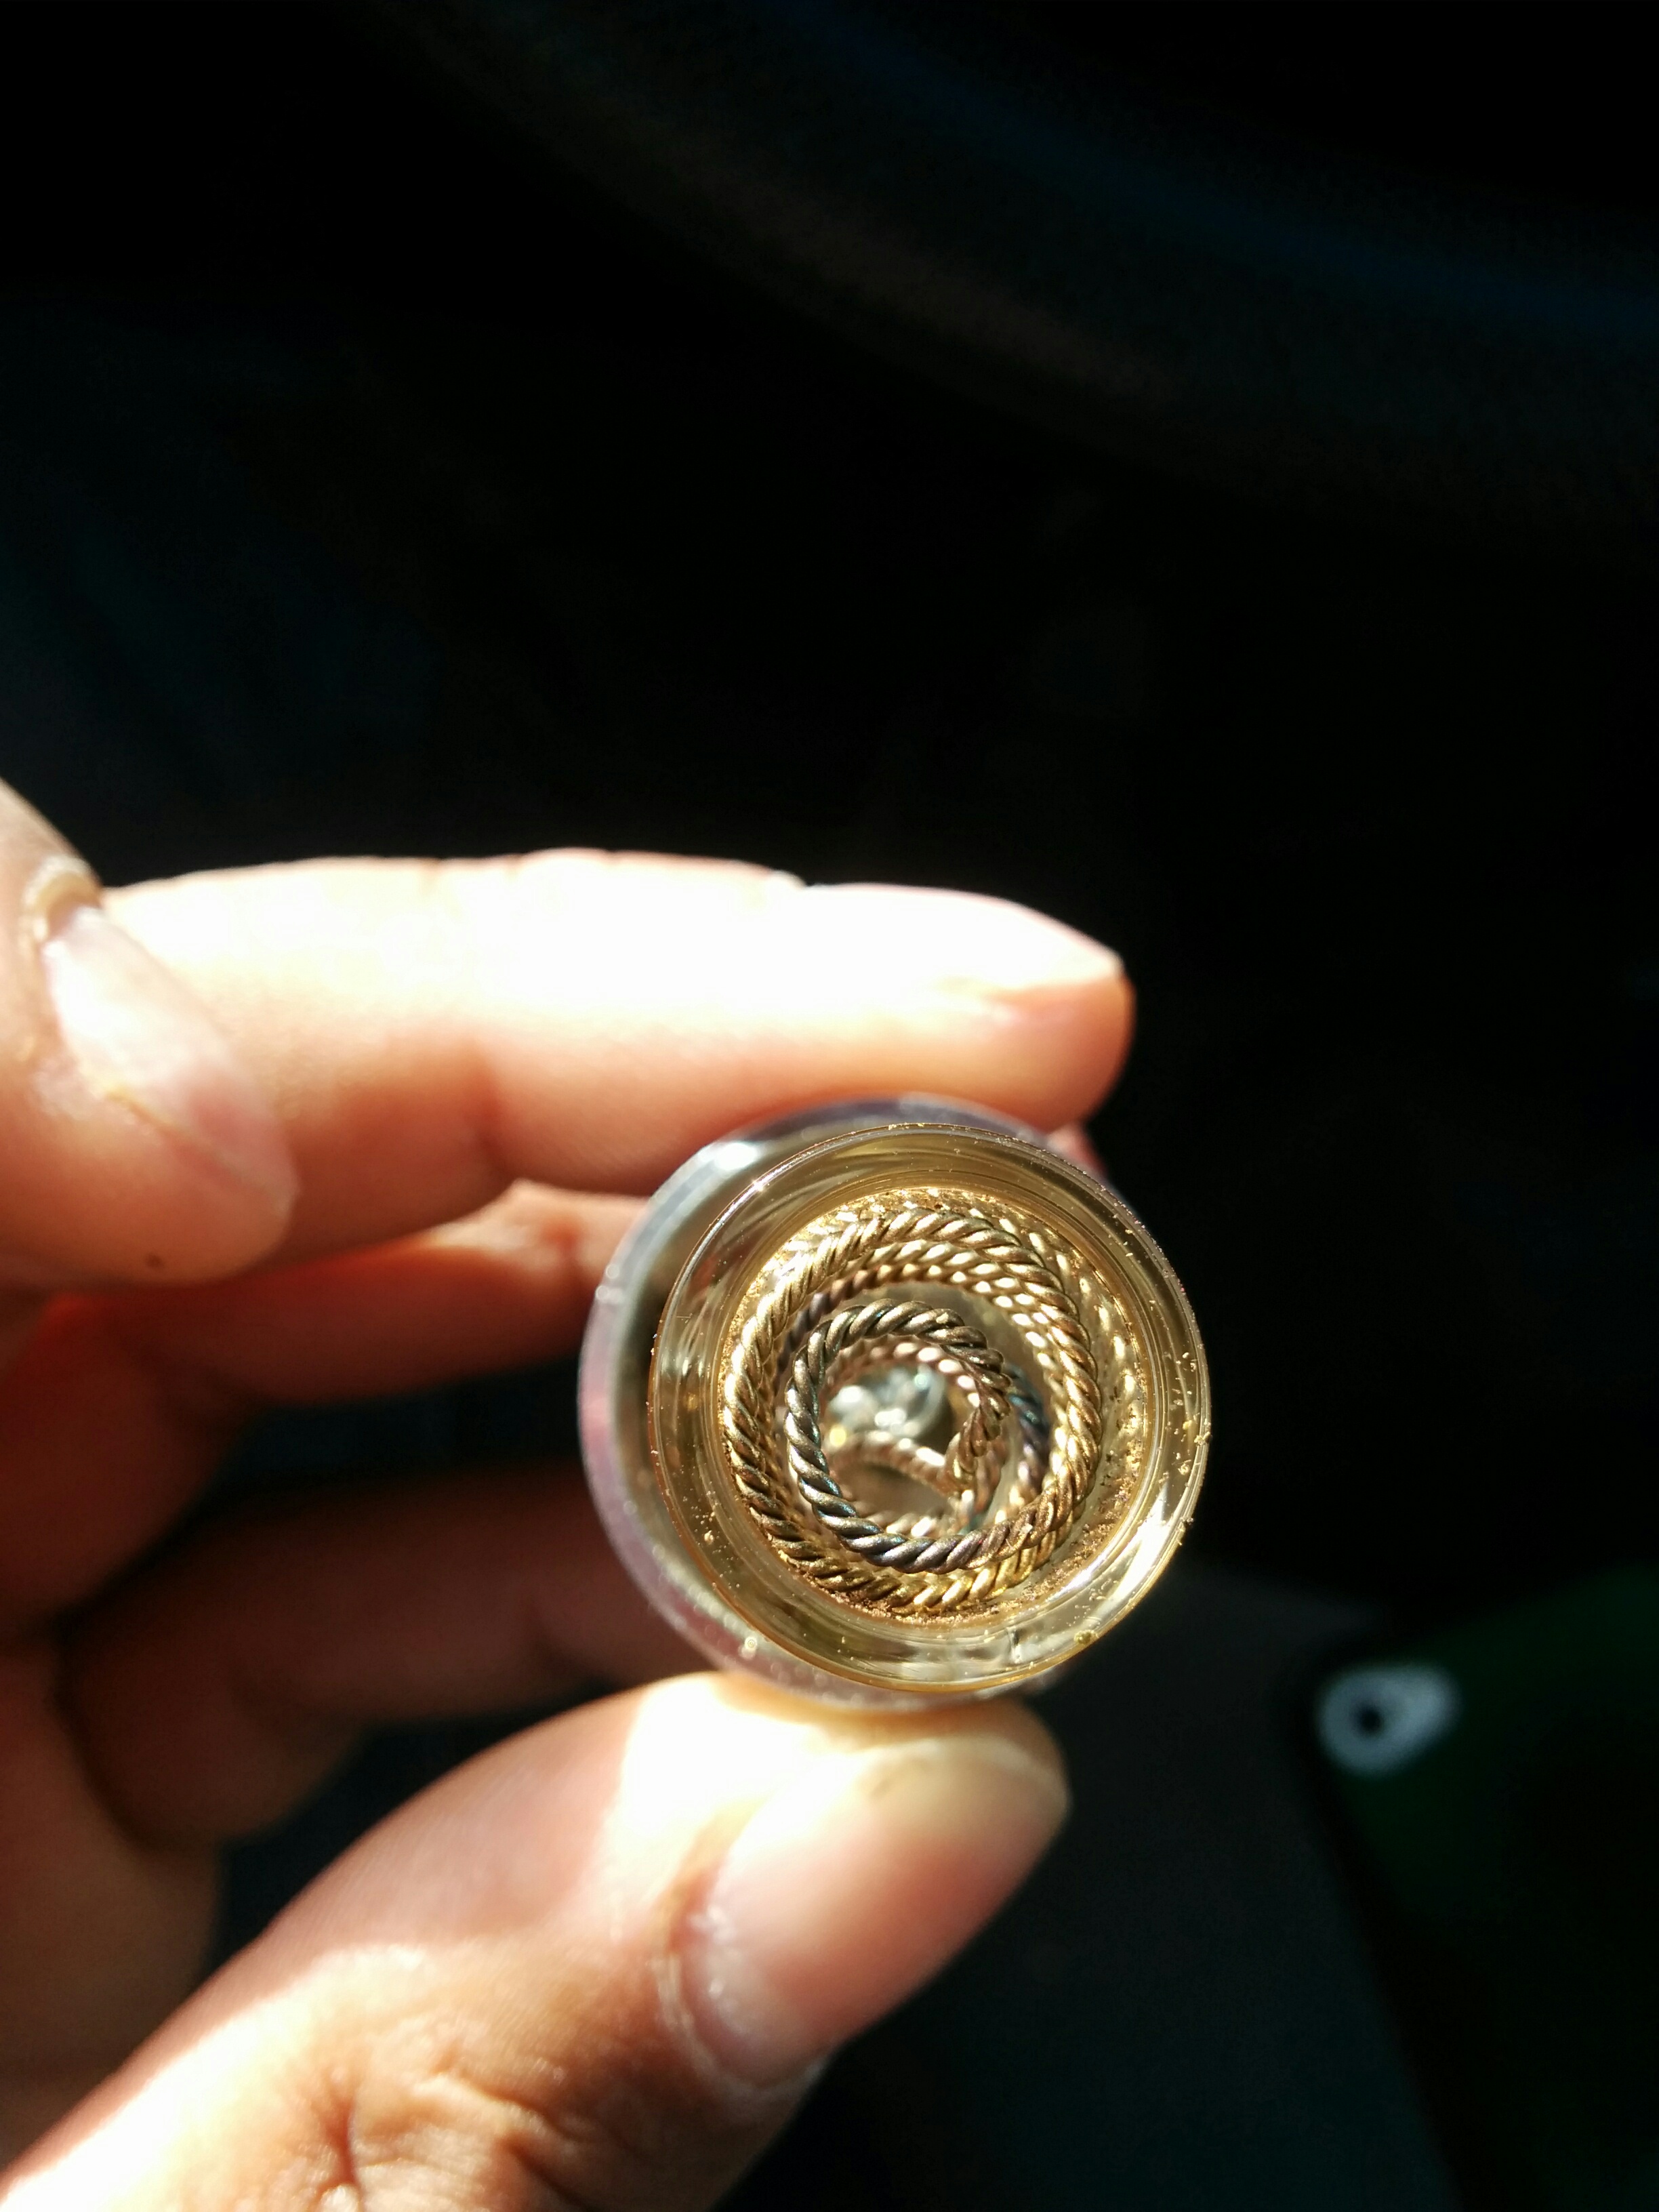
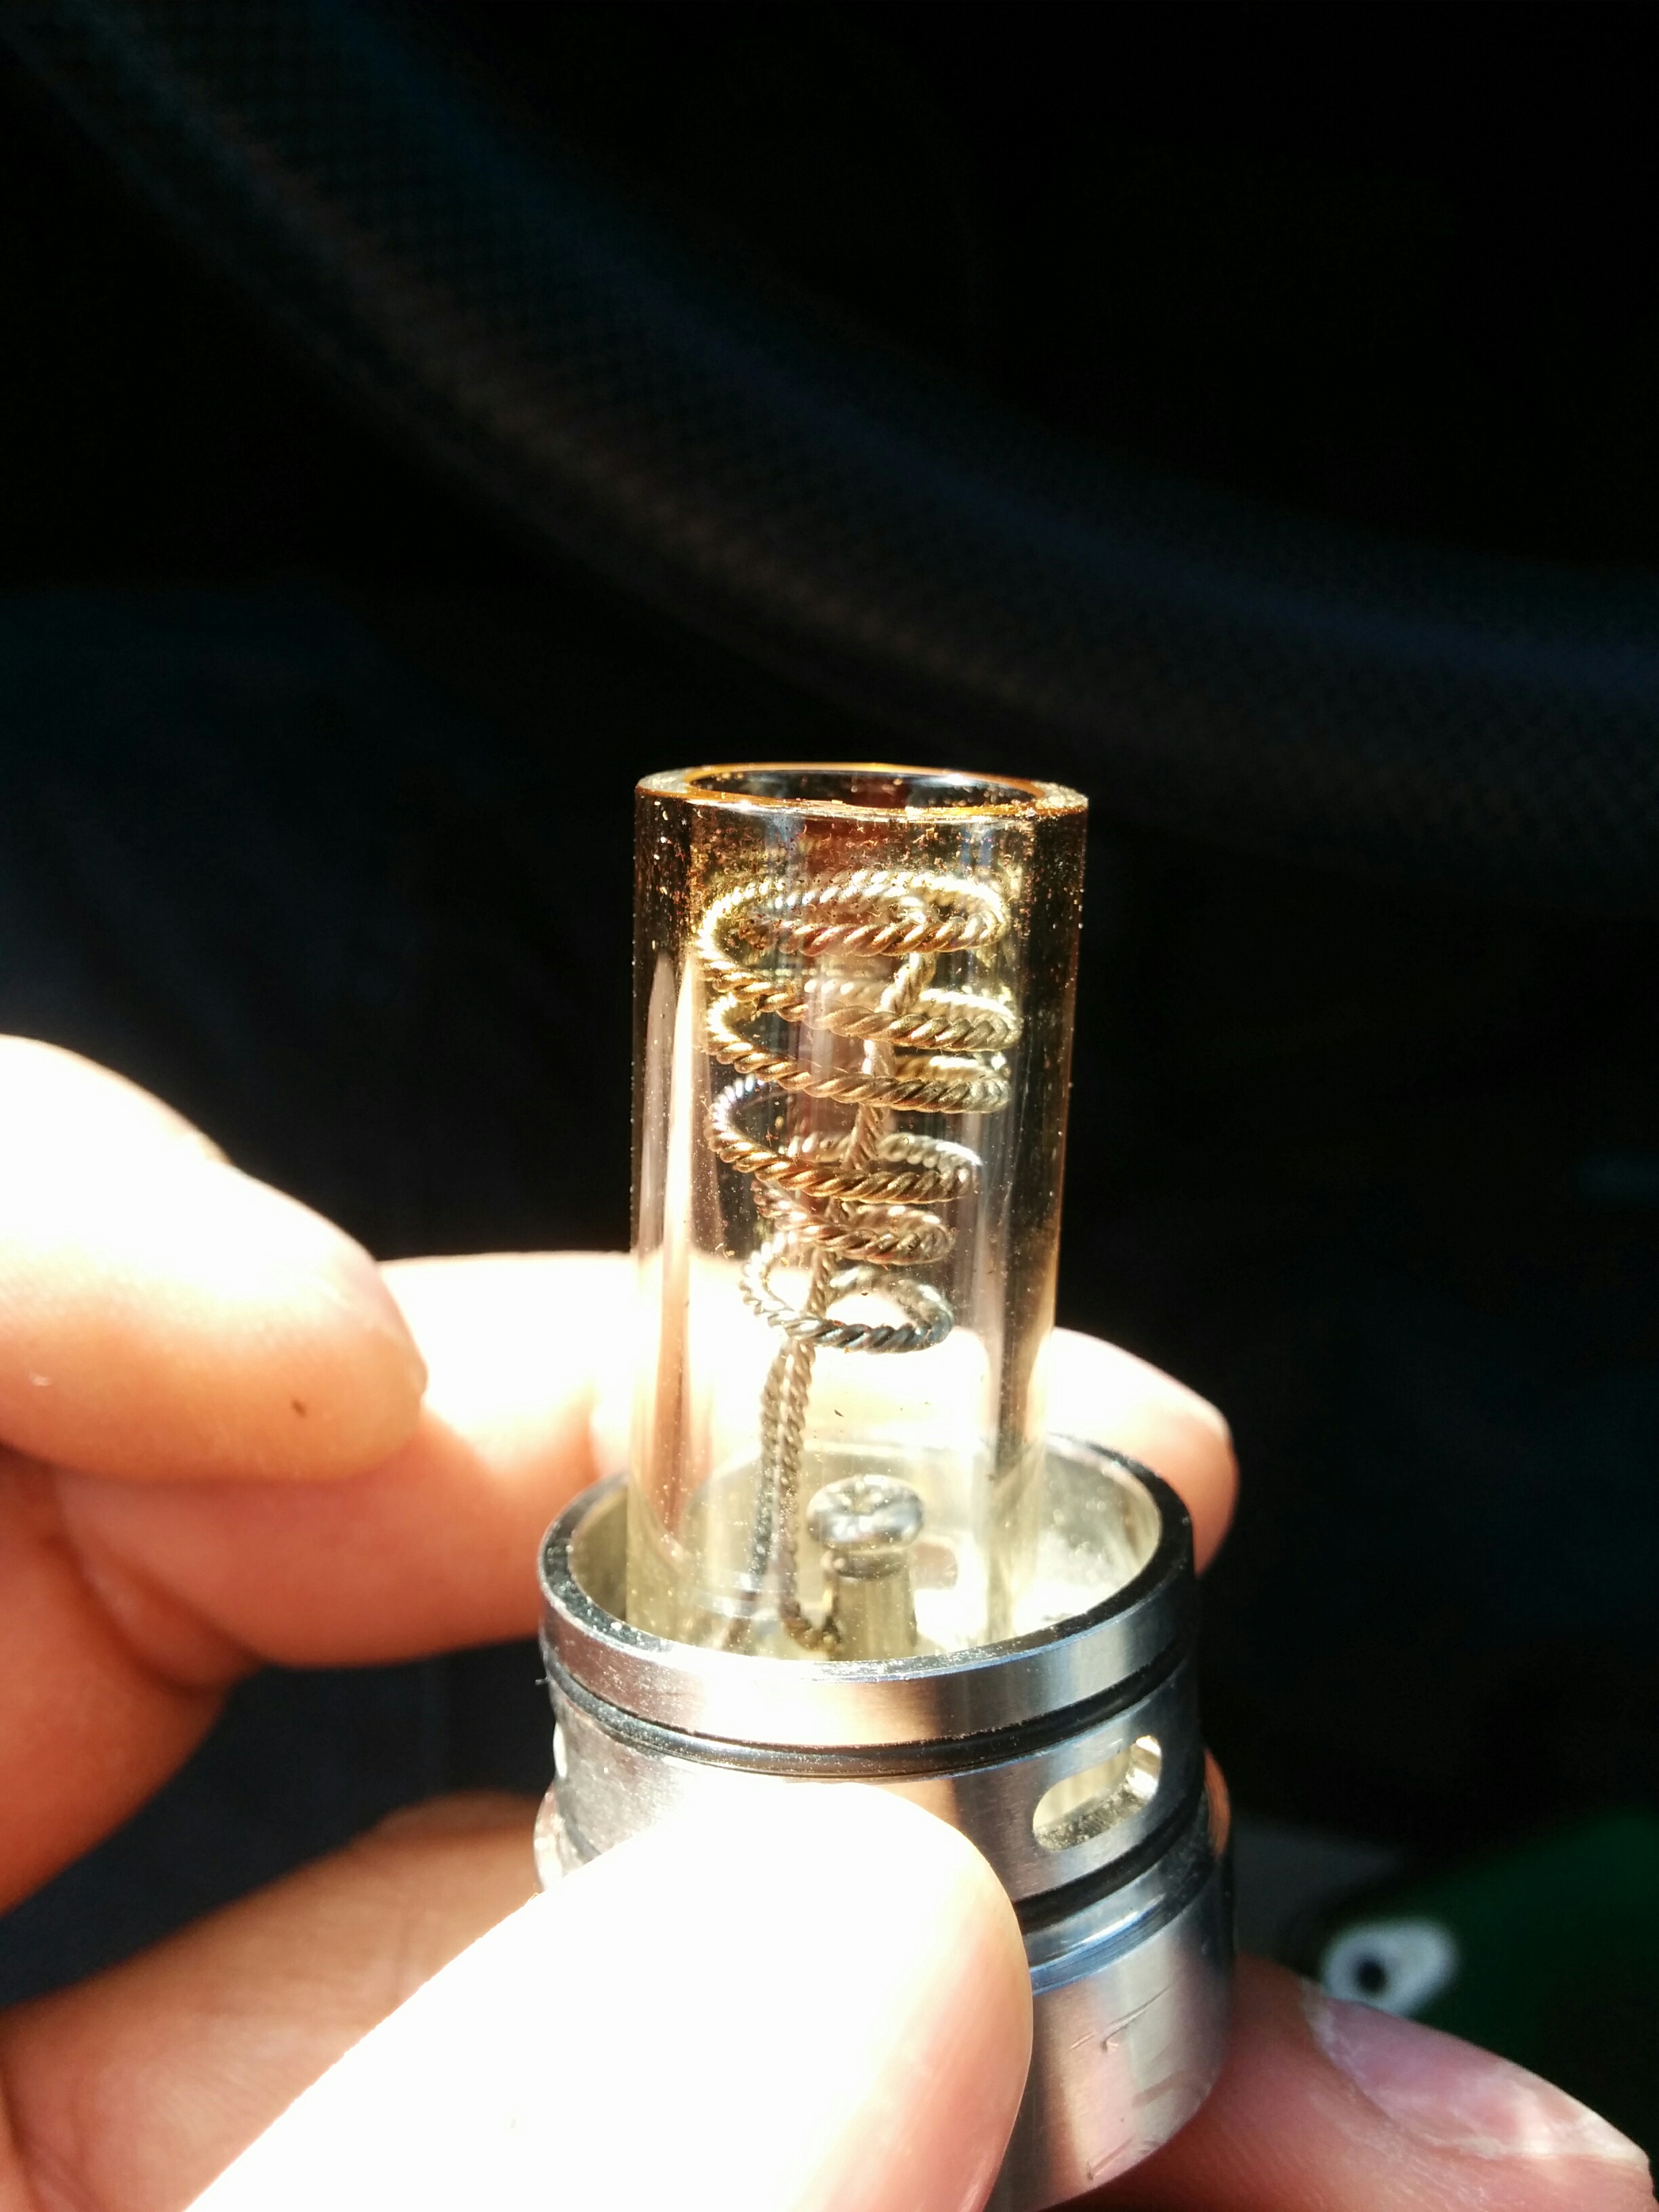
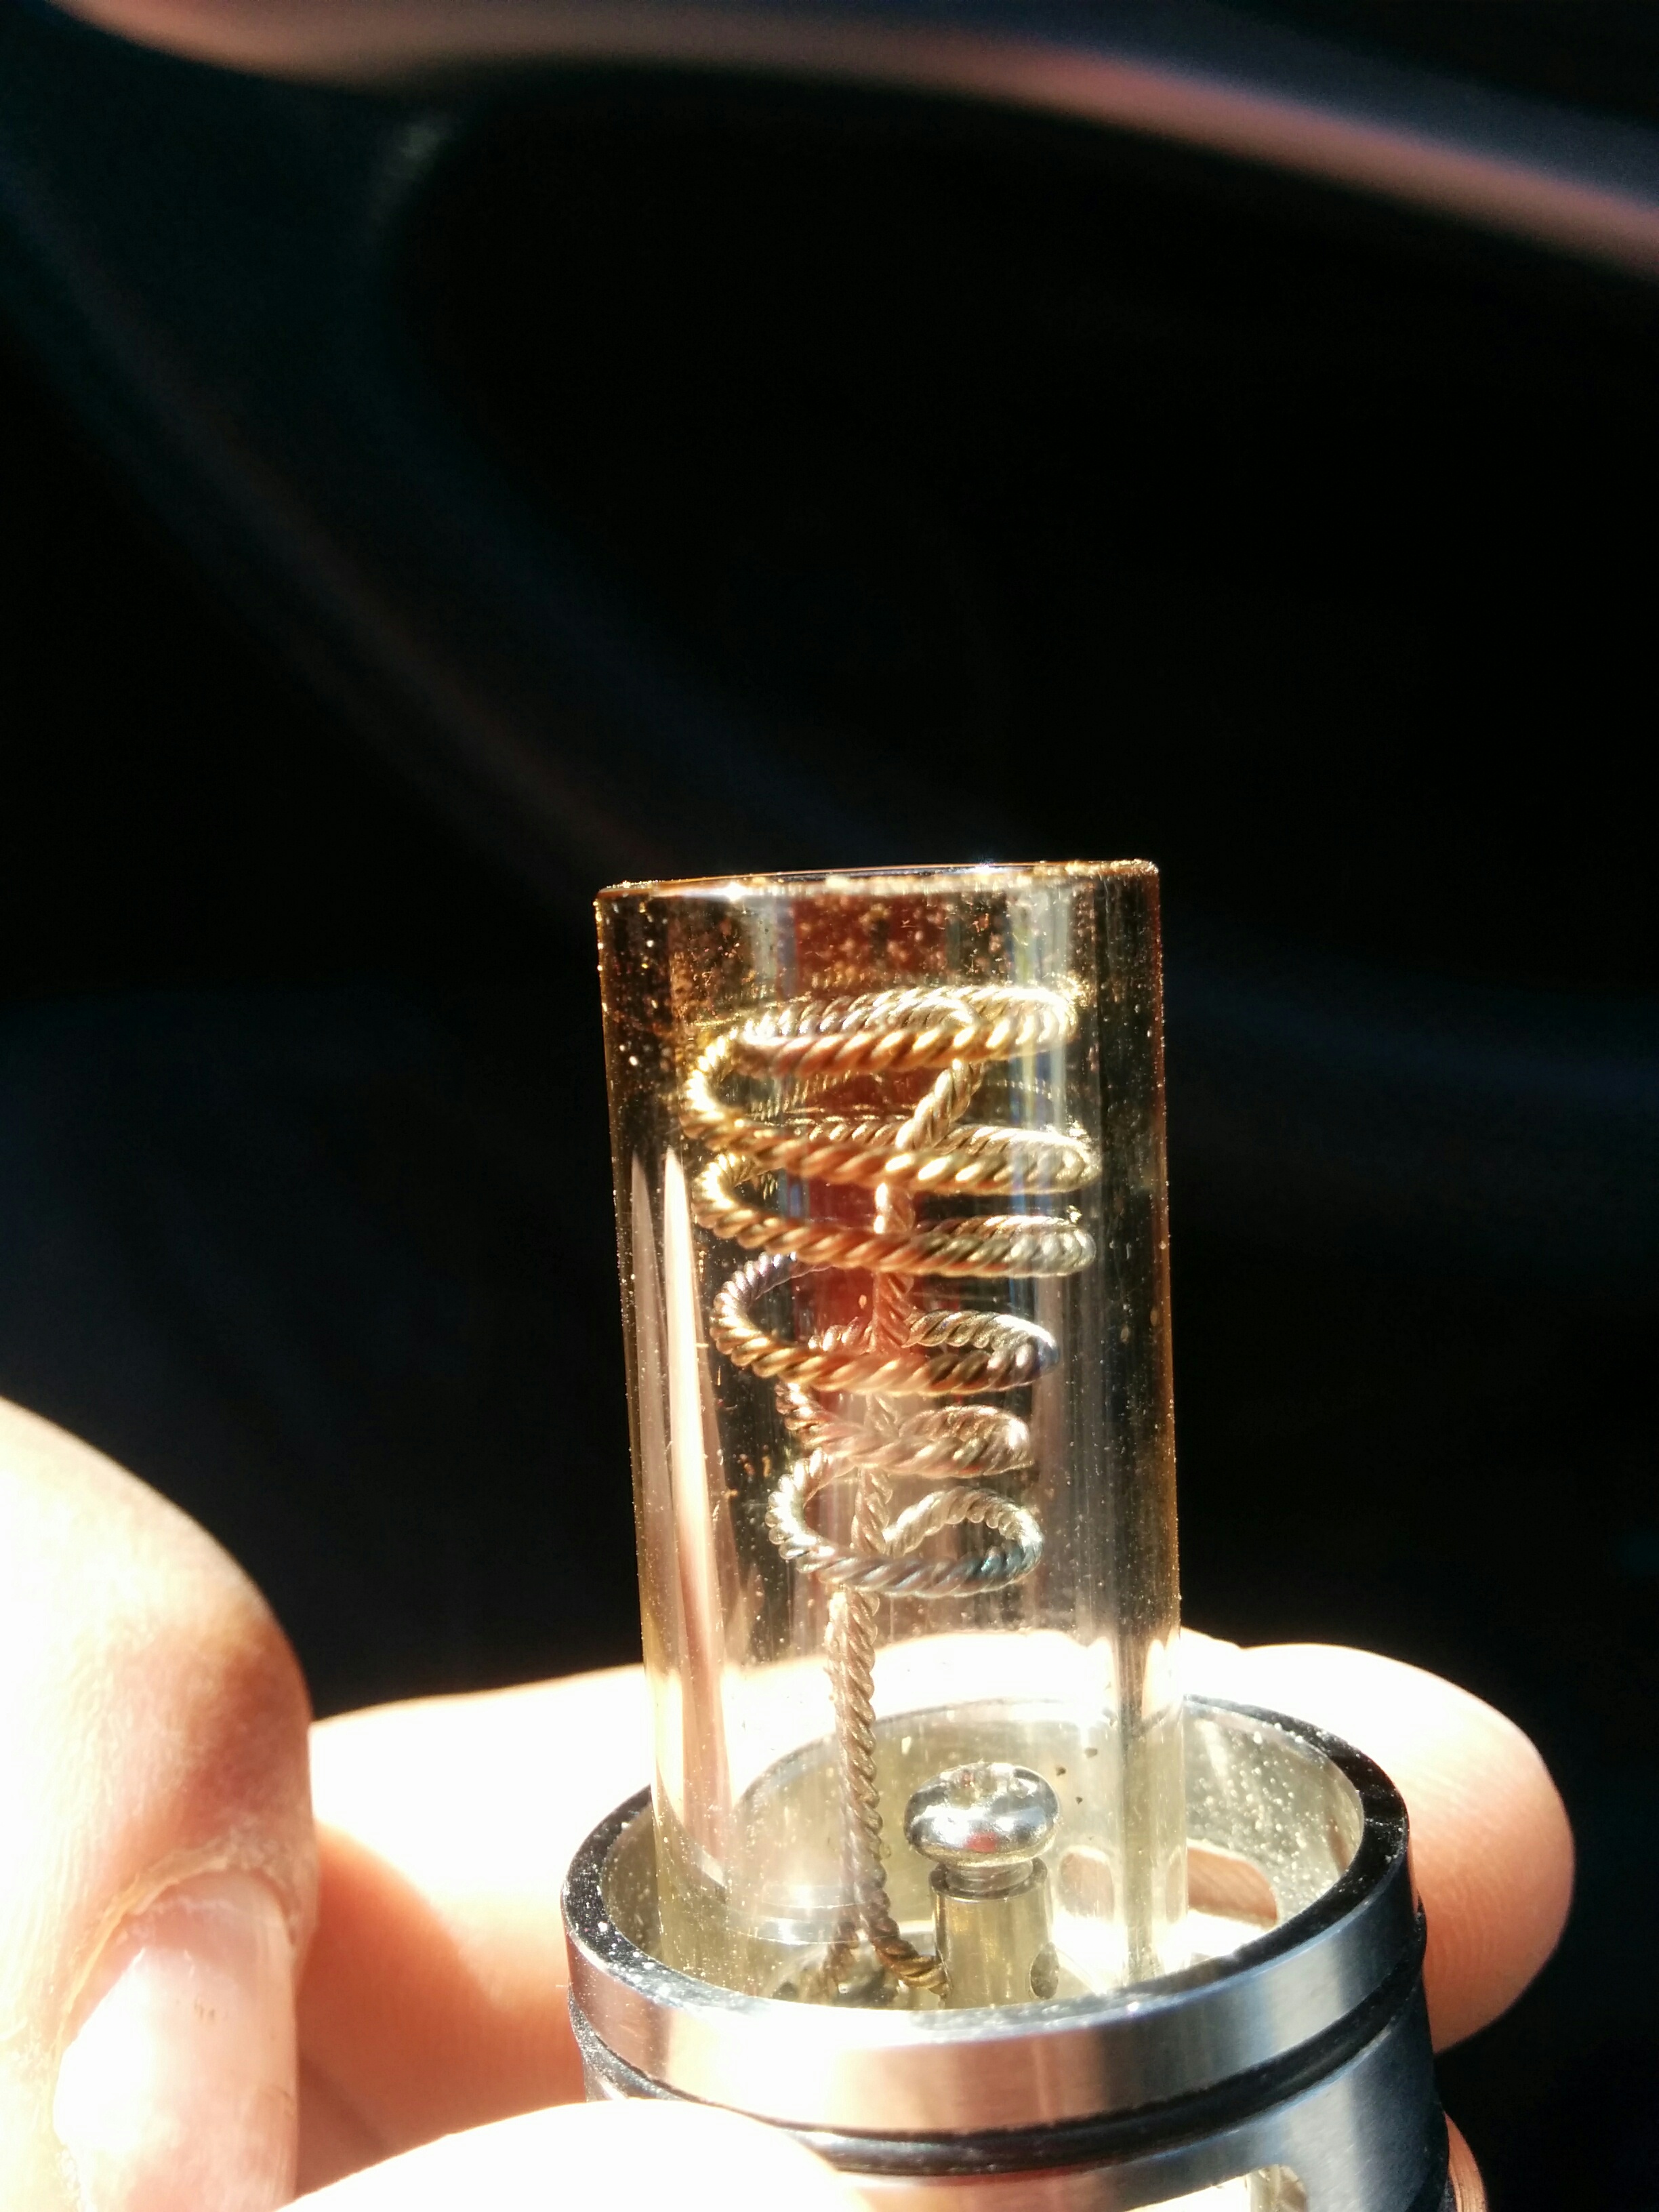
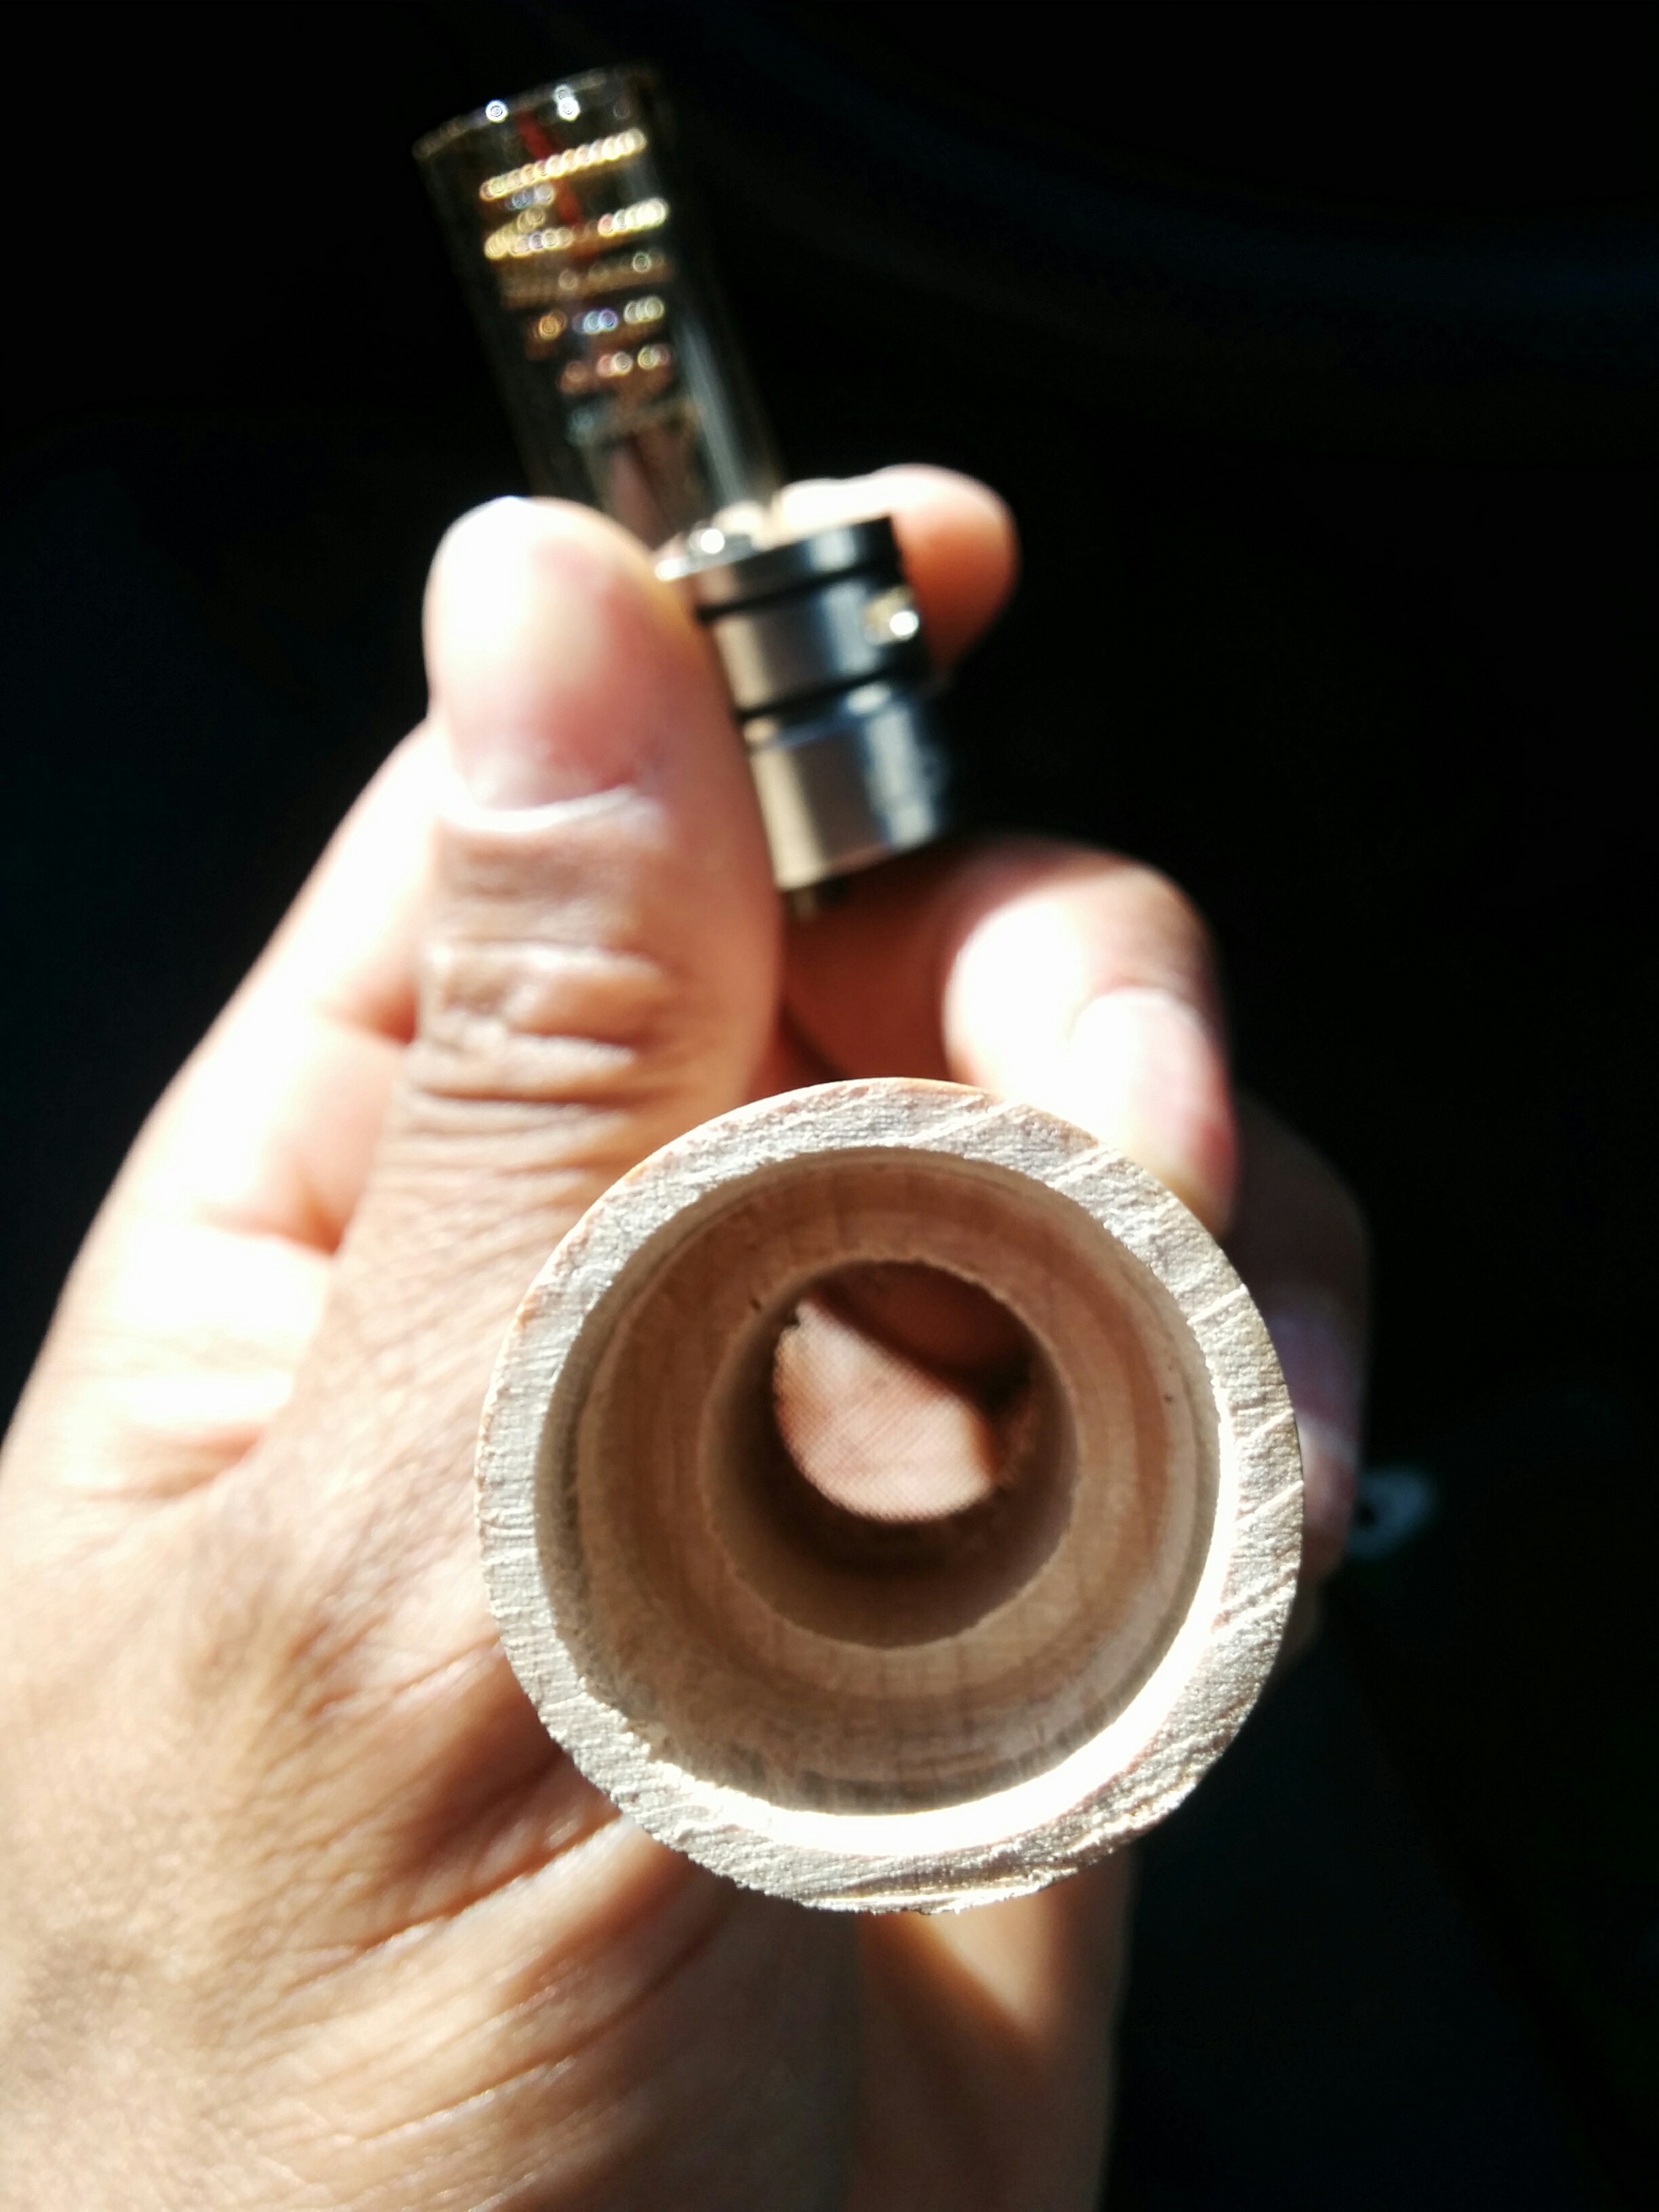
@enjiatt no stirring to get those results
 . Just more distance and slower pulls. In the arizer stem, a screen that reduced the bowl size helps too.


nondarb
.
Ok, vapeusa sent me another 3.1 with the screw posts, I talked to them about it and they said their clone must be inaccurate so they gave it to me for free.
Built a .58 coil in a coil in the chimney (its very compact) and merely slipped a nano stem (and a bit of silicone) on it, the stem and chimney are very close in diamter. To increase airflow and give me a little more room to work with in the chimney I used some wire drops to shim it up. This is my best set up yet, its easily outclassing the other kayfun build with the monster coil and it far kinder on my battery life. Absolutely no glow necessary on this one.

Receiving the @Pipes project has caused quite a stir here, the little coil that could.
How is a little bitty coil that doesn't even maximize its potential build space outclassing chimneys stuffed with nearly 2x the wire and far more surface area? I'm not sure why but the guy doesn't need to get as hot and consumes far less power so I'm abandoning monster coils for now and will likely end up with two 3.1 chimney builds.
I'm not using solo stems but this reasoning has rung true with my own builds. I quit tinkering as much with the mod once I get it set up and more time adjusting my basket screens to find the ideal depth.
Built a .58 coil in a coil in the chimney (its very compact) and merely slipped a nano stem (and a bit of silicone) on it, the stem and chimney are very close in diamter. To increase airflow and give me a little more room to work with in the chimney I used some wire drops to shim it up. This is my best set up yet, its easily outclassing the other kayfun build with the monster coil and it far kinder on my battery life. Absolutely no glow necessary on this one.

Receiving the @Pipes project has caused quite a stir here, the little coil that could.
How is a little bitty coil that doesn't even maximize its potential build space outclassing chimneys stuffed with nearly 2x the wire and far more surface area? I'm not sure why but the guy doesn't need to get as hot and consumes far less power so I'm abandoning monster coils for now and will likely end up with two 3.1 chimney builds.
Just more distance and slower pulls. In the arizer stem, a screen that reduced the bowl size helps too.
I'm not using solo stems but this reasoning has rung true with my own builds. I quit tinkering as much with the mod once I get it set up and more time adjusting my basket screens to find the ideal depth.
@nondarb every heating element / chimney setup will have a maximum potential and a best setup. @Pipes design for "the project" using ss 304 tubing that has super thin walls. These walls mixed with the thick wood walls that hold heat in the heating chamber very well.
How much heat is relative to how much airflow you are providing. This is one reason I like the idea of "The Project" because it all starts with the same platform. So everyone can modify based on that one platform. @Pipes has scratched the surface. Right now there is a tiny coil in that setup and it seems to be doing really well. Because of how close his distance is the coil doesn't even need to glow to work properly.
@Dan Morrison
I think there can be a perfect coil design for each type of rda. I liked using glass to help with heat but eventually simplicity got the best of me.
@Gator
The one thing I miss about glass is that it makes designing coils much much easier. No need to worry about that outer SS tubing. That heat pattern is really nice.
@nondarb I dont understand how your 3.1s arent performing well. Right now I use both my 3.1's on a daily. I have the bulli too but I just havent gotten a chance to make it exactly how I want it. All of my chimneys are covered with silicone. Seems to help hold the heat in a little bit.
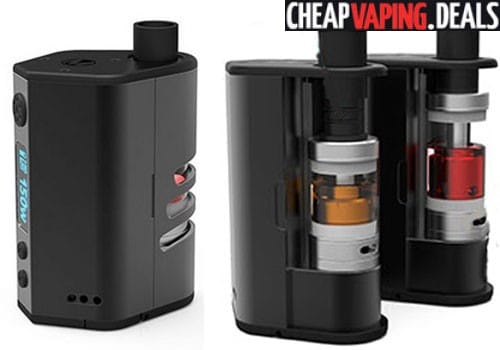
I keep seeing this and other side by side mods and think this could make this adventure more appealing to people that need a smaller more compact form and still get 2 batteries.
How much heat is relative to how much airflow you are providing. This is one reason I like the idea of "The Project" because it all starts with the same platform. So everyone can modify based on that one platform. @Pipes has scratched the surface. Right now there is a tiny coil in that setup and it seems to be doing really well. Because of how close his distance is the coil doesn't even need to glow to work properly.
@Dan Morrison
I think there can be a perfect coil design for each type of rda. I liked using glass to help with heat but eventually simplicity got the best of me.
@Gator
The one thing I miss about glass is that it makes designing coils much much easier. No need to worry about that outer SS tubing. That heat pattern is really nice.
@nondarb I dont understand how your 3.1s arent performing well. Right now I use both my 3.1's on a daily. I have the bulli too but I just havent gotten a chance to make it exactly how I want it. All of my chimneys are covered with silicone. Seems to help hold the heat in a little bit.

I keep seeing this and other side by side mods and think this could make this adventure more appealing to people that need a smaller more compact form and still get 2 batteries.
@enjiatt , Ah yes, that makes sense. I like that thought... how it's not just the coil itself, but all of the variables working in unison. Paves the way for so many different setups, where there is no right or wrong, or ultimate setup, just different setups that appeal to different people.
I have read the thread, but as I understand it, the new TC chips are really helping to give a much more even ABV, avoiding black spots and overheating the coil.
But could you potentially build a regulated box, with OKR 20 for example, and use a linear slide pot to control the coil in real time with your thumb. So you could get a sort of manual TC going... which would both drop the price of a box, and save space.. also avoids the need to "trick" the chip.
This is what I am picturing,

It would be easier to control a knob like this one-handed, vs. a rotating one.
I imagine that you could move the slider up or down as you draw.
But i do realize it would come with a learning curve and other downsides I'm not thinking of...
I have read the thread, but as I understand it, the new TC chips are really helping to give a much more even ABV, avoiding black spots and overheating the coil.
But could you potentially build a regulated box, with OKR 20 for example, and use a linear slide pot to control the coil in real time with your thumb. So you could get a sort of manual TC going... which would both drop the price of a box, and save space.. also avoids the need to "trick" the chip.
This is what I am picturing,

It would be easier to control a knob like this one-handed, vs. a rotating one.
I imagine that you could move the slider up or down as you draw.
But i do realize it would come with a learning curve and other downsides I'm not thinking of...
