thekarmawhore
Well-Known Member
Been meaning to put this together for awhile, caution long post ahead...
Pro Tips for the Zion
In general, when first learning to use the Zion it is very helpful to see what is happening as a result of your technique. Practicing with a small LED or other suitable light source (not too bright) will let you view what is happening to the vapor stream during use and will help familiarize you with the timing of the vapor production throughout a session, it comes on faster as the unit come up to temperature, and you may even start dialling the voltage back eventually to slow things back down if necessary. This is also a good way to see what speeding up and slowing down your draw and other techniques will do for example, micro-pumping during the draw seems to beef up a hit. One thing you’ll want to learn is how long it takes for you to post-cool the load and halt vapor production. The “training light” is a great way to hit the stem running!
The Zion is an amazing tool for the slow, meticulous sampling the spectrum of active compounds available in a given strain as it allows you to start low enough and stay low enough to “shave” off everything available at a particular evaporation level (is that what we’re doing? evaporating? whatever it is….) You can sip those early floral notes until they are no more, (the exhaust at this level smells wonderful to me, like how flowers must smell in heaven) then nudge the dial up a bit (or adjust your draw technique) and sample the compounds next in line and so forth, as far as you care to go. The key to doing this is going slowly and taking care not to let the unit get too heat-soaked.
A good, though counterintuitive way to cool things down, or “flatten the curve” if you ever sense temperature/vapor overload coming, or otherwise want to control the process is to increase draw speed. The open air path of the Zion gives the user a virtual “dial” to help control extraction. The extra air velocity that comes with increasing your draw speed quickly controls temperature and thus vapor extraction. Conversely, reducing or eliminating draw speed allows temperatures to quickly accumulate. You’ll soon learn when to speed up and when to slow down draw speed to achieve your desired results.
For times when you’re starting cold and want to get things moving along quickly, you can “pop the clutch” by cranking the voltage for the first few seconds then slowly dial it back to where you want to run before inserting the stem and beginning to draw. This extra high temp preheat will help shorten the time it takes for internals to come up to temp and get the vapor production started more quickly. This is also a good technique for times you want to be “one-and-done”, as it allows for a more robust hit across a broader spectrum of active compounds. It’s also a great way to accidentally combust if you get carried away, so work up to perfecting this technique slowly. If you think you overdid it “ride the clutch” a little by starting the inhale before seating the stem to mix a little fresh air with the hot.
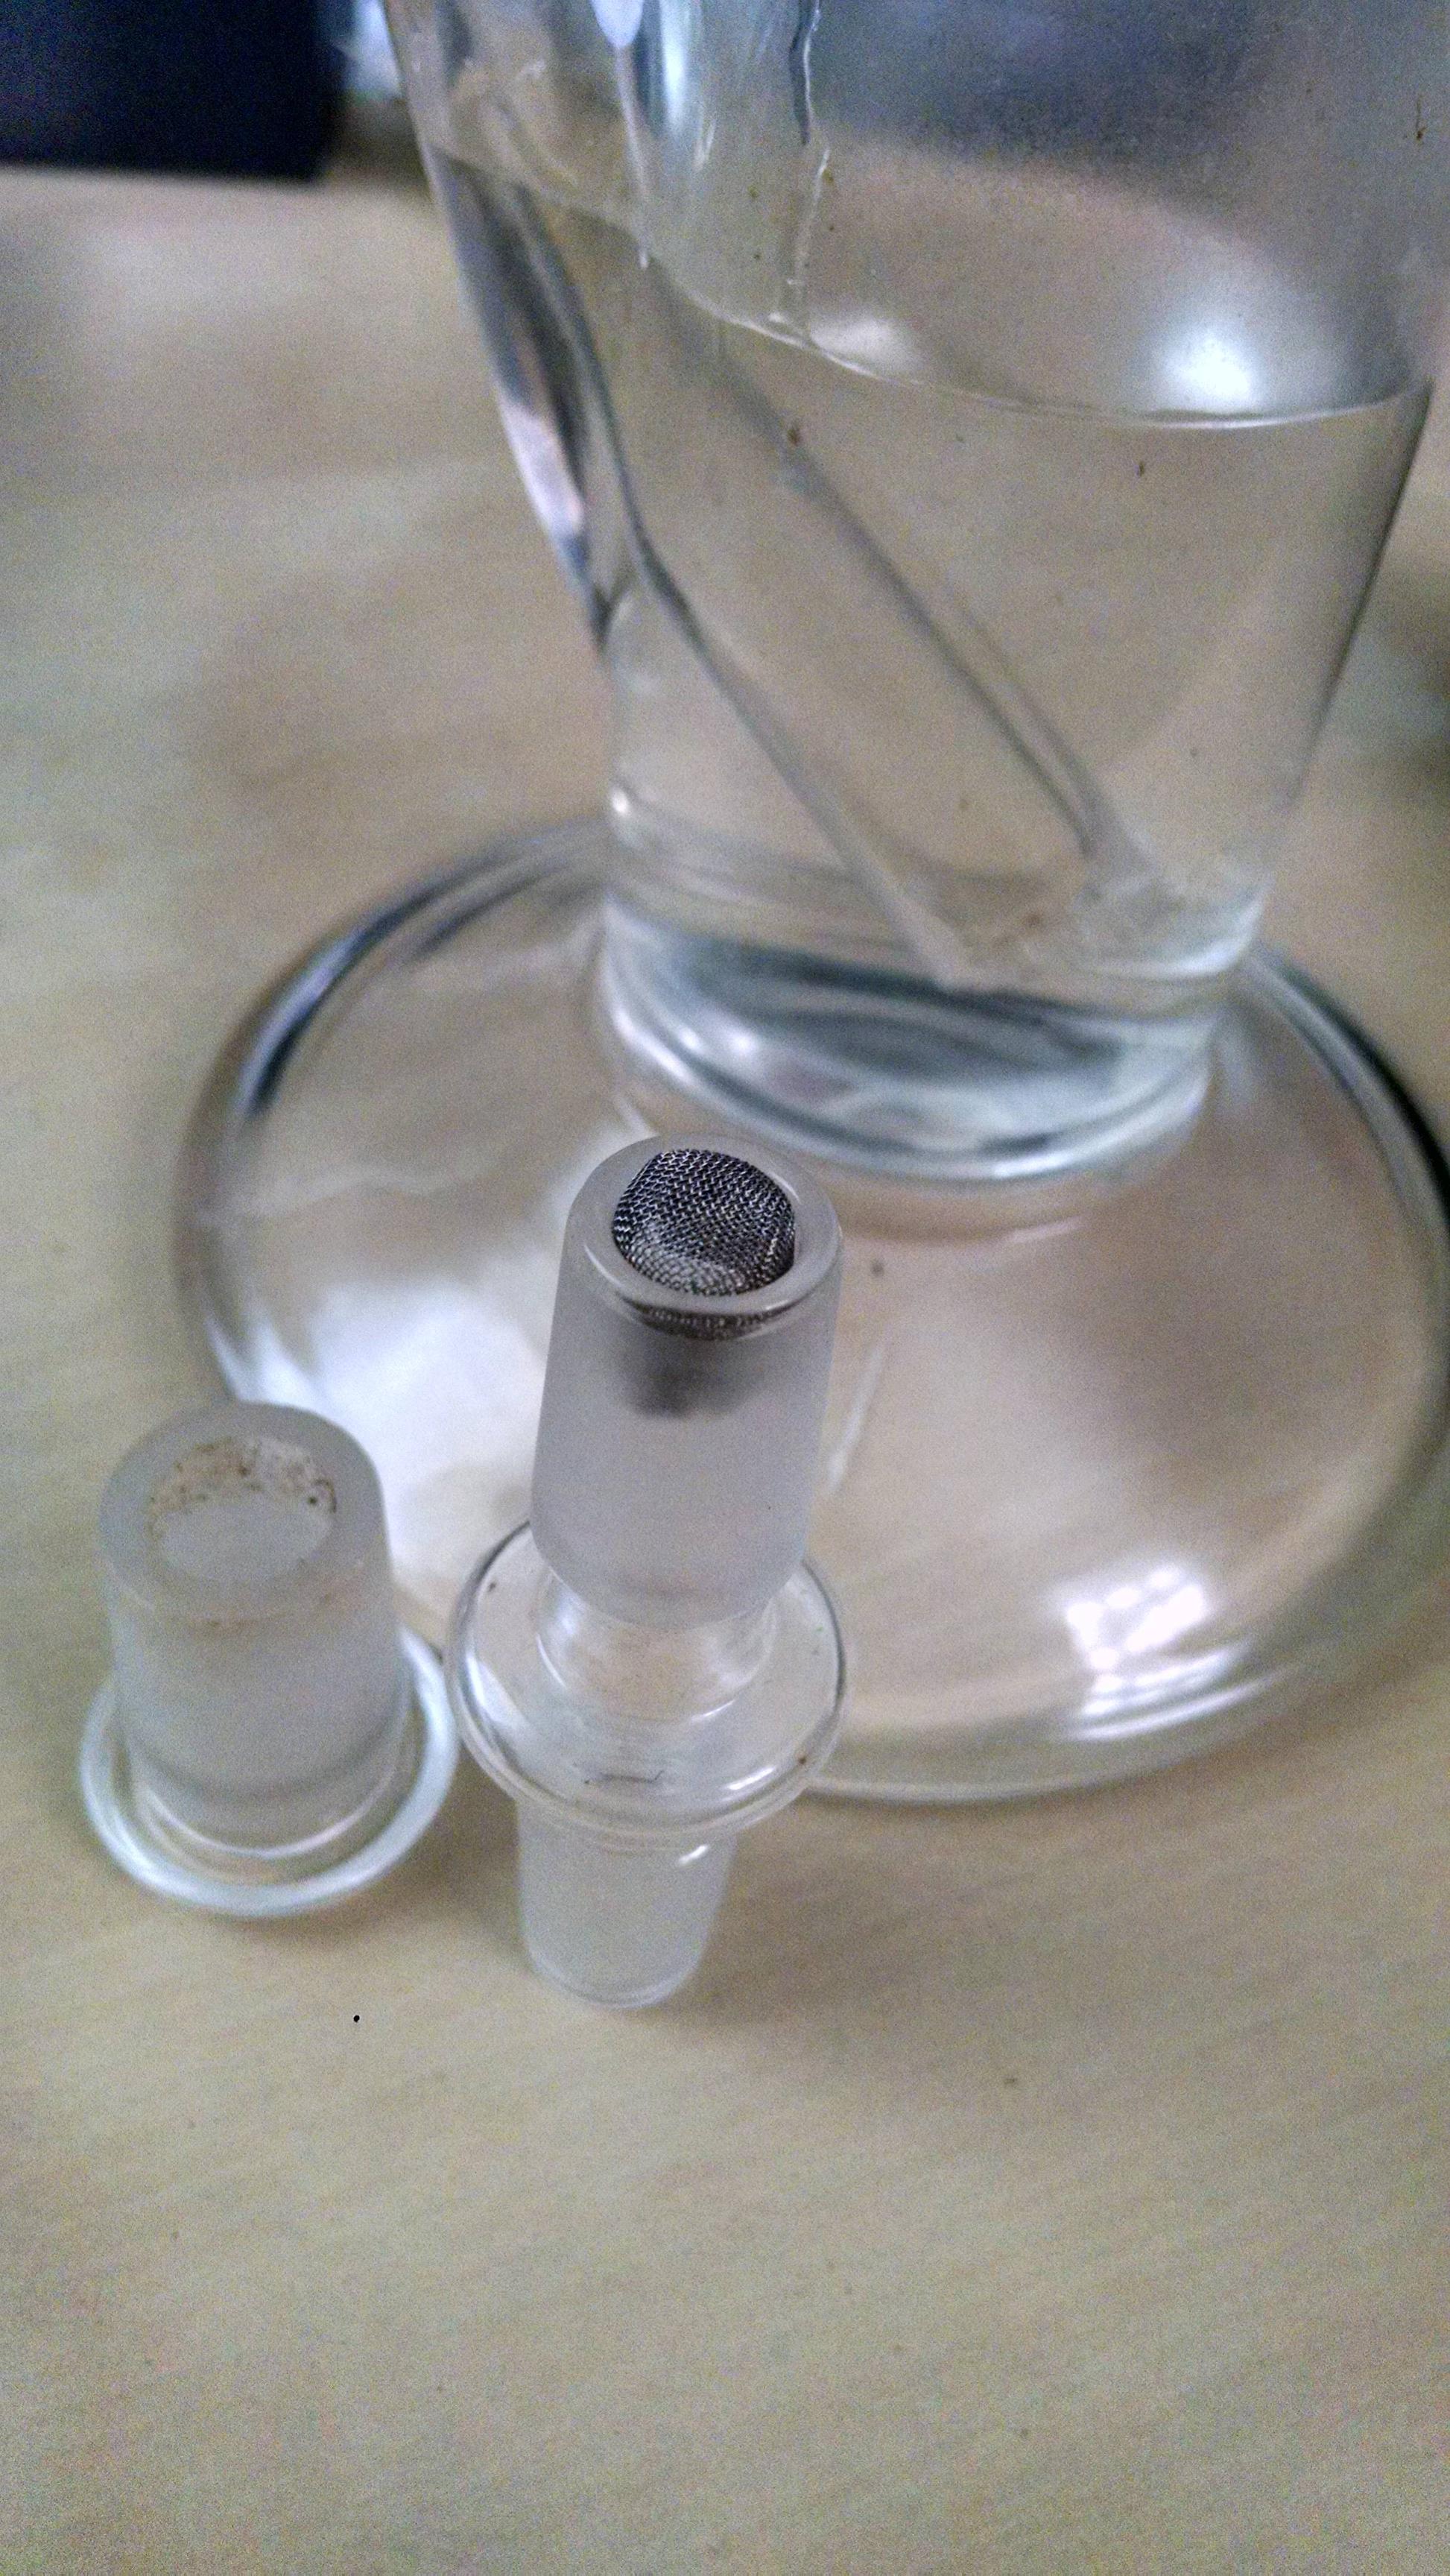
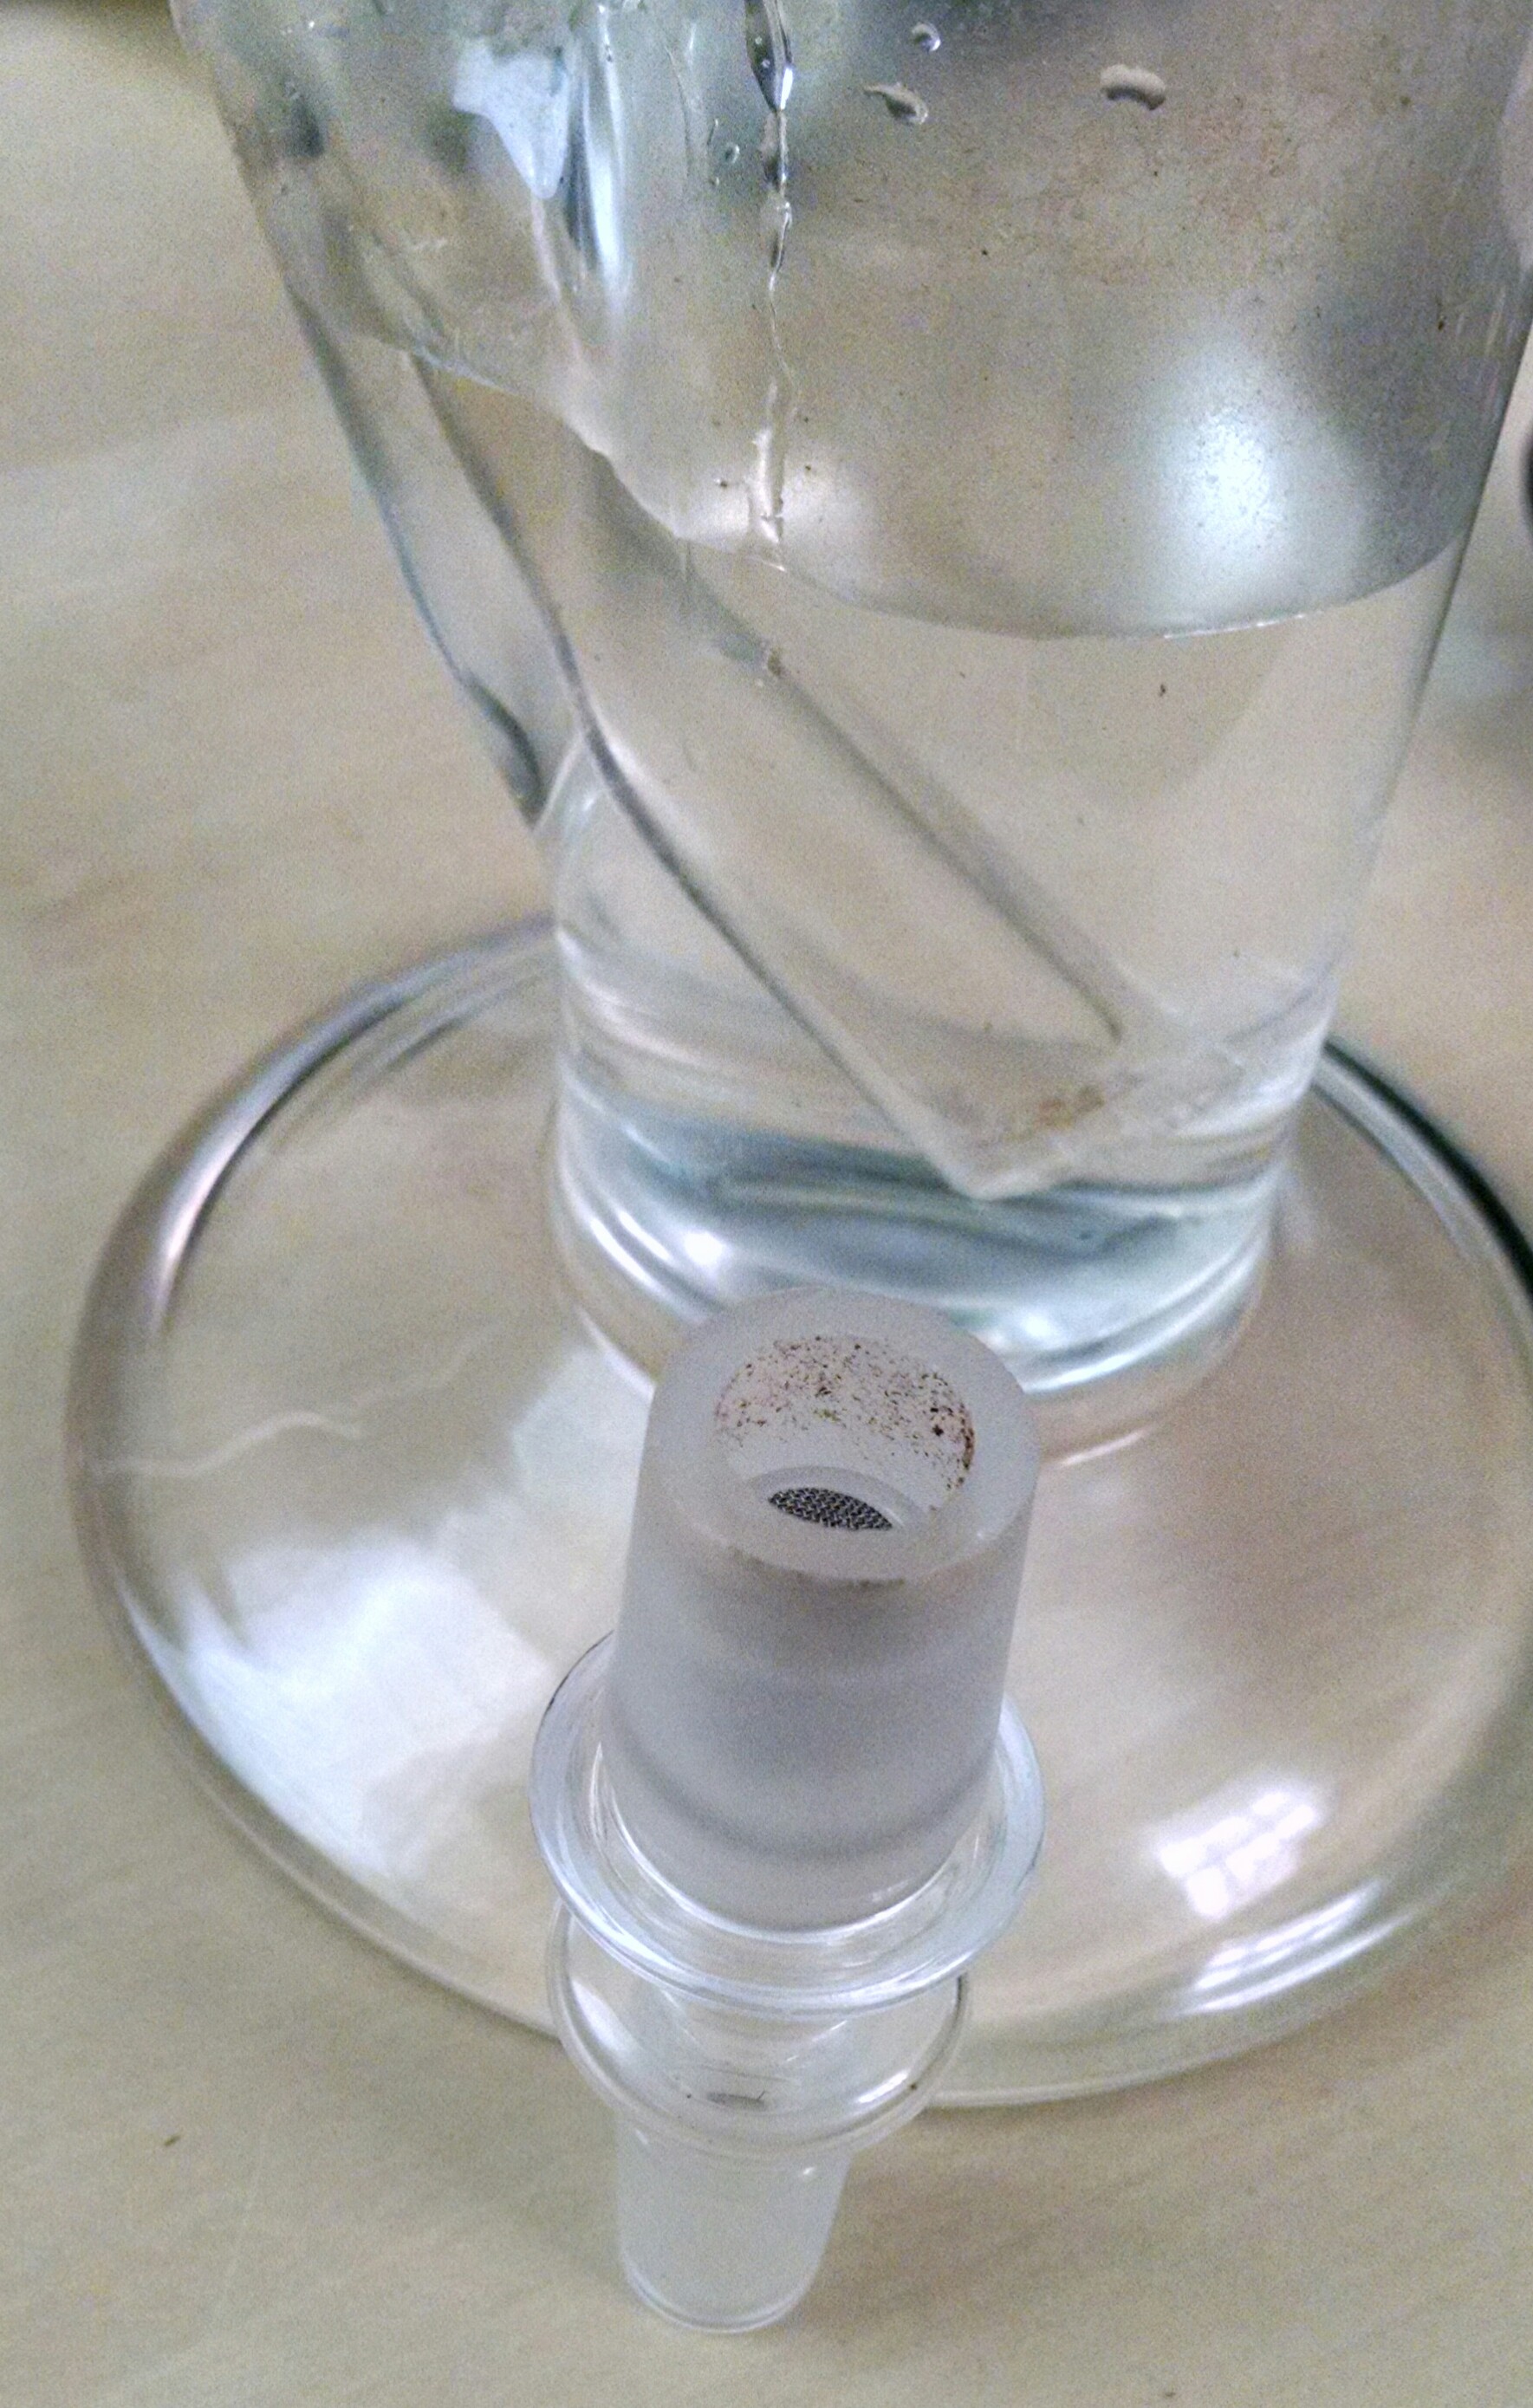
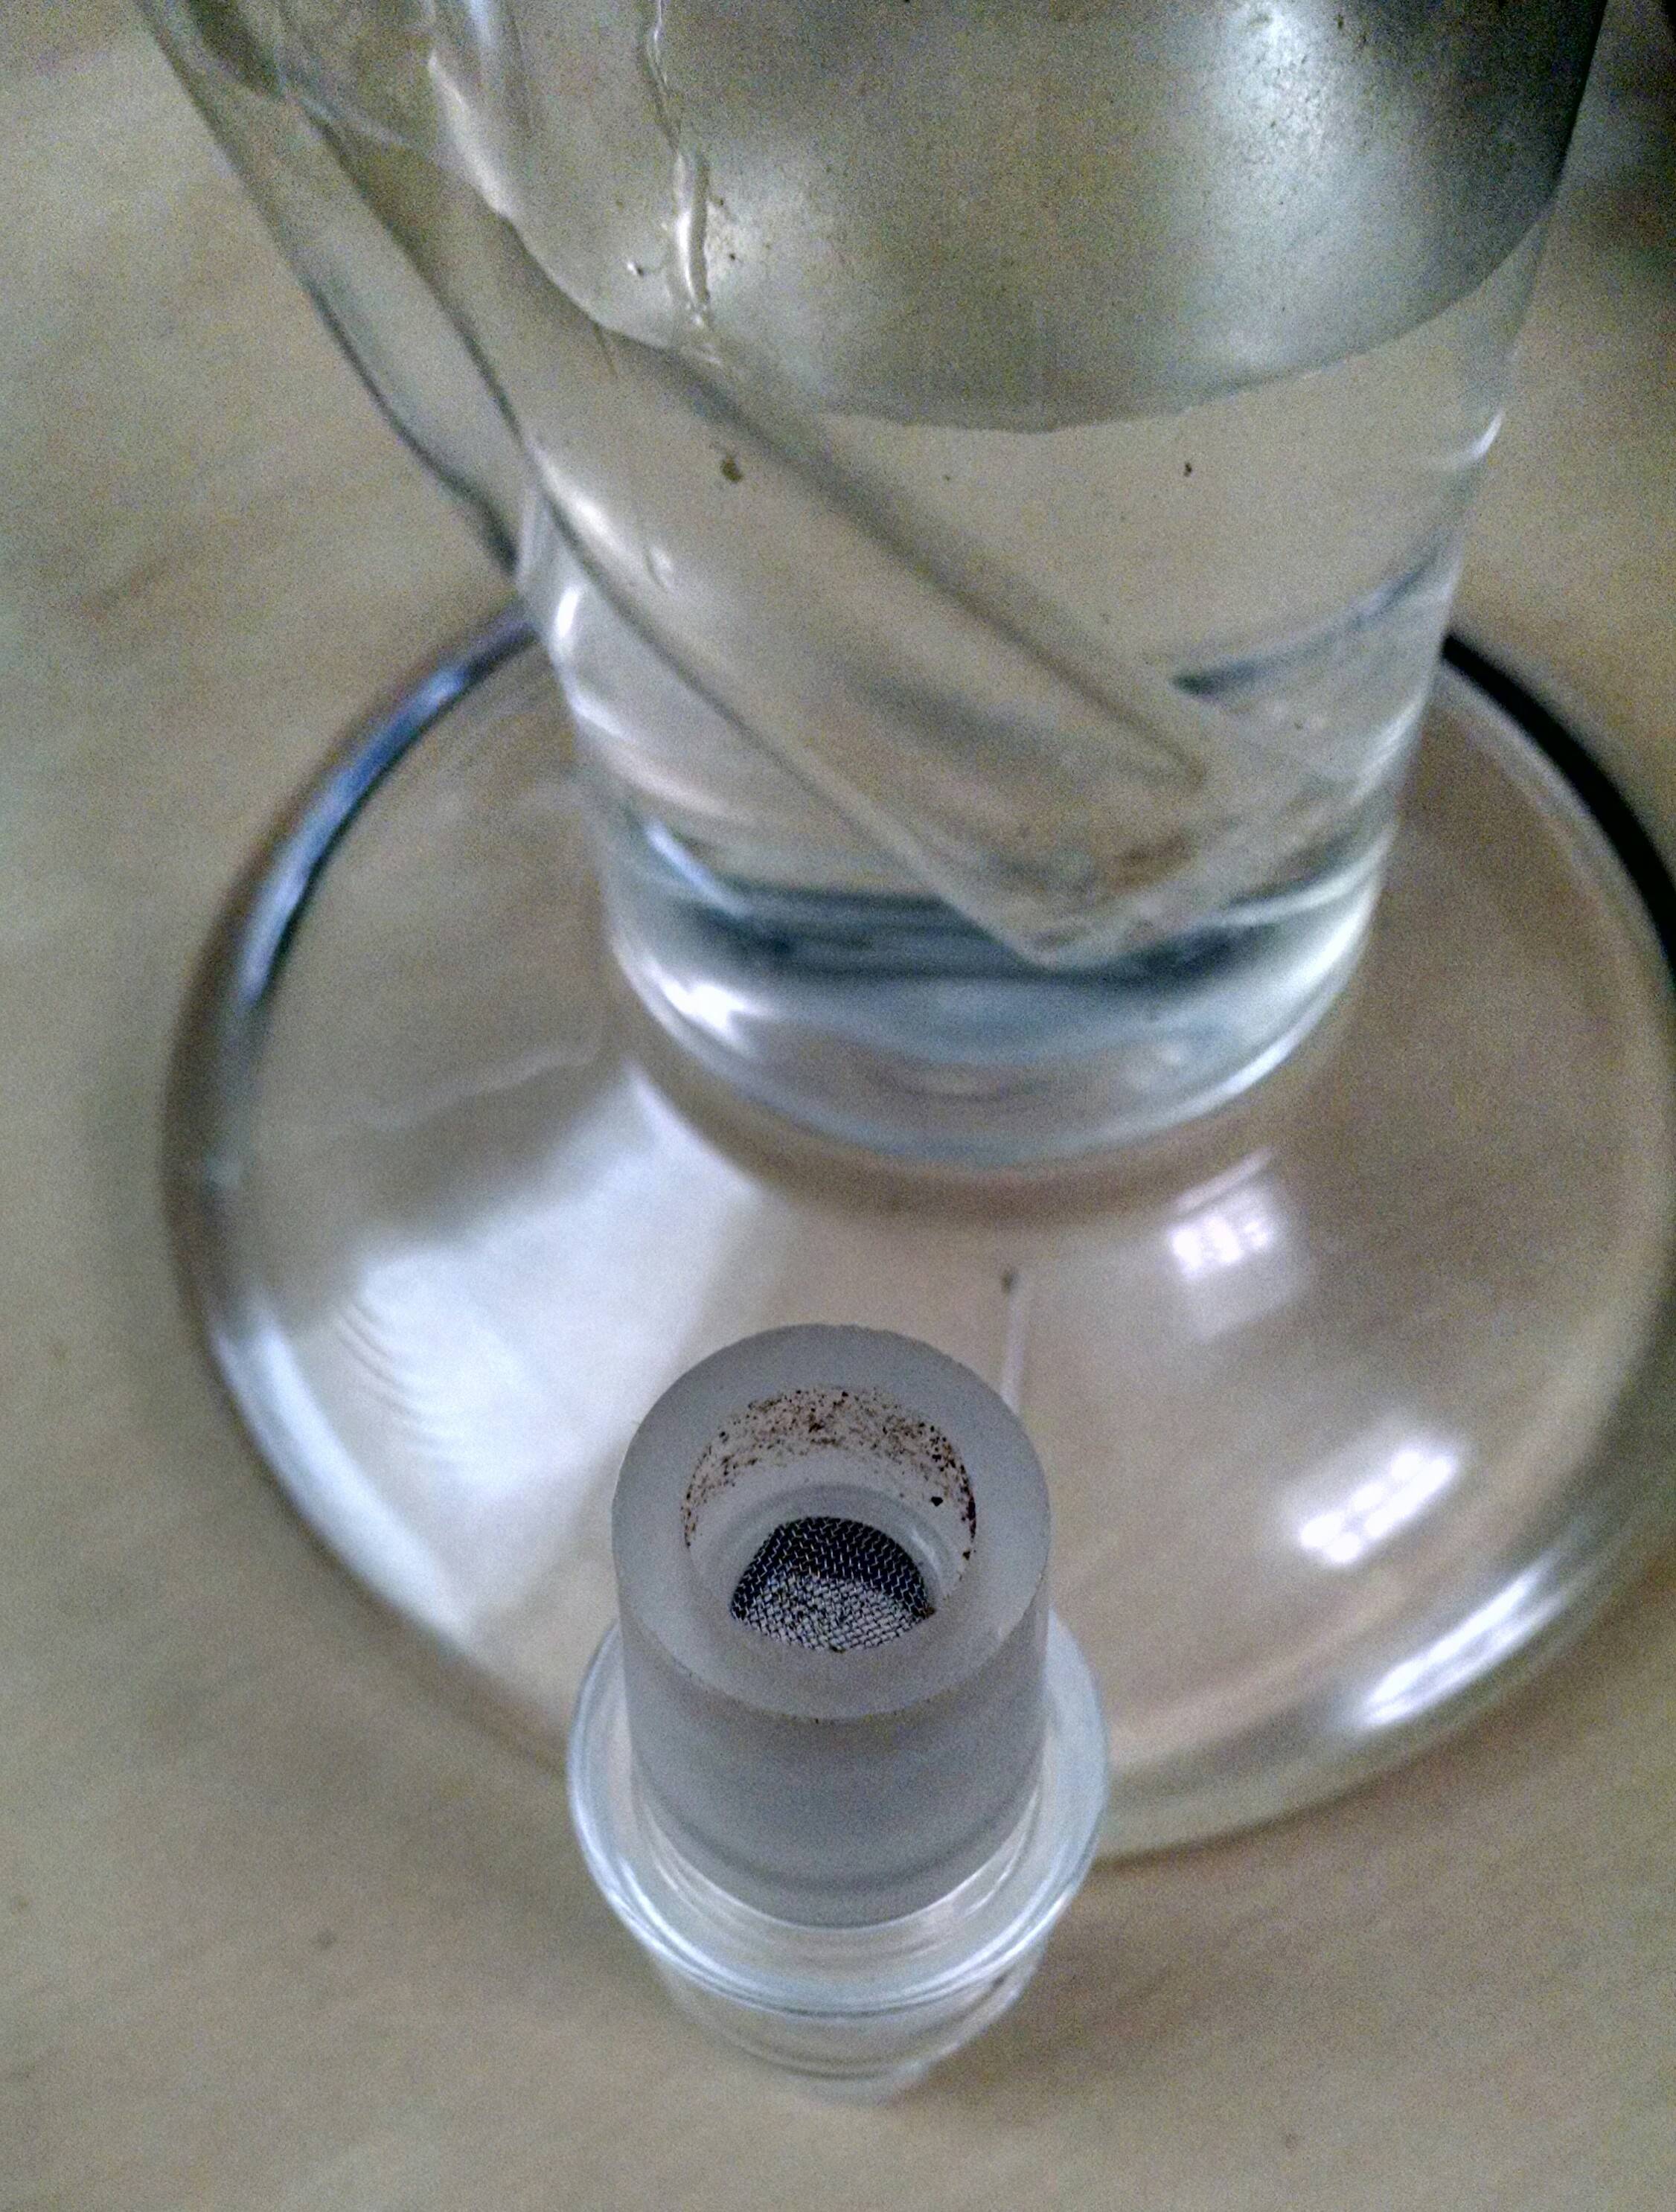
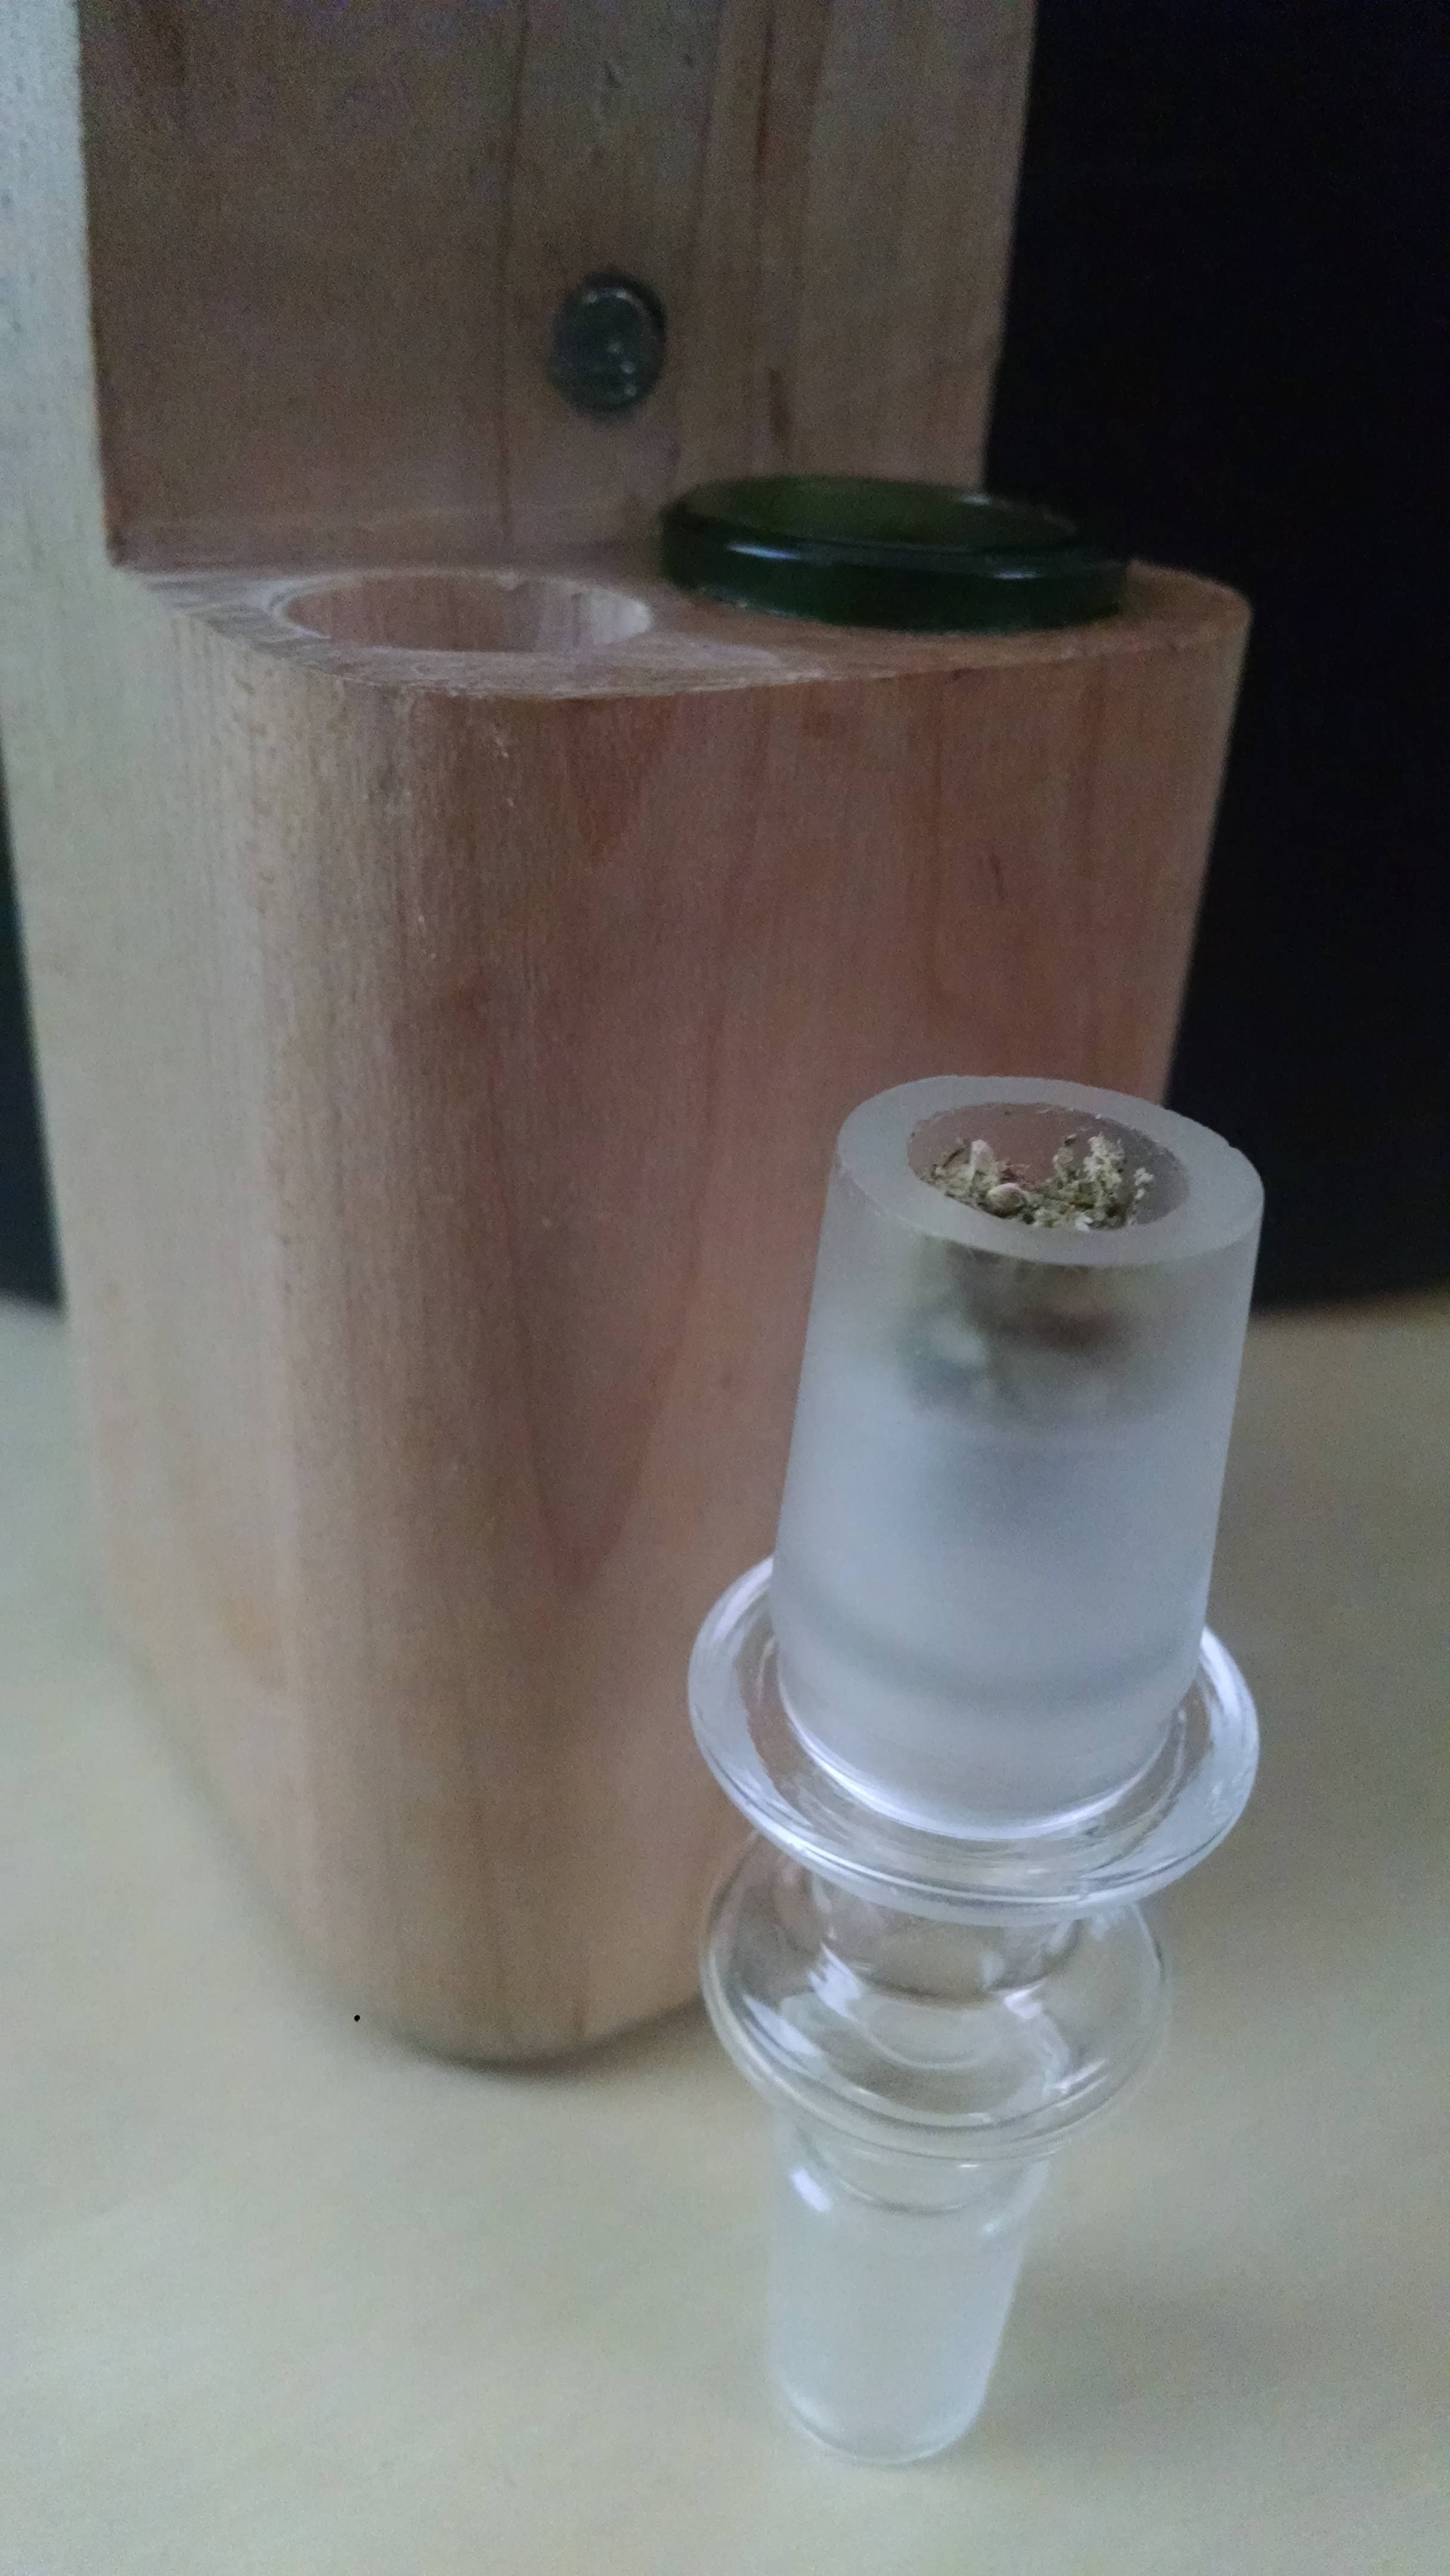
All of this versatility will leave you with deliciously gacked up stems and a great way to reclaim nearly every bit of it is this... First, you need a pushing tool long enough to reach all the way through the stem, and large enough in diameter to push the screen evenly, like an unsharpened pencil. Start by reaching all the way through the stem with your pushing tool and push the screen out the gong end, being careful not to disturb the gack. Next, insert the screen open side first into the end of the stem you draw from, and slowly push it all the way through the stem in this orientation. It will scrape the sides of the stem and collect everything inside the cup of the screen. If it leaves a line of unscraped material big enough to matter to you, make another pass with the screen rotated a little and it should scrape that off as well.
“What you do afterwards with the gack you’ve collected is up to you, but do have something sturdy to hang on to nearby when you do” rapped thekarmawhore.


 Hey hey



 Woah
Woah 

