lazylathe
Almost there...
Following on from the thread here:
http://fuckcombustion.com/threads/f...per-cheap-unauthorized-and-unsupported.11412/
Where i bought an unsupported Cloud off e bay, returned the first one for DOA and now the second one is also DOA.
I decided to try and figure out what was wrong with the vape and then see if i could fix it!
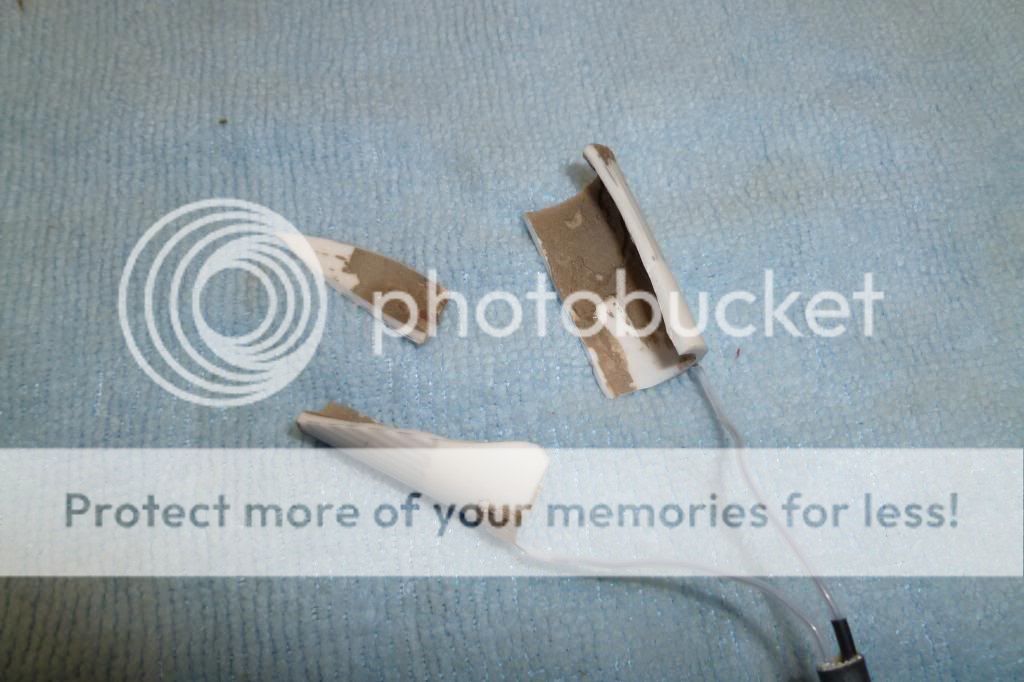
When i opened the unit i saw that the ceramic heater was cracked in 3 places.
Checked the continuity with a multi meter and saw that there was no current flowing through the heater.
I am sure the cracked ceramic severed the connections to the thin heating elements rendering it useless.
Out with the diamond disc to cut through the ceramic heater and gently remove it from the bamboo.
Quite and easy job to accomplish and then i scraped the bamboo clean from the bonding material.
Desoldered the heater connections and the thermocouple from the circuit board.
One tip, if you decide to remove the thermocouple note that the wires do not tin and soldering back to the board is quite difficult! An easy way around this is to bend the wire into a small U-Shape and then solder into the holes in the circuit board. This way it is a more mechanical bond and the wires stay fastened well.
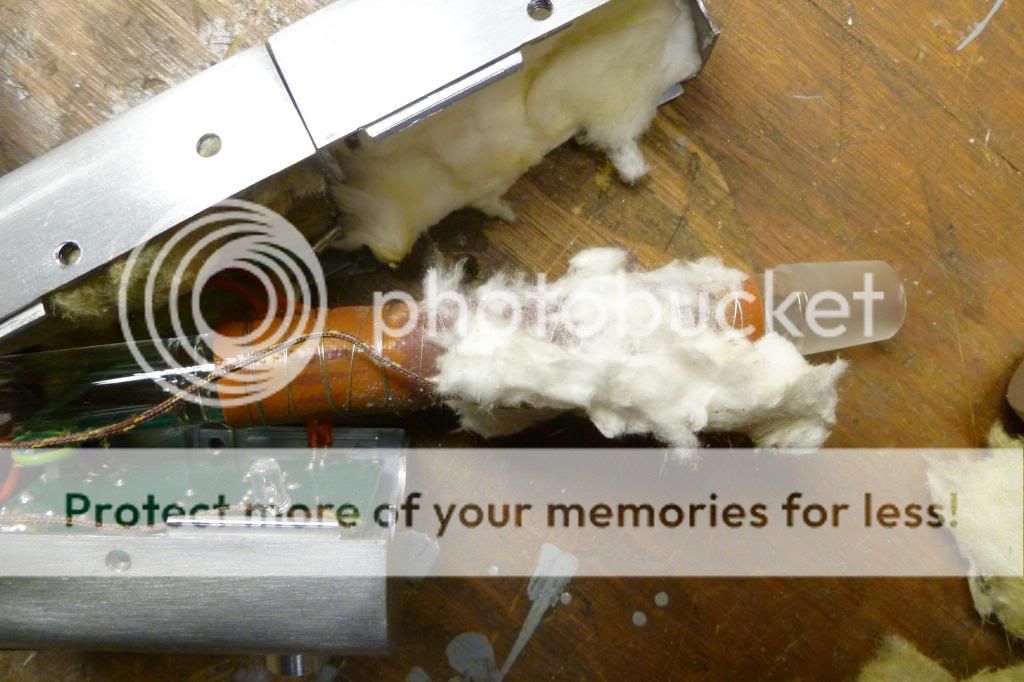
Wrap new heater around bamboo and secure with aluminum wire so that there is maximum contact with the bamboo. Ensure you place the thermocouple between the bamboo and the heater!
Replace the insulation and we are almost ready to test it out!
I needed to enlarge the holes in the casing to accommodate the larger bamboo, easy to do with a Dremel type tool.
The only issue i have is that i cannot fasten one screw because the heater mat is pushing against the board slightly. I have added some extra insulation on the bottom to protect the board from heat and it works really well.
Solder the new heater to the same connections on the board and put everything back together again.
I tested it outside the enclosure to make sure it actually works.
At noon it is really hot and the extraction is really fast!
Moving it down to the 10 -11 o'clock position seems to be the best for many its and tasty vapour!
I have been in contact with the seller on e bay and he has been extremely helpful!
I told him what i had done and that i knew i had destroyed any chance of getting another replacement.
I was okay with my decision and was willing to accept any failures.
Luckily for me the seller offered a new bamboo and heater assembly for me to install!!!
ALL FOR FREE!!!
Amazing service and help, even after i disassembled the unit!
Enough talking and on with the pictures!!!
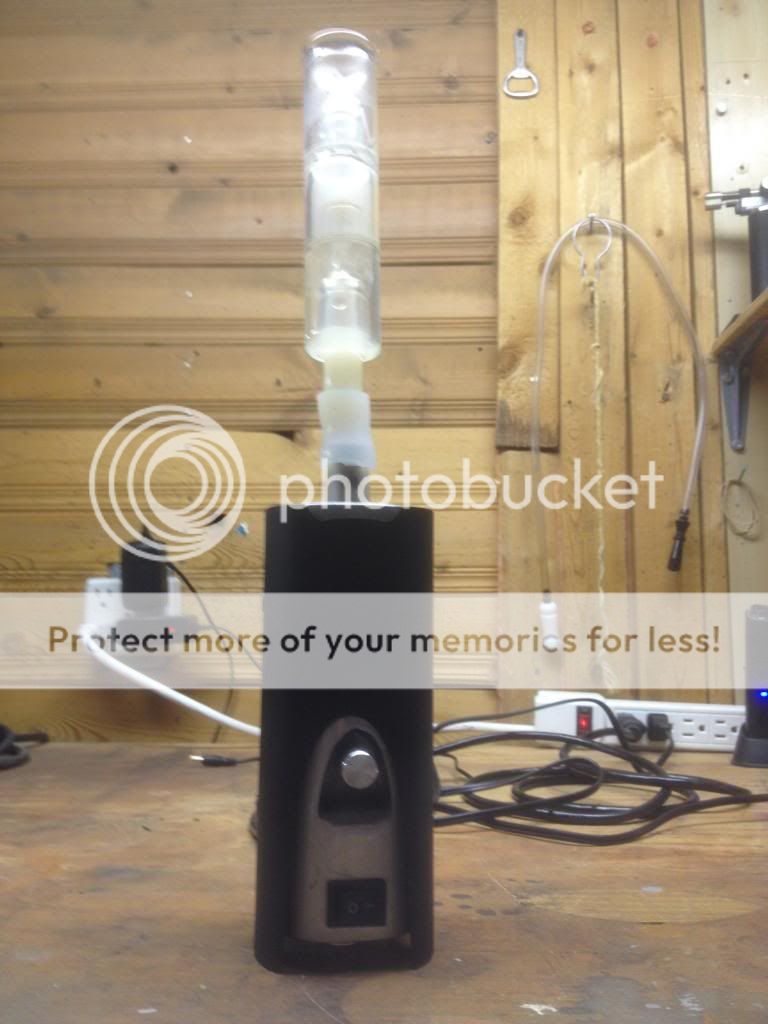
The modded unit all together
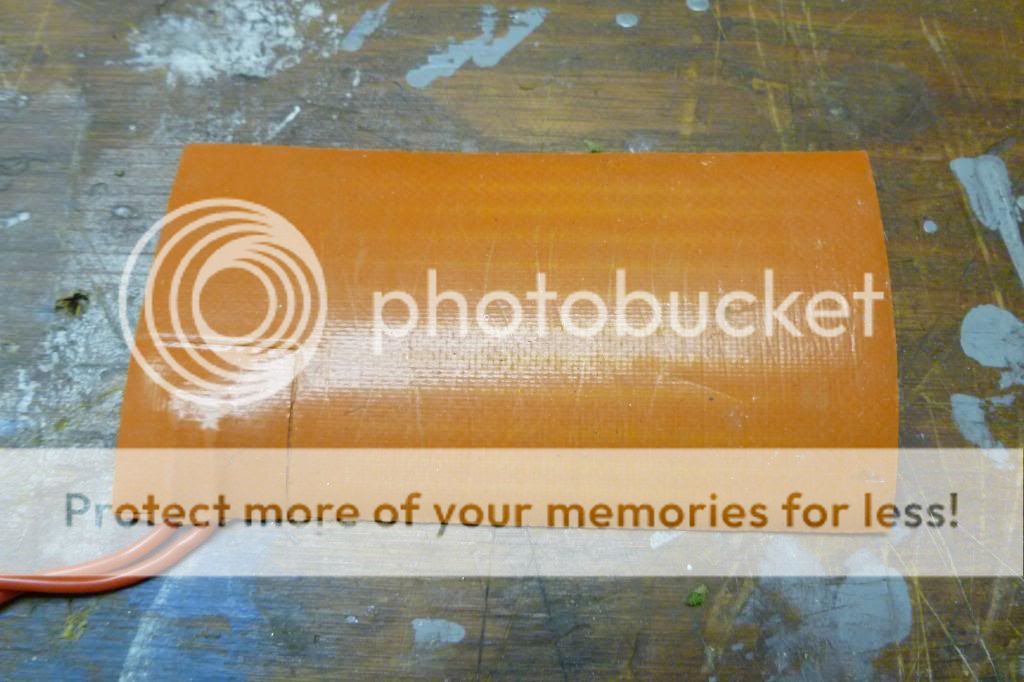
The new Silicone heater mat
The broken ceramic heating element
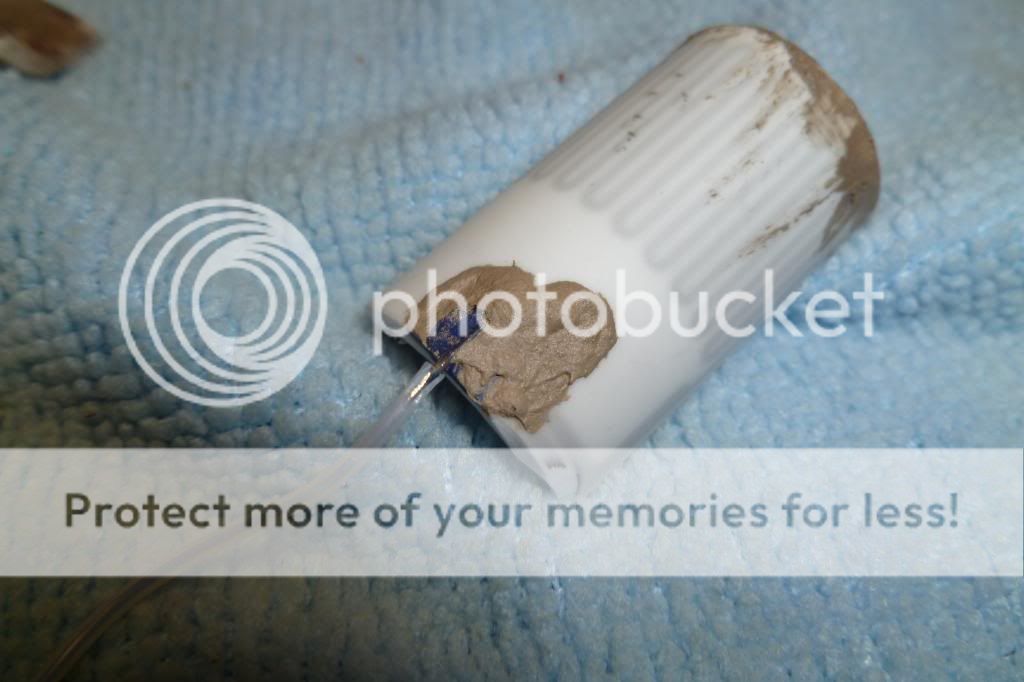
The connection to the original ceramic heater
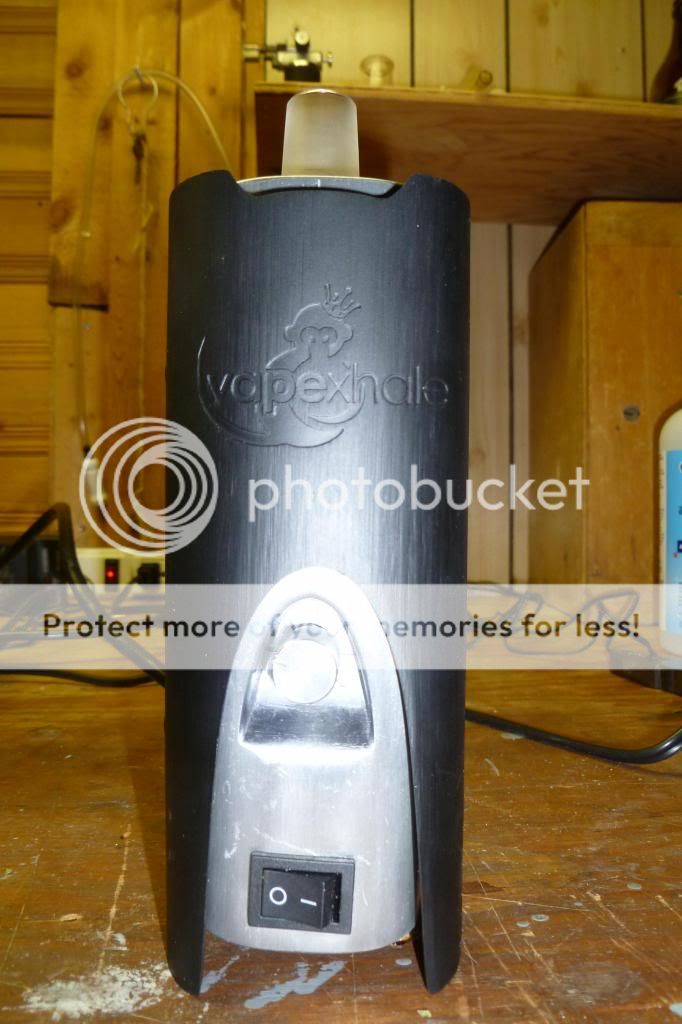
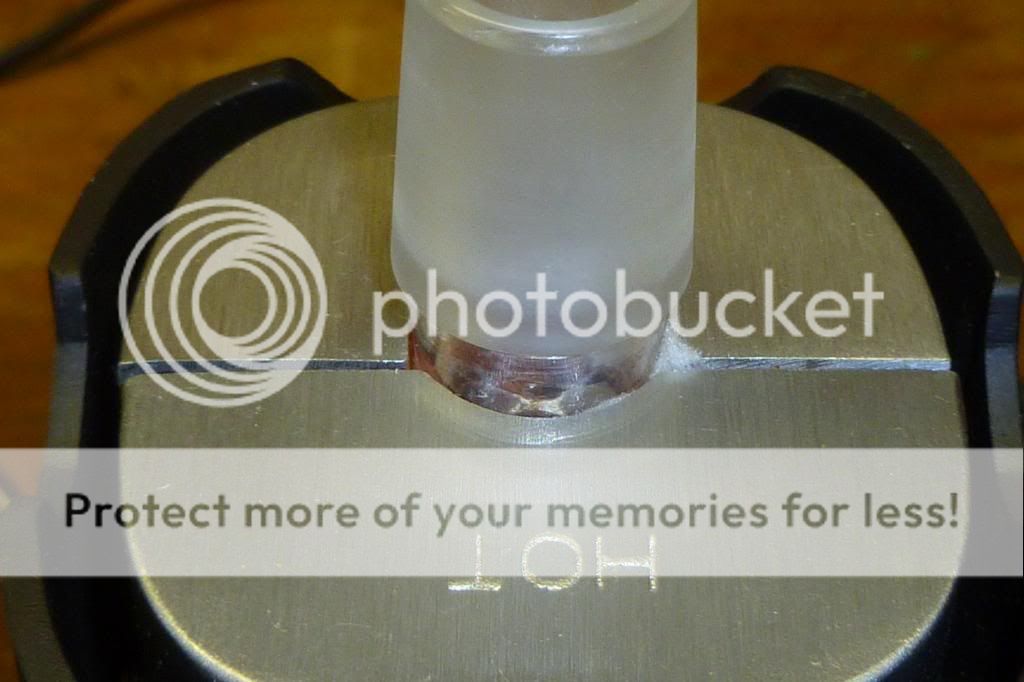
The top of the unit with the silicone heater just visible
Silicone heater wrapped around the bamboo
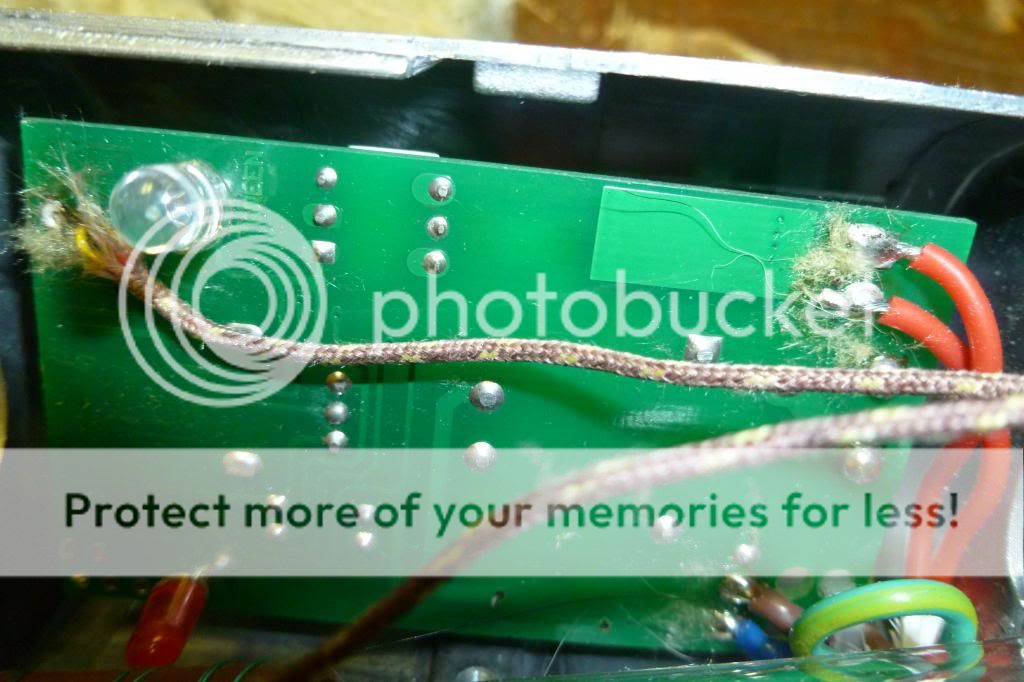
The soldered connections of the silicone heater to the board
And the final test!
Red LED at switching on

And a few minutes later the GREEN LED comes on!!!!

I will try and take a video of it working a bit later!
The after effects from last night are still lingering after 3 to 4 1/4 to half full ELB's...
http://fuckcombustion.com/threads/f...per-cheap-unauthorized-and-unsupported.11412/
Where i bought an unsupported Cloud off e bay, returned the first one for DOA and now the second one is also DOA.
I decided to try and figure out what was wrong with the vape and then see if i could fix it!
When i opened the unit i saw that the ceramic heater was cracked in 3 places.
Checked the continuity with a multi meter and saw that there was no current flowing through the heater.
I am sure the cracked ceramic severed the connections to the thin heating elements rendering it useless.
Out with the diamond disc to cut through the ceramic heater and gently remove it from the bamboo.
Quite and easy job to accomplish and then i scraped the bamboo clean from the bonding material.
Desoldered the heater connections and the thermocouple from the circuit board.
One tip, if you decide to remove the thermocouple note that the wires do not tin and soldering back to the board is quite difficult! An easy way around this is to bend the wire into a small U-Shape and then solder into the holes in the circuit board. This way it is a more mechanical bond and the wires stay fastened well.
Wrap new heater around bamboo and secure with aluminum wire so that there is maximum contact with the bamboo. Ensure you place the thermocouple between the bamboo and the heater!
Replace the insulation and we are almost ready to test it out!
I needed to enlarge the holes in the casing to accommodate the larger bamboo, easy to do with a Dremel type tool.
The only issue i have is that i cannot fasten one screw because the heater mat is pushing against the board slightly. I have added some extra insulation on the bottom to protect the board from heat and it works really well.
Solder the new heater to the same connections on the board and put everything back together again.
I tested it outside the enclosure to make sure it actually works.
At noon it is really hot and the extraction is really fast!
Moving it down to the 10 -11 o'clock position seems to be the best for many its and tasty vapour!
I have been in contact with the seller on e bay and he has been extremely helpful!
I told him what i had done and that i knew i had destroyed any chance of getting another replacement.
I was okay with my decision and was willing to accept any failures.
Luckily for me the seller offered a new bamboo and heater assembly for me to install!!!
ALL FOR FREE!!!
Amazing service and help, even after i disassembled the unit!
Enough talking and on with the pictures!!!
The modded unit all together

The new Silicone heater mat

The broken ceramic heating element

The connection to the original ceramic heater

The top of the unit with the silicone heater just visible

Silicone heater wrapped around the bamboo

The soldered connections of the silicone heater to the board

And the final test!
Red LED at switching on

And a few minutes later the GREEN LED comes on!!!!

I will try and take a video of it working a bit later!
The after effects from last night are still lingering after 3 to 4 1/4 to half full ELB's...


 . I may be contacting you if my VXC ever goes out,
  .
.


