PART 1
I recently had the opportunity to test out the Tsunami from NewVape for a week. Edwyn and NewVape were very kind to send me a complete (and I mean complete) kit in a Pelican case and included shipping label for its return. My kind of service J
This is my quick first impressions on the Tsunami. I say that because I only had it for a week. If I ran it for six months or so I may well have other observations and insights. Hence, this being first impressions.
What Is It
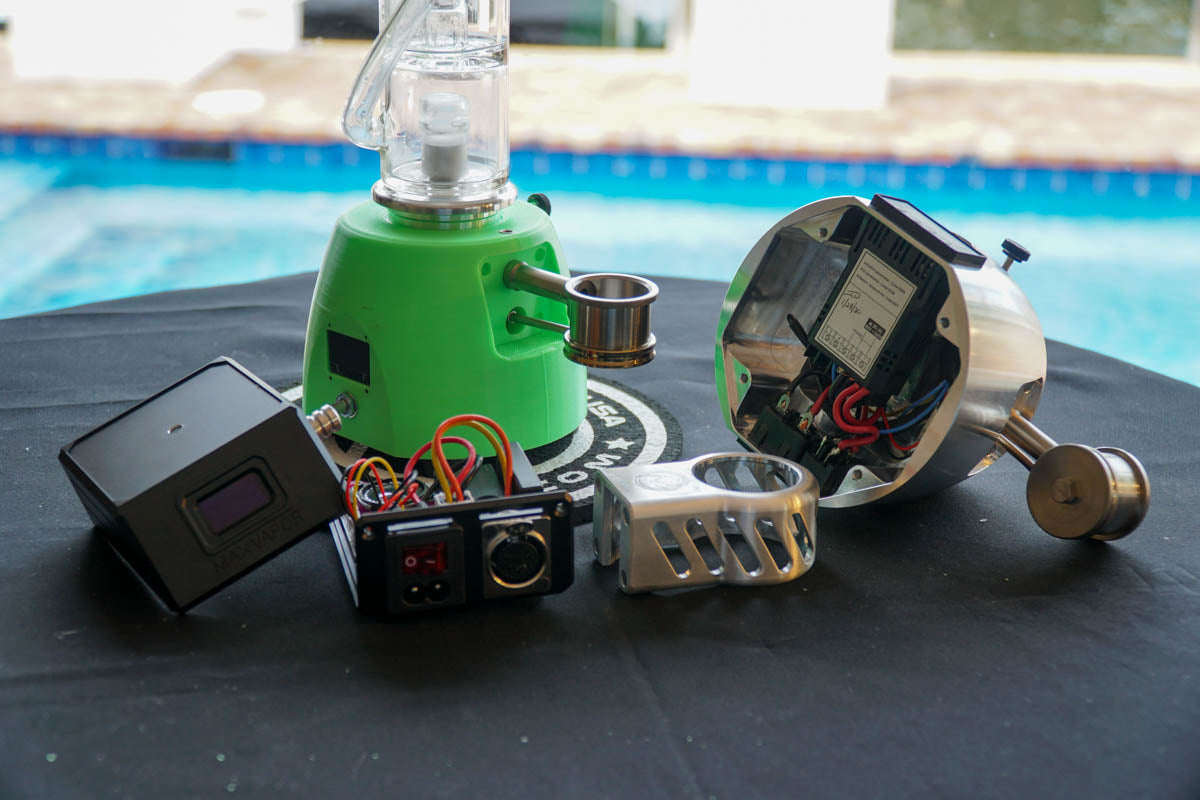
Tsunami is an all in one (AIO) dab rig. It is a real enail in that it uses a hot runner type flat coil and a T-bucket banger and there are no pen type “ceramic around heating filament” atomizers here at all. It uses either Peak or Carta glass as the bubbler but I expect there may be an expansion of the supported glass as the glass adapters are separate items so new mechanical interfaces should be easily accommodated.
I did not take any pics, because I’m getting lazy. But there are from NewVape’s web site.
Base unit
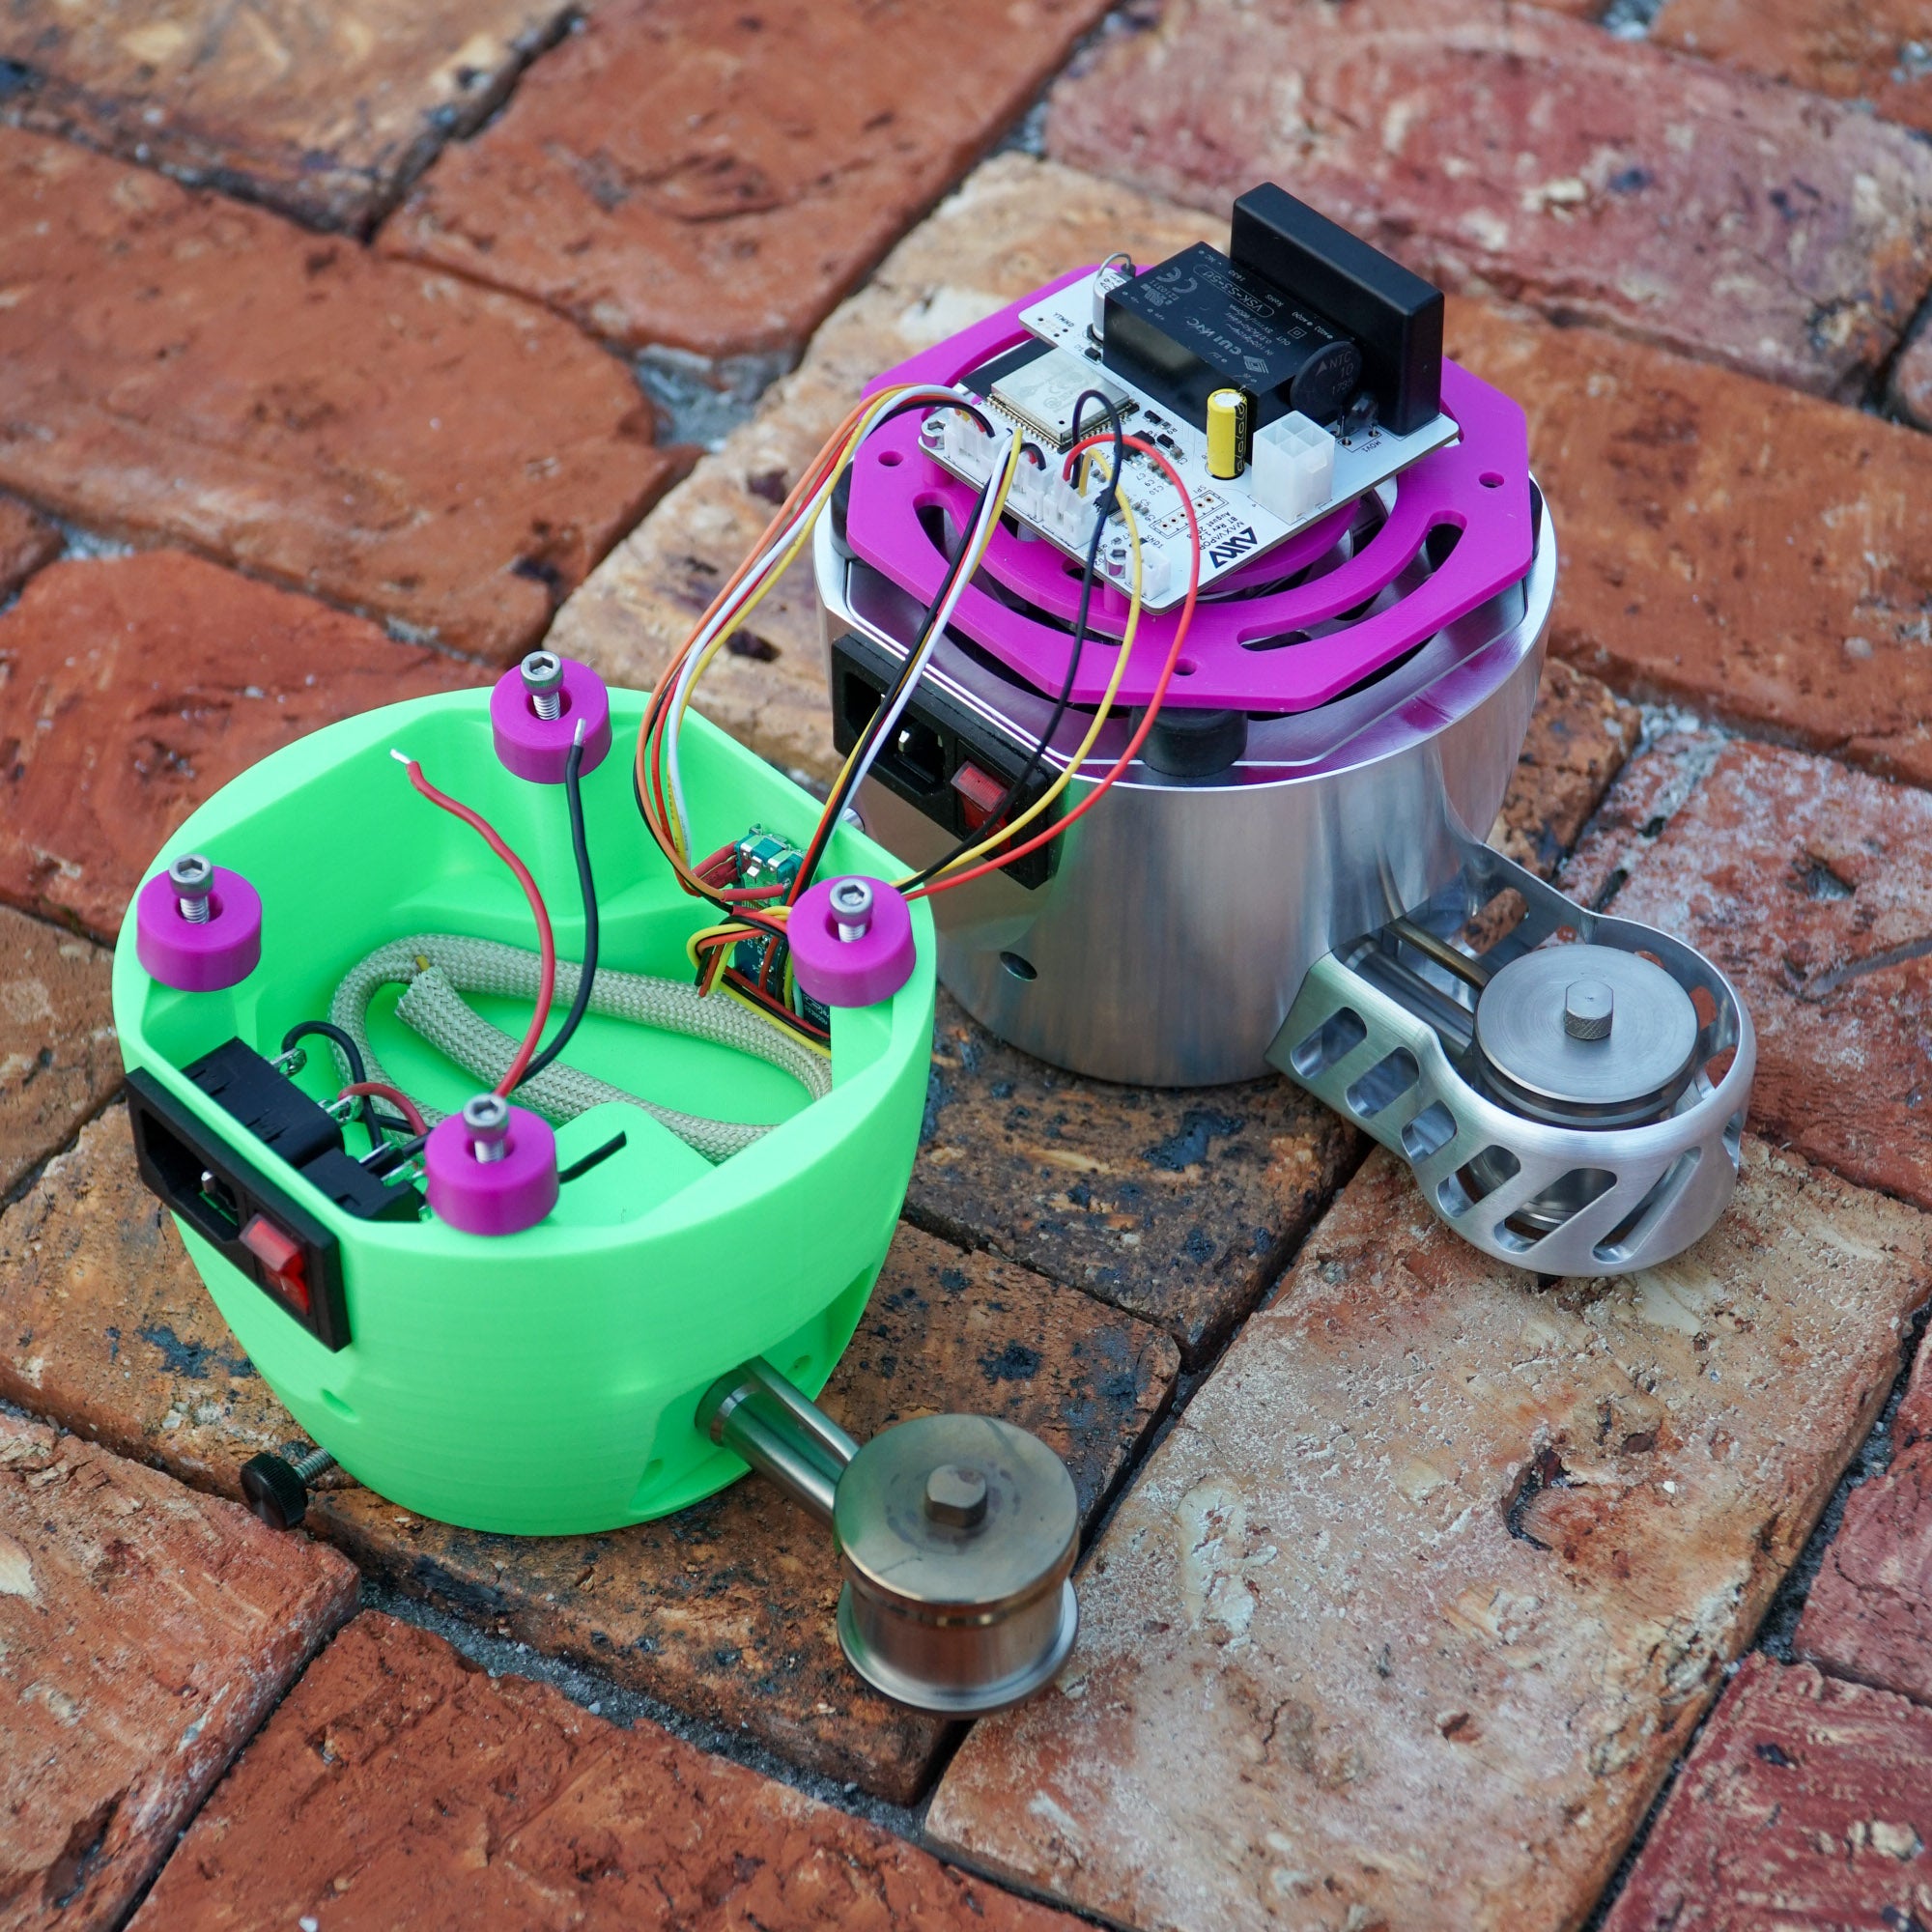
Base unit with heat shield removed to show T-bucket
Base unit rear view showing the embedded PID and removable heat shield. Also, note on the side the knurled knob for securing the glass adapter to the base unit.
The entire system assembled
Glass adapter with Peak glass installed
Carb cap and dabber
IT ARRIVED
Tsunami showed up late on Sat via USPS. The box looked fine. No damage visible from the outside. However, when I opened it and then opened the Pelican case (or Pelican like case) there were items out of their slot in the foam and rolling around loose in there. Notably, the whip adapter which is pretty beefy. Higher density foam would solve this issue.
However, I note that this was just the test drive kit and at the present this cased version is not something currently up for sale.
Also, this kit came with everything. Base unit and power cord, glass adapters for both Peak and Carta, Peak and Carta glass, a whip adapter and whip, and both SiC and Sapphire 30mm inserts. That’s a lot of stuff that was packed into this case.
Build Quality
My impression of the NewVape’s Tsunami manufactured items is as always; their stuff is really top notch, heavy duty, and precision machined. There is no cheap junk made by NewVape and the build quality of their products are impeccable, IMO.
The base unit and glass adapters are machined from billet aluminum and are rock solid. The T-bucket is titanium as is the carb cap. The glass…..is glass (LOL). The PID is the same VapeCode white label PID they sell on their site for various applications. I have two dual PIDs of this type with my Micro 20 rosin press. They do what PIDs are supposed to do…hold temp.
Set Up
Putting Tsunami together for use is extremely simple because…well, it’s an AIO.
The one thing to keep in mind is to wet slightly the base of the glass or the adapter o-ring so it slips into the adapter easier.
The glass goes into the adapter, the adapter goes into the base unit, and there is a knurled nob on the side that you tighten to secure the glass/adapter.
However, after installing in the adapter and BEFORE installing into the base unit, fill the glass with water and draw on it to make sure it’s not over filled and will not leak out or get in your mouth. I used a plastic syringe to fill the Carta glass and I believe it was on the order of 35ml to get it to a level that I liked…about half way up the inner tube. I think it’s very difficult to try to fill one of these AIO glass pieces straight from a faucet and highly recommend spending a few pennies on a syringe.
The banger shroud that protects you from burns fits on easily and is held on my four rare earth magnets.
Simply drop in the insert of your choice (SiC or Sapphire)…well, drop it in gently. J
The T-bucket banger comes out of the unit very easily for maintenance, if needed. Remove the flat coil cover from the bottom by taking on the retaining nut. Then loosen the hex set bolt accessible via a hole in the right side of the base unit which will allow the T-bucket/coil to be pulled forward and out.
The power cord is detachable from the base. Plug it into the base and into a wall socket and now your Tsunami is ready to go.
Operation
The Tsunami couldn’t be easier to operate. On the right side of the base unit is the main power rocker switch. This switch is lit at all times and I have suggested to NEWVAPE that a better implementation would be to light the switch when power is turned on. This is a function of the PID that they buy from a 3rd party so it’s probably not changeable. The rocker switch does have the standard O and – markings for off and on, respectively.
Then press the momentary action button on the back that is the switch for sending power to the coil. I rather like, but don’t consider to be essential, separate switches for main and coil power and the Tsunami is configured in that manner.
The PID has up down arrows for adjusting temperature set point. I won’t try to address any other PID functions like auto-tune or changing variable settings. NEWVAPE has a good video on auto-tuning and I suggest checking the manuals for variables and how to change them. Personally, I don’t know enough about PID to want to get into the guts that far.
The PID will display the actual coil thermocouple temperature as it increases. This PID is set up to be very responsive which also means it tends to overshoot a bit on initial heat up. But, it quickly settles back to the set point and my observations are that temperature throughout the dab remained very rock solid and steady.
Then simply wipe your dab over the very large 30mm insert surface, cap, and draw and Robert’s your mother’s brother. Haha
When I received the unit it was already set for 550F set point which is my general set point for my other bangers. It worked well but I did find with the Sapphire that I enjoyed it better bumping up 20 degrees F to 570 for thicker vapor. I may well have liked to do similar for the SiC dish but ran out of time and needed to return the unit.
Cleaning
This was easy. Clean the glass like you do any other glass. I like Powdered Brewer’s Wash and the Carta glass came out sparkling.
The only thing a bit tricky to clean was the air path through the base unit to the glass. With the glass removed, you can see the air patch tunnel which is a few inches in length, max.
I used a flexible bottle brush, pipe cleaners, and ISO to clean this out. It really was pretty simple. By the by, these flexible brushes are quite handy. The one I have looks like this:
I cleaned the inserts as I would inserts in any other banger. In this case, and as I was returning it to NEWVAPE and wanted it to be pristine clean, I put them in some concentrated Simple Green on a candle warmer (this is Shane of 710coils.com technique) and in a few hours when I took them out they were like new.
Alternatively, I do tend to clean inserts right in the banger on my Liger. I set the temp to about 190F, add a drop or two of distilled water, add one drop of ISO, and then jump in with a qtip as the ISO lowers the boiling point of the water so you need to be a bit lively about it. Works perfectly, IME.
And that’s about it for cleaning and I don’t know of any other maintenance that is required.
 But maybe he's right and just a little longer on the dabber and it'll be all good.


