The Nomad From Morwood

Dan Morrison

Well-Known Member
Manufacturer
@Xelatsok , I love how one of these Nomands made it all the way out to Siberia... pretty cool age we live in! Great lookin' avatar! :)

@Hogni , Not too sure about those glass fiber abrasive sticks... looks a bit...harsh.. but It might be worth a try! I think that one of those pencil-style erasers, that come with long re-fillable eraser sticks... would work really nicely. Pencil erasers seem to have a pretty good reputation for cleaning electrical contacts.

@HerbieVonVapster , HAHA! What a hilarious image. glad you made it back home safe. Our mailbox is down a very steep hill... so I know your pain... we have a heat wave here as well... so... forget about checking the damn mail. Not to mention that our mailbox gets destroyed probably about three times a year for unknown reasons.... it's kinda hangin' on be a thread at the moment.
 

HerbieVonVapster

Well-Known Member
She's joined the happy family. In all fairness going hold off a lot of my thoughts on the performance till I get the care package and couple more batteries that fit.
It was a sound ideal to make next batch with a bigger battery opening. I do have one of the HE4 batteries you recommended and that one slides in and out perfect. The HG2 are iffy just got 3 for my mod. 2 of the 3 fit from that same order.

Right now I will say I am getting some really tasty hits and at times can some great clouds. Only tried the low heater. Haven't tried the other heater. I feel currently thou the heat is inconsistent. I feel the button not always making a good contact. Brass plate also tend get warm. Not worried I'm sure the care package will resolve everything but the battery fit.

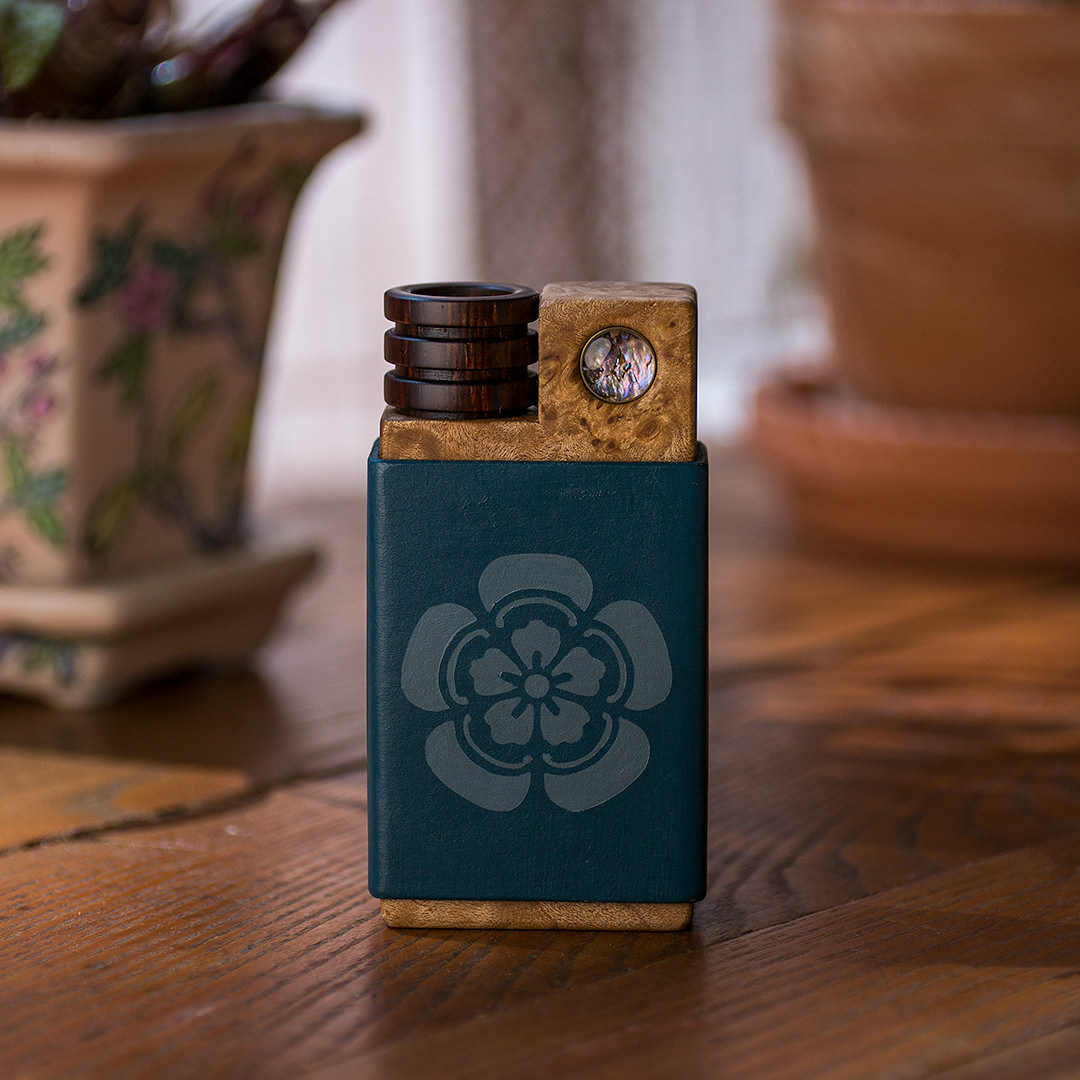
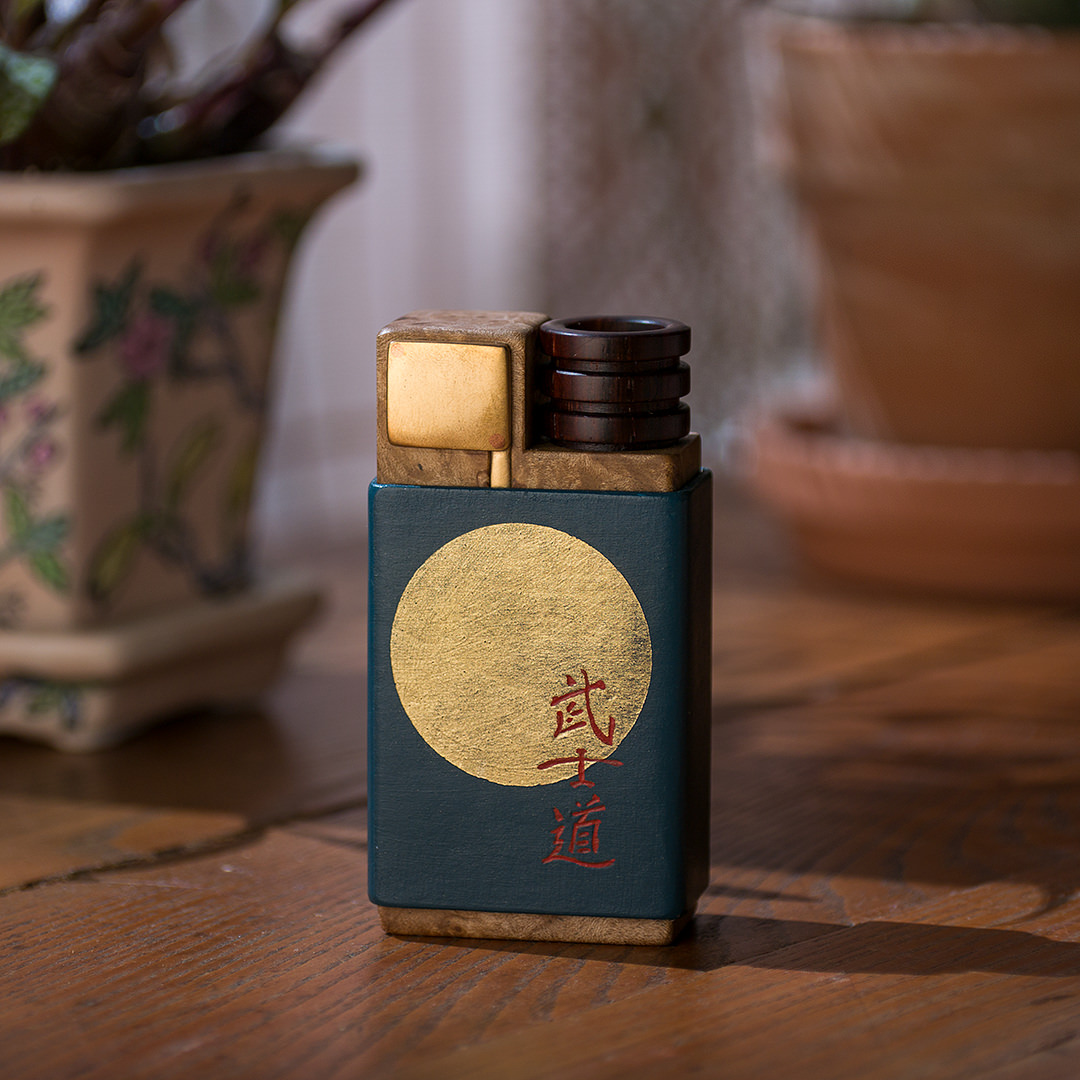
The workmanship is really outstanding. Been looking it over and and only flaw I can find is the small crease on sleeve where paper meets. That's really nit picking too since only see if light catch it just right. Guess could add the battery opening size in fist batch. For sheer looks she's by far the winner in my collection.

Also not sure if my heaters are blackwood or not is there a way to tell?
 

HerbieVonVapster

Well-Known Member
Here's A picture of mine.
20180630_101216__99548.1530369205.jpg
If you didn't specifically request and pay extra for blackwood then it's PEEK.


Thought there might be a way to tell by just looking at them.

There numbered so maybe Dan might be able to check for me.
 
Last edited:

HerbieVonVapster

Well-Known Member
Yes that and woodgrain is really unbelievable in person. The workmanship is just top notch. Dan had posted a bunch picture of mine in the past. When got the rare chance to buy it I jumped on the offer.

Getting new batteries and the cleaning kit soon. Currently in honeymoon phase with the splinter. So other than trying couple of stems and admiring it hasn't gotten much yet.

Feast ot famine for me didn't buy a new vaporizer in 2 years. Now bought 4 in 6 weeks.
 

RelaxedNow

Well-Known Member
This post is a bit long, but you’ve been warned.

I received my care package today, and went through my Nomad, step by step, as outlined by Dan.

I didn’t need to do anything with the heater fit, as both of mine go in or out with no problem. Actually, they fit perfectly. I checked both heater’s screws, and felt they did need tightening. I haven’t had a problem with them though, so maybe they were ok....or perhaps I was on the verge of trouble. In any event, they’re definitely snug now. :)

I diassessmbled, cleaned, lubed and reassembled per the instructions. After reassembly, pressing the button felt like I’d left a bit of cleaning grit behind, so I again disassembled it, cleaned the button assembly and body once more, and re-lubed it (with a heavier application of Vaseline this time also). That took care of the gritty feel, and though I never noticed a problem upon delivery, I think it does operate a bit more smoothly now that it’s lubed. I hadn’t had any problem with electrical contacts, so I can’t tell you it made any difference, but I believe I’ve moved any potential issues off to the more distant future by cleaning and coating with Vaseline.

I then added the stainless screen to the body. It was a little tricky to get it properly oriented, but not too tough. Like Dan said, it was easy to detect the “pop” when the screen was flattened. Pretty cool how easy it was, really. Kinda gave me a feeling of satisfaction. :lol: Really, it did, in fact!

After all was completed, I inserted a stem with only one screen (no top-hat-like screen), as there’s now a screen above the heater, and gave it a try. Worked great....I got a massive amount of vapor on the first draw. Fact is, it worked so well that I’m wondering if I DID have poor electrical contacts, though the herb is also closer to the heater now. Considering the latter, I may give the low heat module another try.

I’m still looking forward to a softer spring, but I can live with it as-is for now. Hopefully a new spring isn’t too far off, though I will have to then be careful not to store it in a manner that could inadvertently press the button. Hmmm, not really sure about that trade-off. Maybe I’ll have to disengage the contact bar when storing. It would be nice to have an external safety switch. Ahh, I’ll figure out a safe storage routine. Jeez, am I rambling or what? :rofl:

Bottom line, for me, is that though my Nomad seemed fine upon delivery, I think the few minutes invested with the care kit were well worth it. I’d suggest that first-batch Nomad owners don’t delay putting the kit to use, as it’s not difficult and seemed to improve the results on mine.

Great instructions, @Dan Morrison. :tup: Still lovin’ my Nomad!
 

NickDlow

Log Hog
I’m not sure if mine is the last of the first batch or not but it’s gotta be pretty close. I’m kind of glad though because all of the minor issues you all found have been rectified so thanks for the quick testing. My Nomad will be heading here on Monday. Unfortunately I don’t vape bud anymore for professional reasons but Dan assured me that it works great with tobacco as well and that will be it primary use until I retire thirty years from now lol. Thanks again to Dan for the wonderful vape she will be cherished! Here is the finished product.
yJtgLXP.jpg

2u66hTc.jpg
 

RelaxedNow

Well-Known Member
I’m not sure if mine is the last of the first batch or not but it’s gotta be pretty close. I’m kind of glad though because all of the minor issues you all found have been rectified so thanks for the quick testing. My Nomad will be heading here on Monday. Unfortunately I don’t vape bud anymore for professional reasons but Dan assured me that it works great with tobacco as well and that will be it primary use until I retire thirty years from now lol. Thanks again to Dan for the wonderful vape she will be cherished! Here is the finished product.
yJtgLXP.jpg

2u66hTc.jpg

Very nice!

Congrats on the career situation. Bud can wait.
 

HerbieVonVapster

Well-Known Member
I’m not sure if mine is the last of the first batch or not but it’s gotta be pretty close. I’m kind of glad though because all of the minor issues you all found have been rectified so thanks for the quick testing. My Nomad will be heading here on Monday. Unfortunately I don’t vape bud anymore for professional reasons but Dan assured me that it works great with tobacco as well and that will be it primary use until I retire thirty years from now lol. Thanks again to Dan for the wonderful vape she will be cherished! Here is the finished product.

She's a real beauty really like the button. Happen have a pic without sleeve?

Quick tip started suck and blow method with mine. Used it a lot in past and really helps with smaller stem vaporizers.

Grind then suck it up with the stem. Once stem is finish well it's still warm blow out used material in a small draw string pouch. It comes out super easy no mess plus doesn't mess up the screen. it allows for quick loading reload. I'm currently using it with only 1 screen barely pushed in. I'm getting 3-4 good hits per stem so needed faster loading method.

Sounds weird but try it...I think you might like it.
 

Shit Snacks

Milaana. Lana. LANA. LANAAAA! (TM2/TP80/BAK/FW9)
I’m not sure if mine is the last of the first batch or not but it’s gotta be pretty close. I’m kind of glad though because all of the minor issues you all found have been rectified so thanks for the quick testing. My Nomad will be heading here on Monday. Unfortunately I don’t vape bud anymore for professional reasons but Dan assured me that it works great with tobacco as well and that will be it primary use until I retire thirty years from now lol. Thanks again to Dan for the wonderful vape she will be cherished! Here is the finished product.
yJtgLXP.jpg

2u66hTc.jpg

Wow love that color! Good choice dude

Here is mine completed, should be on its way to me soon:

10nu6mt.jpg


k156cg.jpg


I'll be joining you all soon :tup:
 

HerbieVonVapster

Well-Known Member
I'll be joining you all soon

Your going love it. Pictures just don't do them justices. It's not till you hold one that you realize how small and well crafted it is.

I feel super lucky to own one of these. I'm hoping to see the cleaning kit this week and really see what she can do.

Ran few stems to try it but mostly holding off till get her cleaned. I also need find another spring for the button.

I love I can customize and use a different spring. With my hands it's hard to press down the button. Replacing the spring will make it easer for me.
 

HerbieVonVapster

Well-Known Member
What type of screen are you using over the heater? Are you confident it's going to stay in place?
.

Using the screen that is included in the stem. Right now using screen from a mighty inside the nomad. Will switch that to one included in the care package. Not worry about it staying in place is only for a few days.

This is going be more special occasions and conversation piece of art than daily driver for me. I would more than likely grab another vaporizer to medicate. Due to health reason I vape a lot. Wouldn't want put that wear and tear on her.
 

marduk

daydreamer
Got mine on Friday... as basically everyone before me has said, you can't fully appreciate the beauty of this vape until you hold it in your hands. It is something to behold.

I'll check in with my impressions re performance in a few days, but I wanted to share this info before then to benefit those who might have battery fit issues. I have LG batteries on hand, but I prefer Sony VTC-5A and VTC-6 batteries. The LG battery I tested fit perfectly, but as previously reported, the Sonys required a hazardous amount of force to insert and remove.

If your battery can pass through the hole in the bronze bottom plate, you can use the heater hole abrasive tool in the care package to expand the full length of the battery hole. It took me about an hour to get it to the point where I was happy with the feel and that was only because I wanted to keep the tolerance very tight. I did a little at a time and kept inserting the battery to test for any resistance.

Yes, I'll keep the positive side down. I have no fear of ripping the wrap... my bridge stays flat on rotation and I don't see how it could ever get under the wrap to lift it up and tear it.

Battery insertion and removal is so smooth with the perfectly sized hole. I love the feel, so glad I got a Nomad before the battery holes got bigger.

So... here's some Sony battery insertion porn. :D

 
Last edited:

RelaxedNow

Well-Known Member
I visited my brother with my Nomad yesterday. He’s mostly into combustion, having smoked herb regularly and frequently for 50 years, beginning in Vietnam in 1968....one way to deal with his near-death experiences and the resulting PTSD, and the Agent Orange-caused blood disease....Who the fuck came up with THAT idea?....Oops, off track.....

I’ve tried to interest him in vaping, but he’s never taken to it, due to a number of various shortcomings (thin vapor, poor battery life, difficult technique, etc.).

I handed him my Nomad, with the only instructions being “press the button a few seconds, then keep pressing while drawing”. He took two hits, getting massive clouds on both. I could see the “want” in his eyes. :lol: Well, at the very least, his eyes got very big, and he coughed like hell from the lung expansion. :whoa: I inspected the herb after, and found no charring, which kinda surprised ME!

I thought that the Nomad wouldn’t be easily shared, due to the technique typically required for on-demand convection. I now think that, with the screen inserted above the heater, I may have been proven wrong, and Im looking forward to sharing with others. Yes, my Nomad is going to show some use, and I’m fine with that.
 

KeroZen

Chronic vapaholic
A few extra thoughts post-review:

- I've been using the high-power heater more lately, and it's perhaps not as wild as my review made it appear. I mean, you can definitely combust with it and it has a tendency to work best for high temperature sessions with faster extraction. But it's in no way unusable nor reserved for water filtration!

It's just that it forces you to be alert and time your trigger press like the Milaana does. It requires more attention where the low-power heater is more forgiving.

- If your heater module slot is tight, be careful not to twist the modules when you insert or remove them and grab them by the SS sleeve and not by the heat shield disc. Mine was super smooth at first but for various reasons it's now a bit tight. I postponed doing the recommended enlargement operation, my bad.

I found that it was easier to insert/remove by doing a twisting motion but this eventually made my grub screw loose! When this happens to you, stop using the heater immediately. The coil will unwind inside and if you make the heater glow in this state it will tend to stabilize in this position (said position being suboptimal) Be extra careful when removing the heater module if the disc appears to be free spinning: if you pull by the disc, the whole assembly (coil+pin) will come with it and you'll destroy your heater.

Don't worry, this didn't happen to me, I'm just reporting the advice Dan gave me. Or well I did get the spinning disc but I didn't destroy my heater. As long as you don't heat it red nor pull the assembly out, you'll be fine. It just requires some dexterity to put it back in working condition.

You need to wind the coil by turning the disc manually. With the coil end of the module facing towards you, turn the disc counter-clockwise against the pressure. There is a sweet spot to find, the goal being to have the spiral look as evenly spaced as possible. If you don't turn enough you'll get center gaps, if you turn it too much you'll get outer gaps. Don't need to turn it much, at least for mine.

When you get the winding right, use the Allen key to tighten the grub screw again and voila!

- Finally Dan was right: the "heat imprint" I saw with the high power heater module looked like the coil color by pure coincidence. I scorched some loads again with it and the shape was different this time. Grind and pack probably have more impact in this regard anyway.
 
Last edited:

Dan Morrison

Well-Known Member
Manufacturer
@RelaxedNow , Thanks for the input on your care package usage! Sounds like it all went smoothly. Glad it wasn't too tricky to do the body screen mod.

Great news about your sharing experience. I too have found the Nomad to be a really good vape to share with friends. I was able to break it out on occasion with large groups, and new comers to vaping were able to get great results right out of the gate.

I wonder if the in-body screen tames the heat...just a tad. I think it might.

@HerbieVonVapster , I also use the suck/blow method, haha. It's definitely a good technique. And I think it more evenly packs the chamber....maybe? Who knows. Splitting hairs there.

About the spring:

I tested all of the available off-the-shelf springs from my usual supplier, and the one supplied with the Nomad is the best of those. But I made some rough custom springs... and definitely liked the very soft feel of a weaker spring. It makes holding down the button almost effortless in comparison to the stock spring. I think it will help a lot of people out. More to come on that... working on it!

@marduk , Dude! awesome! I never thought to enlarge the battery hole with the heater module enlargement tool. Great idea. I am glad that it worked out so nicely for you. Love the fit of that battery! Morwood approved, couldn't have done it better myself.

It's funny that you mentioned you were glad to get the Nomad before the battery hole was larger... now you have me doubting myself! Like you... I love the tighter battery feel. I don't much like it when there is more slop... The battery doesn't rattle... but it just doesn't feel as nice.

Hmmm.. I'll have to think on it... because obviously it needs to fit more than just the LG cells... that's a no brainer... but It'd be nice to not be too slop. Perhaps custom battery sleeves made from Japanese paper? I don't know.

@KeroZen , Nice overview!

I noticed that with African Blackwood (because it's a resin-rich wood), you can get some resin coming to the surface after the first handful of sessions. This is true for African Blackwood tobacco pipes as well, and doesn't pose a risk.

But it can 'set' on the inside of the heater module hole. Making it just a tiny bit smaller, and making the heater module feel tighter.

If you don't want to enlarge the hole, you can try giving the inside of the hole a wipe with ISO on a cotton swab. This will remove the resin residue if there is any.

The abrasive tool will also remove the residue, so you can go either route!

About the Heater Module Grub Screw

I noticed Something interesting today. I was checking some heater module hex screws. And I purposely over-tightened a screw to see what would happen. The pressure of the screw against the PEEK insulator forced the stainless steel heater shell into a very slight oval shape. When I went to insert the heater module into the Nomad, it was tighter than normal, borderline too tight.

I backed off on the adjustment screw a tiny bit, and the stainless steel shell returned to round. And the heater module fit into the Nomad as it should.

SO, if you have recently tightened your adjustment screw, and you find your heater module is fitting tight... that is likely the cause.

And for those of you tightening this screw, I would just be cautious, and check the fit after your do.

Don't worry too much, no permanent damage will result, just something to keep in mind.

So far I have not heard any reports on needing to adjust the screw on the PEEK heater modules.


HerbieVonVapster

Well-Known Member
You need to wind the coil by turning the disc manually. With the coil end of the module facing towards you, turn the disc counter-clockwise against the pressure. There is a sweet spot to find, the goal being to have the spiral look as evenly spaced as possible. If you don't turn enough you'll get center gaps, if you turn it too much you'll get outer gaps. Don't need to turn it much, at least for mine.

When you get the winding right, use the Allen key to tighten the grub screw again and voila!

Got around to cleaning mine today. Still waiting on the kit for cleaning kit for the screen. I did noticed sometimes odd. Before cleaning sometimes when taking a draw the resistance will suddenly increase. Became harder to pull air thru I was tad stumped by that. So I adjusted the coil along with the cleaning. No longer noticing it. Could it had been related to the coil? Maybe expanding causing that resistance?

If your battery can pass through the hole in the bronze bottom plate, you can use the heater hole abrasive tool in the care package to expand the full length of the battery hole. It took me about an hour to get it to the point where I was happy with the feel and that was only because I wanted to keep the tolerance very tight. I did a little at a time and kept inserting the battery to test for any resistance.

Awesome advice and so simple. Still need to do tad more sanding. All my batteries fit thru the brass so it's no longer an issue.

Before cleaning I could feel heat wasn't steady on the draw. The back end was getting hot. Draining batteries quickly.

Now it's a different story. Using med-high heater I can get to temperature quickly. It can produces milky thick vapor. Heat stays steady back plate get just a little warm.

Using low-med heater is a nice difference. It allows me to enjoy the taste. Heat time does increase over the med-high but that's to be expected. Still able to get good vapor. Just requires a slower draw rate. Since I reuse abv I'll mostly use the low-med heater.

I tested all of the available off-the-shelf springs from my usual supplier, and the one supplied with the Nomad is the best of those. But I made some rough custom springs... and definitely liked the very soft feel of a weaker spring. It makes holding down the button almost effortless in comparison to the stock spring. I think it will help a lot of people out. More to come on that... working on it!

Thank you I ended up using the spring it came with. For me it's difficult to push. Worse on low heat since I have to maintain the pressure. Just didn't want add any other variables till was sure she was performing as intended. So I ended staying with supplied spring. Since I already tore half the pens around apart looking for a spring. I'll wait till you figure something out. :)

I tried the glass top hats I linked earlier with med-high heater. They work fine but since I'm using a drawstring bag to blow abv in don't think they will be using them.

Have to add I'm really happy with her. She's the prettiest vape in my collection. Now that she's performing as intended well worth the money I spent.

Hopefully now that Dan has solved the first batch learning curve problems. He can get back to working on the next batch.
 
Top Bottom