Shit Snacks
Milaana. Lana. LANA. LANAAAA! (TM2/TP80/BAK/FW9)
This finished convection Heater Module (HM).
This example is steel and brass but the final version, as stated earlier, will be silver. Obviously no glue used here, just silver solder. Once assembled, the HM cannot be disassembled. The insulating disc shown here is cocobolo.
Each part is locked in place mechanically, so it's quite robust, you don't have to worry about it rattling around in your pocket. It'll definitely be fine if you drop it.

The all mighty wave heater.
The wave form creates airways of exact size between each peak so that the air is forced through uniformly. This also gives massive surface area in contact with the air. And no "dead spots" where air can slip around the heater.
Since there are no lead wires, there is less wasted energy.
Any heat conducted away from the coil by the central pin and shell is in direct contact with the incoming air...so there is a sort of cooler effect where the heat cannot travel down to the air inlet side of the module and all available heat exits the heater.
With this design, I've found that even a low consumption of around 25 watts will get you ~3 second heat up time and plenty of heat, more than enough actually.
After use, the heater can be handled immediately, it barely gets warm. Unless, of course, the heater is kept on without any airflow.

The air inlet end. I am still playing around with the shape of these air holes... One idea I have is to sandwich a thin perforated metal disc between the brass pin and wood disc.. you can turn this metal disc to adjust the inlet air flow from fully closed to fully open. This will really give you the ability to micro adjust the heating characteristics of each HM.
I could also play around with making holes on an angle to spin the incoming air into a vortex... I doubt there will be any performance gains, but it sounds cool.
In the production units, these holes will most likely be curved slots cut out on the mill.


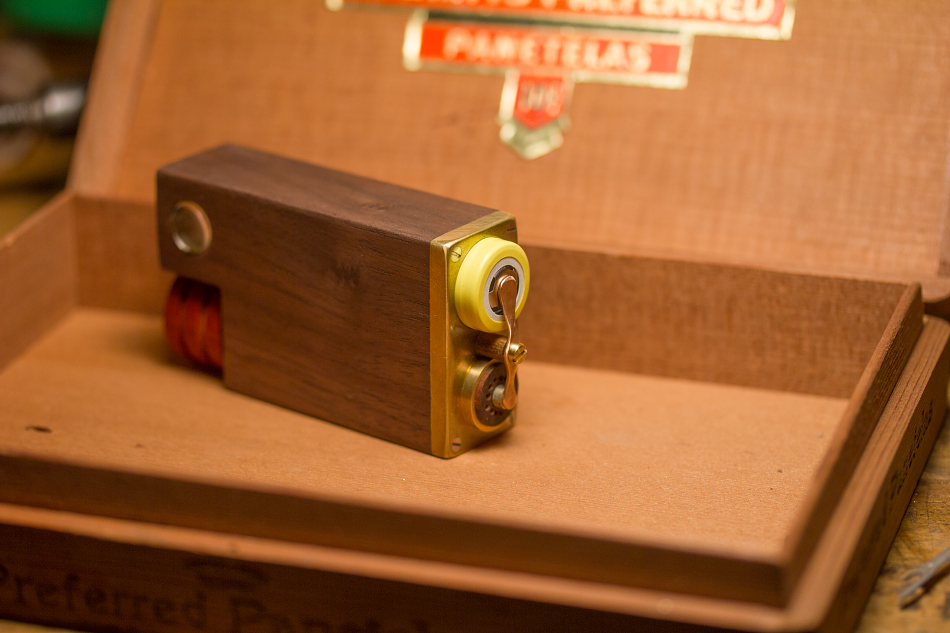
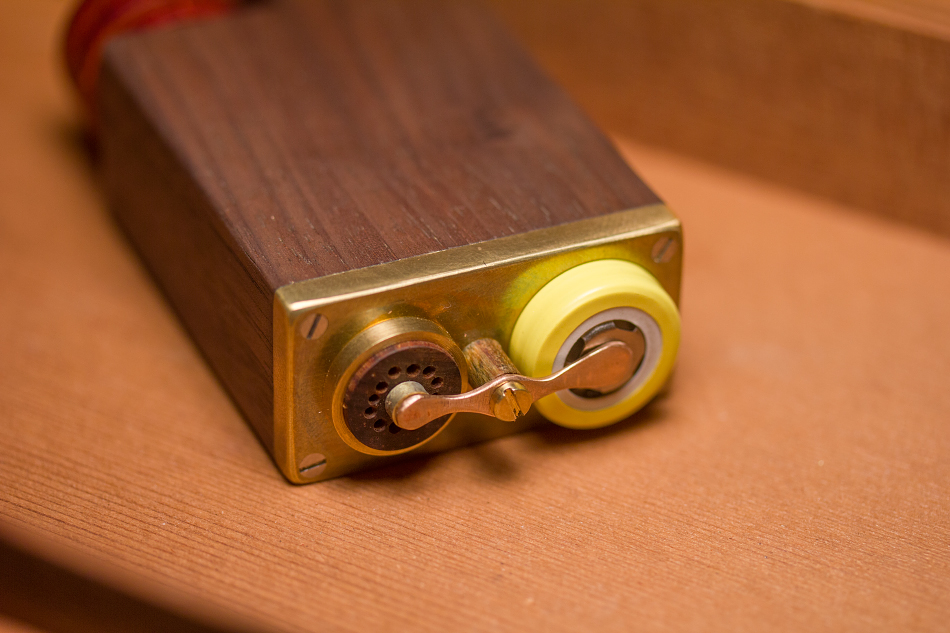
The battery and heater module are connected directly to each other via a copper bridge, spring loaded with adjustable downwards pressure. Very secure. Yet, with one hand, you can just swivel the bridge with your thumb and remove the battery or heater module. No fuss.
When you want to lock the unit for safety, just swivel the bridge to disconnect, no need to remove the battery or HM.
In the production RM-1 I will be making this bridge out of a different metal, and maybe a different shape.. not sure on that detail yet...

The tension adjustment screw, shown here in brass, is only used for adjusting the pressure of the contacts. It doesn't spin with the bridge, so the threads will not wear quickly. In any case, the threads go deep into the main body with a steel thread insert. So the brass screw will wear before the steel thread, and then can be easily replaced.
Because the downwards pressure of the screw is applied at the center point between the two contact pads, the two contact spots work against each other to evenly distribute the force... And if one battery is a bit taller than another, the bridge is able to tilt slightly and still give equal solid pressure on both contact pads.
Also shown here is a verawood spacer/insulator under the bridge screw, but this will most likely be black Delrin or African blacwood in the production units.

Now I just have to finish the sleeve and bottom plate and we're pretty much there!
Oh My Damn Dan!
Finally seeing your heater module has like opened up a new level to this already heavily wonder-filled project, I can see how that would make for an extremely effective heat source and oh so tiny! The design is simple yet solid, everything function and style seems to be delivering in spades on the original goals
I think I may be clinched for one of these asap now, should start preparing moneywise lol


 Heck, I just want to USE it.