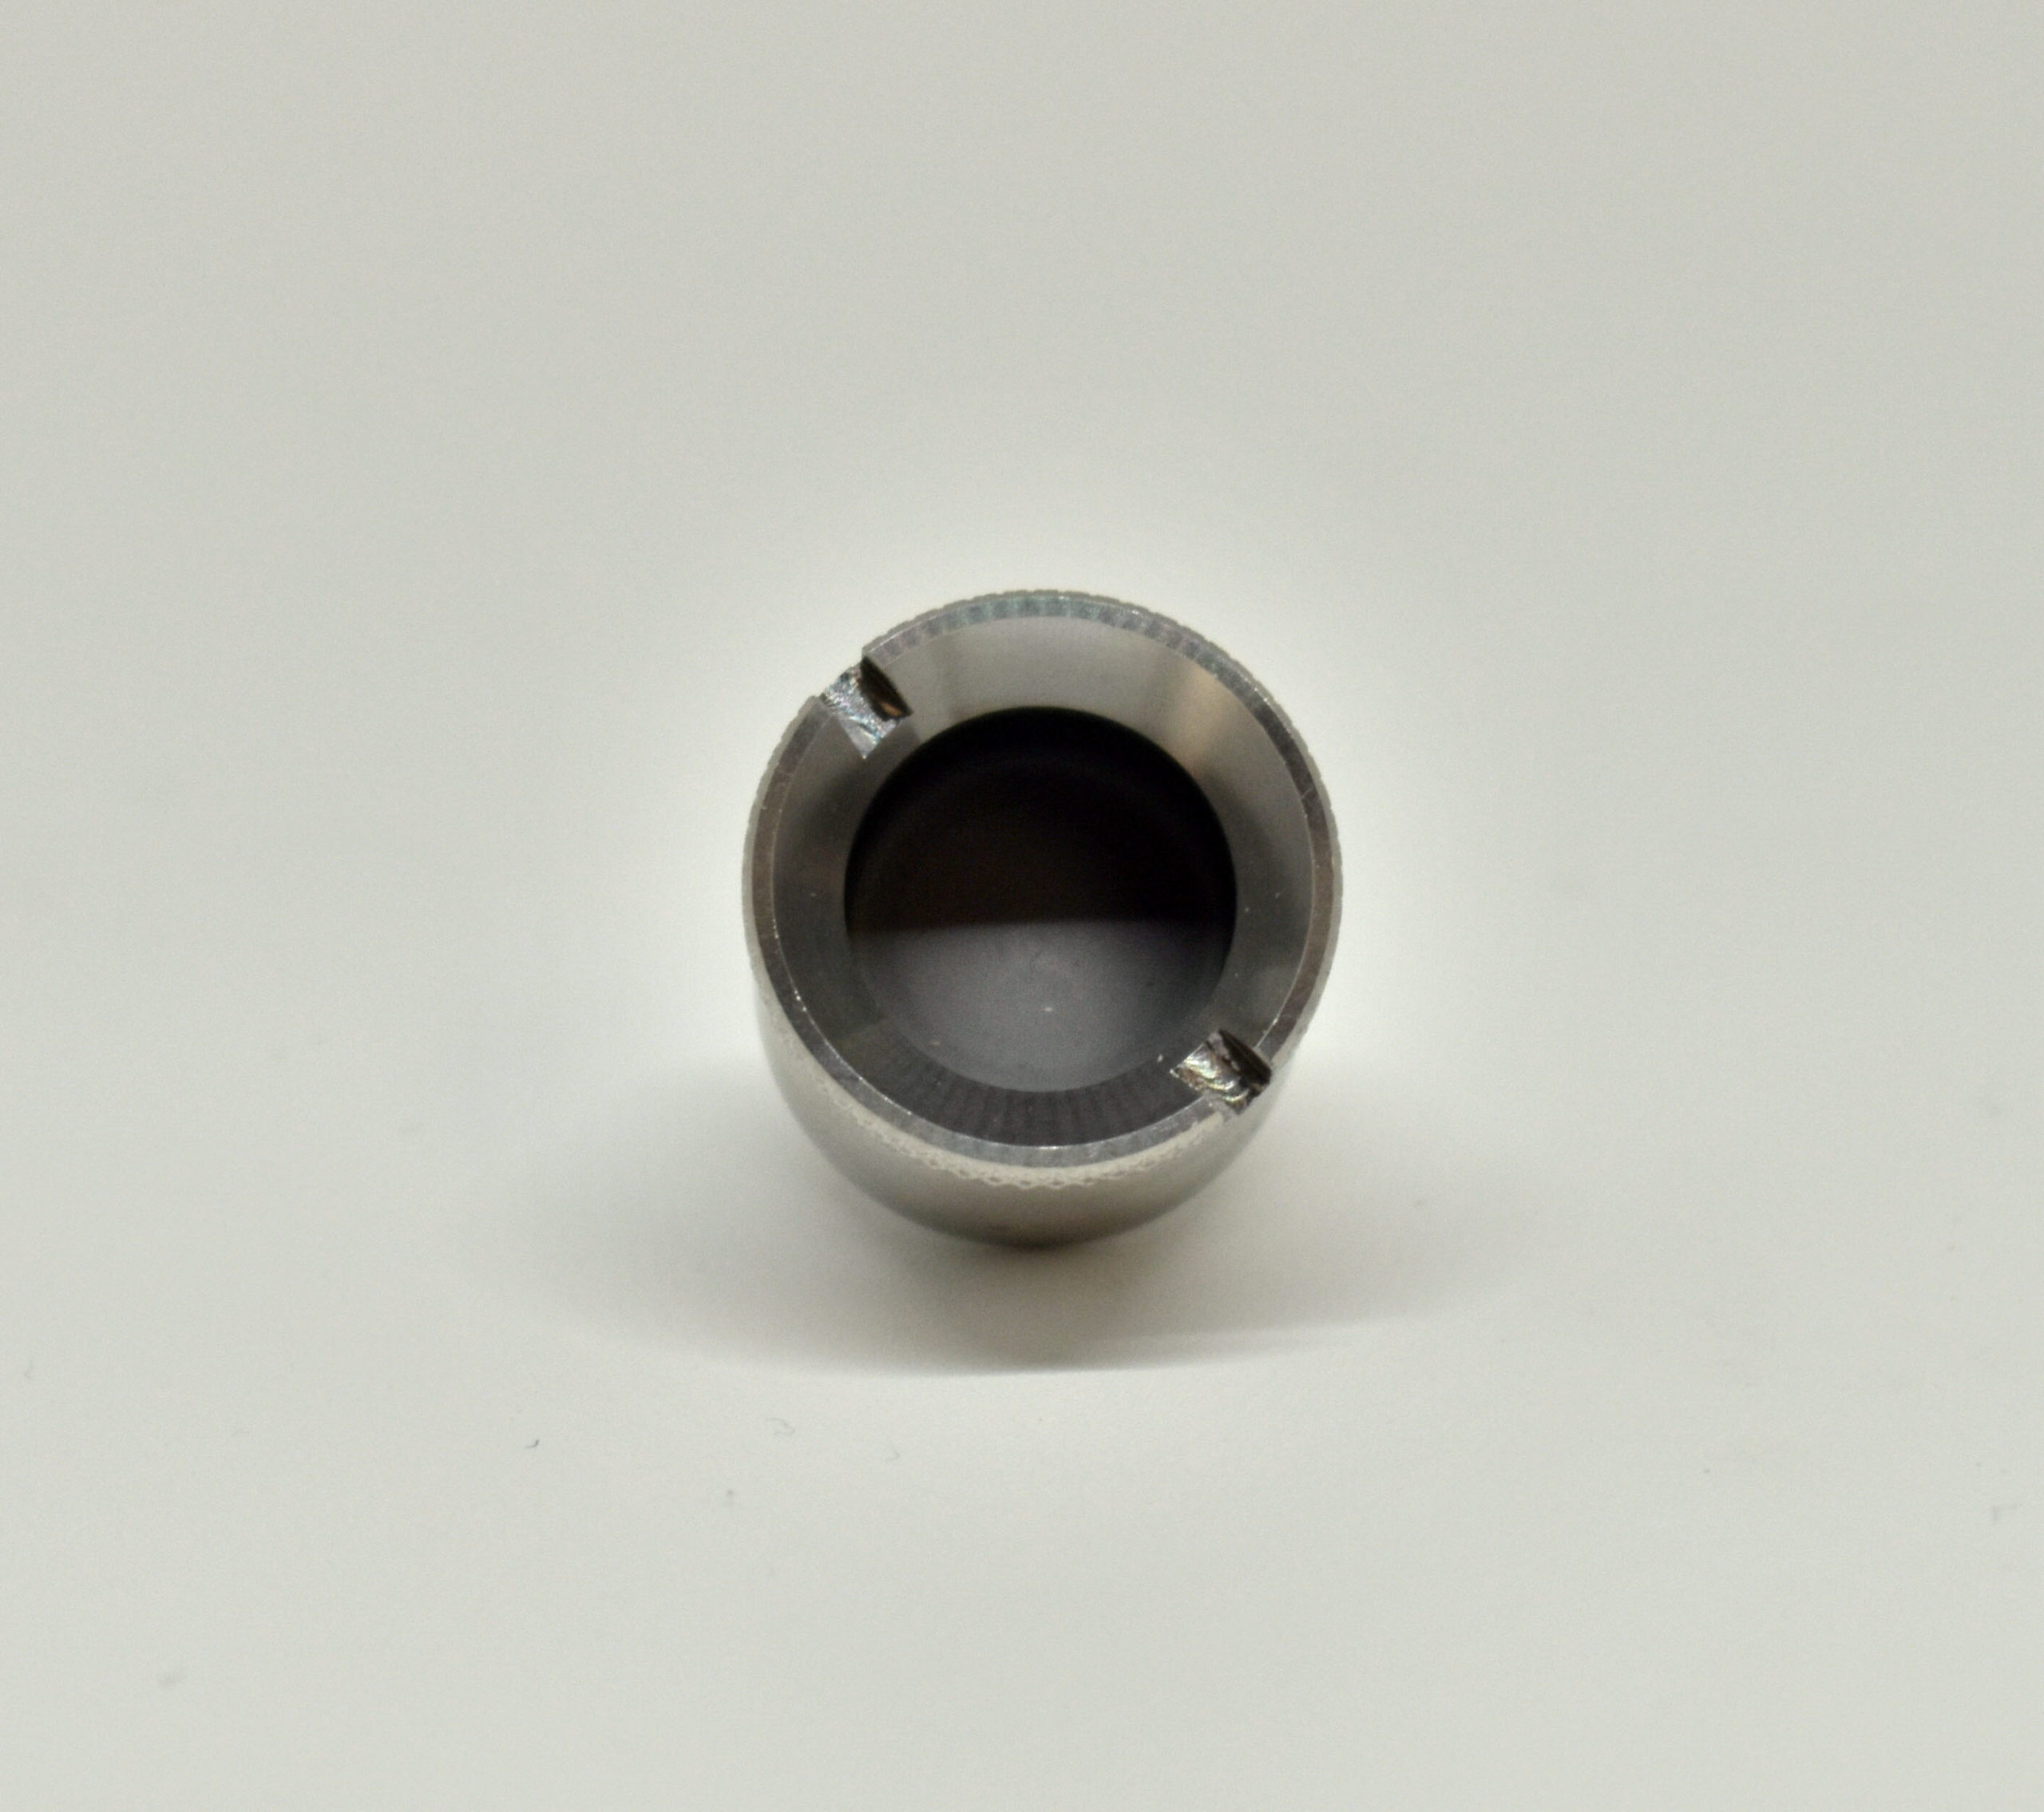
I do not have a sic cup but you mentioned pins and the pin on my Sai+ atomizer decided to remove itself and is stuck in the box mod...I got it out and put it back in the atomizer after cleaning all the reclaim out of every thing but the Atomizer will not work /connect to the box..any idea on a fix or just buy a new one ?
So, I wrote up this whole big fancy explanation of how to reassemble coils, only to then reread your post and realize that more than likely you're talking about the pin on the atomizer base itself... lol. I'll go ahead and leave my other writeup here for anyone dealing with broken Sai coils, but apologies if this doesn't actually help fix your issue. For the pin I
think you're talking about, first make sure the insulator got reinstalled properly. Not sure if the Sai+ has the same setup as the sai TAF, but on the sai I own that ring is formed kinda weird and takes a bit of messing with to properly get back into position. Also, be wary of overtightening coils, as this can sometimes cause issues with the 510 connector in the coil itself. Once the coil is snug, it's pretty much good as far as tightening goes, I wouldn't be trying to crank it down until it no longer moves. Test another tank on the mod too just to ensure that it's not the mod having issues. I would also experiment with reinstalling the coil to the Sai base both on and off the atomizer to see if that makes a difference.
That's pretty much all the advice I have for issues with the base firing pin, continue on if you think you need assistance with the coil's 510 connector.
I'll probably get a little overly detailed here, but the TL;DR is that the coil is probably saveable. I'll go ahead and explain how the pin system works since I think that's the best way to understand how to fix this scenario, but don't be surprised if you already know a lot of this stuff, I'd rather be overly clear than not provide enough detail.
What's most likely happened here is one of the two coil leads isn't connecting to the 510 firing pin assembly properly. When you assemble a coil in a 510 connector like this, you have to stick one of the coil's leads alongside the firing pin in the center, with the other lead stuck alongside the screw threads with a white insulator ring separating the two. When properly assembled, electricity enters the firing pin, then one coil lead, goes through the coil, then out of the other lead and into the screw threads, completing the circuit.
Now, I'll be honest, this style of connector is pretty fickle, but with some patience you can properly reassemble these coils pretty consistently:
First, remove both the firing pin and the white insulator ring from the atomizer coil. You should see two small wires poking out through the open hole now, and one of these wires should have a bit of clear insulation sleeve on it further down the hole. We'll call this the positive wire, and the one without the negative wire.
Now, we want to adjust the wires so we don't have a ton of excess wire poking out of the connector once we're done. First, take the negative wire, and push it so only a small bit of the wire is poking above the screw threads, then bend that small bit over the barrel. When I say "small bit", I mean really small, like maybe twice the thickness of a fingernail. This slight overhang prevents the wire from being shoved back through the barrel of the 510 connector when you insert the 510 firing pin, but if you leave that overhang too long it will cause fit issues.
Next, go ahead and insert your white insulator ring, taking care to thread the positive wire through the center and keeping the negative wire in position on the outside. You'll want to handle the positive wire about the same way, but take care not to push it too far. The clear insulating sleeve prevents contact of this lead with the coil body (Which would create a short), and if you push this wire too far in, the unsleeved part of the wire may be pushed against the body. Similar to the negative wire, you'll want to create a slight overhang over the insulator, to ensure the positive lead doesn't get forced in when the firing pin is inserted.
Finally, go ahead and insert the firing pin, taking care to ensure both your coil leads stay in the same spots. If you followed the directions on the slight overhangs, you should be able to still see the very end of both coil leads (like, seeing the very tips, not even any of the actual wire sides) indicating that you inserted the firing pin correctly. It will definitely require some force, but you may want to stop and check everything if you think you're having to use "too much" force.
Once the 510 is reassembled, go ahead and screw the coil onto the body, and check the results on your mod. Most boxes will differentiate between a coil short and no coil detected, which helps in further troubleshooting if necessary. If you get a coil short, that means that either some part of the positive lead is touching the body, or some part of the negative lead is touching the firing pin. Check the white insulator ring for breaks in this situation as well. If you're still getting no coil detected, this could be from the firing pin shoving one of the leads back into the barrel, or from some internal coil breakage that unfortunately can't be fixed (but if the atomizer worked before the firing pin "fell out into the mod", this would be extremely unlikely).


 ). I figured if I break this poseidon the WPA adapter will provide a nice backup, and the carb cap that comes with it will be nice to use on the poseidon too. I absolutely can't wait to get back into hot loading; Nothing really compares to dropping a nice dab into a 15-20 second preheated bucket.


