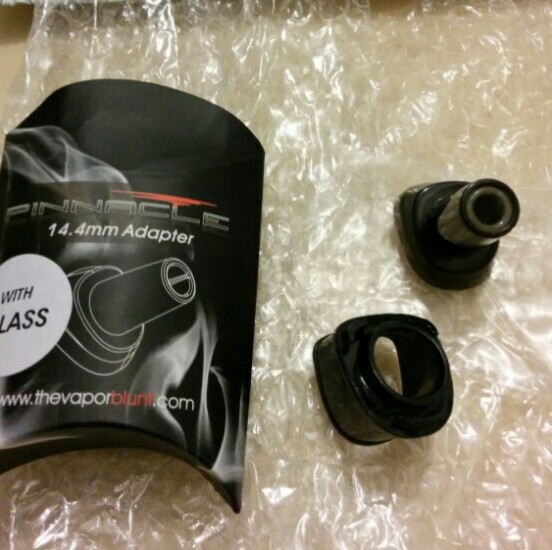
Yesterday I received my new gpong and replacement "top" piece from
@theyoyokid1 . Excellent customer service!
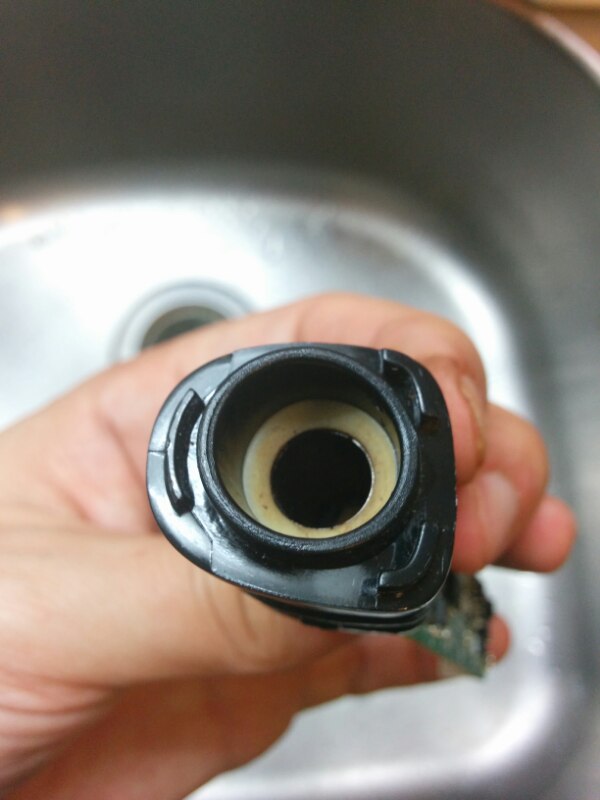
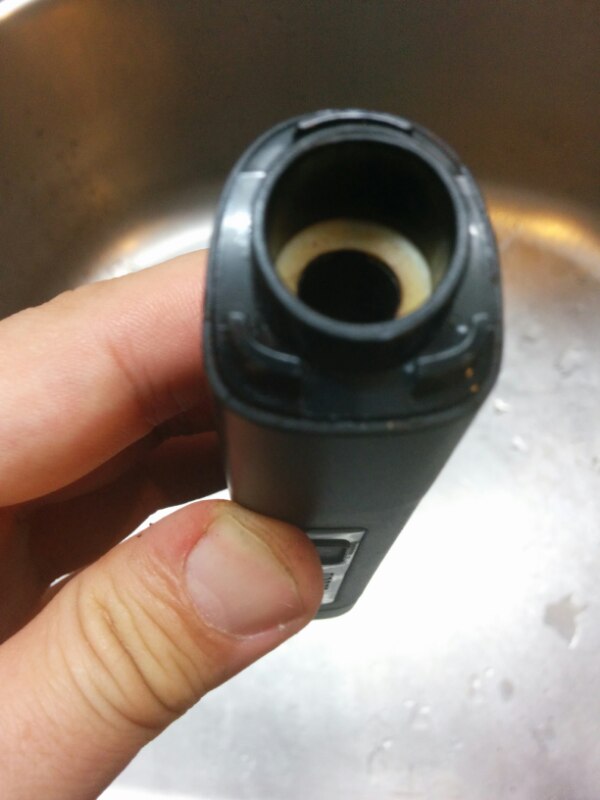
I am quite impressed with the new gpong. It seems to fit much more securely, and the heat seems much more contained with the glass insert. The plastic on the mouthpiece around the heating chamber doesn't seem to be getting as hot as previously.
The temperature of the vapor seems on par with the interim TRVB gong. The adjust-a-bowl gong is a little cooler as it is longer than the other two.
The taste seems to be the same as the TRVB glass mouthpiece and adjust-a-bowl gong.
PNP DIY "top" piece replacement.
I know
@Lizard King has just beat me to it, but
@Sativape requested a step by step pictorial guide to replacing the PNP "top" piece.
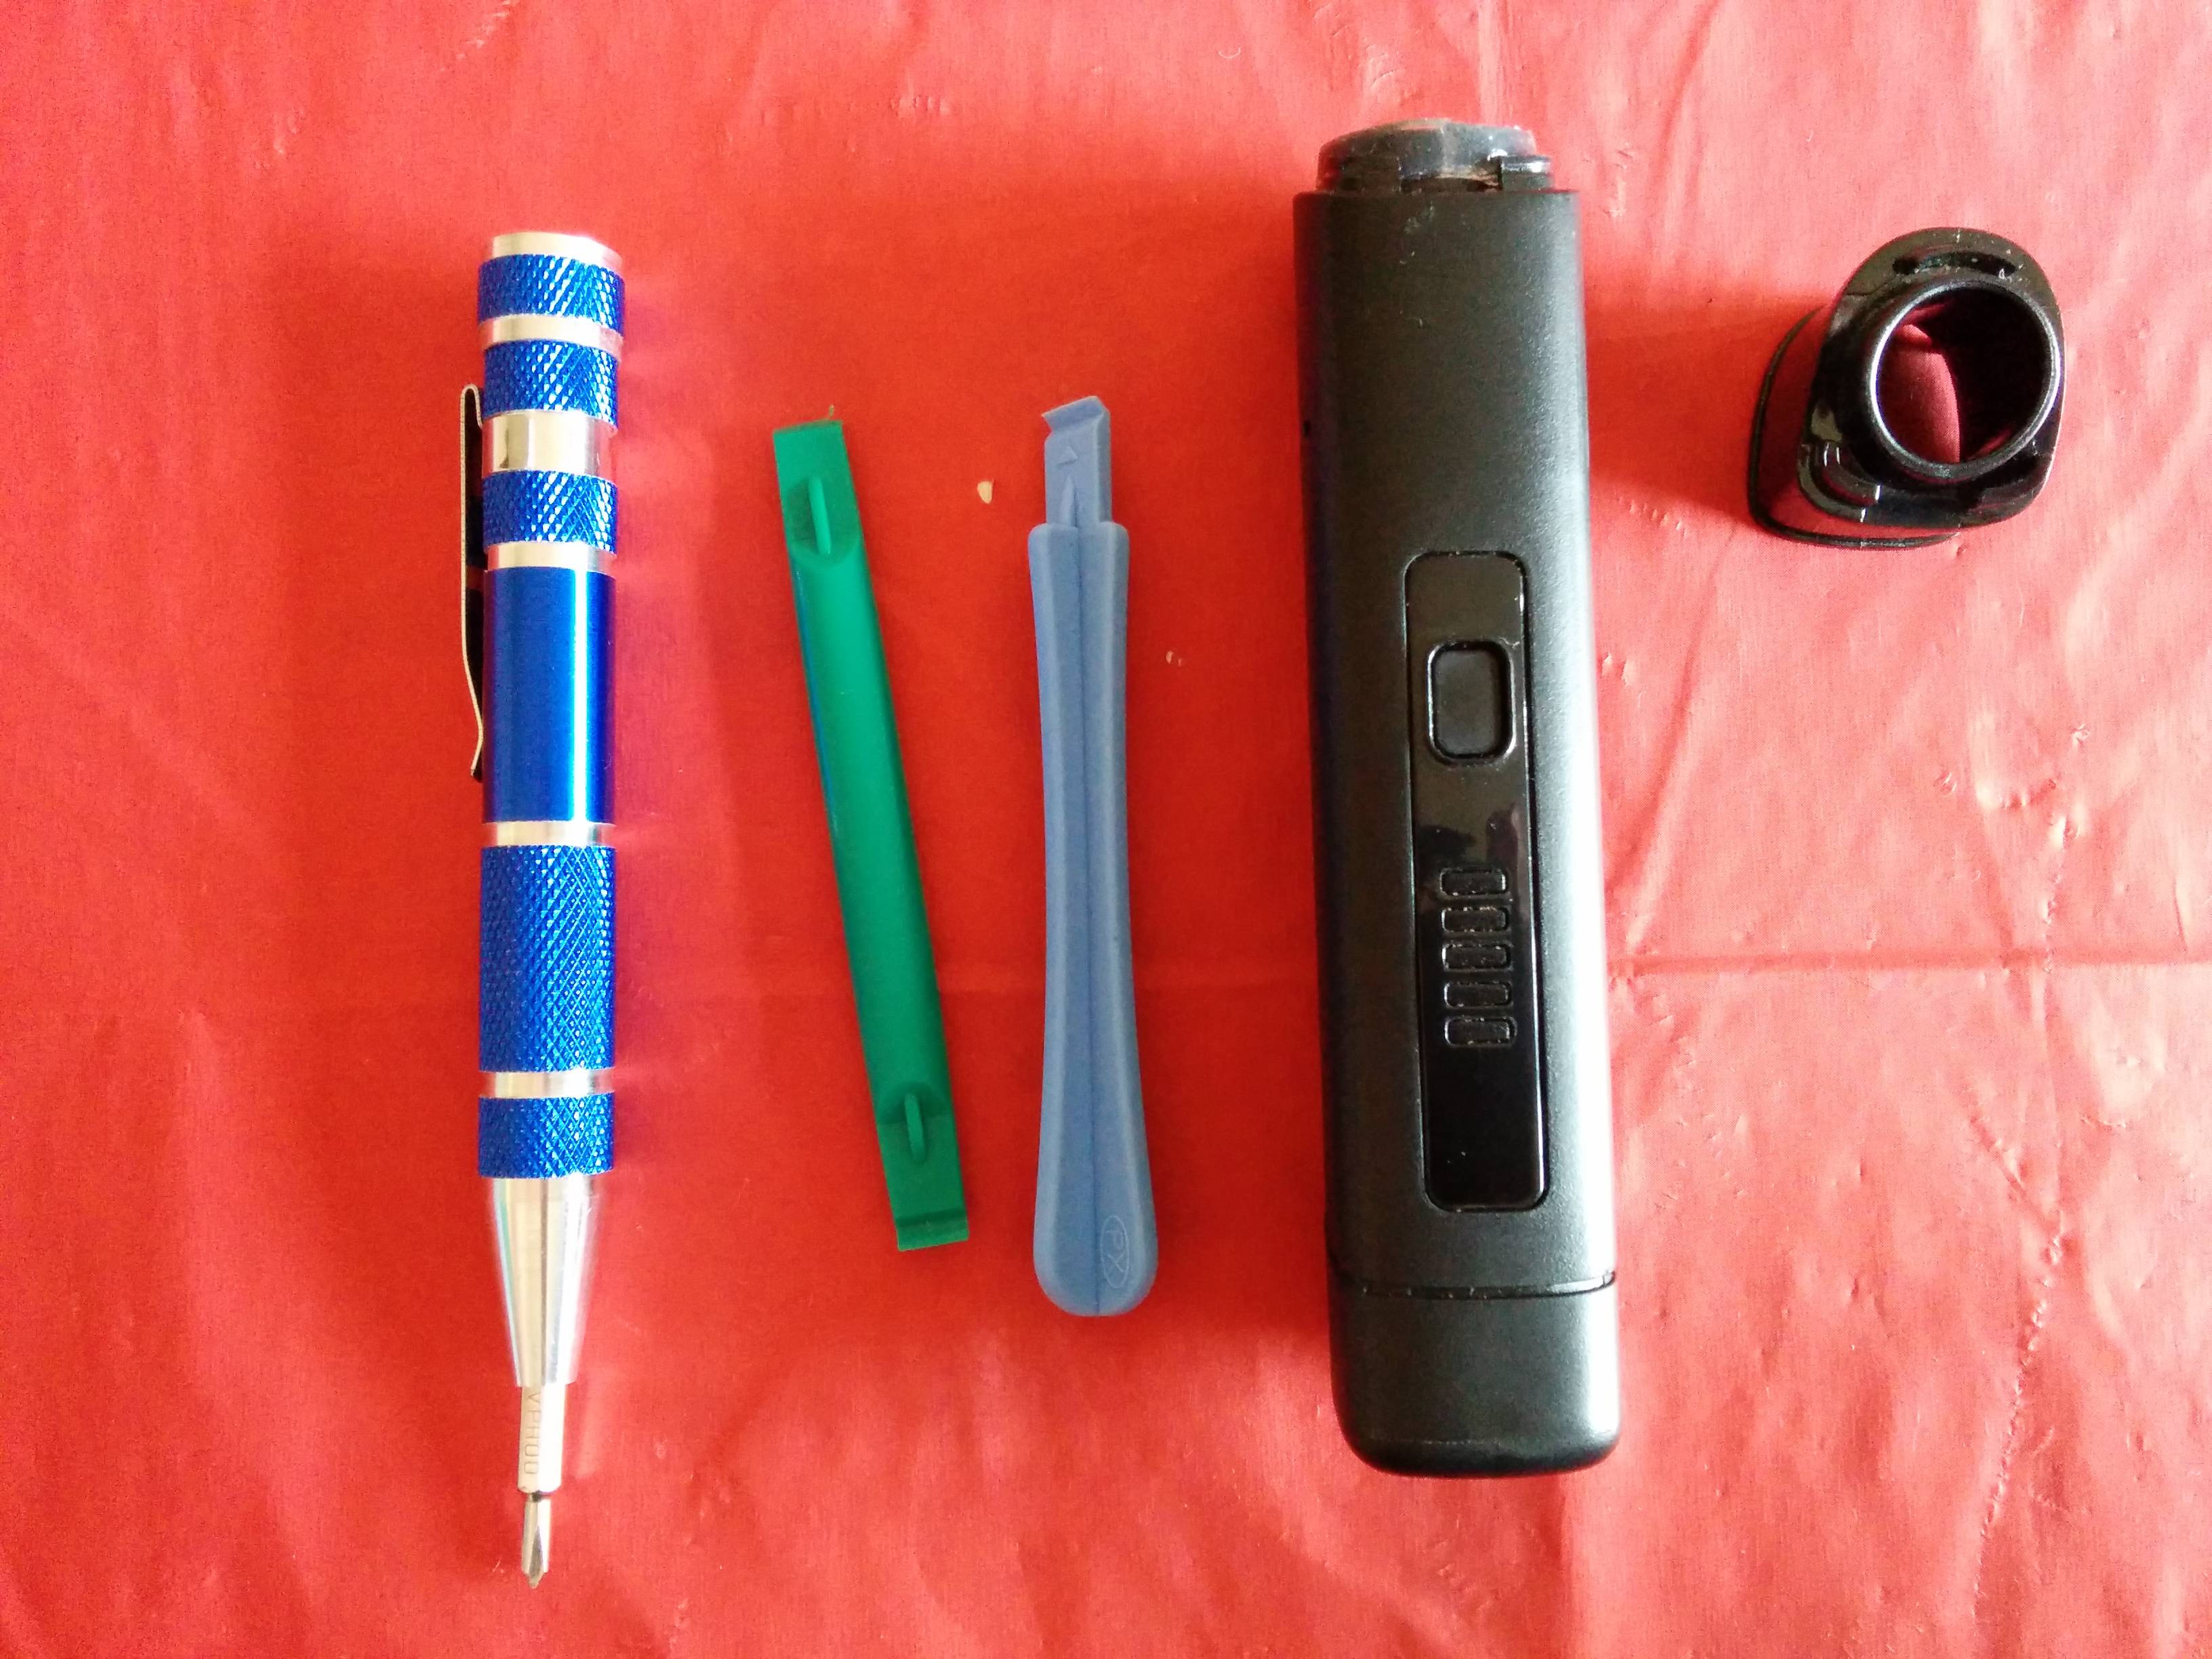
Things you will need...
A phillips 00 screwdriver (jewellers screwdrivers should do).
A couple of plastic parting tools, or a couple of small flat bladed screwdrivers will do if you are careful.
A new top piece.
Patience!
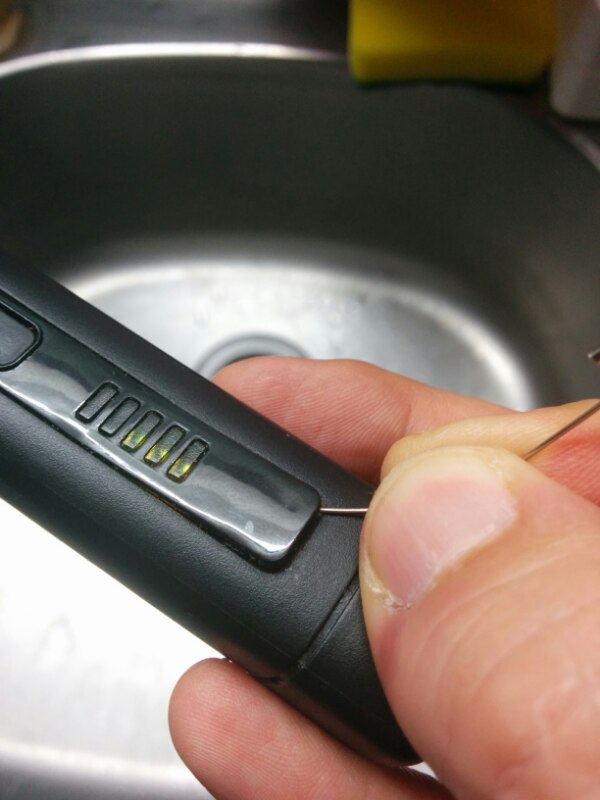
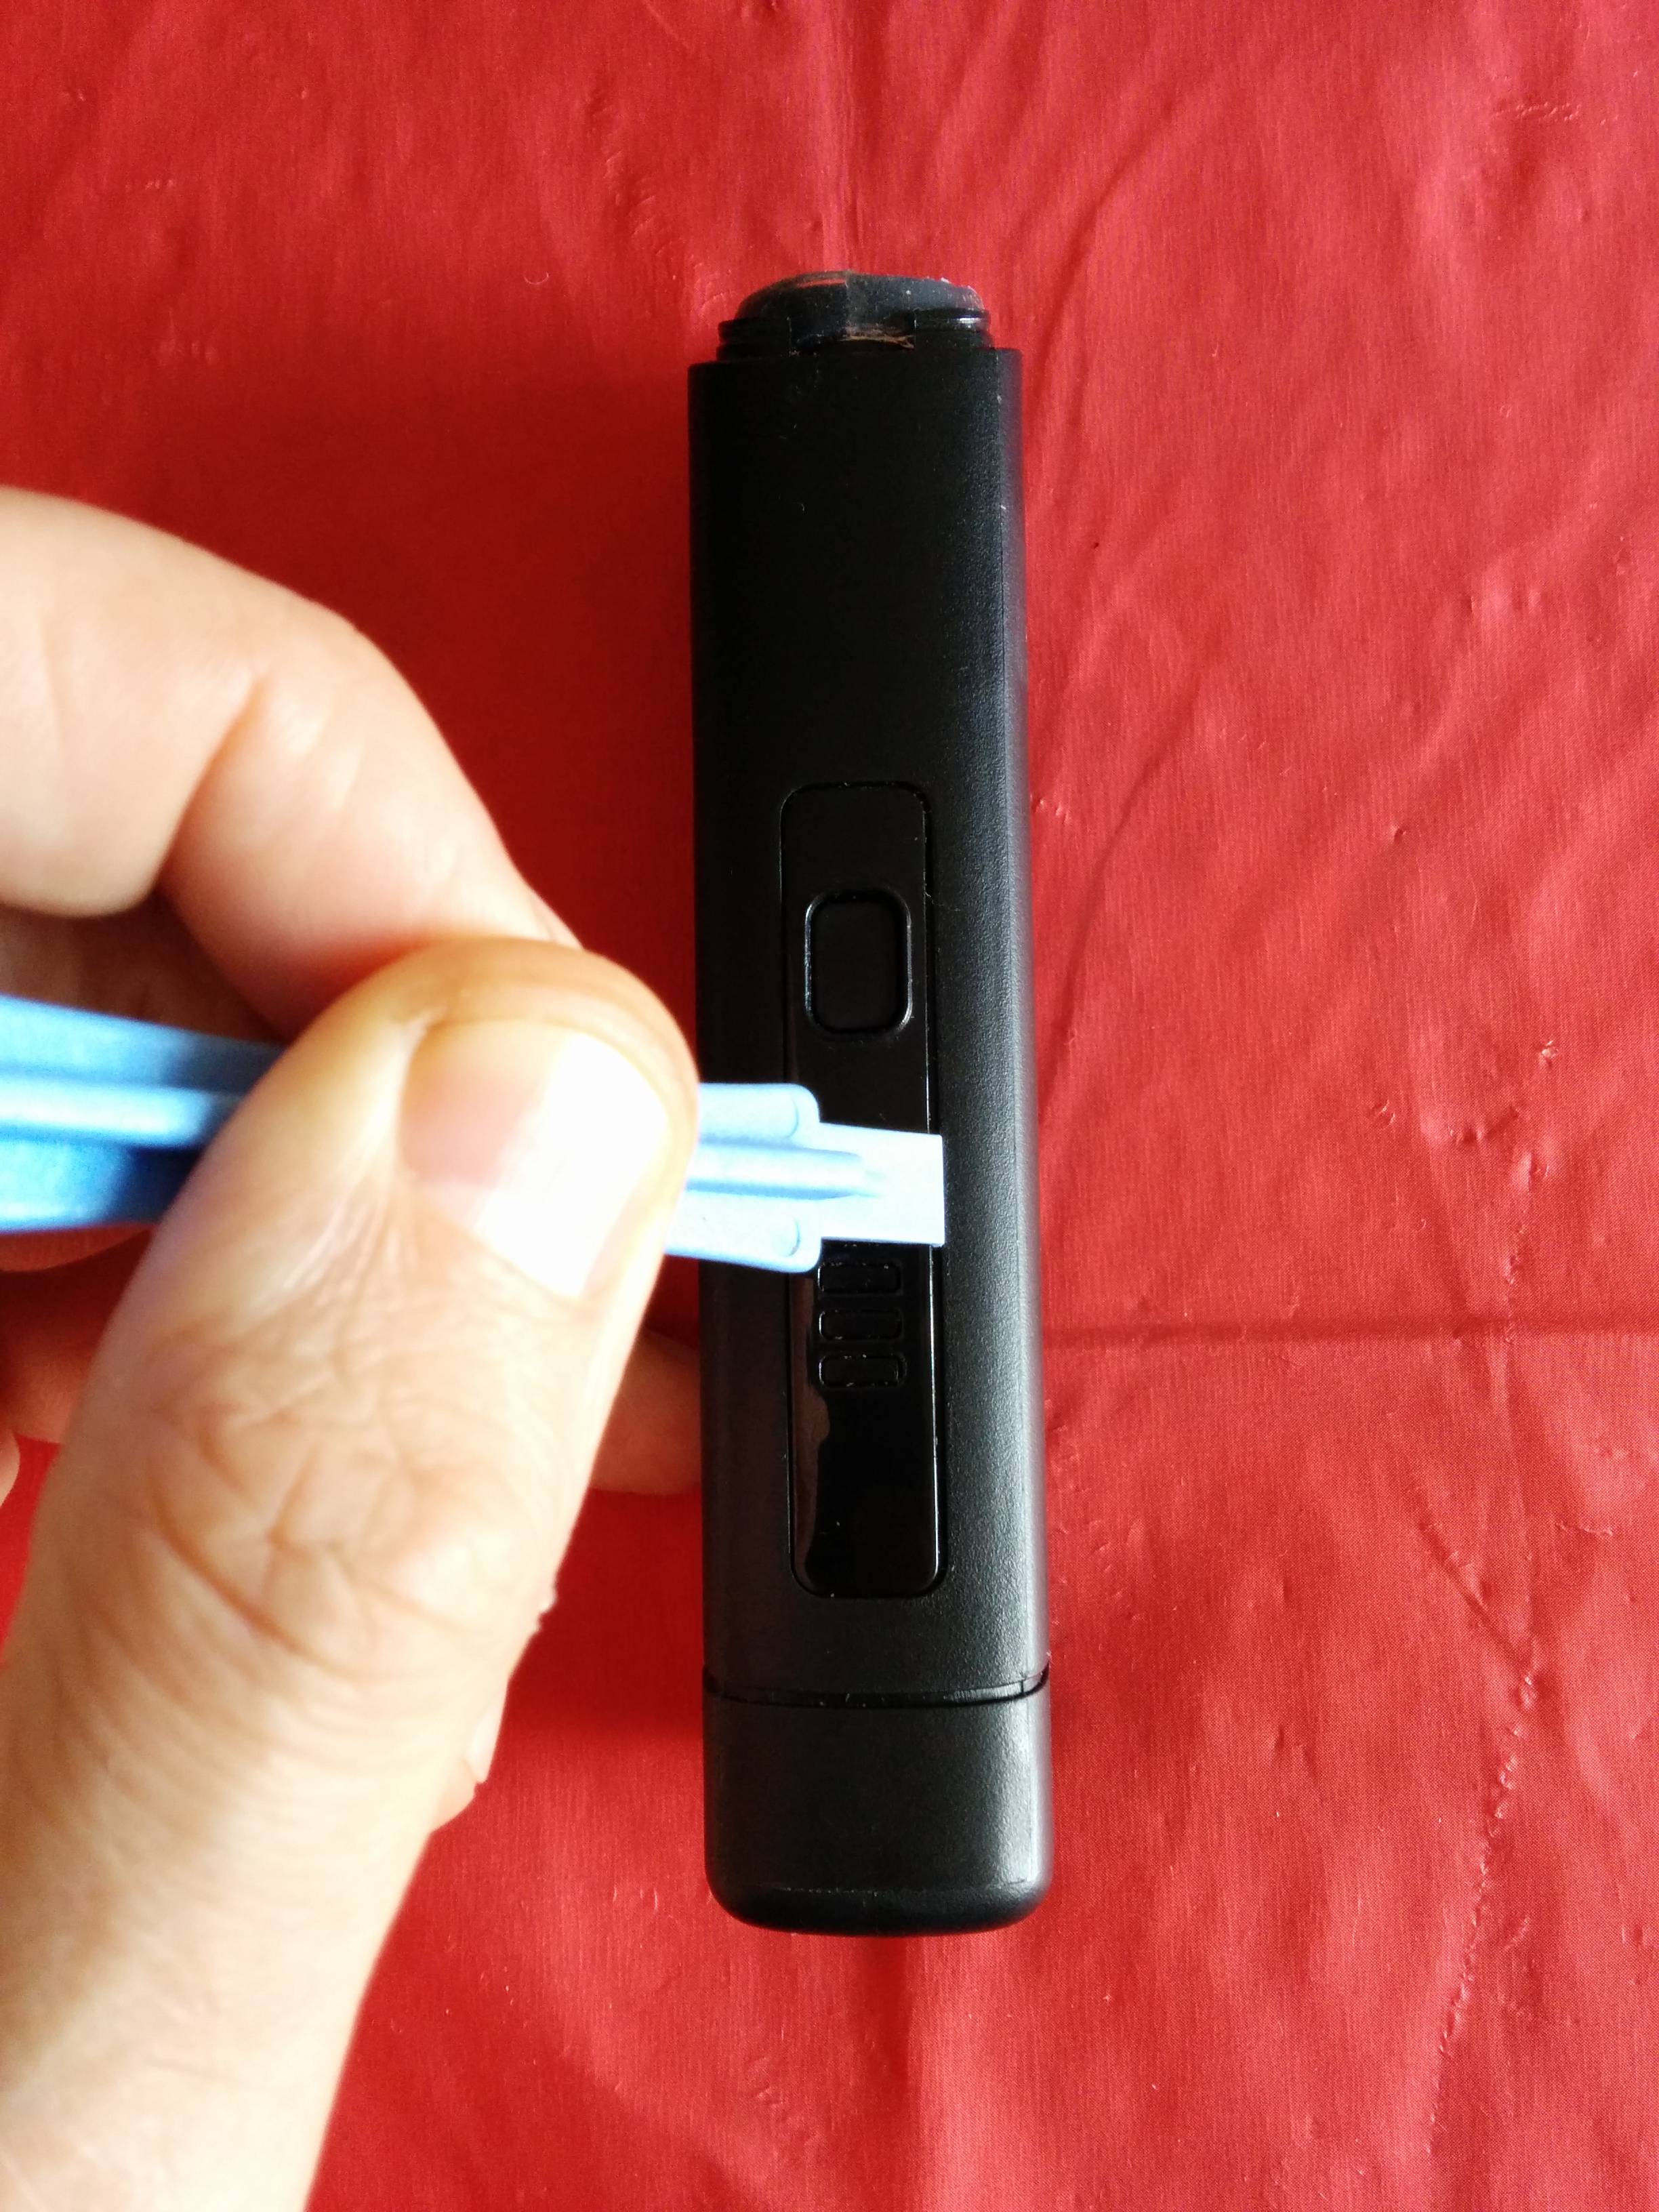
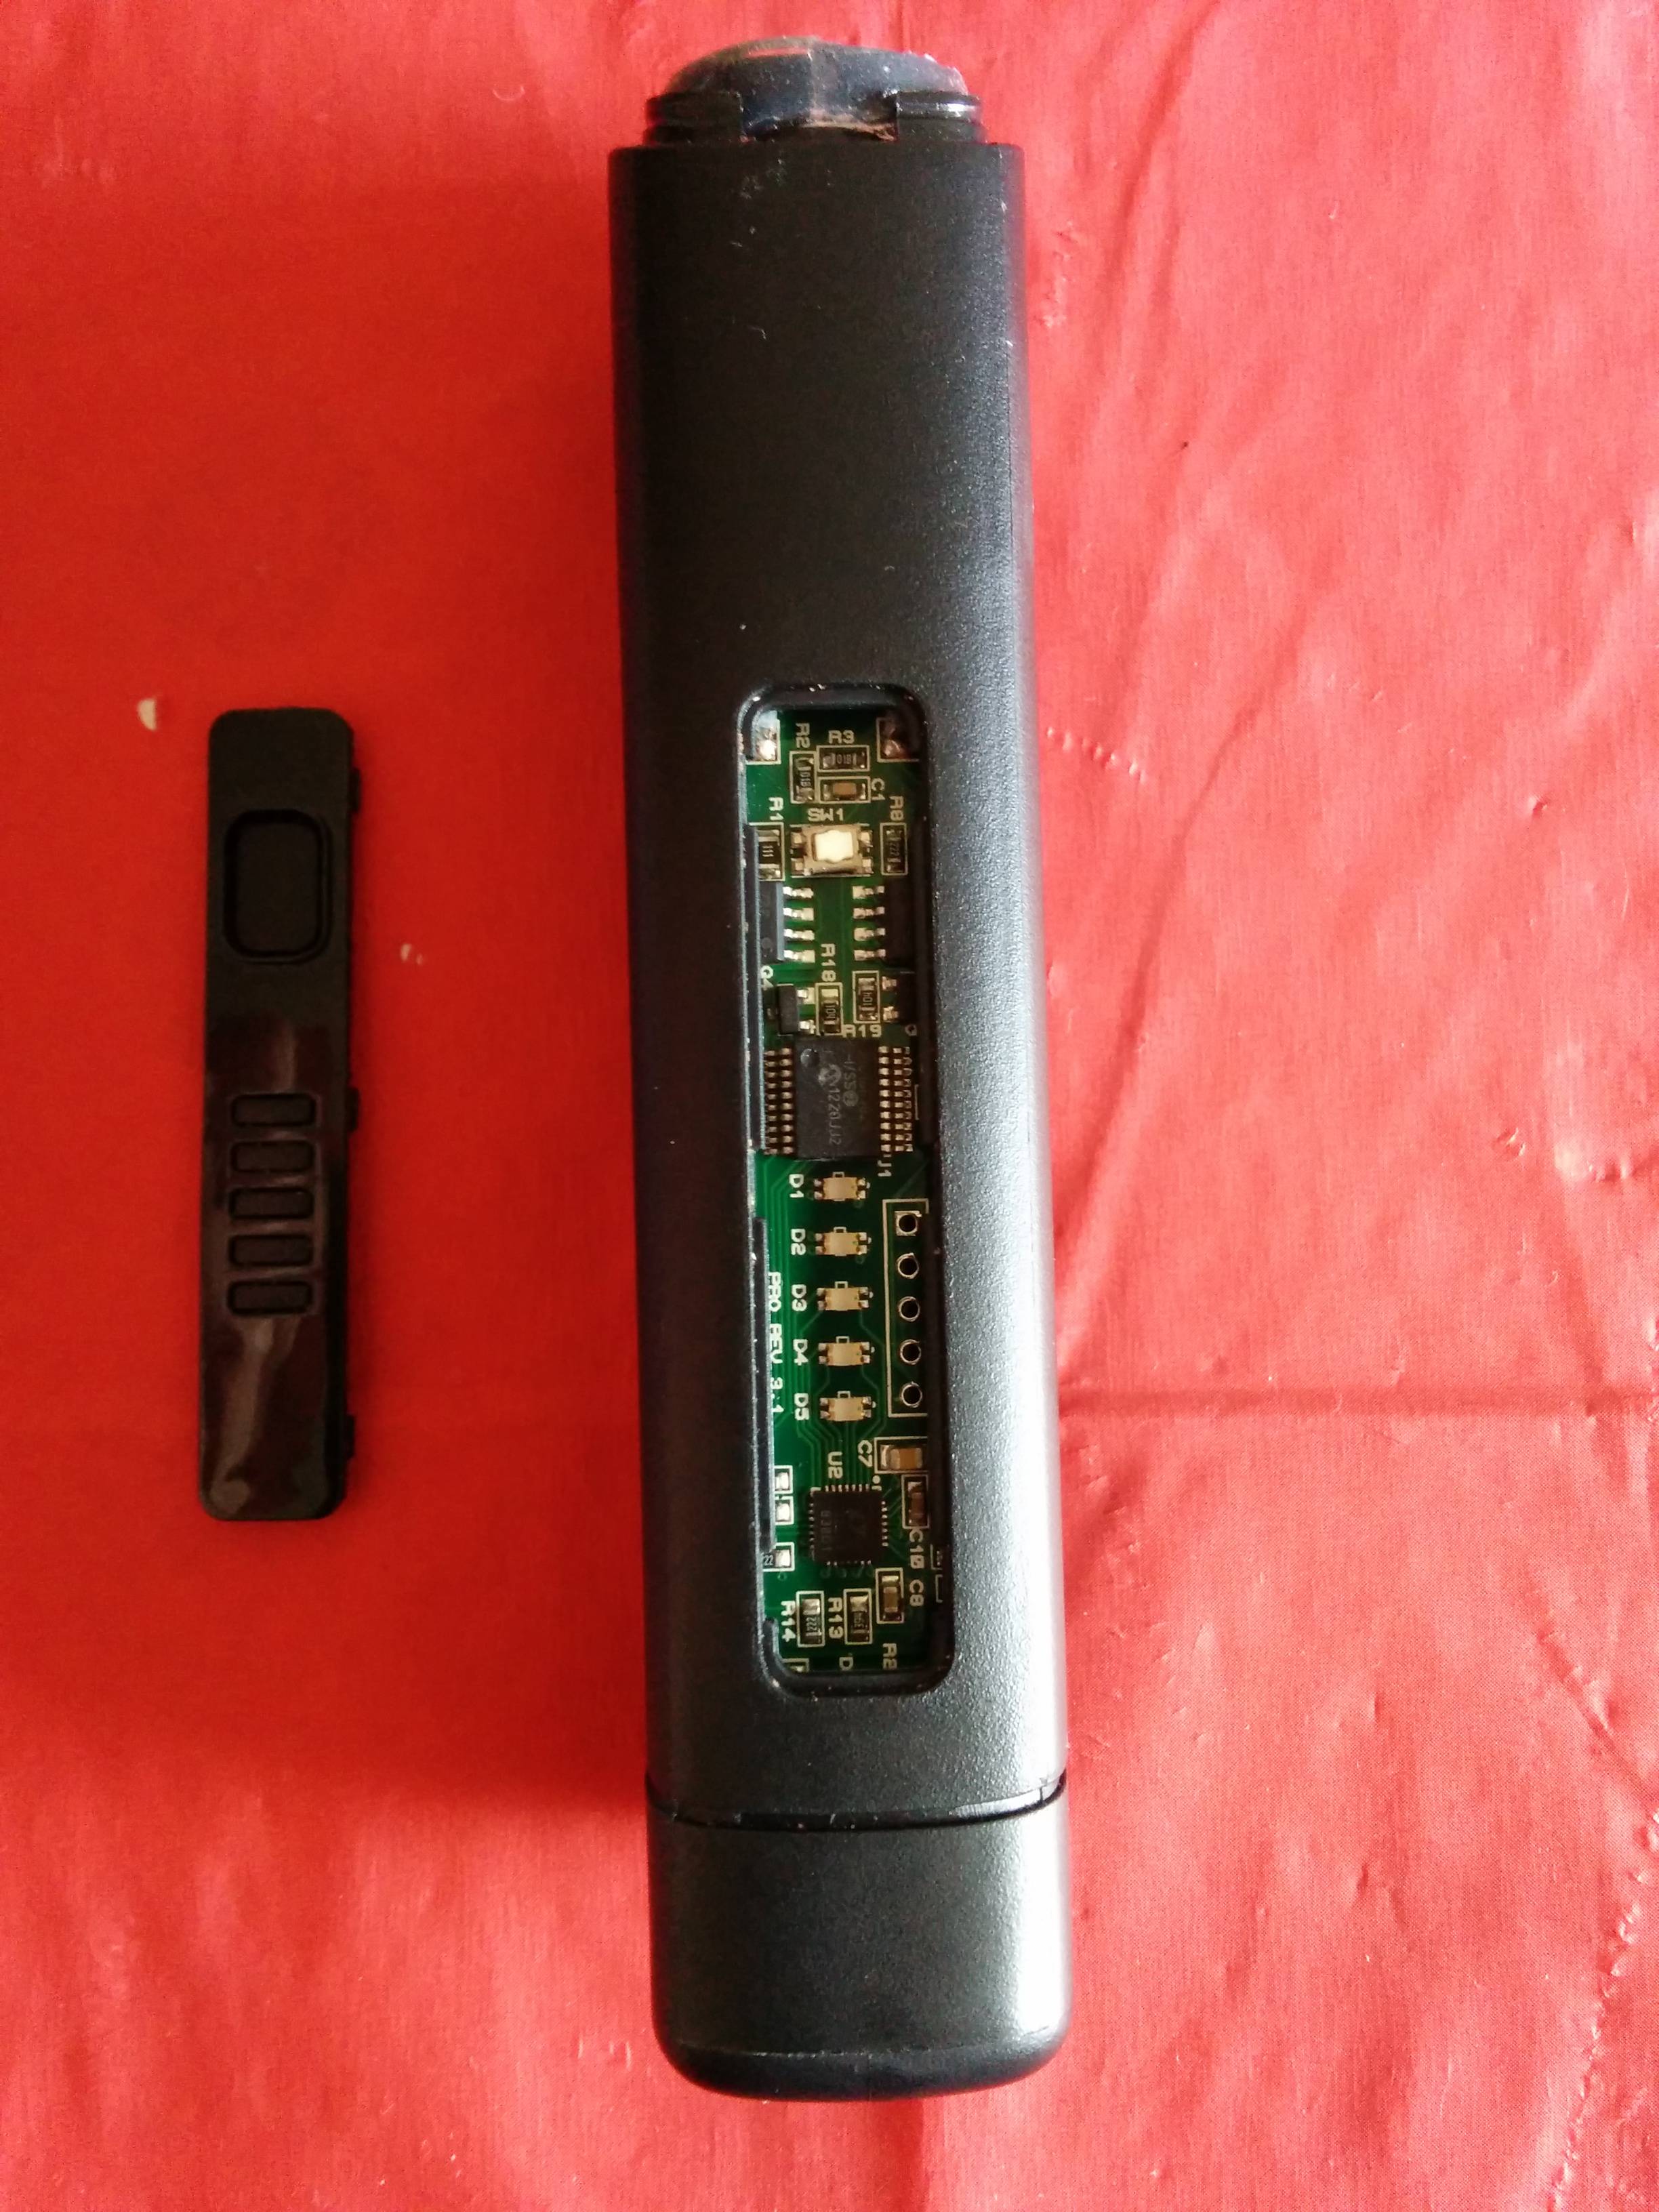
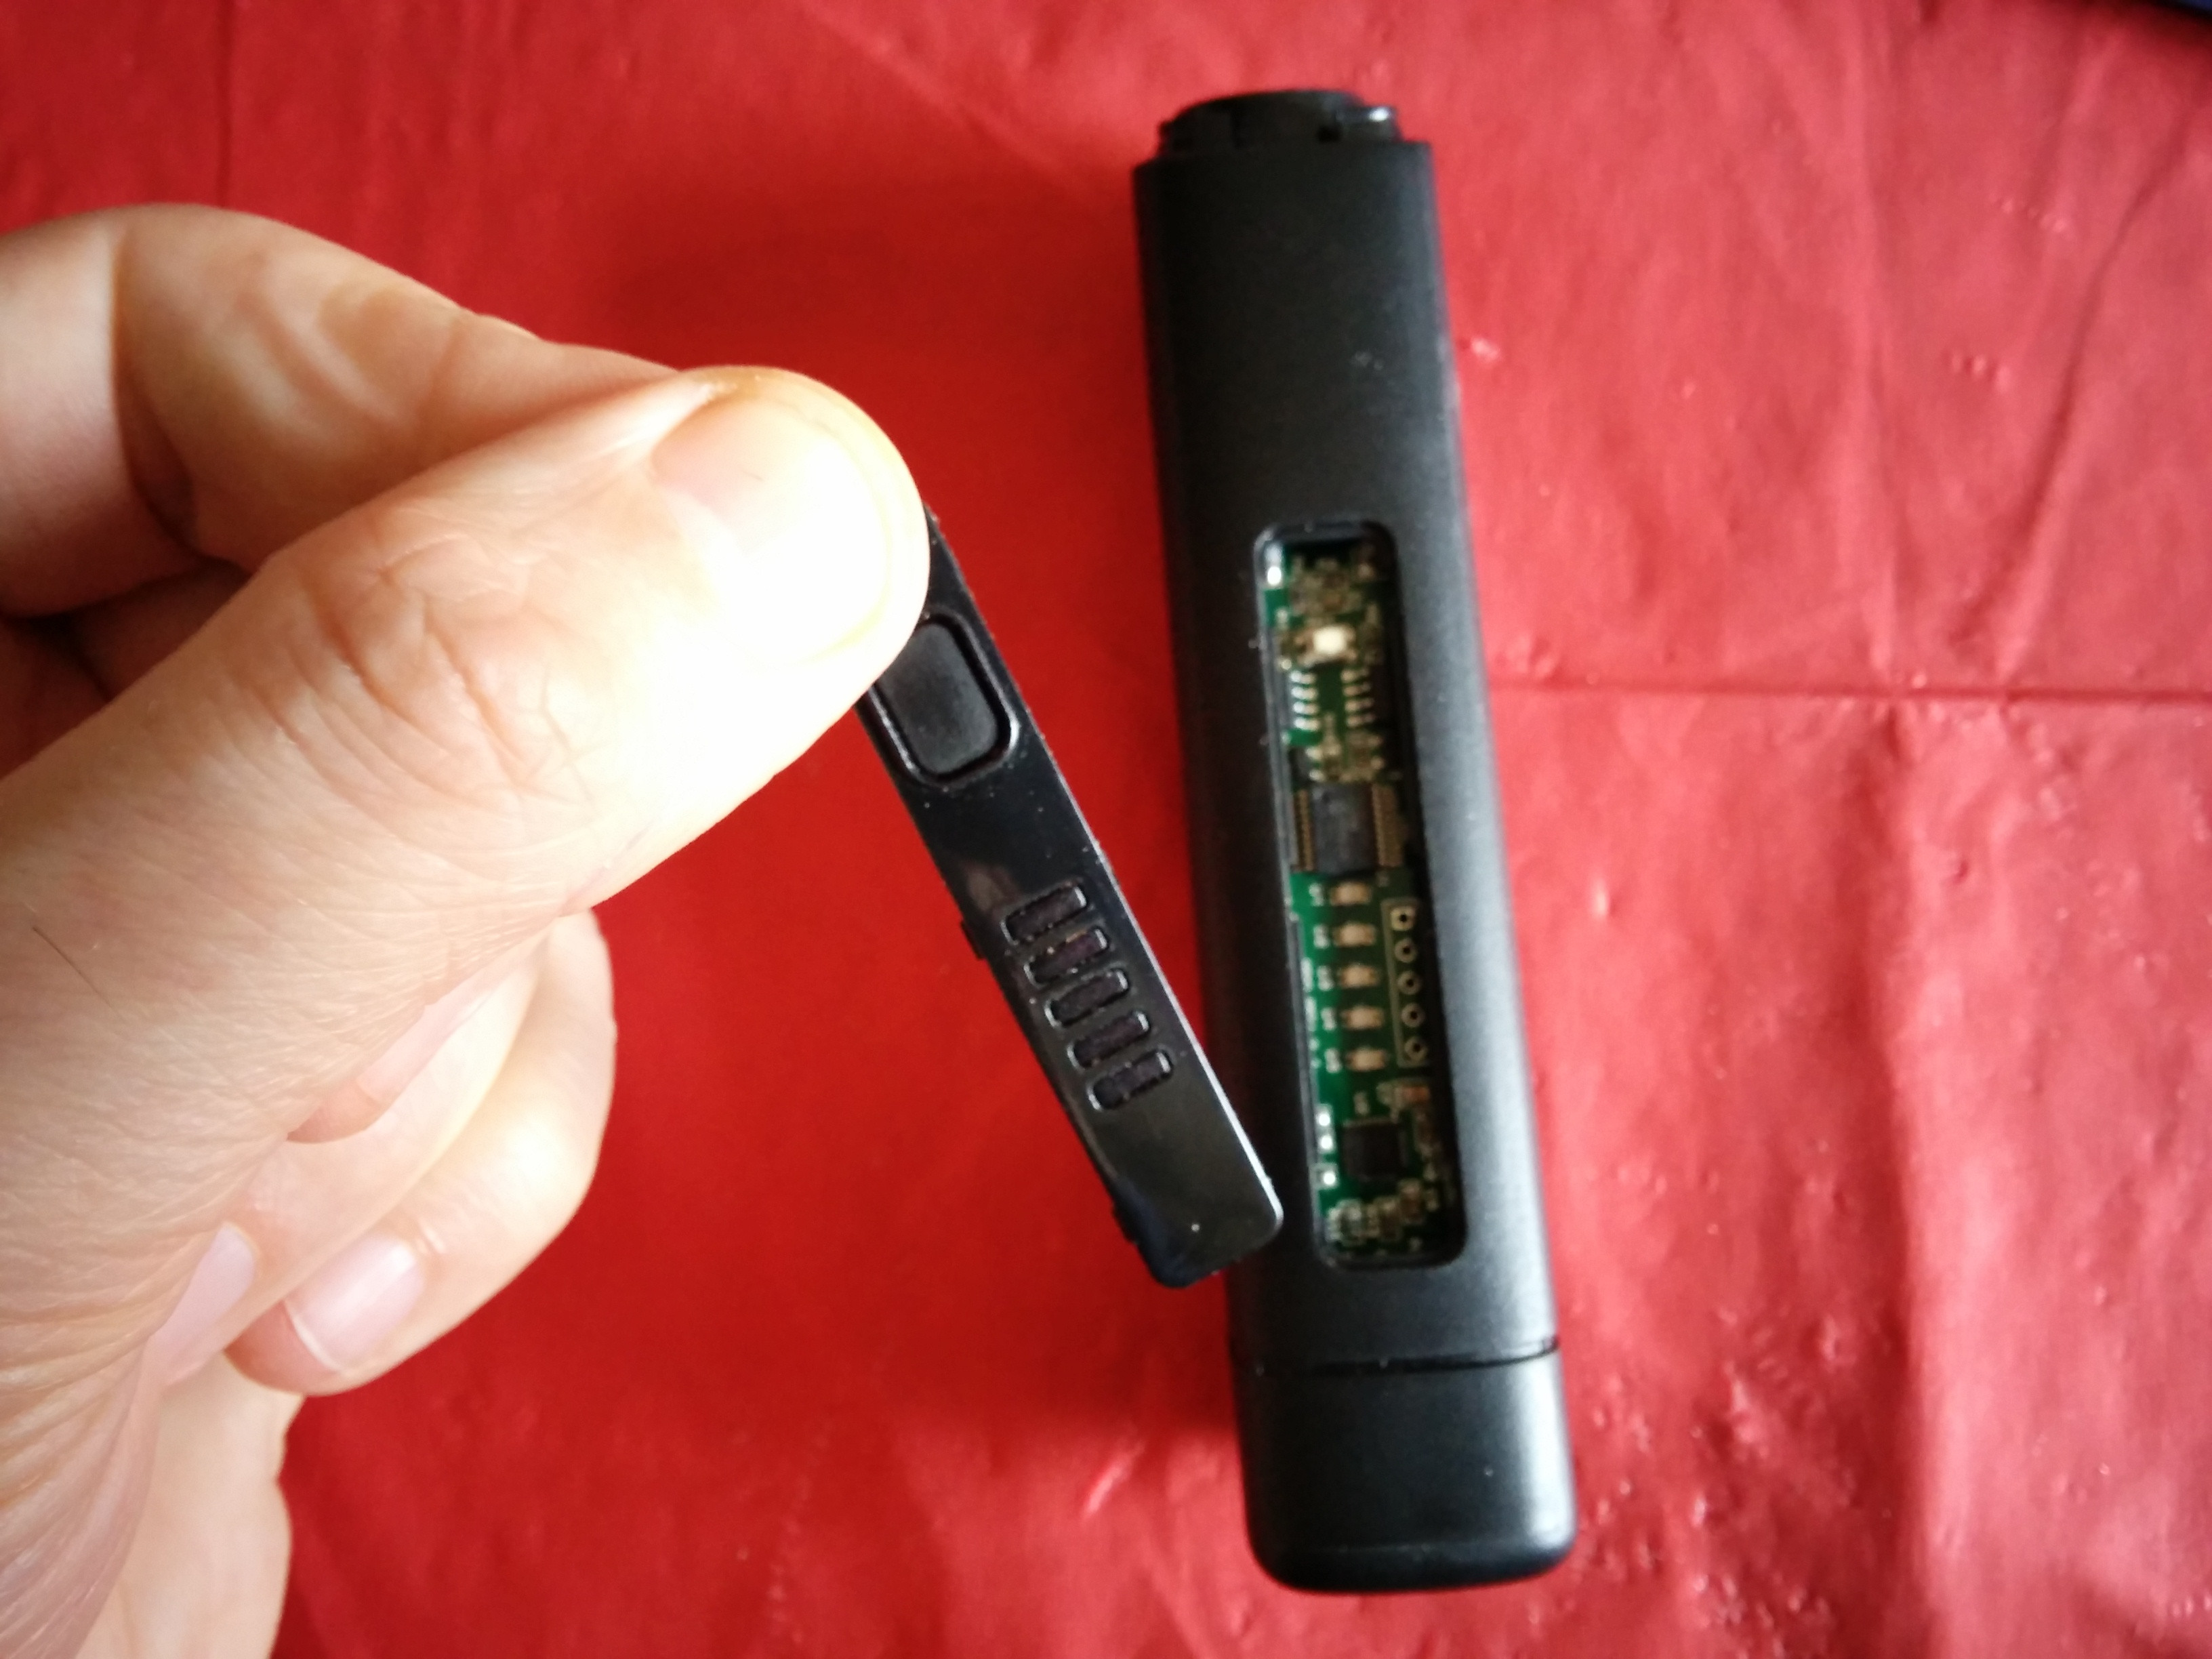
Gently prise out the lens covering the switch and leds using the parting tool or a small flat bladed screwdriver...
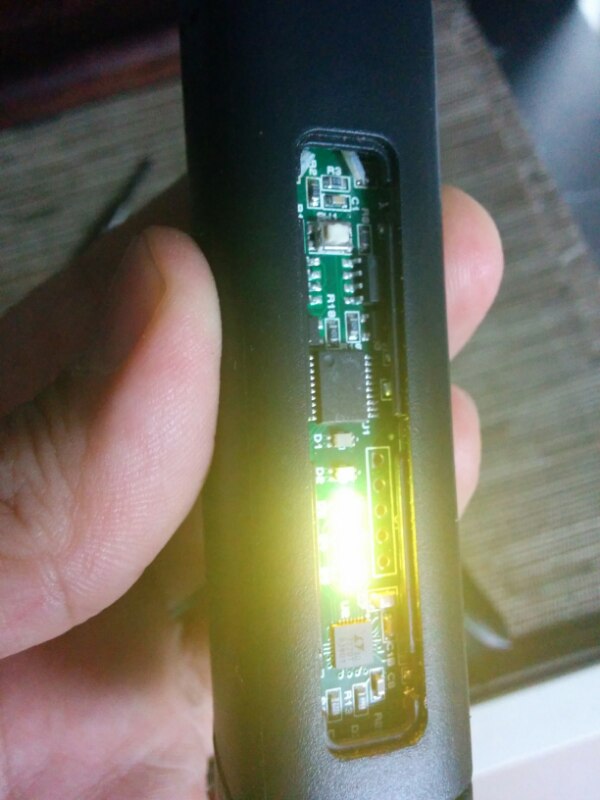
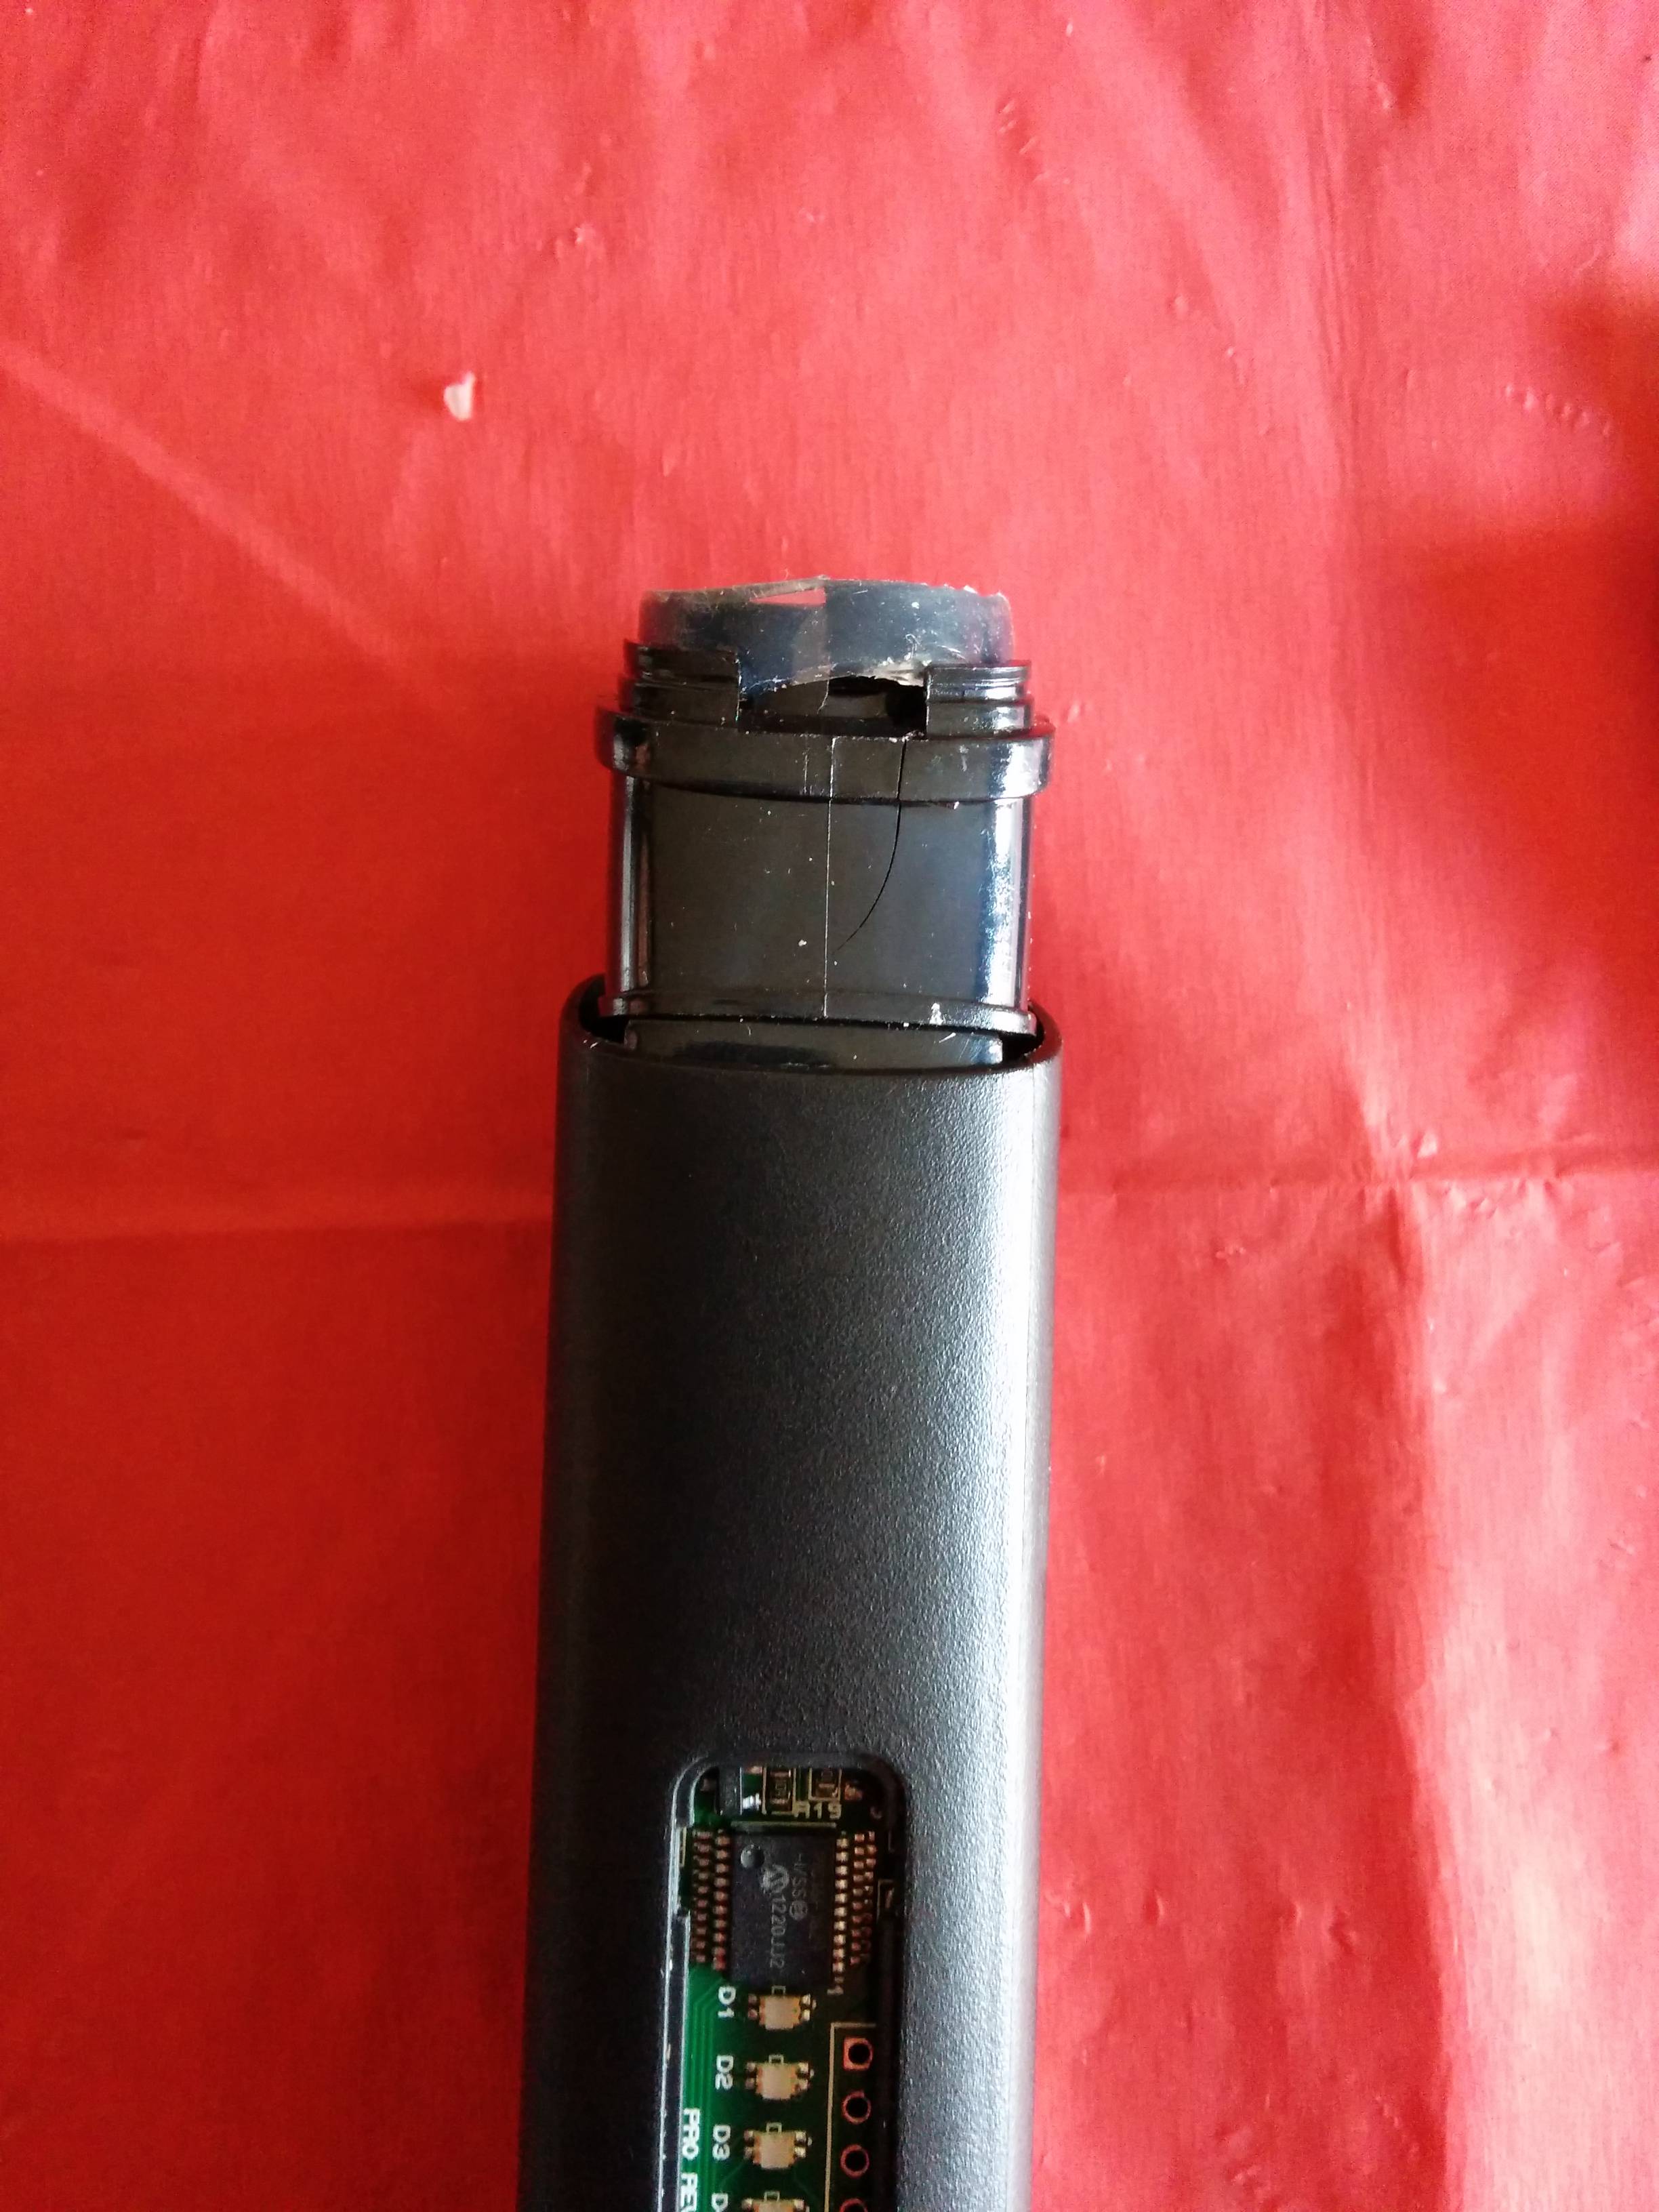
You should now have this...
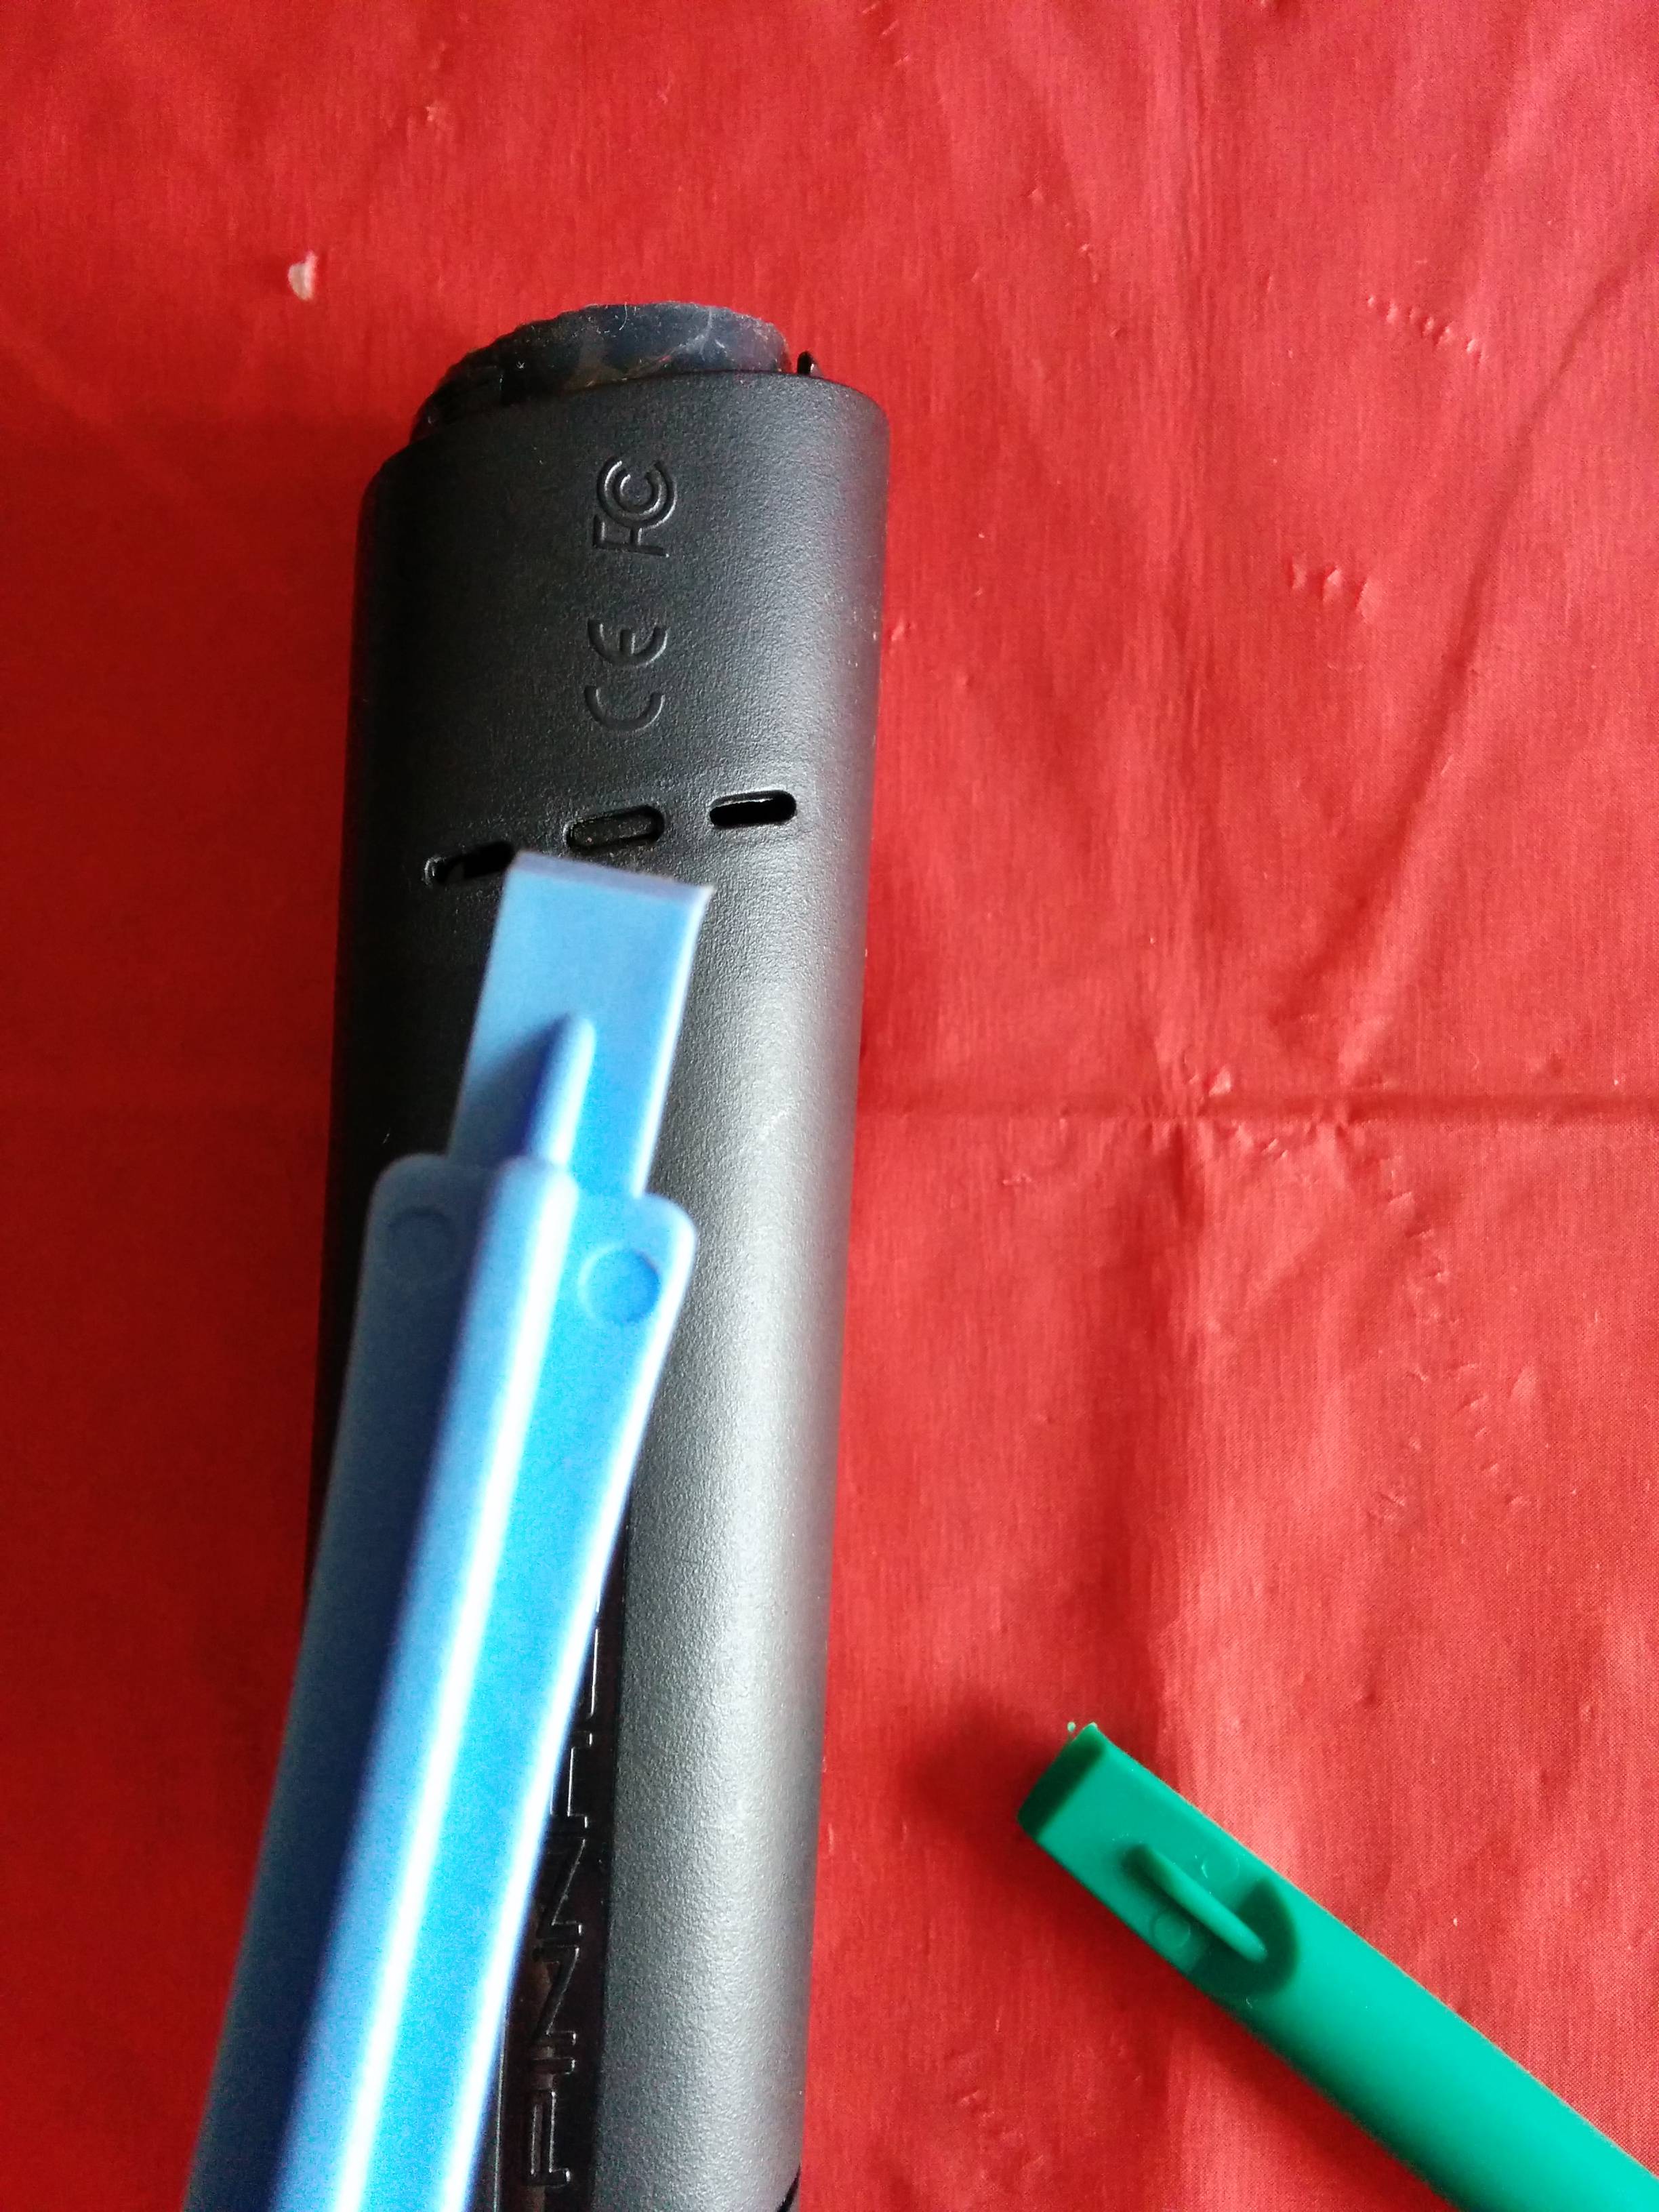
Now the tricky part. I found this awkward, as I didn't have enough hands, so I asked my girlfriend to assist. In the photo below you can see me pointing to a recessed tab. There are 2 of these either side of the PNP. You need to depress both at the same time while holding the PNP and pulling the innards out through the top. I used the 2 parting tools for this, as I didn't want to mark the unit, but if you are careful you can use 2 small flat bladed screwdrivers. My girlfriend held the PNP and pulled at the top piece while I depressed both tabs.
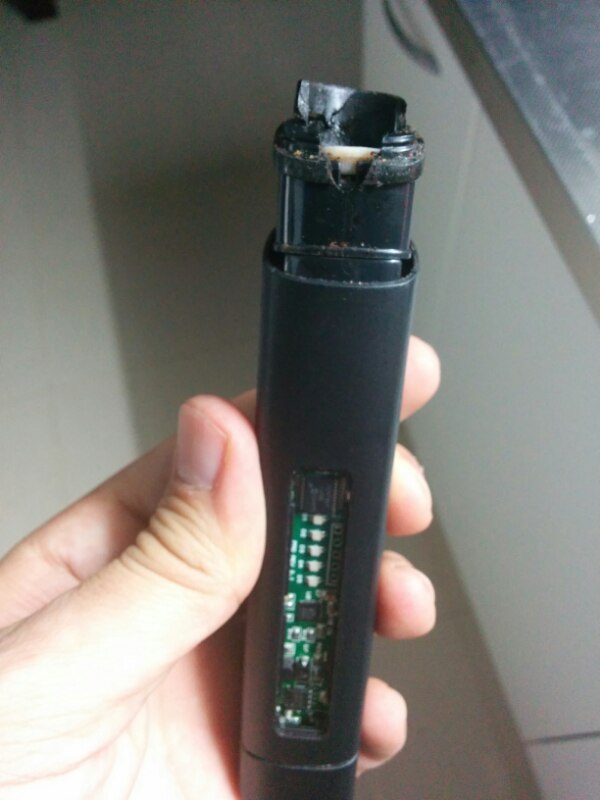
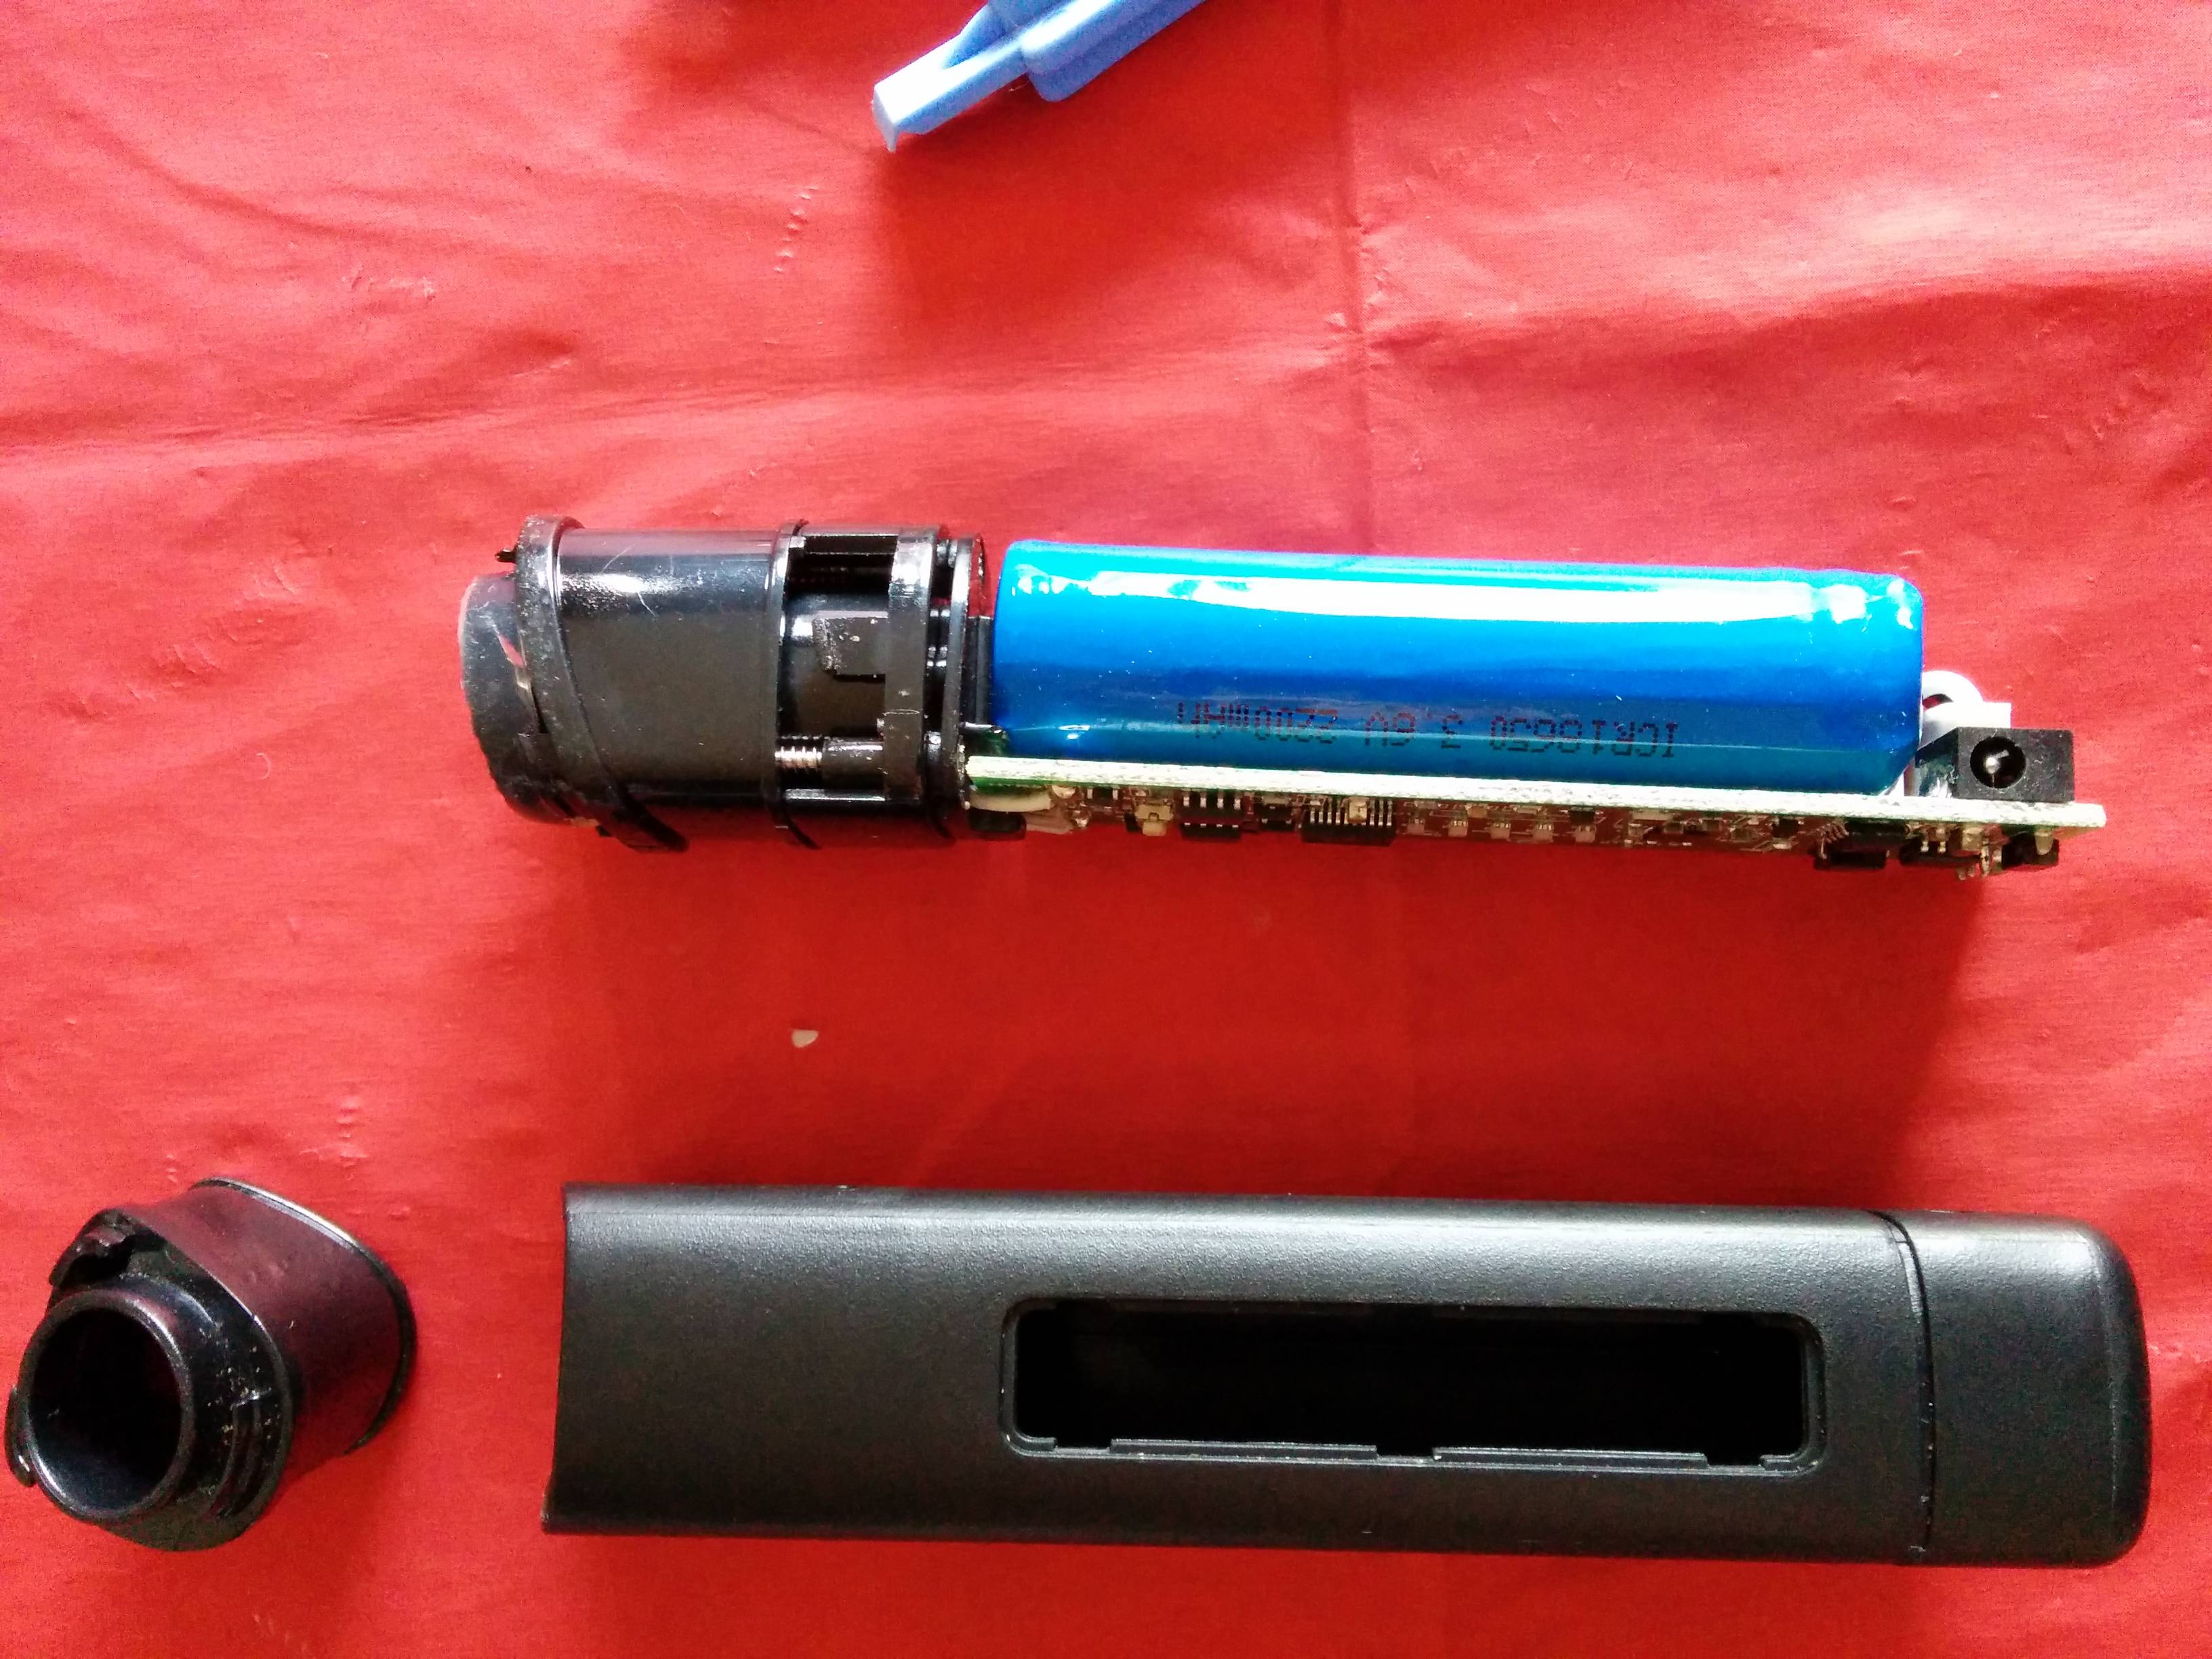
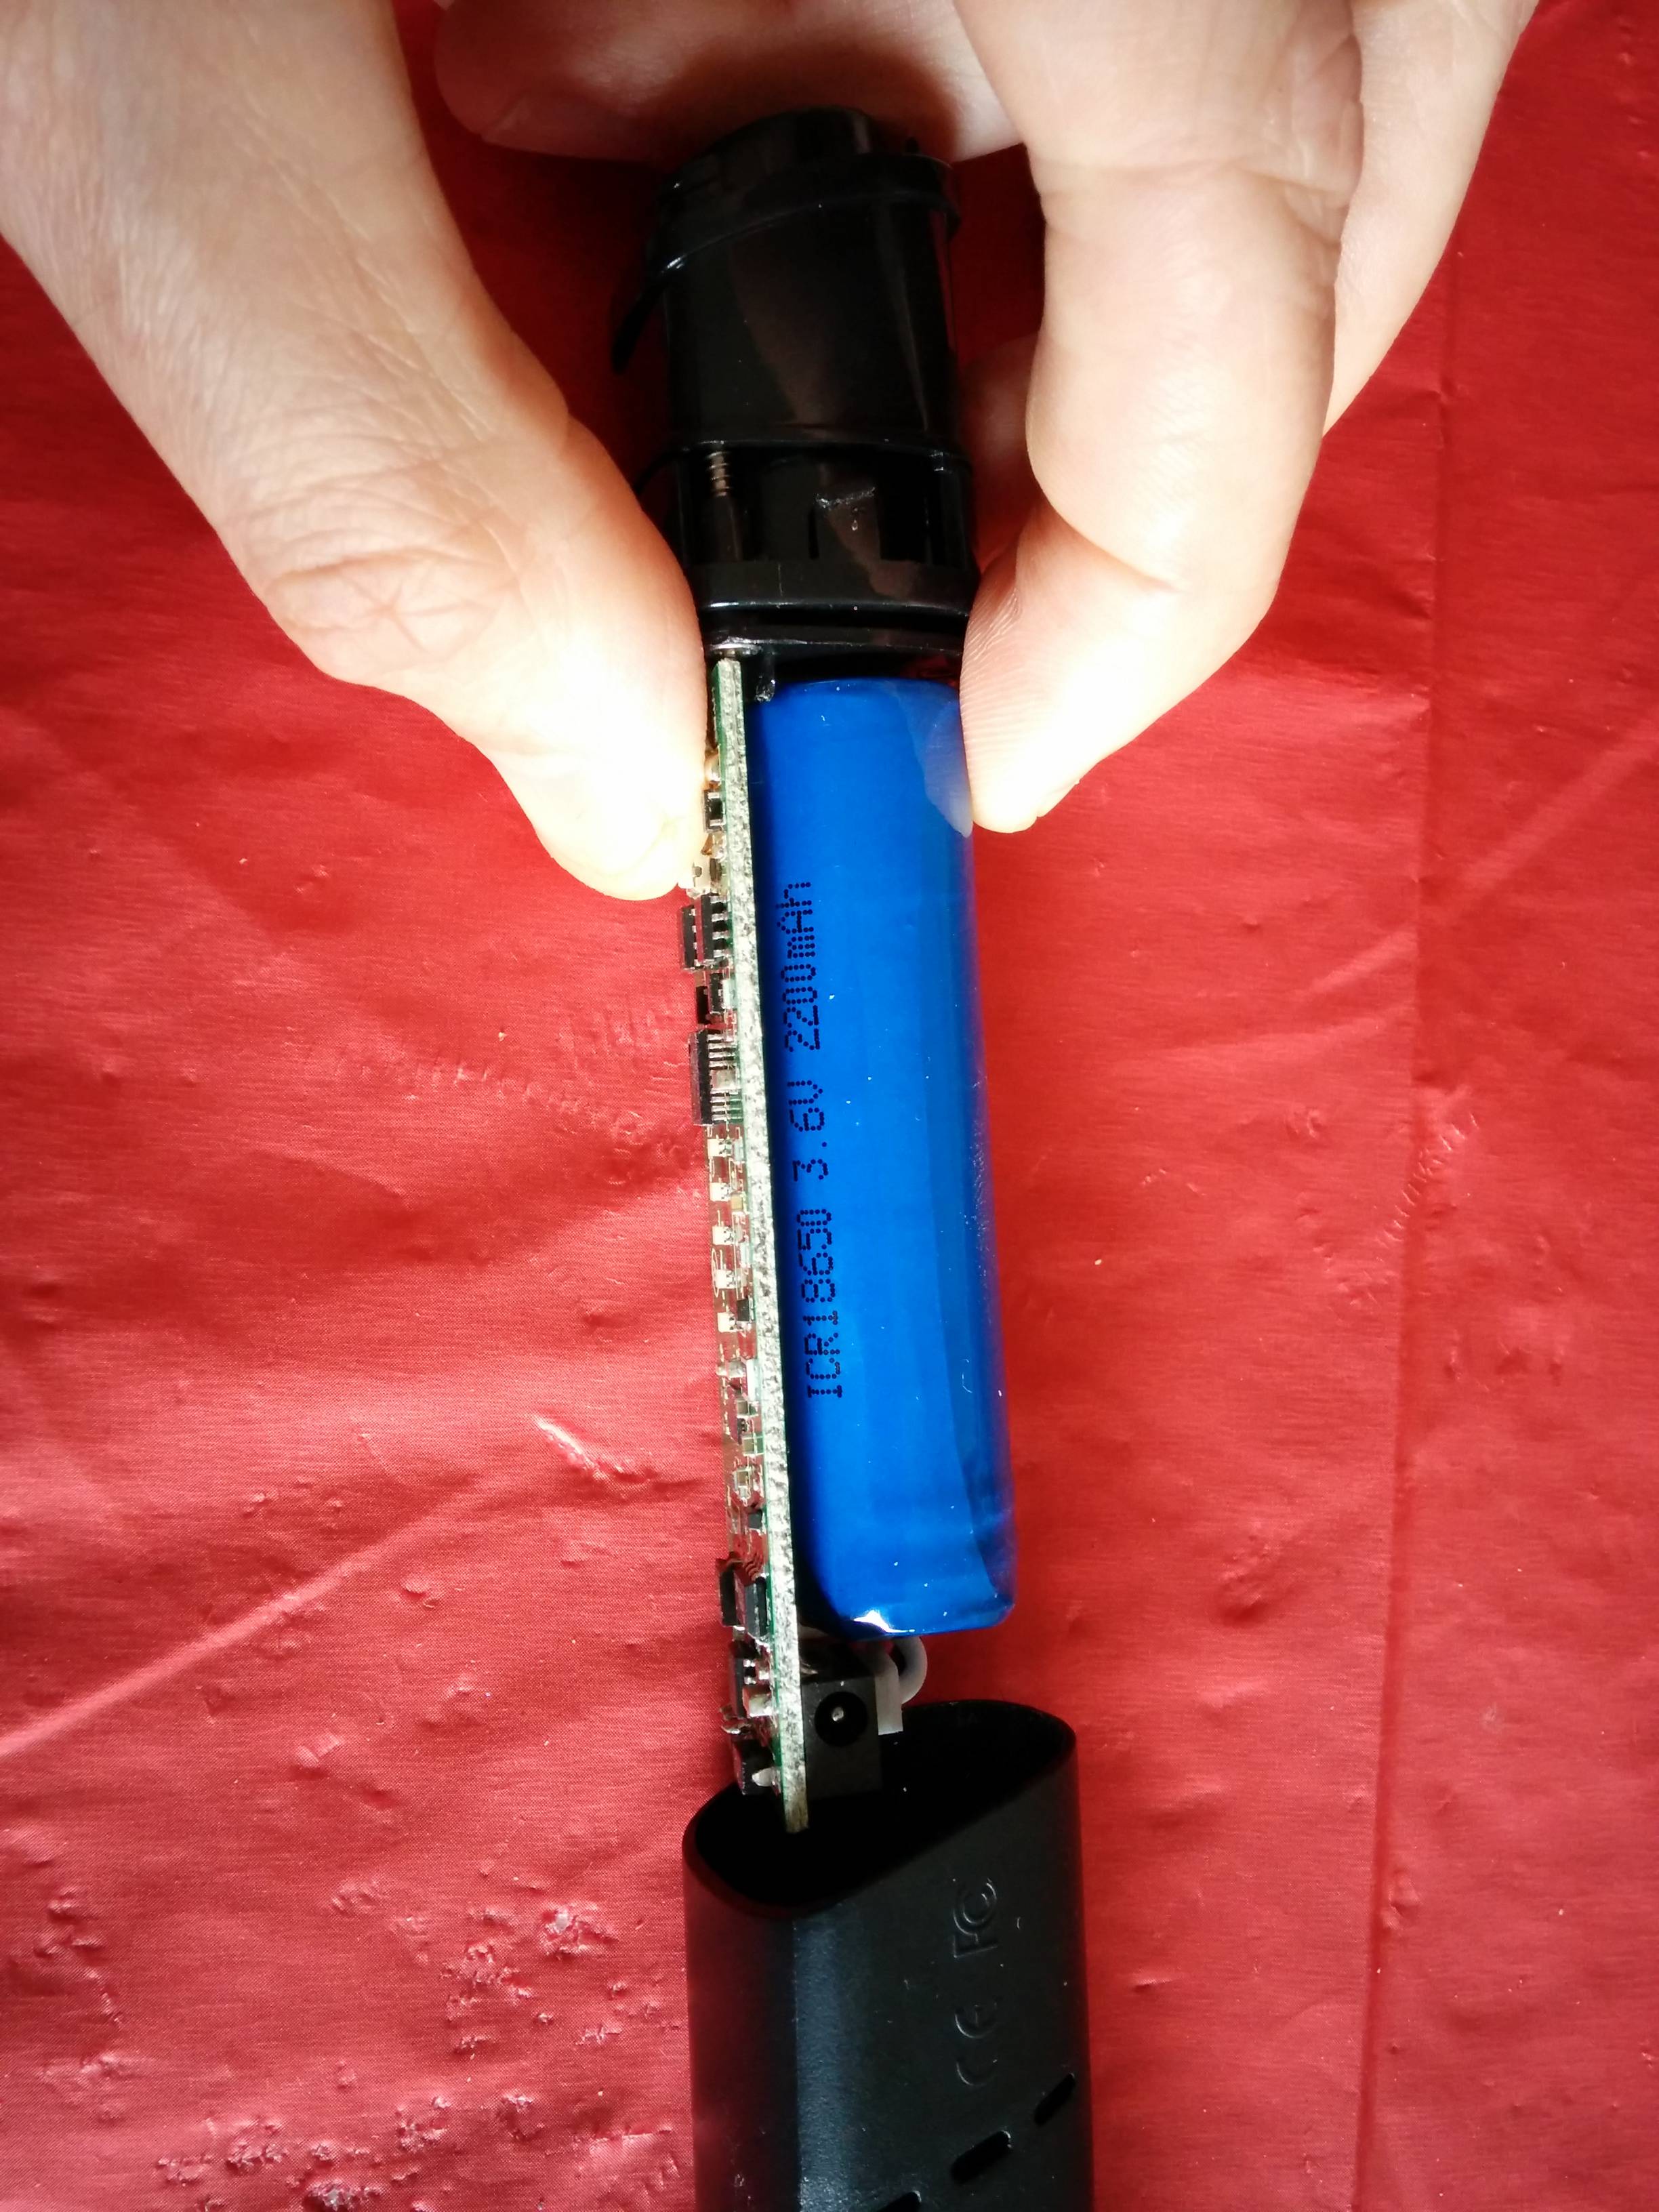
The innards are now free to remove from the shell...
This is what the guts look like...
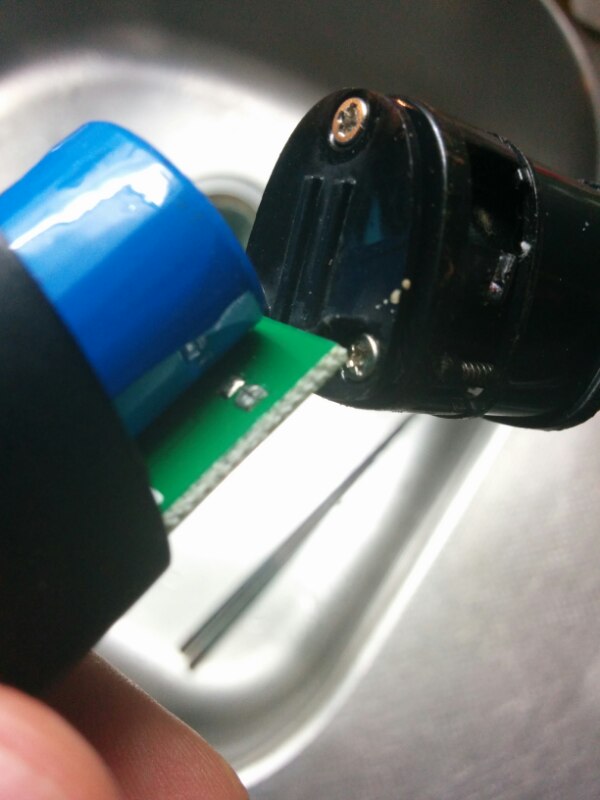
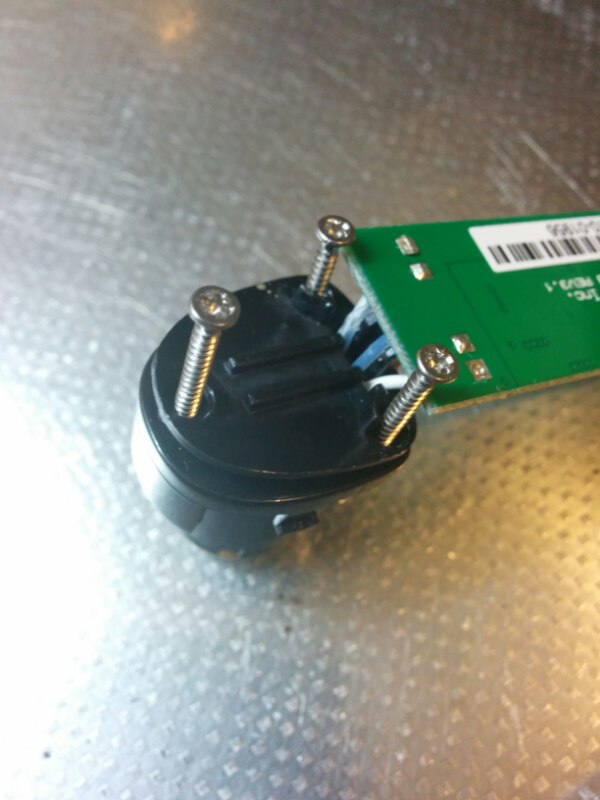
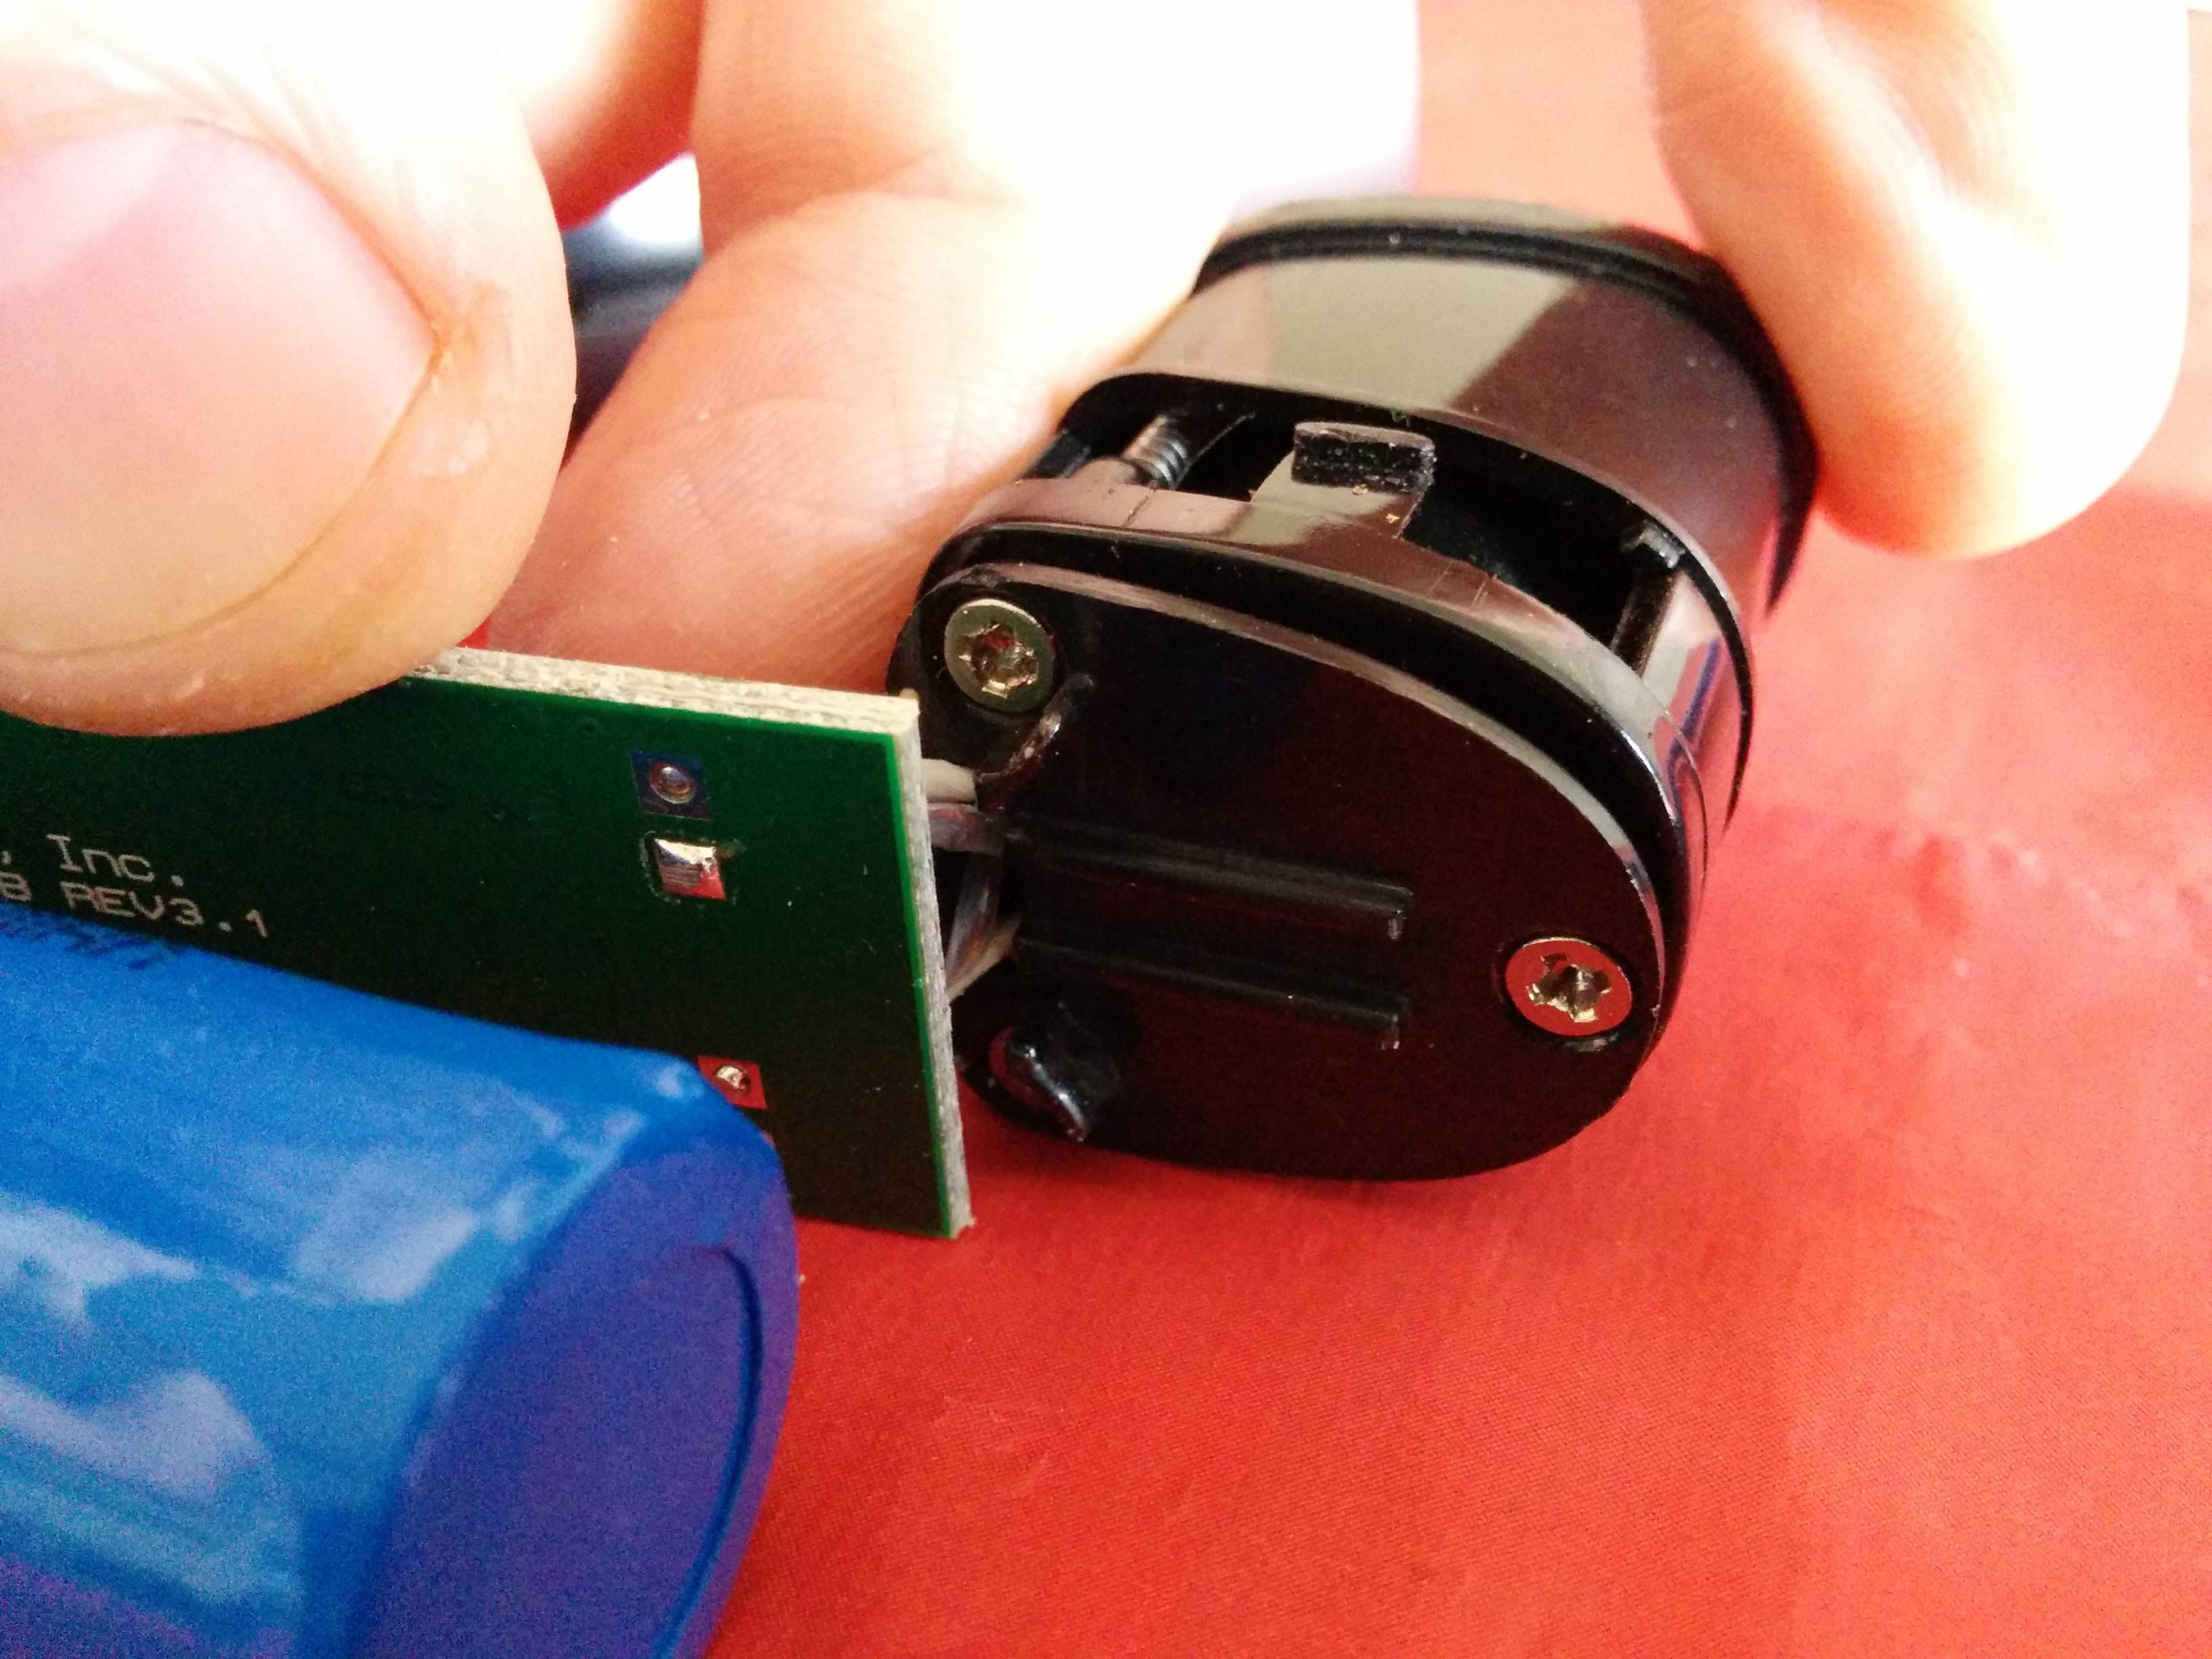
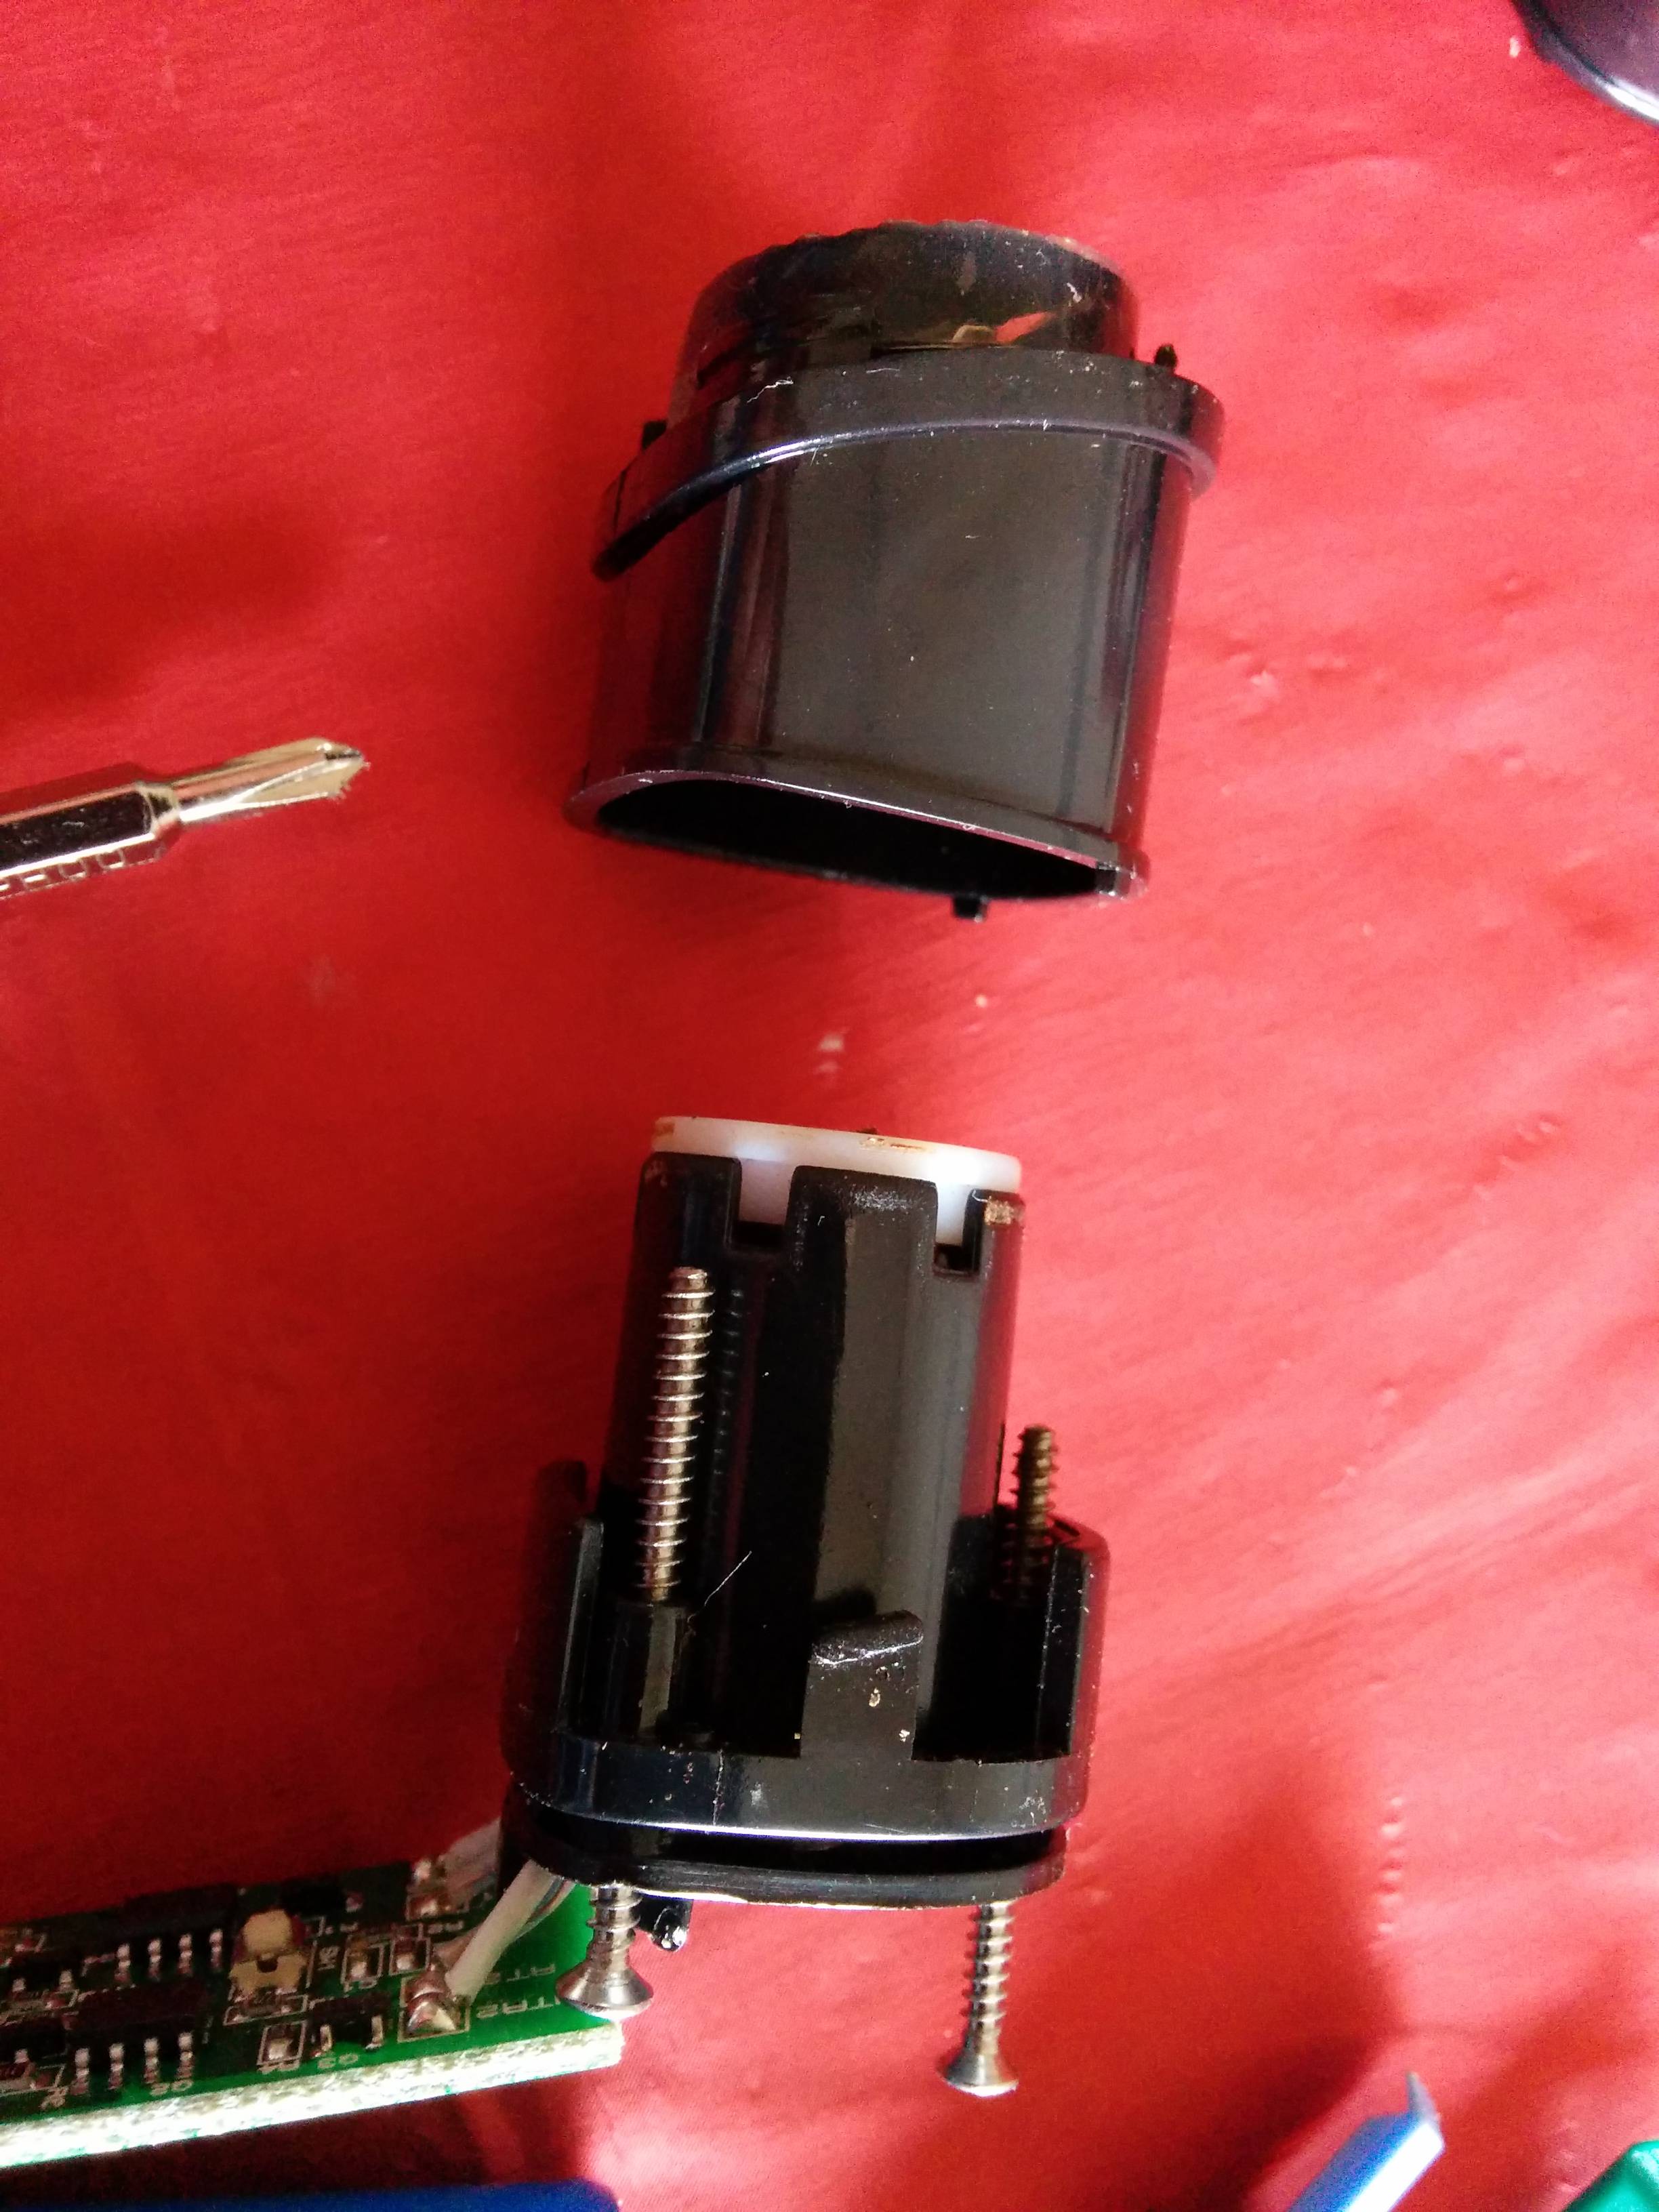
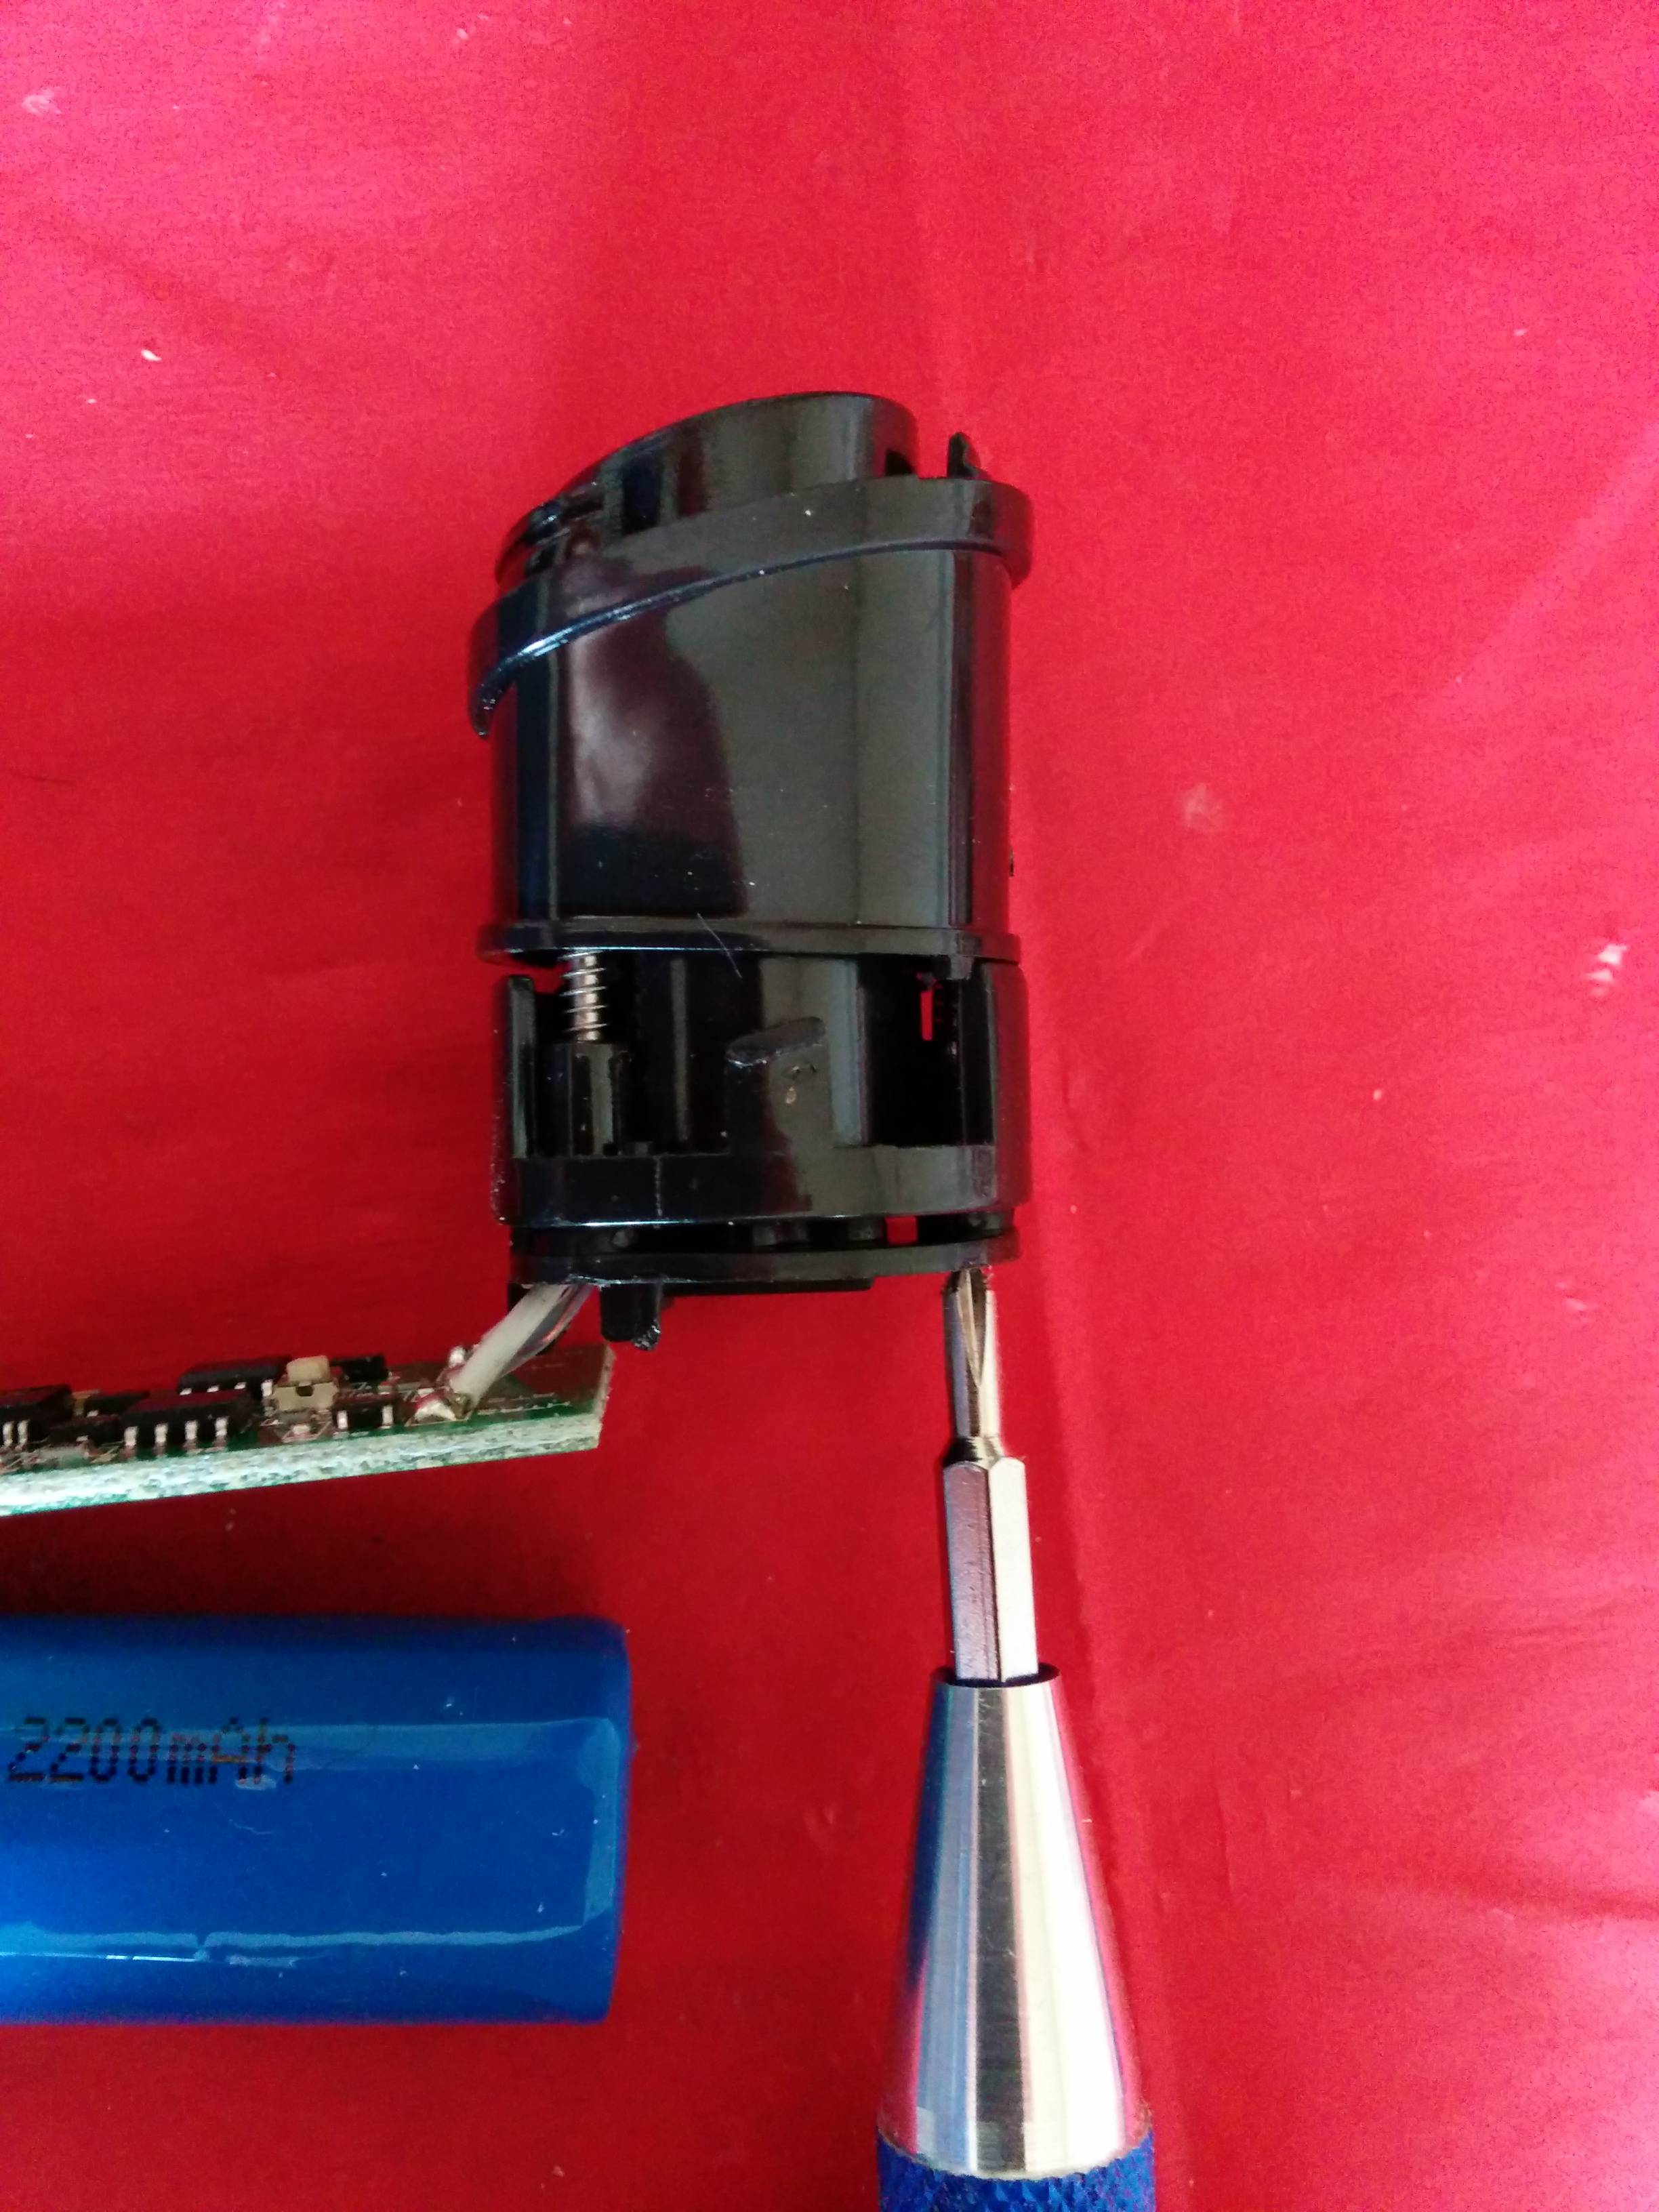
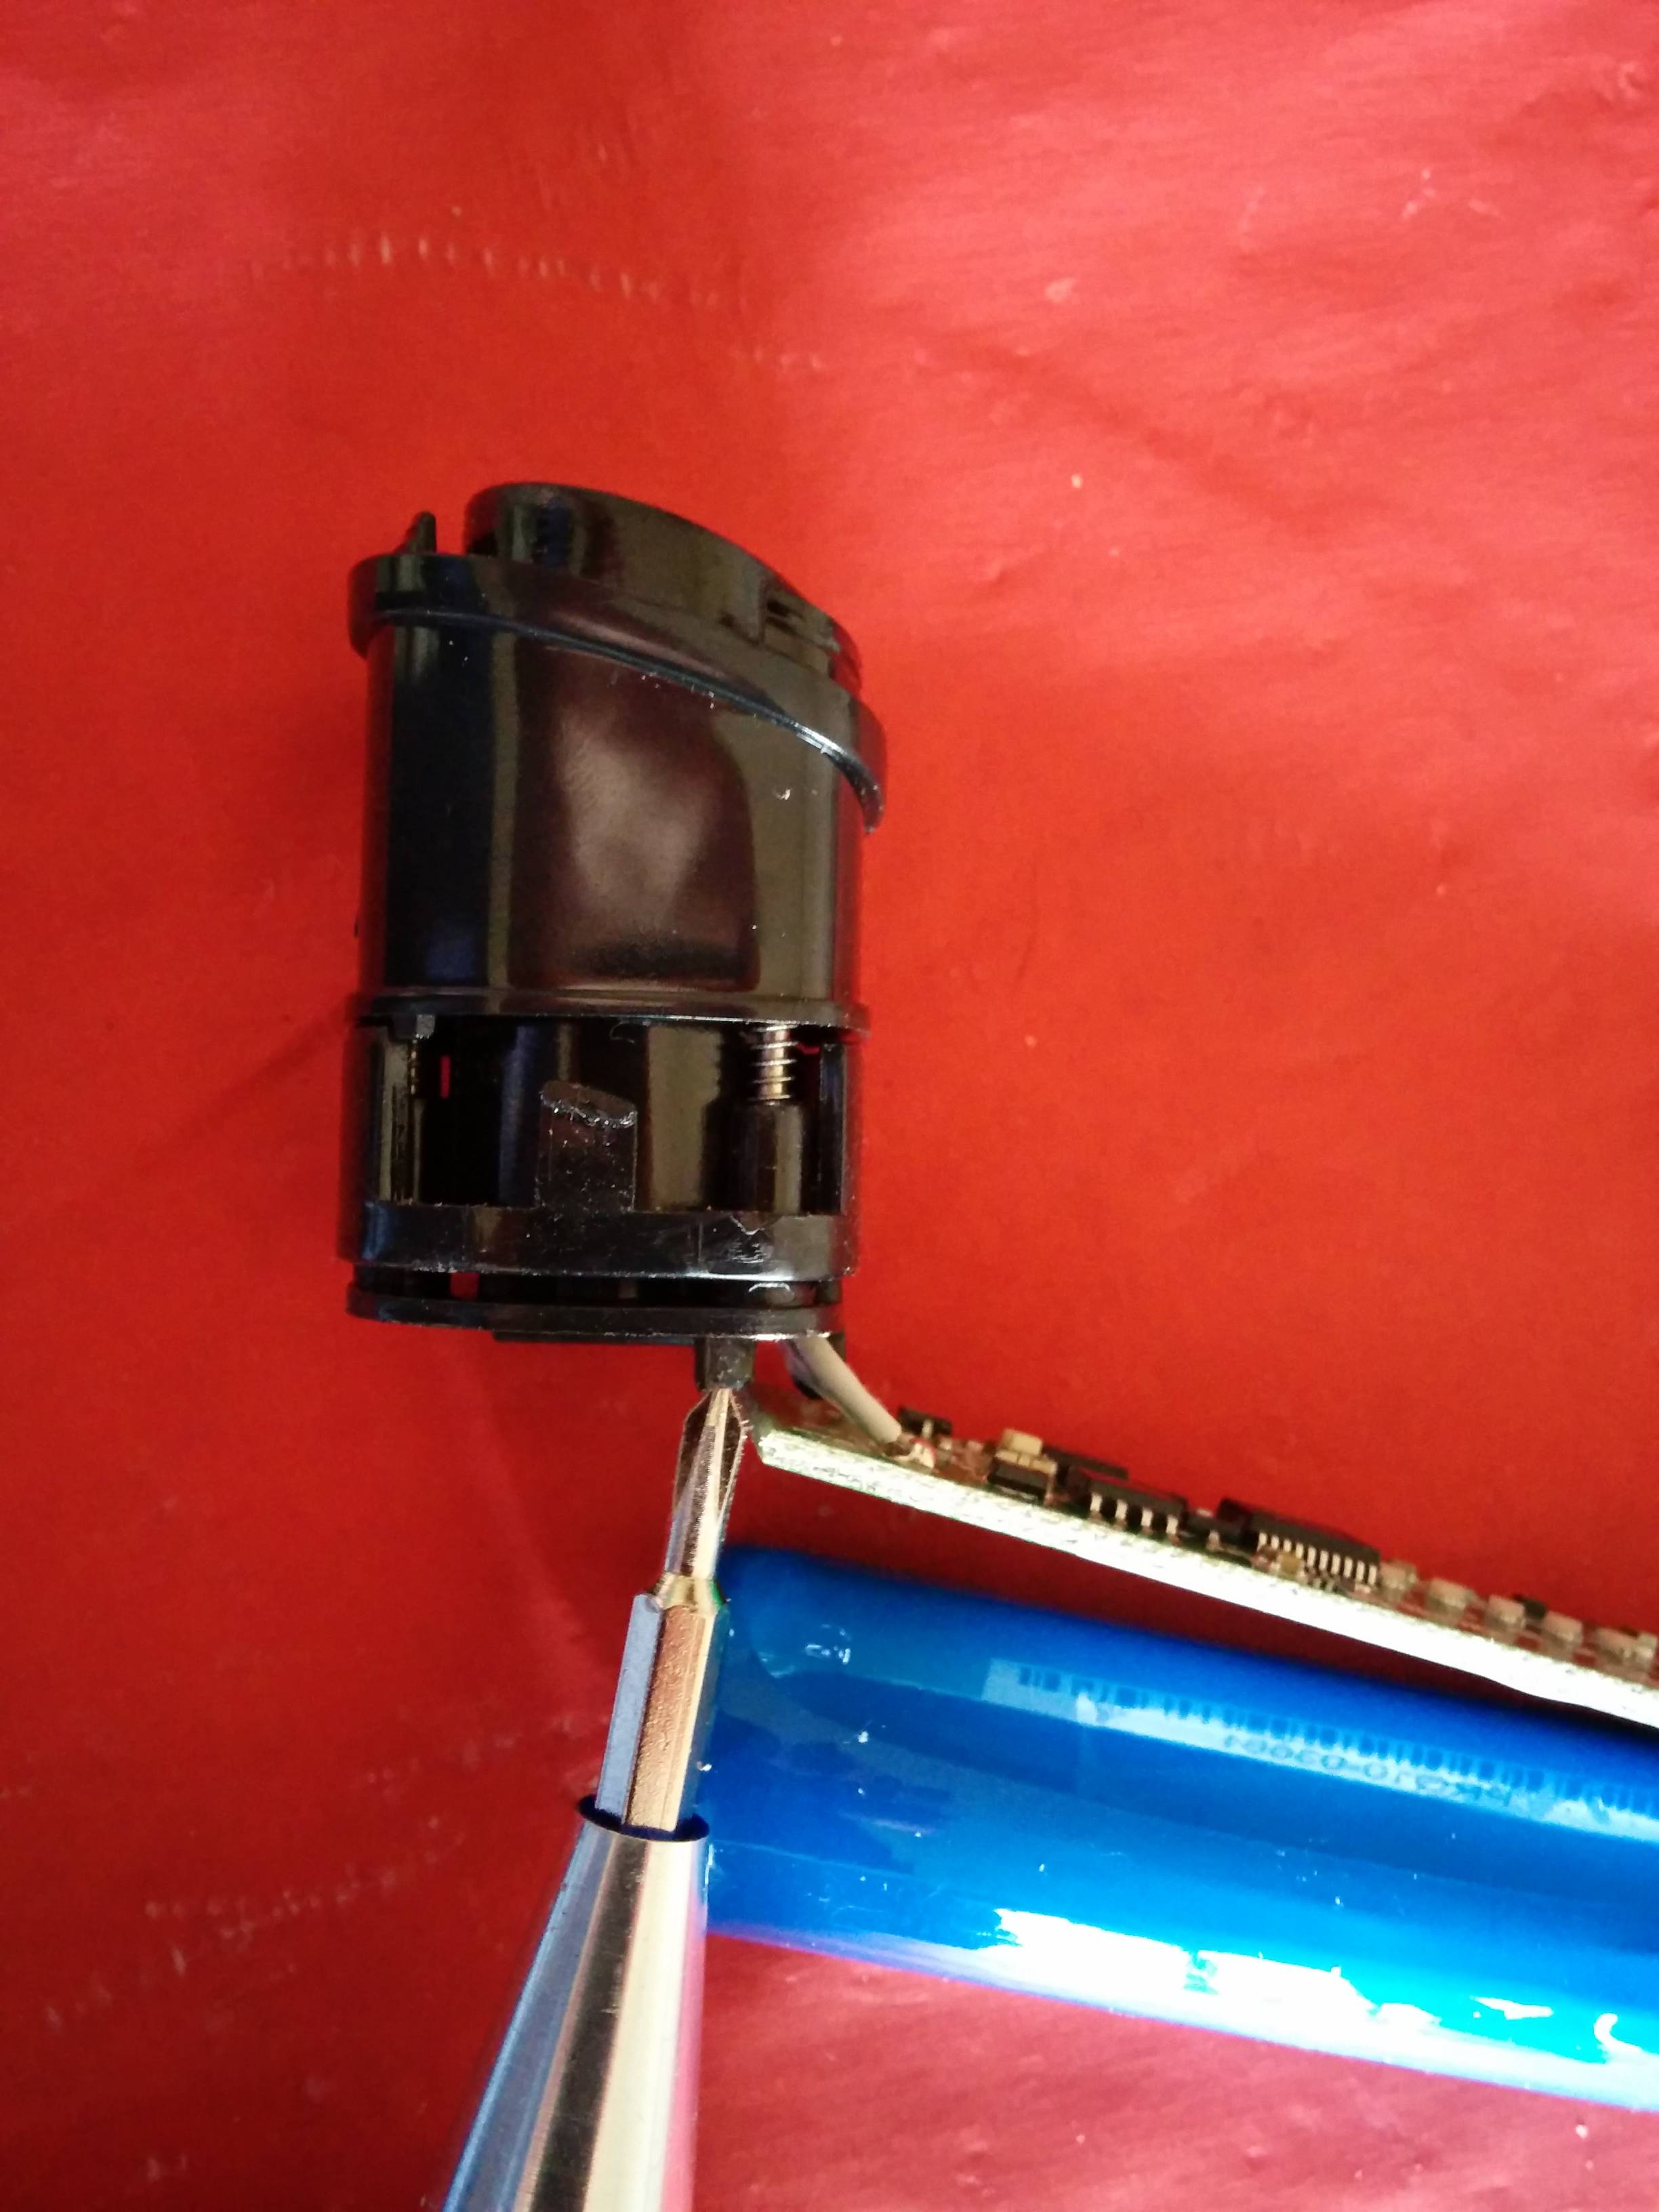
Gently lift up the plastic top section and pull it away from the pcb and battery so that you can access the 3 screws on the bottom which secure the "top" piece to the plastic base (the heating chamber). You will need the phillips 00 screwdriver or a very small phillips jewellers screwdriver to remove the screws...
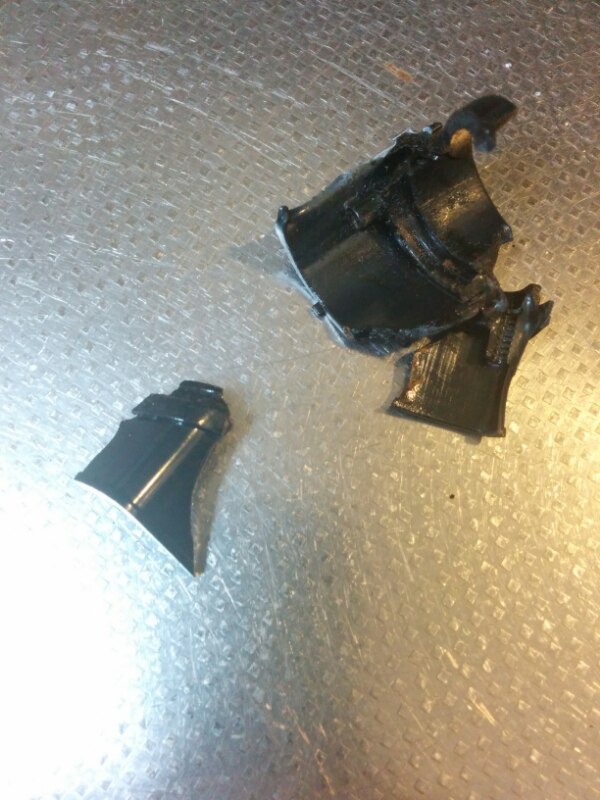
The "top" piece removed from the heating chamber...
Screw the new "top" piece back on...
This is how it should look when fully screwed home...
Clip the top plastic section back on to the pcb and insert back into the plastic shell, make sure the tabs relocate in the holes in the shell...
Replace the lens, it should easily snap back into place.
That's it, you are done!
This is my first tutorial like this, and I only have a camera phone, so I hope this helps all the people thinking about doing this themselves. It really is pretty straight forward, but I would advise you to do it before you medicate, not afterwards!


